Mailchimp integrates with different form tools to automatically collect and update subscriber data when a form is submitted. These integrations usually work through secure connections such as API keys or authorized access.
Mailchimp integration options include:
- WordPress form plugins: Tools like MetForm, Fluent Forms, and WPForms allow direct integration with Mailchimp, making it easy to sync form submissions with audiences, tags, and custom fields, without third-party automation.
- Google Forms: Google Forms does not connect to Mailchimp natively. Services like Zapier are required to send form responses to Mailchimp automatically.
- Mailchimp native forms: Mailchimp offers its own built-in form builder that generates embeddable HTML forms, suitable for basic signup needs with limited design flexibility.
Important Before You Start #
Before creating or configuring any form, Mailchimp must be connected to your form builder. Without this connection, subscriber data won’t sync, no matter how well the form is designed.
See the Basic Setup Process (Using MetForm) #
Check the video for details:
Here is the steps for you:
- Generate a Mailchimp API Key: Log in to Mailchimp and go to Account → Extras → API Keys, then create a new API key.
- Connect Mailchimp to MetForm: In your WordPress dashboard, navigate to MetForm → Settings → Integrations, choose Mailchimp, and paste the API key to establish the connection.
- Create or Edit a Form: Gehe zu MetForm → Forms, create a new form, or open an existing one in the Elementor editor.
- Enable Mailchimp as a Submission Action: From the form settings, add Mailchimp as an action after submission.
- Select an Audience and Map Fields: Choose your Mailchimp audience and map required fields like email, name, and any custom fields or tags.
- Configure Subscriber Options: Enable features such as double opt-in, audience tags, or merge fields to better organize contacts.
- Publish and Test the Form: Publish the form and submit a test entry to confirm the subscriber appears correctly in Mailchimp.
For detailed procedure, check the documentation.
Voraussetzung:
Metform Pro, install and activate the premium form builder plugin for Elementor.
Mailchimp konfigurieren #
Sie müssen ein Formular mit MetForm erstellen. Stellen Sie dabei sicher, dass das Formular mindestens eine E-Mail-Widget und es sollte erforderlich
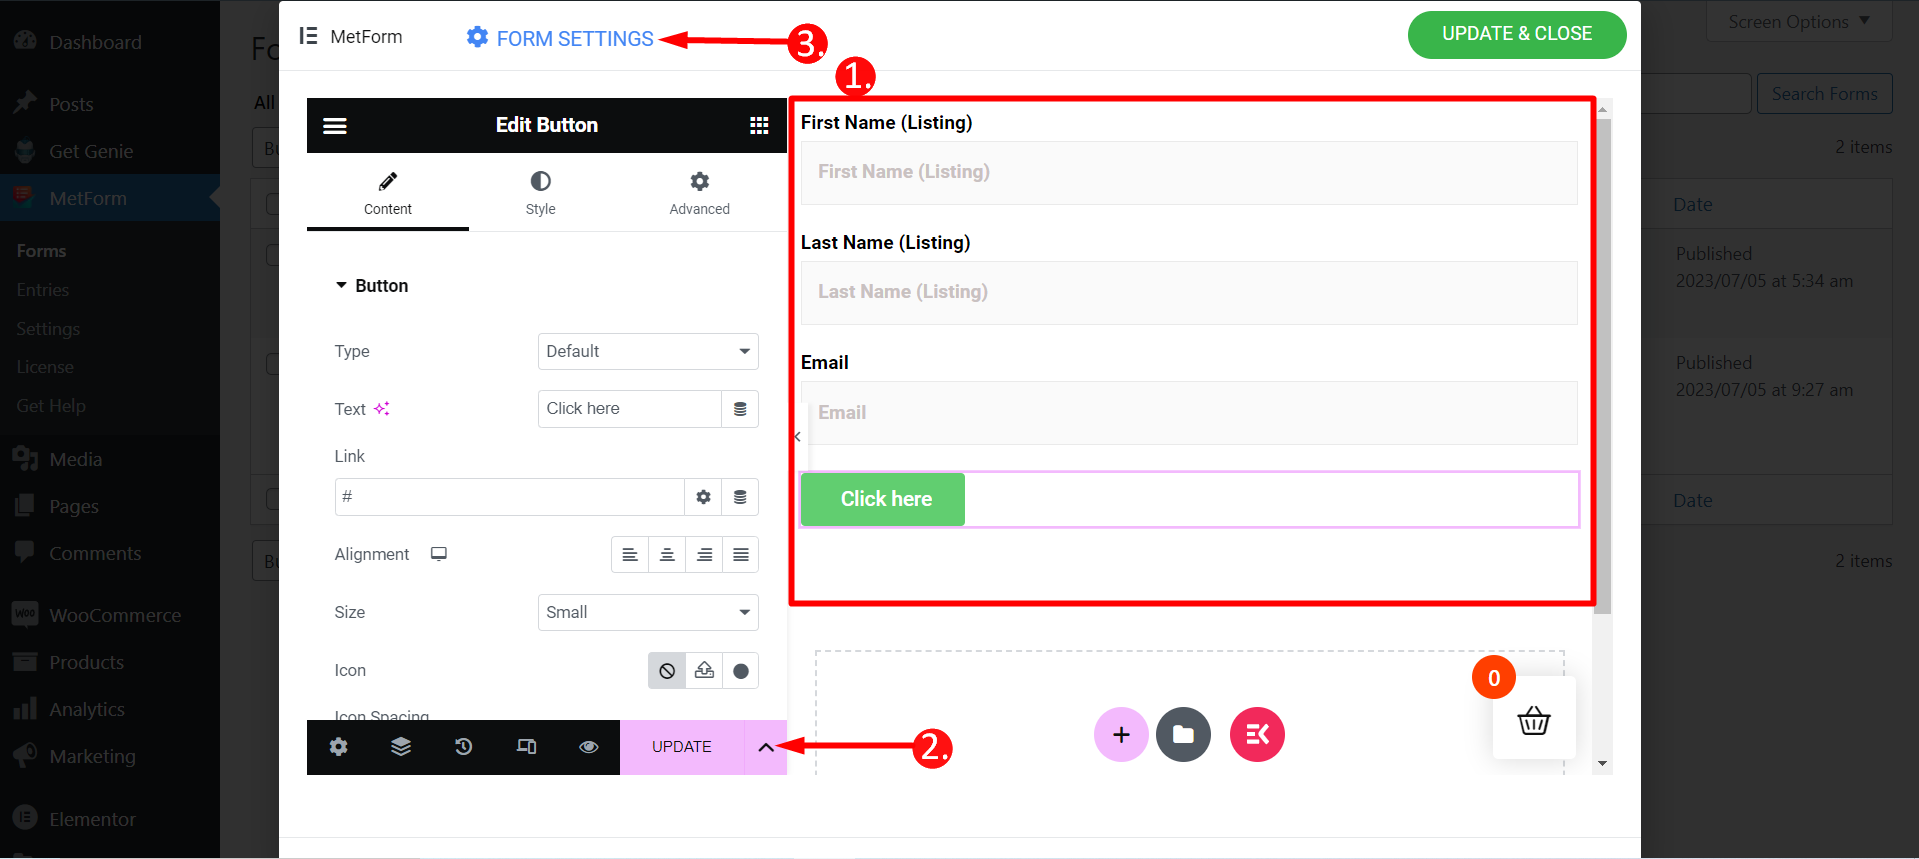
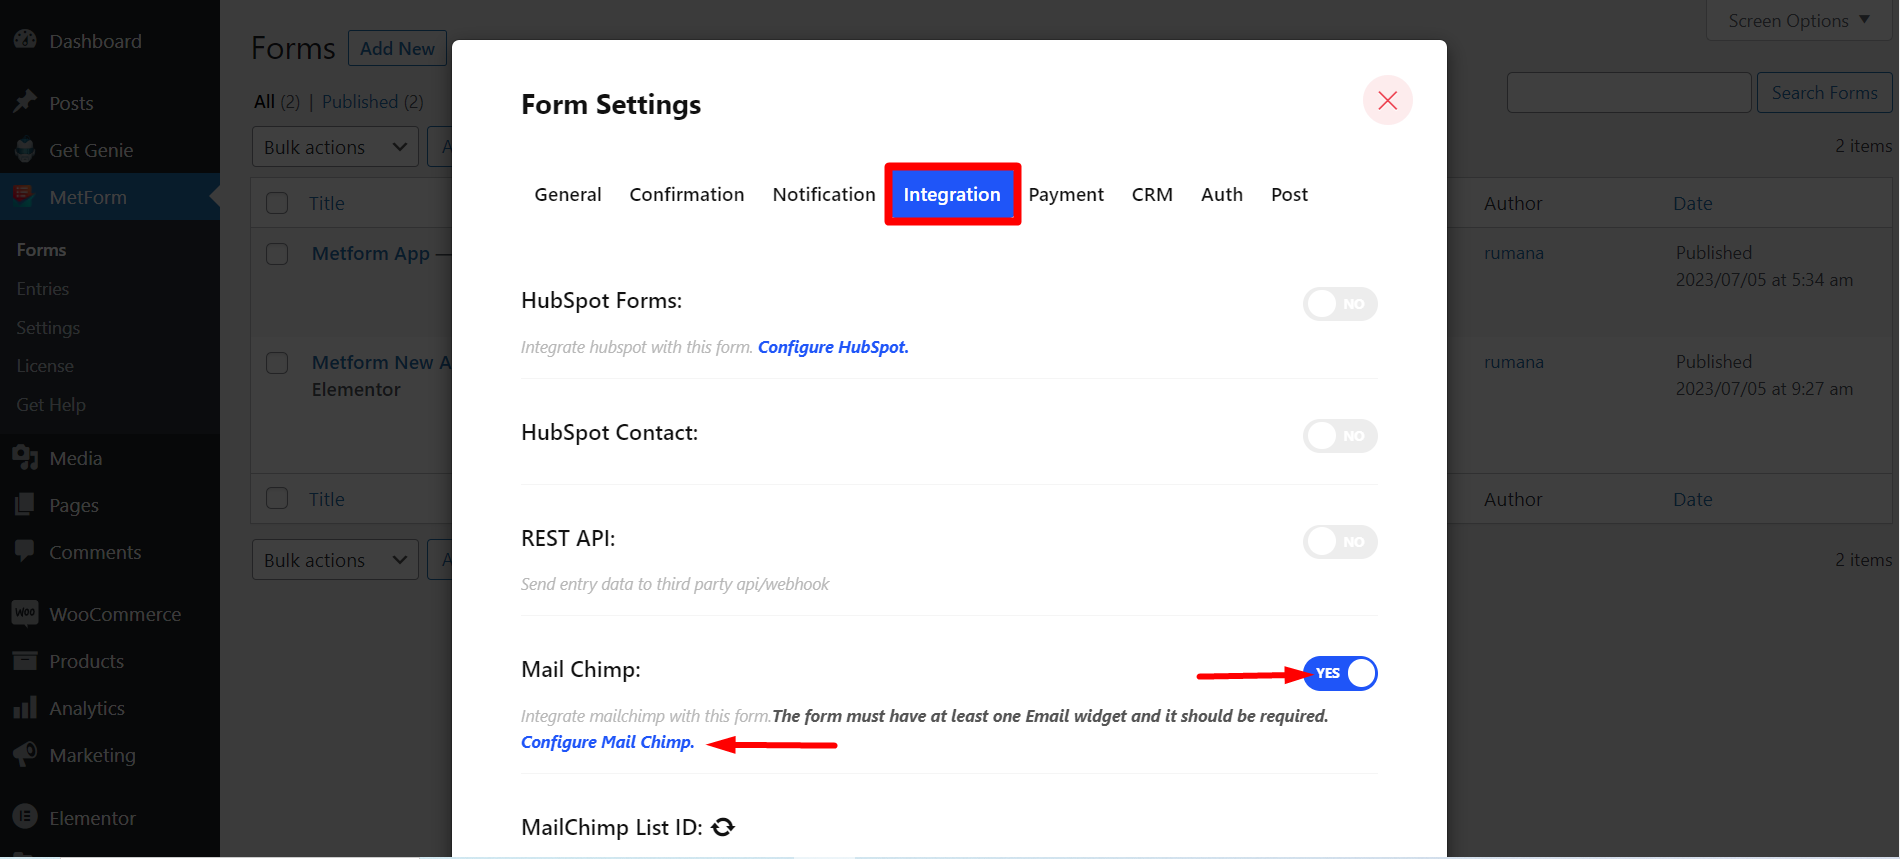
Schritt=>1: Navigieren Sie zu Formulareinstellungen → Integration
- Schalten Sie die um Mail Chimp Möglichkeit
- Klicke auf Mail Chimp konfigurieren
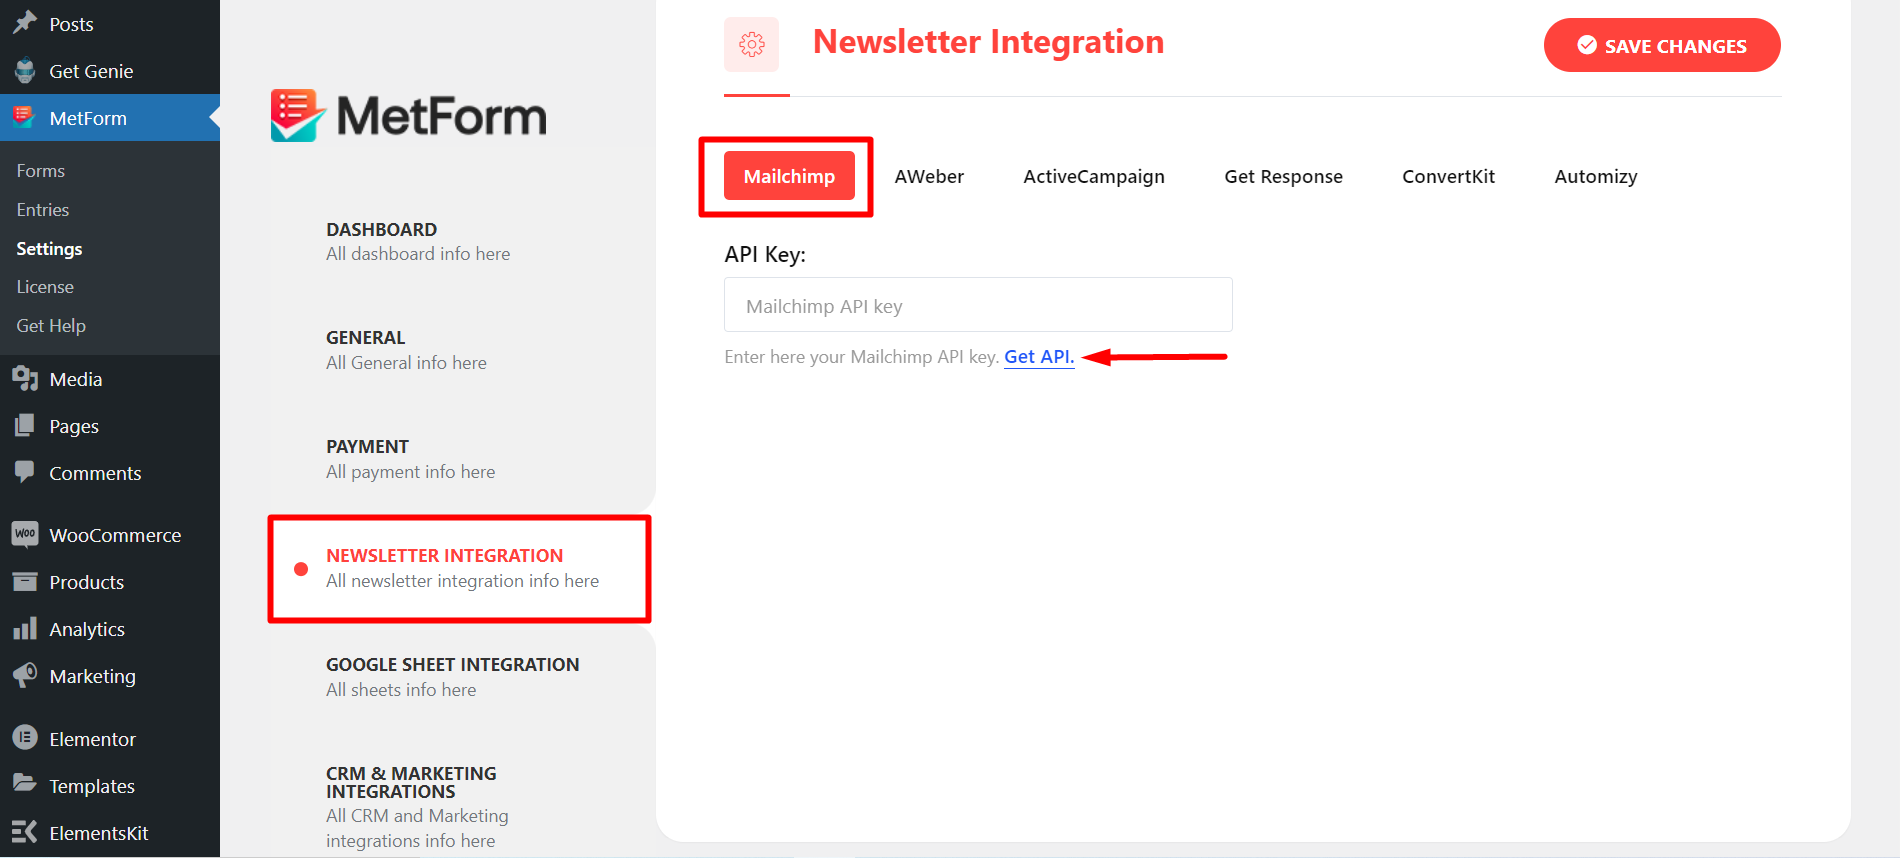
Schritt=>2: Es wird sich bewegen MetForm=> Einstellungsseite
- Klicke auf Mail-Integration
- Klicken Sie dann auf API abrufen um die Seite in einem neuen Tab zu öffnen und den API-Schlüssel zu erstellen/abzurufen
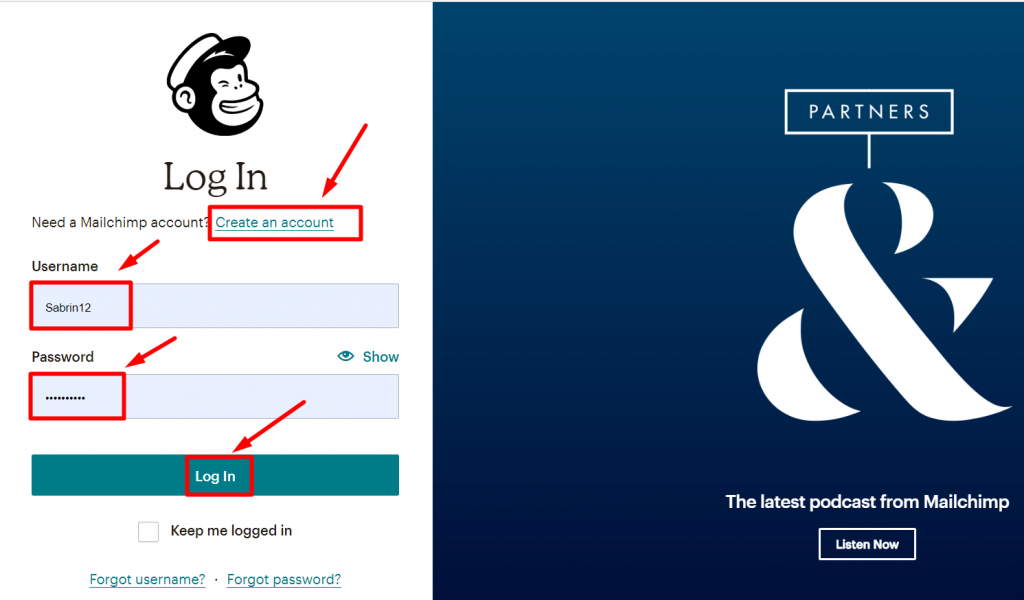
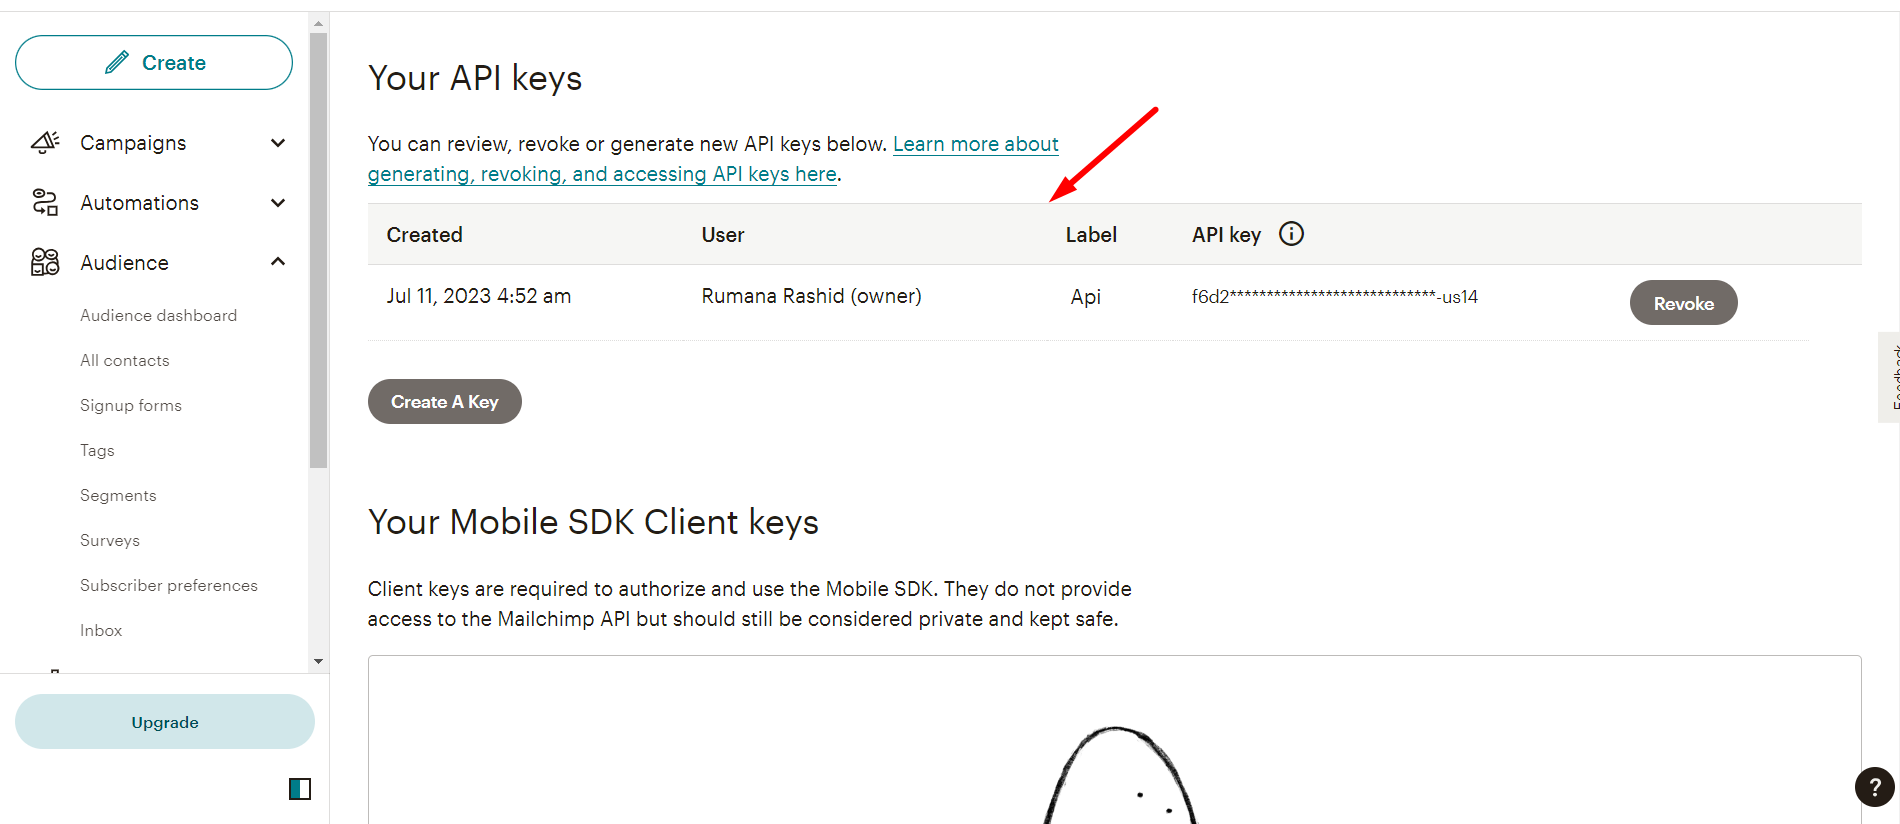
Schritt=>3: Um den API-Schlüssel zu erhalten Erstellen ein Mailchimp-Konto und melden Sie sich mit Ihrem an Benutzername und Passwort
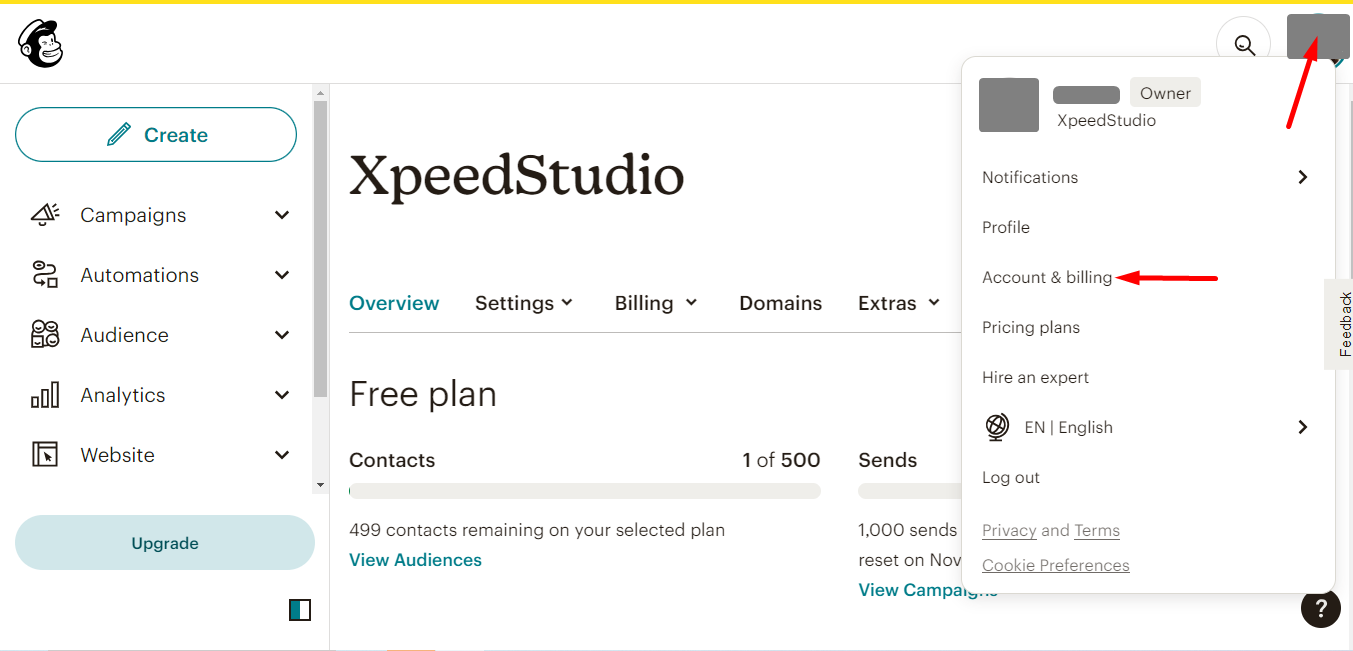
Gehen Sie zu Ihrem Kontofoto und klicken Sie auf „Konto und Abrechnung“
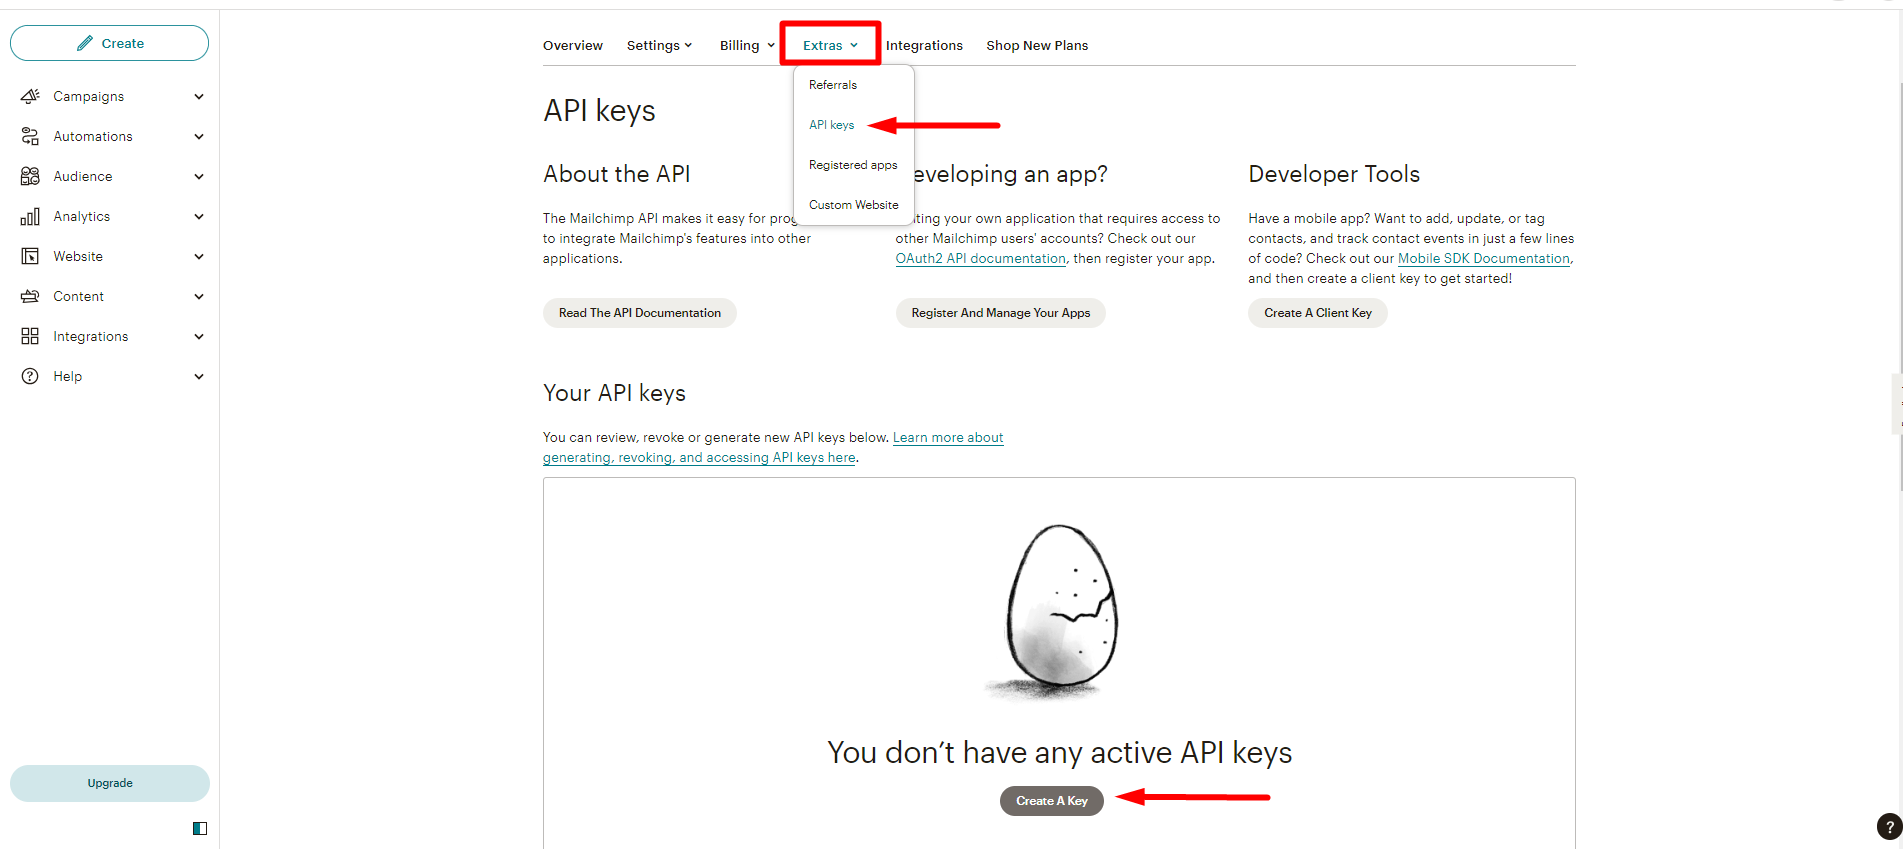
- Extras finden
- Click API keys
- Now, click Create A key
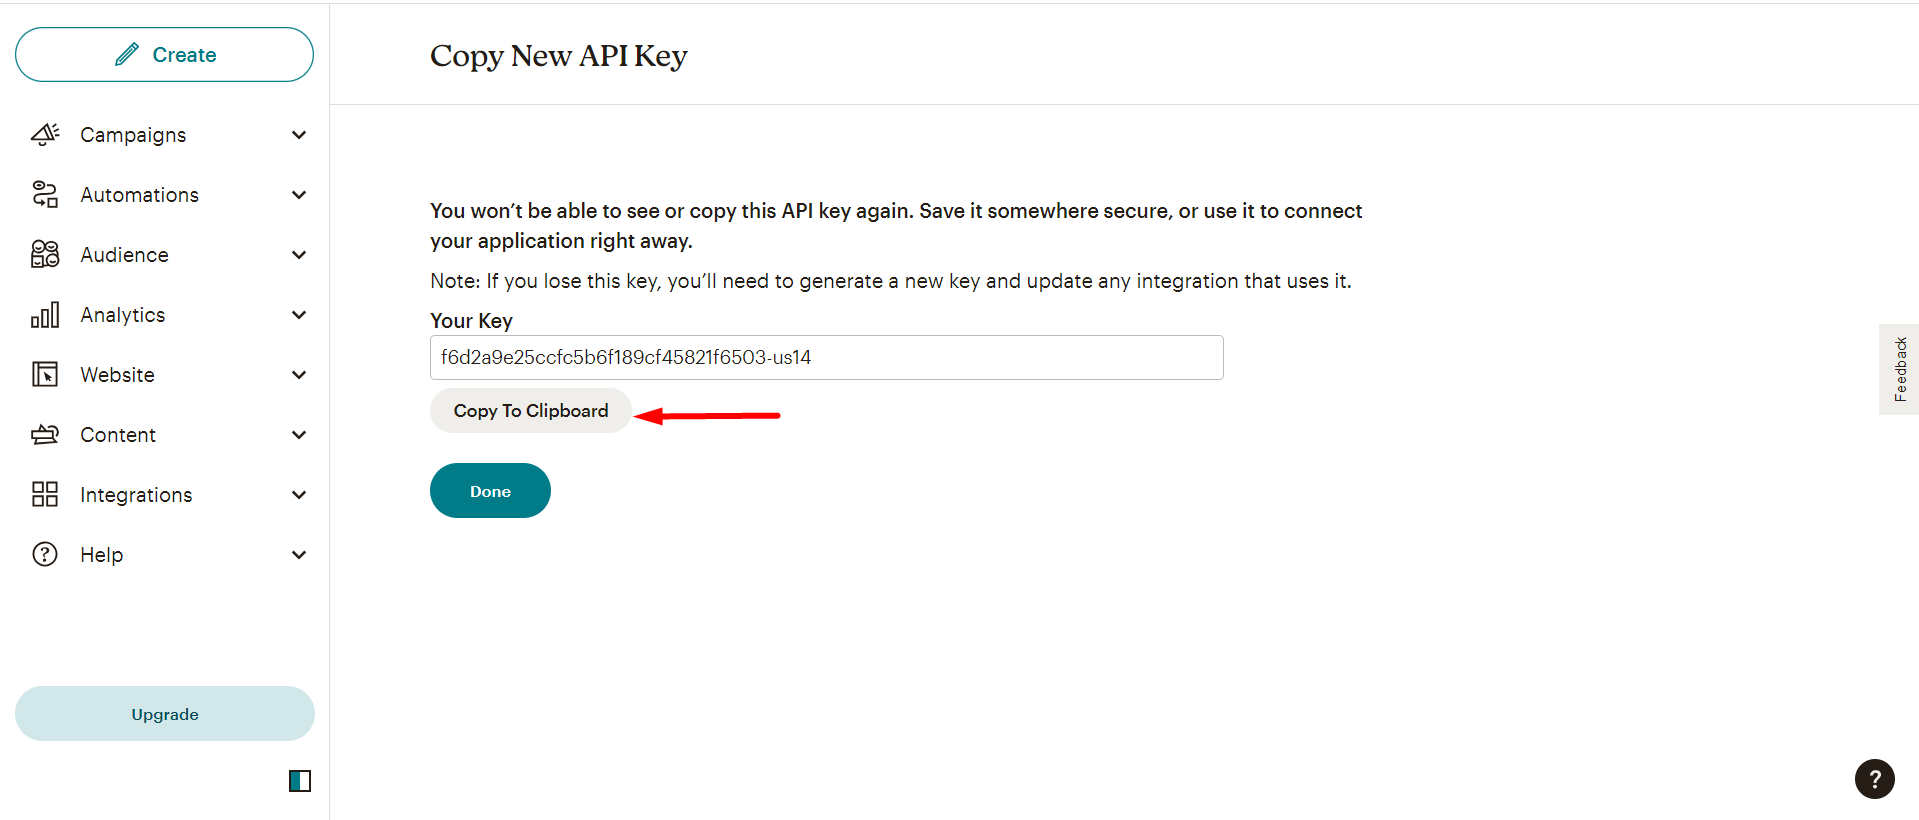
Next, copy the Key
Sie können jedoch die erstellte Liste so was -
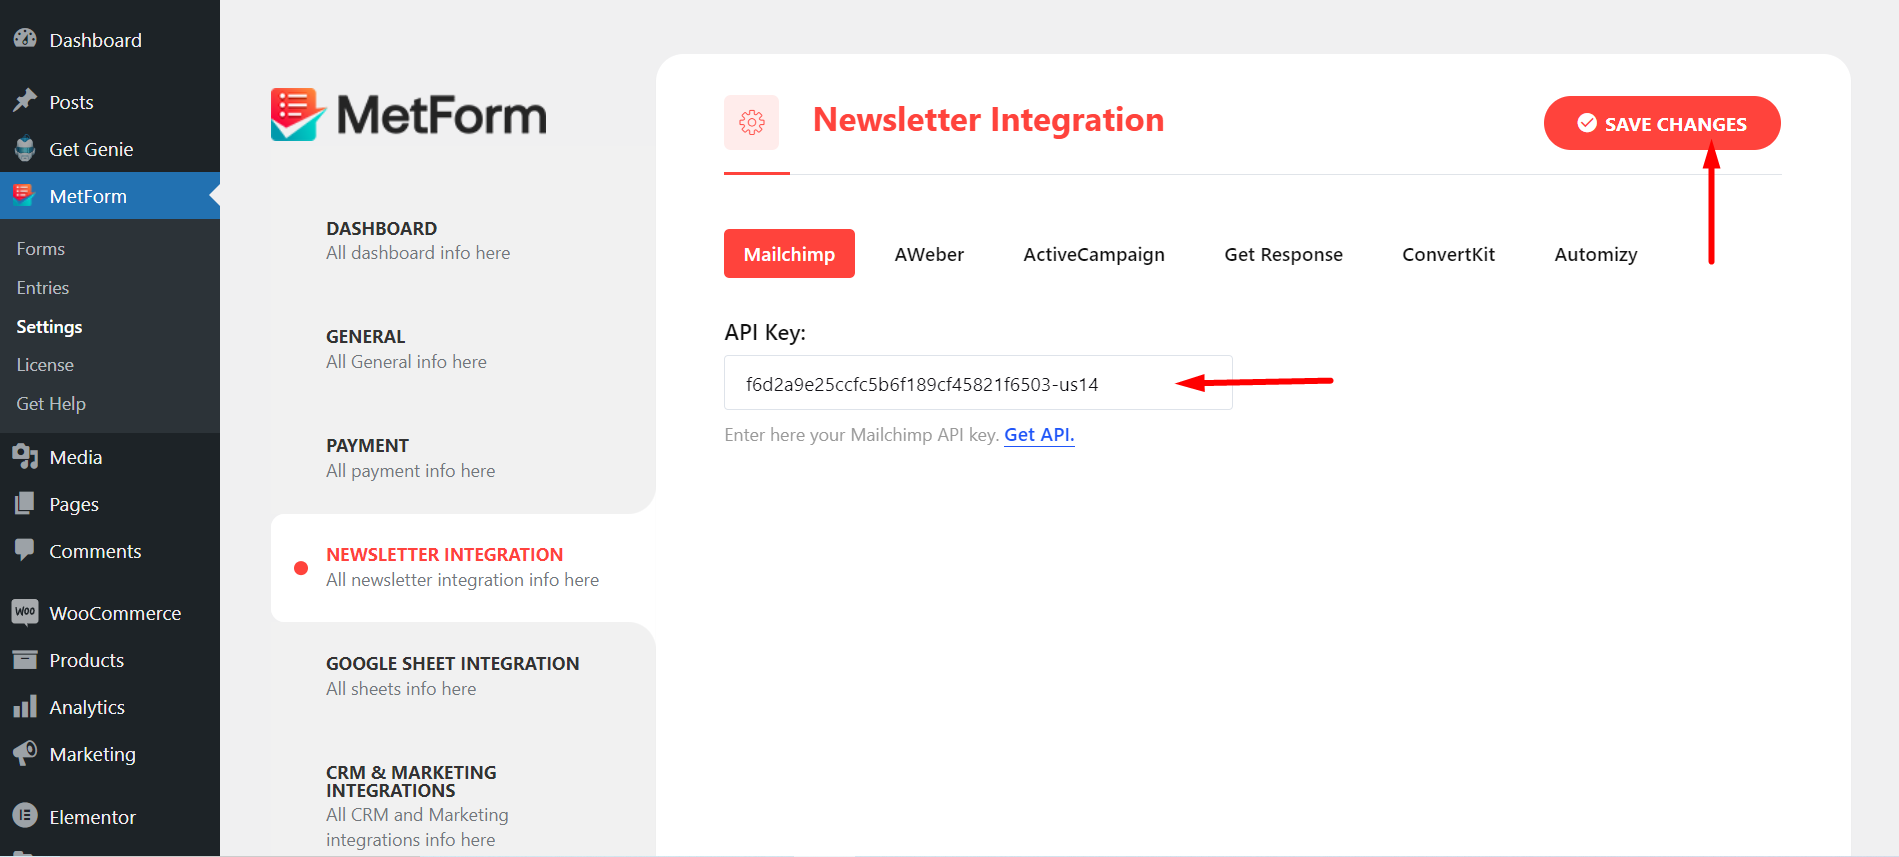
Schritt=>4: Now, return back to Newsletter-Integration and utilize the copied Key
- Fügen Sie den Schlüssel hier ein
- Änderungen speichern
Schritt=>5: Gehe zu Integration Abschnitt Ihres Formulars
Aktualisieren durch Klicken auf das Symbol „Aktualisieren“
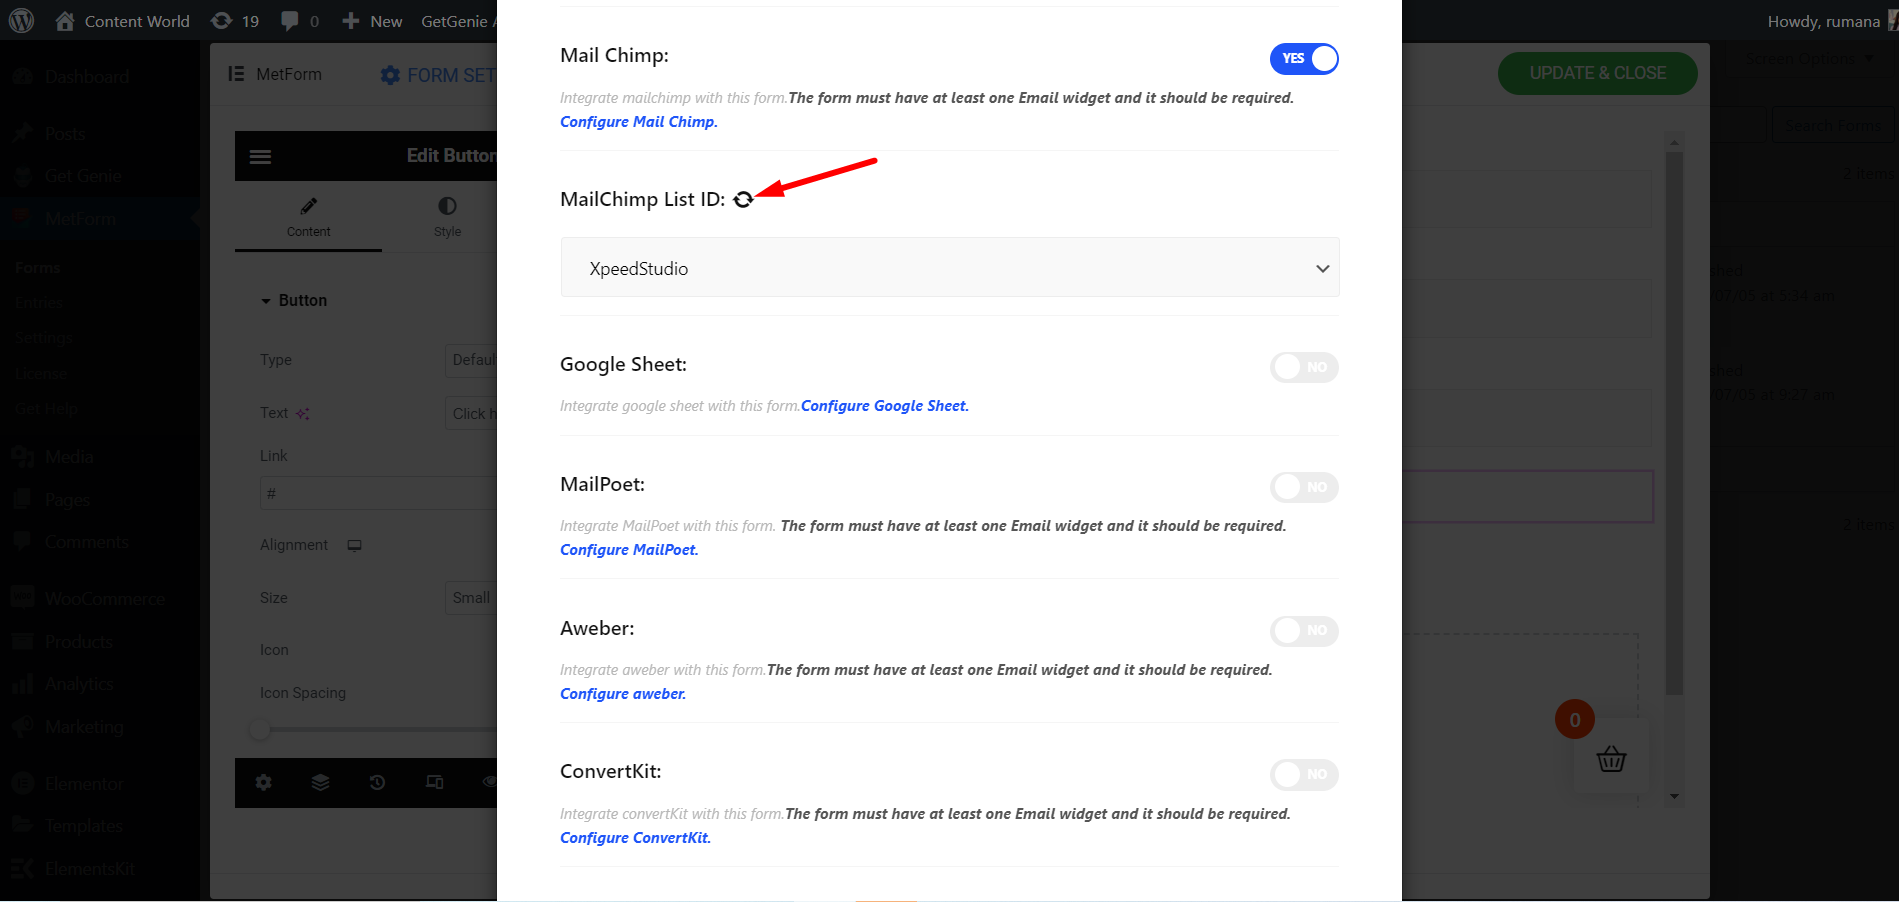
Speichern Sie abschließend das Formular
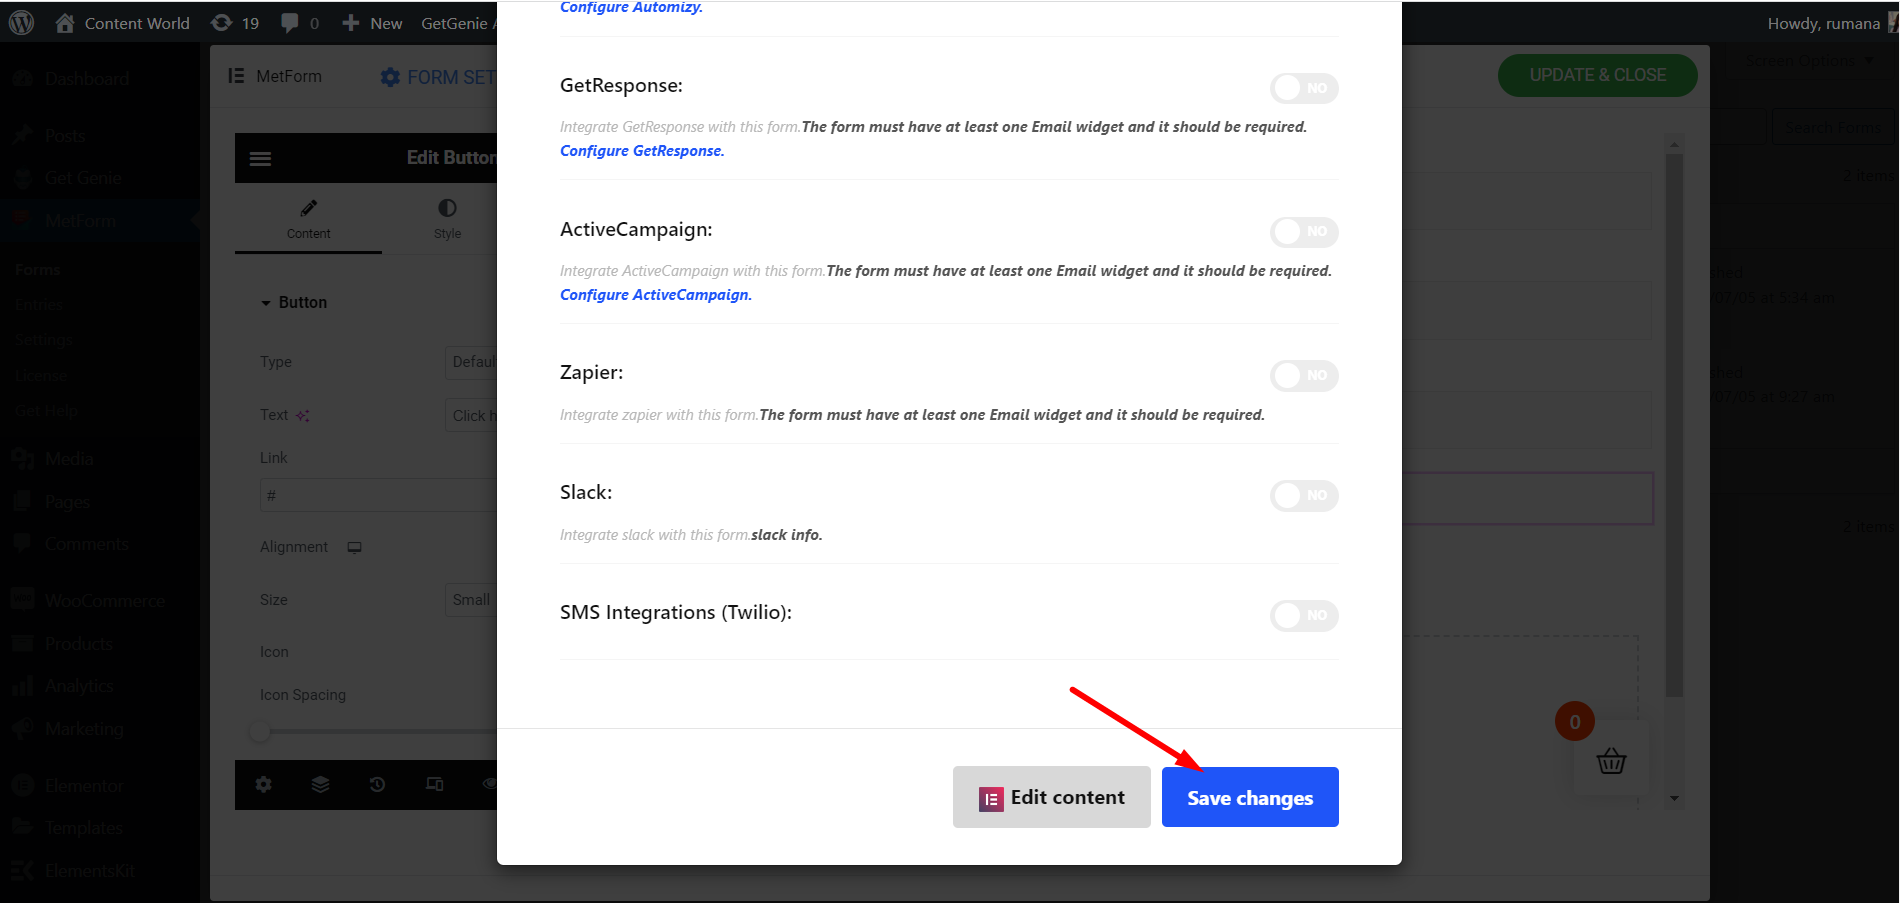
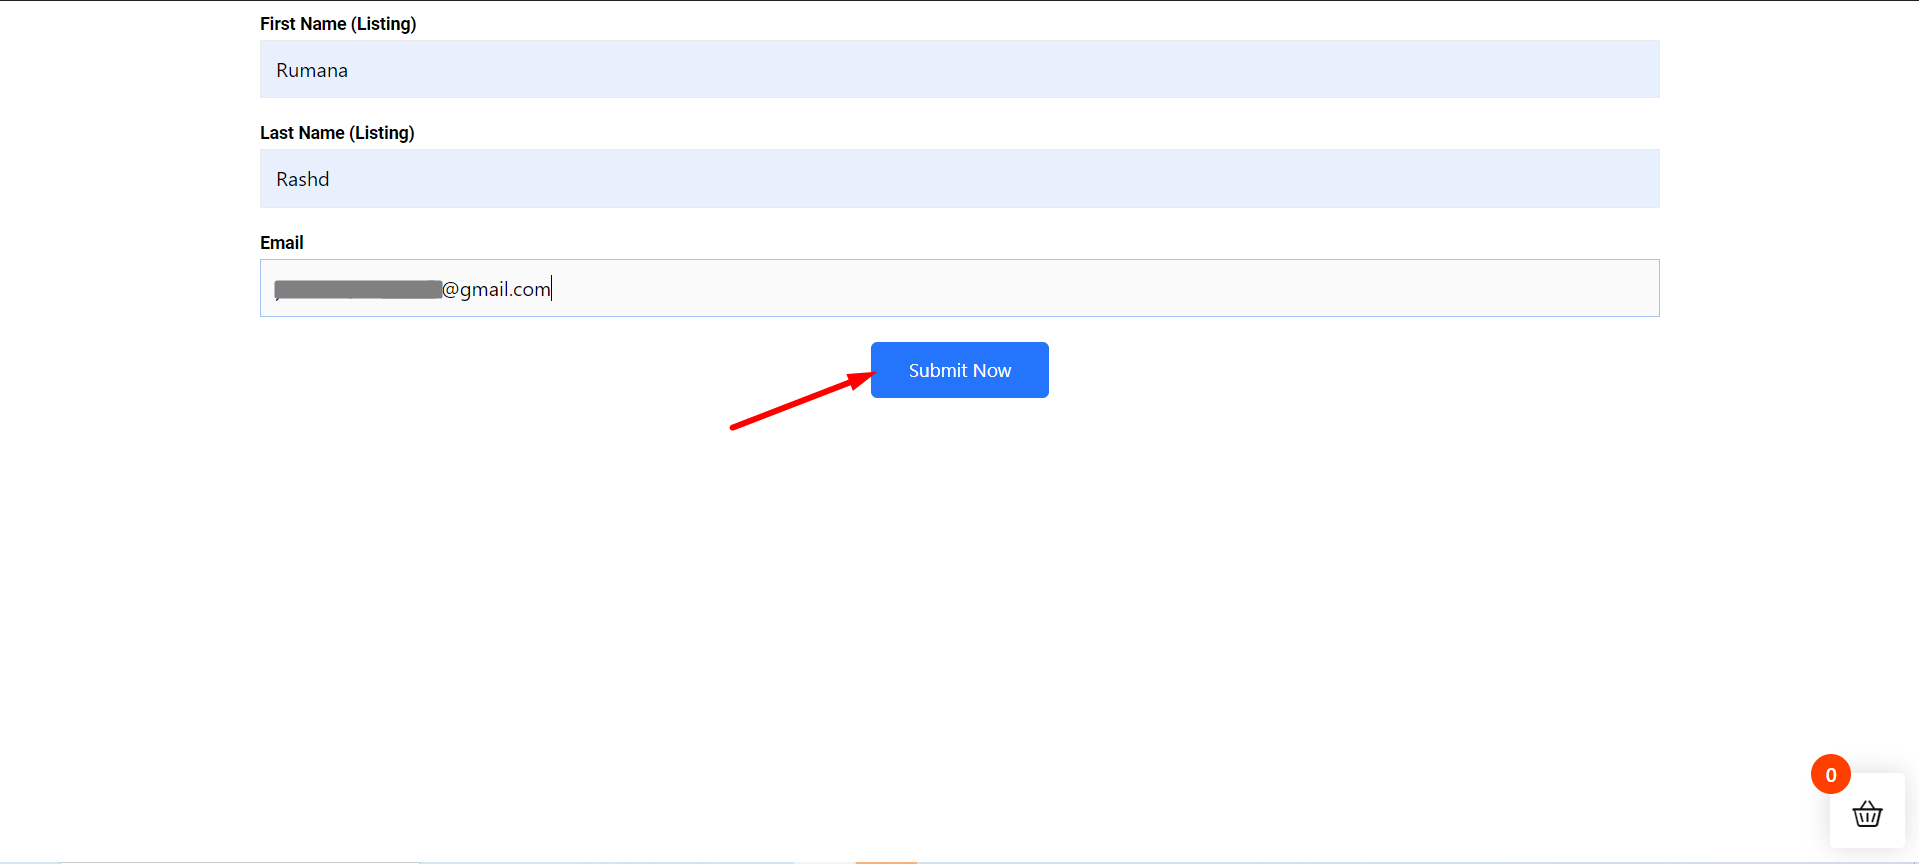
Gehen zur Website=> Fülle das Formular aus und klicken Sie auf Schaltfläche „Senden“.
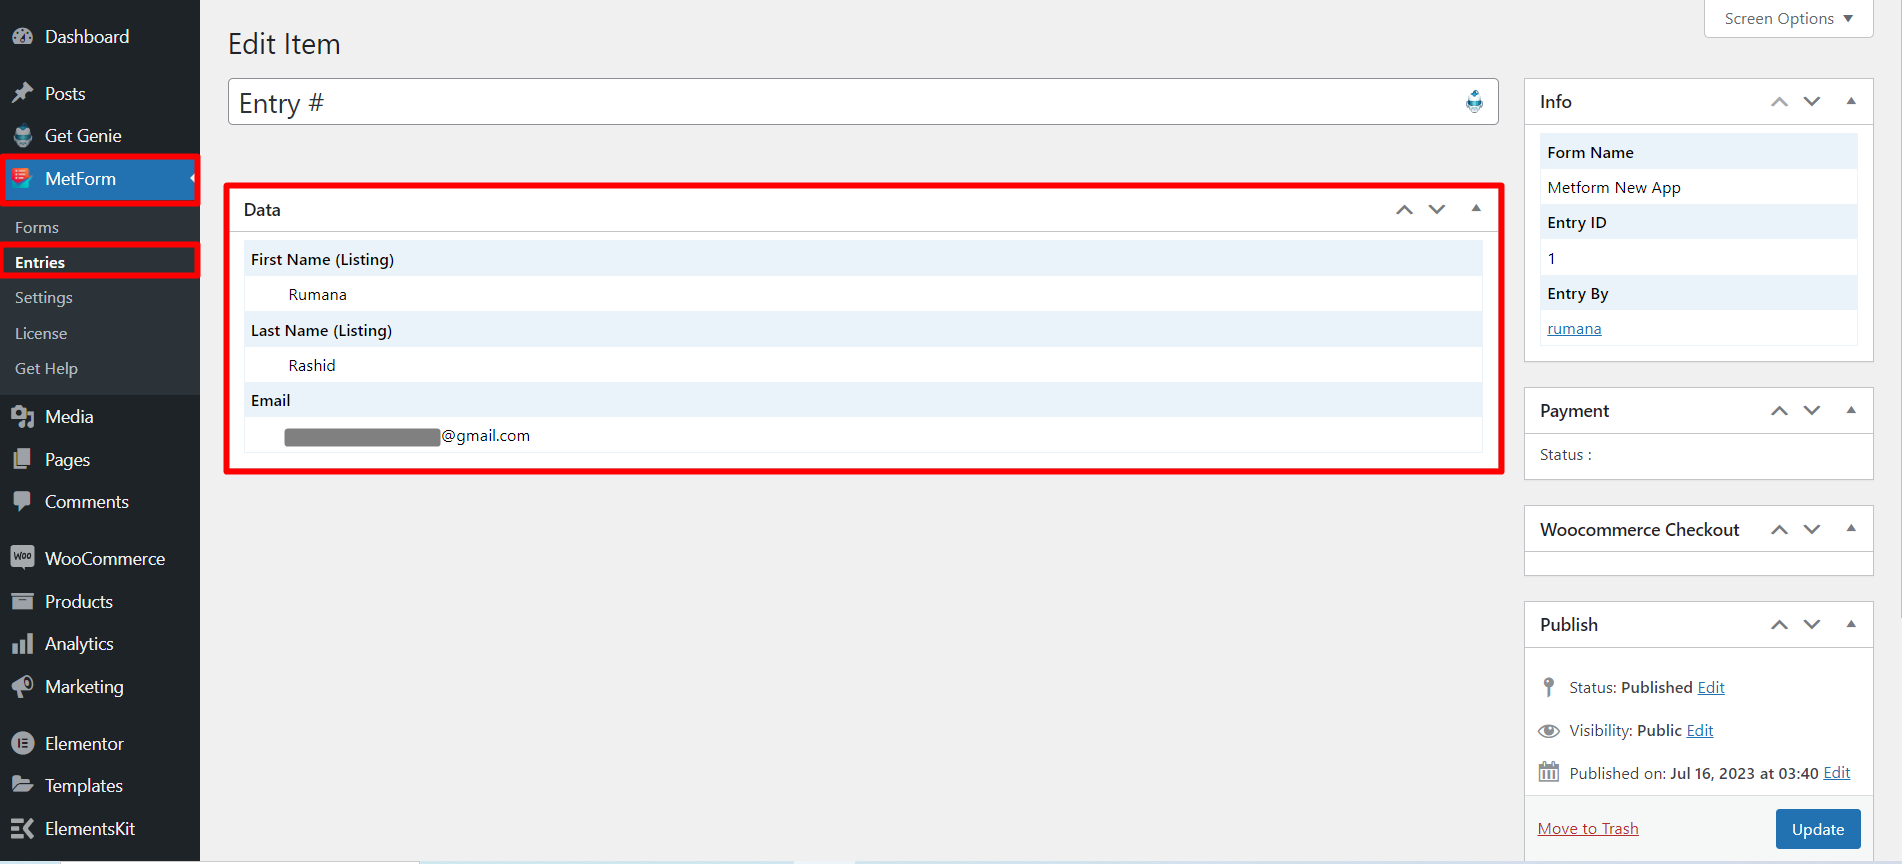
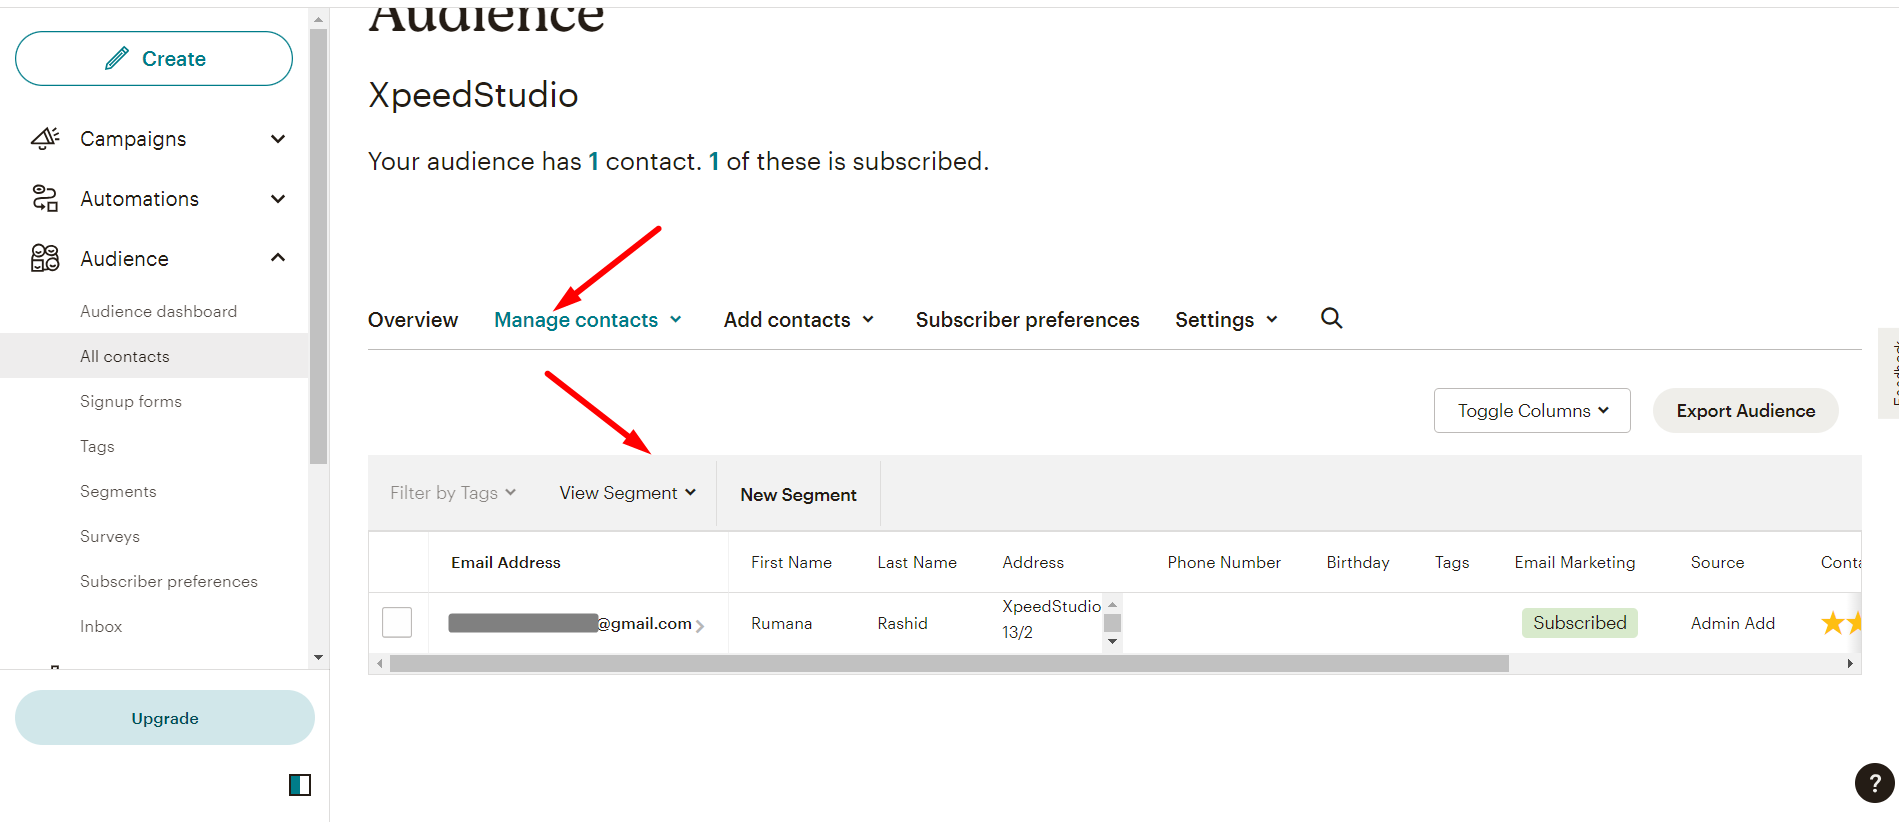
Anzeigen der über Metform übermittelten Daten in der Mailchimp-Zielgruppenliste
Sie können auch die Übermittelte Daten im Metform Teilnehmerliste