

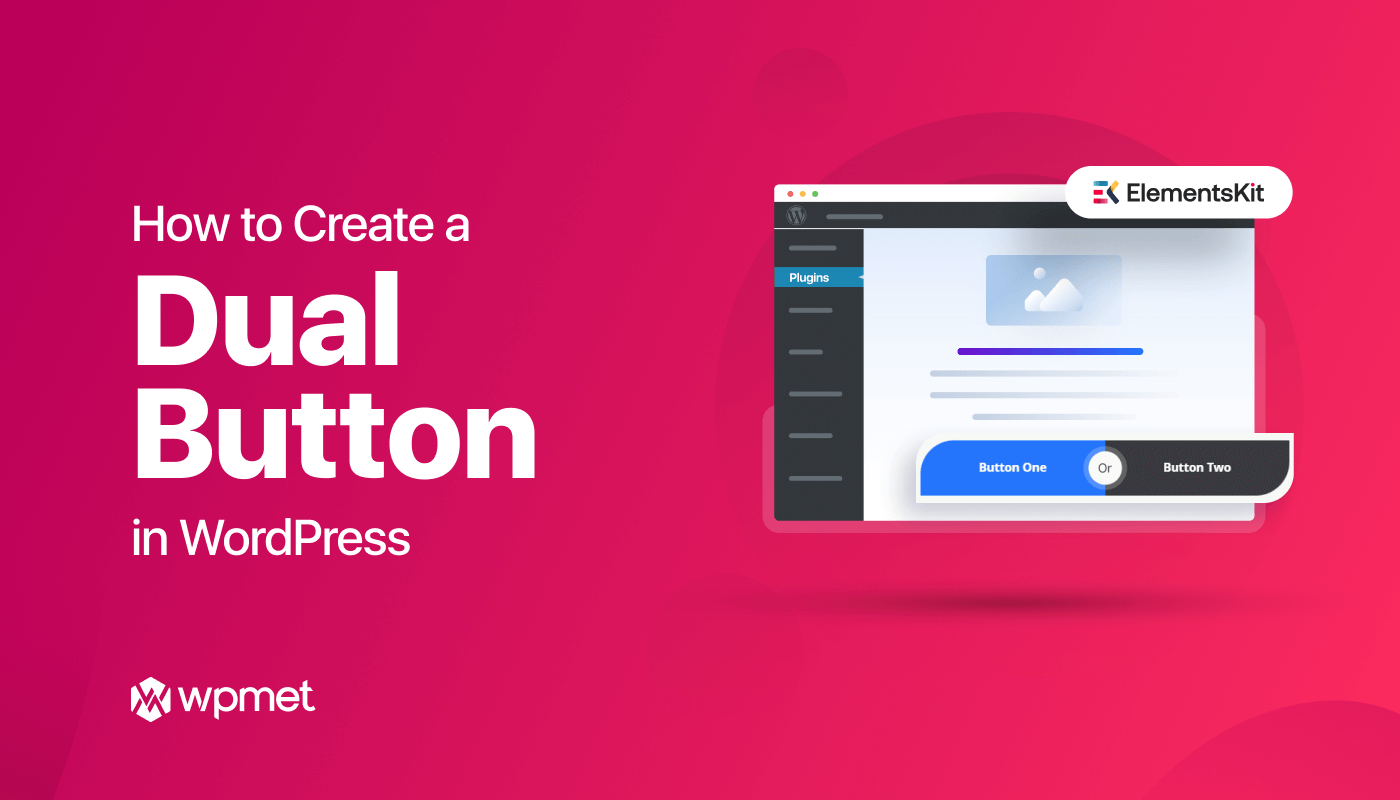
In the world of web development, WordPress continues to be one of the best and most used CMS that empowers millions of websites and blogs. One of the key aspects of enhancing user experience is to provide a clear and appealing call-to-action button. And when it comes to adding cta, the dual button plays a significant role.
It offers versatile opportunities for your website by providing different paths and actions. Regardless of the opportunities it provides, adding a dual button might get daunting for a beginner without advanced customizations and coding skills.
Fear not! In this step-by-step tutorial, we’ll walk you through the complete process of how to add dual button in WordPress. So, without any further discussion, let’s dive into the tutorial…
The dual button indicates side-by-side two buttons where you can enable one button while disabling another.
This dual button in WordPress lets you add multiple options to a button to boost audience engagement and conversion.
A dual button was generated with the idea of offering multiple options through a single button. It is proven to be a fruitful strategy to drive conversions.
Here are a few key benefits of adding dual buttons to your website:
- You can offer alternative options to your target audience.
- Decision-making gets easier due to using this dual button as your audience will find two options.
- This button comes with more possibilities for conversion.
- These double buttons will make your website more interactive.
- It gives your audience a clear direction for conversion.

Adding a dual button to your website can be a great way to enhance user experience and functionality. This button can be added in two ways. Either adding dual buttons using a WordPress plugin or through coding. Here we will show a user-friendly method that requires zero coding skills.
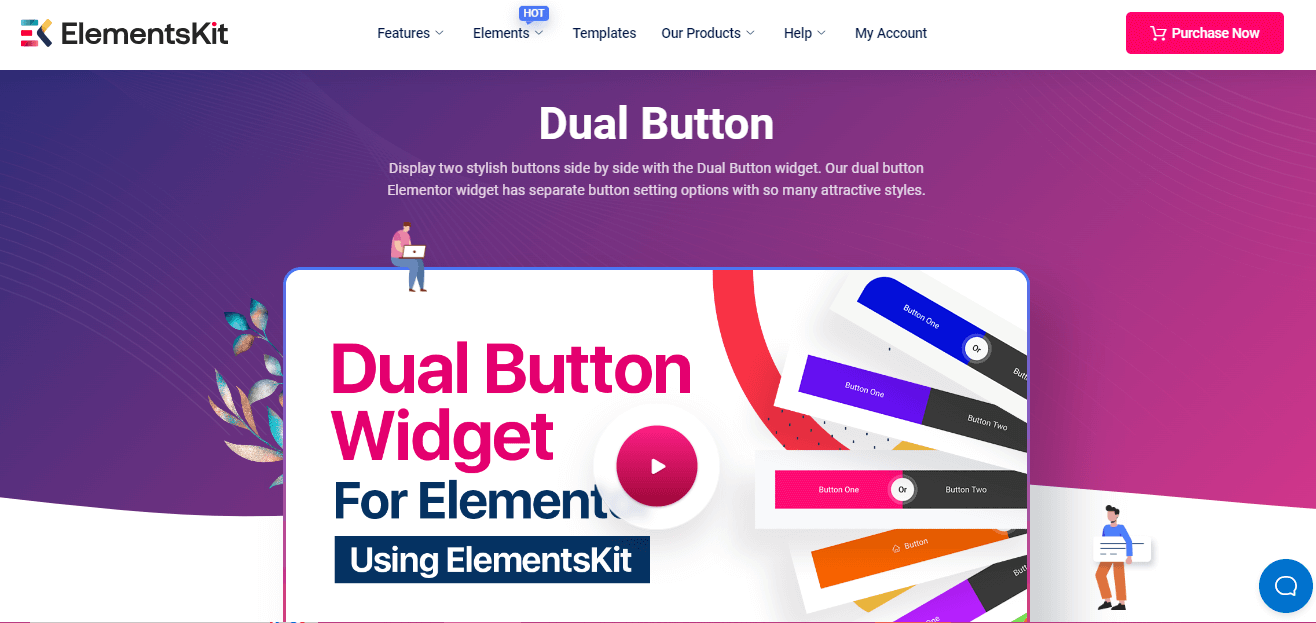
To do that, you need to first pick a WordPress dual button plugin. Here we’ll use ElementsKit, an all-in-one Elementor addon that has a dedicated Dual button widget along with Post list, Twitter feed, image swap effect in WordPress. This plugin allows you to add dual buttons in WordPress only by adopting four easy steps. Want to know how?
Check out the step-by-step guideline for adding dual button in WordPress:
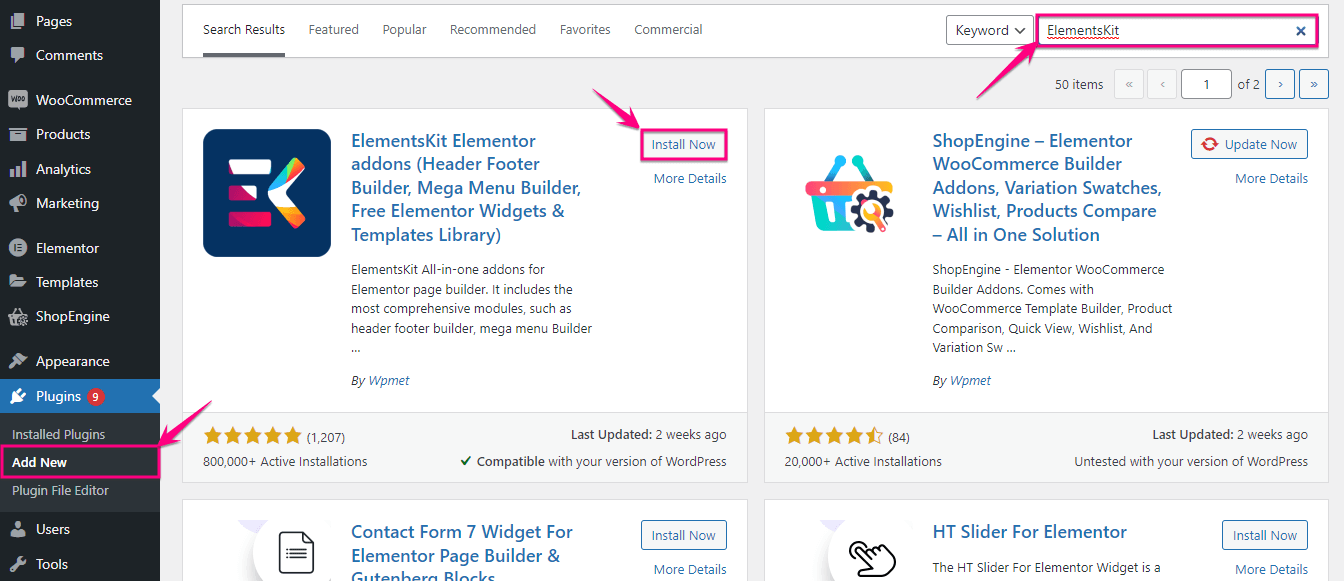
First, you have to install a plugin that lets you add a dual button in WordPress. To do that, go to Plugins >> Add New and search for ElementsKit.
After finding it, hit the Install Now button and Activate it after completing the installation.
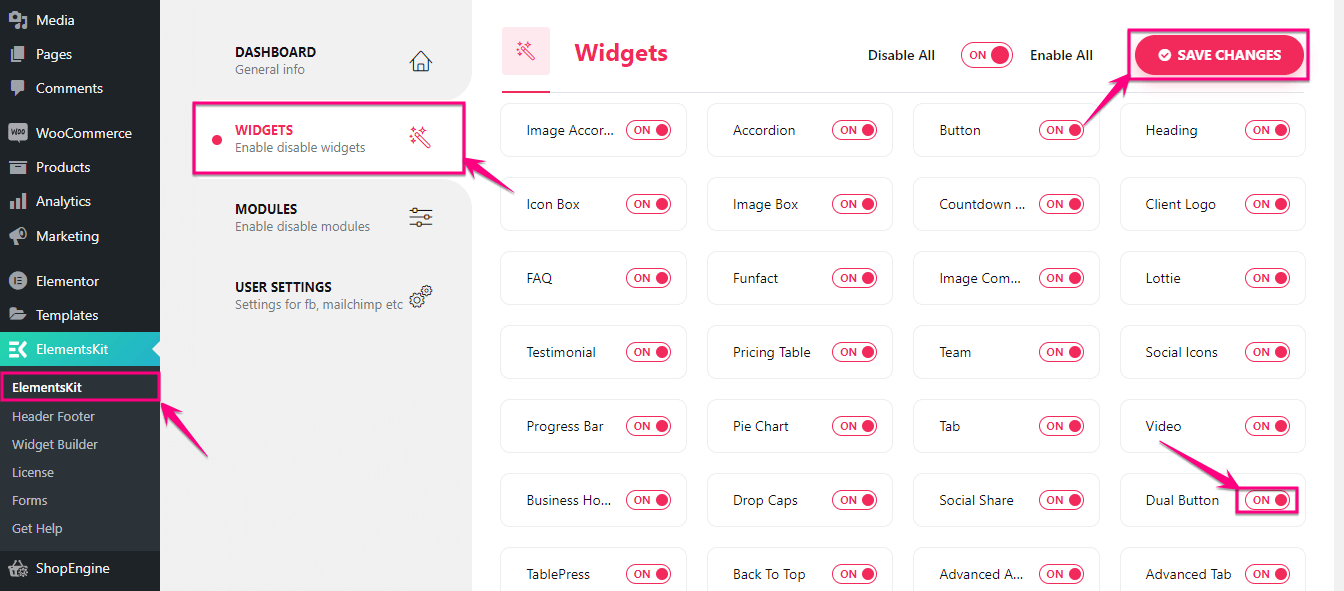
After installing ElementsKit, the WordPress button plugin, you have to enable the Dual Button widget. To do that, go to ElementsKit >> ElementsKit and click the Widgets tab.
In the Widget tab, you will find the Dual Button widget. Now enable the widget and hit the Save Changes button.
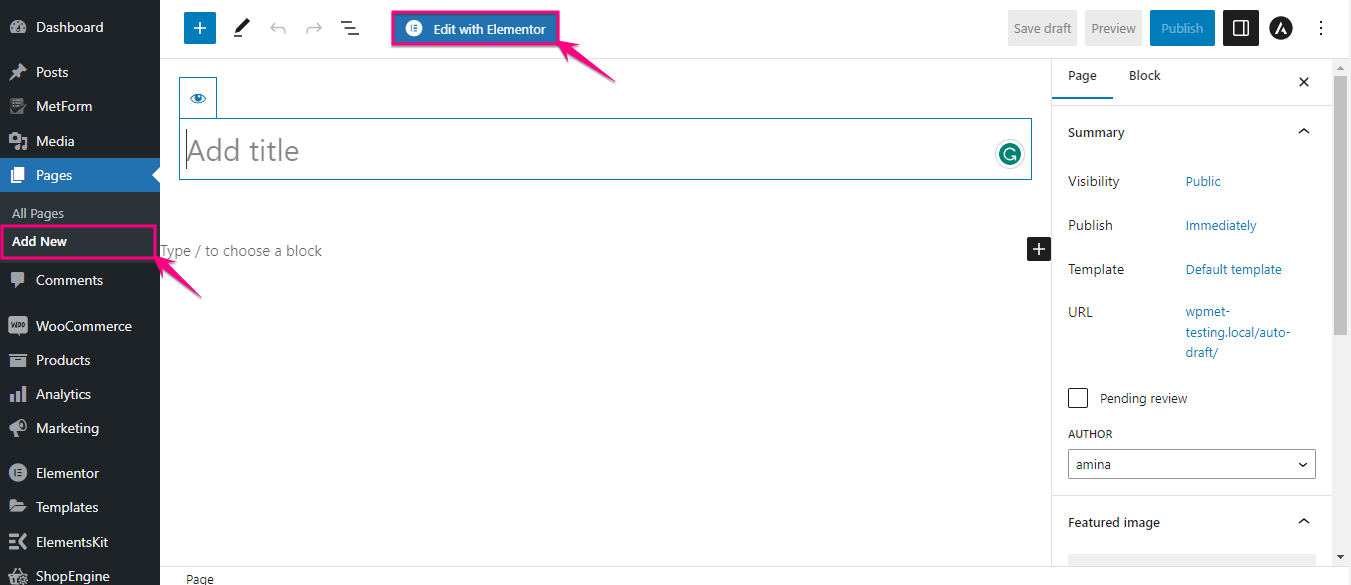
In the third step, you can add dual button either to an existing page or a new page. Here we’re adding it to a new page by clicking the Add New option under Pages. Now, give a title to your newly added page and click the Edit with Elementor button.
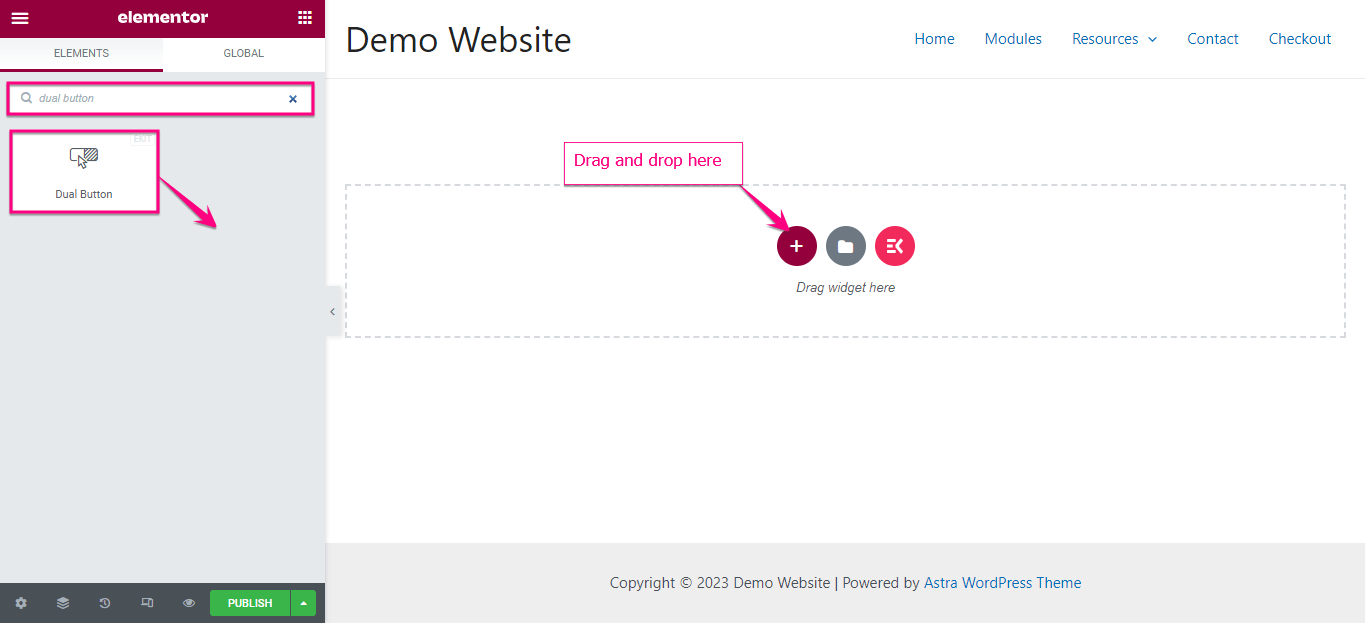
This will redirect you to the Elementor editor from where you have to search for the Dual Button in the search box. After writing down the name of the widget, you will get to see the widget with the Ekit icon.
Here you have to drag and drop the widget on the plus icon. After dragging and dropping the button, a dual button will be added.
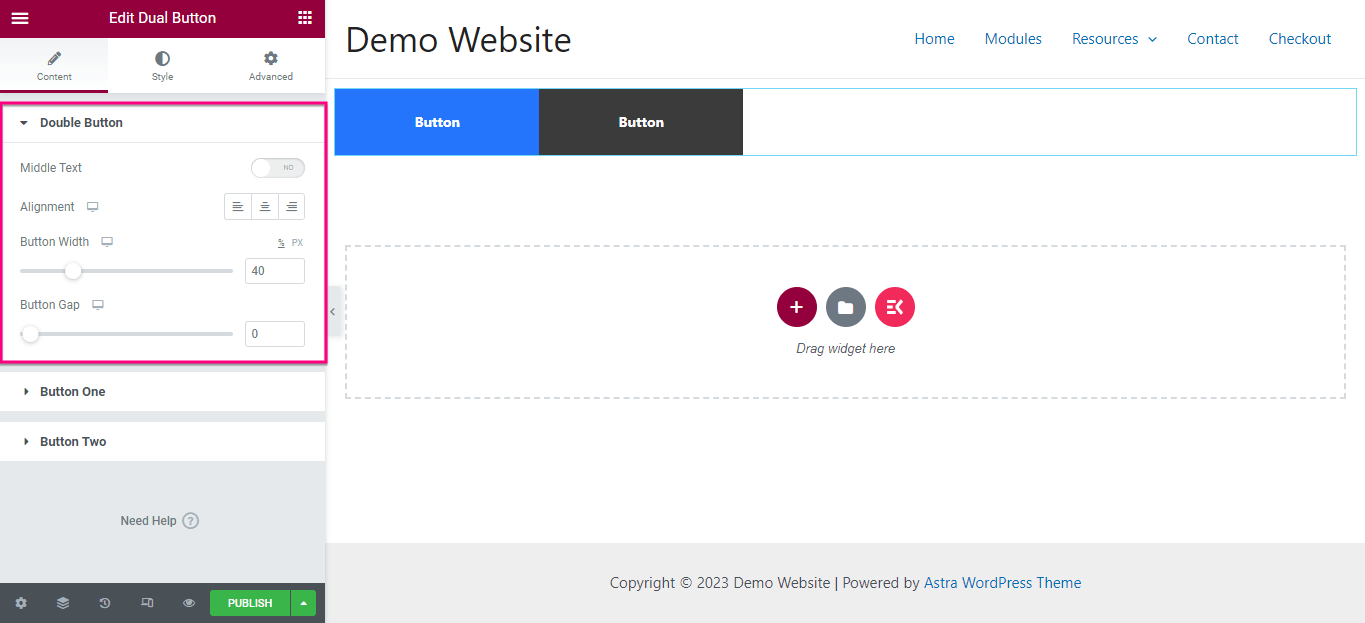
Now you have to customize this double button to make it more attractive.
Here you have to expand the double button tab to make adjustments to the following areas:
- Middle Text: This option allows you to add middle text between the two buttons.
- Alignment: Change the alignment of your dual button.
- Button Width: Adjust the width of your dual button from here.
- Button Gap: Decide how much gap you want to keep between two buttons.
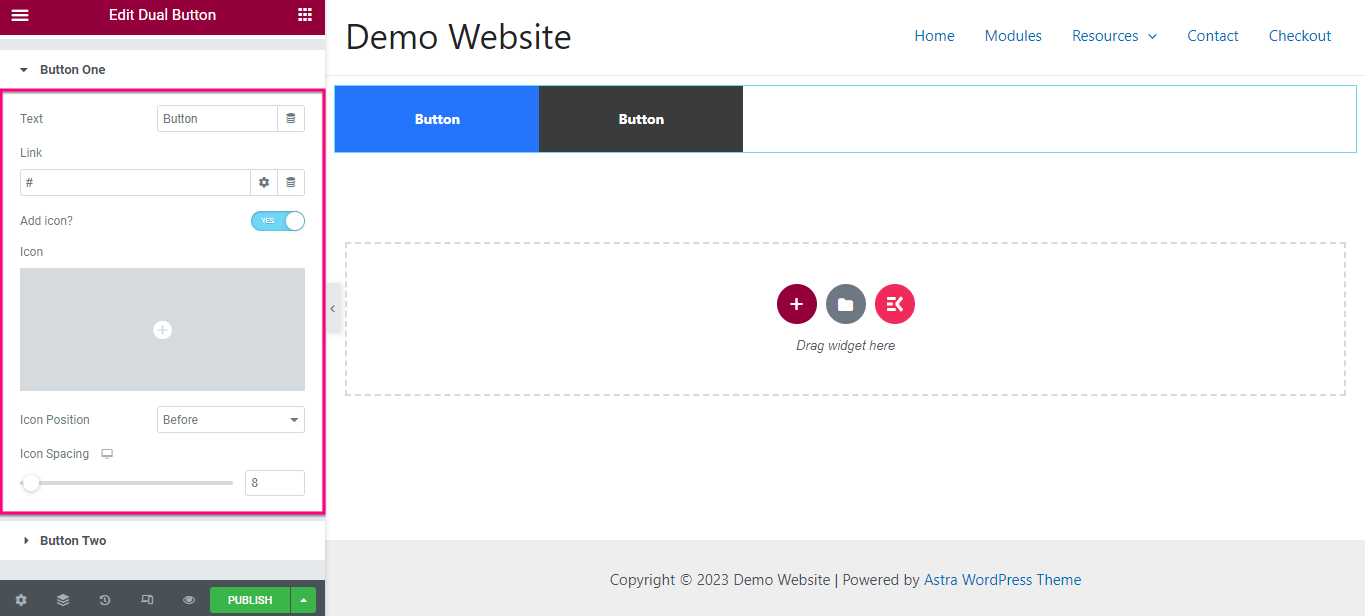
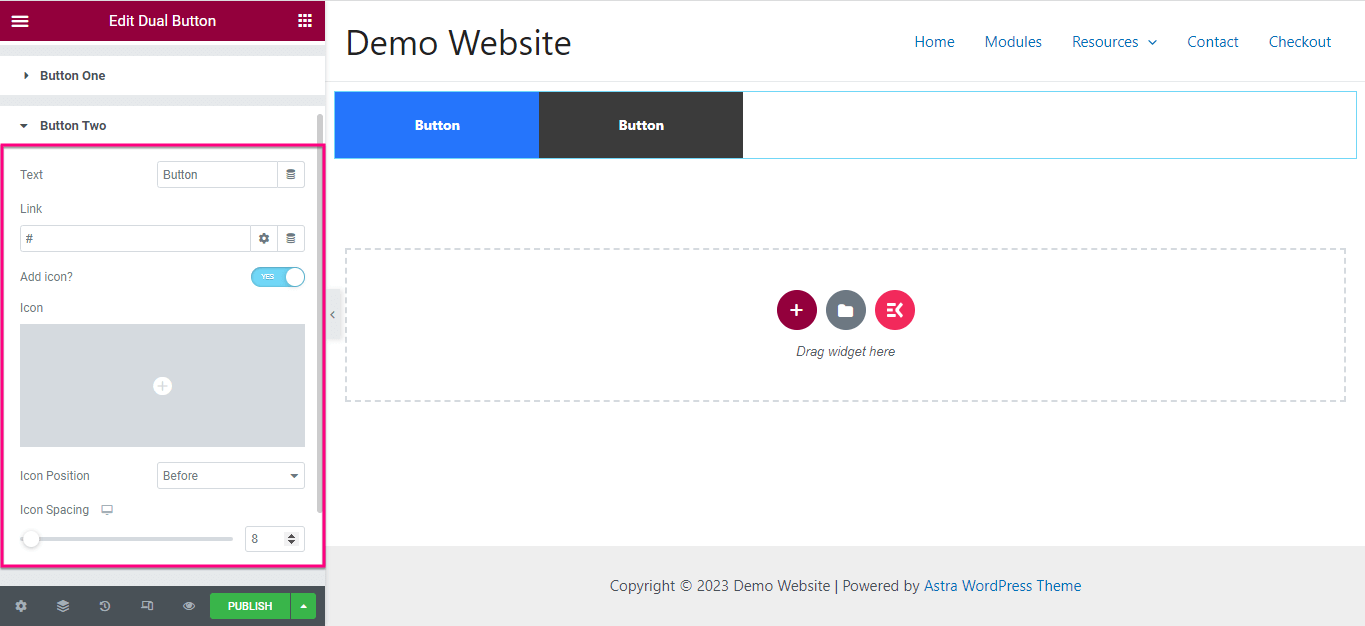
After editing the double button, separately edit button one and two.
For button one, make the following changes:
- Text: Add display text for button one.
- Link: Insert the link with button one by copy-pasting it in the Link field.
- Icon: Add an icon that will be displayed with the button.
- Icon position: Adjust your icon position by choosing it before and after the text.
- Icon spacing: Change the space between the button text and the icon.
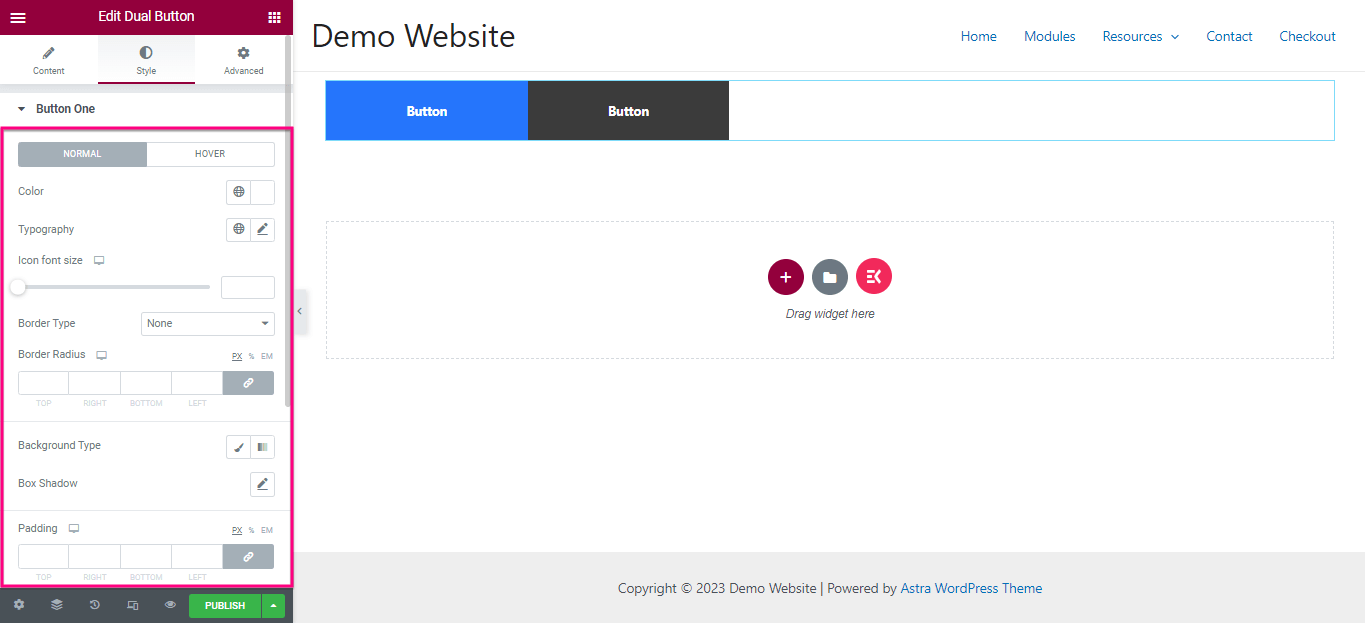
Now, just like in the previous step, adjust the Text, Link, Icon, Icon position, and Icon spacing for Button Two. After making changes to the content tab, go to the Style tab.
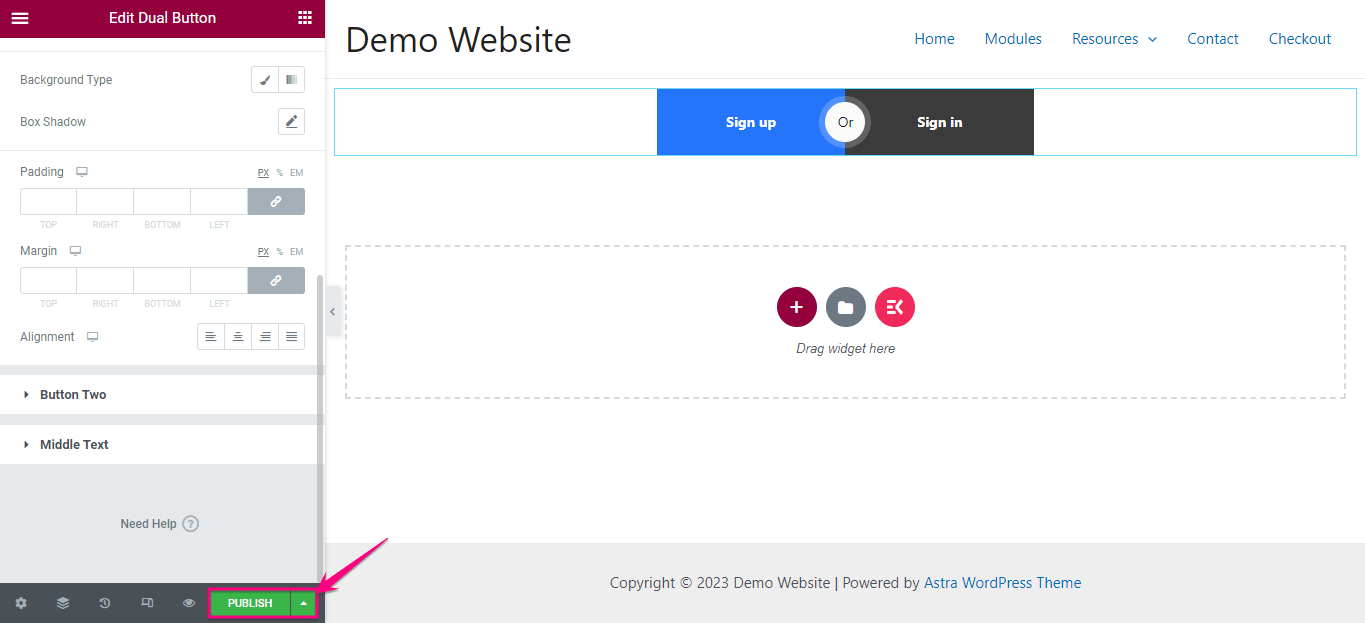
From here, you have to edit Color, Typography, Icon font size, Button type, Button radius, background Type, Box shadow, Padding, etc. Now, do the same style customization for button two.
In the last step, you need to hit the Publish button to add two buttons side by side.
Adding a dual button can significantly impact your site’s engagement and conversion. Throughout this blog, we have shown the easiest and simplest method of adding dual buttons that requires no advanced skills.
No matter what method you choose, it’s important to consider the best practice which opens the door to boundless customizations. So, go ahead and experiment to add side-by-side two attractive buttons on your website with the most convenient process.
Leave a Reply