Git is an essential tool for developers that helps to develop projects collaboratively with other developers for maintaining the quality of the projects. Now the problem is that developers who are beginners don’t know how to use git for their local WordPress development.
If your case is no different than those thousands of developers then, this blog might ease all difficulties that you are struggling with while operating Git. Here you will find the most beginner-friendly guide of using Git to make your job easy while developing WordPress projects.
How can Git facilitate WordPress local development?
Git is the absolute tool that can power your WordPress local development. Not only WordPress but also it is effective for any project/ product development. By using this platform you can work collaboratively with other developers which will streamline your development work.
Curious about how using Git can accelerate your WordPress local development? Then here is the answer to your question:
- Teamwork is a must when you are developing a WordPress project. Because the best project always comes from the collaboration of the best team. Here Git will exactly help you with it. It will let you work on your local directory and share it with the other team members. Besides, you can get the work of your team members and pull it to your local device whenever you want.
- Another great advantage of Git is that you can share your work with other team members without affecting the main WordPress project. After checking the branch by a senior developer or project owner, he or she can merge it with the main project.
- It also helps a lot when you are working remotely. Because of this covid pandemic and other reasons, lots of WordPress companies are carrying their work remotely thinking about the health and other benefits of their employees. In such cases, Git helps a lot to WordPress local development.
- You can regain your previous version by giving a proper command. That’s why if you have made a sudden change that you shouldn’t have done then, you can immediately regain the older file.
- Git minimizes time for WordPress local development. For example, if you are developing a WordPress plugin using Git, you and your team members will be able to launch a plugin in less time due to the swift teamwork and collaboration.
Since you know the excellent benefits of using Git on local WordPress development, you must be excited to find out how to use Git from start to end. So, let’s jump into that.

How to Git- Configuration
GitHub is a code-hosted platform through which you can work with the other developers on the same project by staying anywhere in the world. Now to get facilitated from this platform first, you need to install GitHub and create a free account on it.
If you didn’t install GitHub on your device, install it now by following this how to install Git documentation. In this blog, I will focus on learning git using the command line only. I will skip graphical user interfaces here. After learning Git through the command lines, you can also capture the use of GUI. After Git installation, you need to create an account on GitHub from here.
Note:
I have shown the whole process on windows here. If you are a mac user, then you can follow this resource.
Create a repository
A Git repository is the container of the projects which is classified into two types:
- Local repository: This repository will be stored on your device where you can work on the local version of your project.
- Remote repository: As the name suggests, it will be stored on the remote server. This will make the whole working process super easy as you can share your project code and also, see others’. You can also integrate it with your local version and push changes to the remote repository.
After creating an account on GitHub, you need to create a repository. For creating a repository, you can check out getting a git repository doc.
Copy the repository:
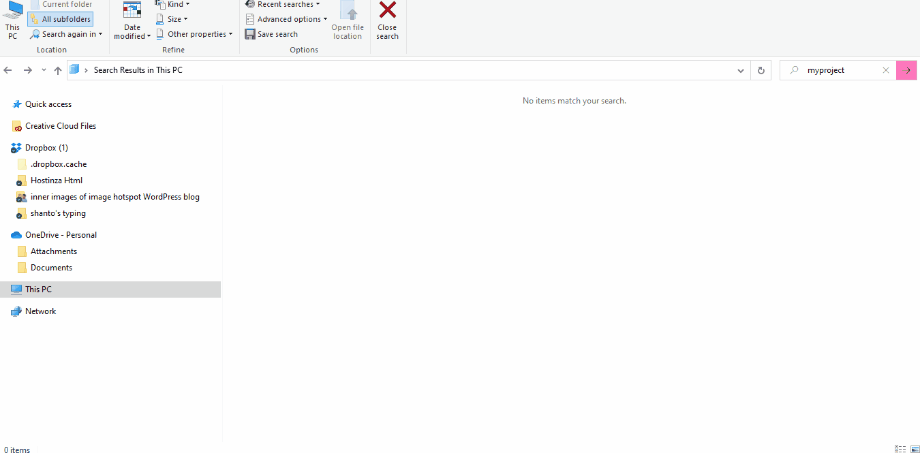
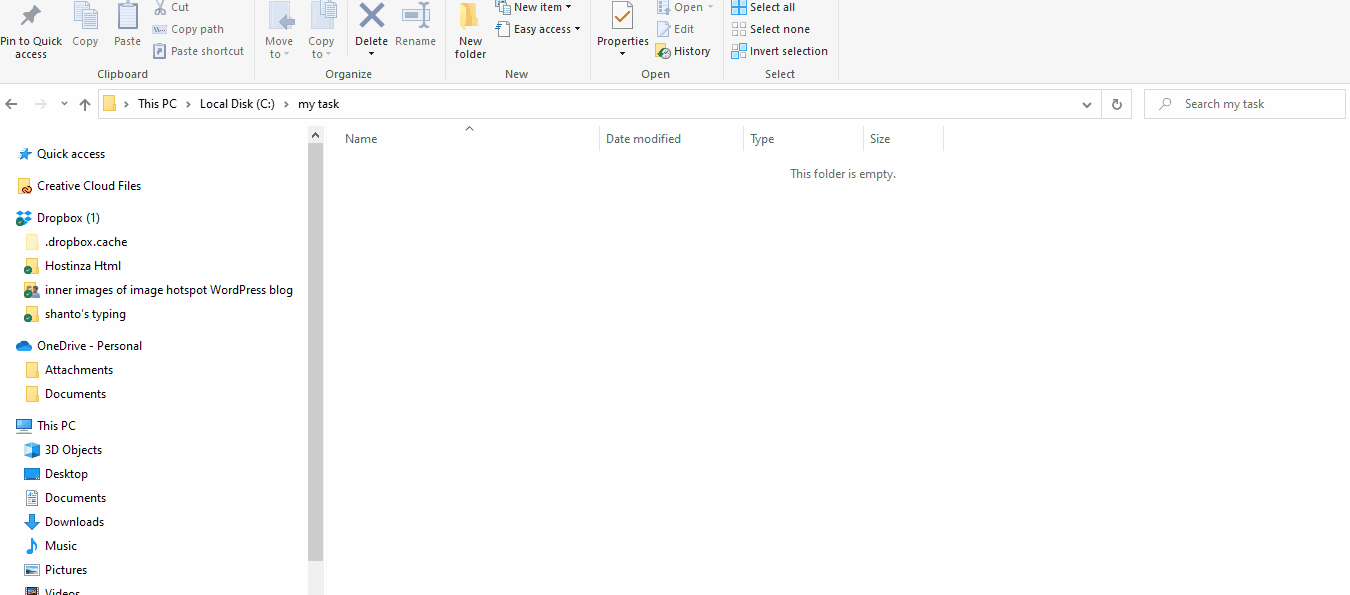
After creating a repository, you need to create a folder where all your documents will be saved. To do that, go to your device and create a folder in any directory. After that, give it a name like the below gif.
Now open up your Command Prompt software and go to the location where you have saved your project and copy-paste the location. After that, type the following code in your software:
cd ~/Desktop
mkdir mytask
cd mytask/
After that, you need to initialize the git repository by running this command:
$ git initAdding a new file to local repository and saving changes
Once you have initialized the repository, you need to add a new file to it and save that file.
After adding this new file to your local repo, Git will notice it instantly. One thing that needs to focus on is Git won’t track anything unless you run a command. So, to track it down, you need to run these commands on your terminal software:
$ touch newfile.txt
$ ls
 newfile.txt
Now, you have to check Git status. For that, run this command:
$ git statusAdd a commit
After checking Git status, run a commit. Here for doing it, type the following code in your terminal:
$ git commit -m "first commit!"In this code, you need to type your first commit in the “first commit” section. This commit can be anything like finding bugs, fixing bugs, or bringing changes to any file.
New branch creation
The branch is really handy when you want to add a new feature to your project. Because the branch will allow you to make changes without adding them to the main one. After finalizing your feature, you can merge it to the main project.
Now if you want to create a new branch, you need to run git checkout -b <my branch name>. This will automatically add a new branch for your new feature. After that, use the git branch command.
Create a repository on GitHub
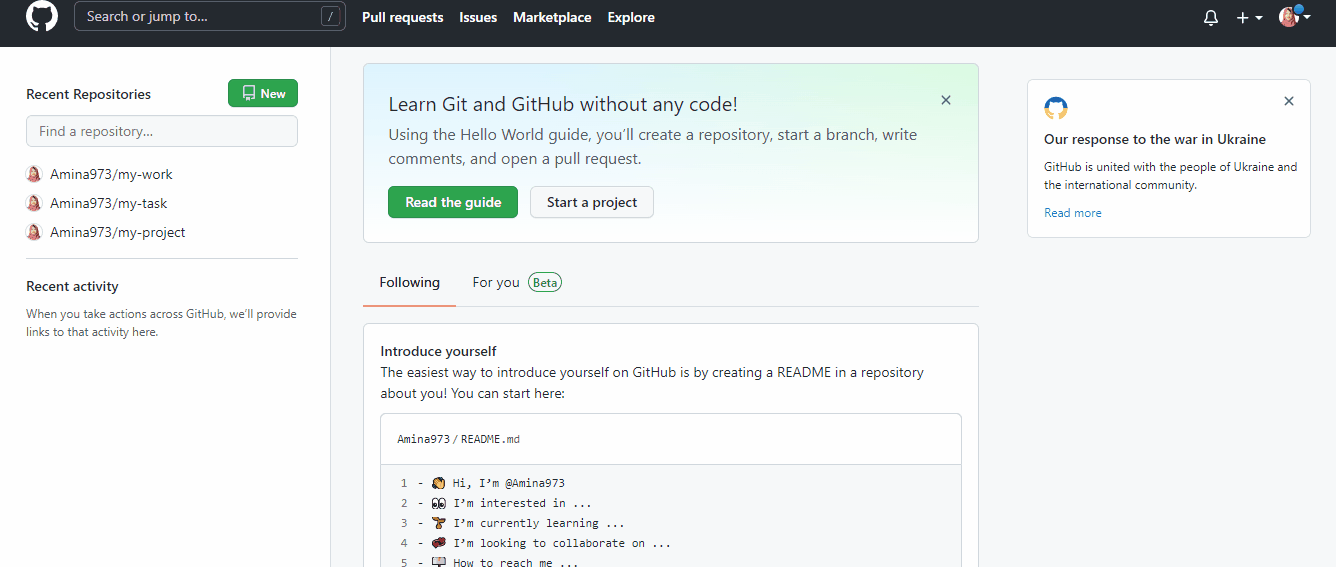
Git comes in two versions for desktop and browser. GitHub is the browser version through which you can push your code from local to the browser version. As a result, you can share your work with others and also can find the work of others. It will help you to work in a team.
Now, you need to create a repo on GitHub. For that, login to GitHub and visit your dashboard where you will find the “+” sign at the top right just next to your profile picture. After clicking on the “+” sign, you will find an option of “new repository”. Just press it.
It will open up a window where you need to put the following information:
- Repository Name: Enter a name for your repo. It can be anything. But, this name needs to be the same as the folder that you have added to your local device.
- Description: Add any description to your repo. This is optional. You can add or skip it.
- Public/ Private: You can make your repo private or public. Selecting public means other people can see your repository.
Moreover, you can add a readme file and also select .gitignore for a repo so that Git does not track this file. It also has a license adding option. Finally, press “create repository”.
After creating a repo on GitHub, you need to push your local repository onto GitHub by giving the following command:
$ git remote add origin https://github.com/cubeton/mynewrepository.git
$ git push -u origin master
Push
Now you need to push a branch to GitHub. To do that, push a commit in a branch and send it to the GitHub repo. That way other people can see the changes you have done. If the owner of the repository approves, it can be merged afterward.
Run Git push origin your branch name for pushing changes in the new branch on GitHub. A new branch will be created on the remote repo if you run the following command:
$ git push origin my-new-branchNow to push changes to the remote directory, run this (git push [email protected]:git) command. After that, refresh your GitHub page and you will see a new branch added to your repository. By clicking the branches, you can see the list of branches. Now for creating a pull request, click the “Compare & pull request” button.
Pull request
If you want to make any changes to the code of the primary branch then, you will need this pull request option of GitHub. As a result, the owner of the repository can see the changes you have made and finally, can merge them if your changes are fine.
For sending a pull request, you need to open the pull request. Then, submit it after adding the necessary changes you want to make to the main branch.
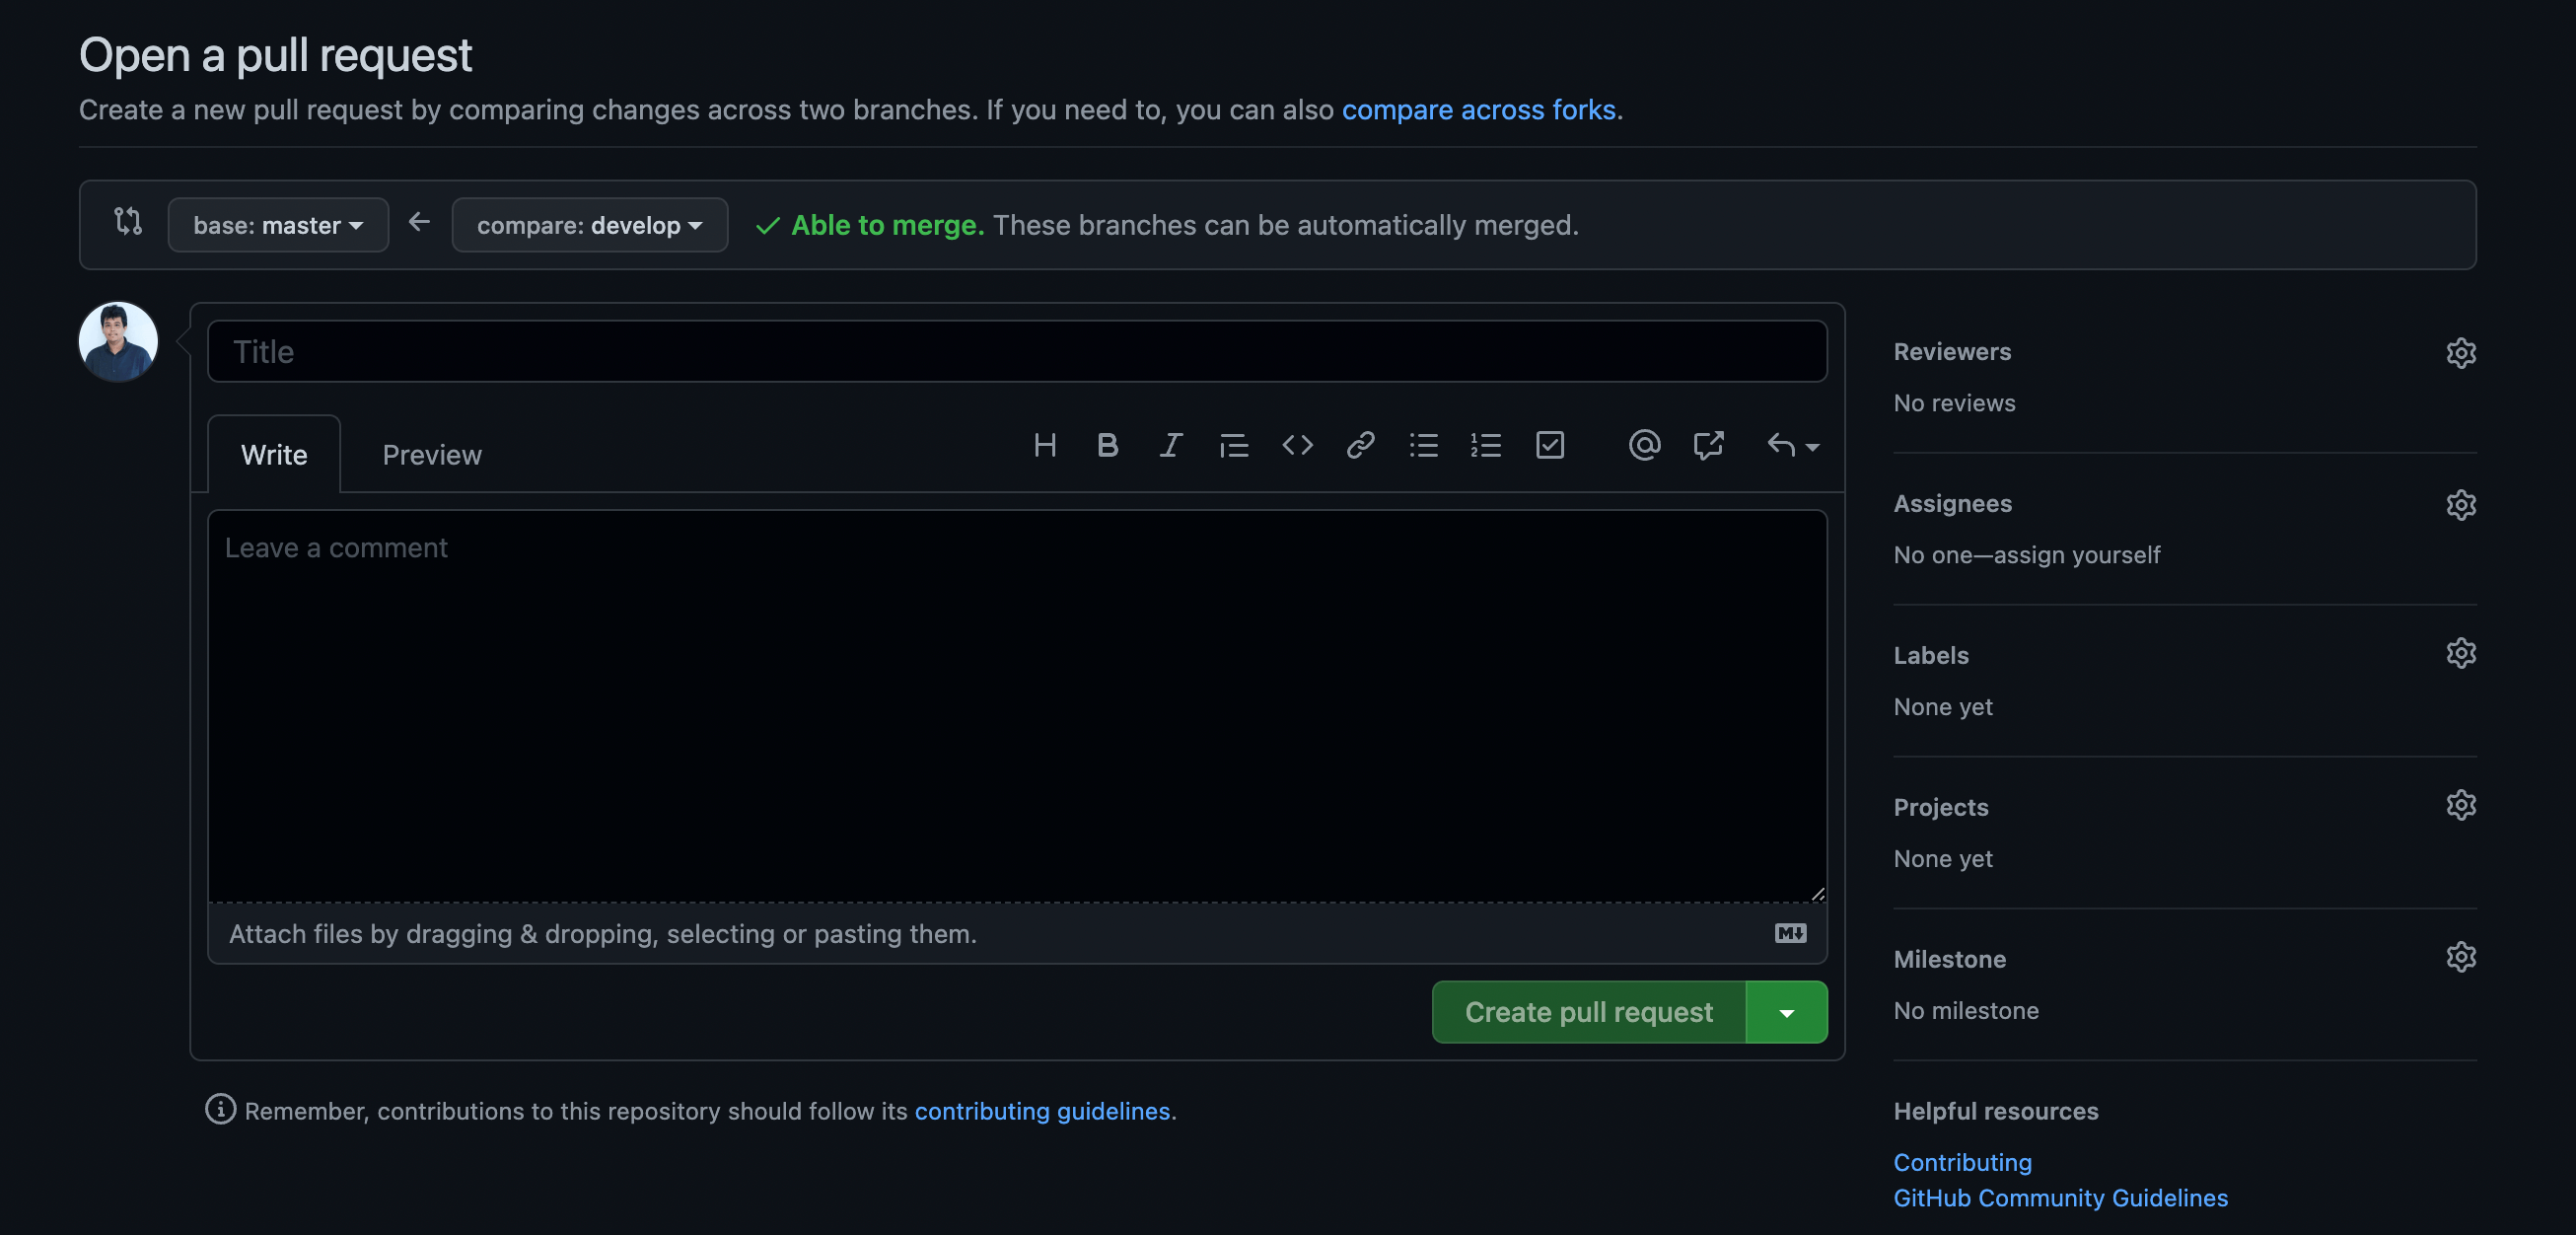
After submitting your pull request, it will look like this:
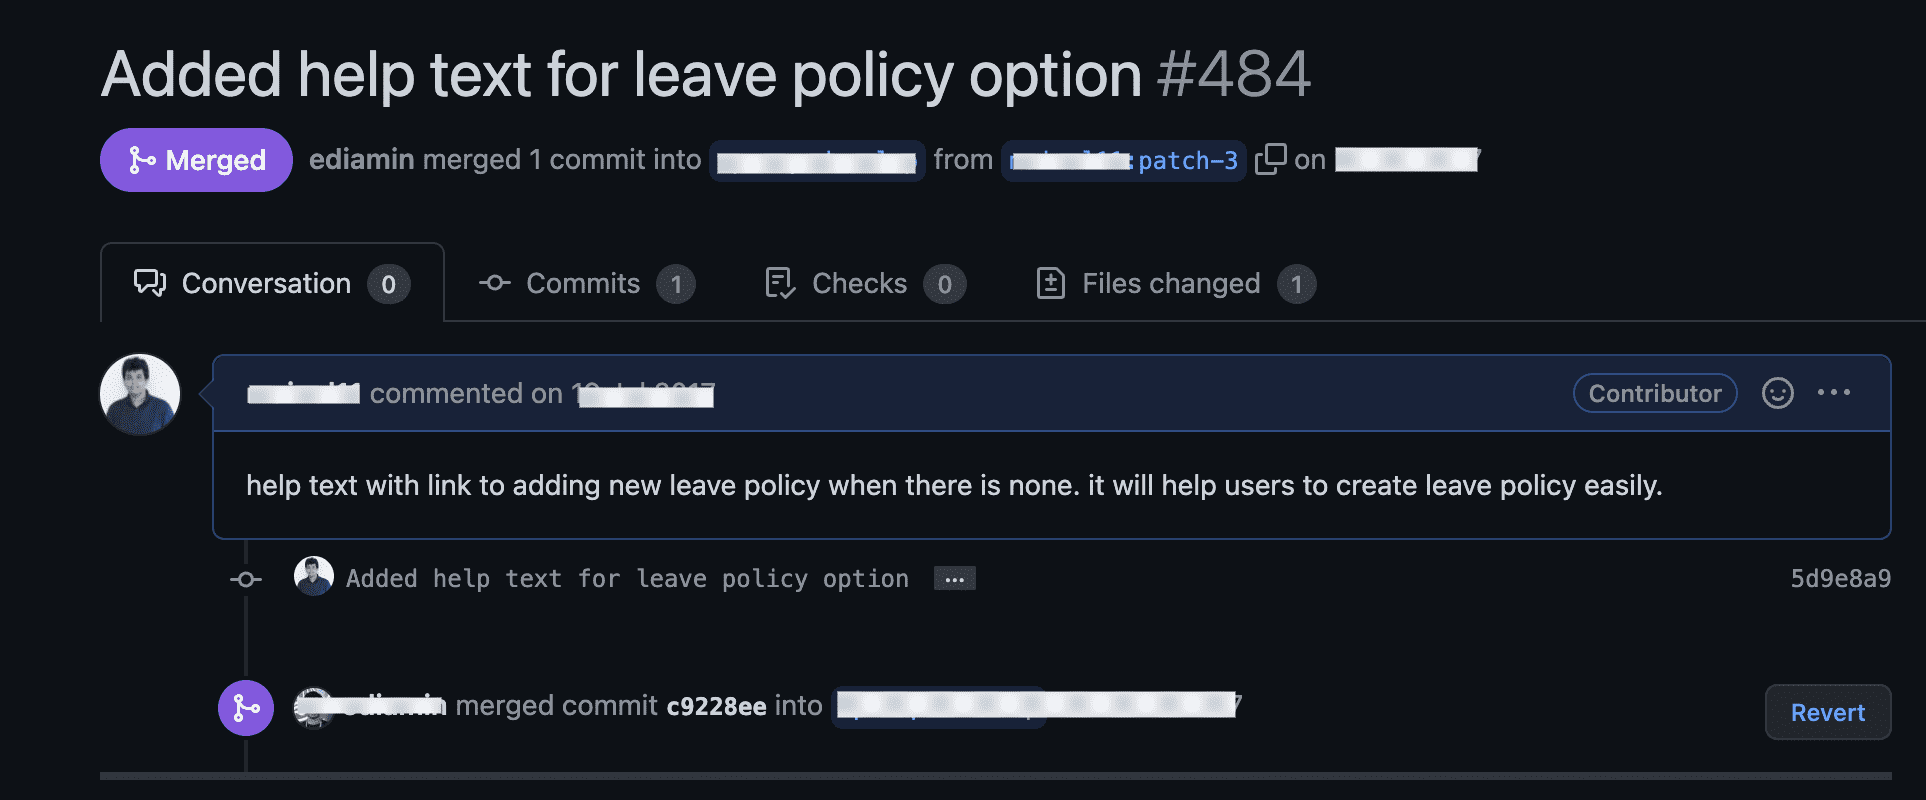
Merge the pull request
After adding a pull request, you will find a green “Merge pull request” button. Click on it to merge your pull request to the main branch. It is normally done by the repository’s owner after ensuring all changes are perfect.
It is suggested to delete the branch after adding it to the main branch. This way, you can work collaboratively with the other team members with the help of Git.
Need security tips and tricks for making your WordPress site safe? Check out the below bonus blogs:
1. How to recover your WordPress site after getting hacked.
2. Security tips to lock down your WordPress site.
3. How to prevent DDoS attacks on WordPress.
Summing up
Struggling with Git is quite normal if you are at the beginner’s stage because there are lots of commands and steps to run Git properly. You need to know lots of stuff such as how to create a new branch in Git, How to push code to Git, etc. If you didn’t try Git before then, these won’t be easy for you. You will need a proper guideline.
Here I have exactly focused on this. Providing you the a to z knowledge of Git in the easiest possible way. So, follow the above steps regarding how to Git and carry out your all WordPress development work with the collaboration of other experienced developers.
Leave a Reply