


Welcome to the ShopEngine documentation! Throughout all the documentation, you’ll learn how the plugin works, explore its key features, and find step-by-step guides to help you use the WooCommerce builder. To get started, the first documentation covers the installation process of the ShopEngine plugin and an overview of its dashboard.
How to Install ShopEngine WooCommerce Builder for Elementor #
Since ShopEngine is a WooCommerce builder, so you need to have the WooCommerce plugin installed in your WordPress.
Before getting started make sure, Elementor plugin is installed & activated on your website.
Hvis du vil bruge ShopEngine med Gutenberg, følg denne dokumentation i stedet.
Pre-requisite:
- WooCommerce: Download plugin
- Elementor: Download plugin
Bare følg trin for trin-processen for at installere ShopEngine Elementor Woocommerce Builder:
Install and activate ShopEngine plugin #
To install the the ShopEngine WooCommerce plugin:
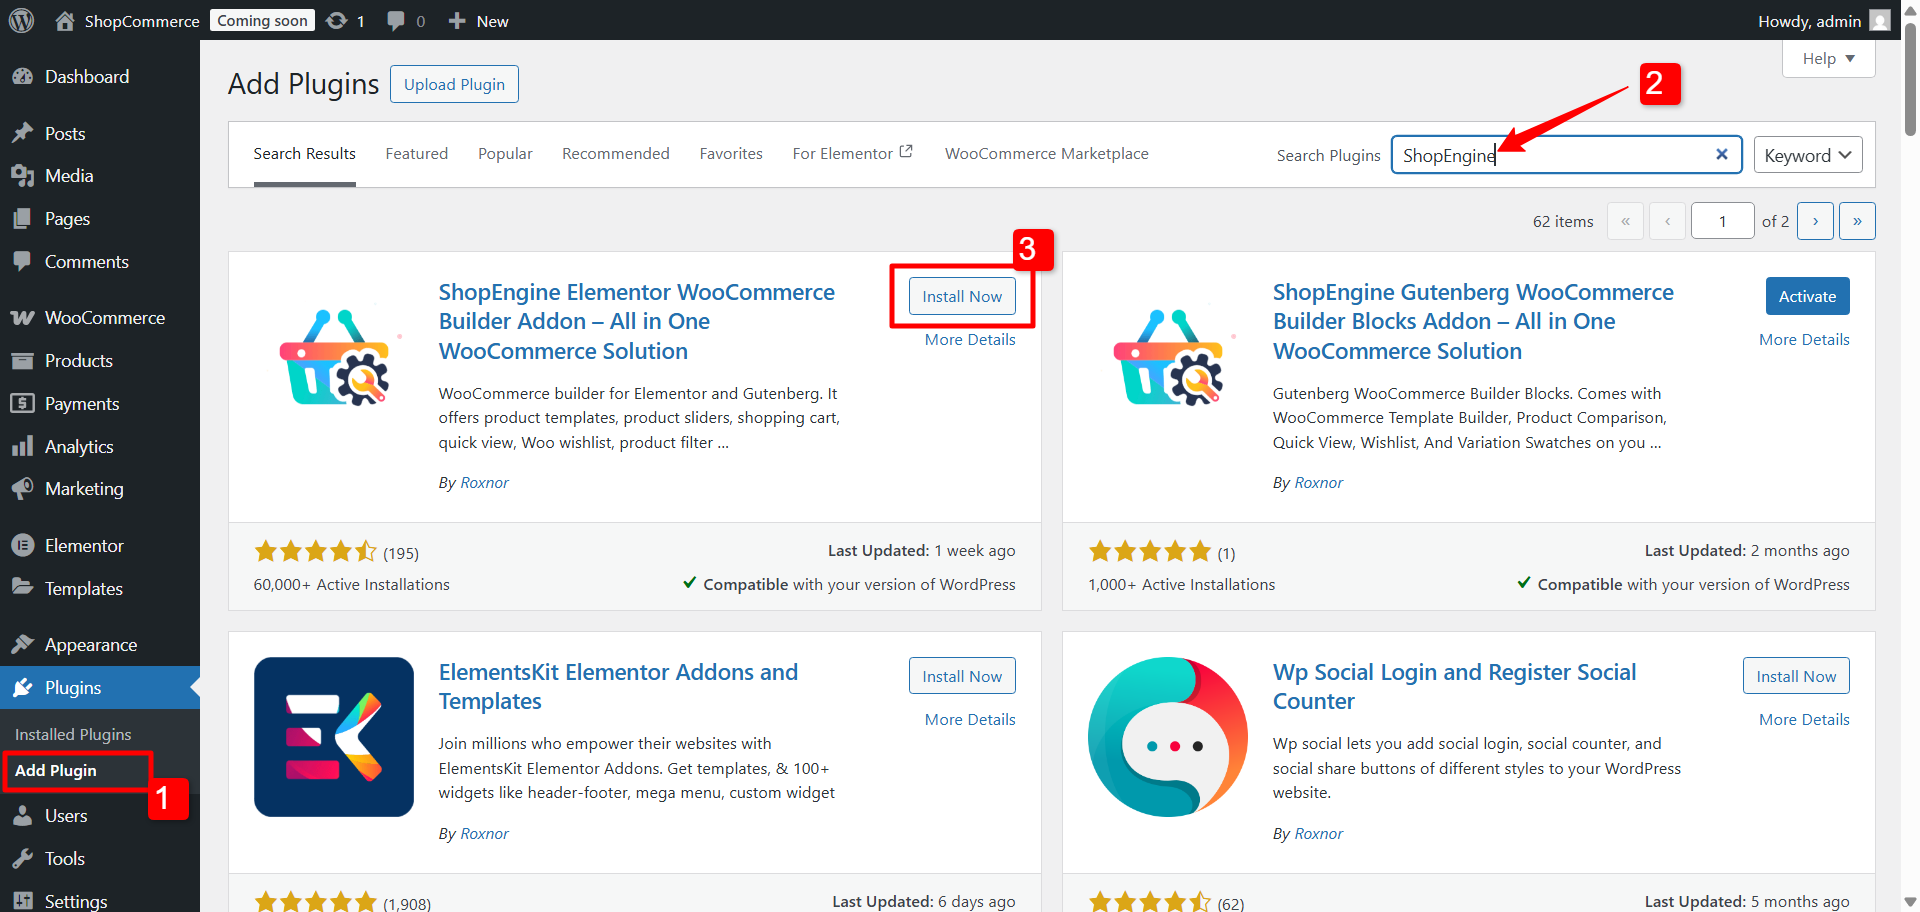
- Gå til WordPress Dashboard➔ Plugins➔ Add Plugin.
- Søg for ShopEngine there.
- Once you find the plugin, click on the install button.
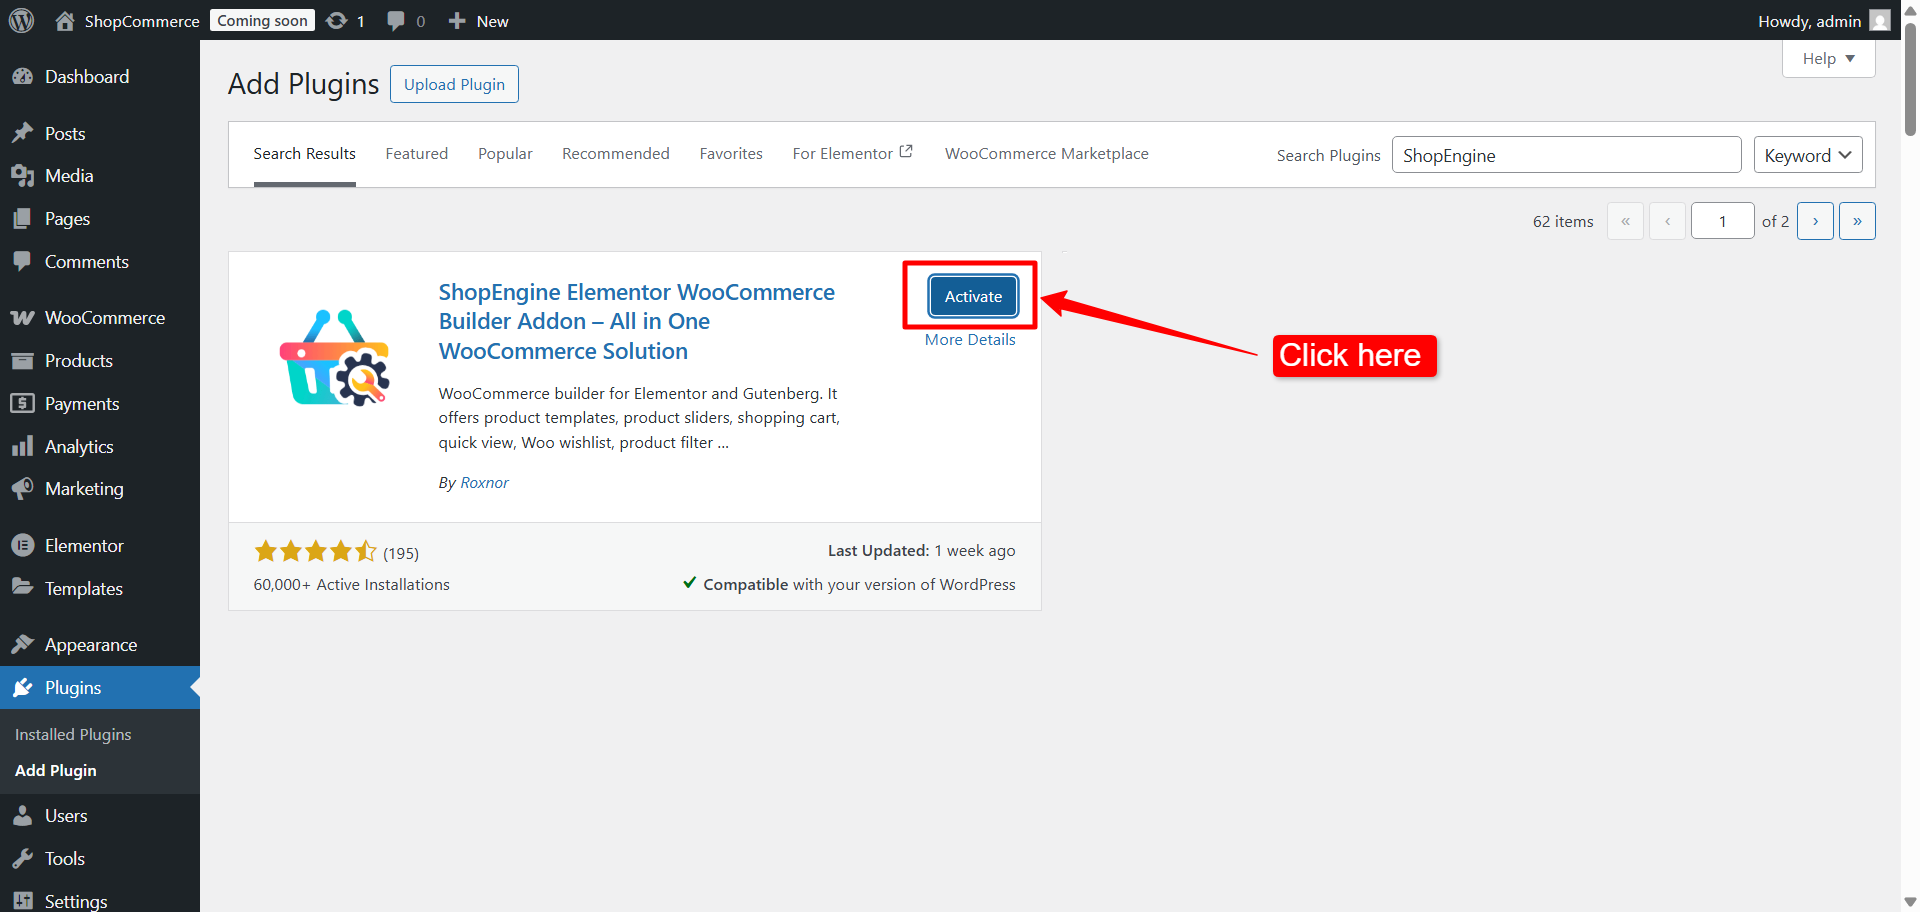
Efter vellykket installation skal du blot klikke på "Aktiver”-knappen for at aktivere ShopEngine.
Efter aktivering af plugin, ShopEngine menu will appear in the WordPress Dashboard. Get used to with the ShopEngine dashboard in WordPress
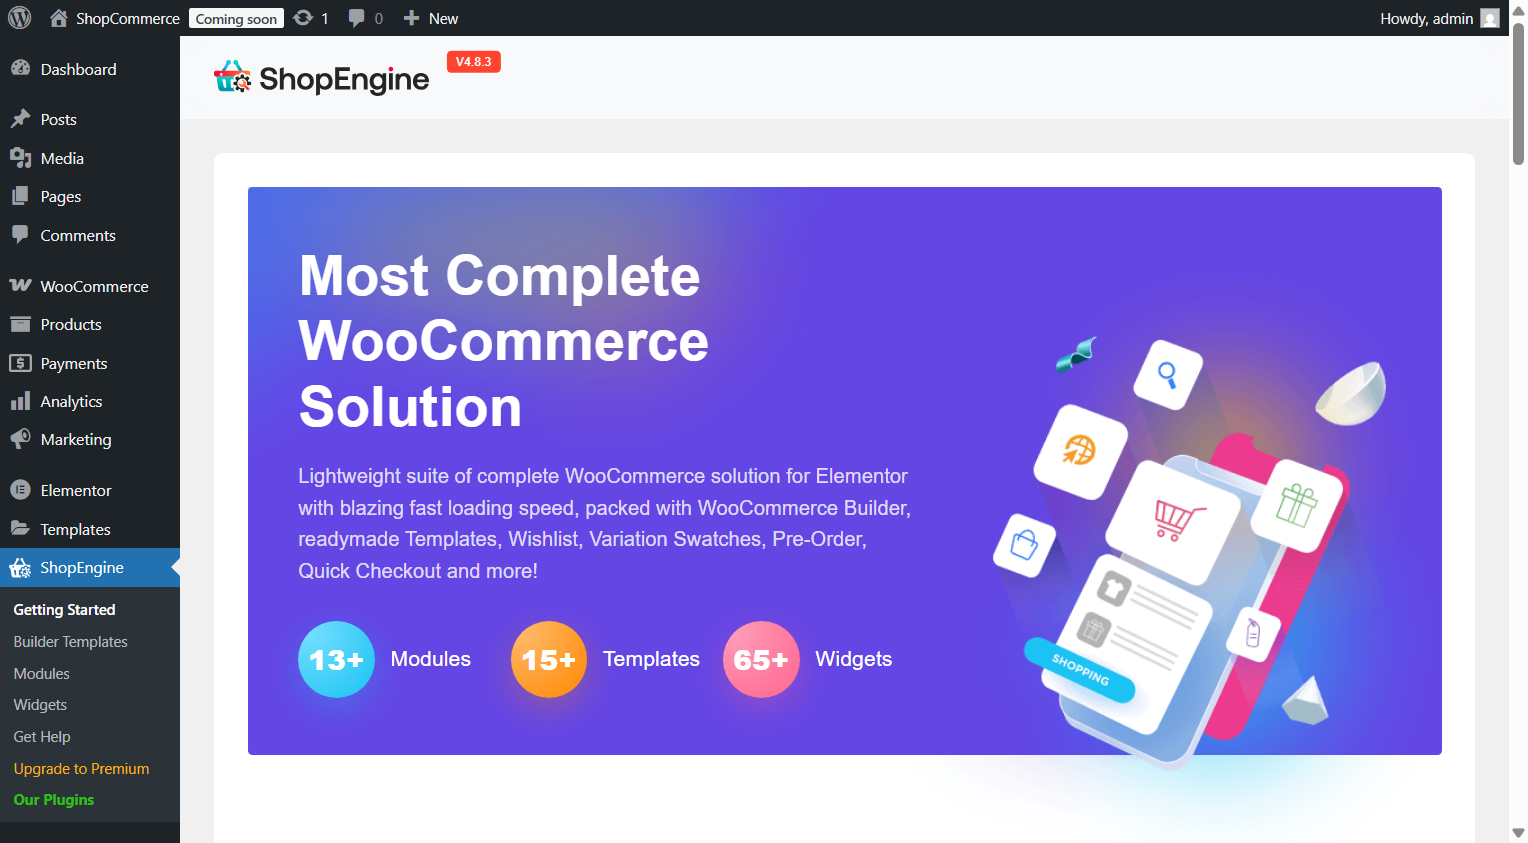
#
Hvis du ønsker at lancere et WooCommerce-websted, men kæmper for at finde en god hosting-tjeneste, kan du pålideligt vælge Kinsta. De har alle de vigtigste hostingfunktioner, som du normalt ville forvente af en hostingtjenesteudbyder.


