


Pagamento a strisce è un metodo semplice per effettuare i pagamenti in tempo reale e molto altro ancora. MetForm ha introdotto questo famoso metodo per raggiungere facilmente tutti i tuoi clienti. COSÌ, aggiungi striscia a WordPress e goditi più conversioni.
Ora controlla la documentazione e aggiungi la richiesta gateway di pagamento a strisce in pochi passaggi.
Get Started—Add Stripe to WordPress Form #
Scegli il tuo gateway di pagamento come Banda con il campo di immissione del metodo di pagamento e semplifica la politica di pagamento degli utenti.
Prerequisito: #
You must have the Stripe account to integrate the AWeber services into MetForm.
Plugin richiesti: #
- Elementore: Scarica plugin
- MetForm Pro: Ottieni il plug-in
👑 You need to have the MetForm Professional Plan to use this feature.
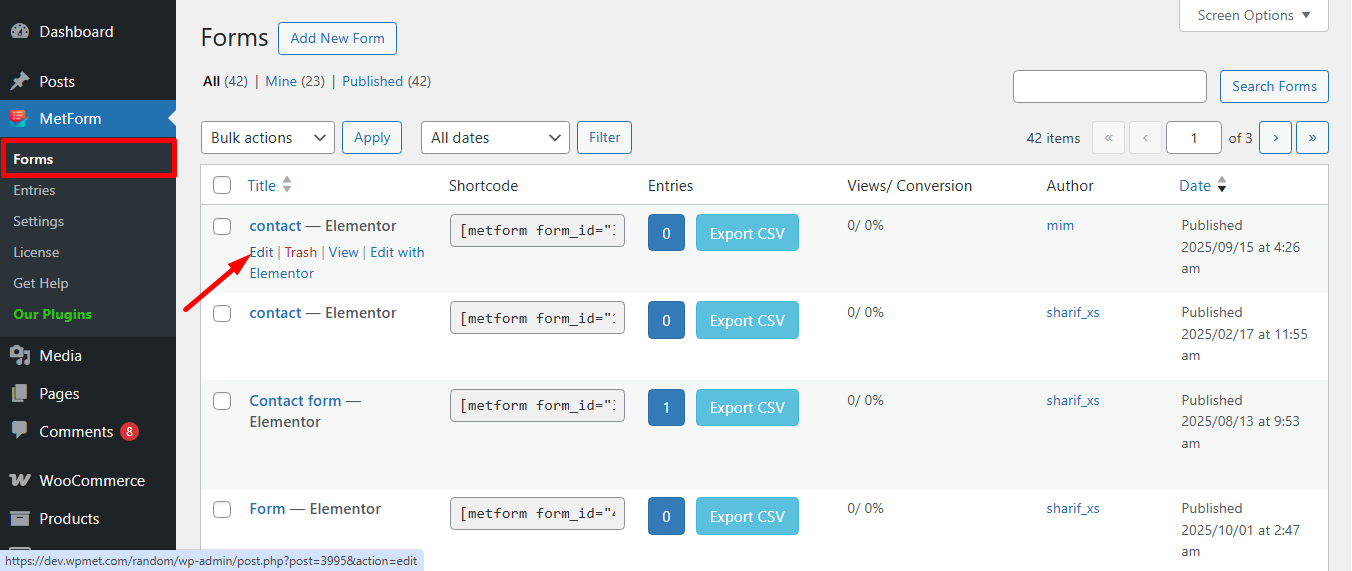
Step 1: Navigation to your Dashboard #
- Create new form or choose any form from the list
- lick on the edit option
Go to the Payment tab. There are Valuta dinamica opzioni. La funzionalità valuta dinamica consente alle persone di effettuare pagamenti sul tuo sito tramite Stripe.

Ora, enable the Stripe option e fare clic su Configura il pagamento con Stripe
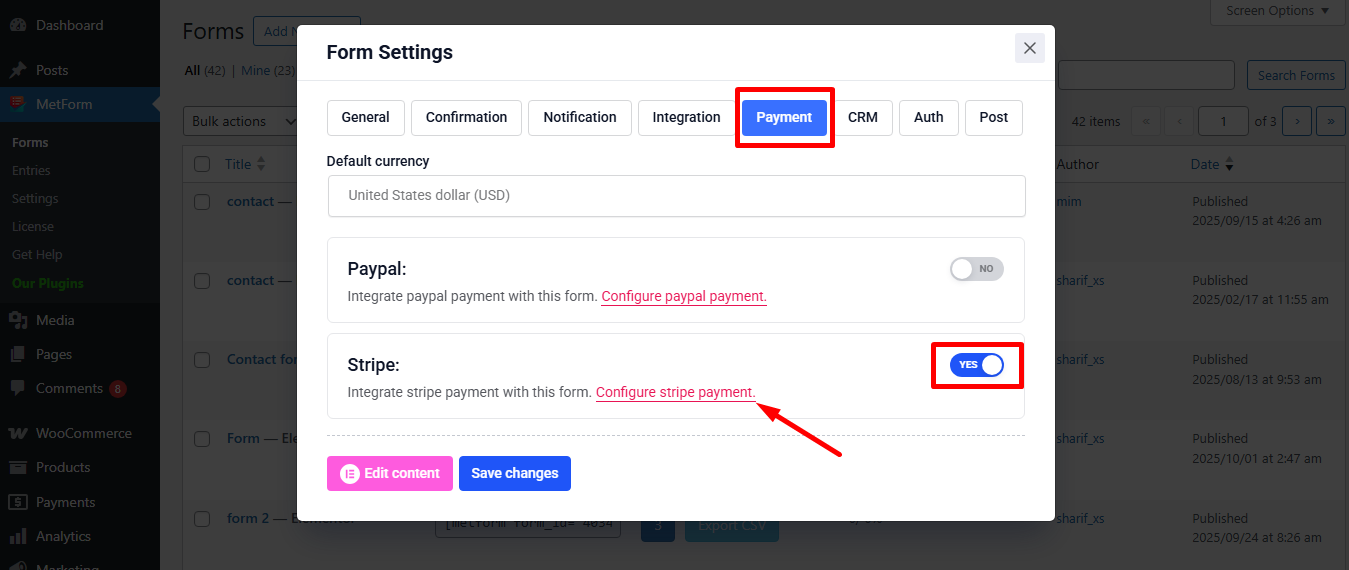
It’ll take you to the MetForm’s Settings page
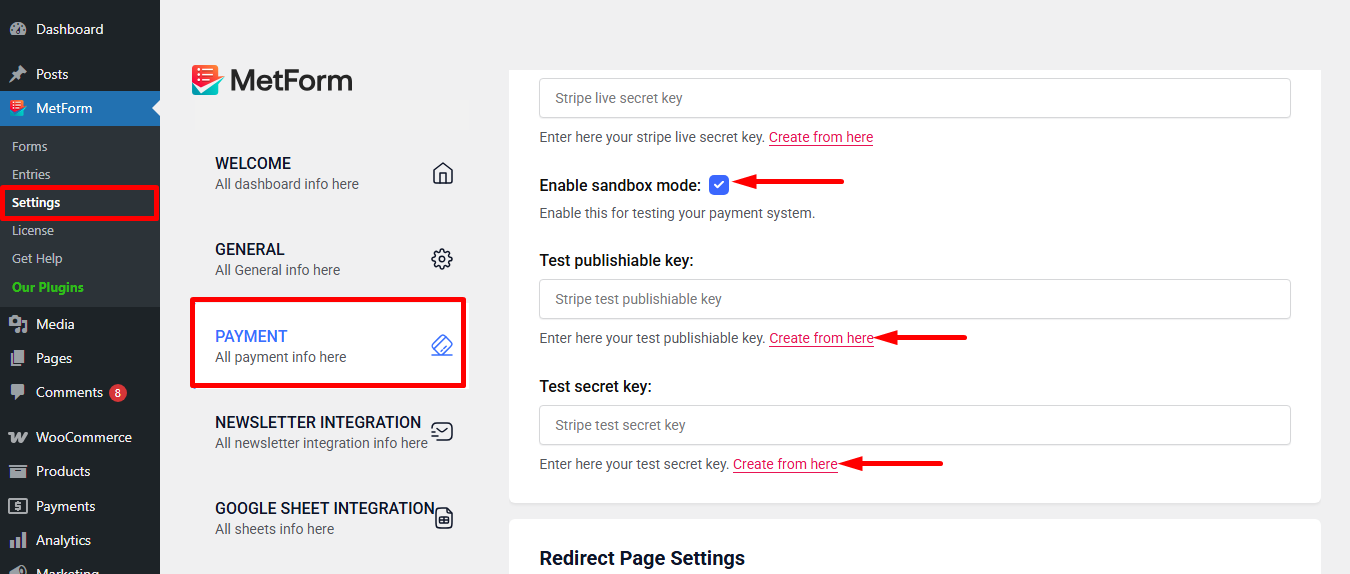
- Clicca su Payment: Stripe
- Abilitare Banda sabbiera
- Fare clic su Selezionato Collegamento fornire Testare la chiave pubblicabile E Prova la chiave segreta
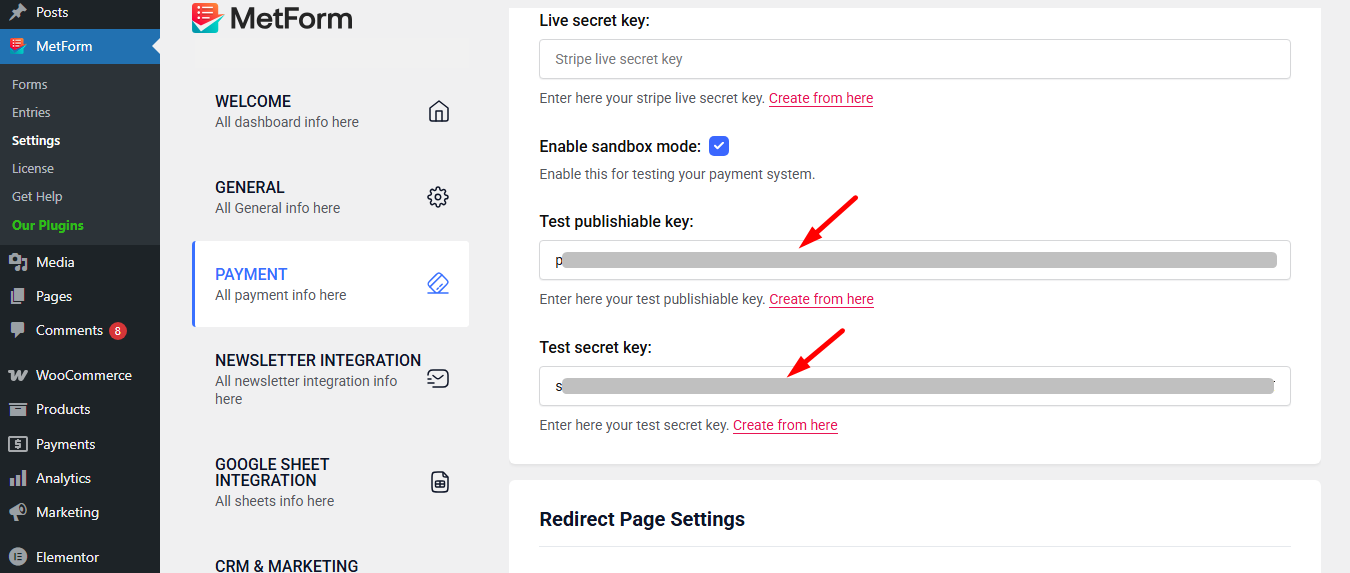
Step 2: Get the Test secret key and Test publishable key #
Ottenere Prova la chiave segreta E Testare la chiave pubblicabile Vai all'URL: https://dashboard.stripe.com/login
Create a Stripe Business account and log in with your created Stripe E-mail e password

Next, access your Stripe dashboard, then navigate to Sviluppatori-> Chiavi API

Now go back to Step 1, insert your copied Test publishable Key E Test secret Key
Don’t forget to scroll drown and click on the Salvare le modifiche pulsante.
Adesso vai a integrations from stripe’s dashboard.
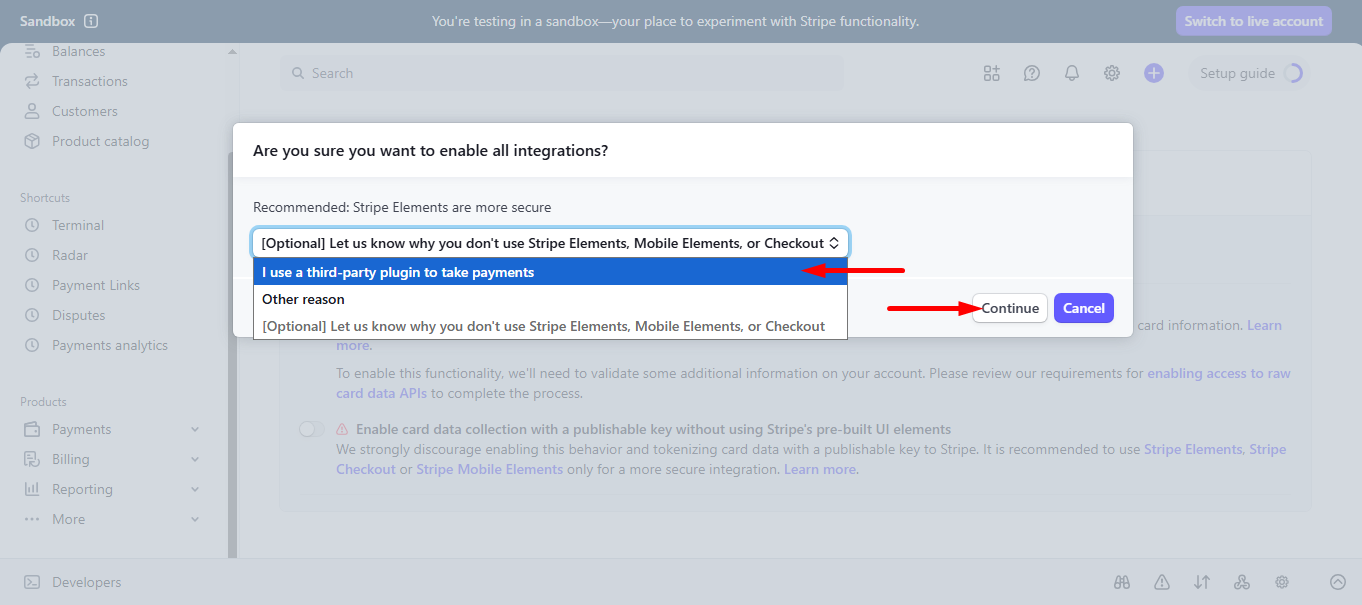
Here, you have to Enable card data collection with a publishable key without using Stripe’s pre-built UI elements.
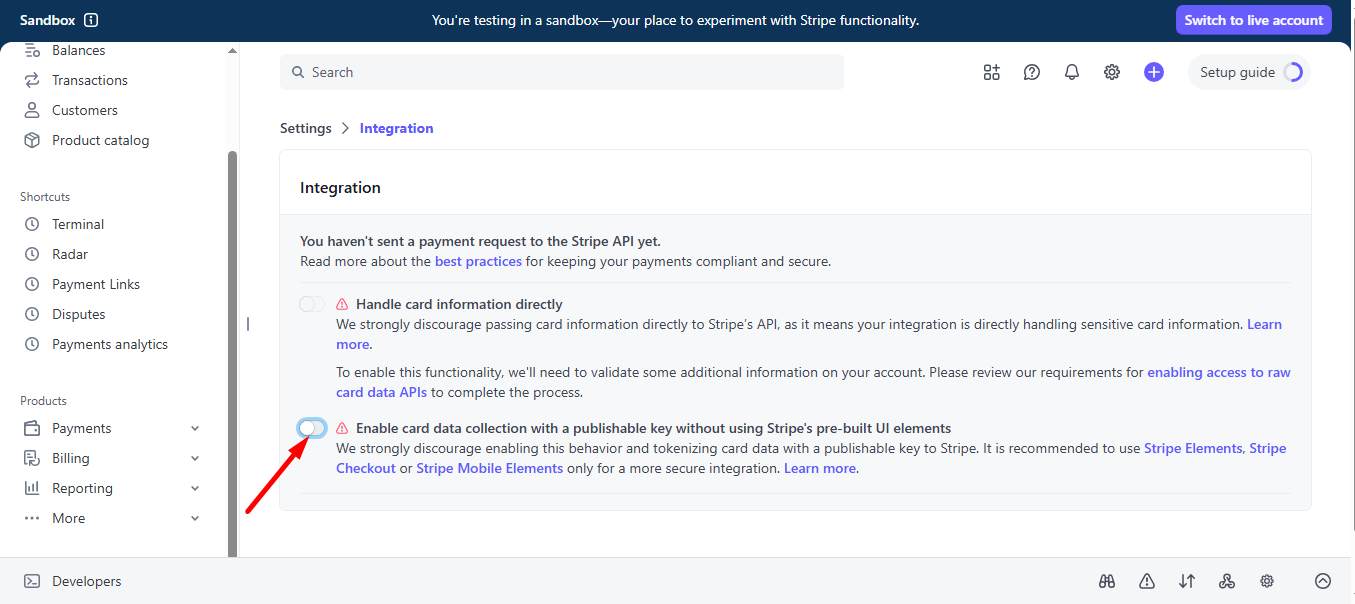
Select I use a third-party plugin to take payments and continue.
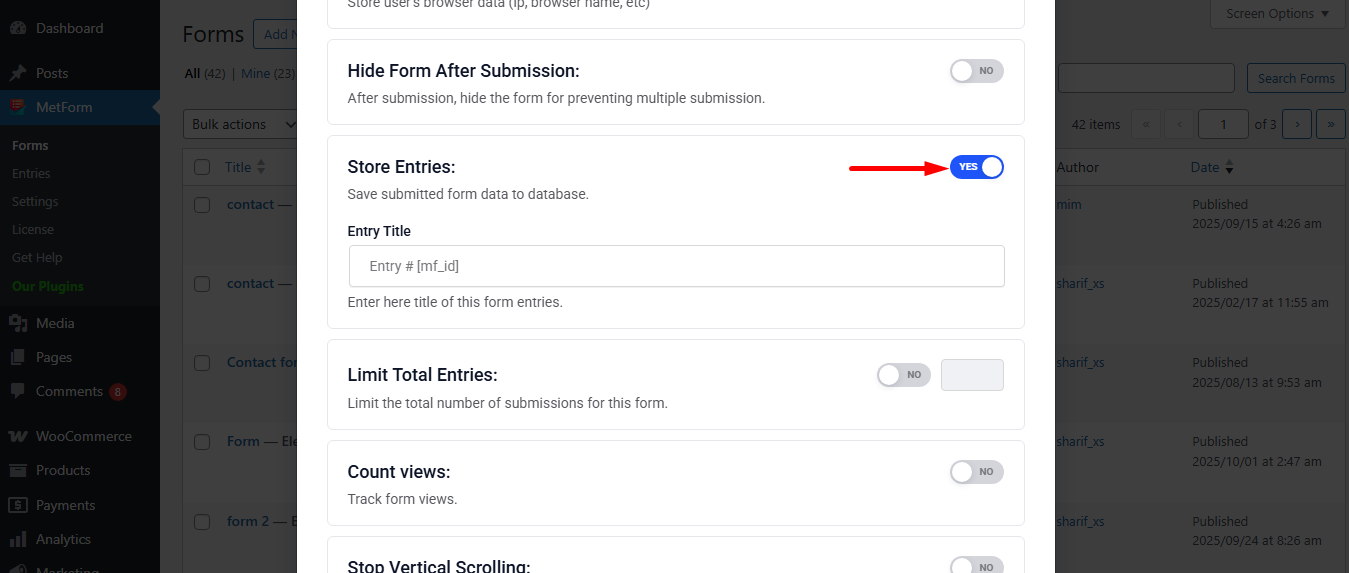
Step 3: Go to form settings #
click on the edit option of your form to access Form Settings. Abilita voci del negozio option and save the changes.
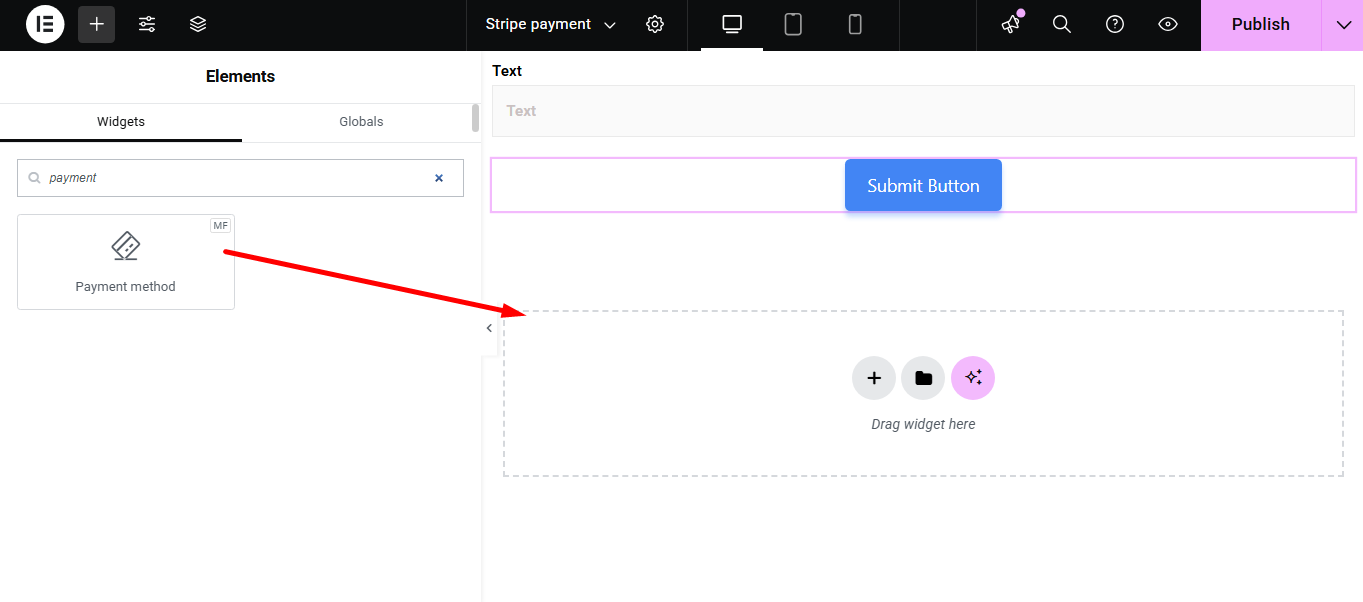
Search and drag and drop Metform payment method widget.
However, you’ll need a Campo di testo e pulsante Invia in the form.
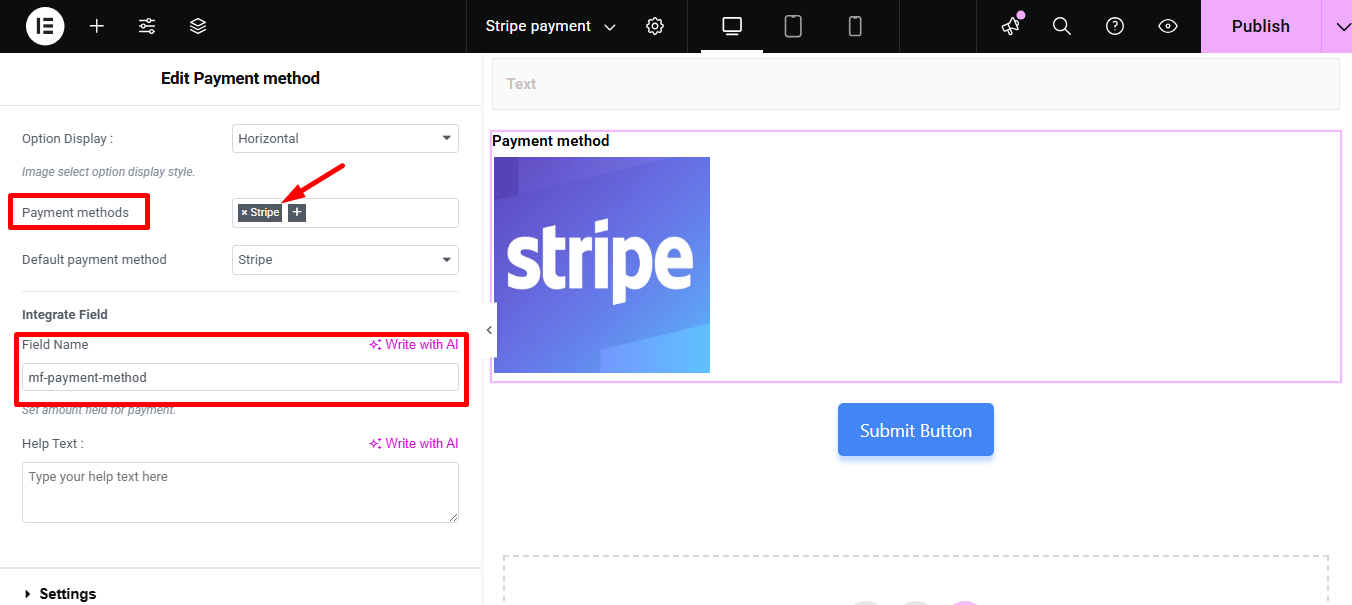
Now copy the selected Name: mf-payment-method
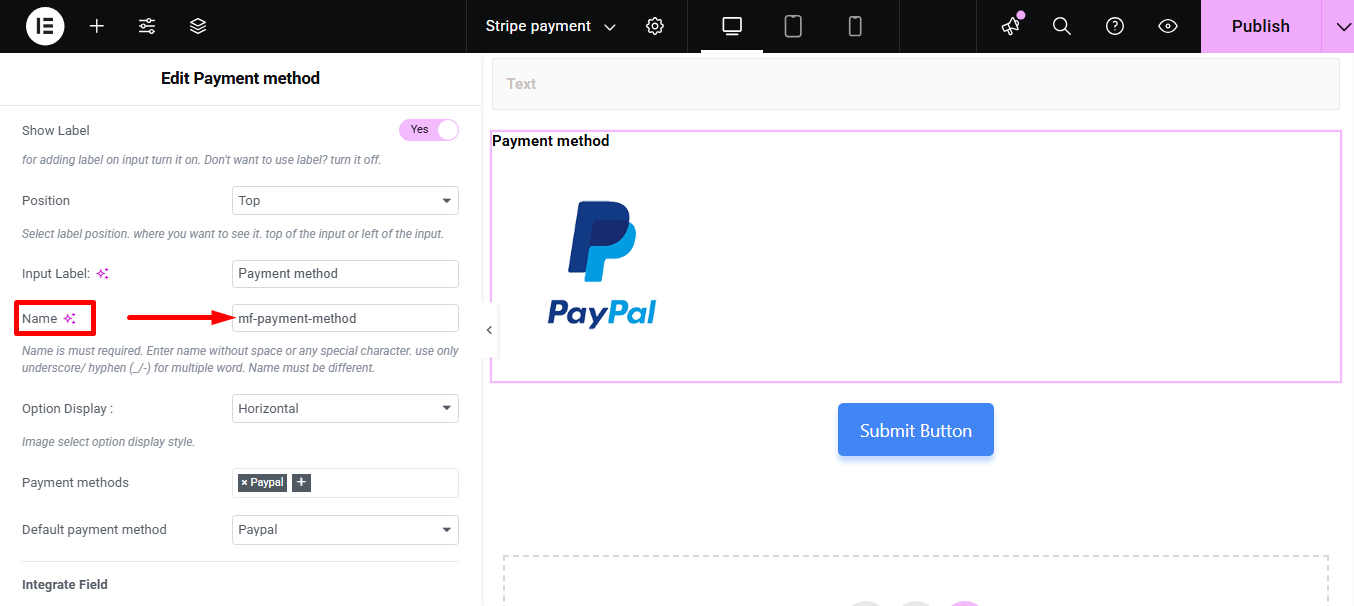
- Select your Payment Method Banda
- Paste the copied name in the Campo Integrato
Fornire Quantità e fare clic su Pulsante Invia
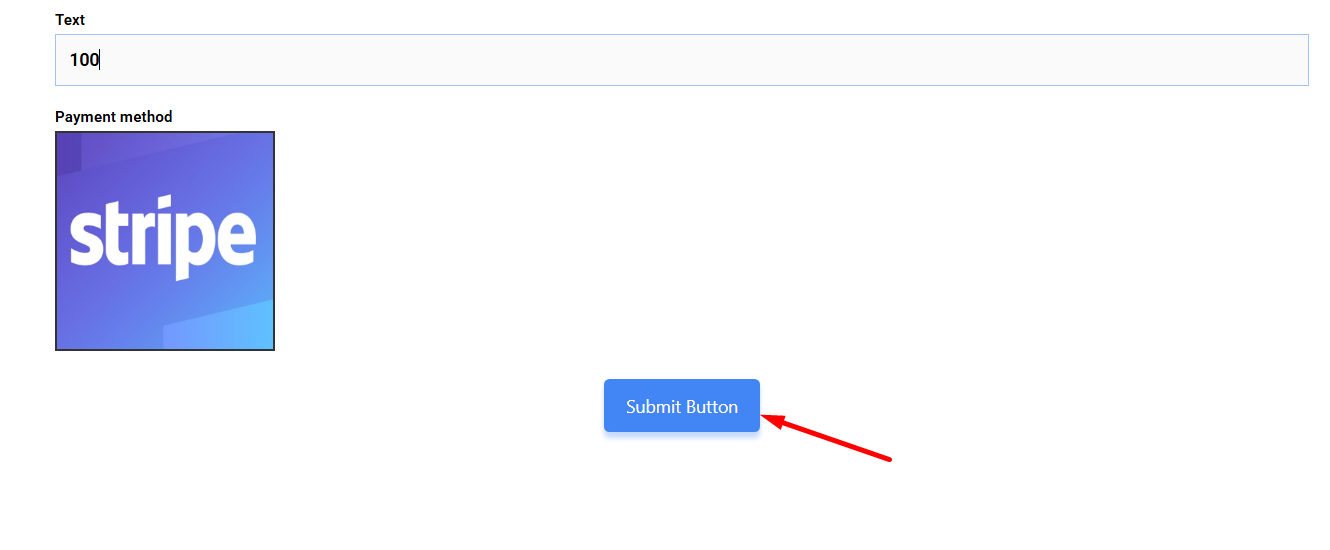
Next, you have to fill the stripe payment form. So,provide stripe email, card no., date, and CVC.
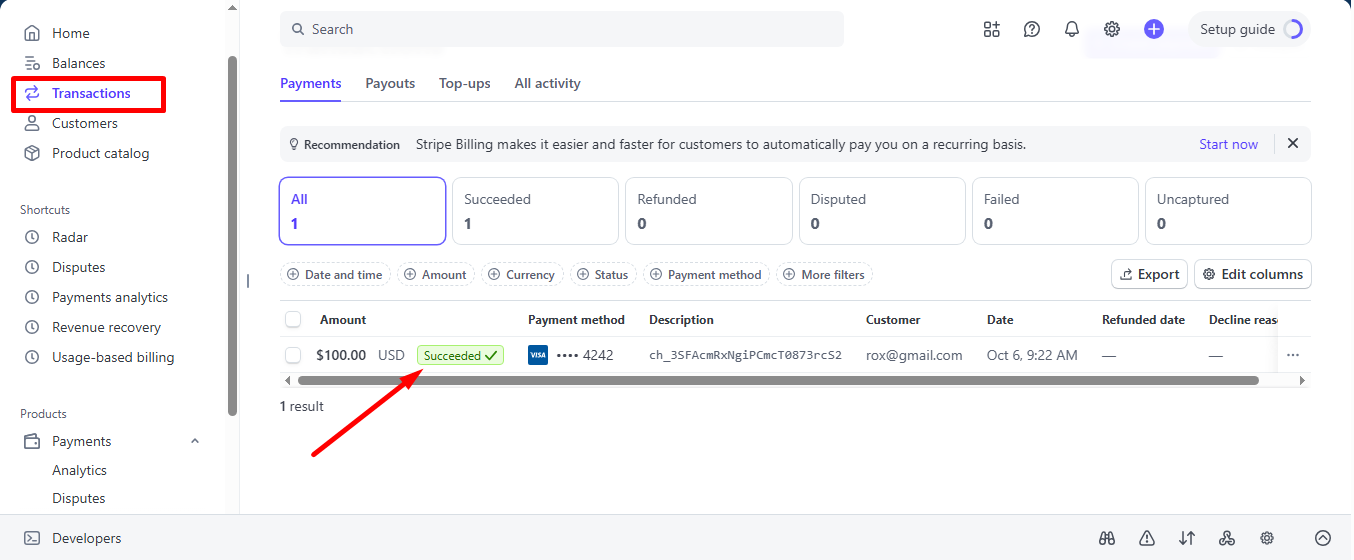
Fare clic sul pulsante Paga. Qui, vedrai l'importo in base alla valuta impostato in precedenza.

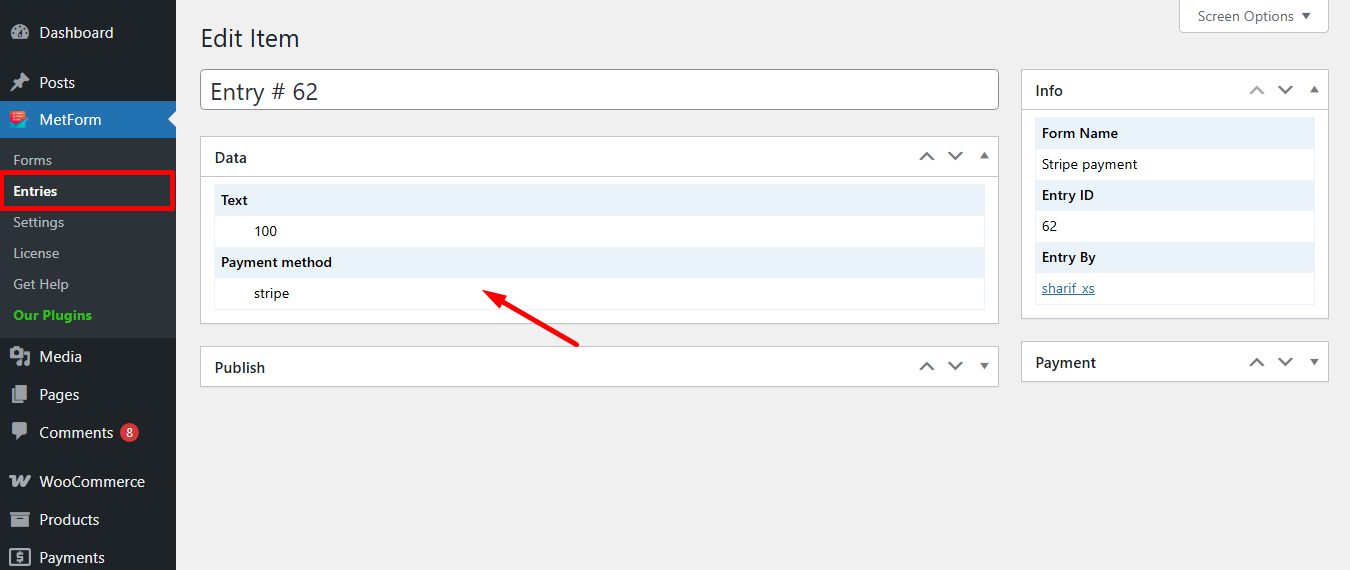
Puoi vedere la transazione apparsa nel file Pagamento tramite dashboard Stripe Sezione
Puoi anche visualizzarlo dal pannello di amministrazione: Metform=> Voci
Stripe crea il cliente con il metodo di pagamento that is simple to follow. And, you have learned how effortless it is to add with MetForm. So, start designing your Stripe payment gateway now.


