


Landing pages are crucial for any website. They’re designed with a specific goal in mind, whether it’s capturing leads, promoting a product, or driving sales. But how do you create a landing page that’s both effective and visually appealing?
This guide will explore two simple methods for crafting a landing page using Gutenberg, the block editor that powers WordPress:
What is a Landing Page?
A landing page is a standalone web page designed to convert visitors into leads or customers. It typically focuses on a single product, service, or offer, and includes a clear call to action (CTA) that encourages visitors to take a specific action.
Landing pages are different from regular website pages as they prioritize conversion over general browsing.
2 Methods on How to Create a Landing Page with Gutenberg
Crafting a landing page in Gutenberg can be done in two methods. One is using the ready templates of a plugin and the other one is building from scratch using the blocks of the default editor and plugin.
Building your landing page using the default Gutenberg is a good option if you aim for a very simple landing page. If you aim for an aesthetic and engaging landing page, using a Gutenberg plugin is the best choice —- and that is where GutenKit comes in. The plugin offers various ready templates for you to build your landing page with a minimal effort and the blocks to craft your landing page from scratch.
So let’s take a look at these two options!

Method_1: Building a Landing Page Using Ready Templates
GutenKit is a popular Gutenberg plugin offering a library of pre-built landing page templates. This method offers a faster approach with pre-designed layouts but allows less customization compared to building from scratch.
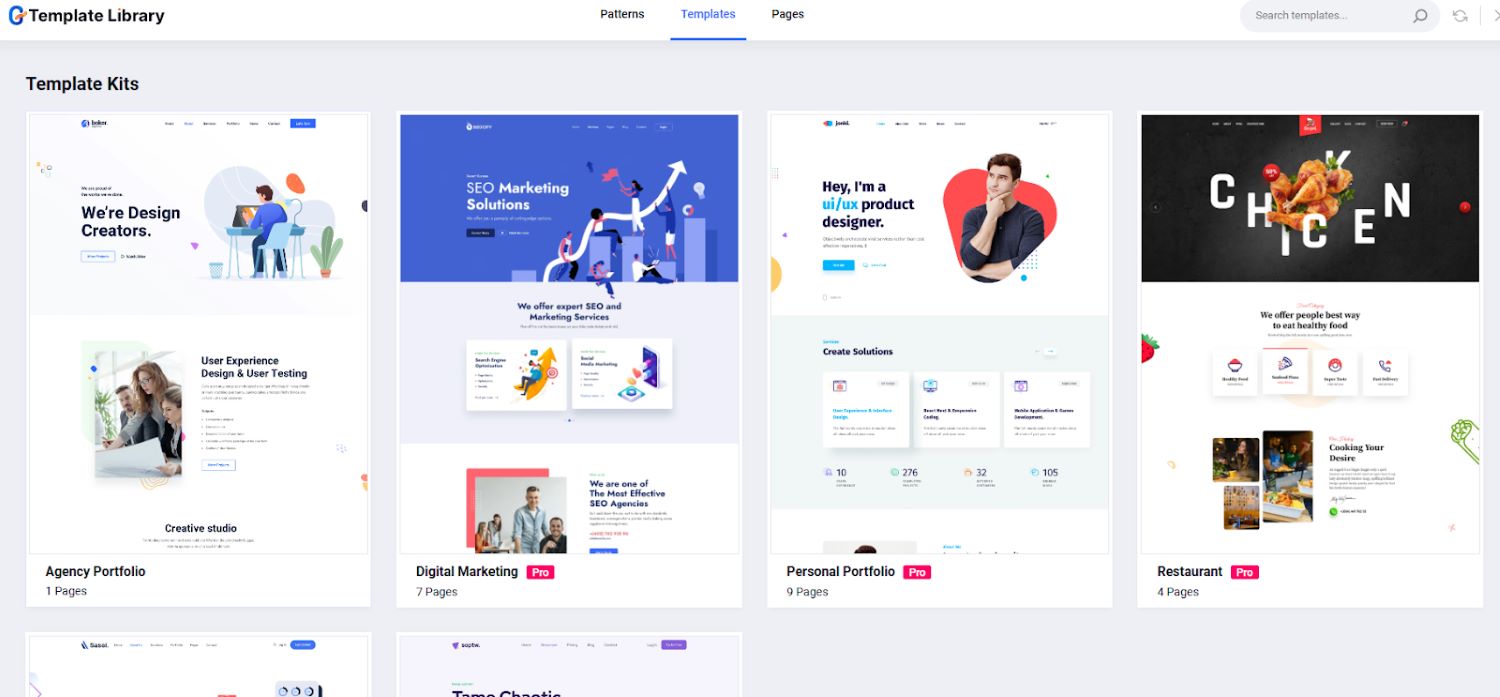
Templates include:
- SaaS landing page
- Digital Marketing
- Personal and agency portfolios
- Restaurant
- Software Company
- Mobile apps
1. Create a new WordPress Page:
To create a new page, look for Pages and choose Add New Page. In your editor screen, you will see a GutenKit Template Library at the top. Open the library and go to Templates. You will see different templates for each special use case.
2. Choose your Template:
Choose a template that aligns with your goals and customize it with your content and branding. In this tutorial, we’ll select the Agency Portfolio. To pull it to your editor screen, simply import it.
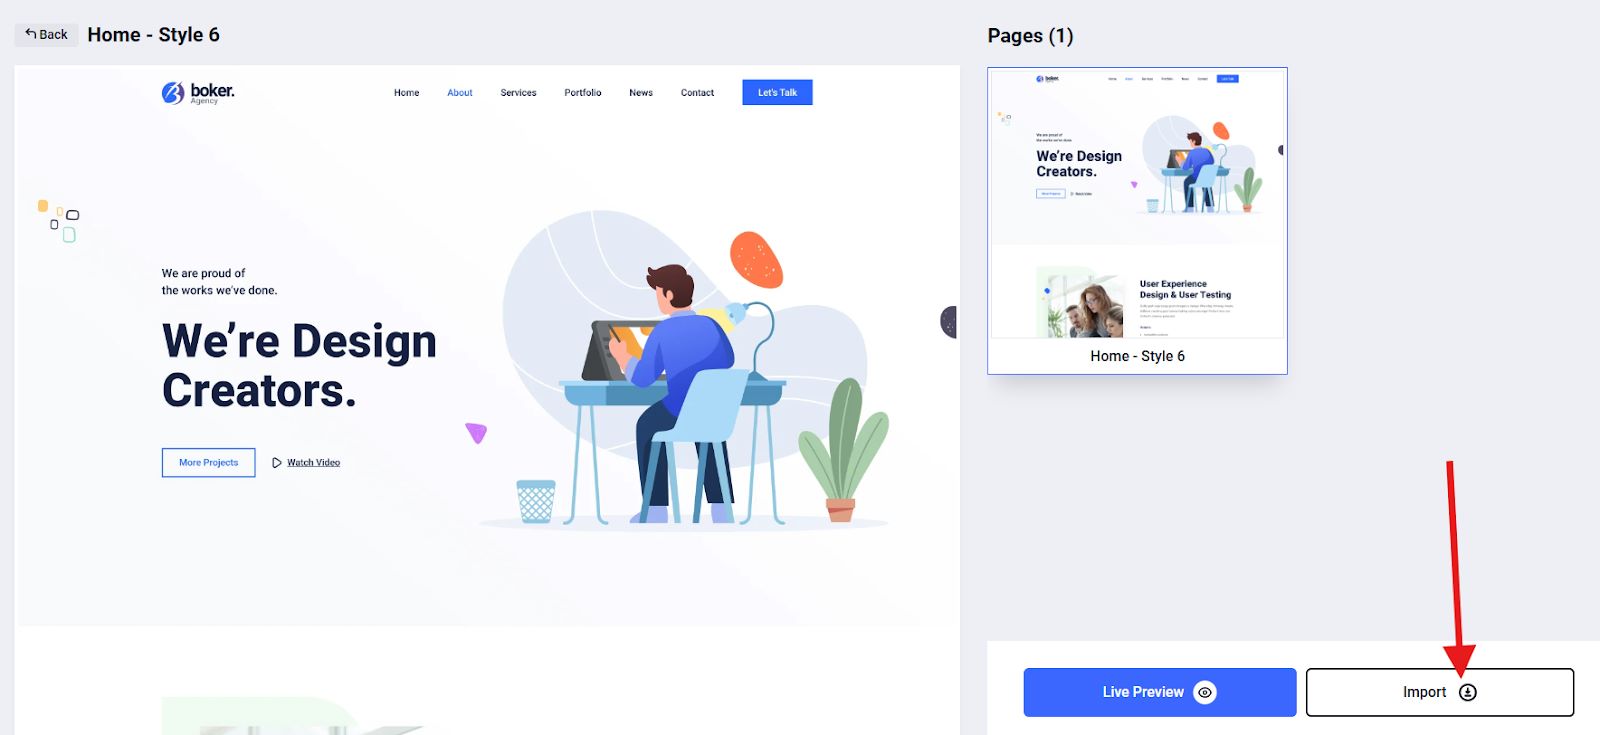
You can also check the live preview of your chosen template to have an idea of what it will look like in the final output.
3. Customize your Template:
After you’ve chosen your template, it’s about time that you customize the template into your own brand. You can edit or change every element in the template. To do that, click on the container of the section you want to edit.
For example, you want to change the text on the container as shown in the below image.

Once you click on the container, a sidebar tool will appear.
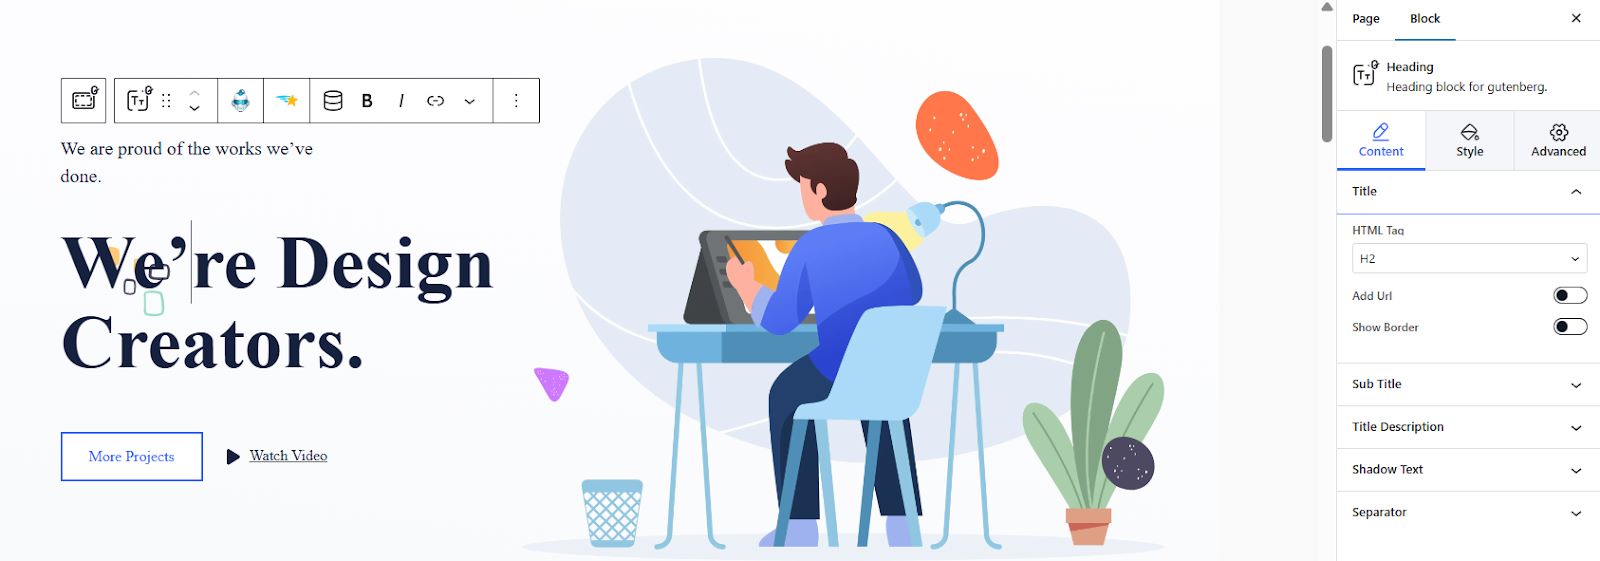
You can add a URL link to your HTML tag and a little description. To level up the aesthetic appeal, you can go to the advanced settings to adjust the layout, set the position, etc.
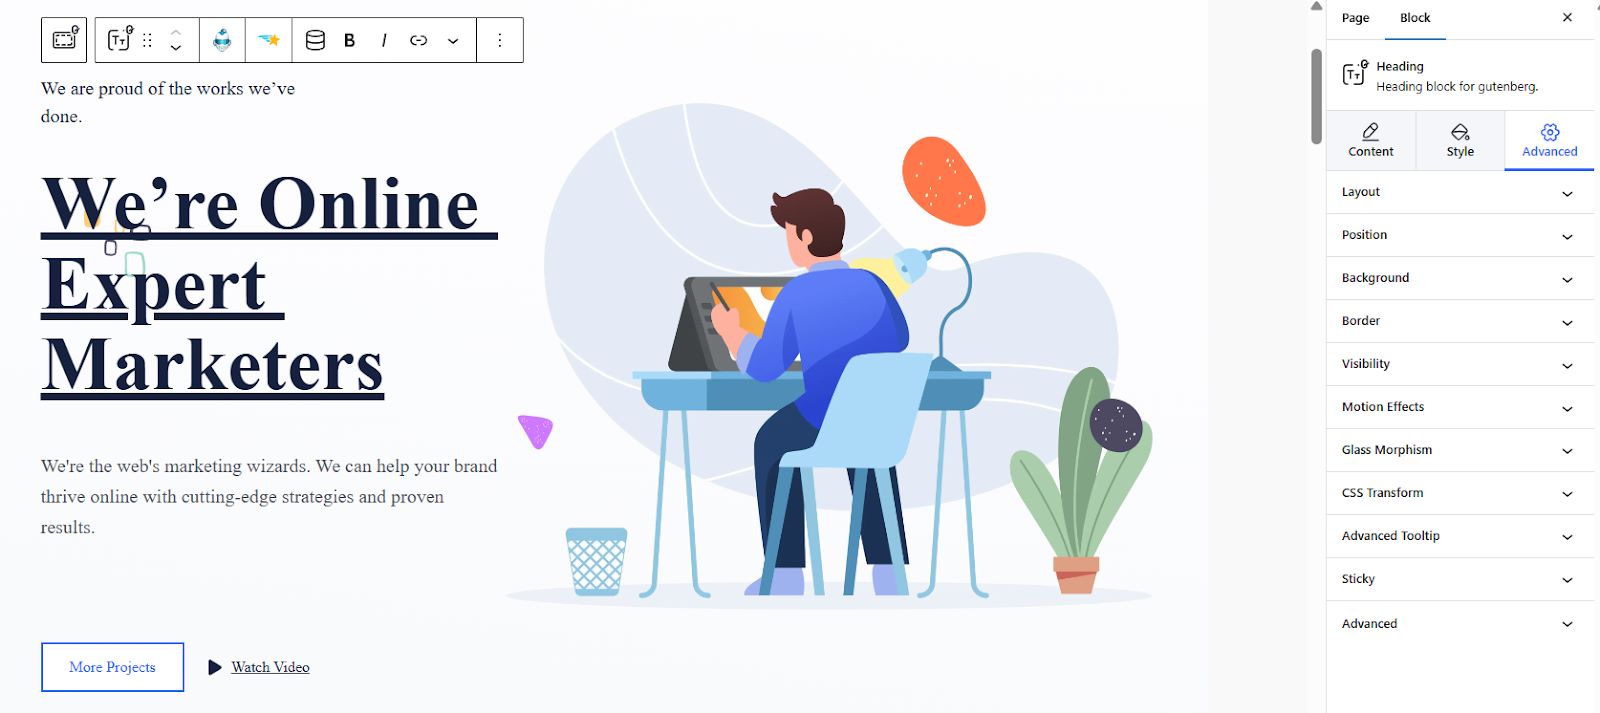
The advanced settings has various controls including:
⚡ Layout: Enables you to adjust the margin, padding, and even select the tablet, desktop or mobile as your Z-Index.
⚡ Position: Choose the position from Default, Fixed, and Absolute.
⚡ Visibility: Select how you would like the sections of your landing page to become visible. You can hide them on desktop, tablet or mobile.
⚡ Motion Effects: Set the entrance animations of the sections of your landing page with various options, which includes Bounce, Flash, Pulse, etc.
⚡ Glass Morphism: Set the blur, brightness, saturation, and hue effects of your landing page.
⚡ Parallax: Enables you to apply background image effects with your desired speed.
⚡ Advanced Tooltip: Toggle enable tooltip if you want to extend the basic functionality of displaying a simple text label when hovering over an element.
⚡ Sticky: Decide whether to apply a sticky on your landing page or not. You can choose from the options including Top, Bottom, and Show on Scroll Up
4. Preview and Publish your Landing Page:
To see if the landing page you designed is up to your standard, preview it. Once satisfied with the outcome, publish it.
Method_2: Building a Landing Page from The Scratch
If the design of the ready templates is not for your liking or do not match with your brand, you can always build your landing page from scratch with the various blocks of the default editor and GutenKit.
1. Creating a Landing Page with Default Gutenberg
The default Gutenberg editor offers a number of blocks that allow you to construct a basic landing page. This method offers basic control but requires more time and effort compared to using pre-built templates.
Here’s a basic workflow:
1.1 Plan your Page Layout:
Plan your layout attentively. This would include deciding on the sections you want to show in your landing page. Your layout plan will be the basis of your workflow.
Sections may include:
- Hero Section
- Services area
- Clients area
- About section
- Testimonials section
- Team section
- Add a call to action (CTA)
1.2. Create a Page:
Navigate to your WordPress dashboard and look for Pages to add a New Page. Then give your page a title (ex. Landing Page).
1.3. Add and Customize the Sections of your Page:
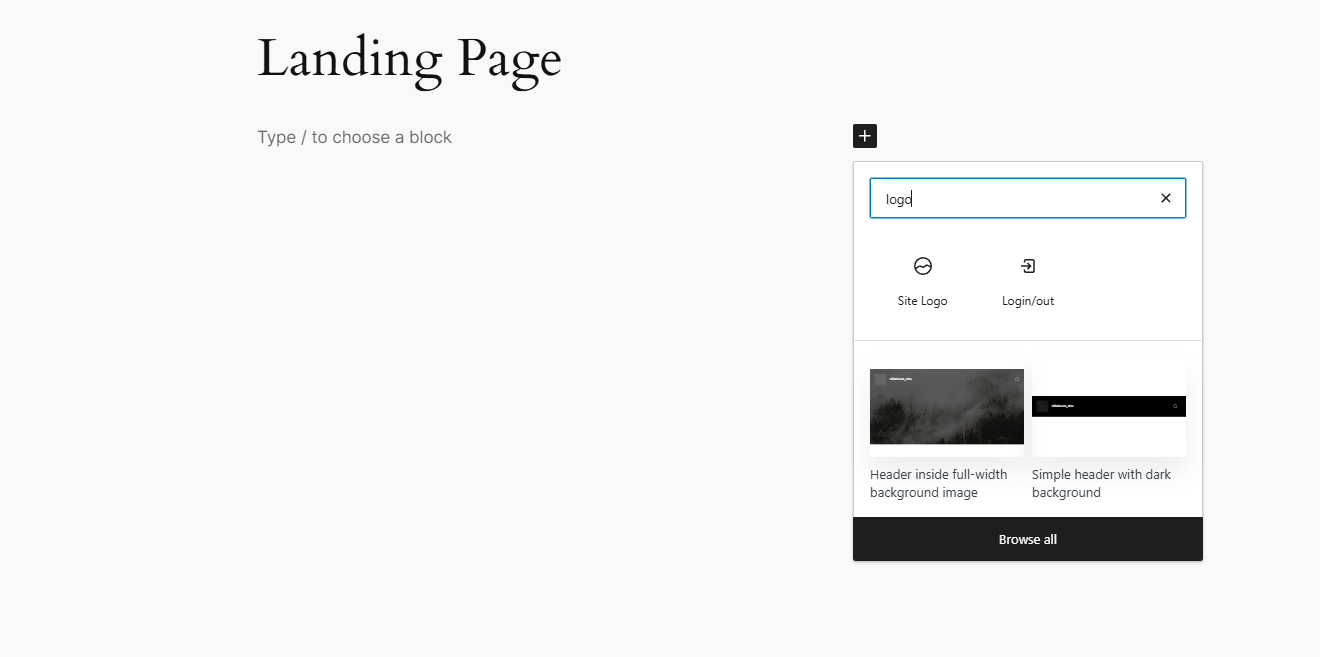
Let’s begin with the header, typically containing the logo, navigation, and other elements. For a landing page, it’s best to minimize distractions and focus on its main purpose.
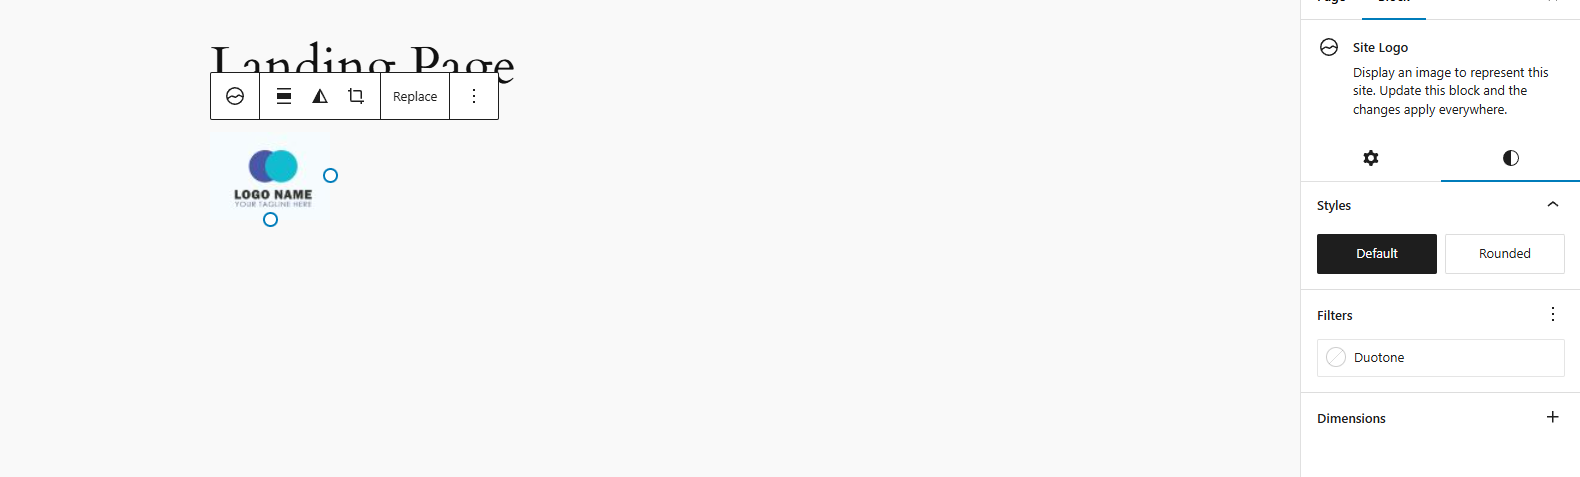
Start by adding your logo. Click the black + box to add a new block, then search for your logo.
After you add your logo, utilize the sidebar tool to adjust the size and style of your logo.
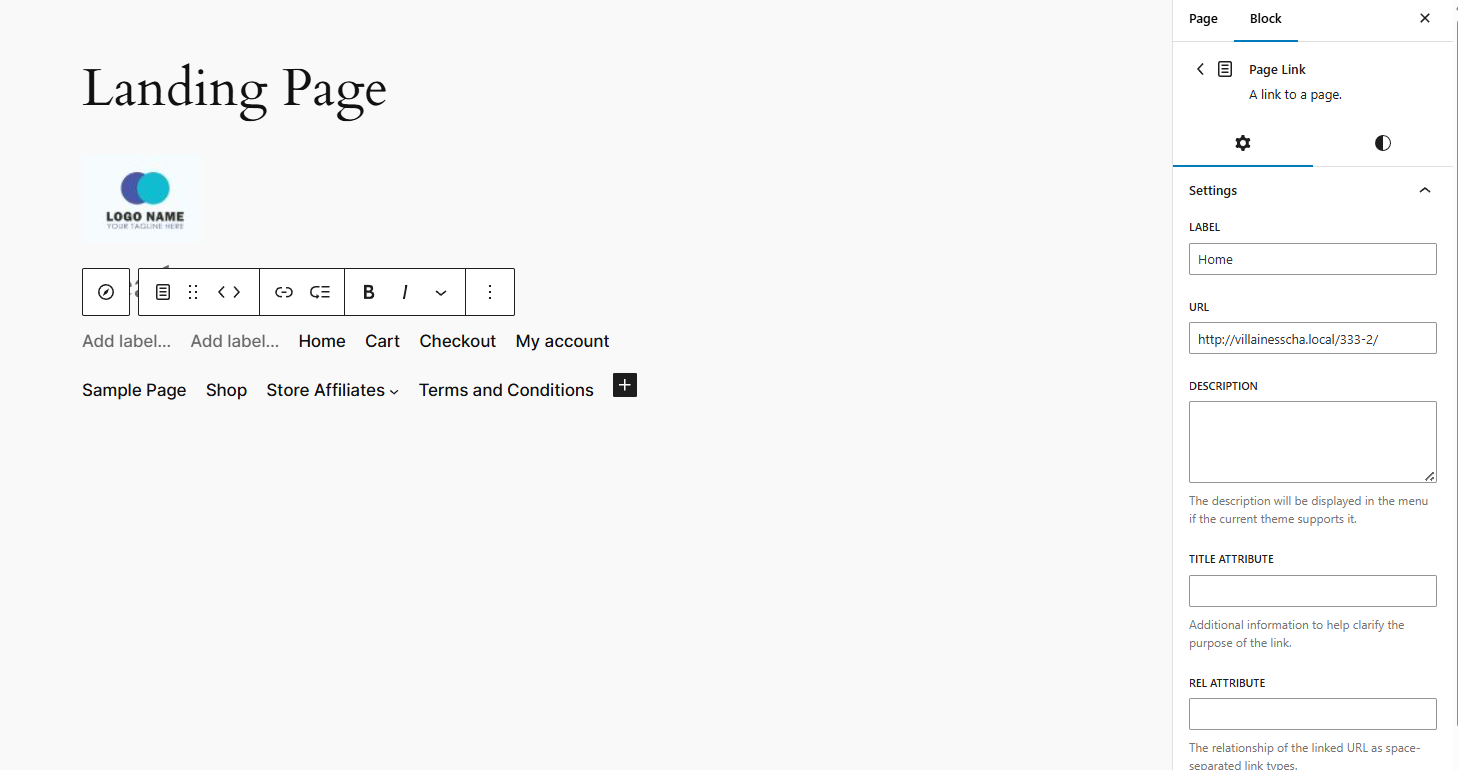
➡️ Adding Navigation Menu:
Now, let’s proceed with adding a navigation menu to a landing page. Simply click on the black + box to add a new block. Start by searching for Navigation and click it to add it to the editor screen.
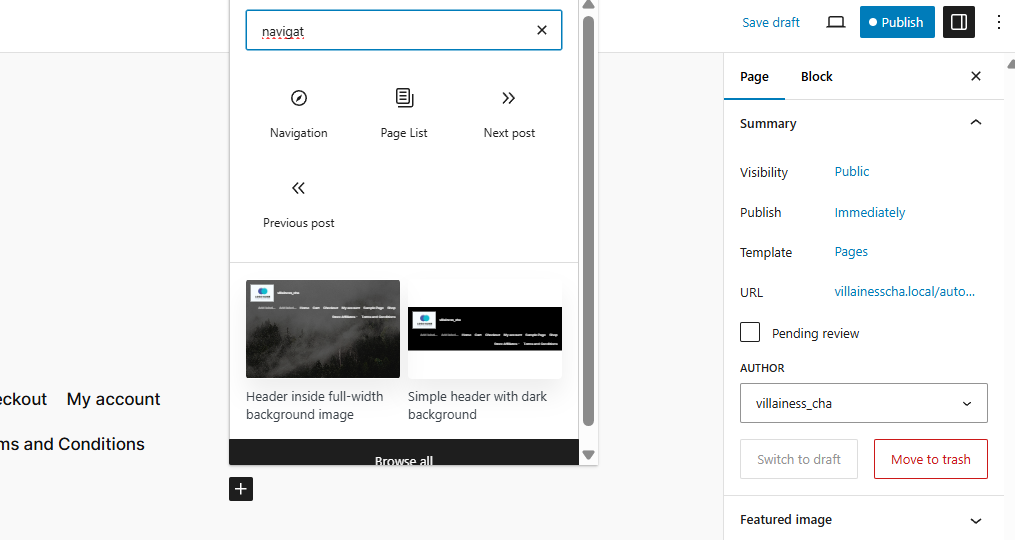
You can add as many menu items as you like. Then, proceed to customize your navigation menu by utilizing the sidebar tool.
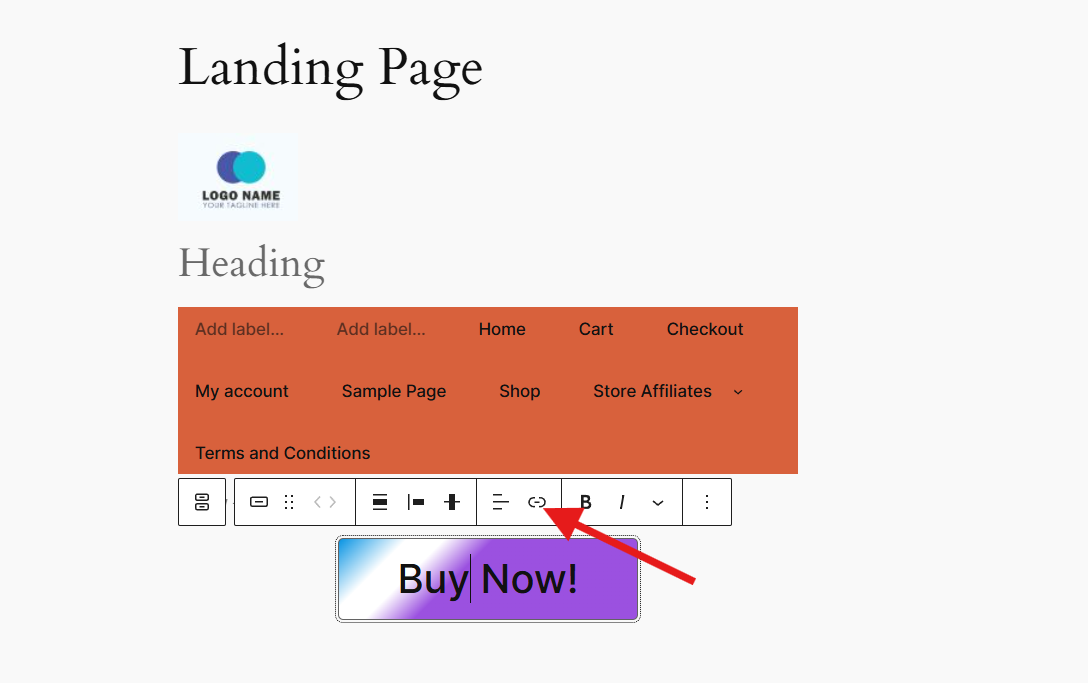
➡️ Adding Call-To-Action:
In the context of landing pages, Call-To-Action (CTA) is a specific action you want visitors to take after consuming your content.
Examples of CTAs on Landing Pages:
- “Sign Up for Free Trial“
- “Get Your Free Ebook“
- “Add to Cart“
- “Contact Us Today“
To add a CTA, click on the black + box to add a Button block. Play with the aesthetic appeal of the CTA using the sidebar tool. You can decide its color, typography and even its size. To incorporate a link to your CTA so that your visitors will be directed to another page when they click on your CTA, simply add the link to that page by clicking on the link icon at the toolbar.
➡️ Adding Social Proofs:
Social proofs are elements that leverage the power of psychology and social influence to build trust and credibility with visitors. It essentially shows potential customers that others have found value in your product or service, increasing the likelihood of them converting.
To add your social proof, click on the black + box to add a Quote block.
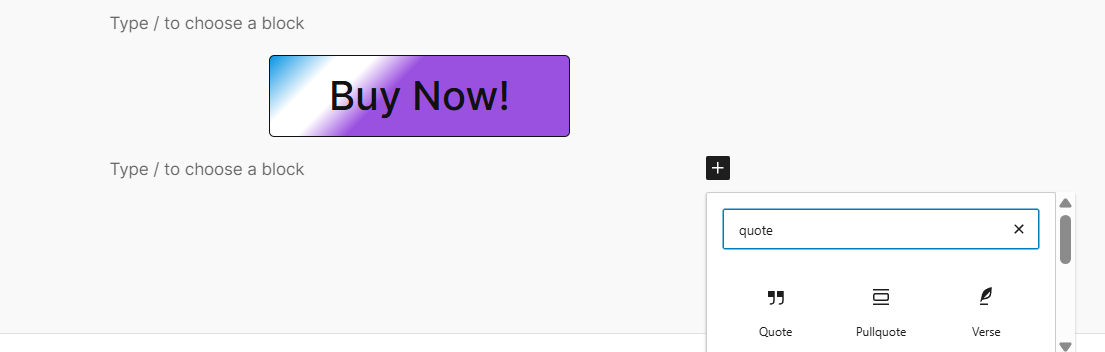
The ideal block for this purpose is likely the Quote or Pullquote, which will add an attractive quote to your page.
You can also enhance social proof with images, the media + text block, or other elements, depending on your page design preferences.
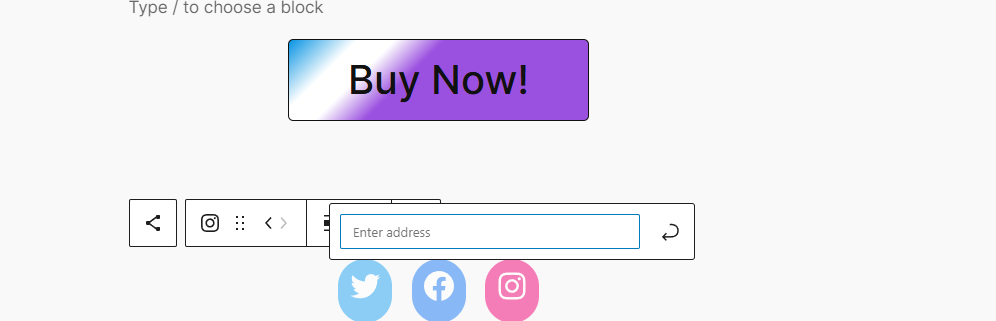
➡️ Adding Social Media:
The Social Icons block provides a simple way to add links to Facebook, Instagram, Twitter, and other social networks.
To do this, click on the black + box to add the Social Icons block. Once added, click again the black + box and search for the social network. You can add as many social networks as you like. Don’t forget to add the link address of each social network page.
➡️ Publish and Test your Landing Page:
If you think that all the sections or elements of your landing page are added, it’s about time to preview the output for any adjustments when necessary. Once satisfied, publish it.
2. Creating a Landing Page with GutenKit Blocks
GutenKit also provides pre-built block patterns that can be combined to create custom landing pages. Instead of choosing a full template, utilize individual block patterns from the GutenKit library. Arrange and customize these patterns to create your unique landing page layout.
This approach offers a balance between speed and customization, allowing you to leverage pre-built blocks while tailoring the design to your needs.
Here’s how:
2.1. Plan Your Page Layout:
Carefully plan your layout. Decide on the sections you want to include on your landing page. Your layout plan will serve as the foundation of your workflow.
2.2. Create a Page:
To create a new page, navigate to Pages and select Add New Page. On the editor screen, you’ll find the black + box, which will allow you to add different blocks to your landing page.
2.3. Structure your Landing Page:
Now, here’s the most exciting part — structuring your landing page using GutenKit’s various blocks. Remember to add enough spaces between the sections of your landing page.
➡️ Adding and Designing your Navigation Menu:
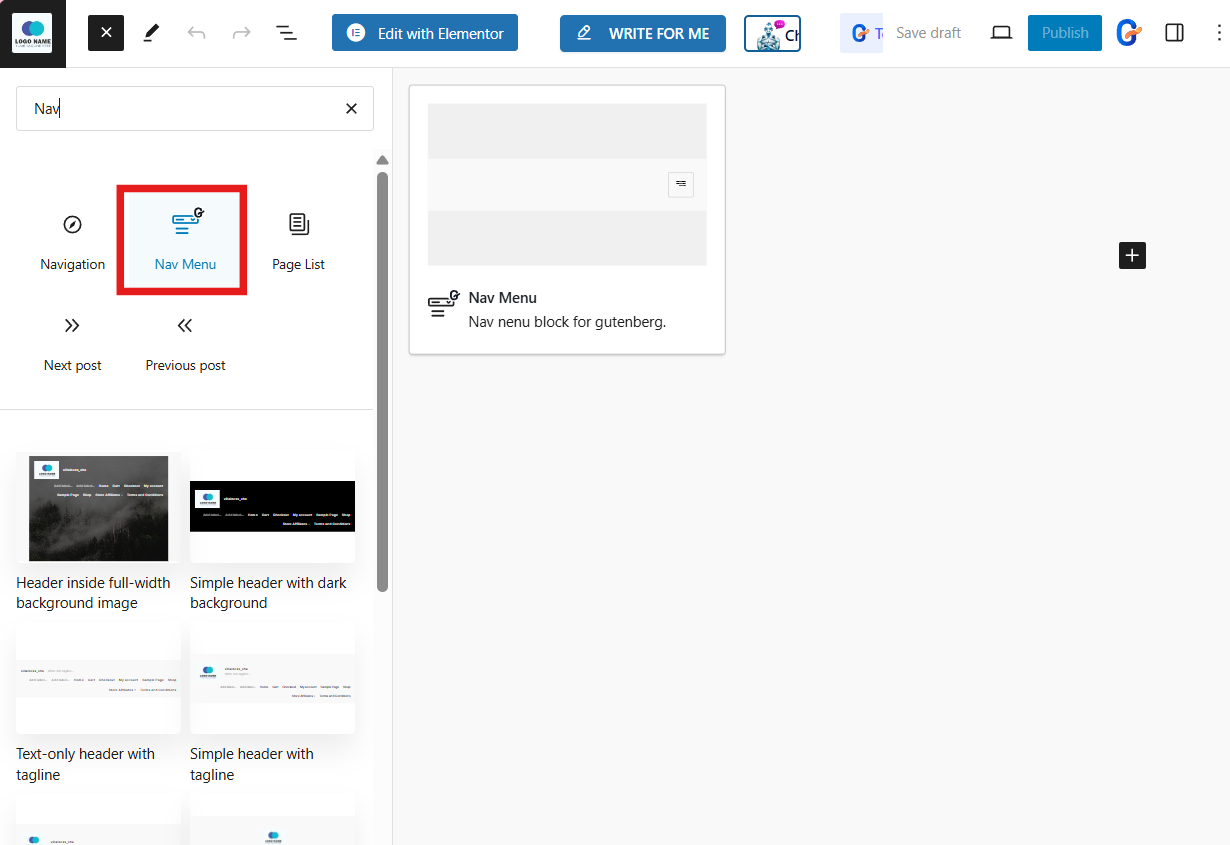
Find the “+” icon at the top of your editor screen and click the icon to open the block library. Then, look for the “GutenKit Nav Menu” and click or drag & drop the block in your editor screen.
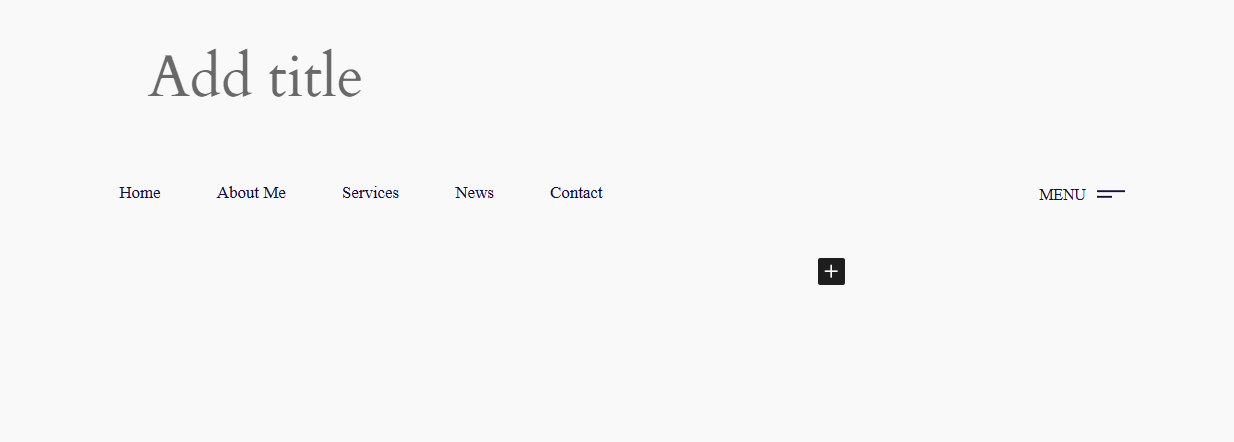
After adding the Nav menu block to the editor screen, it will automatically display all published pages as navigation menu items. Additionally, a “+” icon is available, allowing you to easily add new menu items.
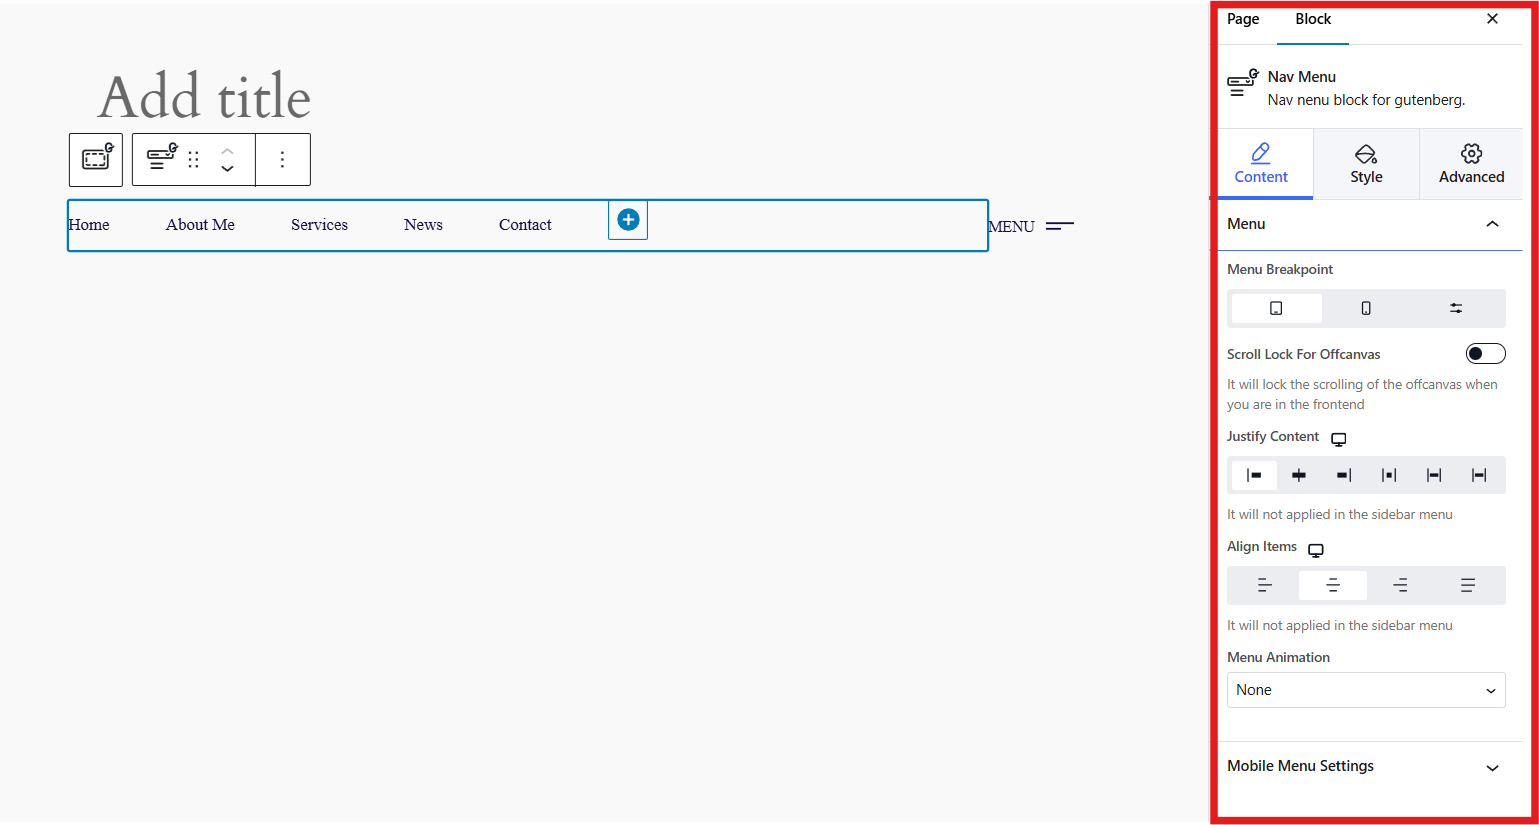
Customize the appearance of your menu item directly within the editor by accessing the menu block settings. Here, you can make adjustments to the following options:
- Select the menu breakpoint for mobile and desktop views and determine its width.
- Enable scroll lock for the off-canvas menu.
- Position the menu item text using six available options.
- Align the navigation menu items to various positions.
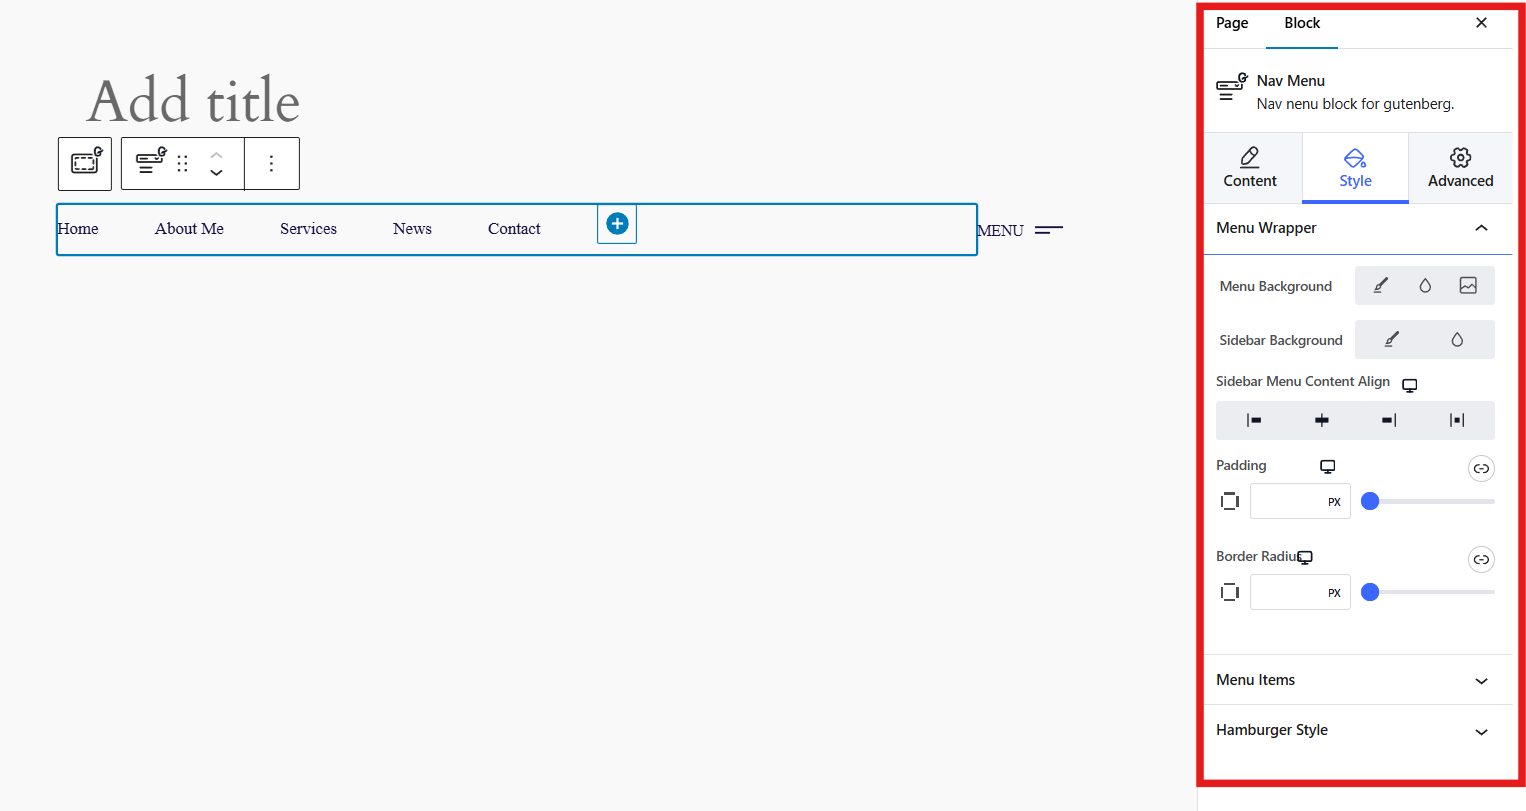
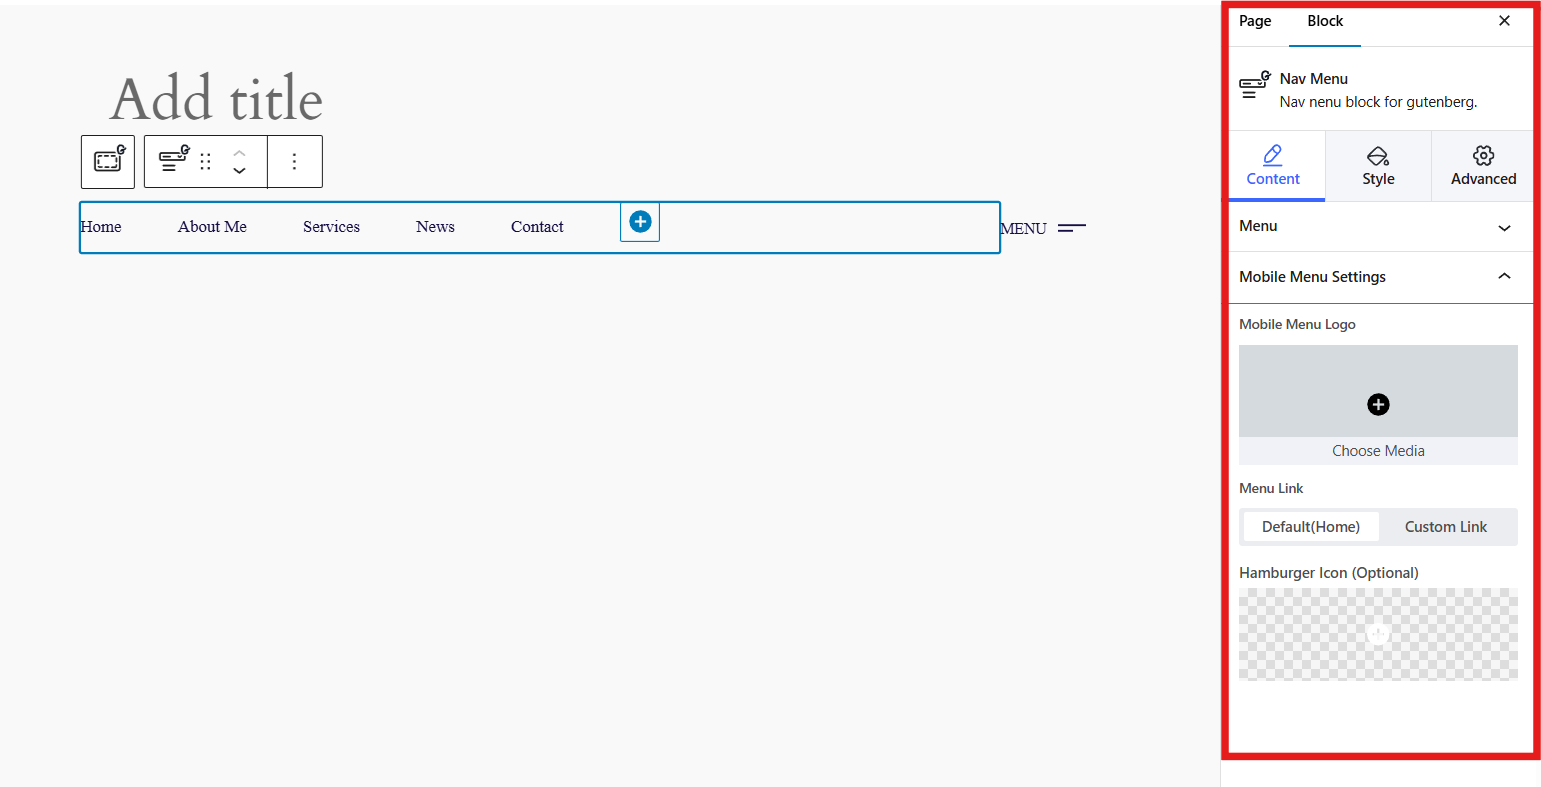
Now, navigate to the Style section to fully customize your navigation menu. Here, you can modify the background, padding, border, spacing, typography, and more to achieve the desired look.
For your mobile devices, go to the Mobile Menu Settings to configure the logo, add existing menu links, include an optional hamburger icon, and customize the appearance of your mobile navigation menu.
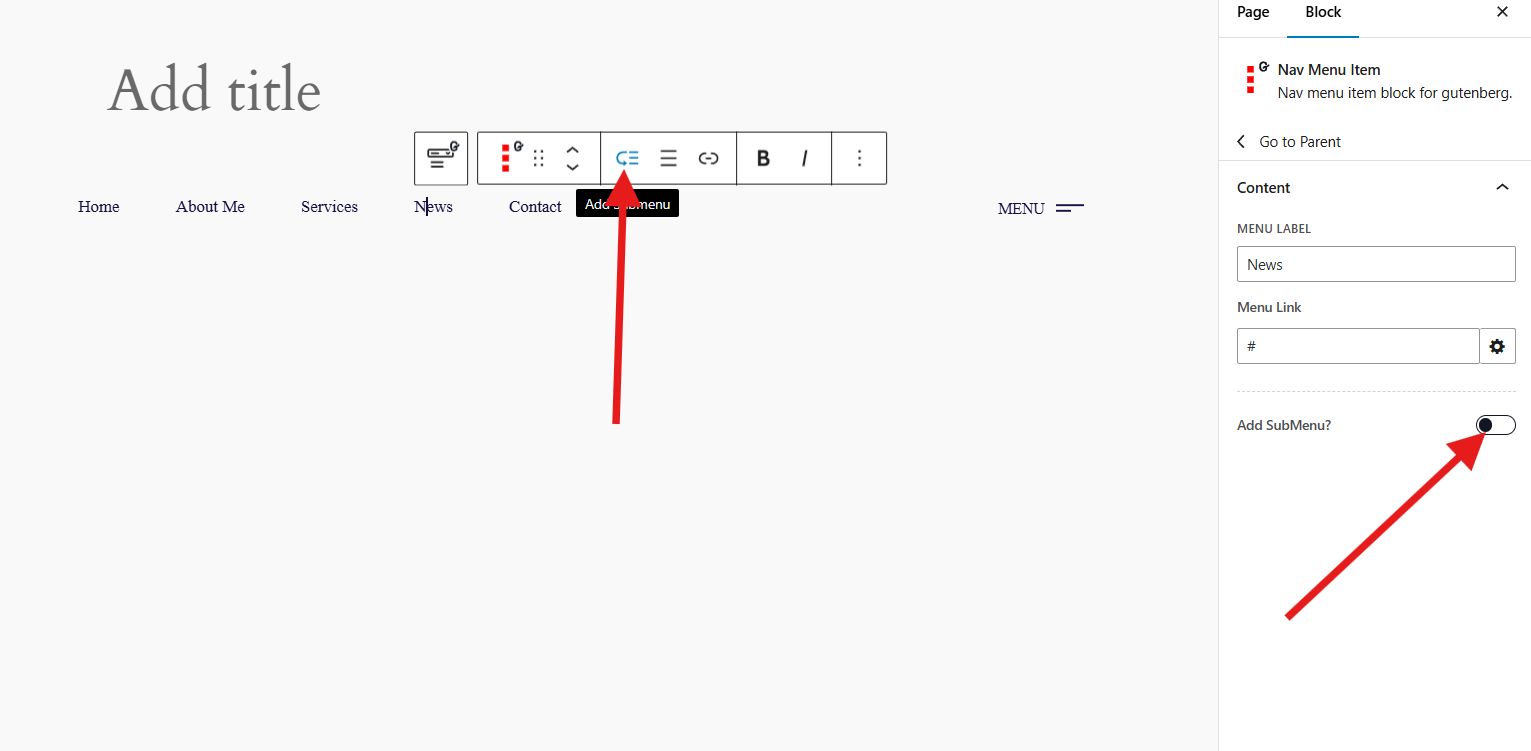
To add a submenu to your nav menu item, simply select the item where you want to add your submenu. Then, click on the submenu icon at the top toolbar or toggle the Add Submenu button.
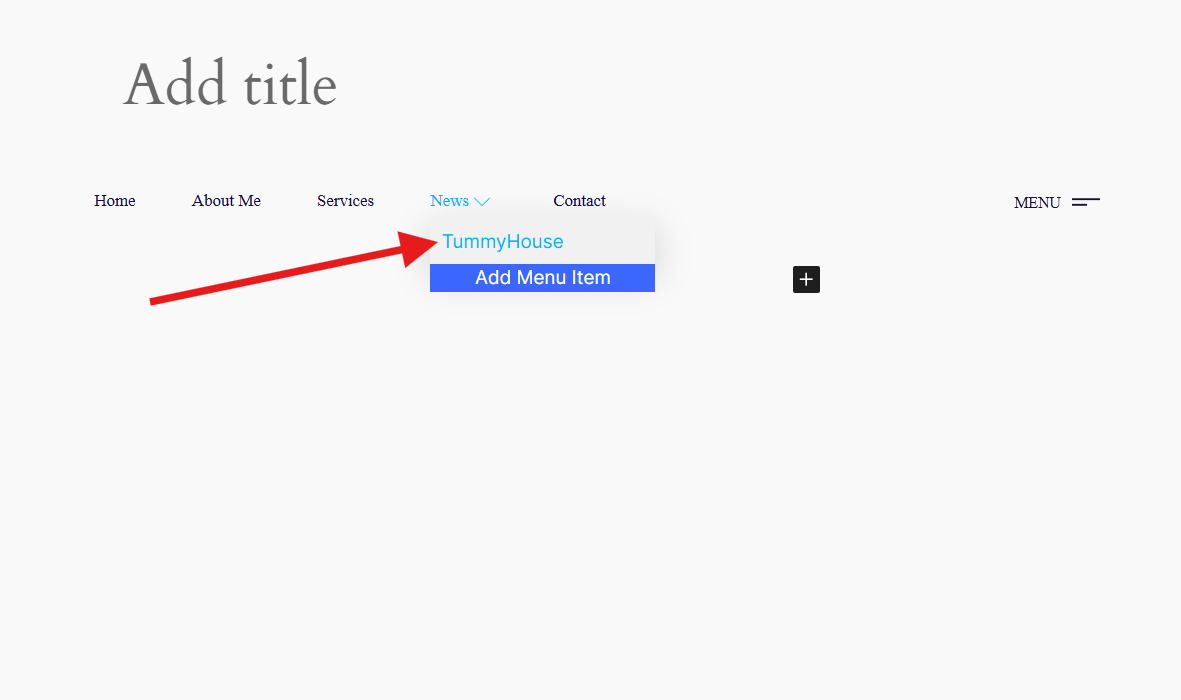
Search or type the URL of the page of your submenu.
➡️ Adding Pricing Table:
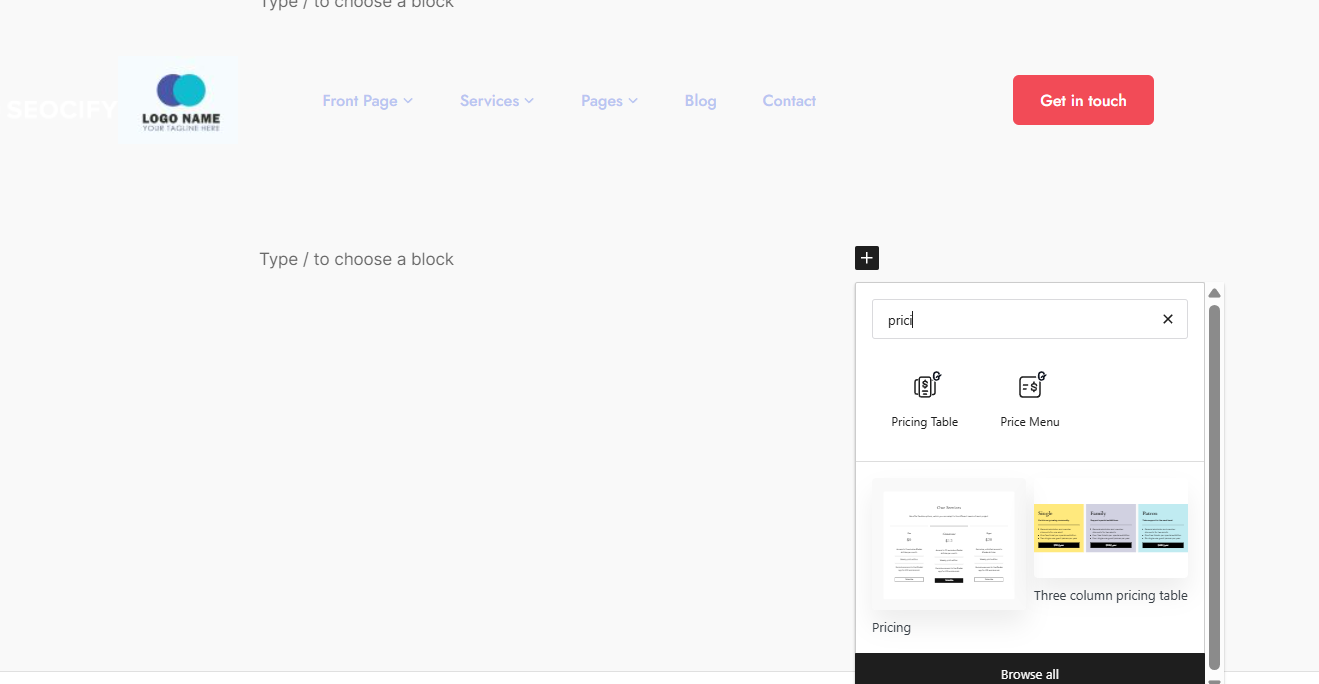
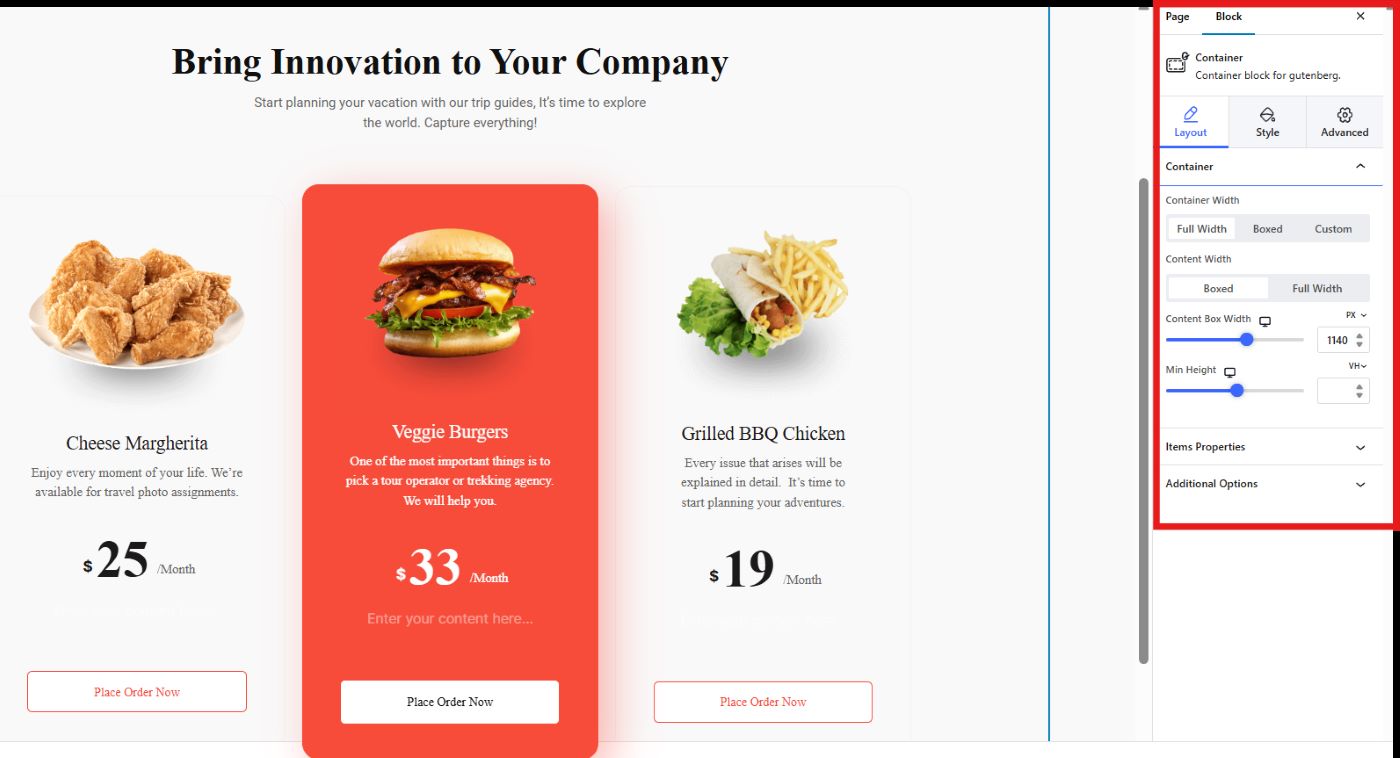
To add different sections just like the pricing table to your landing page, click on the black + box to add the GutenKit Heading block. This block allows you to enter the name of your section and a little description.
Next, click again on the black + box to add the GutenKit Pricing Table block. Make sure that the block you will choose has the GutenKit badge.
Lastly, customize your pricing table using the sidebar tool.
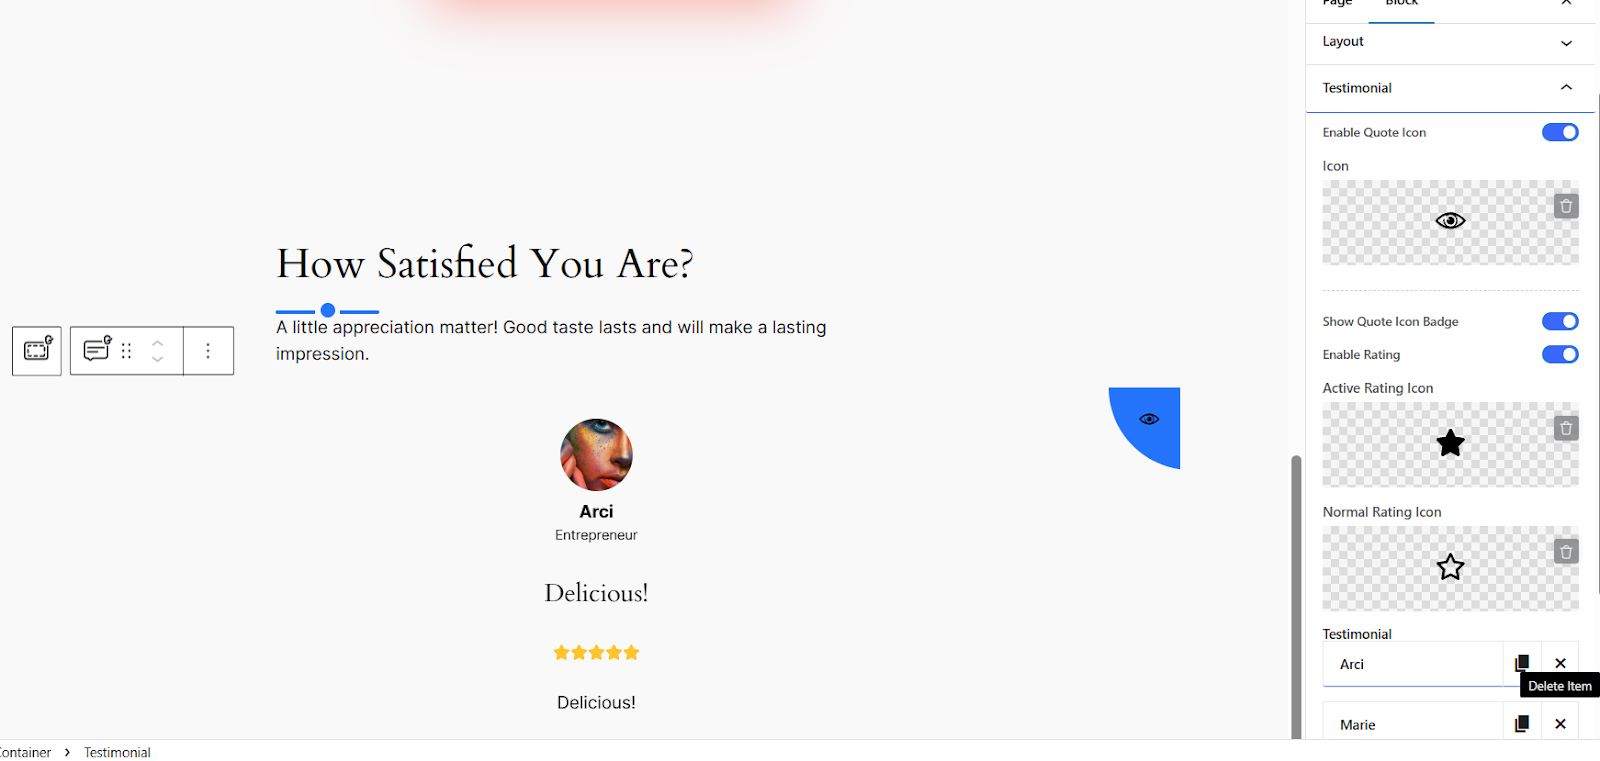
➡️ Adding Testimonial:
Use the GutenKit’s Heading block to add the title and description of your Testimonial Section. Then, search the GutenKit’s Testimonial block to pull it to your editor screen. Using the sidebar tool, personalize this section. You can select your preferred icons from the GutenKit library or you can upload your own icons.
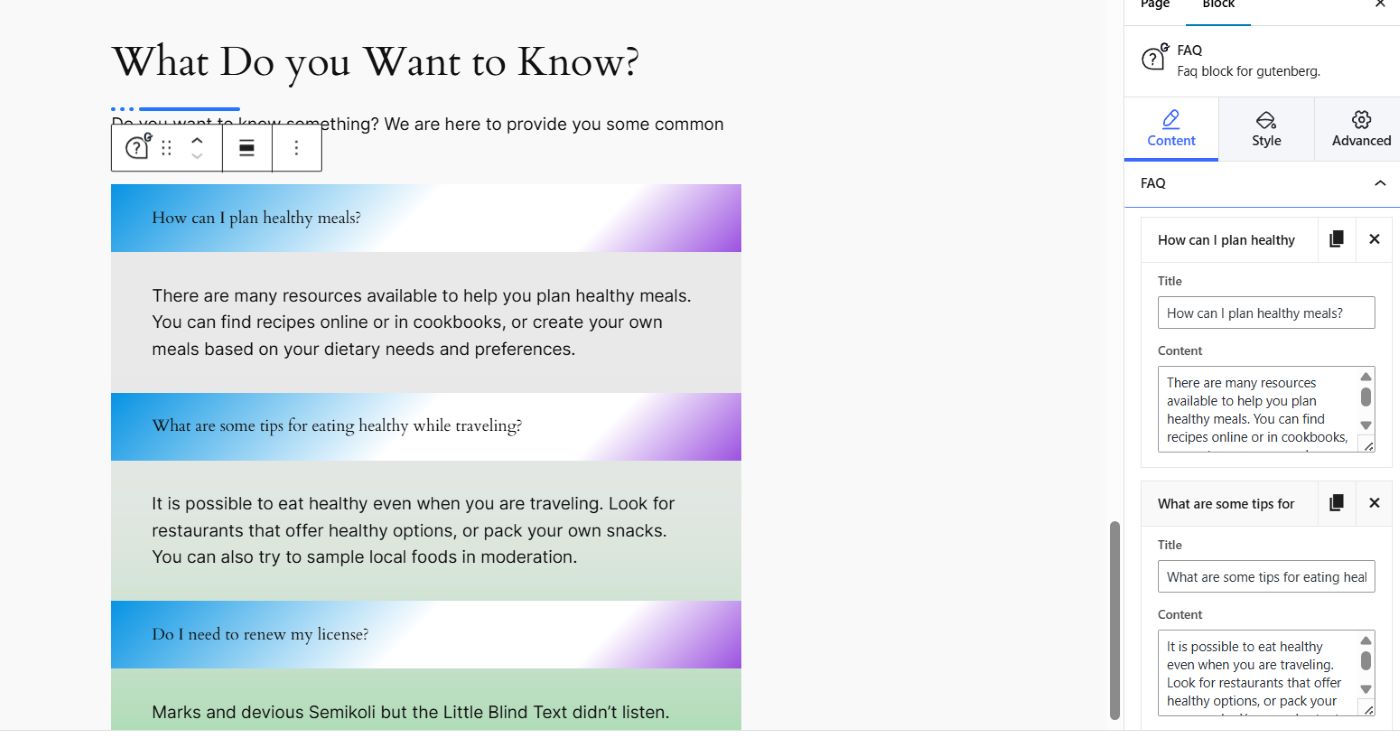
➡️ Adding FAQ:
To add another section, simply click on the black + box and add the GutenKit Heading block to enter the name and a little description of your new section.
Then, click again on the black + box and search for FAQ that has a GutenKit badge to start personalizing your FAQ section. You may add as many items (Q and A) as you want.
➡️ Grouping Related Section for your Landing Page:
If you want to have a more organized and aesthetic landing page, GutenKit offers a special block that allows users to group related content in 1 section or container.
Here’s how you can do it:
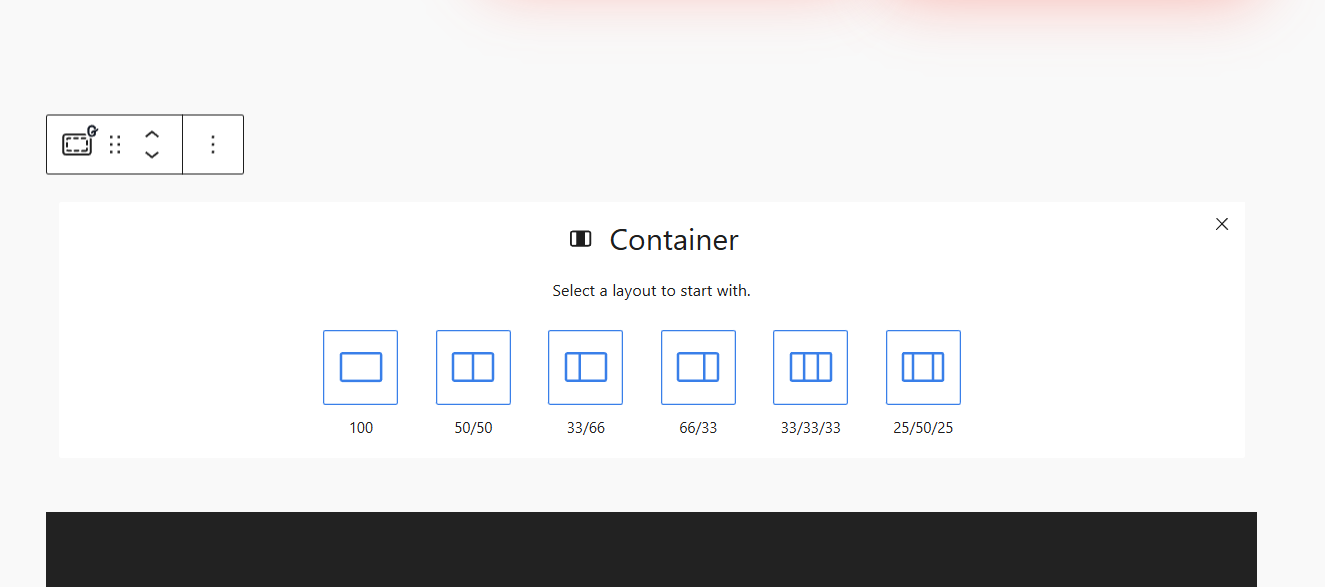
- Click on the black + box and search for the container block.
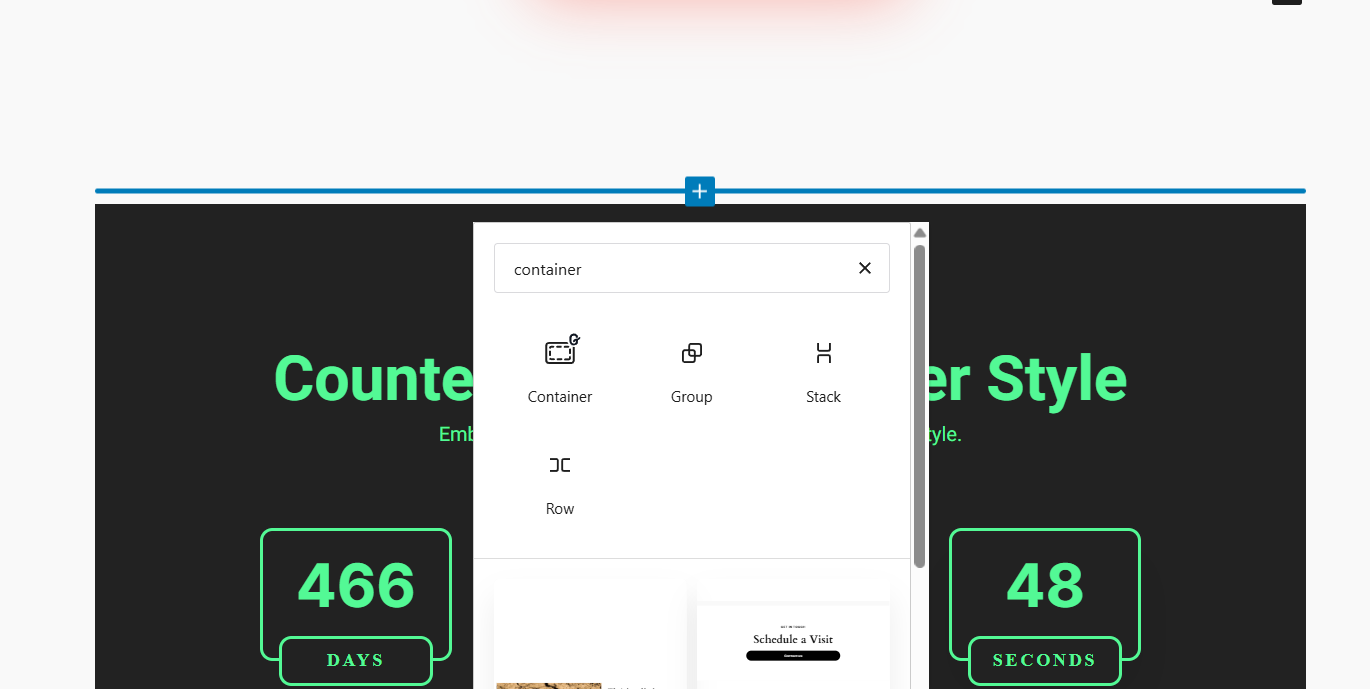
- Select your layout from the six options. In this tutorial, we’ll select the 50/50 layout as we’ll only group 2 content blocks.
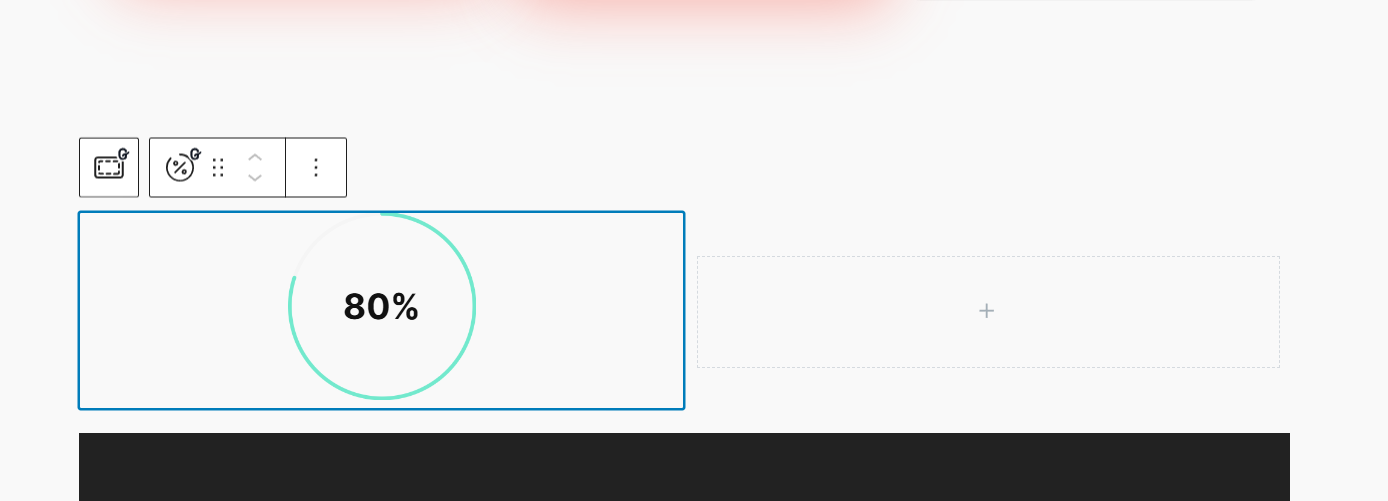
- You will notice that at the center of each container, there’s a plus (+) icon. Click on that icon to add a new block. Let’s say you want to add a donut progress bar in your first container, simply search for the block to add it to your editor screen.
- In the next container, add another block. Let’s say you want to group the donut progress bar with a countdown timer. Just simply follow the same process.
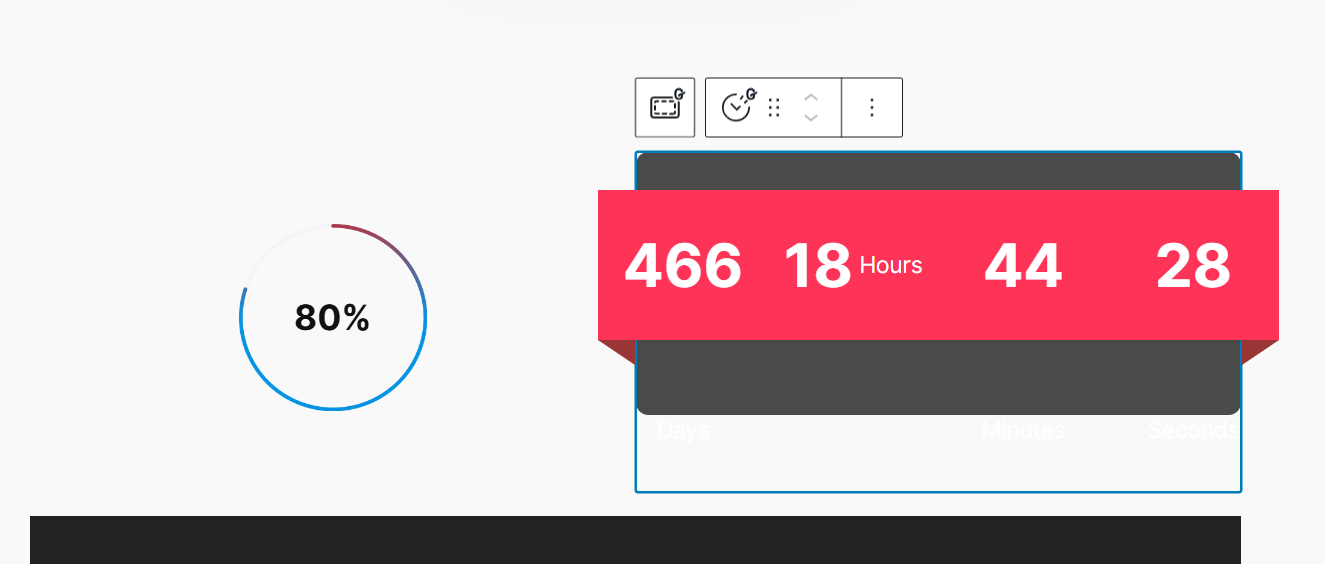
Here’s the final output:

Final Verdict
Building a landing page with Gutenberg offers flexibility and control. With a bit of planning and creativity, you can craft a high-converting landing page designed to achieve your goals.
Whether you choose to utilize the default block editor or leverage a Gutenberg plugin, consider your technical expertise and desired level of customization when making your decision.
If you want a simple landing page, you may stick with the default block editor. However, if you want a high level of customization and a highly converting landing page, opt for a Gutenberg plugin. And GutenKit is the perfect choice for you. It offers 2 simple approaches to crafting a highly engaging landing page.
Happy crafting!
Leave a Reply