


Before hitting the send/schedule button for an email, it is advisable to send a test email first. In this documentation, we’ll learn to send test emails from the EmailKit dashboard.
How to Send a Test Email Using EmailKit #
Navigate to your WordPress dashboard.
Then, add a new EmailKit template or start editing an existing one.
After that, follow the below steps:

- Once you’re inside the EmailKit editor screen, click the “Test Email” icon as spotted in the above image.
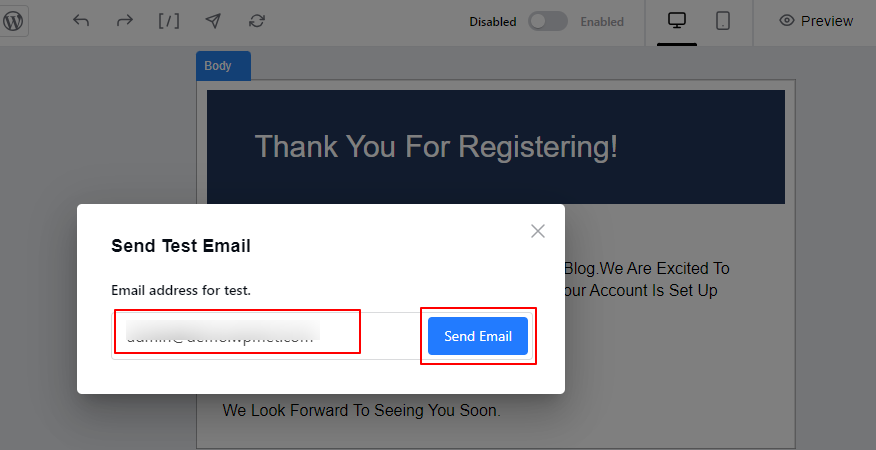
- A popup will appear where an email ID for the test email has to be input.
- Enter the email ID and click the “Send Email” button.

- If the email is successfully sent to the receiver, it will show a notification on the top right corner of the page.
That’s it! This is how you can send a test email from the EmailKit dashboard.
After receiving the test email, you can check for errors/areas of improvement and go back to EmailKit to start fixing/improving them.


