


For a well-planned event, registration of the attendees is a must. An easy-to-fill-out online event registration form can help you increase the sign-ups as well as organize the event better. You can easily create an event registration form in WordPress with Elementor.
This article will help you create an online event registration form even if you are new to the WordPress ecosystem or Elementor.
ここでは、コーディングなしでオンラインイベント登録フォームを作成する詳細なプロセスを示します。
Quick Overview
This tutorial includes the process of creating an WordPress Event Registration Form.
Tools Used: Elementor and MetForm Pro
Here is the process, Install plugins > Create a new form > Use MetForm Template > Customize the form.
Event Registration Form may include:
✅ Name Fields
✅ Contact Info (email and phone number)
✅ Organization name (if applicable)
✅ Dietary Requirements (if food is provided)
✅ Special Assistance
✅ Comment or message
✅ 送信ボタン
✅Send a confirmation email.
イベント登録フォームはどのように機能しますか?
Event registration can be done in two ways – offline and online. In offline registration, attendees sign up on-site—often on the day of the event. This approach requires organizers to make arrangements based on assumptions, which can lead to uncertainty in planning.
The online registration, however, is done days before the event date. The organizer creates an online form where the audience can fill out their details and confirm his/her attendance.
It helps the organizer to understand how many people are coming to the event. The number of attendees will help you to estimate the venue size and other relevant information.
イベント登録フォームには支払いオプションがある場合もあります。有料イベントではよくあることです。
WordPressイベント登録フォームの作り方
WordPress でイベント登録フォームを作成するには、フォーム ビルダーを使用する必要があります。ただし、適切なプラグインがなければこれを行うのは困難です。ここでは、最も柔軟でデザインしやすいフォームビルダープラグイン MetForm を使用してフォームを作成する方法を説明します。
ステップ 1: 必要なプラグインをインストールする
次のプラグインをインストールする必要があります –
- エレメンター: プラグインをダウンロード
- メットフォーム: プラグインをダウンロード
- MetForm プロ: プラグインを入手する
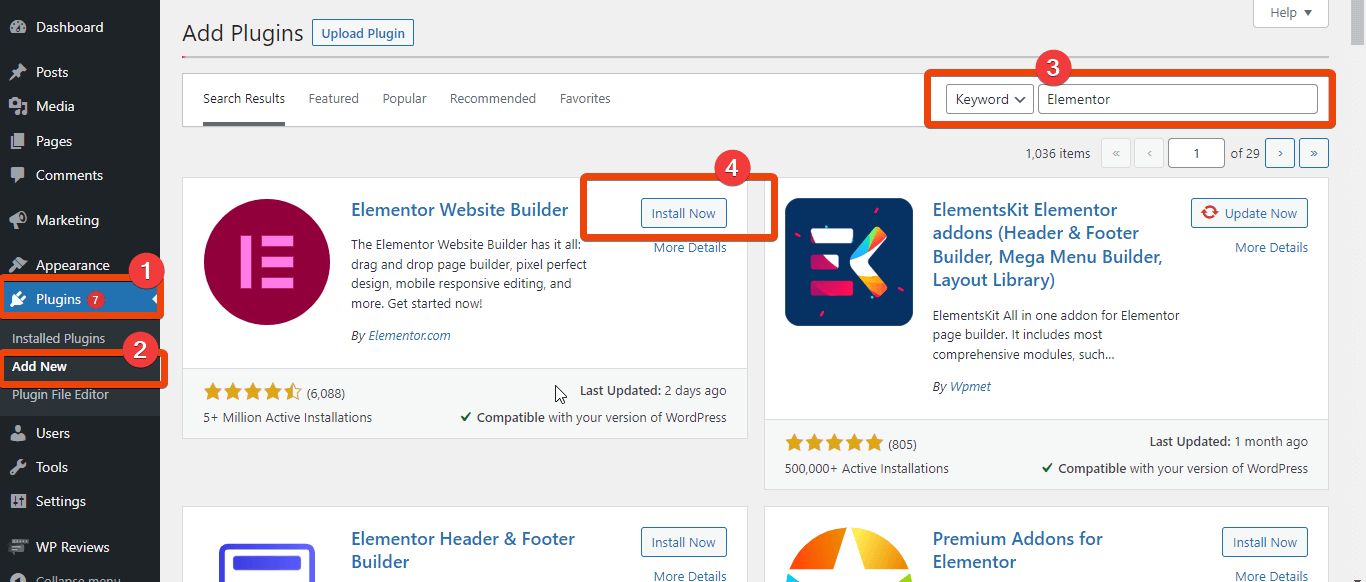
あなたのところに行ってください WordPress ダッシュボードと選択したプラグイン。今 「新規追加」を選択します 右上の検索ボックスに、 エレメンターを検索する。プラグインをインストールして有効化します。
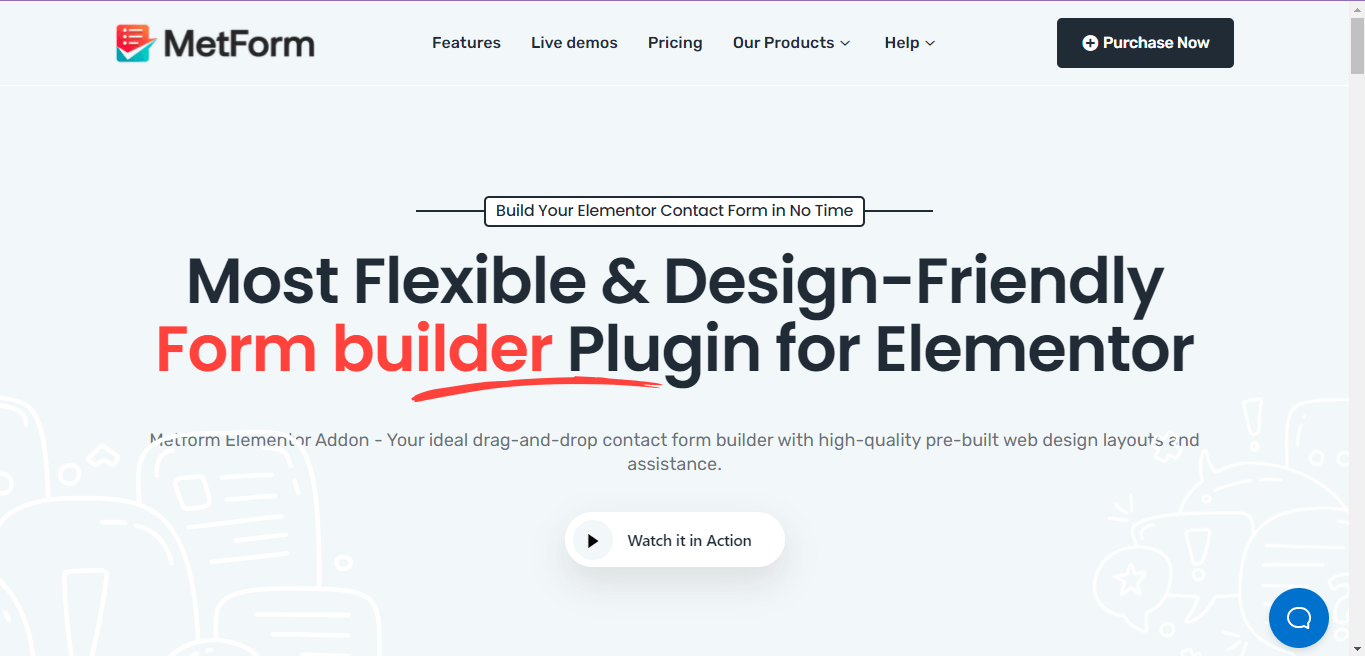
今 MetFormをダウンロード. MetFormのランディングページに移動します あなたのプランに合ったプランをお選びください。それから プラグインをインストールして有効化する WordPress フォームの最も高度な機能を楽しむために使用します。
Now you can start to create and design an event registration form in Elmenetor using MetForm.

ステップ 2: 新しいページを作成する
に行きます WordPress ダッシュボード マウスを移動してページに移動します。 「新規追加」を選択します そして新しいページにたどり着きます。ここで「」を選択してくださいElementorで編集する'。
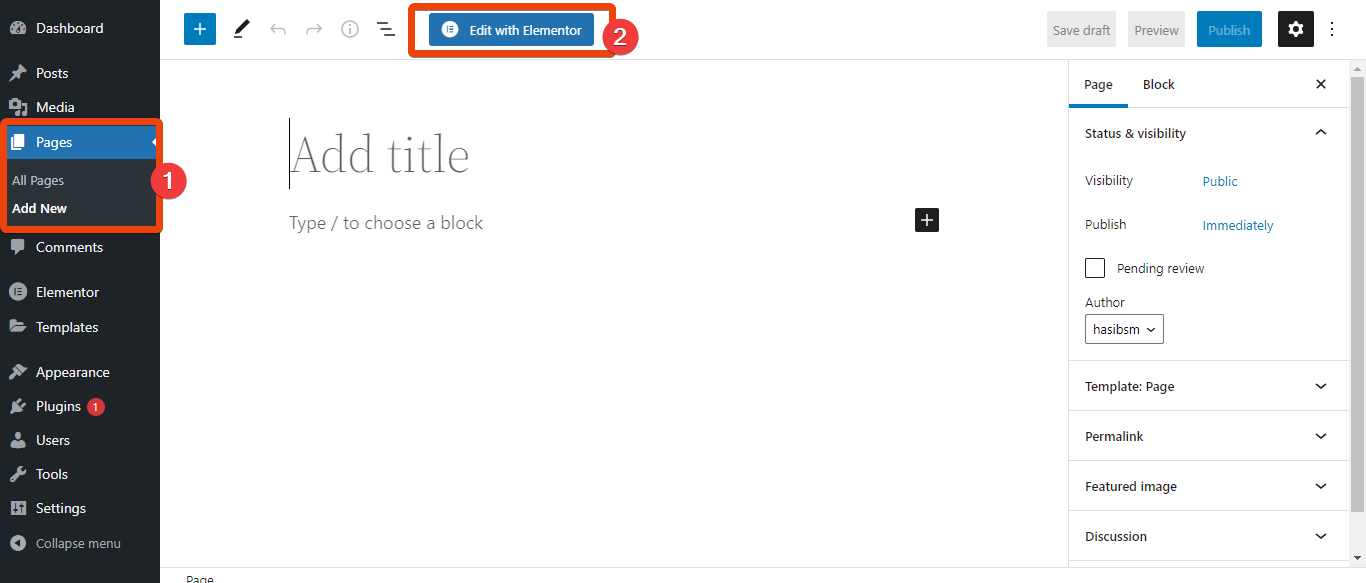
You will have to do the rest of the task of creating the WordPress event registration form on the Elementor editor.
ステップ 3: MetForm を追加してテンプレートを選択する
Elementor ウィジェット ライブラリについて, MetFormを検索する. ウィジェットをドラッグアンドドロップします ページ上で。
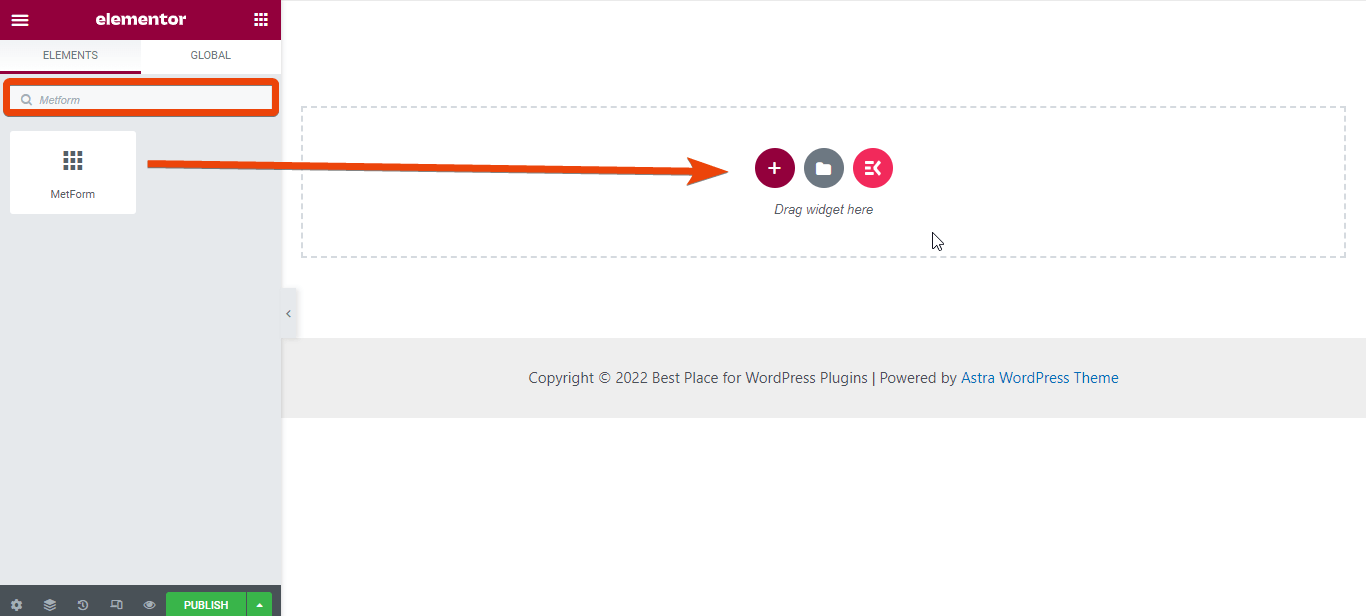
ここで「」をクリックしてください。「フォームを編集」>「新規」を選択。フォームに使用できるすべてのテンプレートが表示されます。
テンプレート一覧から、 「イベントフォーム」を選択します そして、 「フォームを編集」 ボタン。フォームのレイアウトが表示されます。 「更新して閉じる」ボタンをクリックします。
ステップ 4: フォームをカスタマイズする
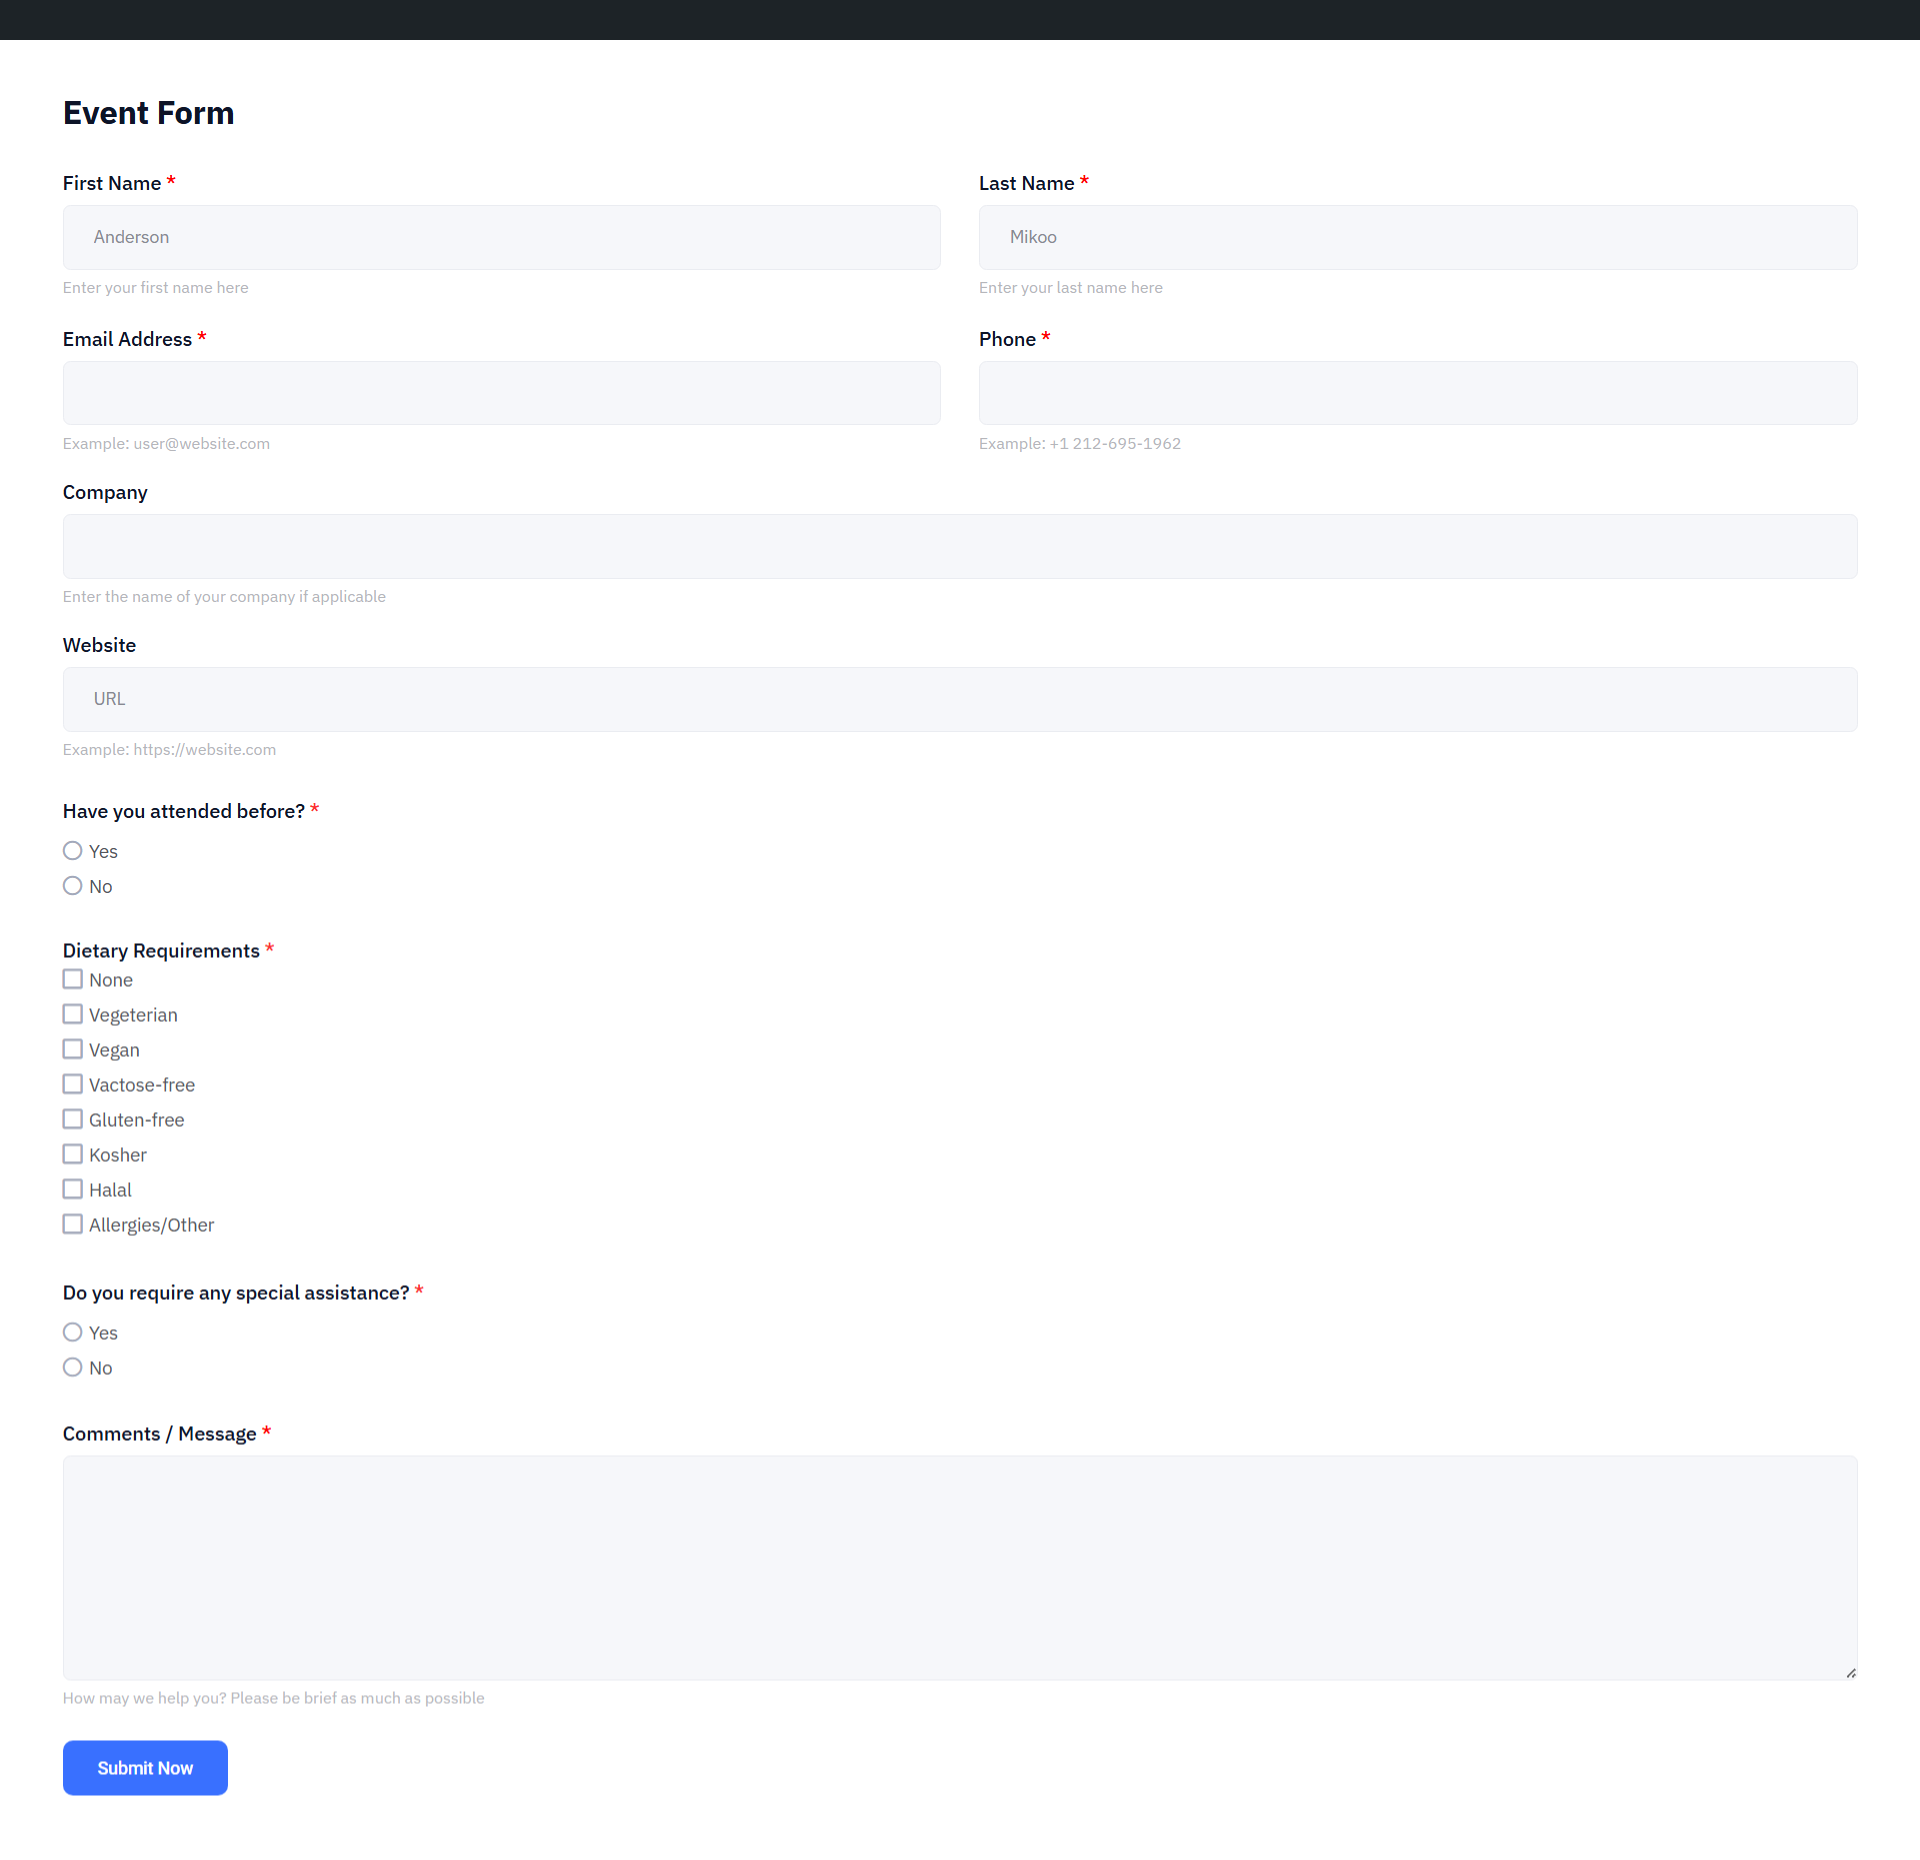
The default event registration form template will have several fields.
Here are fileds that MetForm’s Event Registration form template:
- Name Fields
- Contact Info (email and phone number)
- Organization name (if applicable)
- ウェブサイトのURL
- Dietary Requirements
- Special Assistance
- Comment or message
- Submit button.
You can keep the default fields or delete some and add new fields from the elements library.
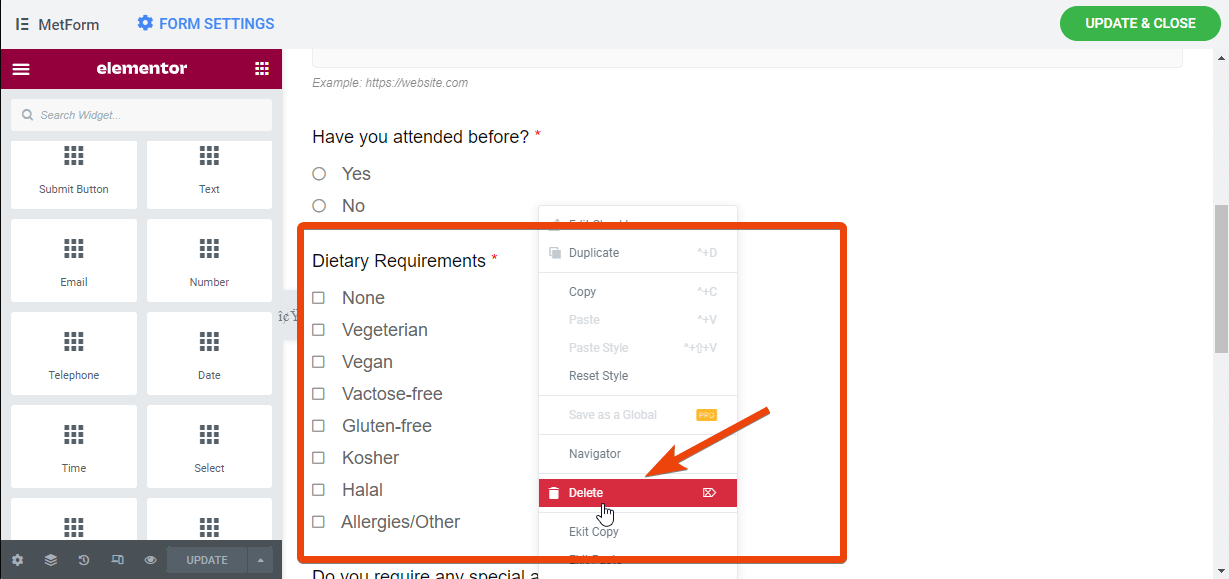
テンプレートからフィールドを削除するには、そのフィールドを右クリックすると、削除オプションが表示されます。それを押して削除してください。
たとえば、ここでは「食事要件」という名前のフィールドが表示されます。このフィールドは必要ないかもしれません。したがって、このフィールドを右クリックして削除します。
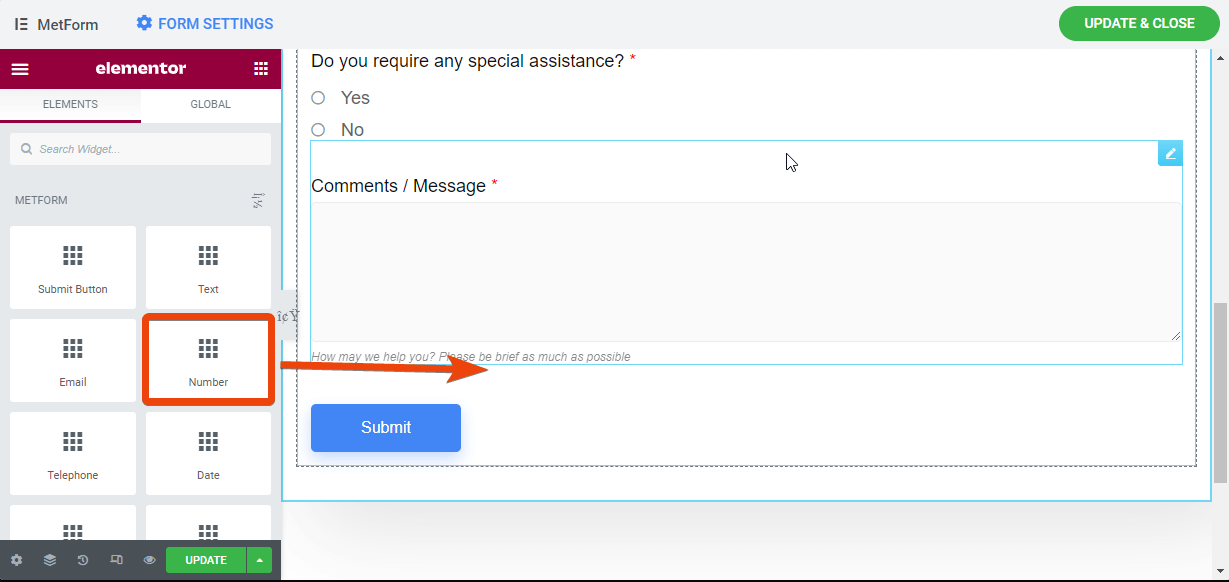
フォームに新しいフィールドを追加する場合は、左側の要素を参照します。フォーム上の特定のフィールドをドラッグ アンド ドロップします。たとえば、出席者がイベントのグループを選択できる番号フィールドを追加する場合は、その番号フィールドをページ上にドラッグ アンド ドロップするだけです。
📃📃 魅力的な求人応募フォームを作成する 📃📃
ステップ 5: フォーム設定をカスタマイズする
これでイベント登録フォームが作成され、フォームの設定を変更できるようになります。フォームの設定を変更するには、 WordPress ダッシュボード > MetForm > フォーム。ここには、MetForm で作成したすべてのフォームが表示されます。
イベント用に作成したフォームを選択すると、フォームのすべての設定が表示されます。そこから、通知設定を選択します。
そこには8つの異なる設定が表示されます。ここで見つけられる設定は次のとおりです –
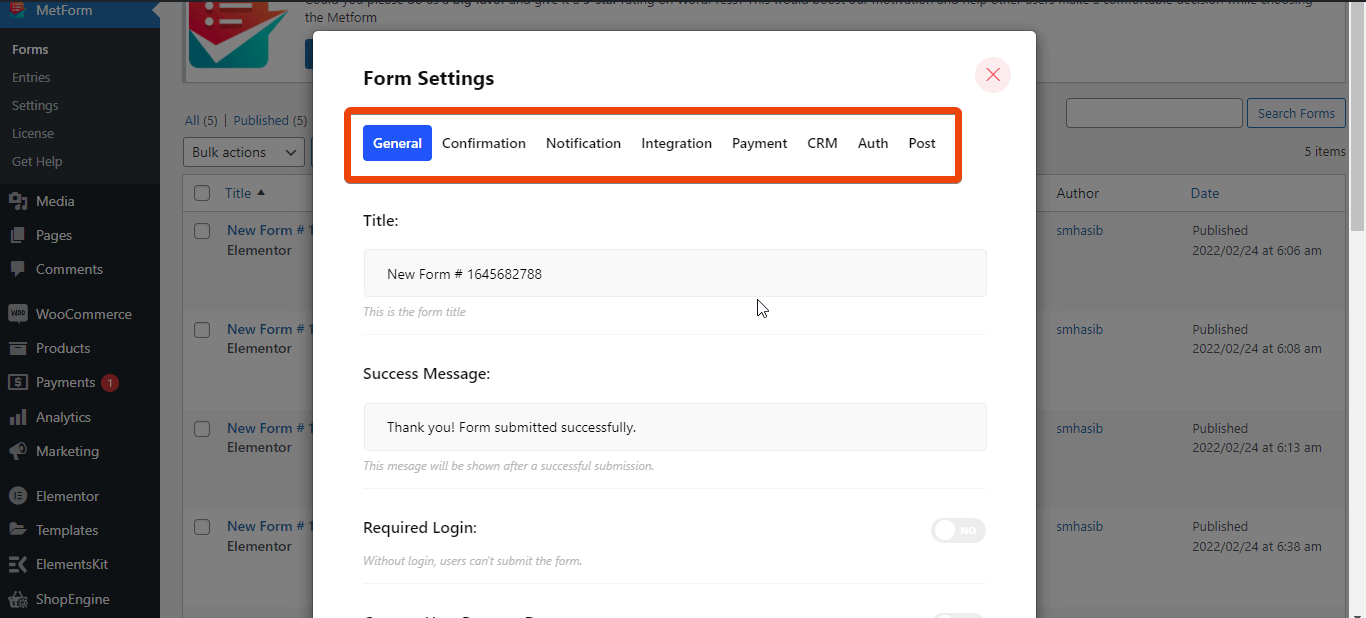
- 一般的な: 一般設定では、フォームにタイトルを付けることができます。 成功メッセージを設定する、エントリ数の制限、送信後のフォームの非表示など。
- 確認: ここでできます メール確認を設定する 視聴者向けのカスタムメッセージ付き。
- 通知: 通知を受け取りたい場合は、ここで管理者への通知を設定します。
- 統合: ここでは、Mailchimp、Aweber、GetResponse、Google Sheet などのサードパーティ ツールを統合できます。
- 支払い: 有料イベントを企画している場合、フォームに支払いオプションを統合できます。
- CRM: MetForm を使用すると、一般的な CRM HubSpot Contact、HubSpot Forms、Zoho Contact、Helpscout を統合できます。
- 著者: ここで、イベント登録用のログイン認証情報を設定できます。
- 役職: フォームを投稿として作成します。
ステップ 6: 通知と確認を設定する
誰かが登録フォームに記入したときに通知を受け取りたいとします。その場合は、MetFormの設定から通知を設定するだけで済みます。
作成したフォームに移動し、設定に移動します。先ほど述べたオプションが表示されます。上部から「通知」を選択します。これにより、管理者に通知が送信されます。
通知の電子メールの件名、電子メールの宛先、および電子メールの送信者を選択します。ここでは、好みに応じて電子メール アドレスを選択できます。
同様に、イベントに登録した人に確認メールを送信できます。これを行うには、フォームに移動し、上部から確認を選択します。
次に、確認の送信先となる件名と電子メール アドレスを選択します。次に、登録したメールアドレスを選択し、メッセージをありがとうございます。
ステップ 7: サードパーティツールを統合する
必要に応じて、次のようなサードパーティ ツールを統合できます。 ハブスポット, ゾーホー, ヘルプスカウト, メールチンパンジー、Googleシート、 もっと。これらのオプションはすべてフォームの上部に表示されます。
ステップ 8: フォームをプレビューして起動する
Finally, check the entire event registration form that you created with MetForm. If it looks good, you can share it with your audience. The best part is, you can generate a shortcode for the form to integrate it anywhere on your website.
よくある質問
Why should I use a online event registration form?
What fields should I include in an event registration form?
Can I set a registration limit or deadline?
まとめ
Now that you have the complete guideline on how to create WordPress event registration forms, it shouldn’t be a big challenge anymore. Follow the steps I have shared here and the form will be ready. You can even 複数ステップのフォームを設計する メトフォームで。
フォームの作成中に、フォームのすべての設定と機能を確認して、新しいオプションを検討します。
コメントを残す