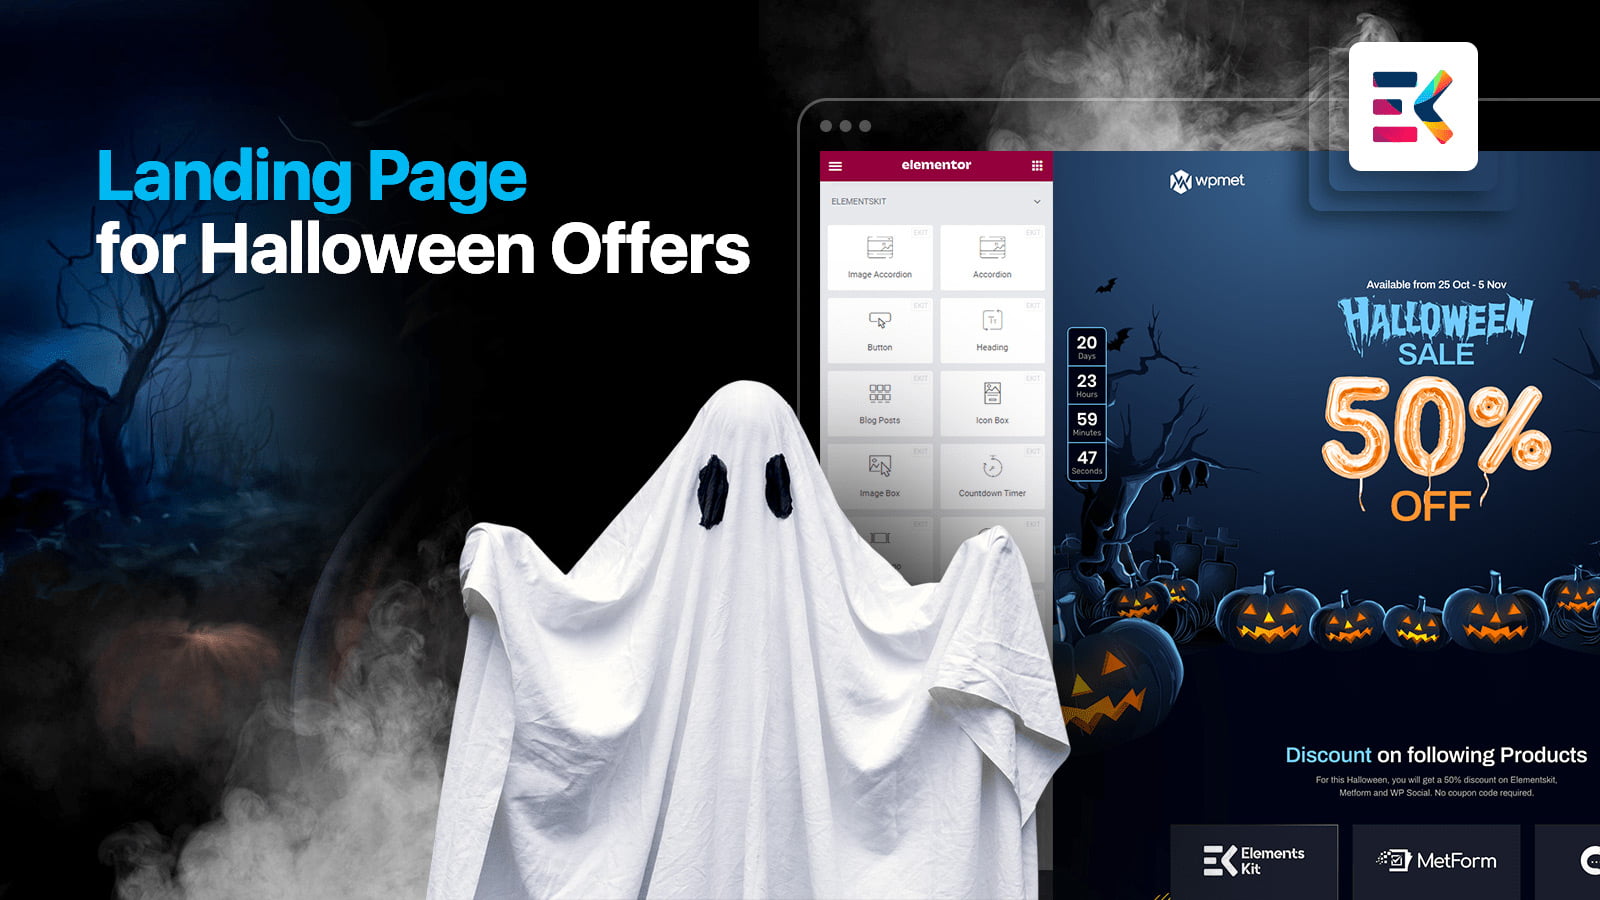
Halloween- The scariest night of the year! It’s time to enjoy the night with zombies and
Maccabees.
Well, you probably decorated your surroundings with nerve-racking cobwebs, lanterns, scarecrows, or other elements to create a petrifying environment for this Halloween.
But, what about your website and its visitors? Being a webmaster, decorating your house shouldn’t be your only goal. Halloween is not only for yourself but for your website too. Thus add some Halloween spice to your website as well besides doing home decor!
In this blog post, I will show you the easiest process for how to create a landing page for Halloween offers with ElementsKit.
Why Should You Add a Halloween Landing Page on Your Website?
If you didn’t create a Halloween landing page yet, what’s stopping you from making one?
It’s a great time to give your customer a BOO, prepare your Halloween line up for this season. Start planning early to design a spooky-themed landing page for your Halloween website.
People start searching for Halloween discounts as early as September.
According to the National Retail Federation (NRF), in the upcoming Halloween, there will be a huge demand for different products. Not only that, the total spending will be more than about $11.6 billion!
Do you want to miss this opportunity?
Nah, you shouldn’t. I don’t think it will be a wise decision for your business. So, let’s start designing your landing page.
Things You Should Include in Your Halloween Landing Page
Before jumping on the landing page, let me inform some must-have elements on your Halloween landing page.
1. Spooky Background Banner
The hero banner is the most prominent part of your webpage. That’s why you must put a spooky background hero banner on your website.
A hero banner will add the Halloween vibe to your audiences within a second. Start designing one!
2. Spiritual Icons
Changing the icons and colors is the second task you should do for funny landing pages. You may design custom icons for your site. Otherwise, you can use the free designs available on the web.
Most of the famous brands change their logo to celebrate Halloween. Here’s the Halloween preparation for LG and Pringles.
3. Mysterious Animation
Nothing can beat the appeal of a mysterious animation to add a spooky flavor to your Halloween website design. A creepy animation is a great chance to make your project look modern, spooky, and festive at the same time.
4. Attributes
Don’t forget to add some traditional Halloween attributes or Halloween jargons to your landing page. You may choose the following attributes –
- Carved Pumpkins
- Jack-o’-lanterns
- Black cat
- Ghosts
- Tombstones
- Haunted houses
- Evil bats
- Spooky trees
- Cobwebs and spiders
- Skulls
- Witch hat
- Broomsticks etc.
Customize these so that it can add a Halloween vibe to your webpage.
5. Special Typography
A bunch of researchers at MIT shows that web fonts and typography have a tremendous psychological impact. Thus, you should add some unique typography or stylize the existing fonts. Remember, your chosen font must go along with the web graphics.
How to Create a Landing Page for Your Halloween Offers with ElementsKit
While designing a Halloween landing page, you must add several funny and creepy sections to your webpage. Make sure that your audience got a real surprise!
Initial Setup:
To follow this step-by-step successfully, you’ll need
- WordPress installed website
- Elementor
- ElementsKit pro
In this section, I’m going to share the step-by-step process of creating a Halloween landing page for your WordPress website. Let’s start.
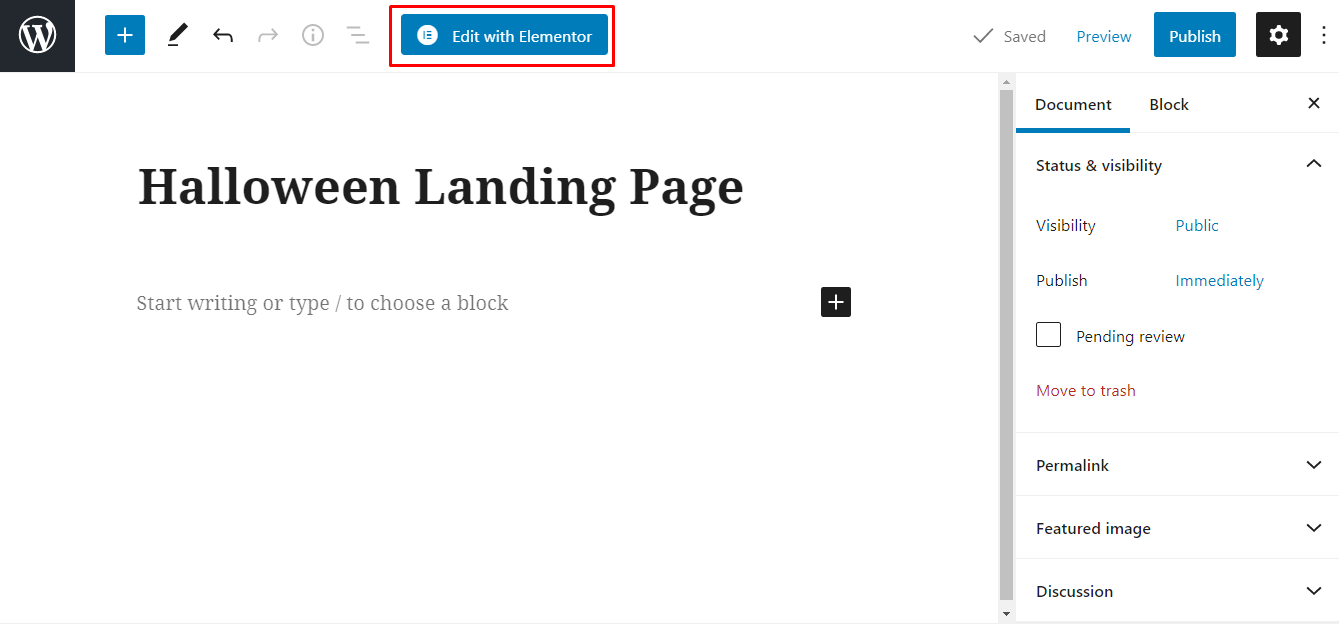
Step #1: Create a New Page
At first, login to your WordPress admin dashboard. Then, open a new page by clicking Pages > Add New.

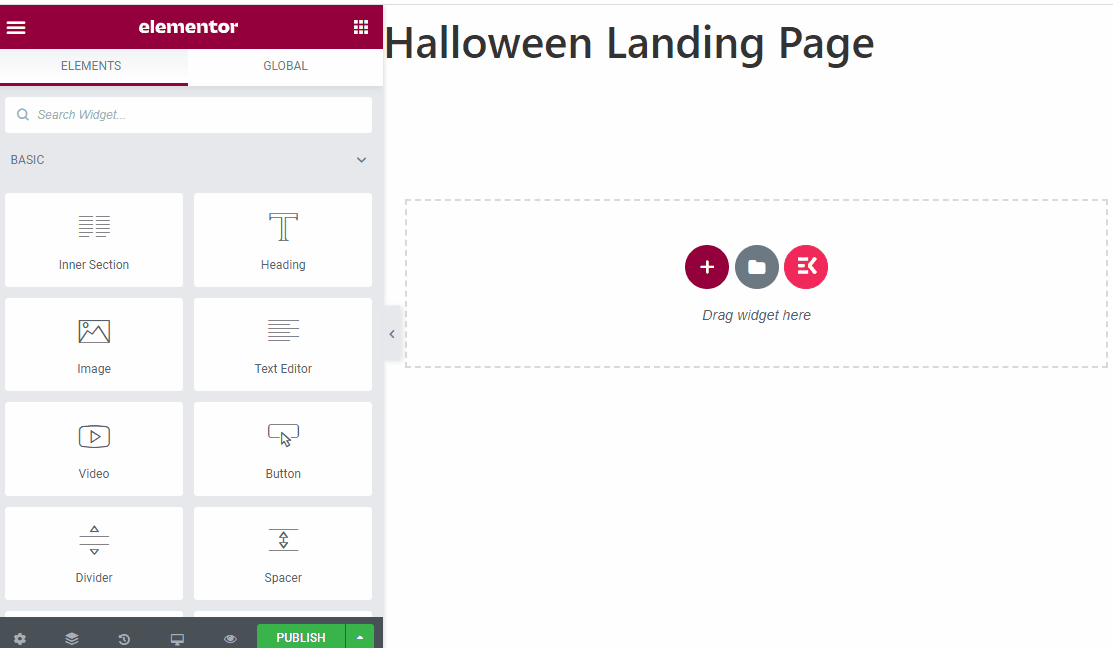
Now, add an attractive title for your landing page and launch it with Elementor.
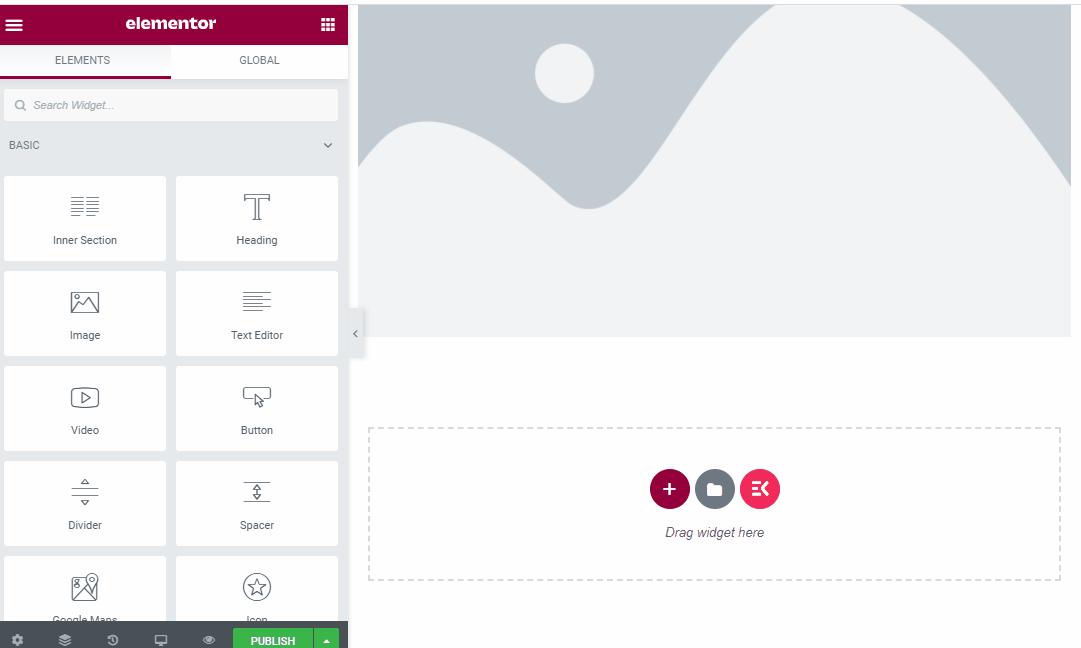
Step #3: Add a Hero Image
A hero image is a large web banner that is placed on the front page with center alignment.
Remember: you must choose an eye-catchy and Halloween styled image as a hero image. It’s the only way to create a great first impression. So, never compromise with the quality of your hero image.
You can add the image only by drag & drop the Image widget to your webpage.
After dragging the image widget, you’ll get multiple editing sections on the left side. You can change the image size, alignment style, caption, and link of your header.
You can also add multiple images via Image Accordion by ElementsKit. Here’s the process of adding multiple images in the banner section.
By default, there will be four images on the header. You can change the number of images, image style, behavior, etc.
The ‘Style’ allows you to change the appearance style to horizontal or vertical. And the ‘Active Behaviour’ feature will allow you to change the activation method. You can activate the images by clicking on the image or only by hovering on it.
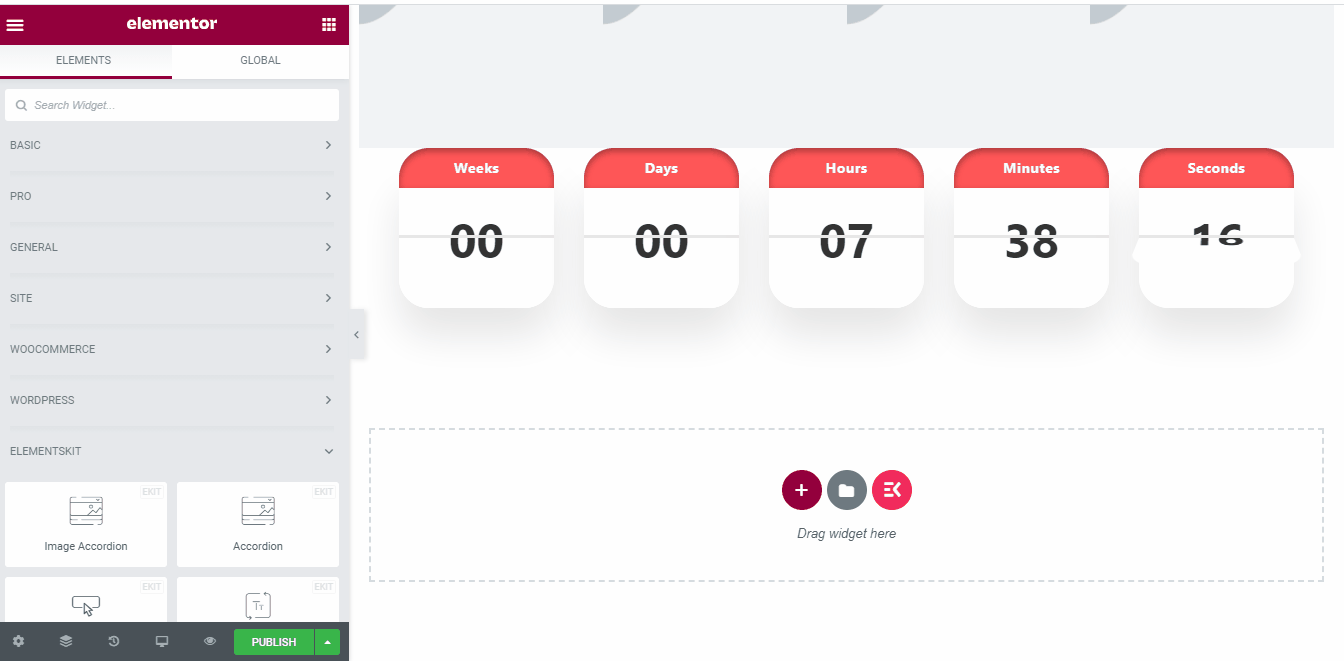
Step #3: Add a Countdown Timer
The countdown timer is a great tool to boost your sale. You can create a countdown for your discount time. You can easily do this action by using ElementsKit’s Countdown Timer.

You can change the expiry time from the ‘Timer Settings’ option. In case you want to change the height, width, or margin of this countdown timer, hop into the ‘Style’ tab. You’ll get further tweaking options on there.
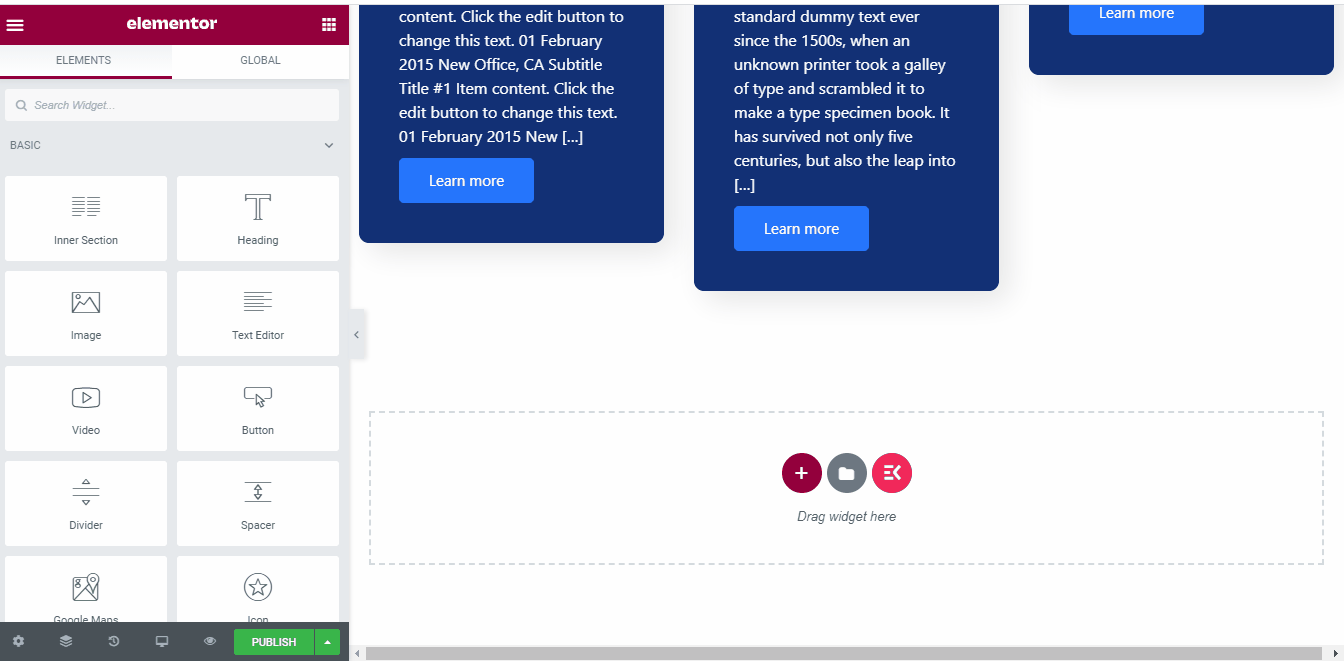
Step #4: Introducing Your Product
Okay! You’ve done a lot for the visitors. Now it’s time to introduce your product to the audiences. Well, you can do this task pretty quickly by using ‘Blog Posts’ widgets by ElementsKit.
Try to keep the product title and description simple and precise. Don’t clutter the words!
There will be three demo content on the blog post section. You can change the text layout style, metadata, CTA button, etc via the left panel. In order to change the background color, border color, shadow, margin, padding, etc choose the ‘Style’ tab.
Don’t forget to add the CTA buttons under the product description. The sample CTA button texts are ‘Learn more’, ‘Purchase Now’ etc.
Step #5: FAQ or KnowledgeBase Section
It’s the last section of the landing page of your webpage. In this section, you can add the answers to frequently asked questions. For instance, you can add three or four items to the list. You can add this section by using the FAQ widget.
By the way, if you want to make this section quite eye-catchy and voguish, I’ll suggest using the Accordion widget of ElementsKit.
You can modify texts and question appearance style from the left. You can also add more questions by using the ‘Add Item’ button.
Bonus Tricks: Adding Header, Footer, and Sticky Menu
If you are build a custom landing page from scratch, there will be no header menu. You can add the menu by using the Nav Menu by ElementsKit. In case you want to add a menu with numerous categories, the Mega Menu should be your first choice.
For the footer menu, you can import the default footer of your website.
To stick the menu on top when scrolling down, you can use the Sticky Menu section of ElementsKit. You can also add anchors to the navigation menu if you want.
Let’s Have a Look at The Output
Well, we’ve just completed designing a beautiful landing page for our Halloween offers with ElementsKit. Let’s see how it looks.
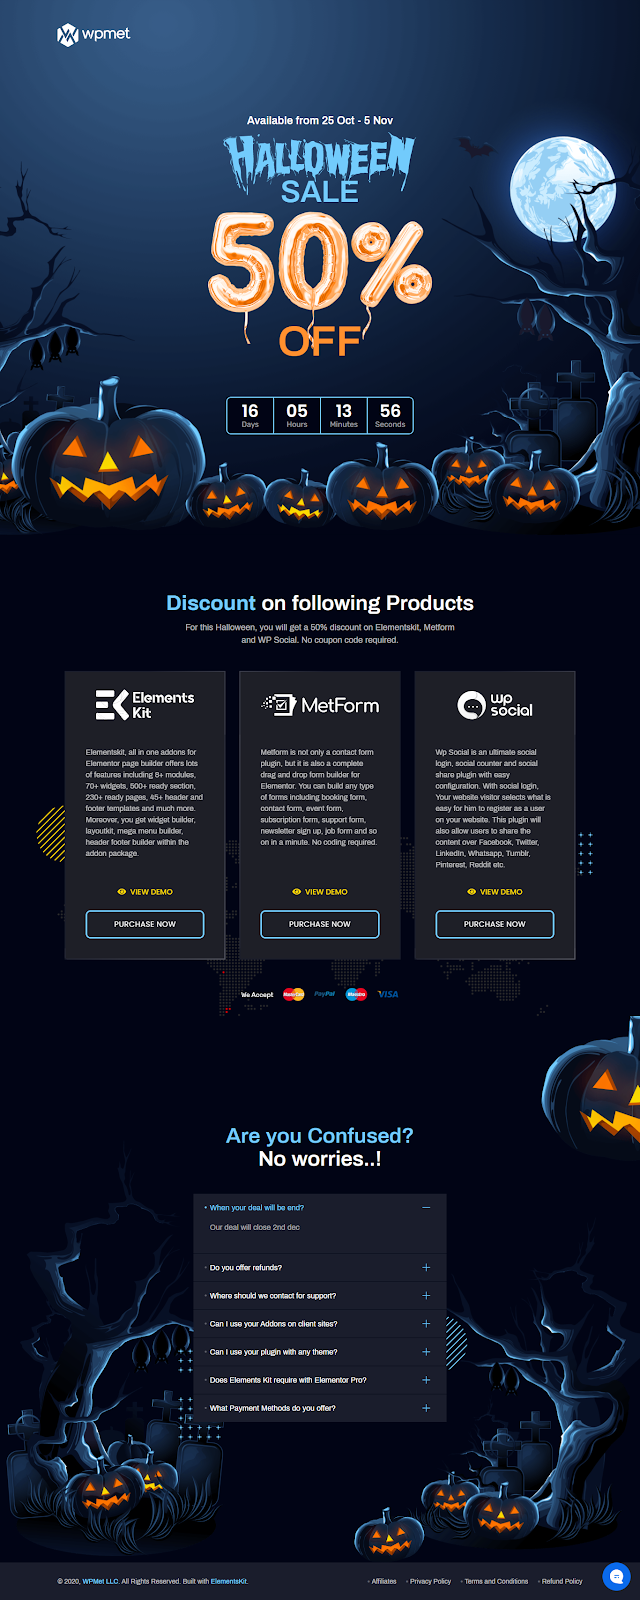
Looks cool, right?!
Benefits of Using ElemetsKit to Build Halloween Landing Page:
There are thousands of different procedures to build a landing page. So you might ask, “why should I use ElementsKit for building one?”
Well, ElementsKit has several key advantages. These are –
No Coding – You don’t need to write a single line of code to create this landing page. Further, you don’t need to deal with creating child themes or other technical jargon. You can do it only by dragging and dropping different elements.
Higher Conversion Rate – This landing page looks not only beautiful but also generates a higher conversion rate.
Completely Free of Charge – All of the elements used on this landing page are completely free. You’ll get all of those required plugins on Elementor and ElementsKit.
Final Words
By now, you must realize the importance of Halloween and the process of creating a landing page for Halloween on your website. I hope your audiences will jazz up the Halloween vibe with your promotional landing page.
Are there any more cool Halloween stuff in your mind that we’ve missed? Feel free to share those in the comment.
Enjoy your Halloween and stay tuned with Wpmet!

Leave a Reply