

Can you imagine a large website without a navigation menu?
No way!
94% of users say it’s the most important feature of a website. So, easy navigation matters! That’s why mega menus are so effective. They organize categories and subcategories into a single, clear layout, making it easy for visitors to find what they need.
Sites like Amazon and eBay use mega menu to give the best user experience. Mega menus are ideal for e-commerce, news, blogs, and businesses with lots of content.
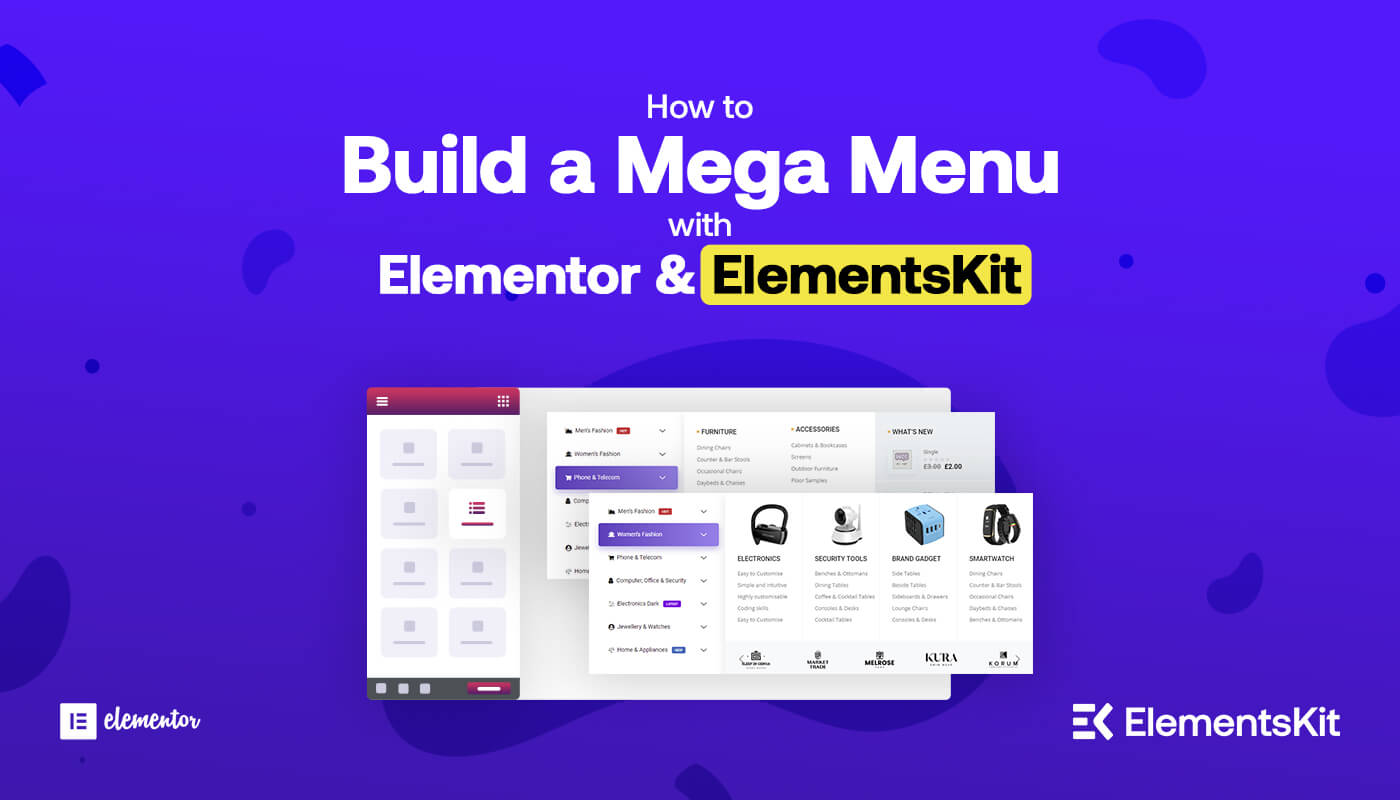
This article will show you how to create a functional and stylish mega menu with Elementor.
What do you need to create the mega menu with Elementor?

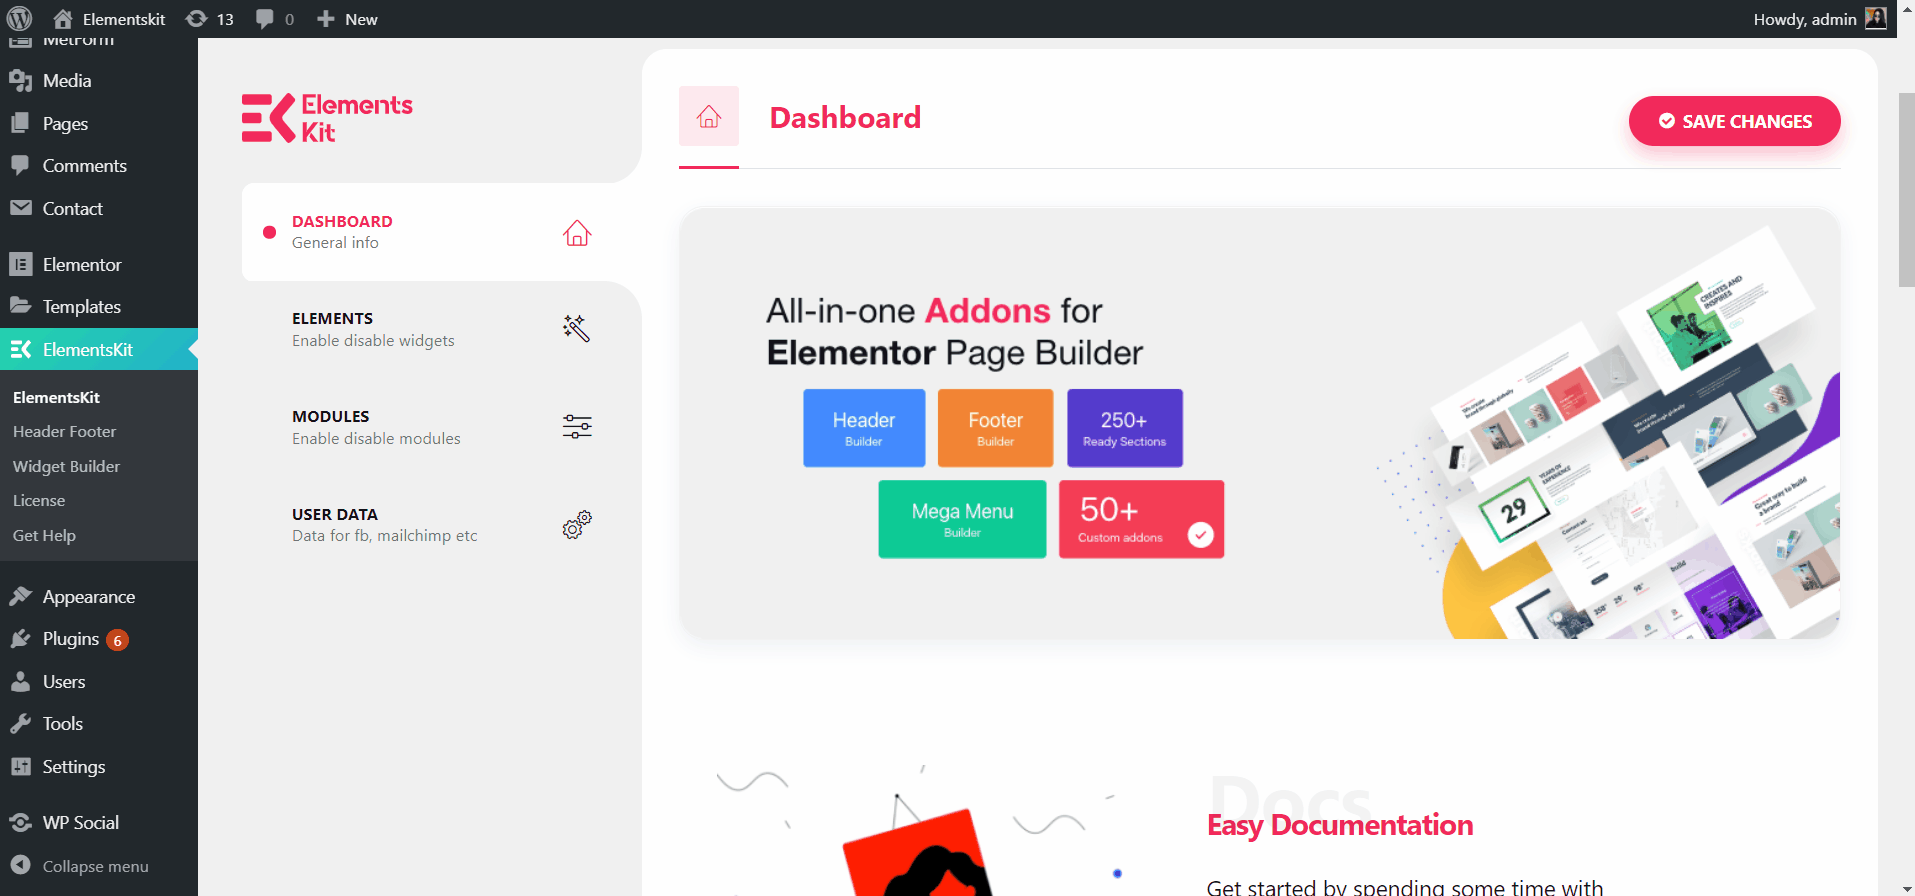
The only thing you need to create the mega menu using Elementor is ElementsKit.
Using the ElementsKit Mega Menu Builder you can create and customize any type of Megamenu with an Elementor live content interface.
You will get variations in the mega menu such as the Nav menu and Vertical Mega Menu along with many customization options.
Overall, ElementsKit Elementor Mega Menu is a full featured-packed module for your professional site that easily ranks top among the best WordPress Mega Menu builders for Elementor.
To follow this tutorial blog, you will need two things–>
Or, follow the step by step instructions:
Make sure Megamenu module is ON from ElementsKit → MODULES.
Step #1: Add Menu
To create a mega menu in Elementor, you need to create a menu from WordPress dashboar. To do so,
- Navigate to Appearance > Menu.
- Click on Create a New Menu.
- Provide Menu Name > Check the Checkbox > Create Menu.
- Click on Custom Link > Provide Link and Add Menu Items in the same way.
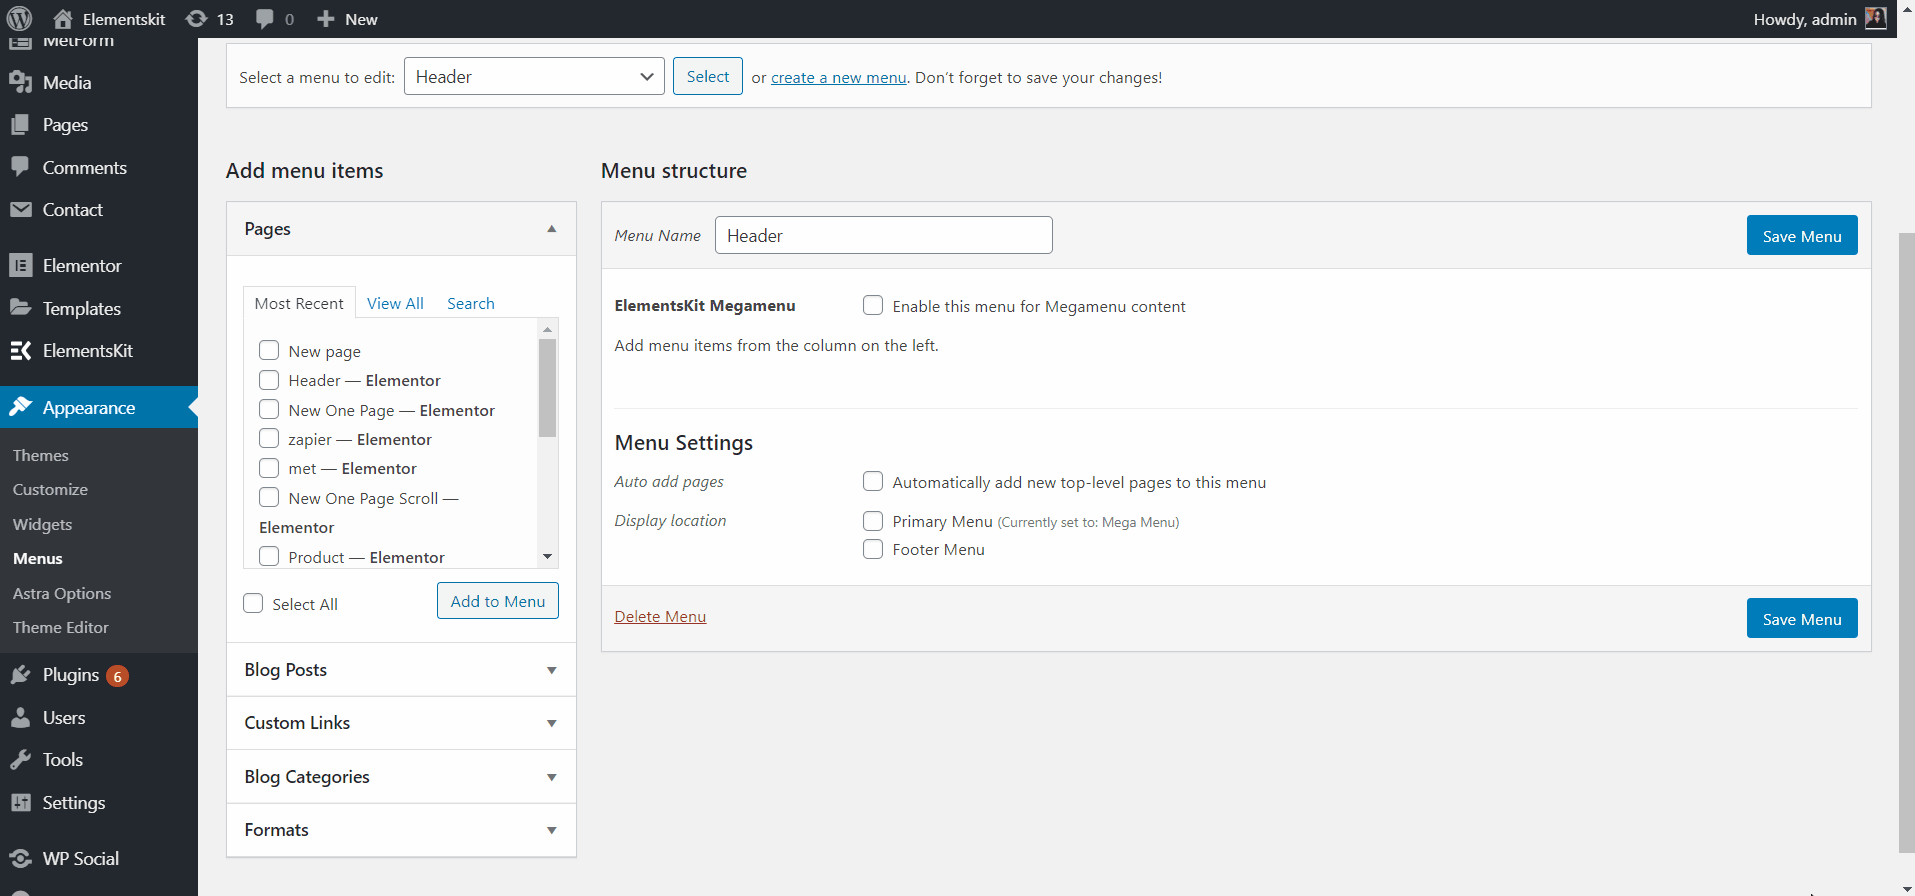
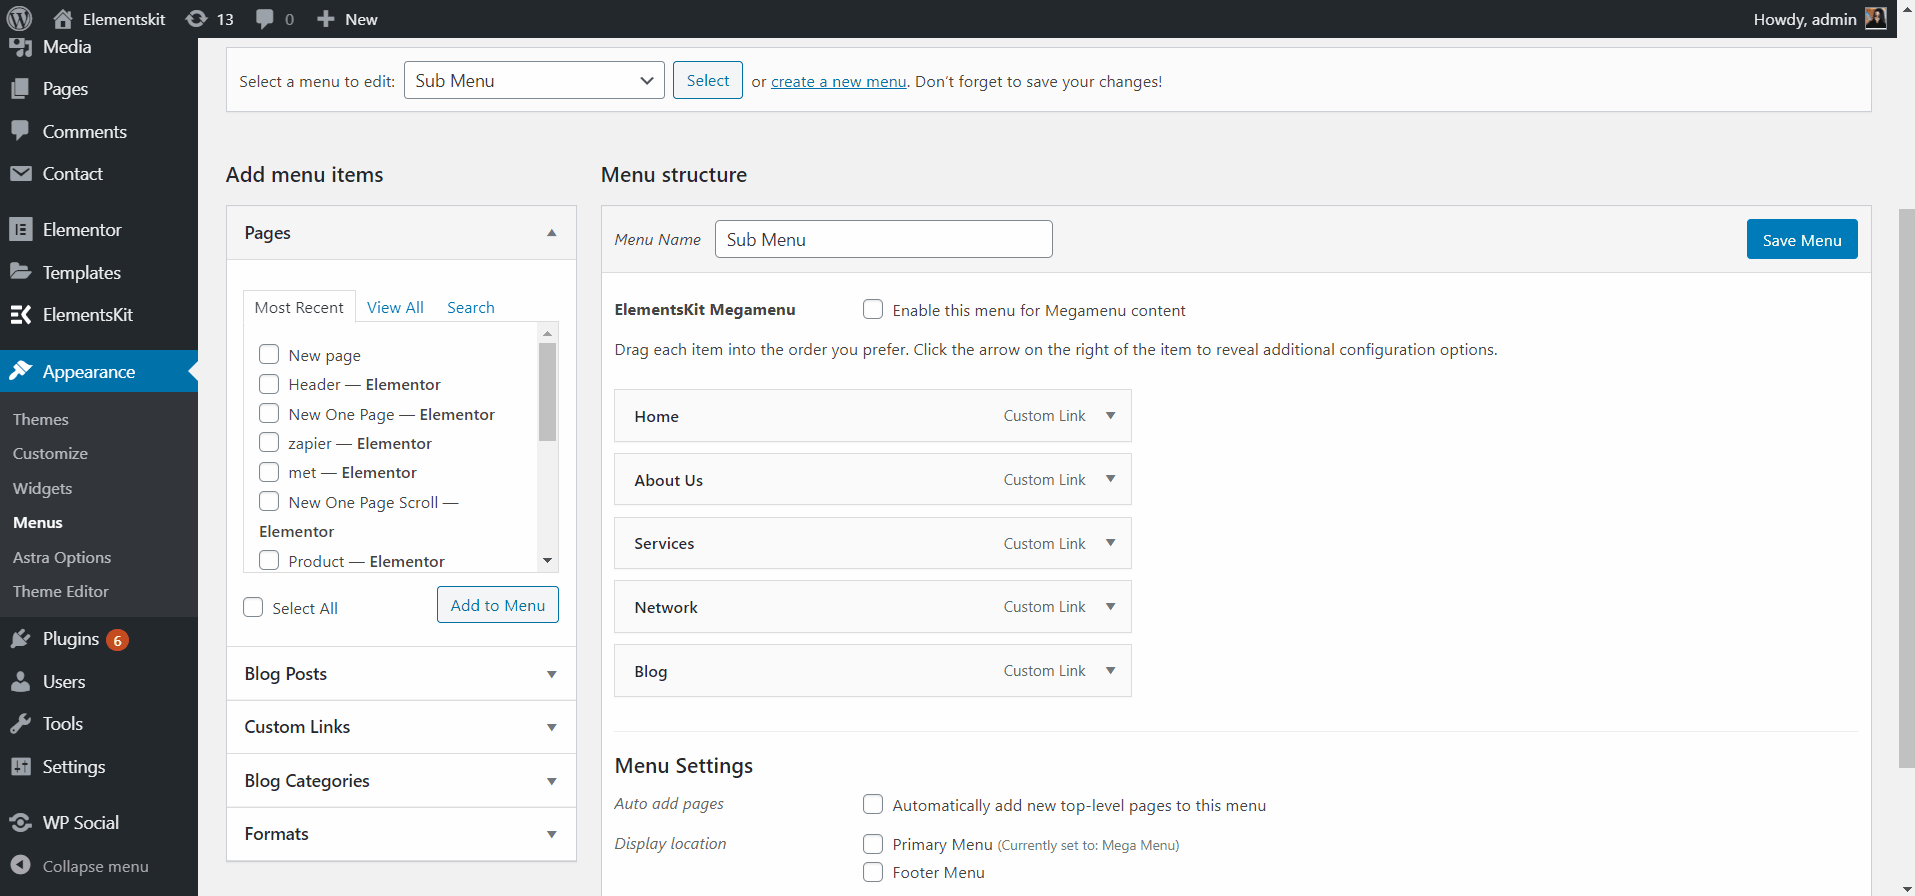
Step #2: Customize Megamenu Content
In this step, you can add mega menu items from the WordPress menu you have created.
Check the checkbox “Enable this menu for Megamenu content” > Click on the Mega Menu with Setting Icon on which Menu item you want to add the Mega Menu.
- A popup will open, toggle the Mega Menu option, and Save. After that click the EDIT MEGAMENU CONTENT button.
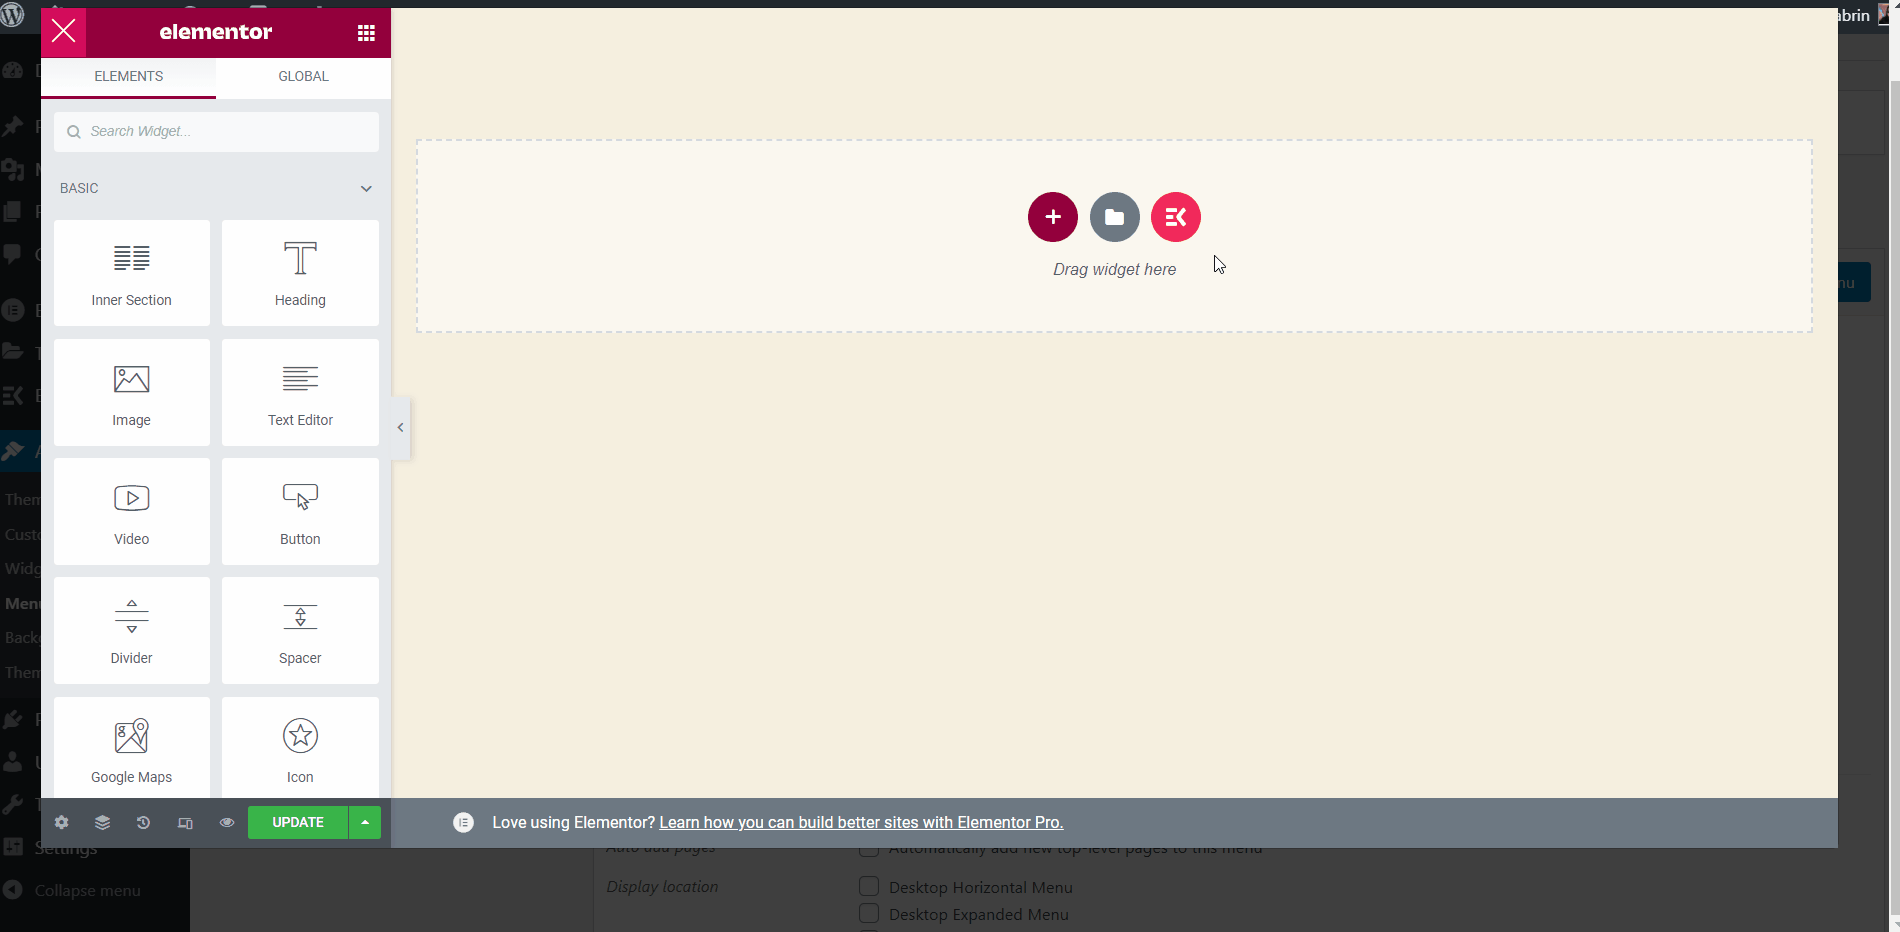
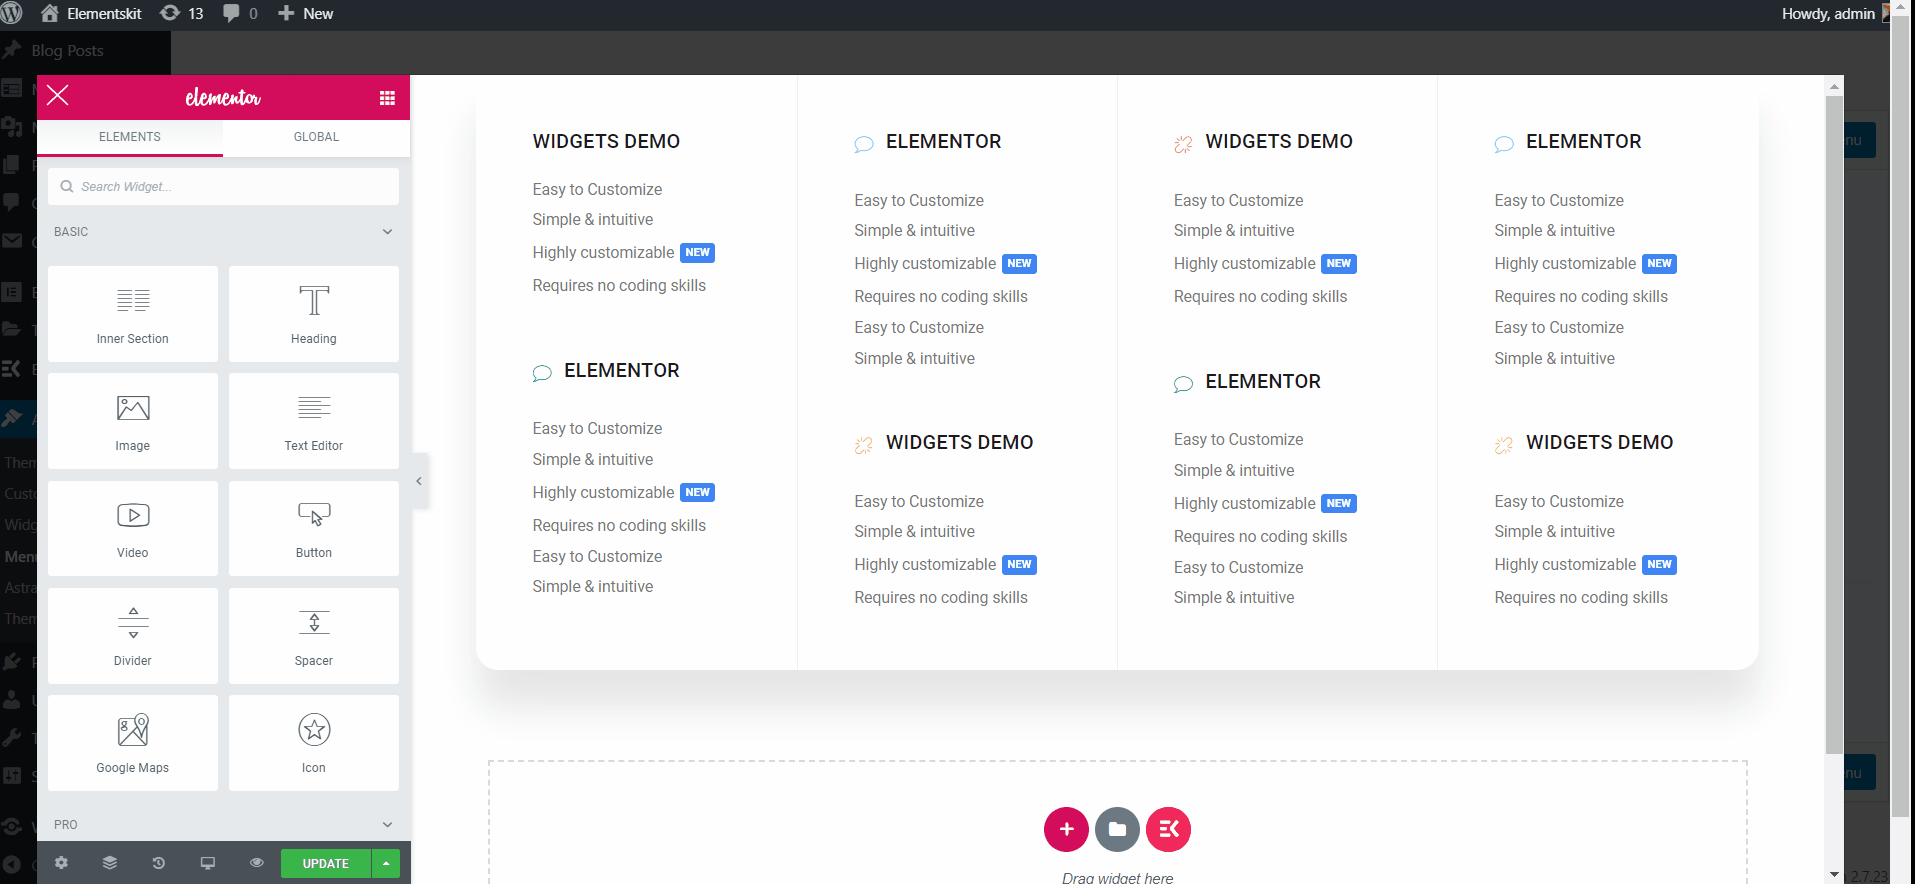
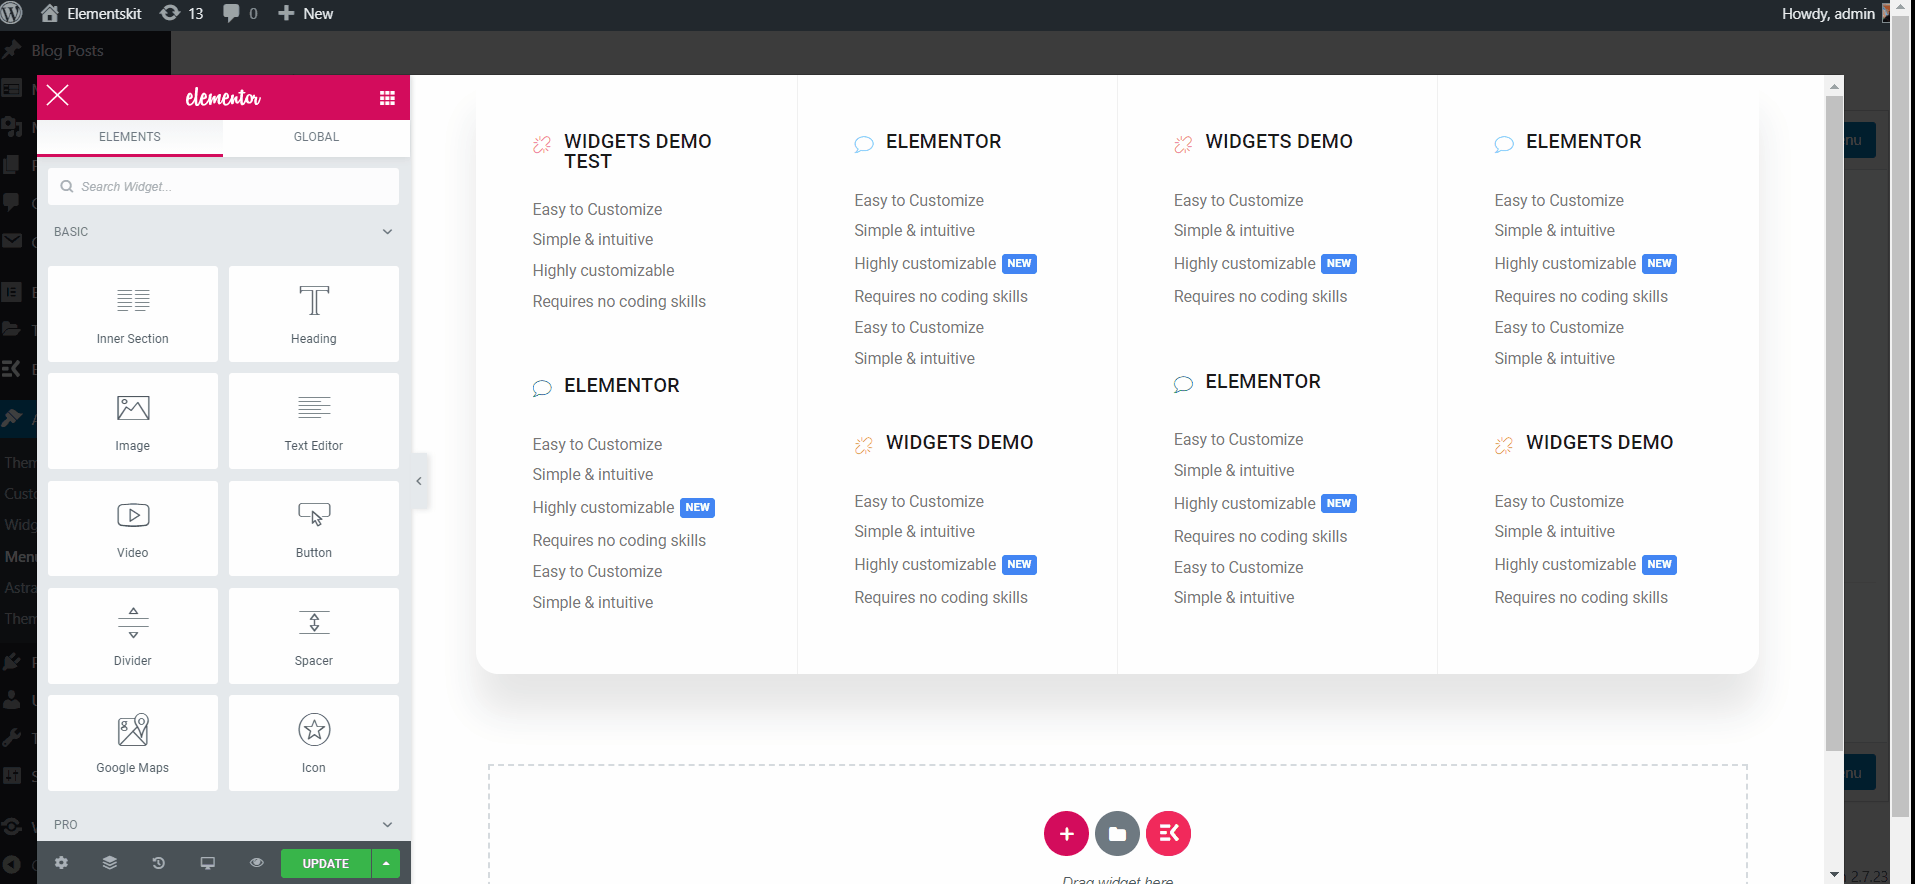
Choose Template
- Click the Elementskit Template library icon, then navigate to Headers.
- Click on Header > Mega Menu Content > Insert any Mega Menu.
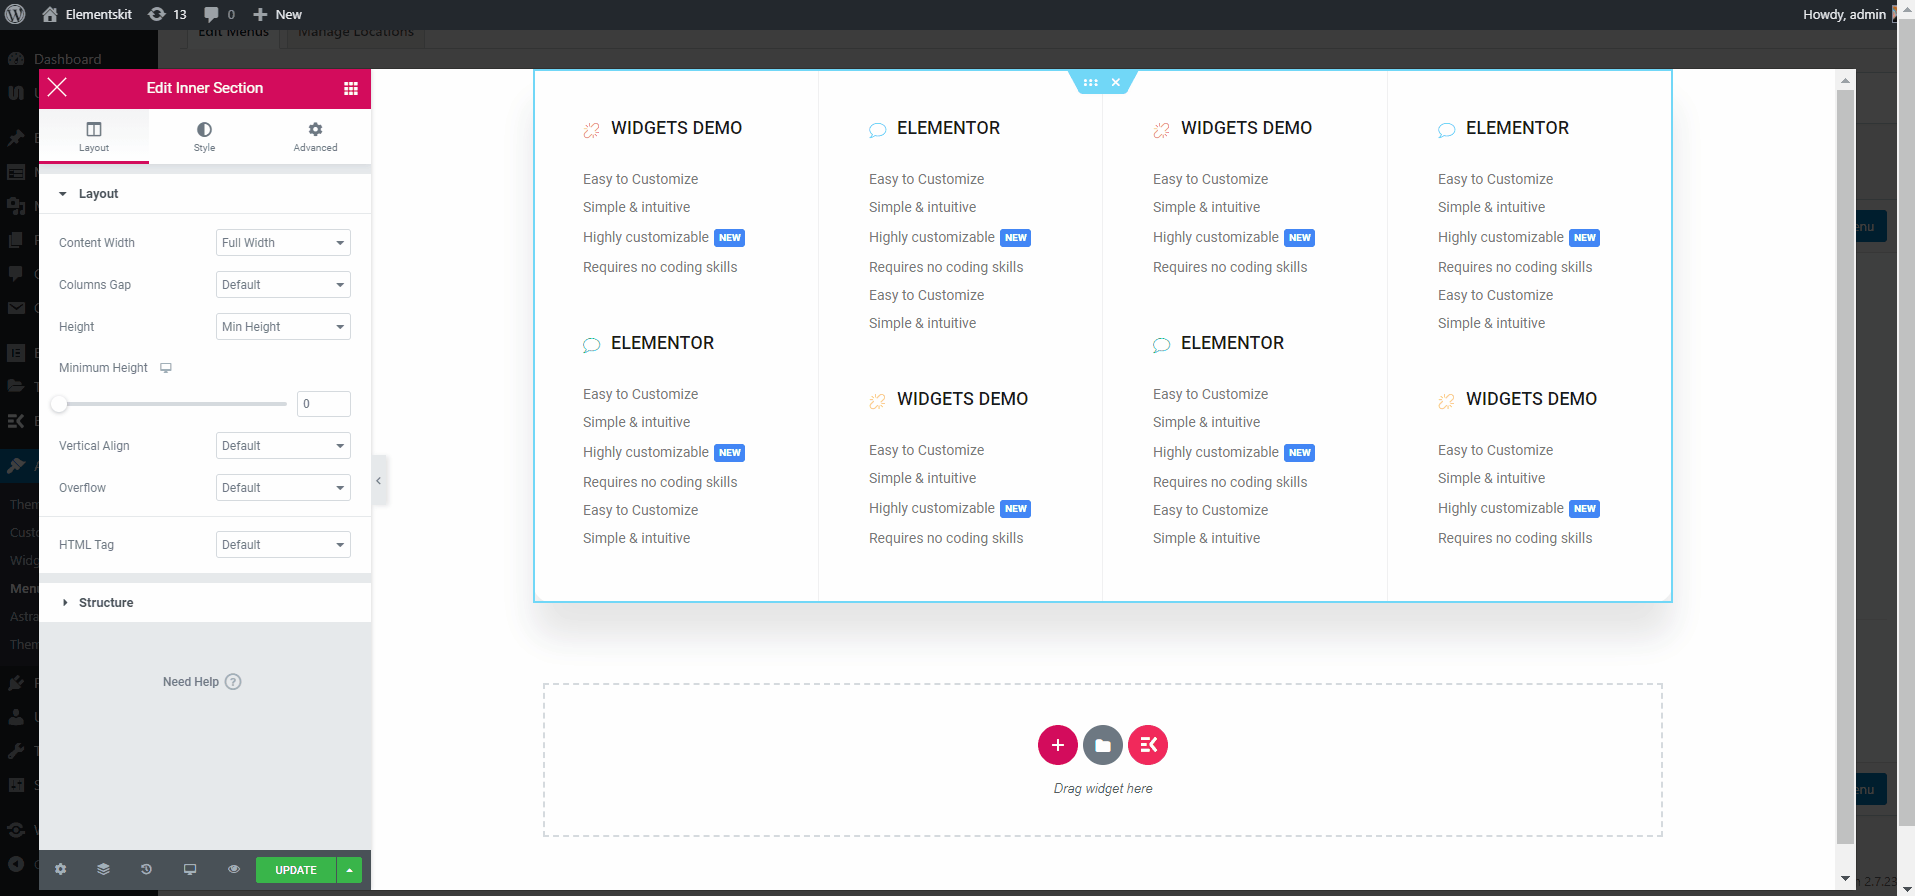
Control Layout
- Edit the Inner section by clicking the dotted Section.
- Content Width Box: Customize your Content Width by dragging Right or Left.
- Content Full Width: Select Full width.

Select Column Gap
- Column Gap=> Select your Column Gap from drop down.
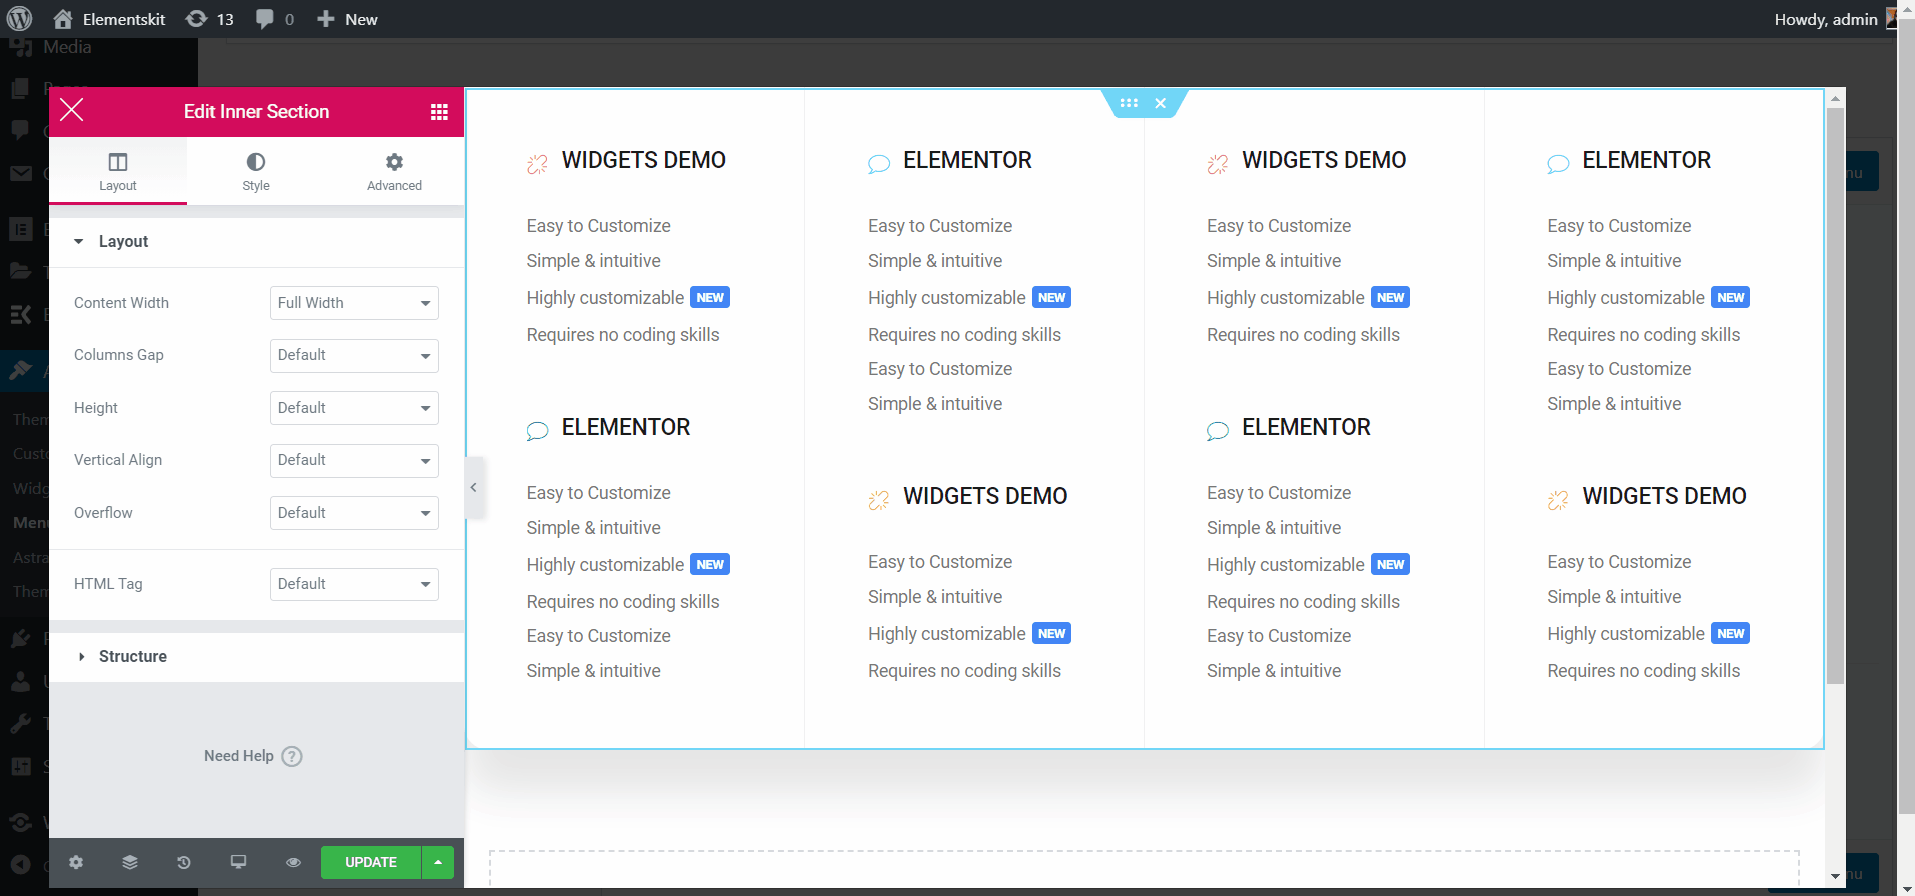
Choose Position
- Height: Select your Height dragging Left to Right.
- Vertical Align: Select Vertical Align from the Drop Down.
- Overflow: Select Overflow Default or Hidden.
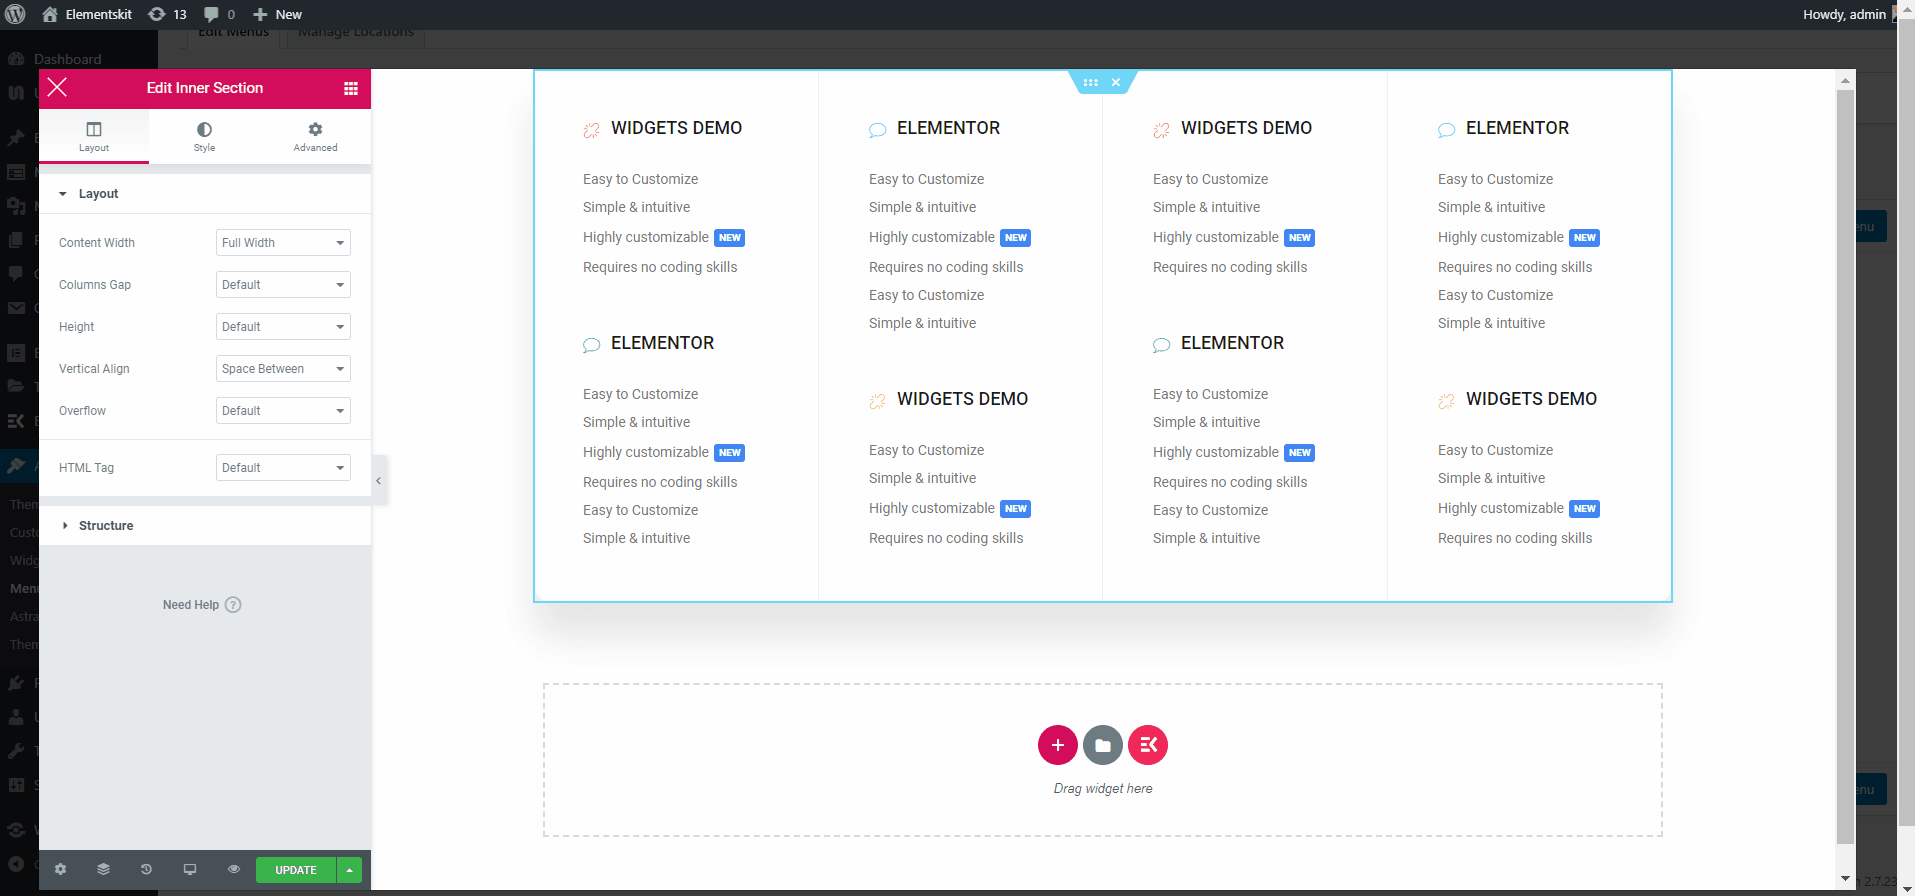
Select HTML Tag
- Select your HTML Tag from Drop Down.
Customize Mega Menu Heading Text
- Select Icon Type.
- Enable to Add Icon.
- Upload Header Icon.
- Add or Edit Title.
- Add Edit Description.
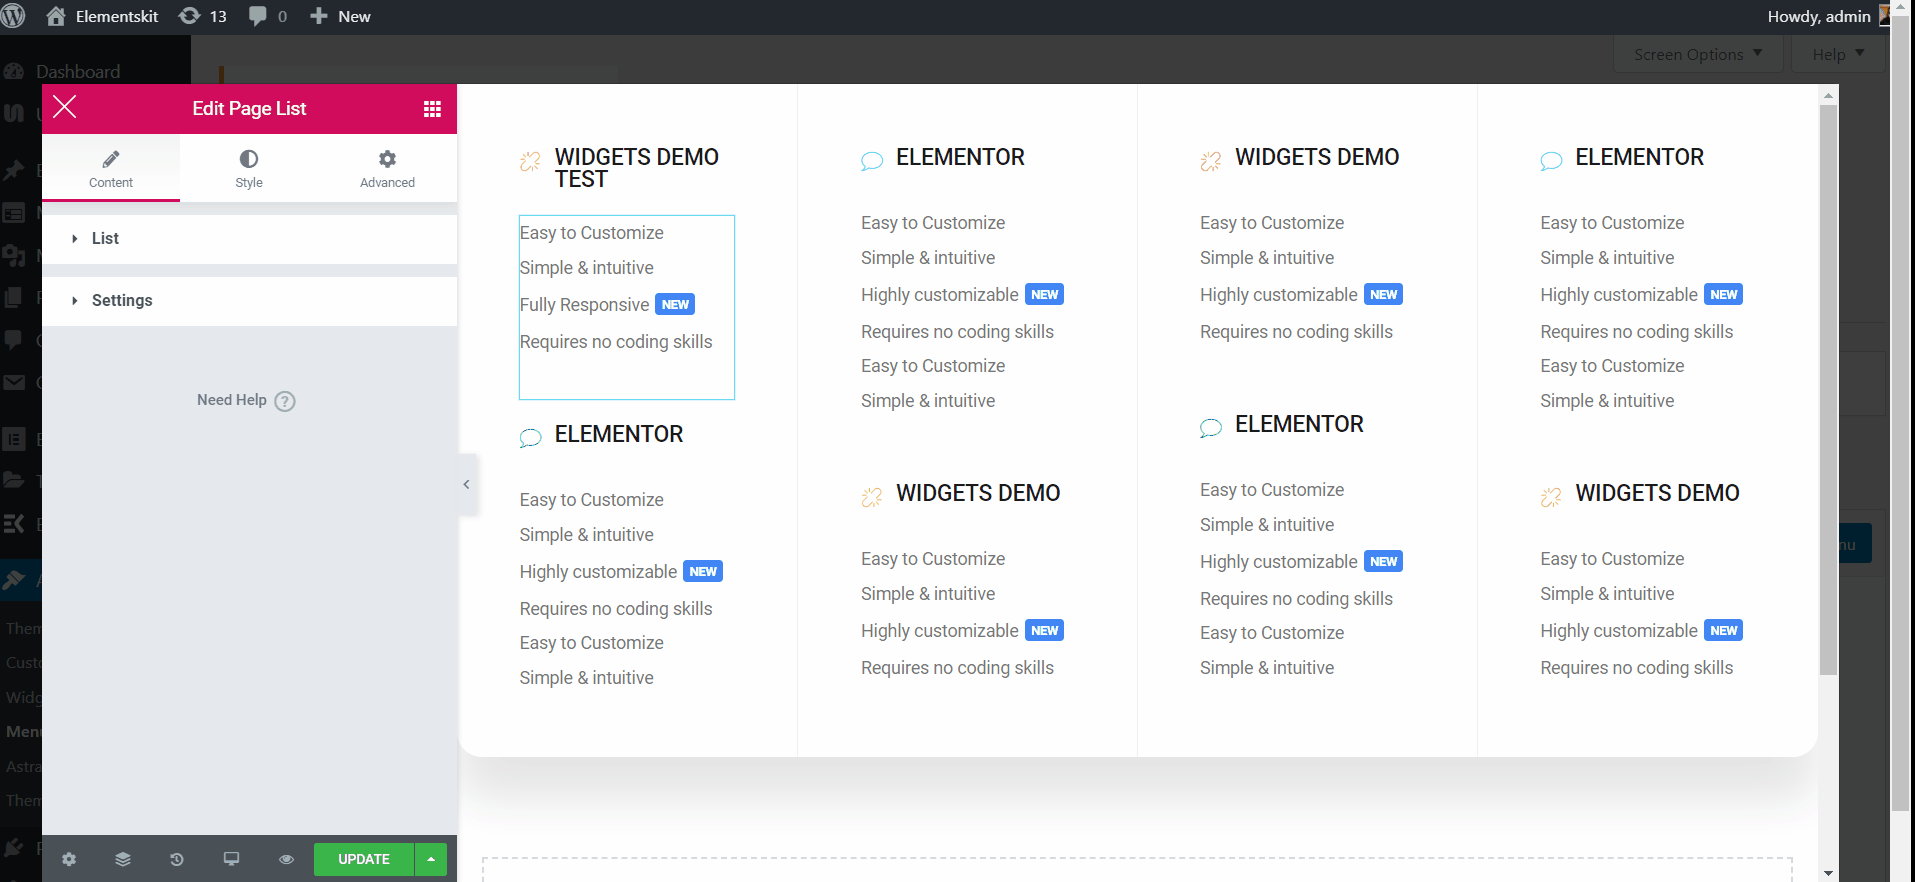
Customize Text
- Add or Edit Text.
- Add or Edit Sub-Title.
- Enable to Show Label.
- Add or Edit Label.
- Customize Background Color, Typography, Padding, Alignment, Radius.
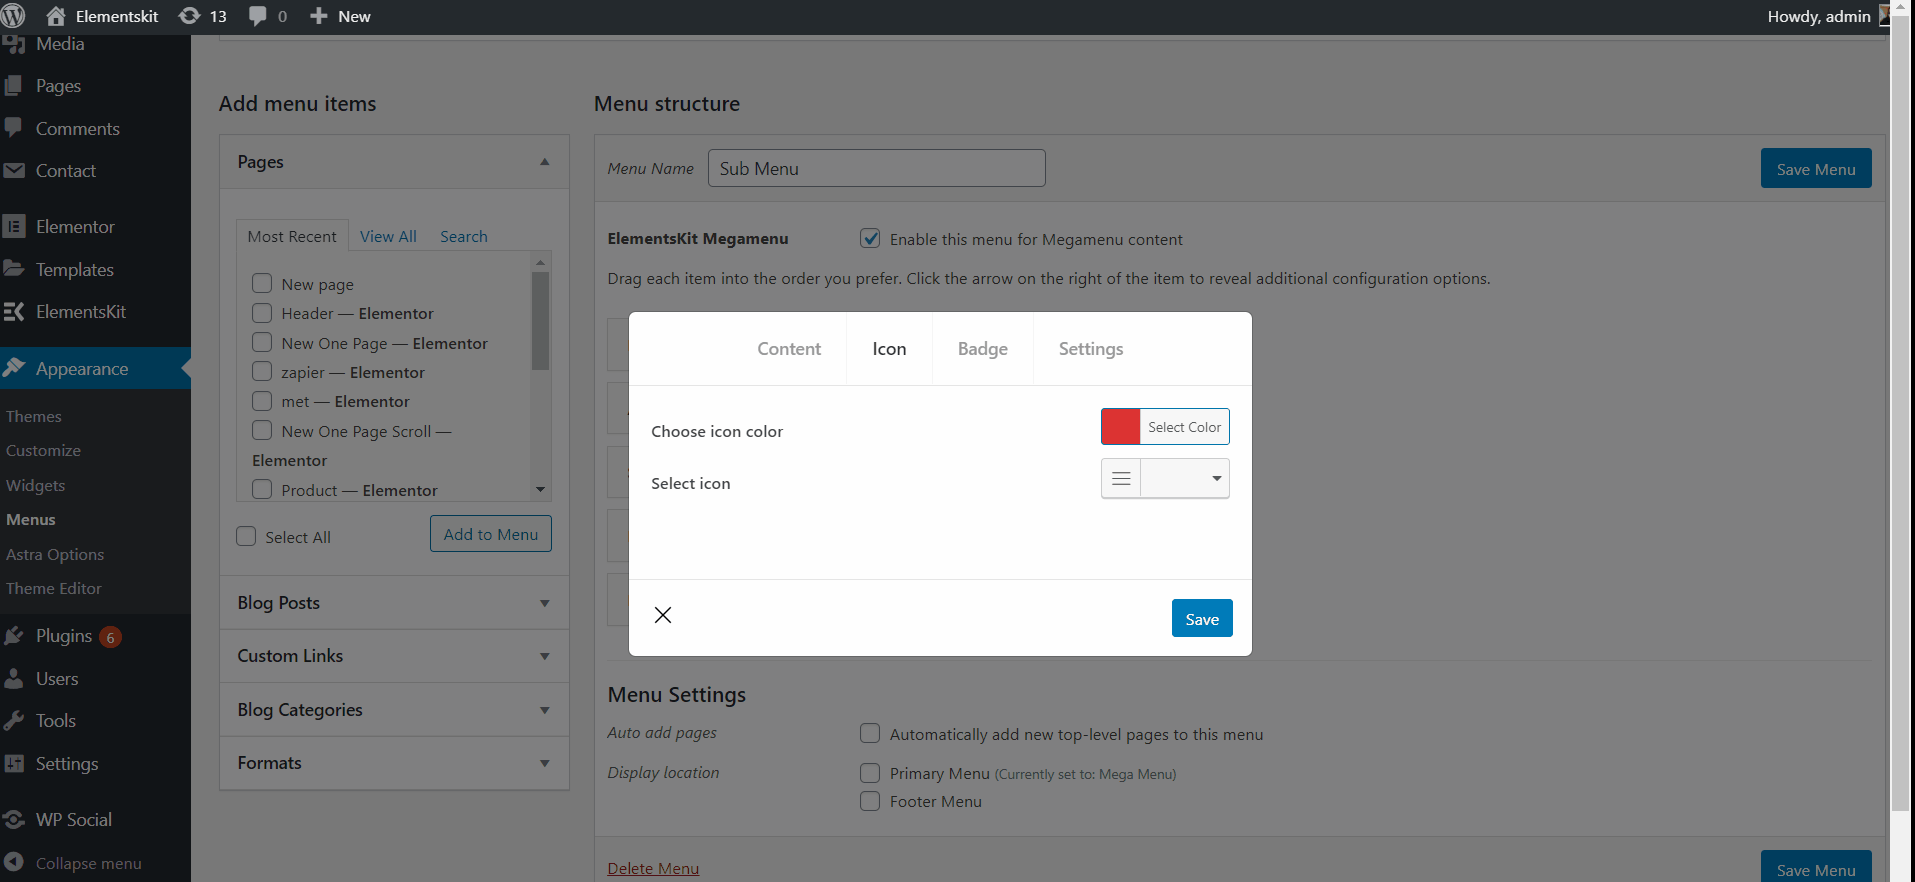
Step #3: Customize Icon
- Click ‘Update‘ to save the menu > Close the editor.
- Now go to Icon Tab > Choose any color from the Color Palette.
- Select Icon from the Icon Library.
- Now Go to the Site > Selected Icon and Color Appeared.
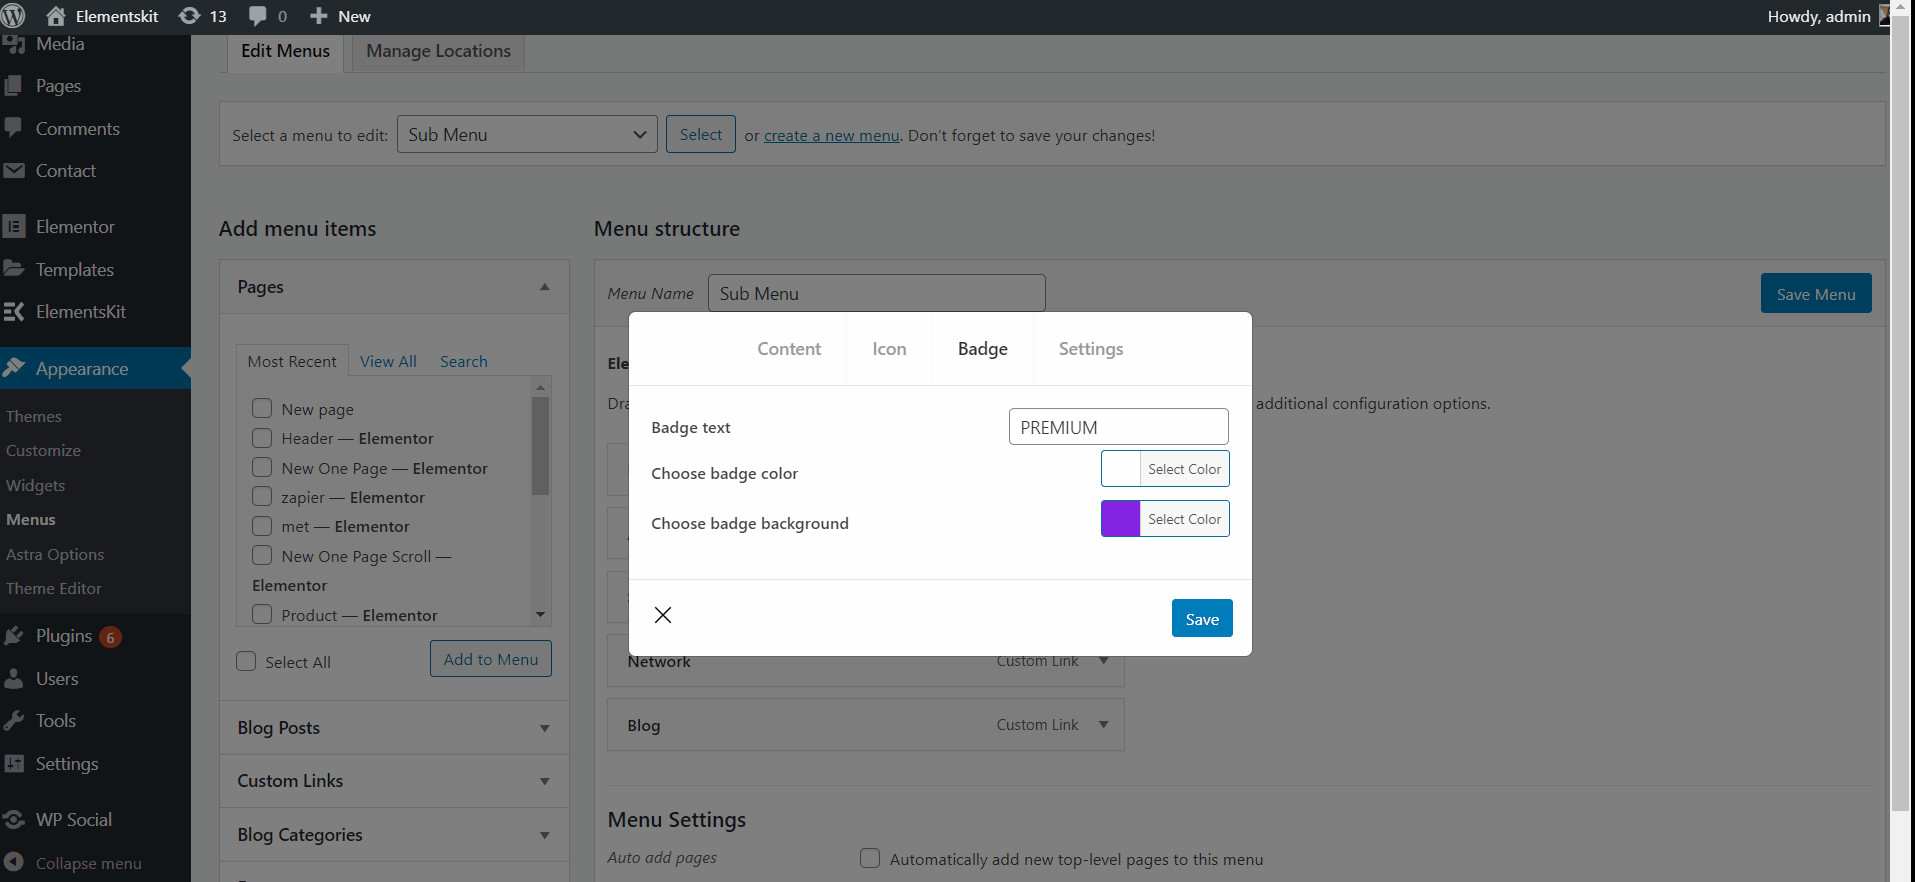
Step #4: Customize Badge
- Add or Edit Text.
- Choose Badge Color.
- Choose Badge Background Color.
- Click Save.
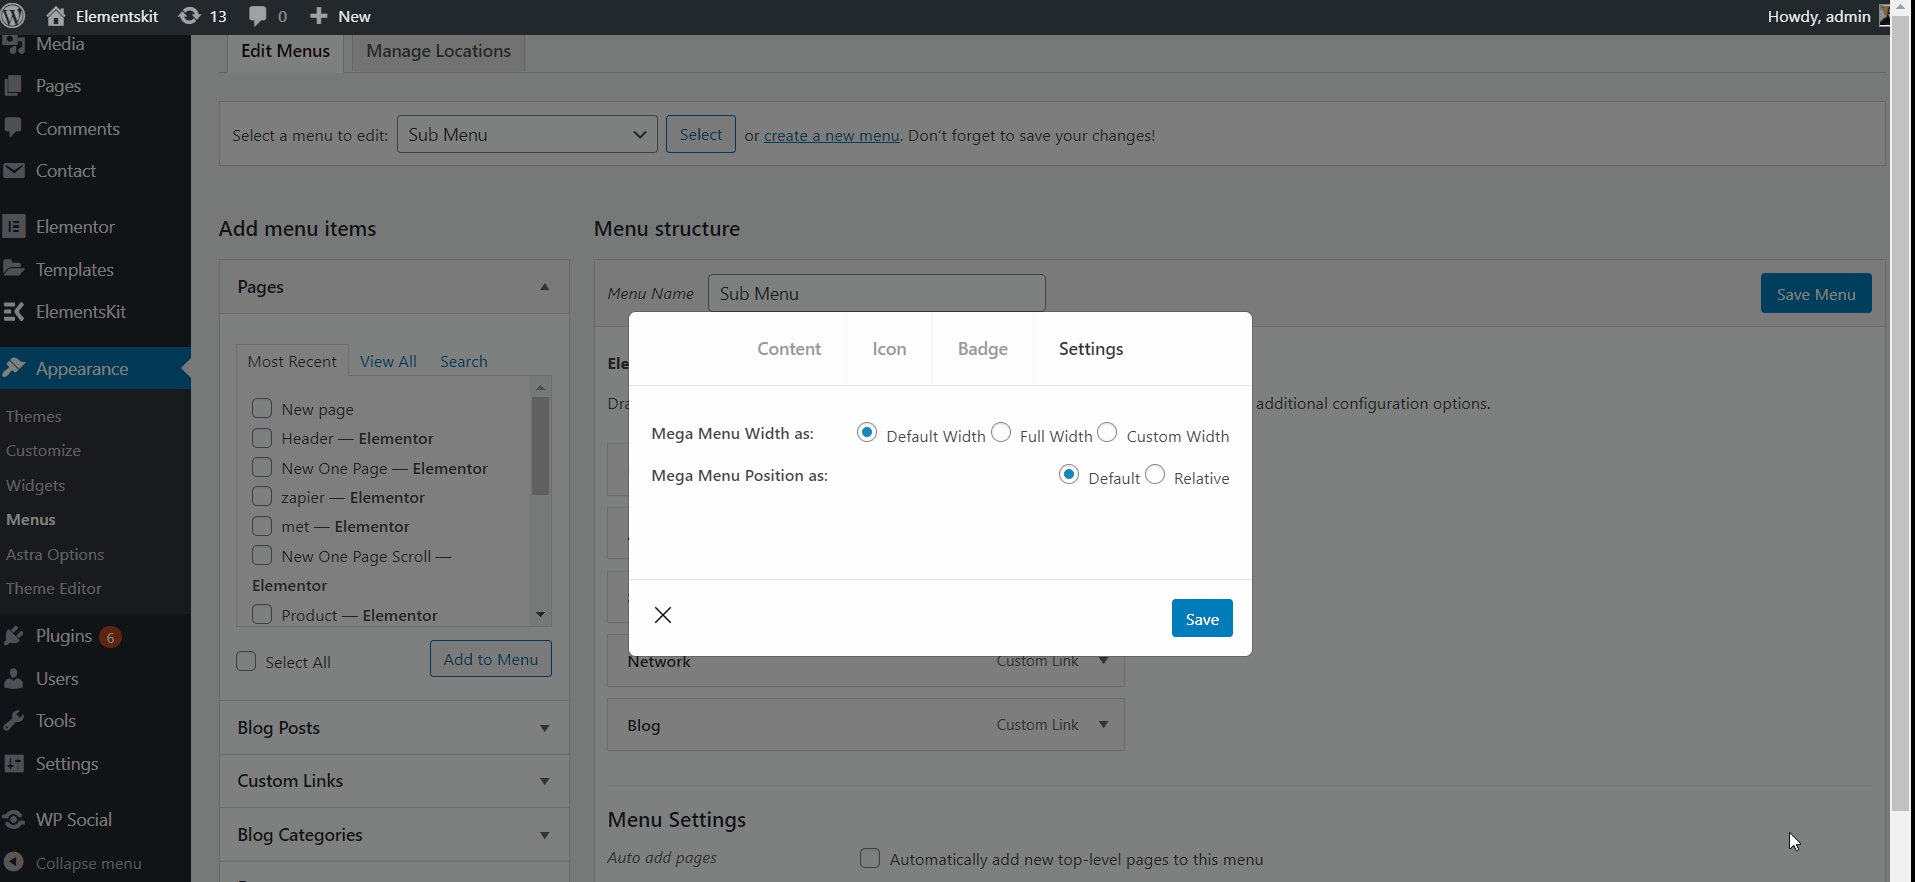
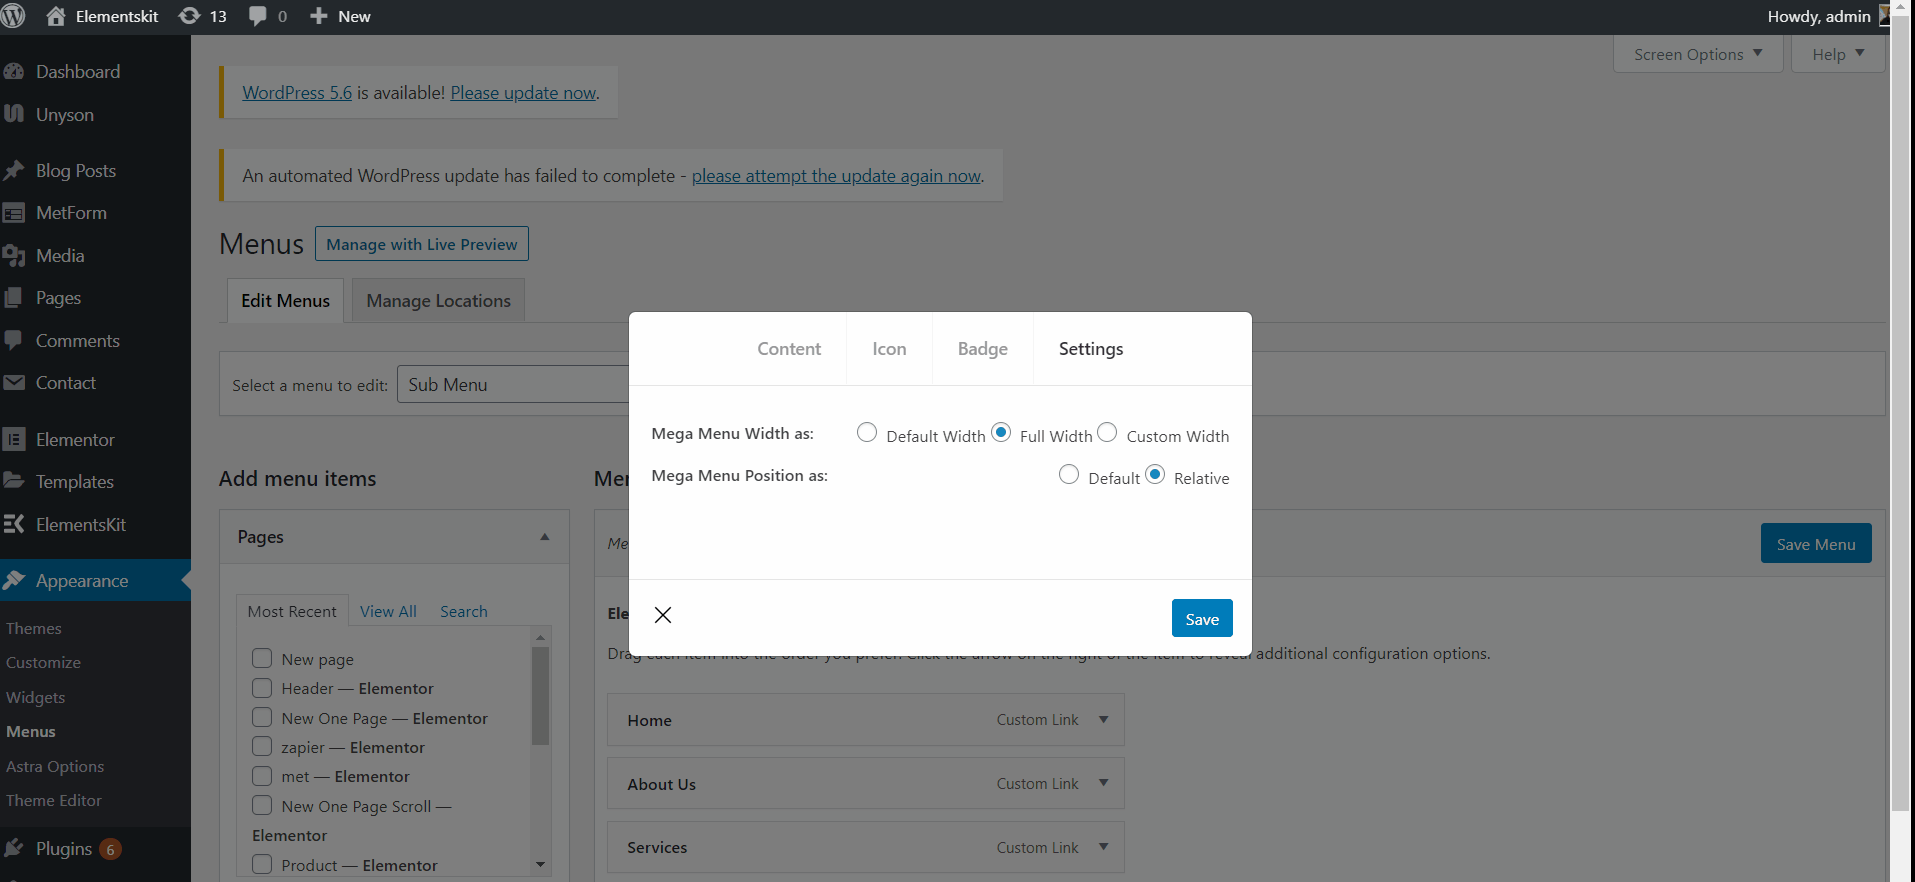
Step #5: Settings
Default Width
- Select Mega Menu Width: Default.
- Select Mega Menu Position: Default.
- Save the window.
- Site View: Showing Default Width with Default Position.
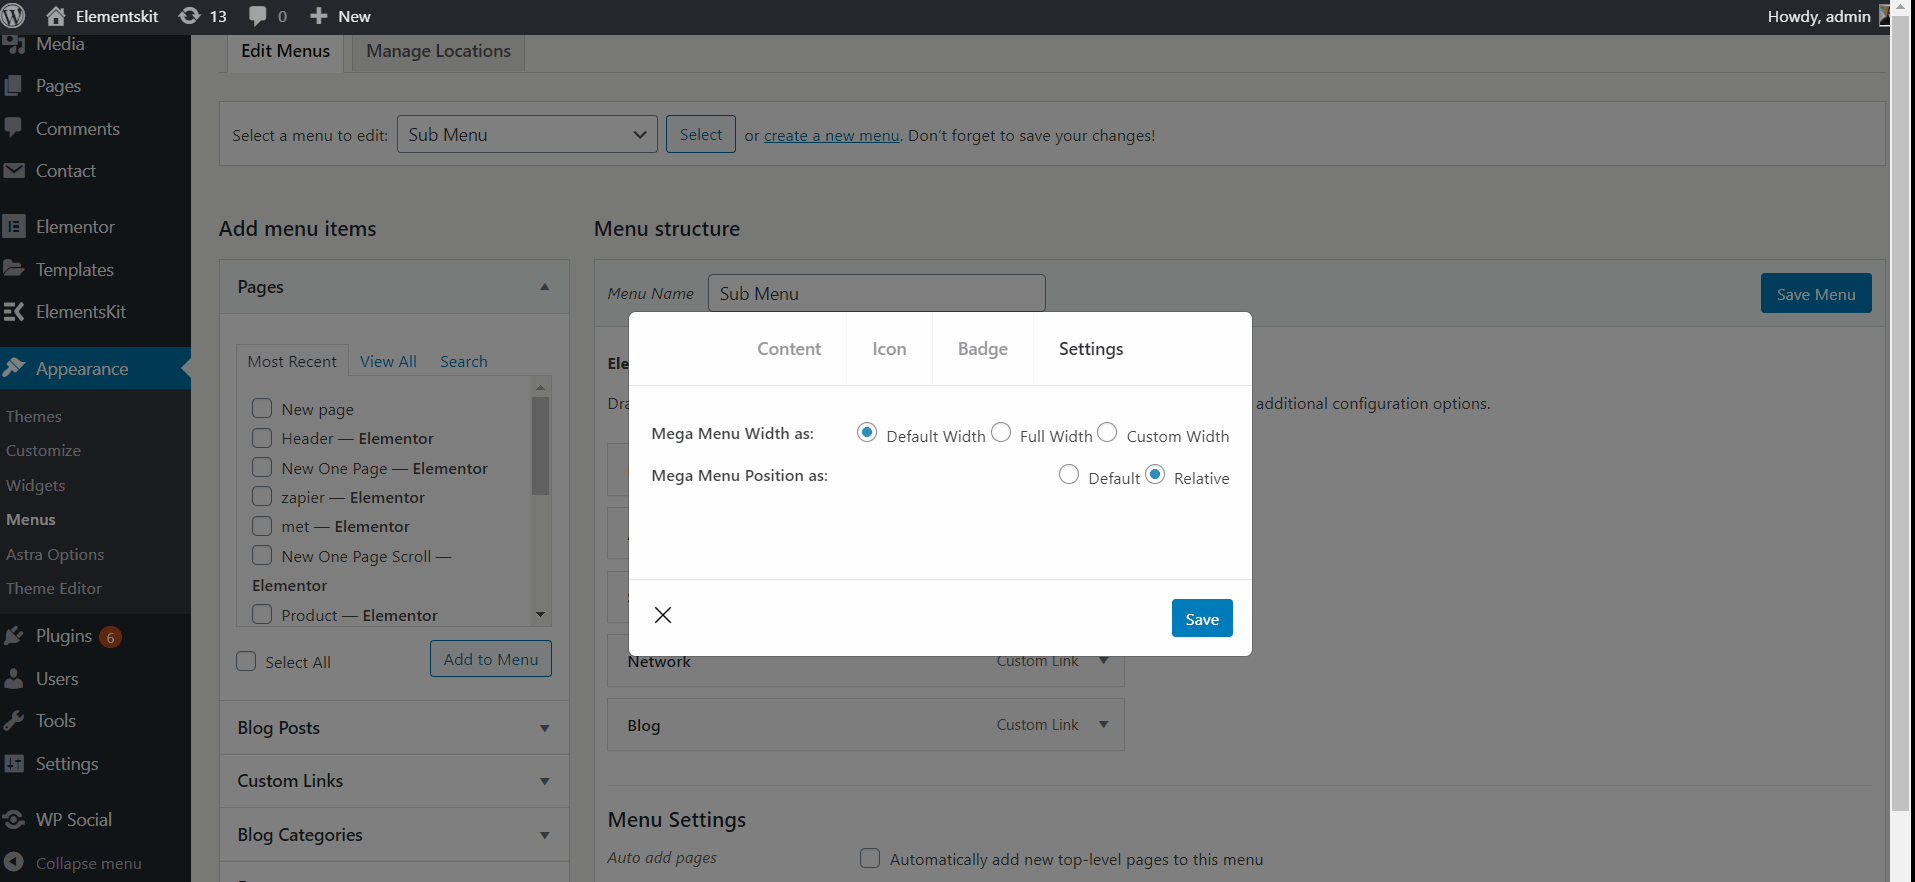
Default Relative
- Select Mega Menu Width: Default.
- Select Mega Menu Position: Relative.
- Click Save.
- Site View: Showing Default Width with Relative Position.
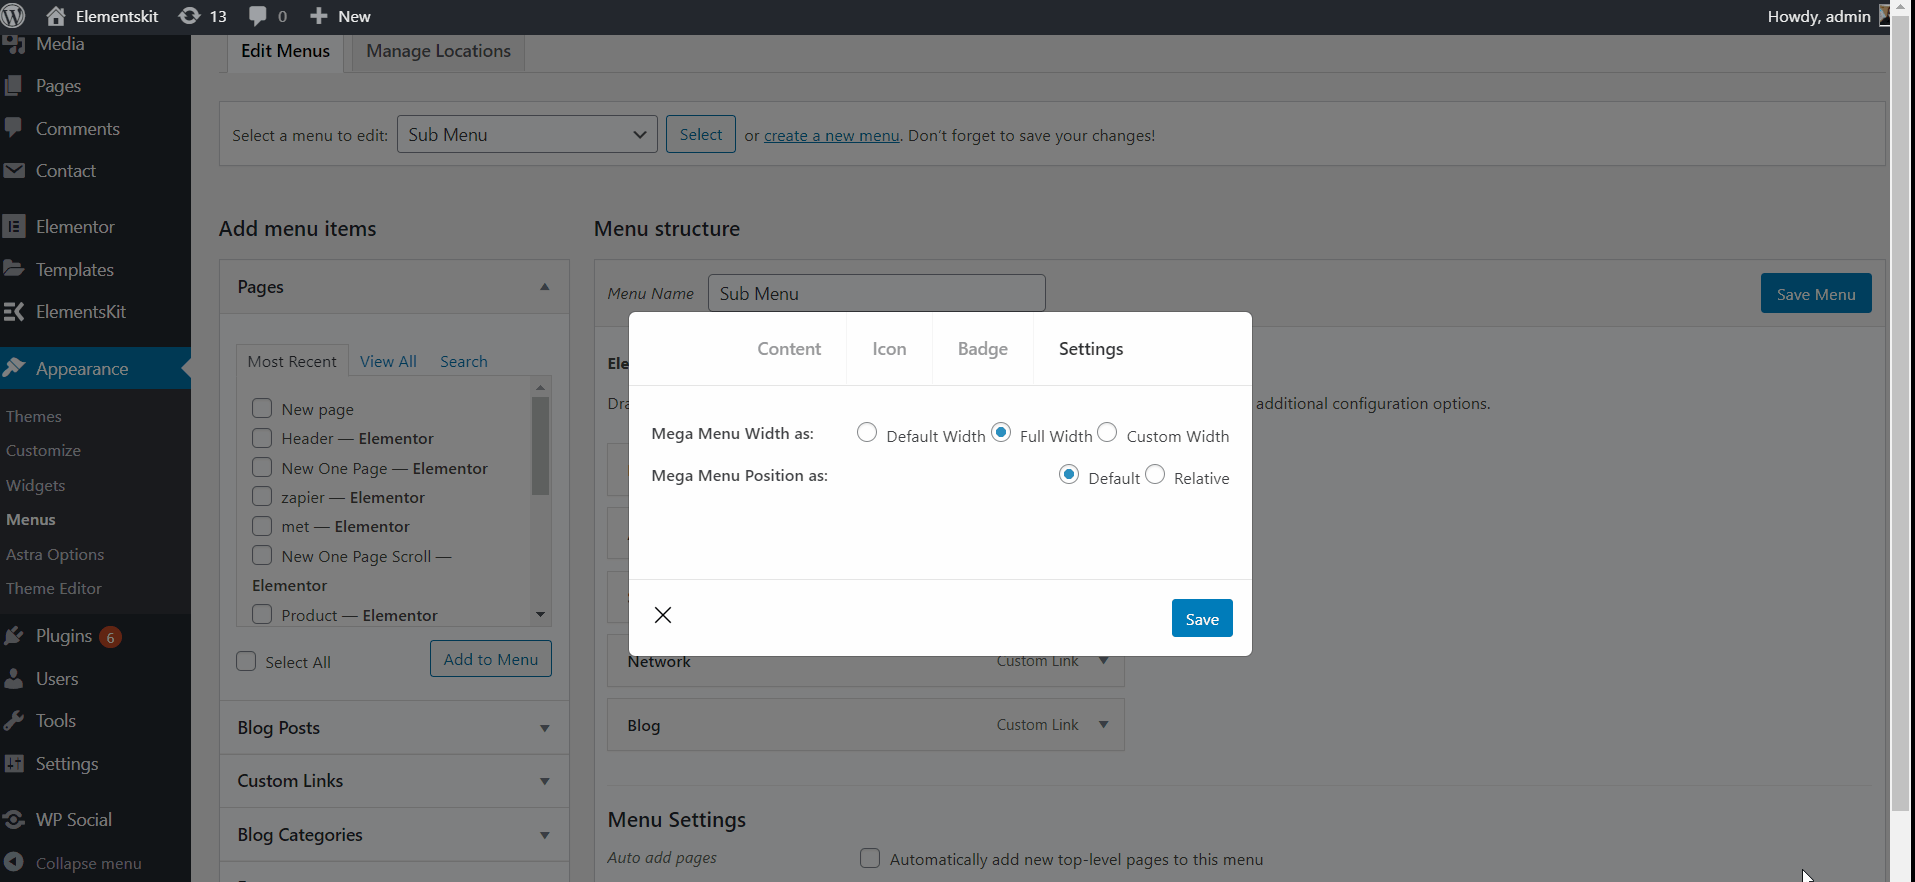
Default Full Width
- Select Mega Menu Width: Full Width.
- Select Mega Menu Position: Default.
- Click Save.
- Site View: Showing Full Width with Default Position.
Full Width Relative Position
- Select Mega Menu Width: Full Width.
- Select Mega Menu Position: Relative.
- Click Save.
- Site View: Showing Full Width with Relative Position.
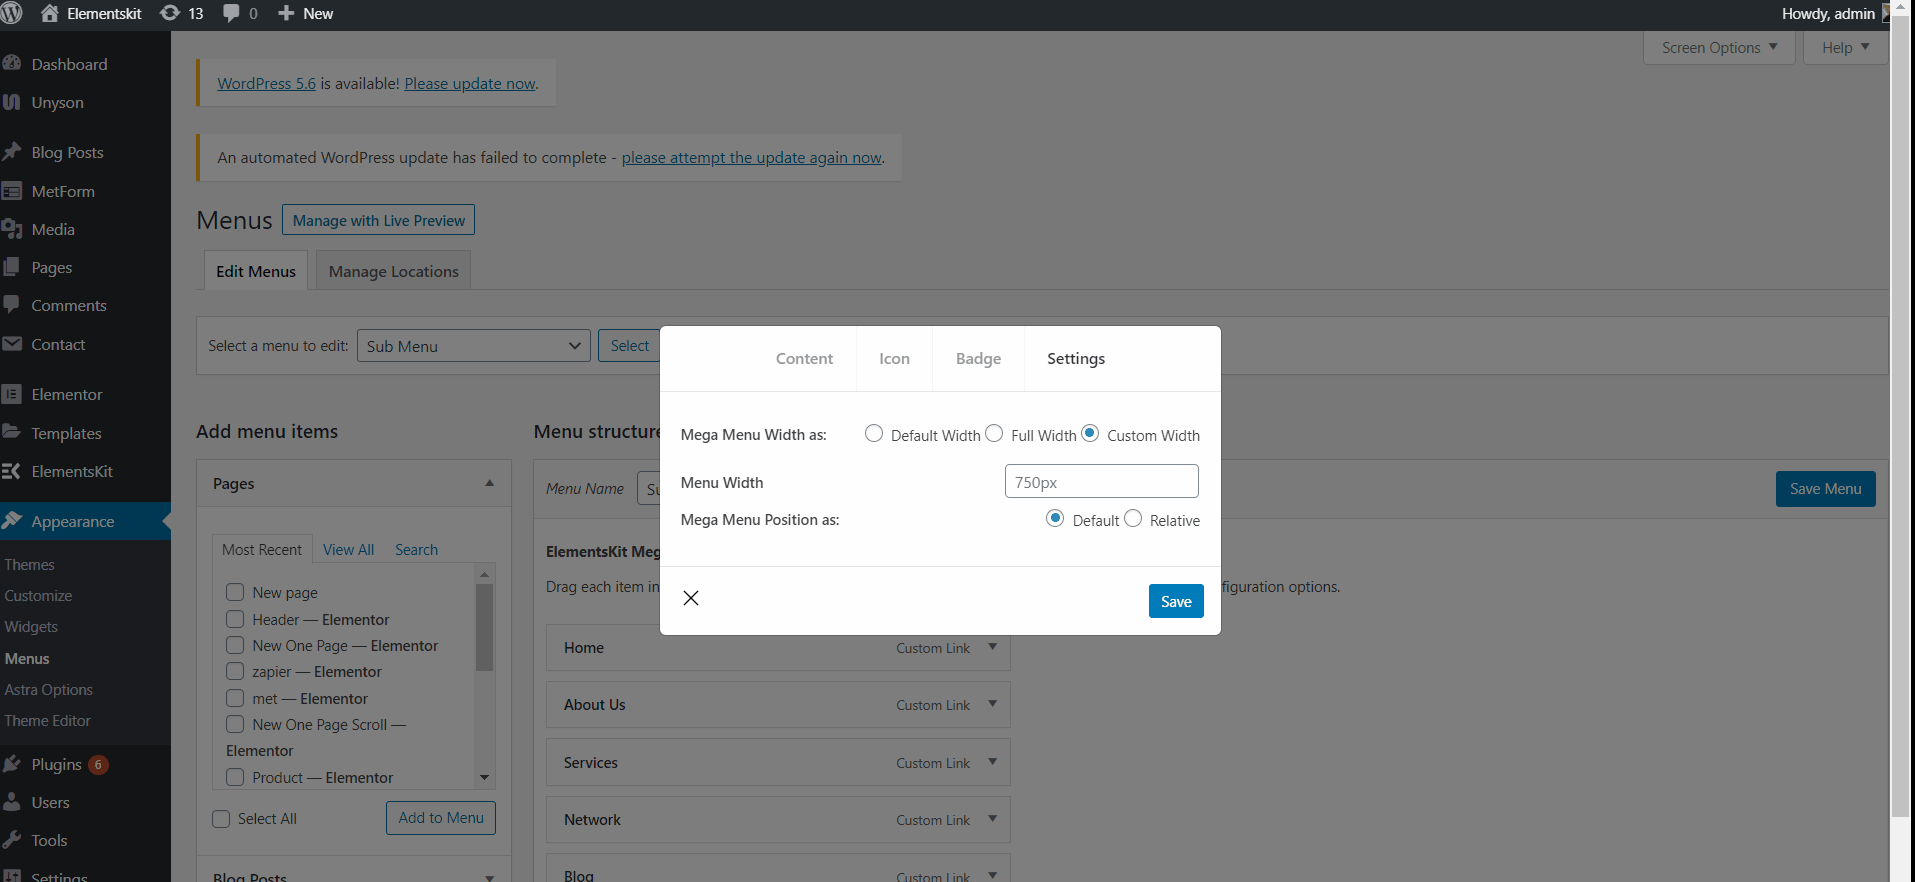
Custom Default Width
- Select Mega Menu Width: Custom Width.
- Provide any custom width but by default, it is 750px.
- Select Mega Menu Position: Default.
- Click Save.
- Site View: Showing Custom Width with Default Position.
Custom Default Width Relative
- Select Mega Menu Width: Custom Width.
- Provide any custom width but by default, it is 750px.
- Select Mega Menu Position: Relative.
- Click Save.
- Site View: Showing Custom Width with Relative Position.
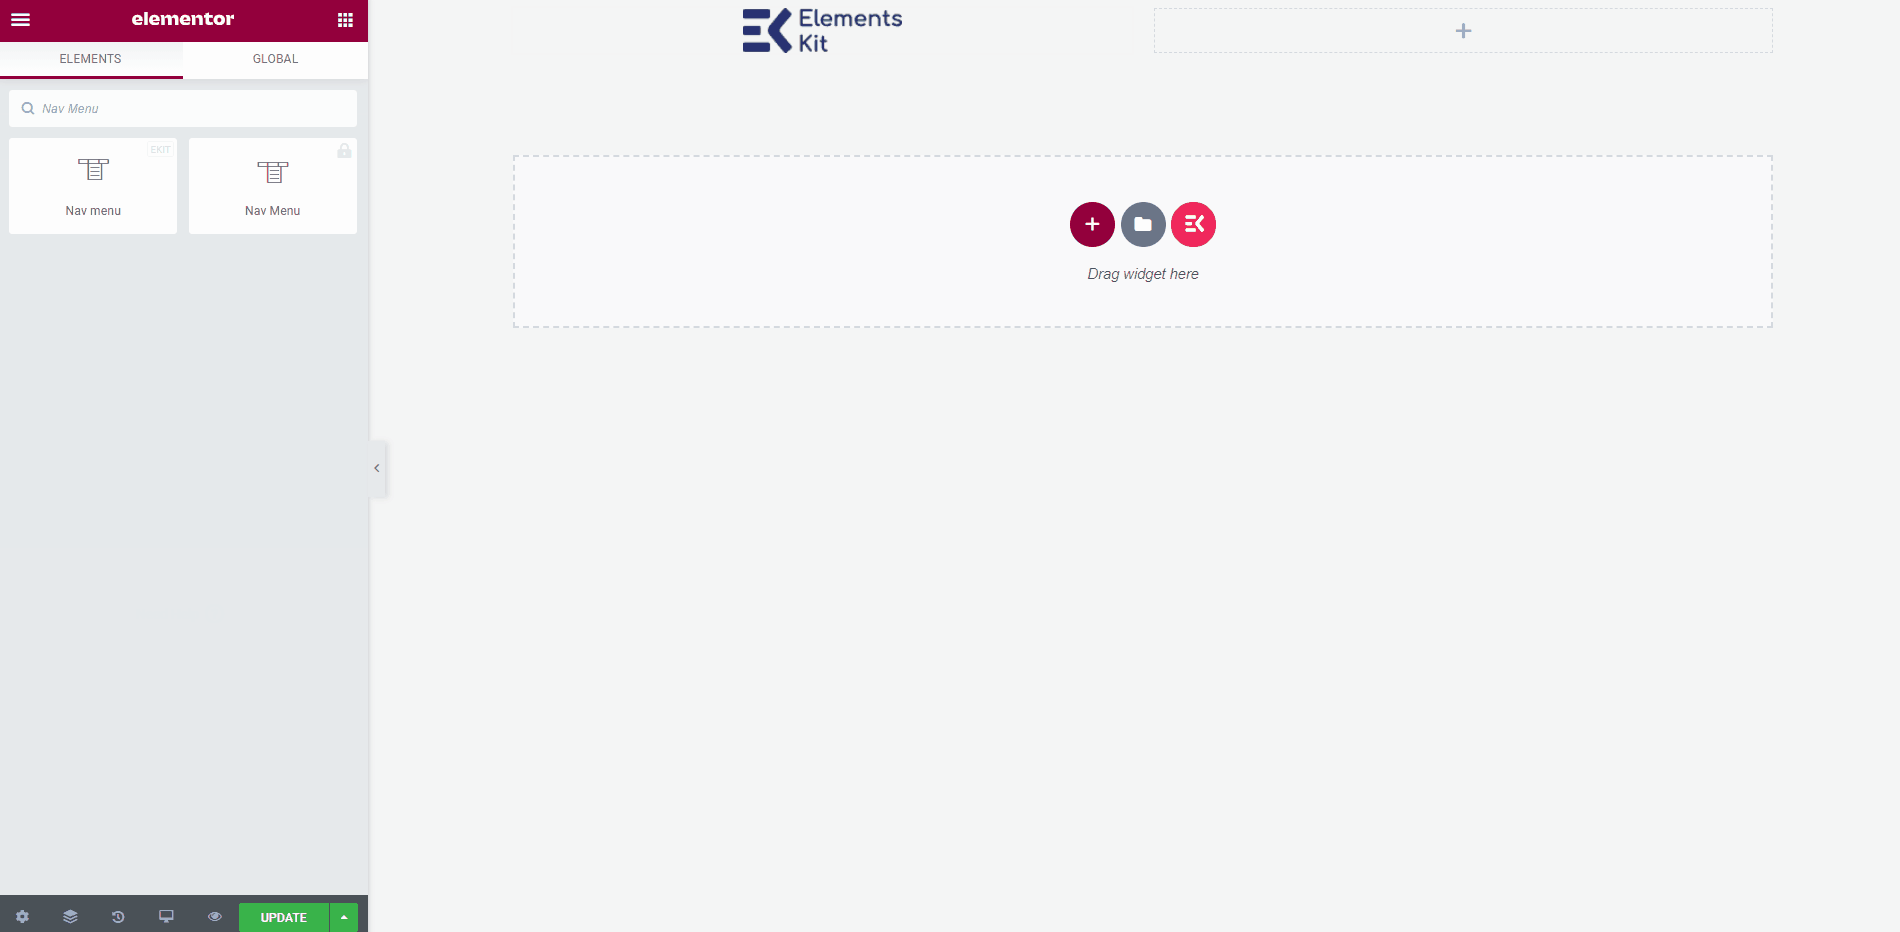
Step #6: Create a Header Template
Here you can use the Elementor Header Template or you can use the ElementsKit Header Template.
- Now Search Nav Menu > Drag the Ekit Nav Menu and Drop on the selected area. Make sure to drag the ElementsKit Nav menu otherwise your created Megmenu will not appear.
- Go to Menu Settings > select your created Header Menu from the drop-down.
- You can add any type of widget from here to customize your header template.
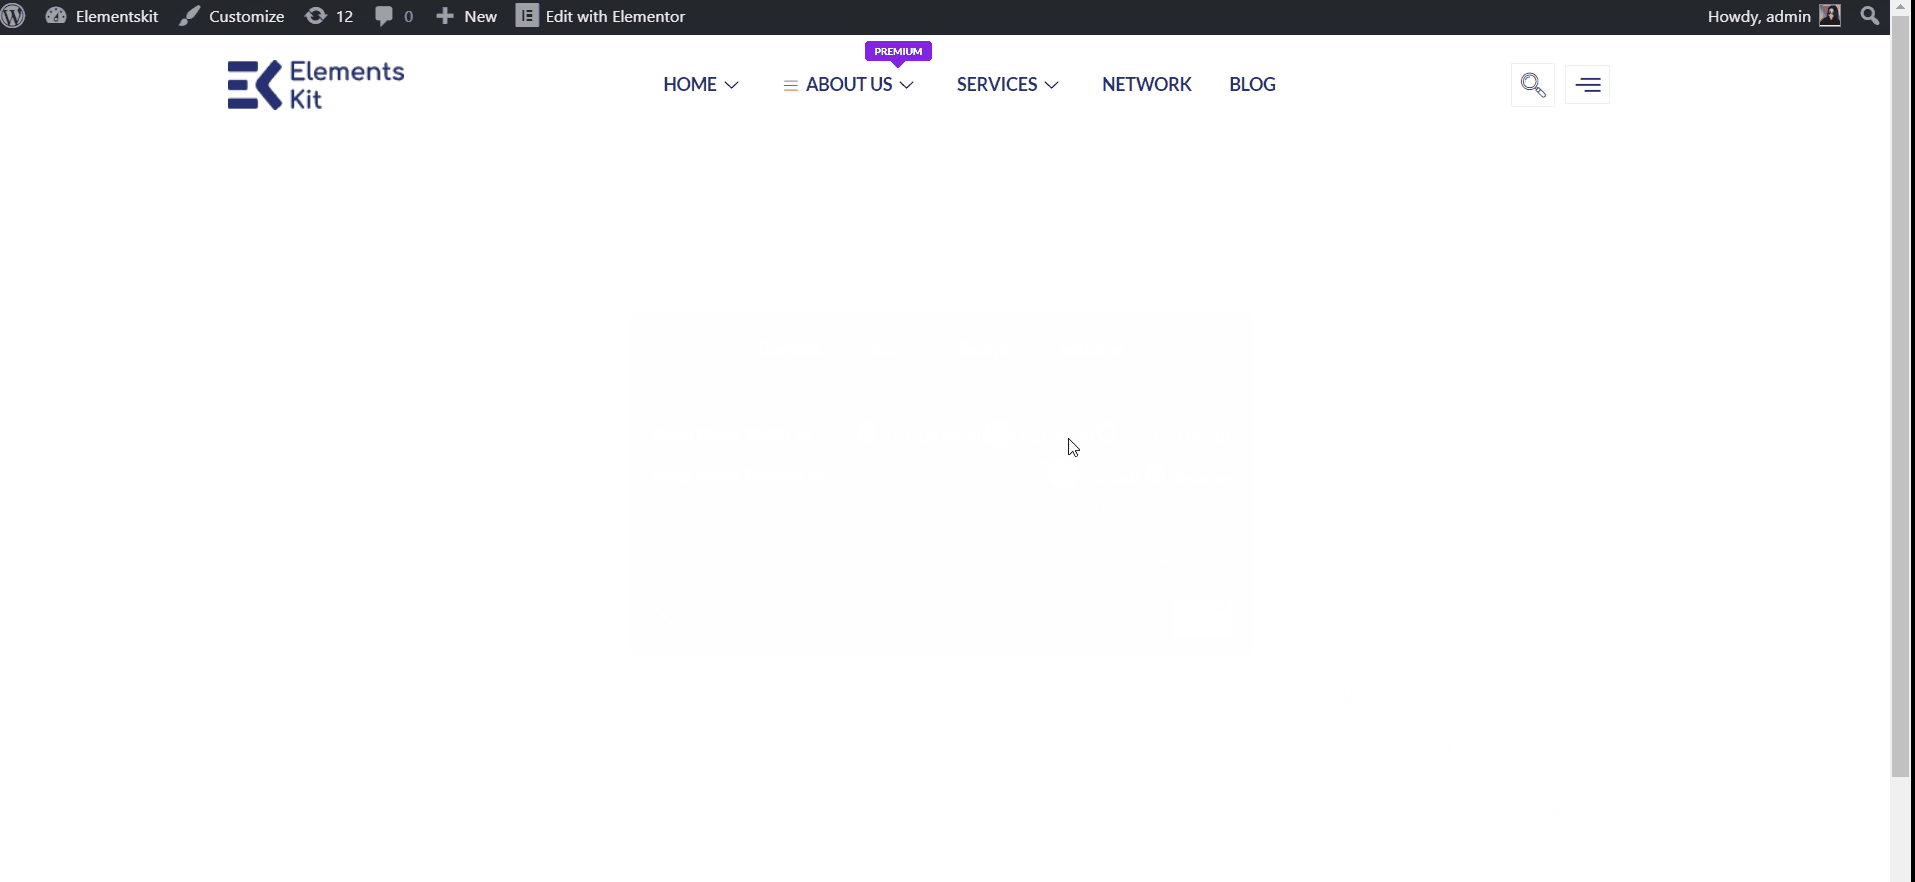
- Once done, click the Update button to save the menu.
- Now go to your site and you can see your selected Megamenu is showing accordingly.
To learn more details on creating mega menu in WordPress, you can go through the documentation of ElementsKit Mega Menu widget for Elementor.
What’s Next?
Once you’ve finished creating the mega menu in Elementor, make sure to preview it. If you’re satisfied with the style, finalize and publish it. However, if you later find that it isn’t as attractive as you initially thought, you can change it at any time.
To understand how users interact with the style, consider integrating a heatmap tool like Clarity.
Create Mega Menu using Gutenberg
If you have built your website in WordPress blocks editor, you can also create mega menu in Gutenberg smoothly. GutenKit block editor plugin comes with the easiest way of creating WordPress mega menu in Gutenberg.
With GutenKit, you can create the entire menu in the editor and design mega menu in both vertical and horizontal orientation.
All you need is to install GutenKit Pro plugin and start building your beautiful site in Gutenberg.
Wrapping Up
Finally, we’ve successfully made it to the end. I hope we were able to help you with this tutorial! And now you can build a custom Elementor mega menu by using ElementsKit!
You can see all those steps in a single video here.
If you have more concerns or have encountered other issues, please let us know in the comments section!

Leave a Reply