


Welcome to the ShopEngine documentation! Throughout all the documentation, you’ll learn how the plugin works, explore its key features, and find step-by-step guides to help you use the WooCommerce builder. To get started, the first documentation covers the installation process of the ShopEngine plugin and an overview of its dashboard.
How to Install ShopEngine WooCommerce Builder for Elementor #
Since ShopEngine is a WooCommerce builder, so you need to have the WooCommerce plugin installed in your WordPress.
Before getting started make sure, Elementor plugin is installed & activated on your website.
Si desea utilizar ShopEngine con Gutenberg, sigue esta documentación en cambio.
Pre-requisite:
- WooCommerce: Descargar complemento
- Elementor: Descargar complemento
Simplemente siga el proceso paso a paso para instalar ShopEngine Elementor Woocommerce Builder:
Install and activate ShopEngine plugin #
To install the the ShopEngine WooCommerce plugin:
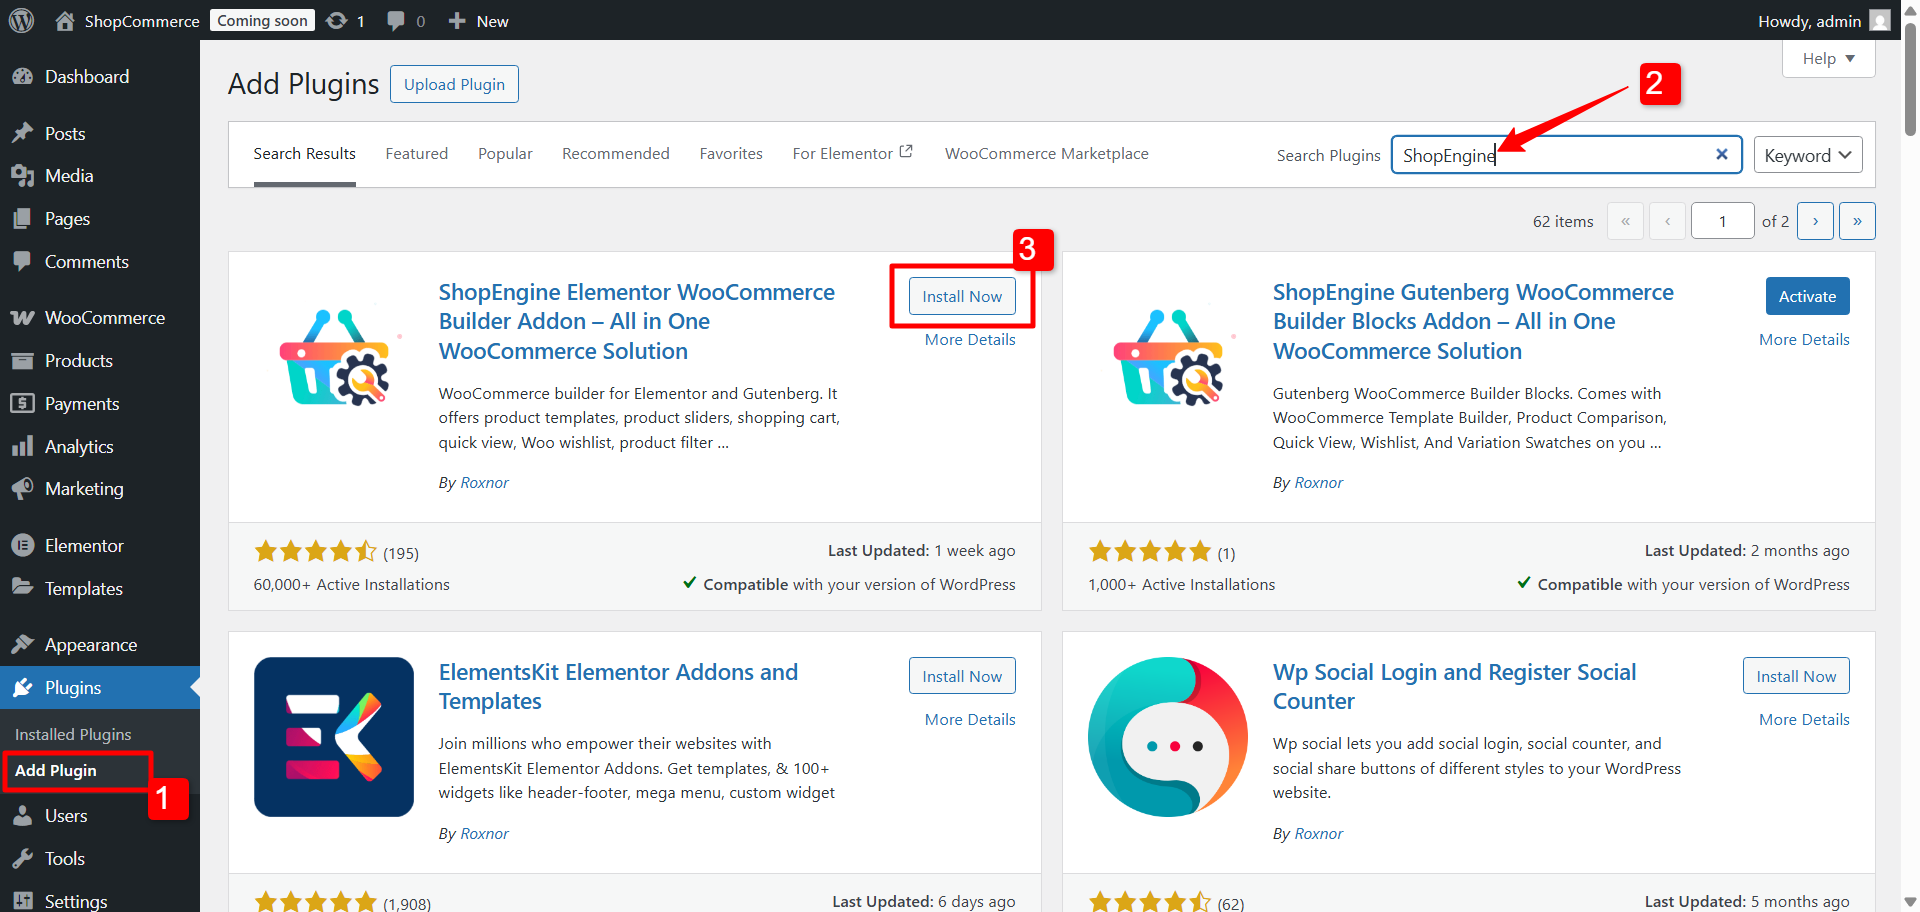
- Ve a la Panel de control de WordPress➔ Complementos➔ Add Plugin.
- Buscar for ShopEngine there.
- Once you find the plugin, click on the install button.
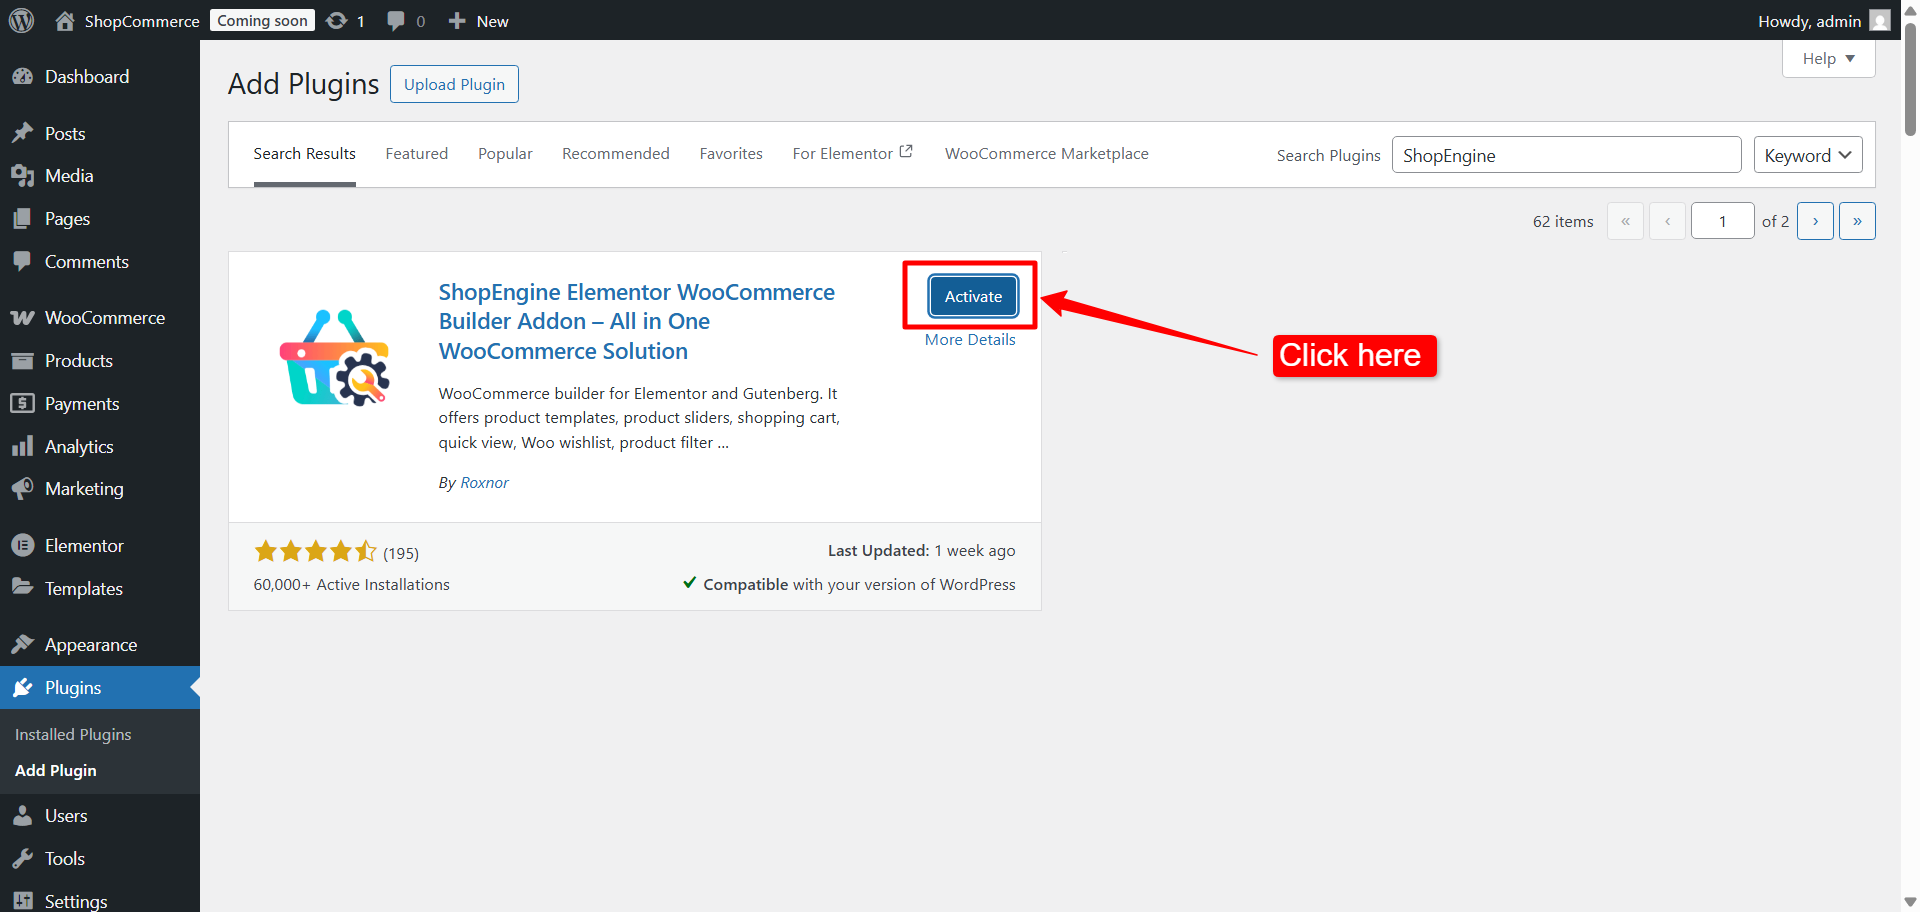
Después de una instalación exitosa, simplemente haga clic en "Activar”Para activar ShopEngine.
Después de activar el complemento, Menú ShopEngine will appear in the WordPress Dashboard. Get used to with the ShopEngine dashboard in WordPress
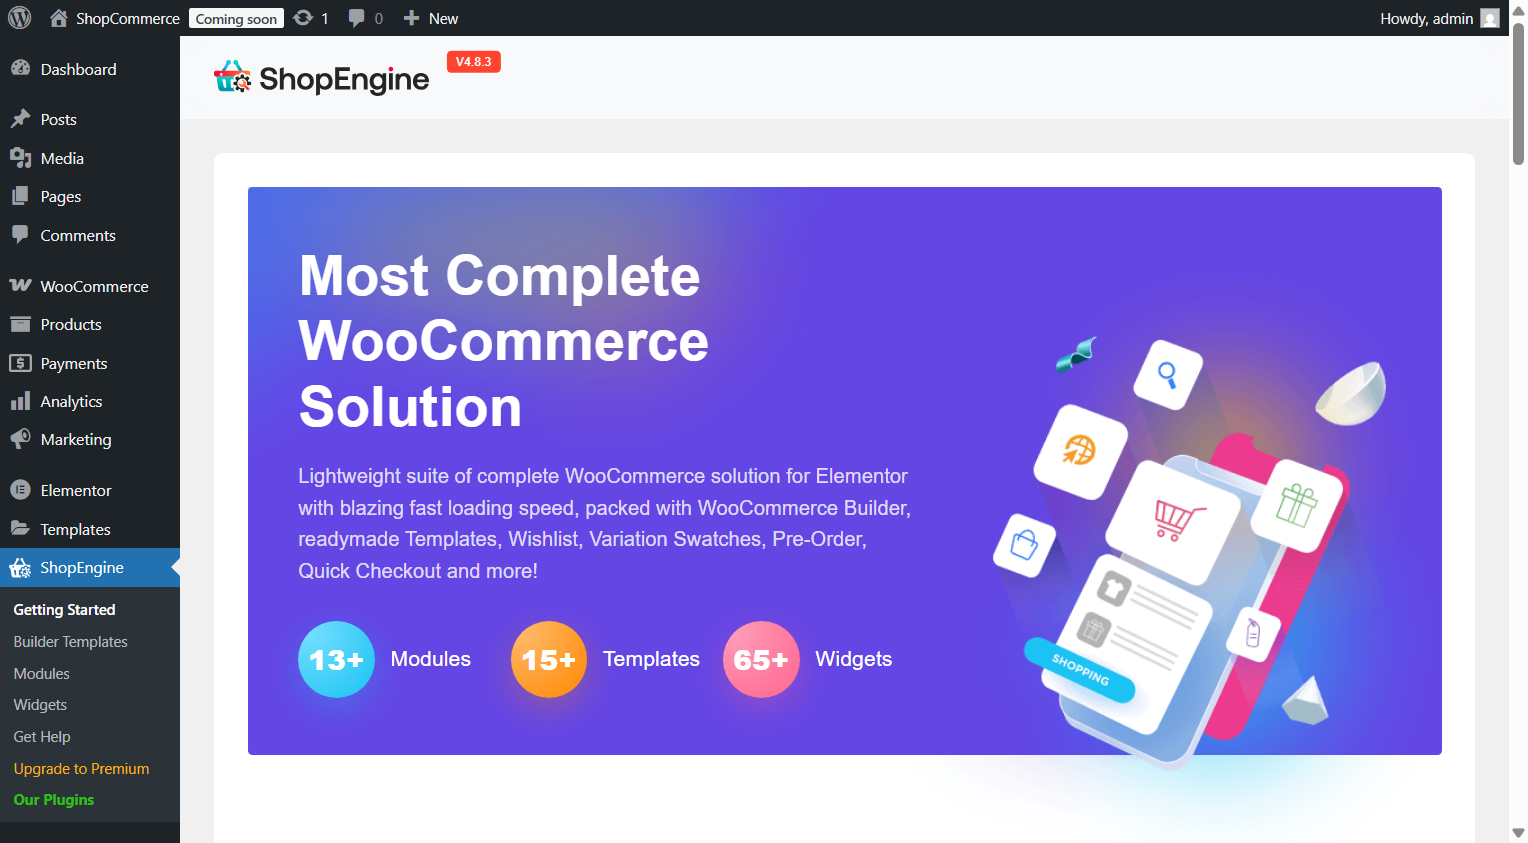
#
En caso de que esté buscando lanzar un sitio web WooCommerce pero tenga dificultades para encontrar un buen servicio de alojamiento, puede elegir de manera confiable Kinsta. Tienen todas las características clave de alojamiento que normalmente esperaría de un proveedor de servicios de alojamiento.


