Upgrading to the Wpmet bundle pack can unlock significant savings. You can get all plugins at the lowest price. Our Bundle pack includes all the premium features and products: ElementsKit PRO, ShopEngine PRO, MetForm PRO, WP Social PRO, and WP Ultimate Review PRO. Plus, you can run these plugins on unlimited sites and enjoy updates & support.
This tutorial will show you how to upgrade from a Single plugin pack to the Wpmet bundle pack.
How to Upgrade to Wpmet Bundle Pack #
By visiting the member’s area, you can view all the upgrade options. Then, follow the below steps:

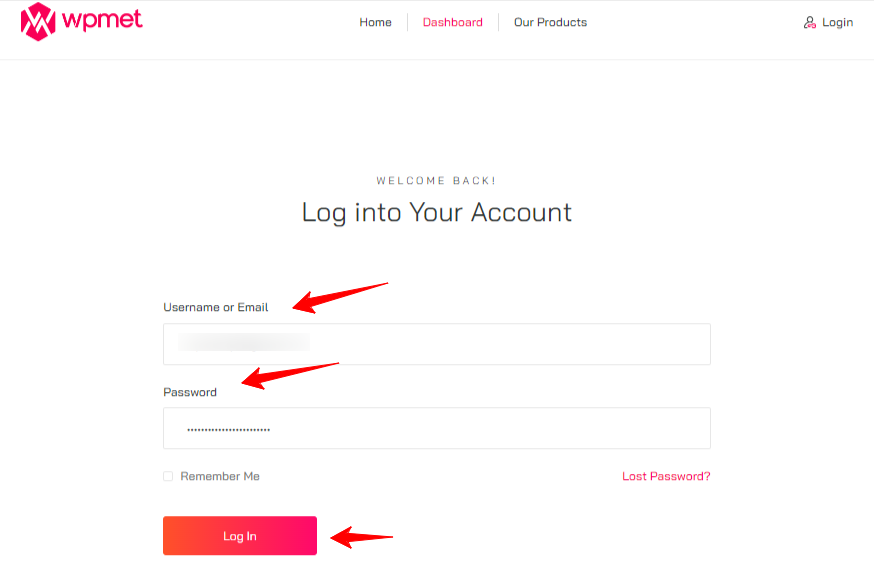
Step 1: Start by logging into your Wpmet account. For this, follow the Wpmet website > Account > Login.
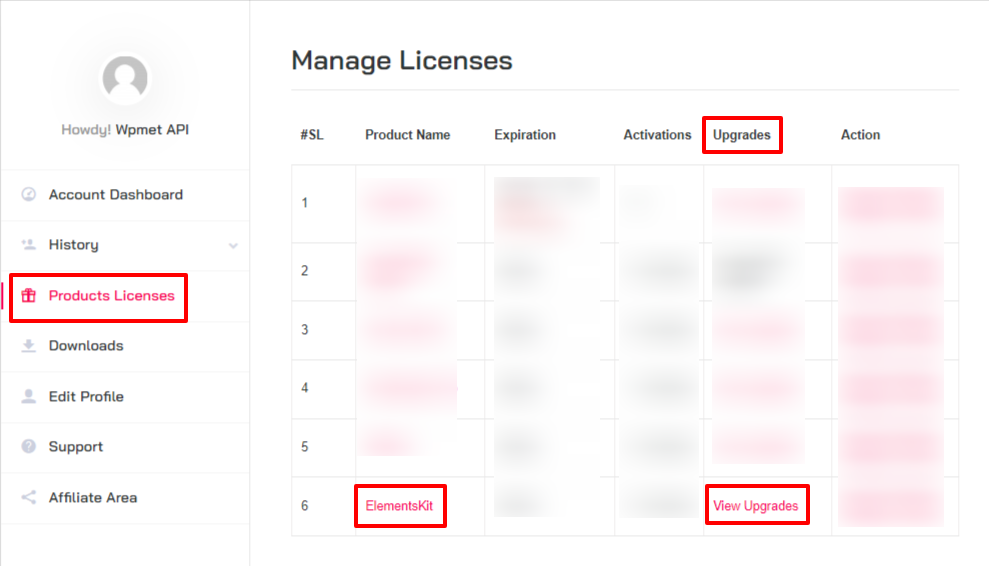
Step 2: Up next, you should see the customer dashboard on your screen. Here navigate to the “Product License” tab. And, you will be moved to the “Manage License” page. This page will show all the information about your current Wpmet product purchase.

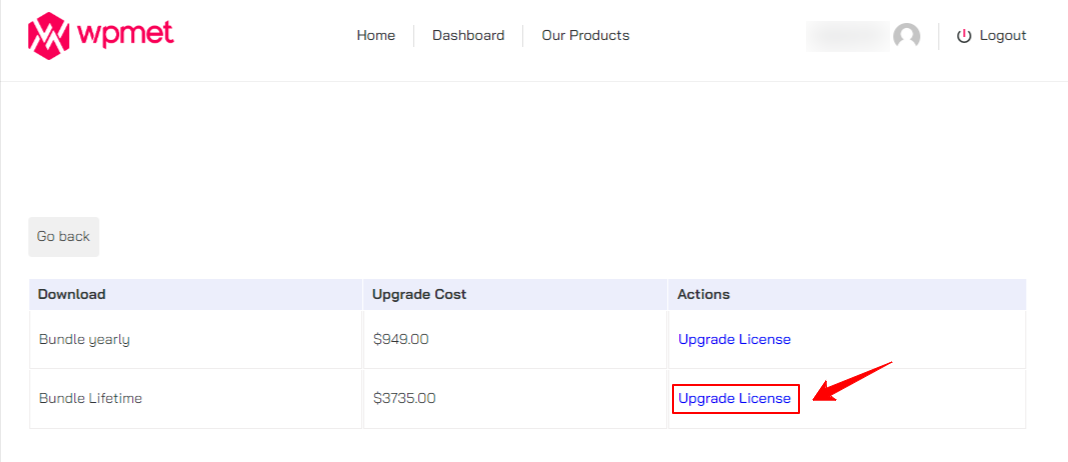
Step 3: Look for the Upgrade column and click on the “View Upgrades” option. The next page will show you the available upgrading options of the Wpmet bundle pack: Yearly & Lifetime Deal.

So, decide which plan is the best fit for you. And, when you make up your mind, click the “Upgrade License” option next to that plan from the Actions column. This will open up the checkout page.

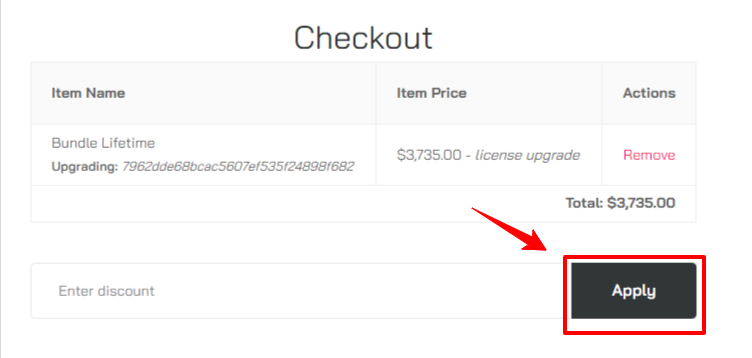
Step 4: On the checkout page, you can enter a discount. But, if you don’t have any, just hit the “Apply” button. The last thing you need to do is select the preferred payment methods and fill out all the details and click the “Purchase” button to complete the shopping.
Once done successfully, you can go back to your account dashboard and navigate to the “Downloads” tab. Here, you will see all the plugins of the Wpmet bundle pack. And, to manage the plugin license go to the “Product License” tab, within its “Action” tab you can access the license key of all plugins individually.
Now, download a plugin, upload it to your WordPress website, and activate the license key. That’s it.


