
 Japanese
  English
  German
  Spanish
  Italian
  French
  Danish
  Portuguese
  Swedish
  Polish
  Korean
 モーフィングとは、ある画像や形状を別の画像や形状に変更またはモーフィングすることを意味します。映画やアニメーションに完璧なトランジションを与える特殊効果です。 Web サイトの画像に特別な効果を追加するために、ElementsKit は完全にカスタマイズ可能なウィジェット名を提供します。 画像モーフィング.
このドキュメントでは、ElementsKit Image Morphing ウィジェットを利用して Web サイトの画像をより魅力的にする方法を学びます。
画像モーフィングのカスタマイズ #
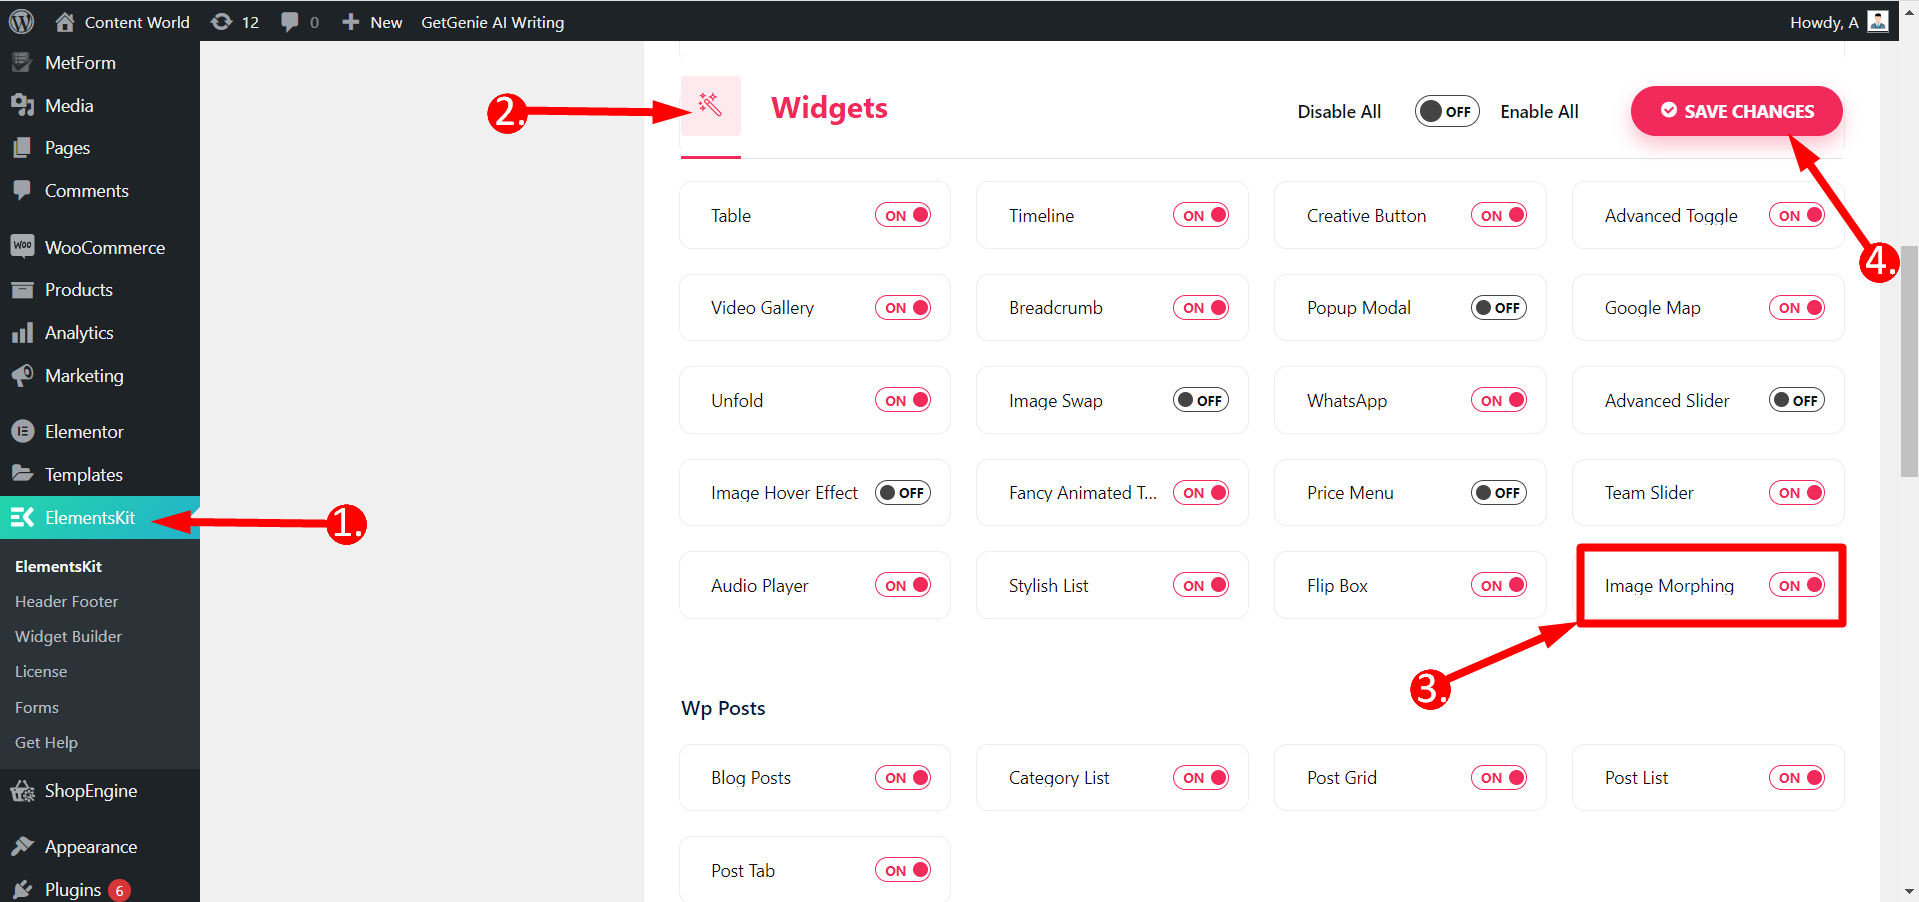
ウィジェットを使用するには、ElementsKit pro が必要です。そしてダッシュボードからウィジェットをONにすることから始めます。
ウィジェットを有効にする #
WordPressダッシュボードに移動 ⇒ 1. ElementsKitを見つける ⇒ 2. ウィジェットをクリック ⇒ 3. 画像モーフィングウィジェットをオンにする ⇒ 4. 変更を保存する
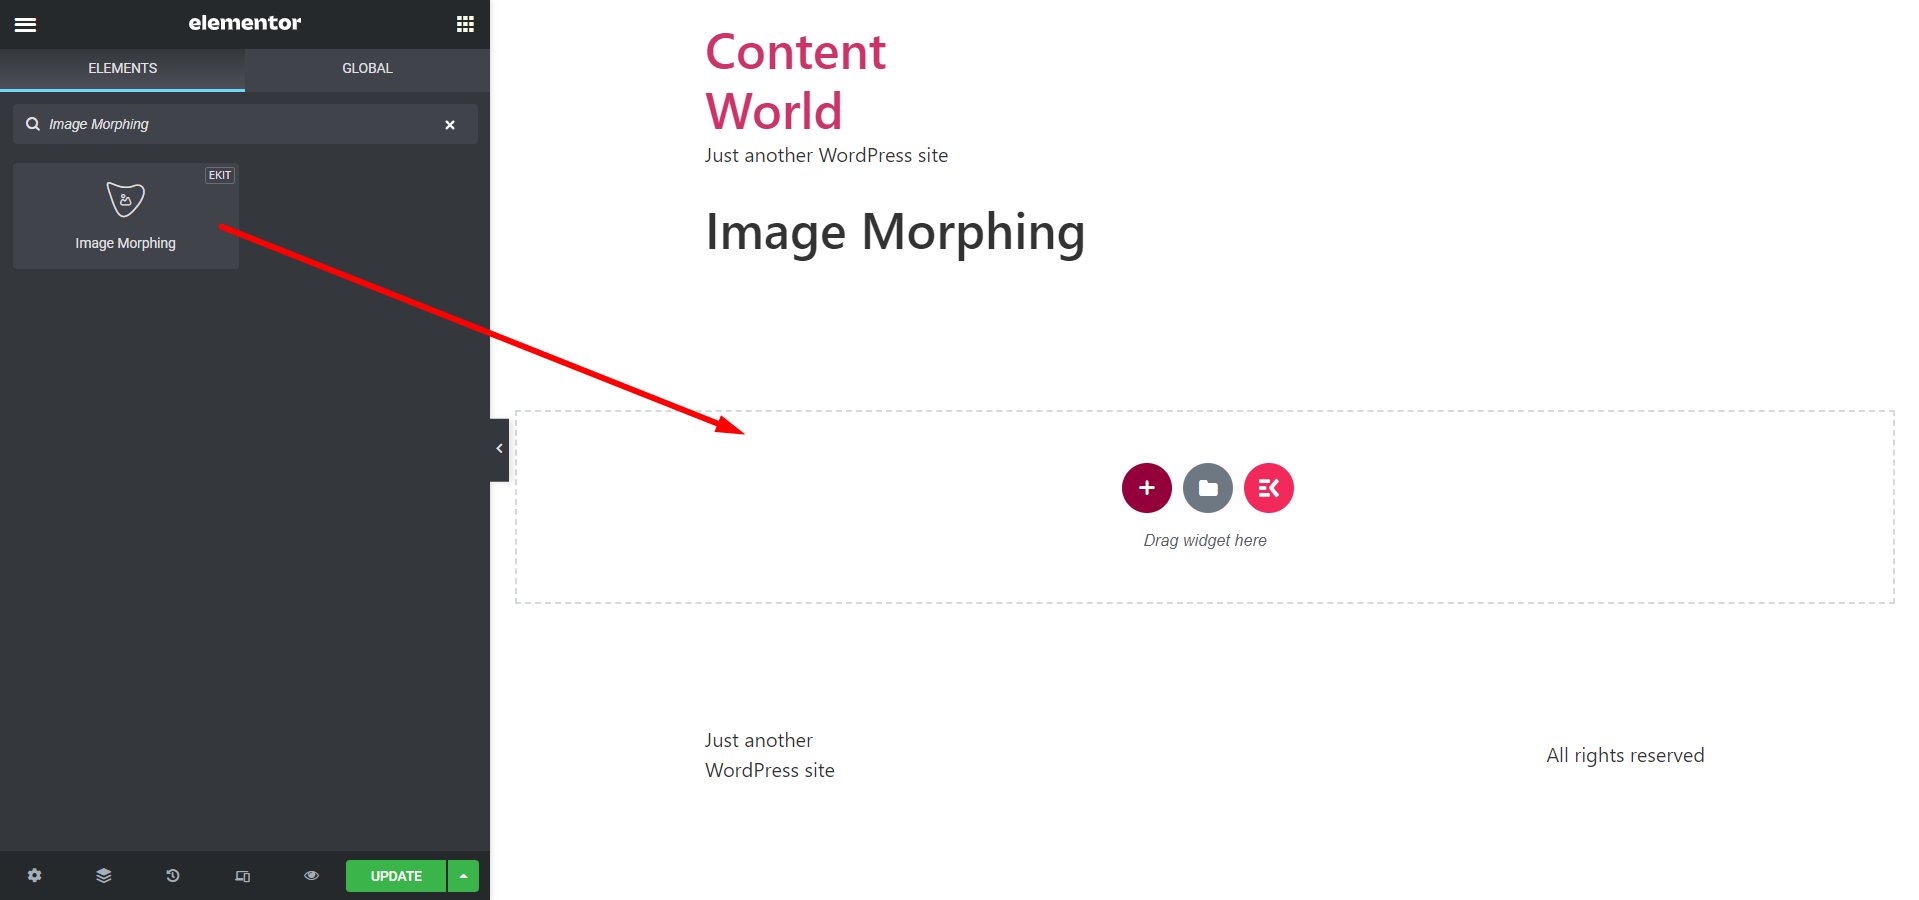
Fダッシュボードの作成 ⇒ ページの作成または古いページの編集 ⇒ ElementsKit で編集 ⇒ 画像モーフィング ウィジェットの検索 ⇒ ドラッグ アンド ドロップするだけ
コンテンツ #
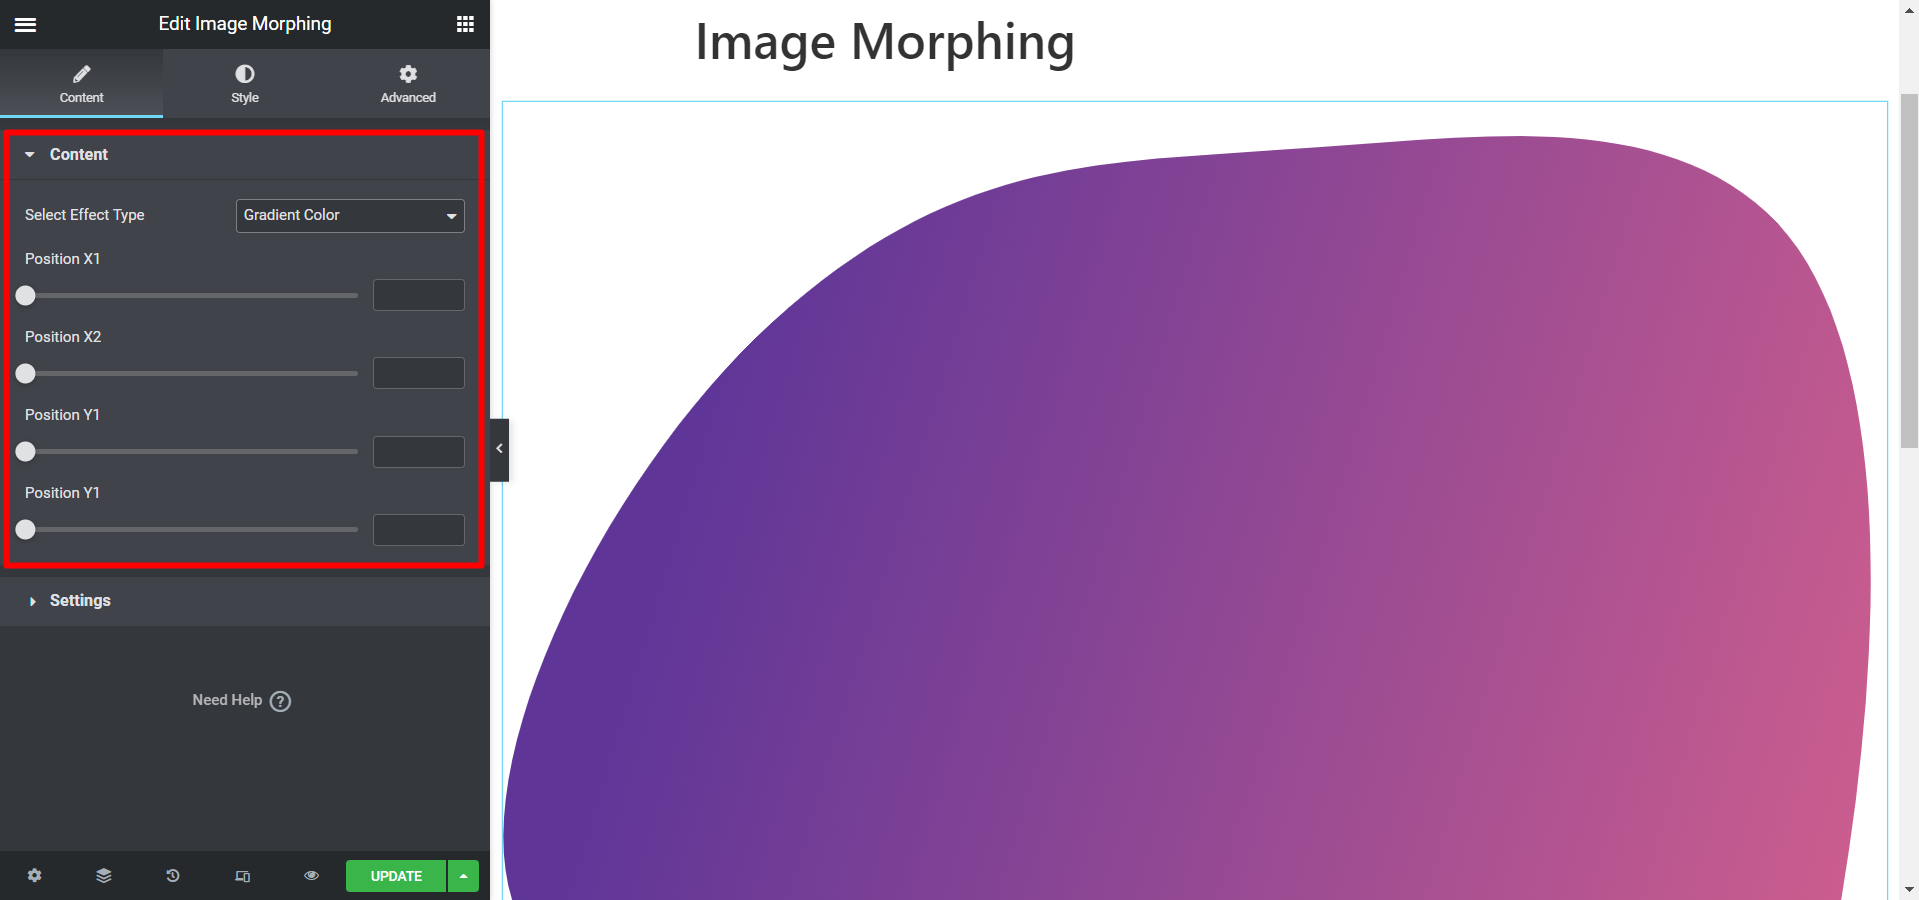
- エフェクトタイプの選択 - 効果を選択します 画像、色、グラデーションカラー オプション。
- 画像サイズ- 画像を選択した場合、このフィールドで画像サイズを調整できます。
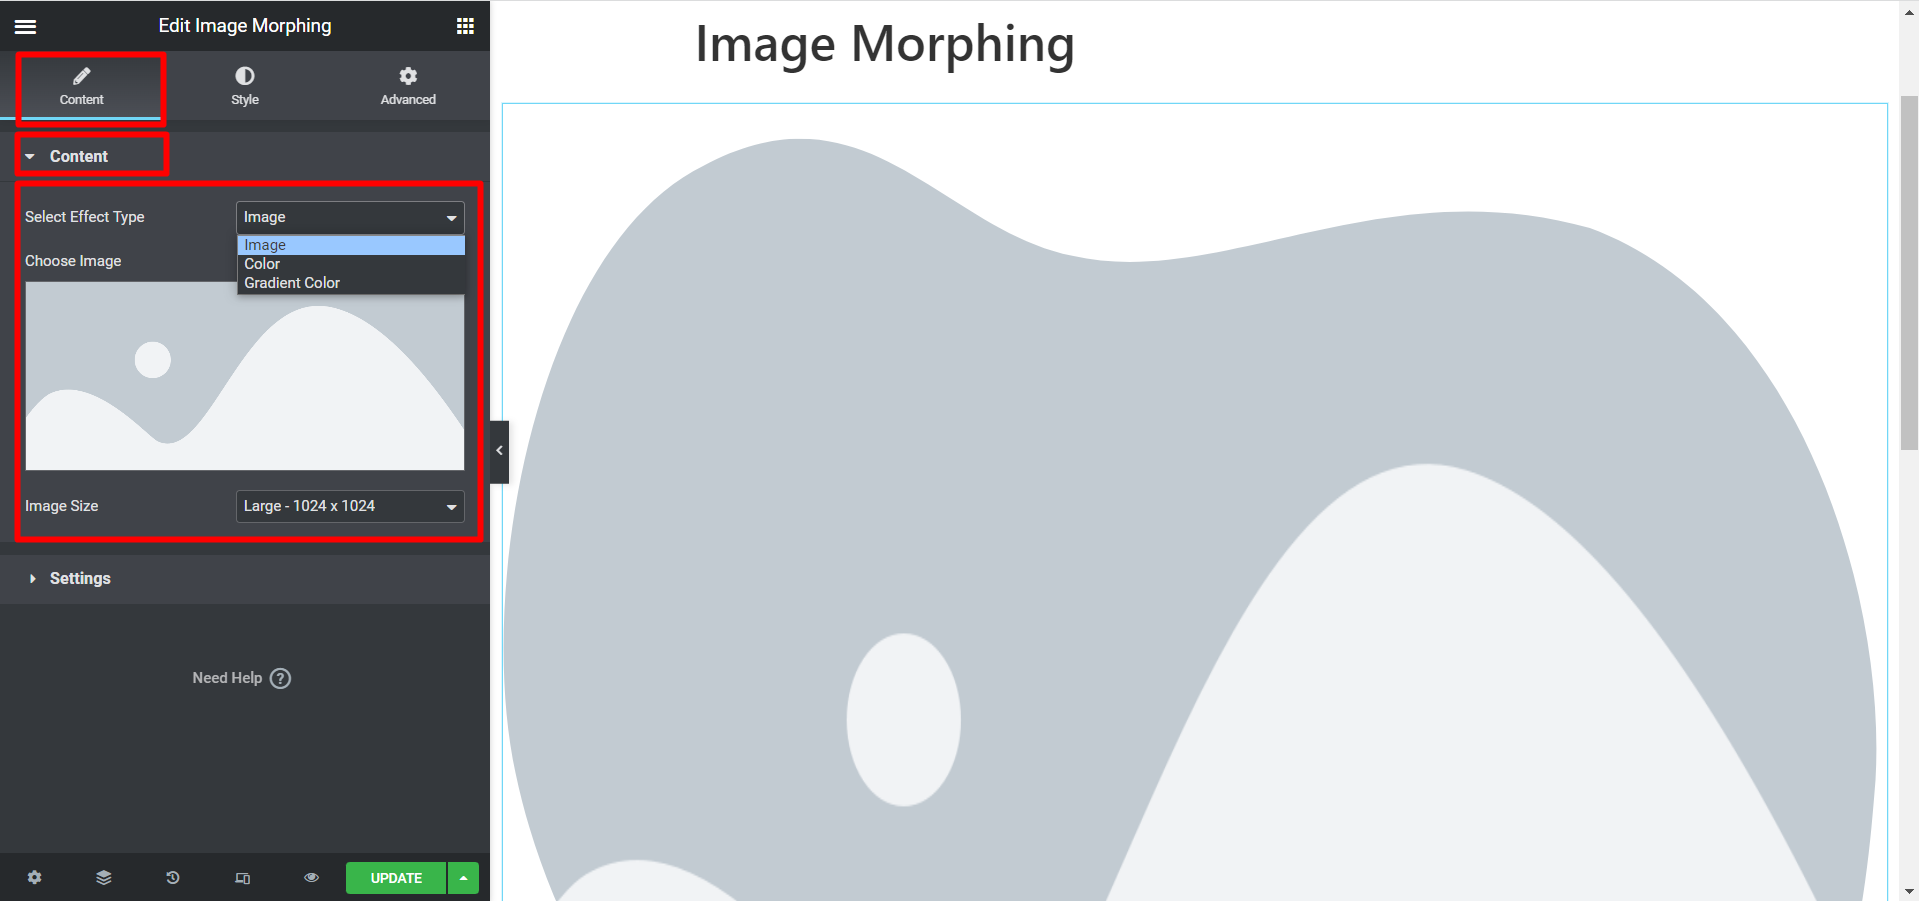
- ストロークを表示- もし、あんたが 色を選ぶ このフィールドでは次のことが可能になります ストロークの表示または非表示.
- もし、あんたが グラデーションカラーを選択してください エフェクトタイプとして、位置調整オプションがあります- 位置 X1、位置 X2、位置 Y1、および位置 Y2。
設定 #
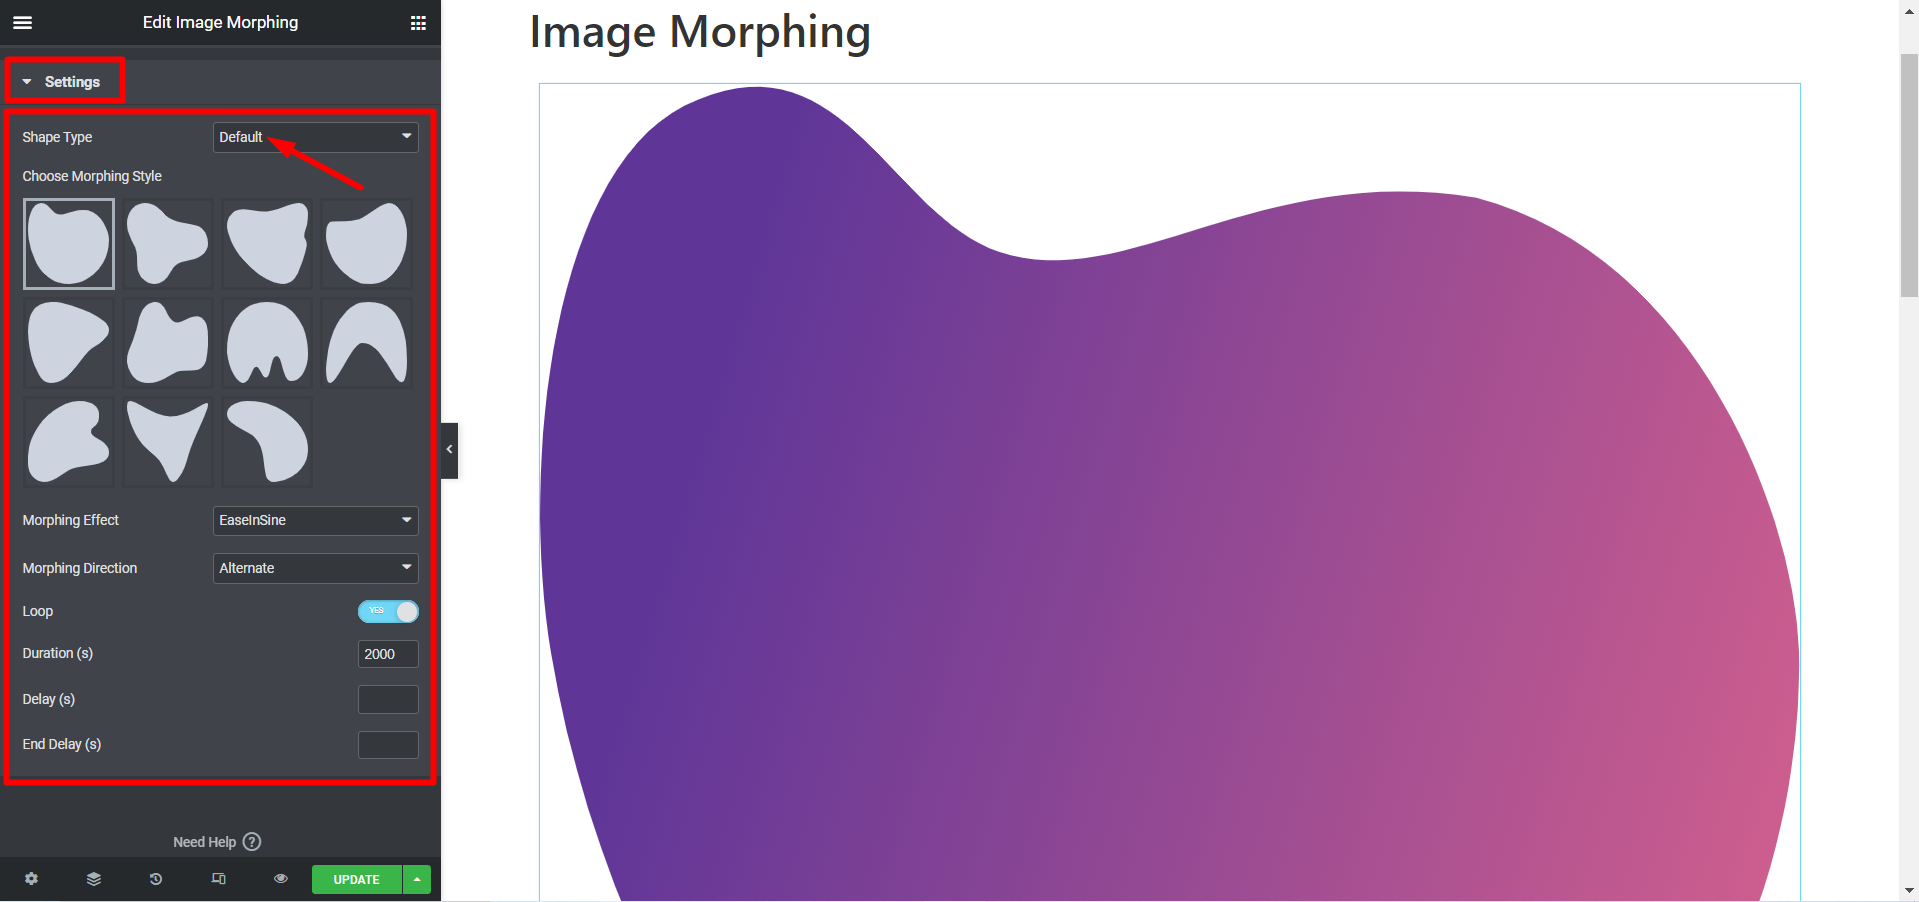
形状タイプ- [デフォルト] を選択すると、以下のカスタマイズ オプションが表示されます。
- モーフィング スタイルの選択 - さまざまなスタイルをお選びいただけます。
- モーフィングエフェクト - 画像にはさまざまな効果のオプションがあります。
- モーフィング方向 - アニメーションの方向は次のとおりです。 ノーマル、リバース、オルタナティブ.
- ループ- モーフィングをループで表示したい場合は、「ループ」ボタンを「YES」に切り替え、それ以外の場合は「NO」に切り替えます。
- 期間 (秒)- ここでアニメーションの長さを設定します。
- 遅延 (秒)- このフィールドで画像アニメーションの遅延時間を調整します。
- 終了遅延 (秒)- ここにアニメーションの終了時間を書きます。
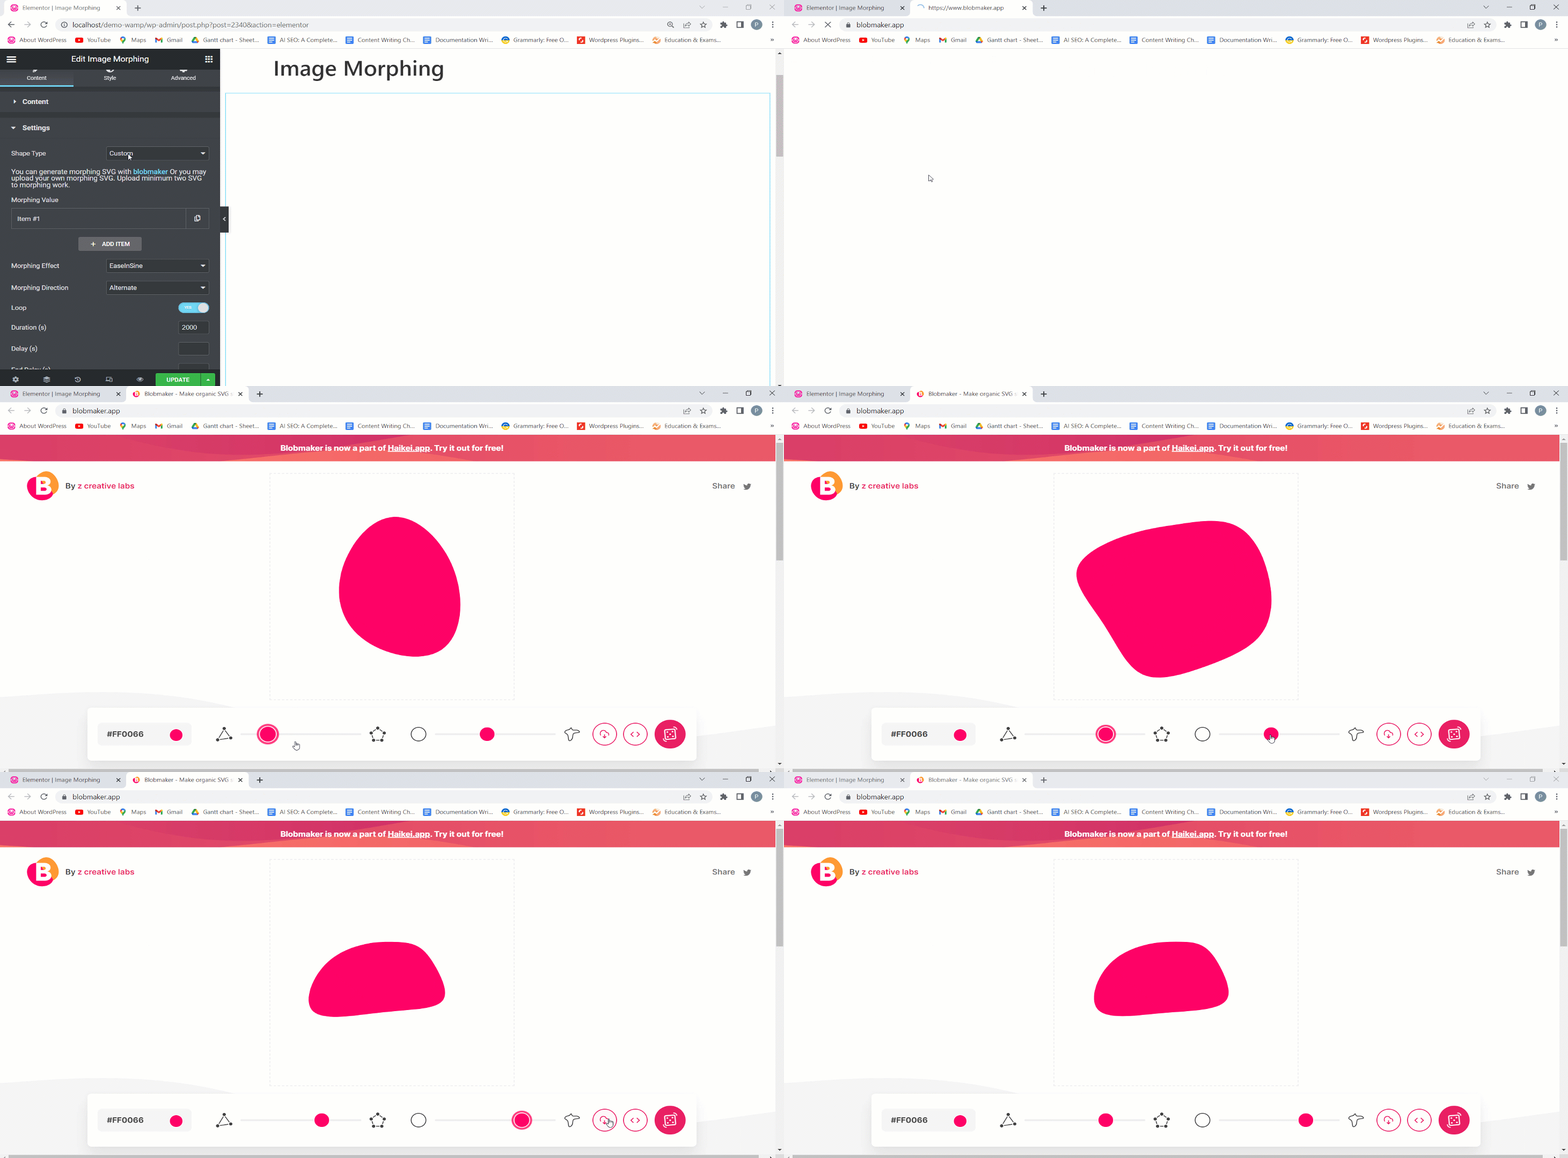
ただし、選択した場合 カスタムスタイル その後、blobmaker を使用してモーフィング SVG を生成できます。
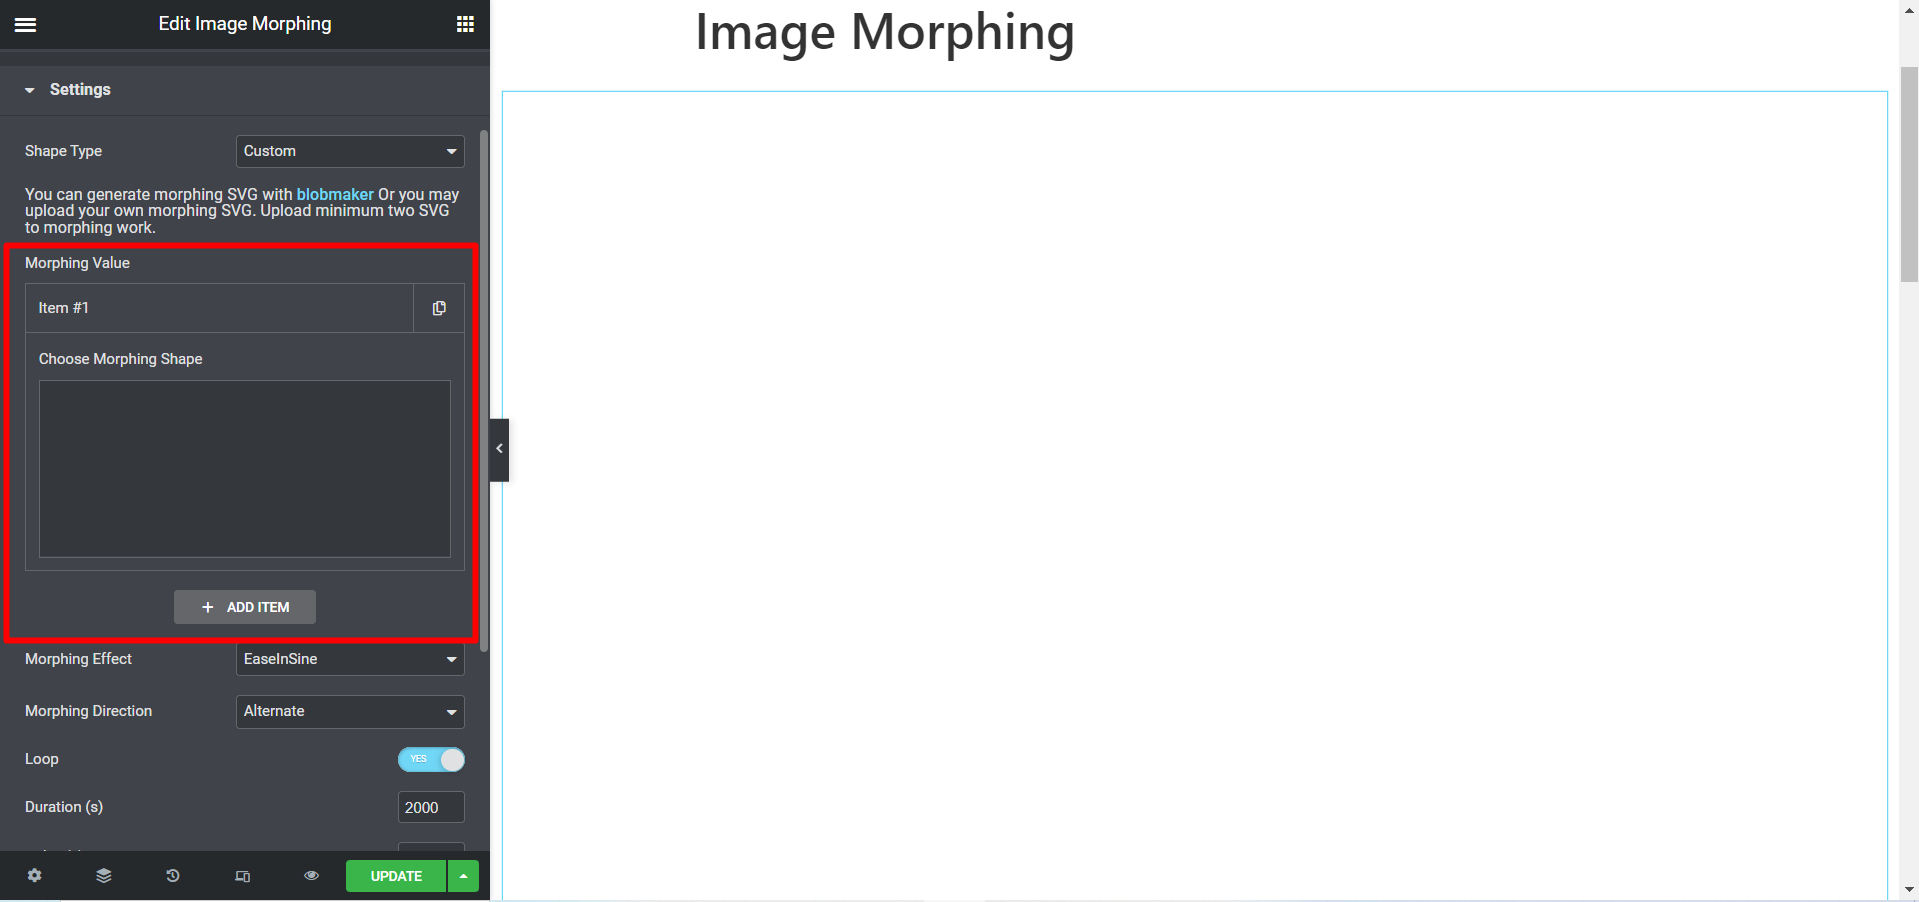
また、 独自のモーフィング SVG。アップロードする必要があることに注意してください 少なくとも 2 つの SVG モーフィング作業に。
スタイル #
スタイル オプションは、画像、色、およびグラデーションの効果で使用できます。
私メイジスタイル #
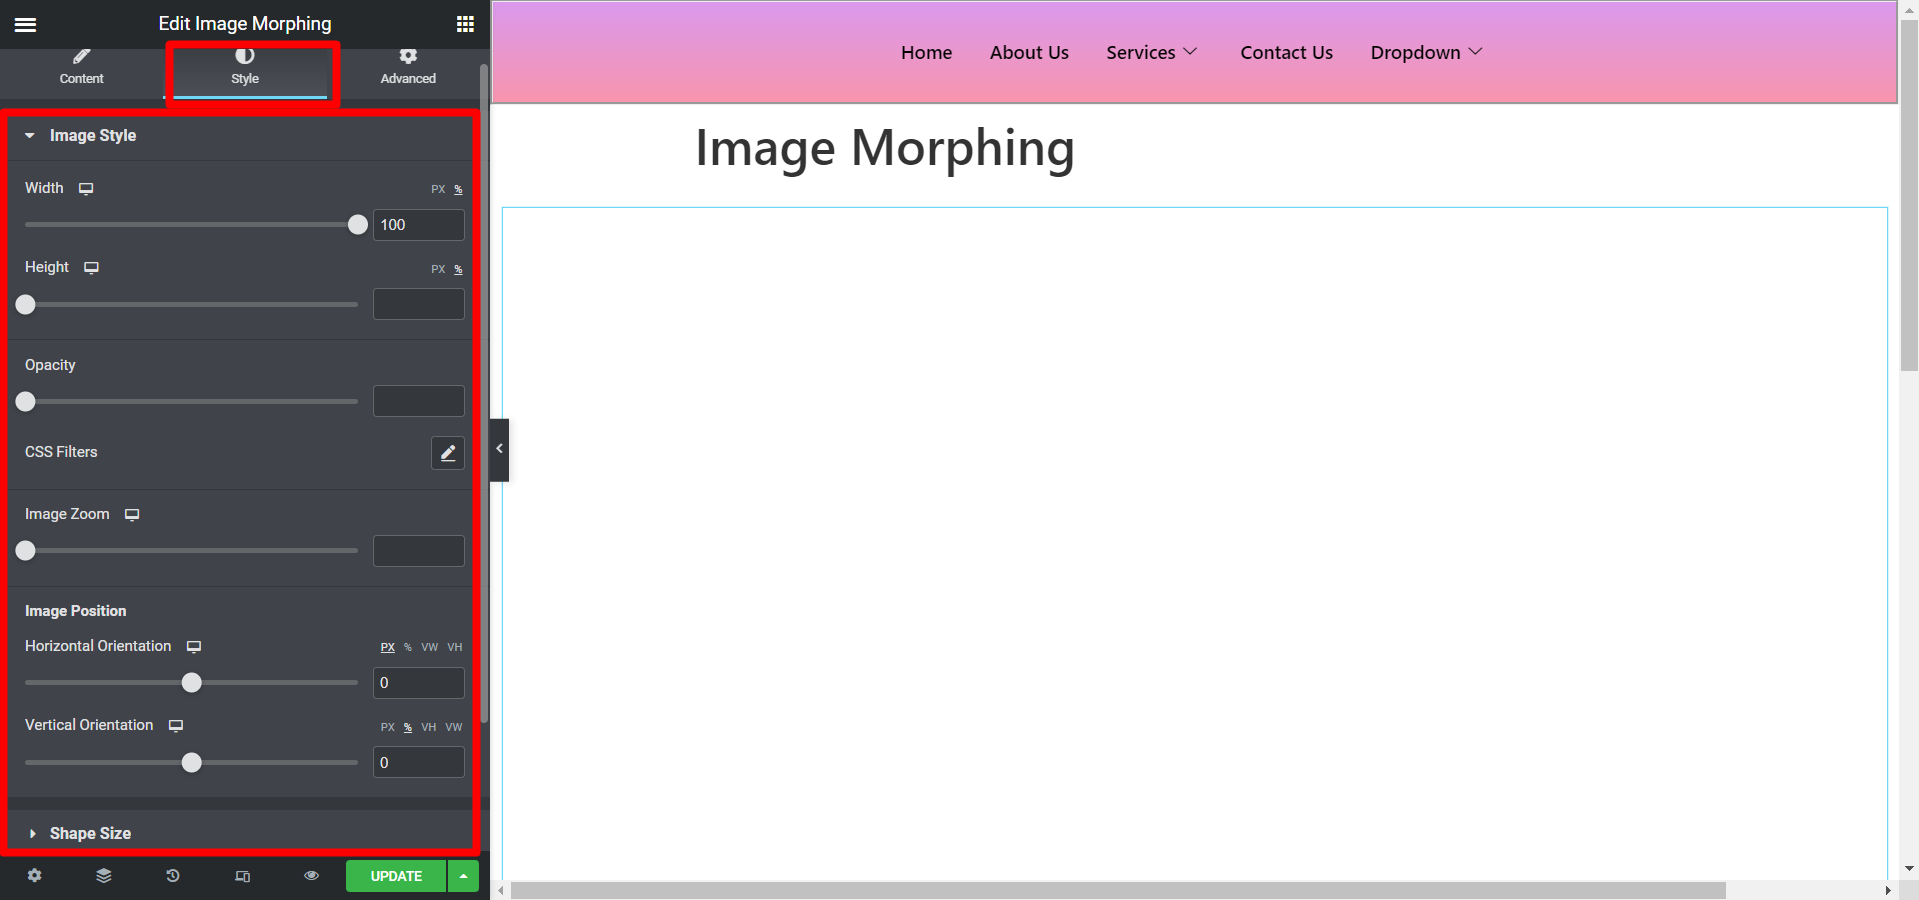
このセクションでは、画像の幅、高さ、不透明度、CSS フィルター、画像ズーム、水平方向および垂直方向の画像位置を調整できます。
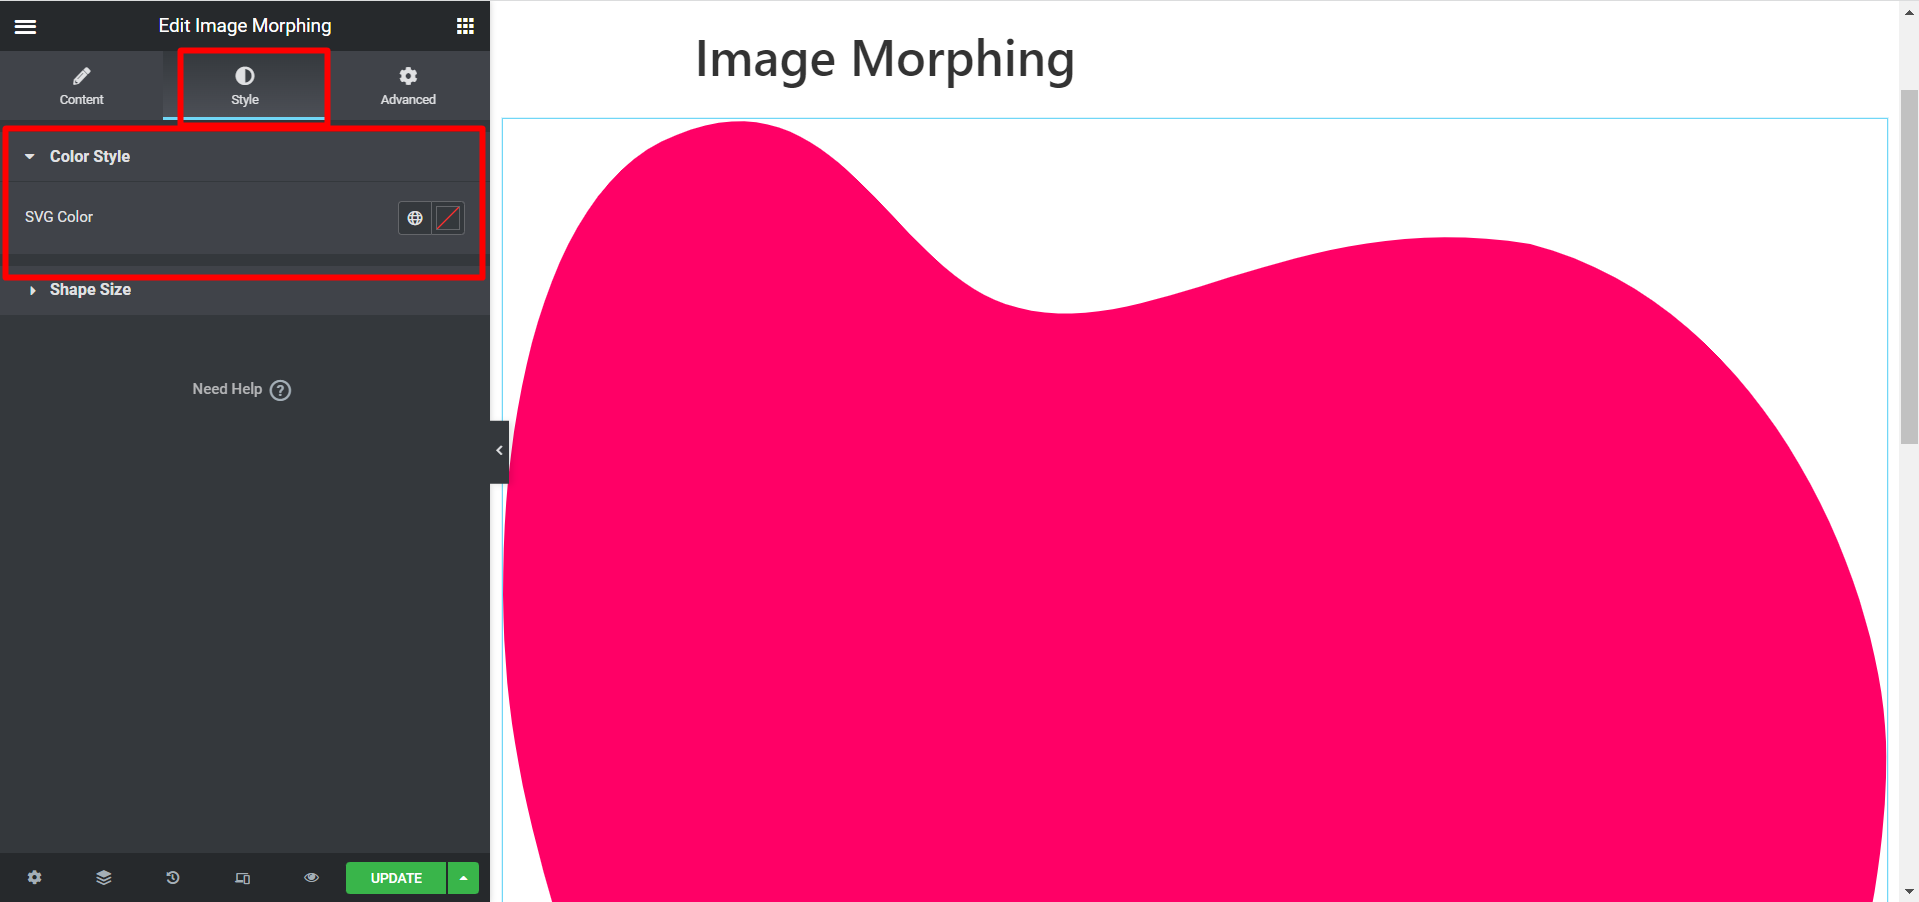
カラースタイル #
カラー効果タイプには、次のオプションがあります。 SVGカラーをカスタマイズする.
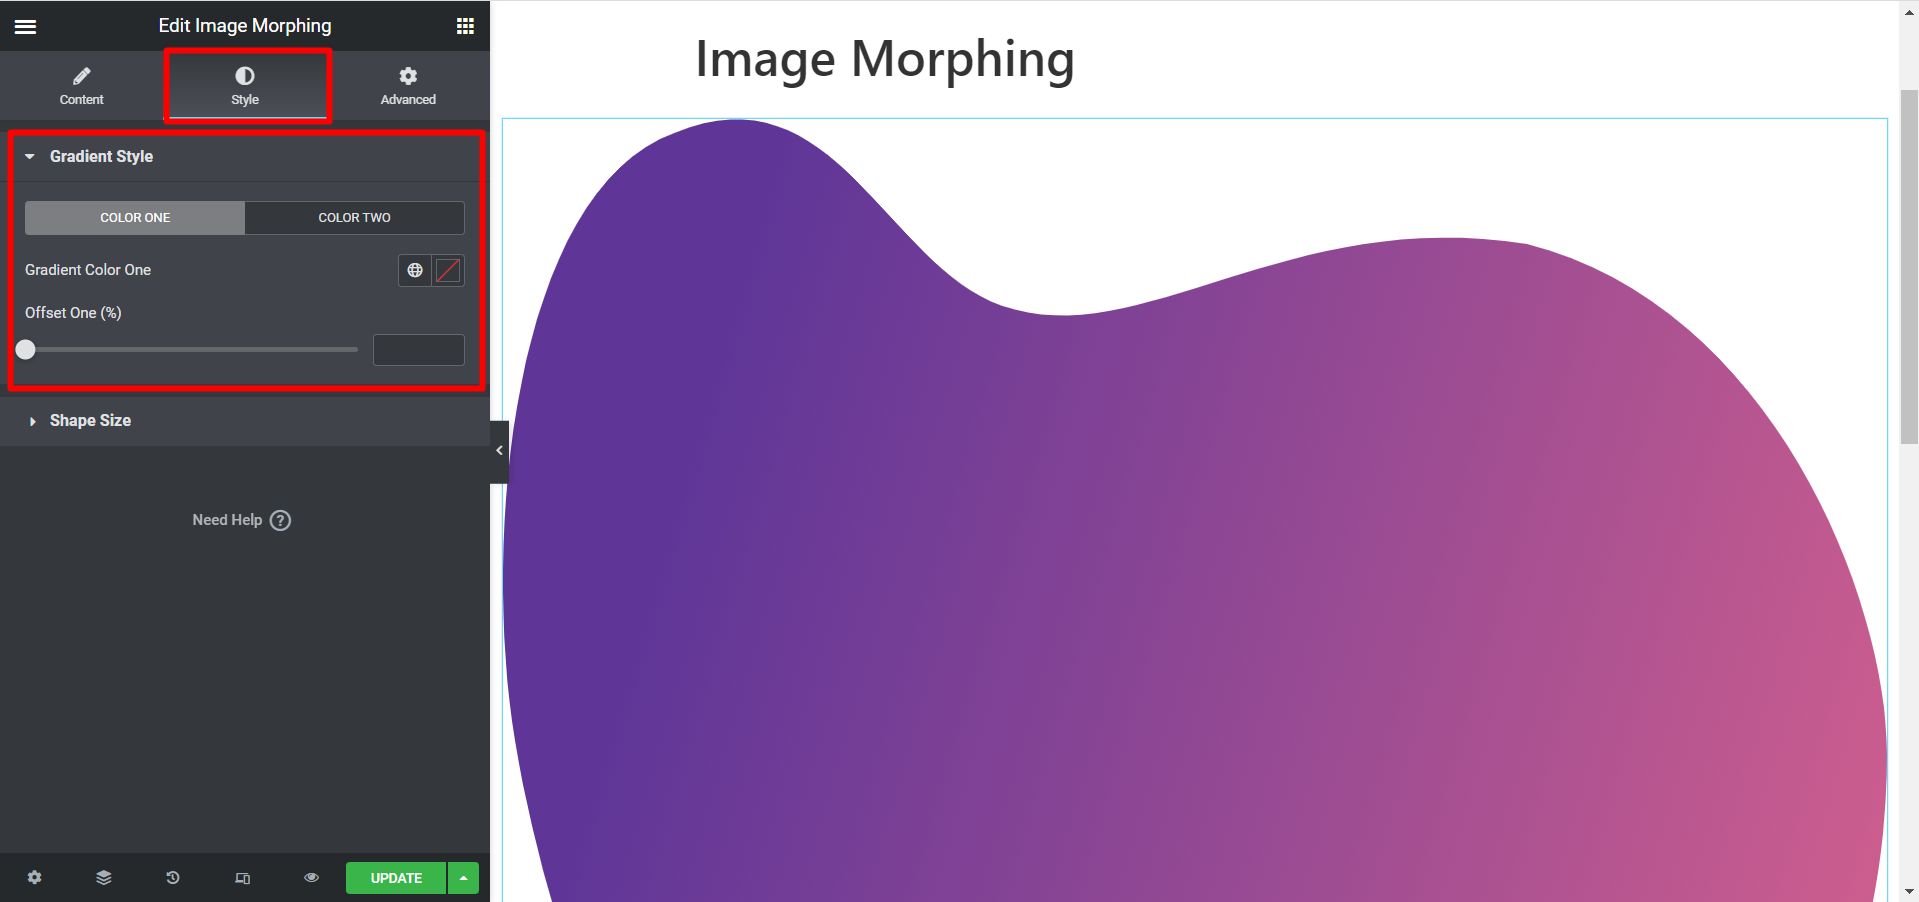
グラデーションスタイル #
がある 2色のオプション、それに応じて選択し、オフセットも調整する必要があります。
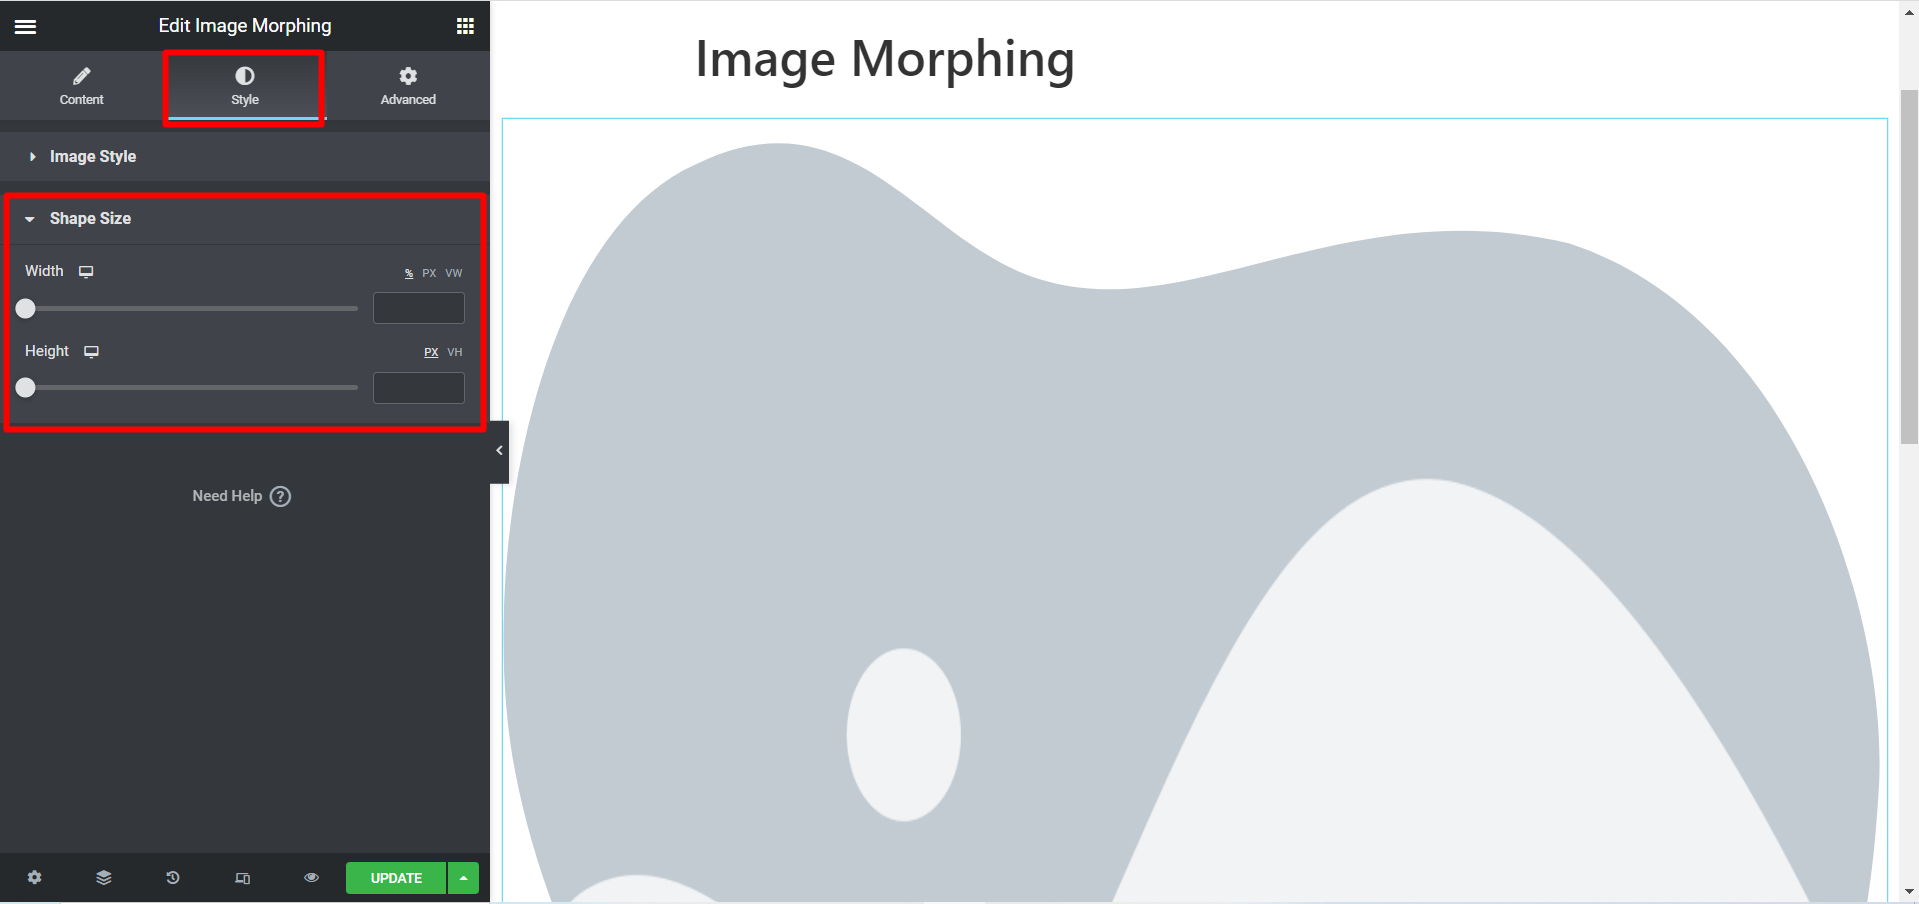
サペサイズ #
このオプションはすべてのエフェクト タイプに共通です。必要に応じて画像の幅と高さを調整できます。
これは、私たちがあなたのためにカスタマイズした画像モーフィングの一例です。
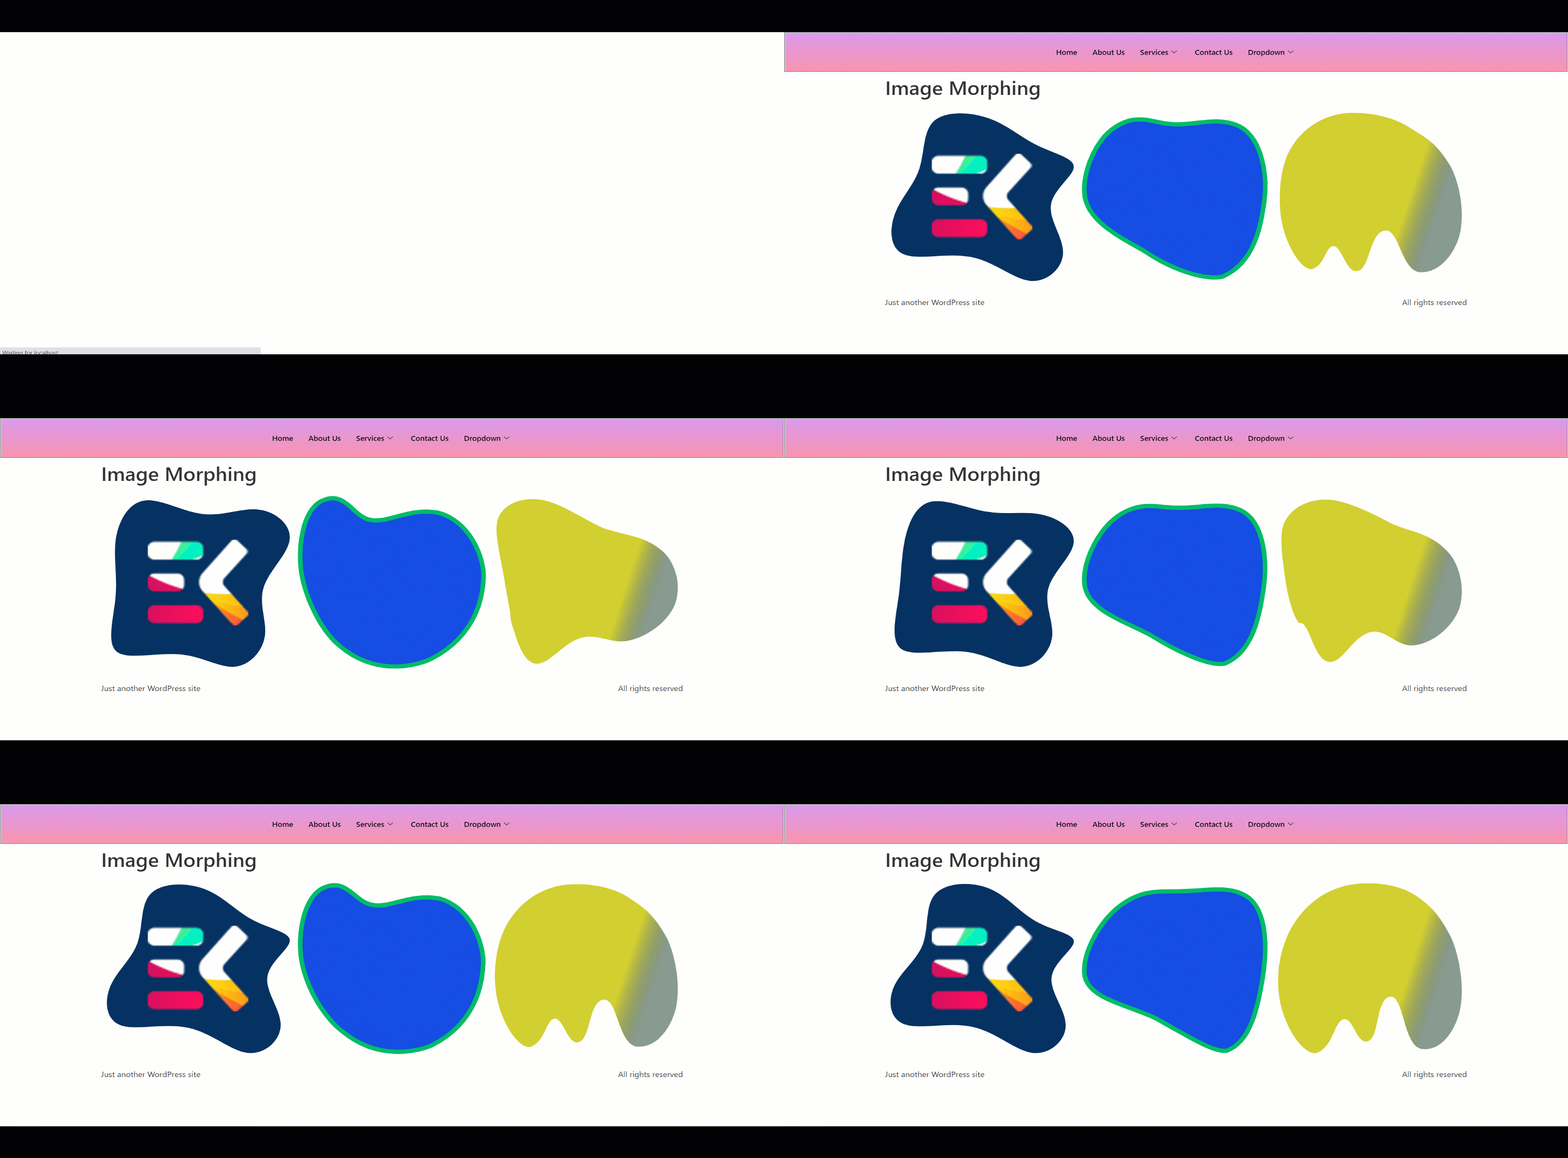
アニメーションや珍しい効果を通じてさまざまな画像を魅力的な方法で紹介するには、ElementsKit 画像モーフィング ウィジェットが最適です。


