When a customer orders a product in your WooCommerce store, she wants to confirm that the order is placed. The ‘order confirm’ widget makes it easy. There is no need to use any shortcodes.
Our ‘Order Confirm’ widget is ready to use with all the essential elements.
How to Add Order Confirm Widget? #
You need to integrate the widget in the order page. If you have already created an order page, you can integrate the widget there.
Or, you can use the ready template of ShopEngine.
Step 1: Add Order Page Template #
Erstellen Sie eine Bestellseite als hier beschrieben.
Step 2: Add Order Confirm Widget #
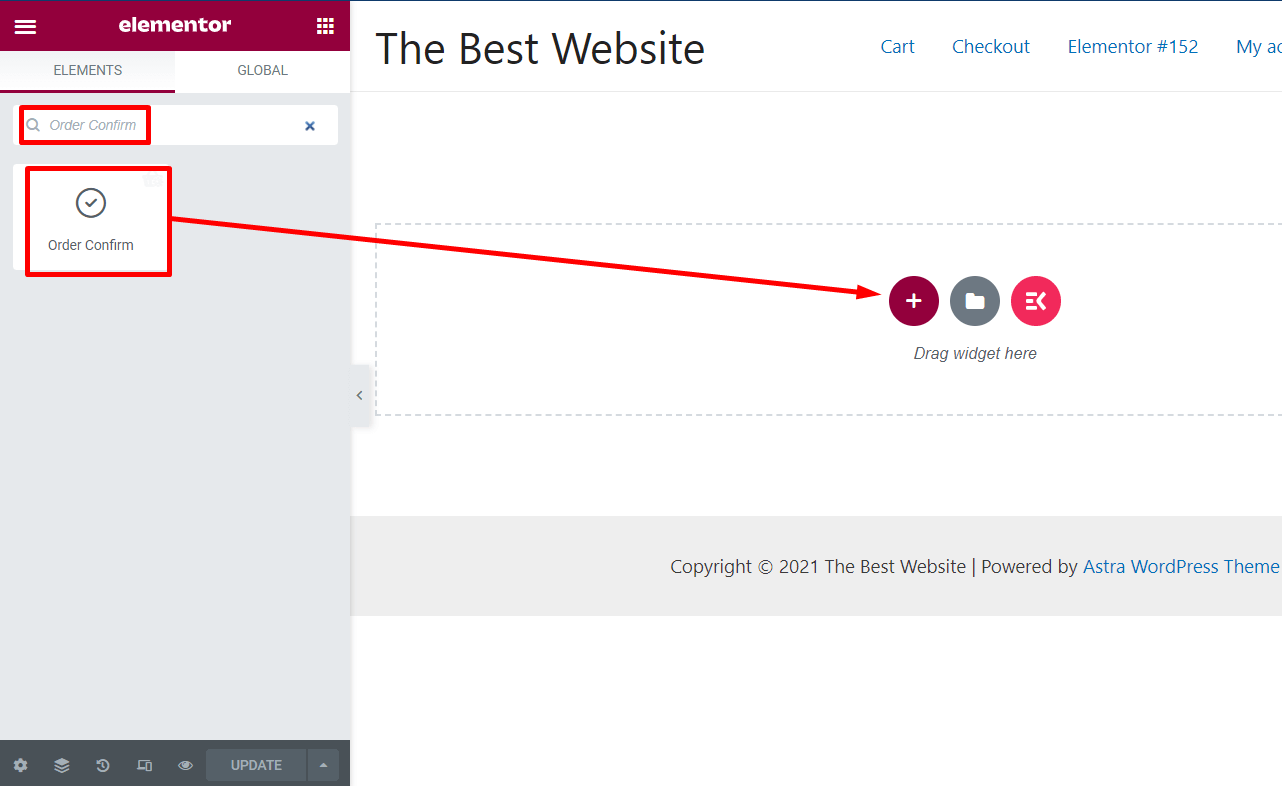
Now you will land on the template page. Search for the ‘Order Confirm’ widget in the widget gallery.
Sie werden es in der Liste sehen. Ziehen Sie das Widget per Drag-and-Drop auf die Seite.

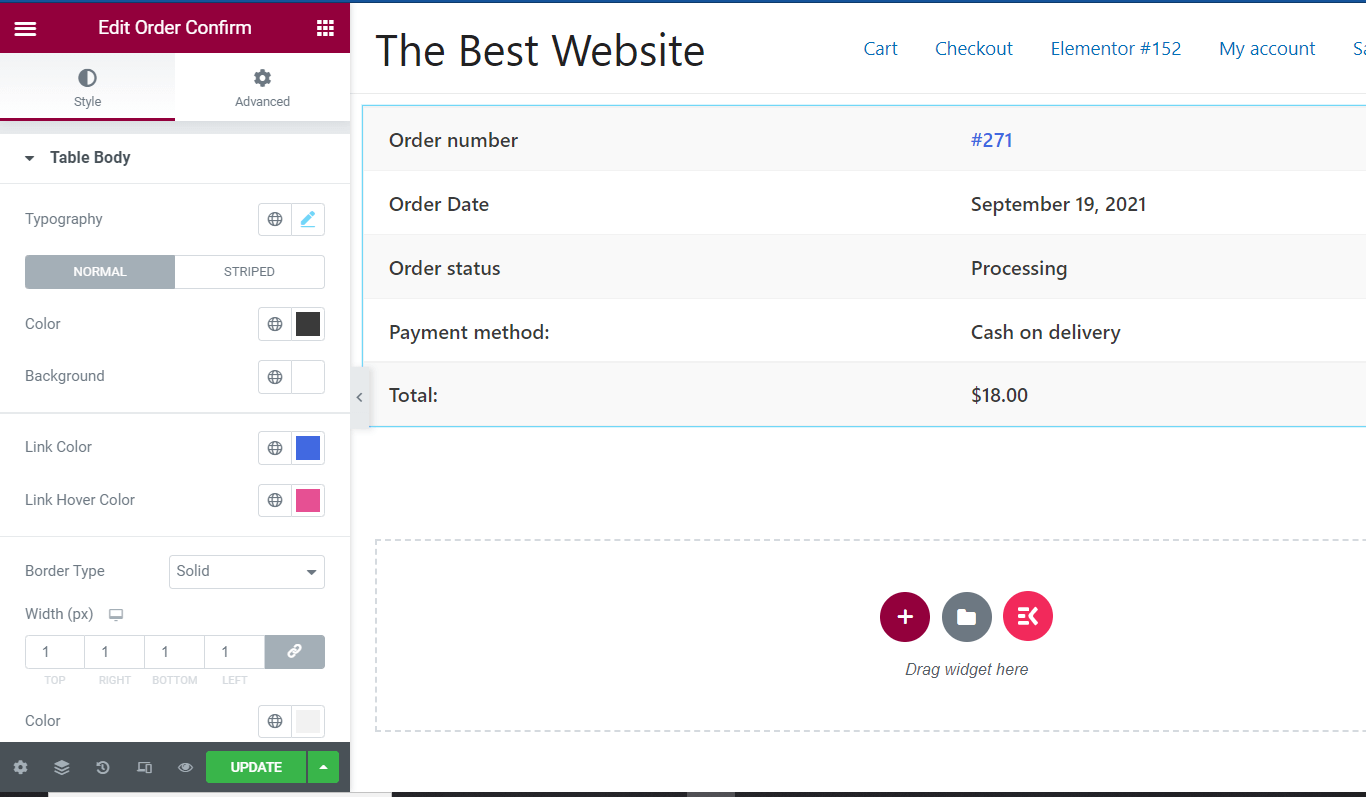
You will see the preview of the widget layout.

Step 3: Customize the Order Confirm Widget #
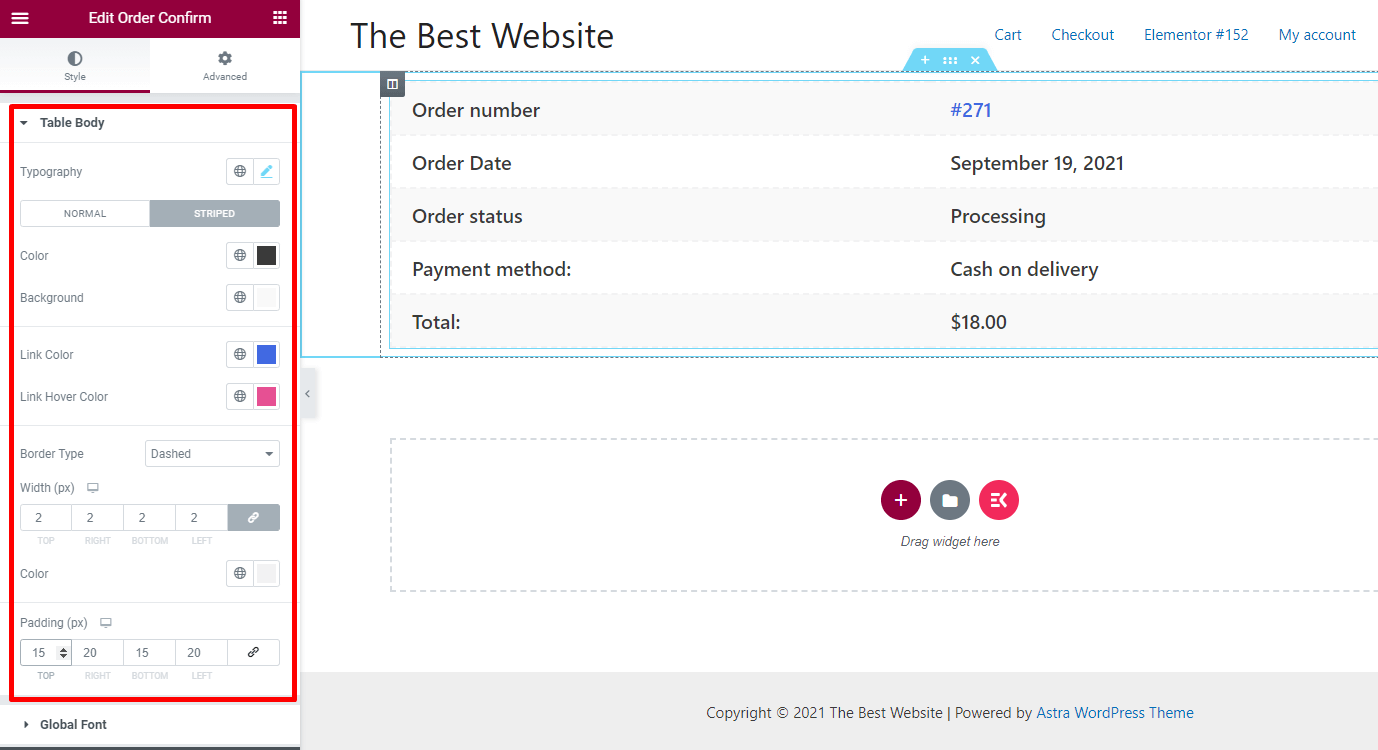
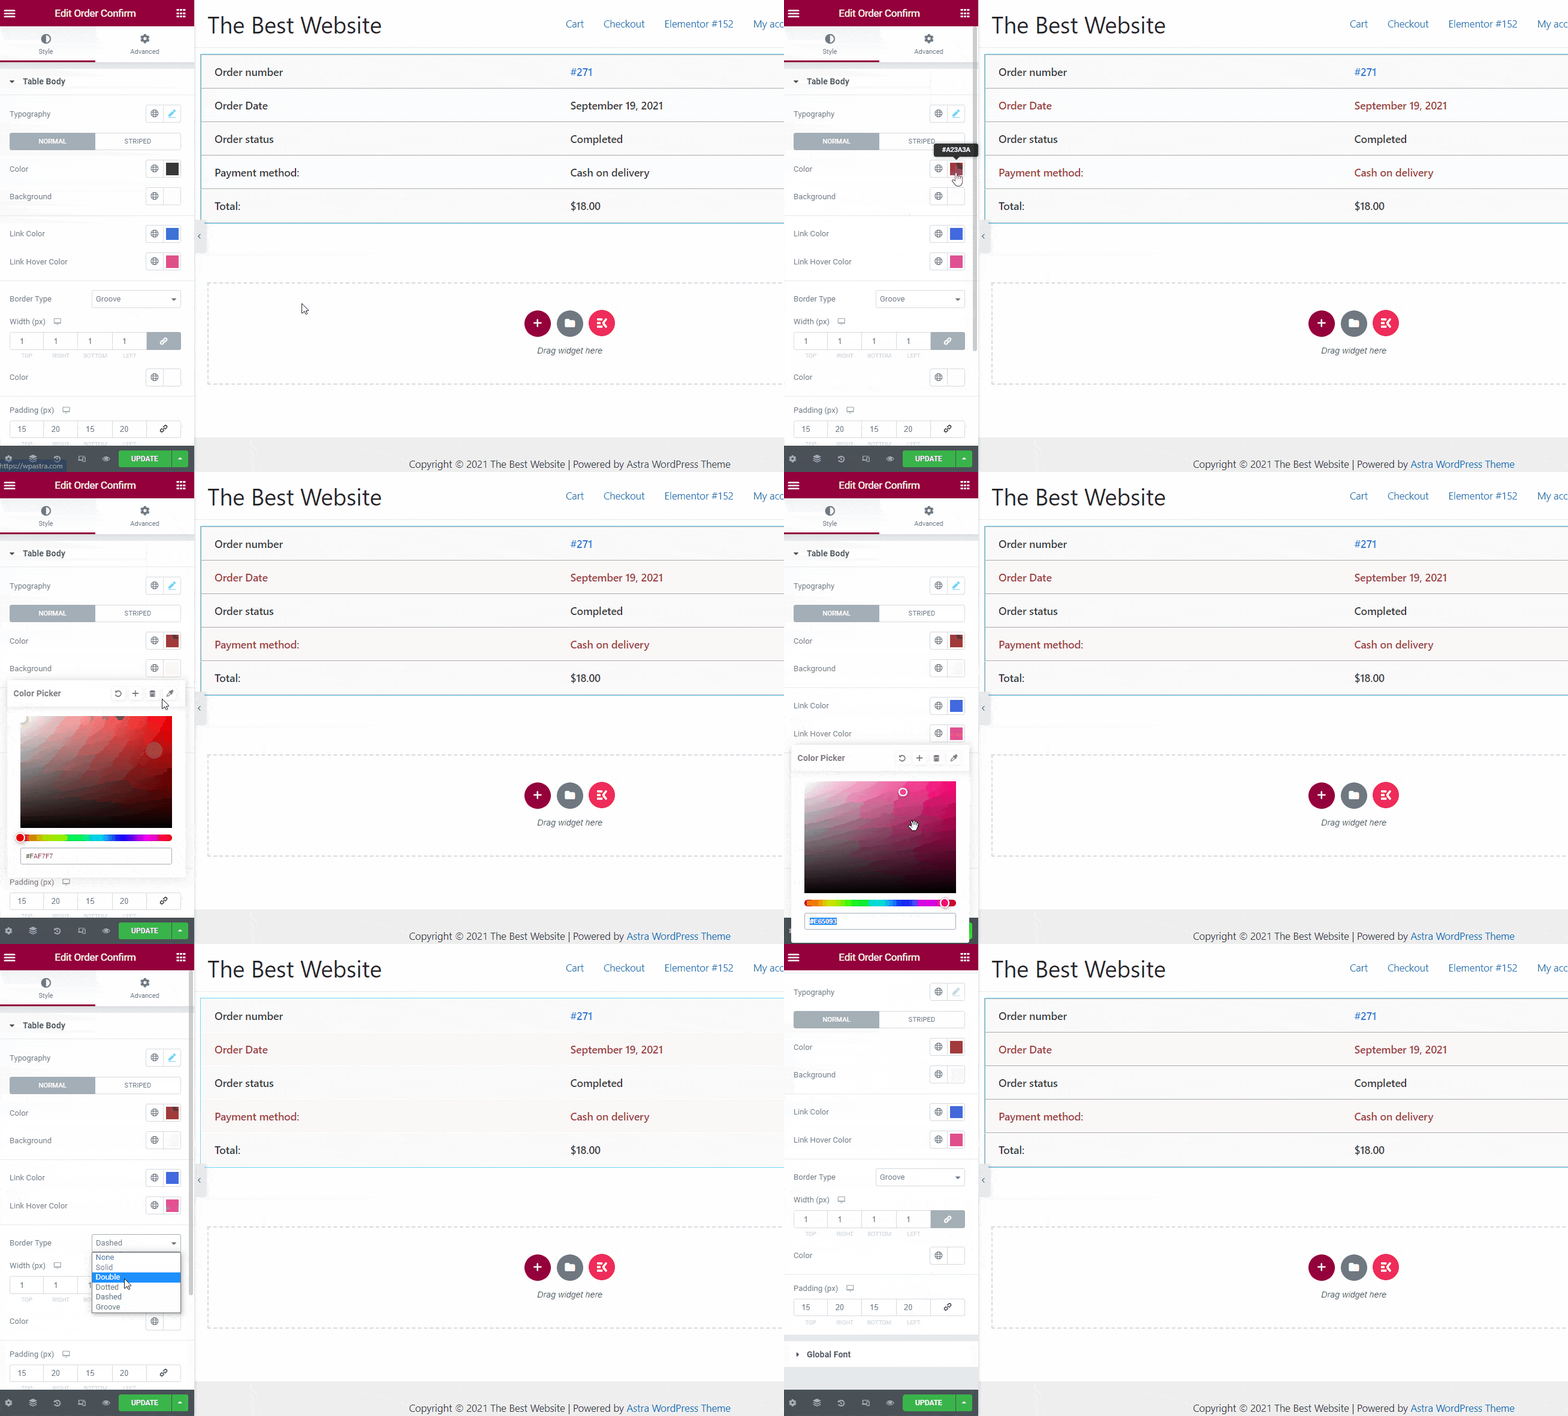
Im linken Optionsfeld können Sie das Widget-Layout anpassen.

Typografie: Ändern Sie die Typografie des Widgets.
Farbe: Ändern Sie die Farbe für Texte
Hintergrund: Wählen Sie die gewünschte Hintergrundfarbe
Randtyp: Wählen Sie den Rahmentyp für das Layout „Bestellbestätigung“.
Breite: Ändern Sie das Widget, wenn Sie möchten
Polsterung: Erhöhen oder verringern Sie die Polsterung

Schritt 4: Aktualisieren Sie die Seite #
Once the customization is done, check the preview and update the page.
Now, next time if someone buys from your store, he/she will see the order confirmation with details of the order.


