Mailchimp integrates with different form tools to automatically collect and update subscriber data when a form is submitted. These integrations usually work through secure connections such as API keys or authorized access.
Mailchimp integration options include:
- WordPress form plugins: Tools like MetForm, Fluent Forms, and WPForms allow direct integration with Mailchimp, making it easy to sync form submissions with audiences, tags, and custom fields, without third-party automation.
- Google Forms: Google Forms does not connect to Mailchimp natively. Services like Zapier are required to send form responses to Mailchimp automatically.
- Mailchimp native forms: Mailchimp offers its own built-in form builder that generates embeddable HTML forms, suitable for basic signup needs with limited design flexibility.
Important Before You Start #
Before creating or configuring any form, Mailchimp must be connected to your form builder. Without this connection, subscriber data won’t sync, no matter how well the form is designed.
See the Basic Setup Process (Using MetForm) #
Check the video for details:
Here is the steps for you:
- Generate a Mailchimp API Key: Log in to Mailchimp and go to Account → Extras → API Keys, then create a new API key.
- Connect Mailchimp to MetForm: In your WordPress dashboard, navigate to MetForm → Settings → Integrations, choose Mailchimp, and paste the API key to establish the connection.
- Create or Edit a Form: Gå till MetForm → Forms, create a new form, or open an existing one in the Elementor editor.
- Enable Mailchimp as a Submission Action: From the form settings, add Mailchimp as an action after submission.
- Select an Audience and Map Fields: Choose your Mailchimp audience and map required fields like email, name, and any custom fields or tags.
- Configure Subscriber Options: Enable features such as double opt-in, audience tags, or merge fields to better organize contacts.
- Publish and Test the Form: Publish the form and submit a test entry to confirm the subscriber appears correctly in Mailchimp.
For detailed procedure, check the documentation.
Nödvändig förutsättning:
Metform Pro, install and activate the premium form builder plugin for Elementor.
Konfigurera Mailchimp #
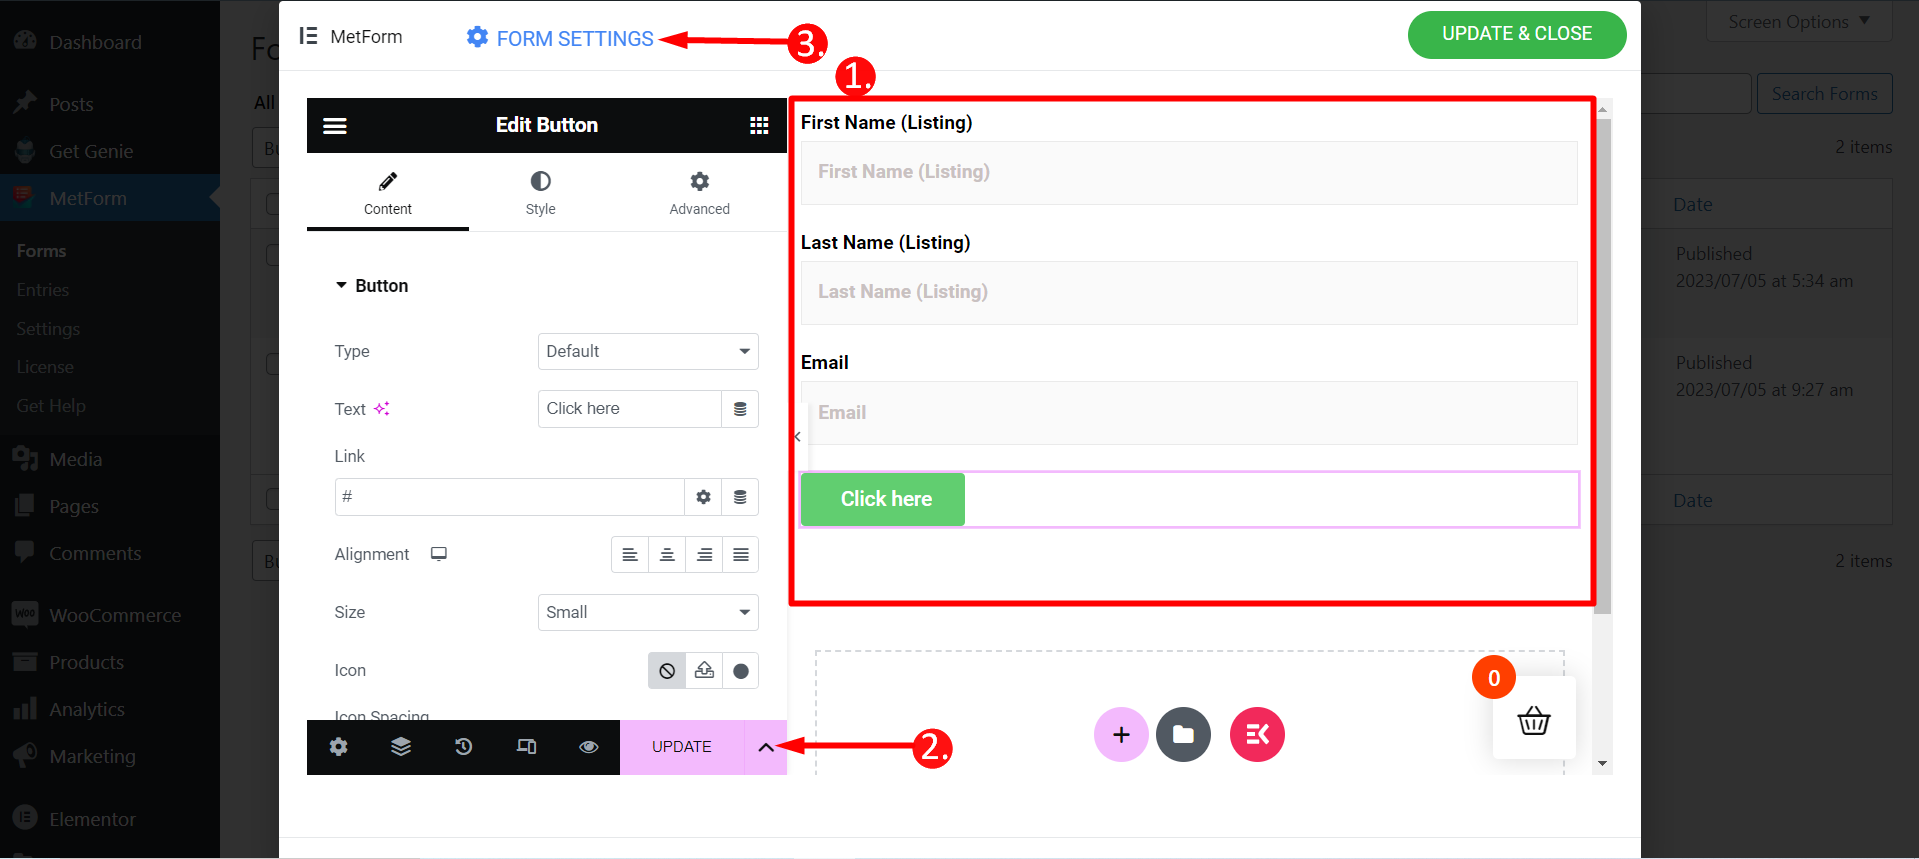
Du måste skapa ett formulär med MetForm. Här, se till att formen minst en E-postwidget och det borde det vara nödvändig
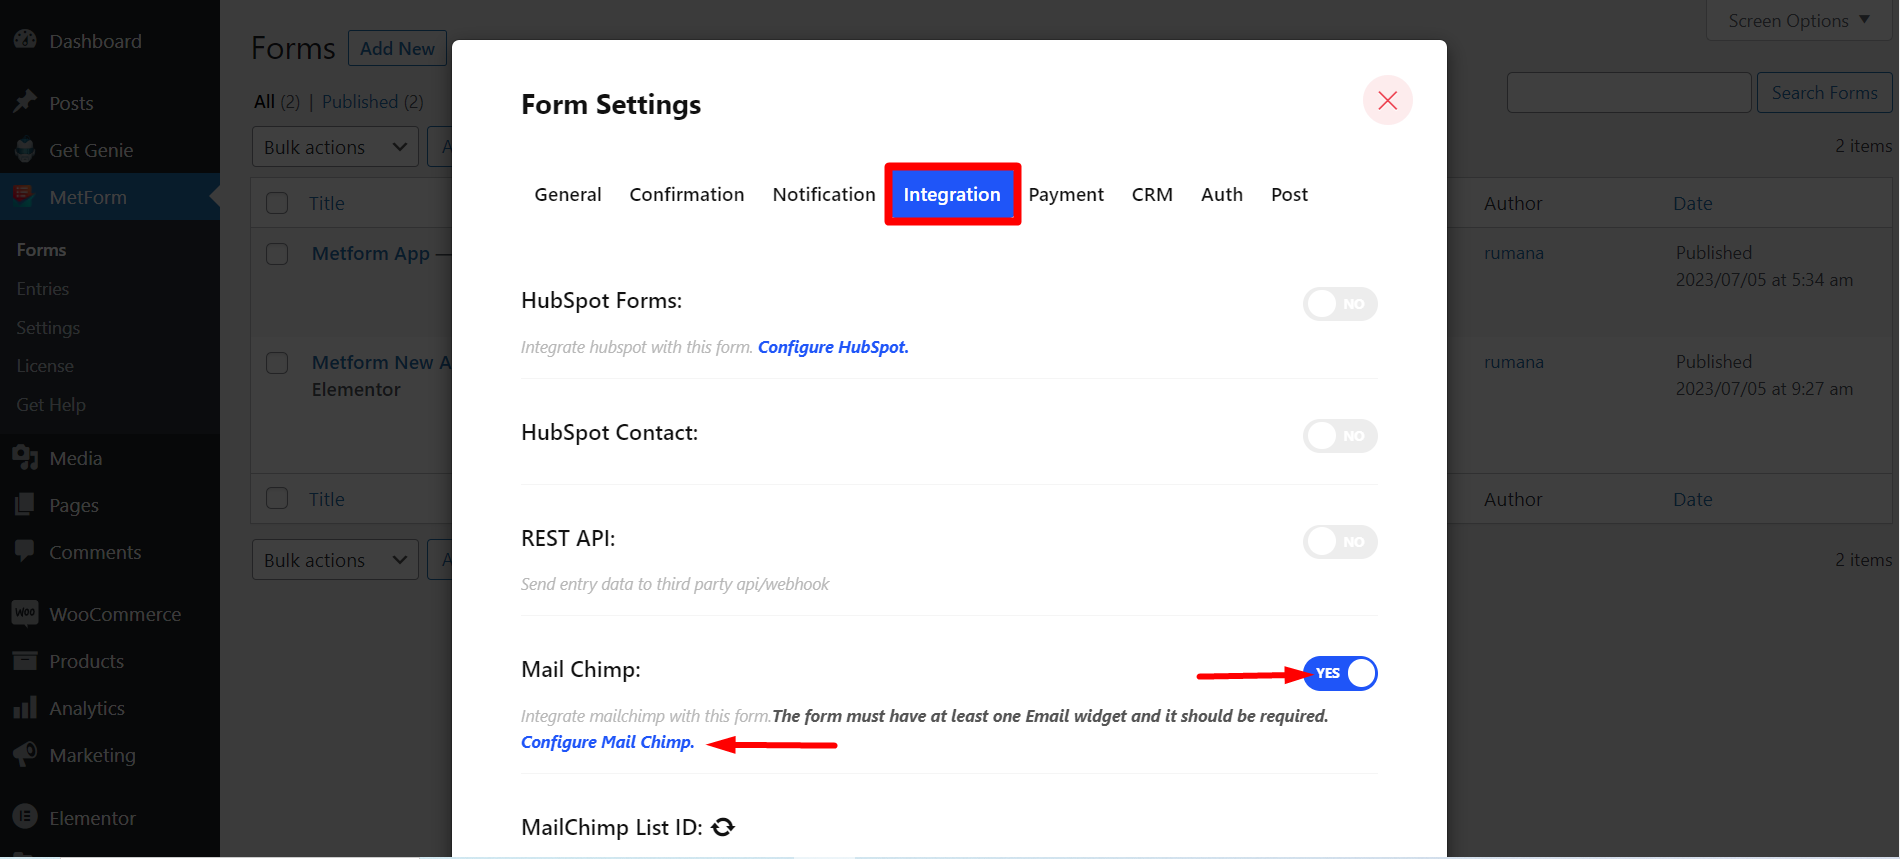
Steg=>1: Navigera till Formulärinställningar → Integration
- Växla på Maila schimpans alternativ
- Klicka på Konfigurera Mail Chimp
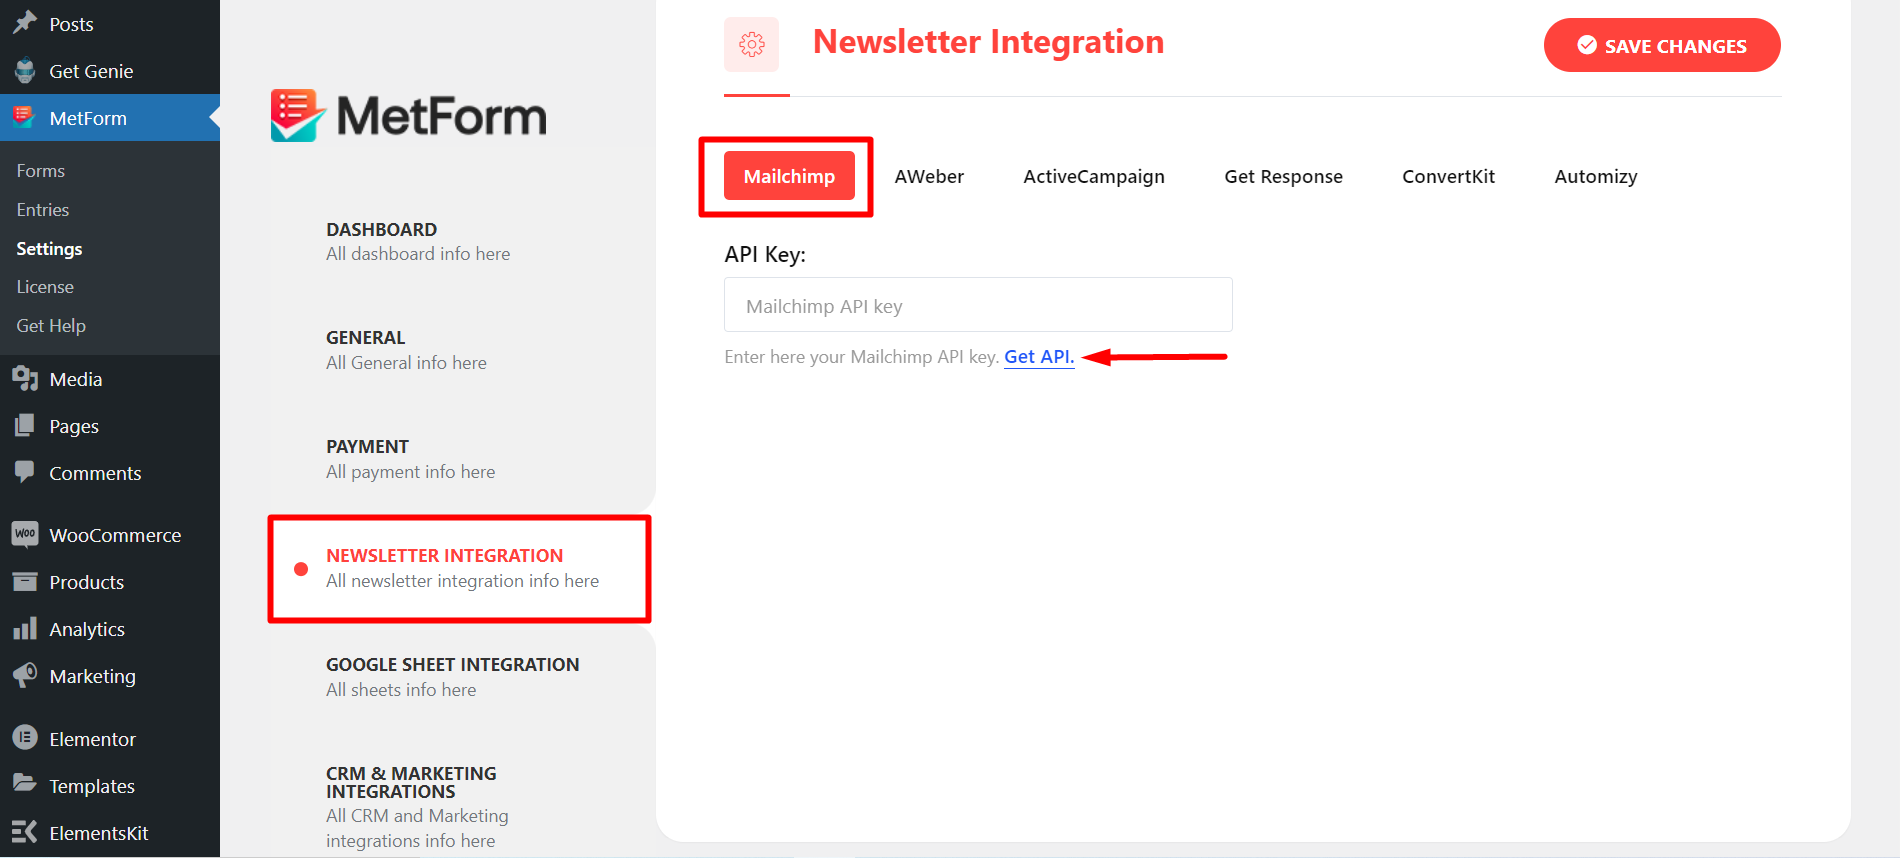
Steg=>2: Den kommer att flytta till MetForm=> Inställningssida
- Klicka på Mail Integration
- Klicka sedan på Skaffa API för att öppna sidan i en ny flik och skapa/hämta API-nyckeln
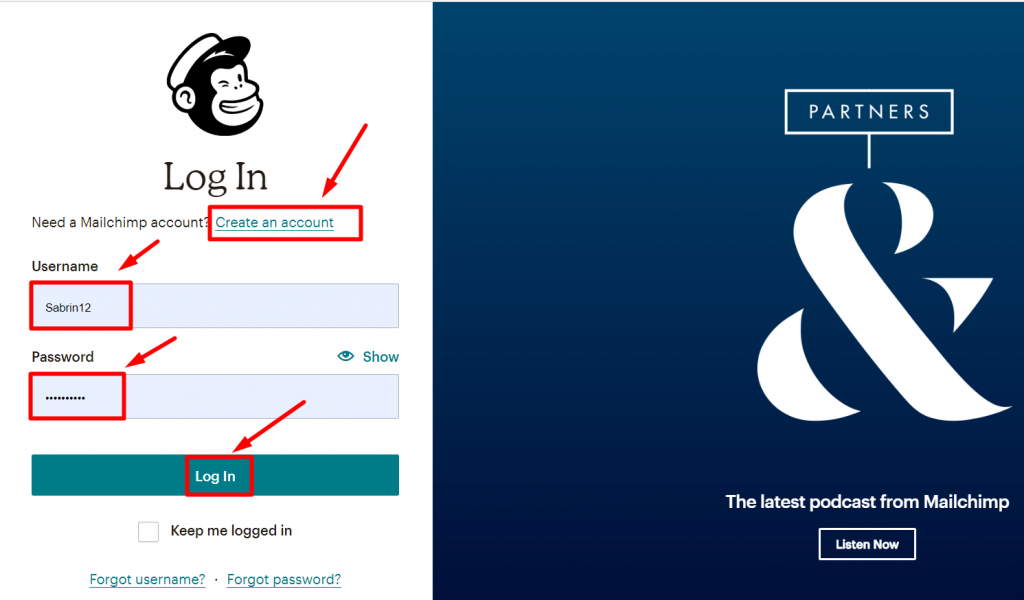
Steg=>3: För att få API-nyckeln Skapa ett Mailchimp-konto och logga in med ditt Användarnamn och lösenord
Gå till ditt kontofoto och klicka på Konto och fakturering
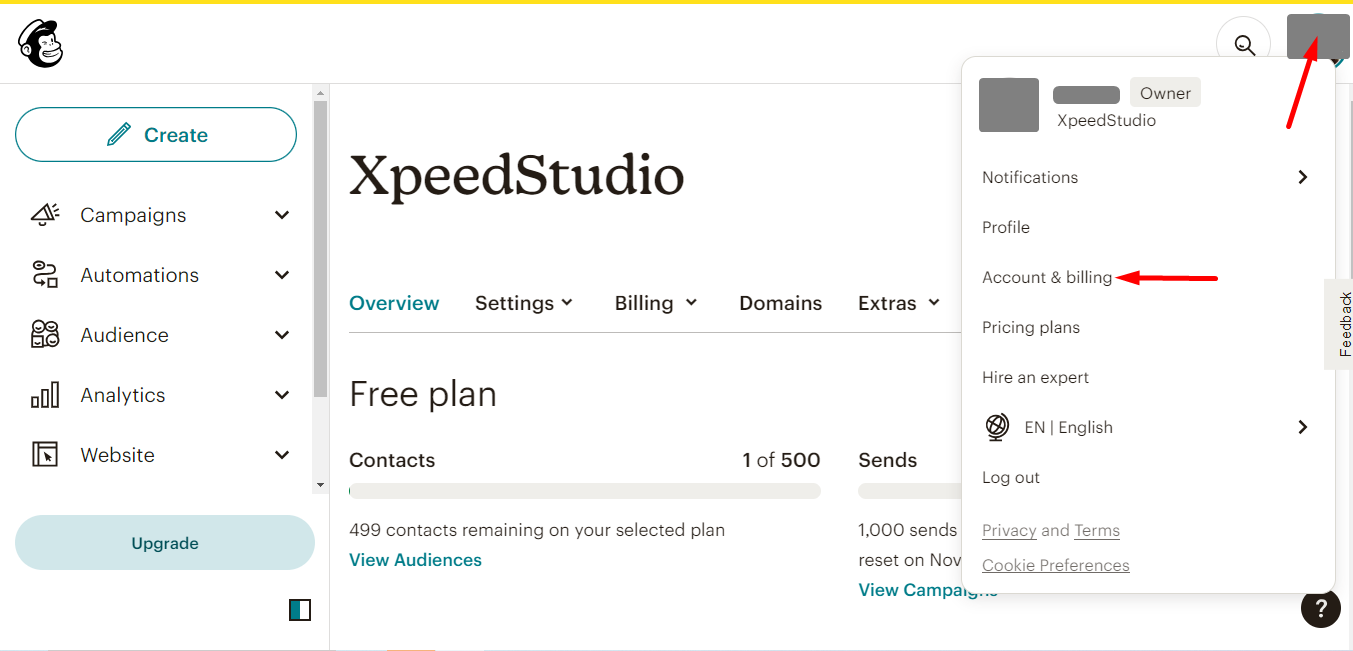
- Hitta extrafunktioner
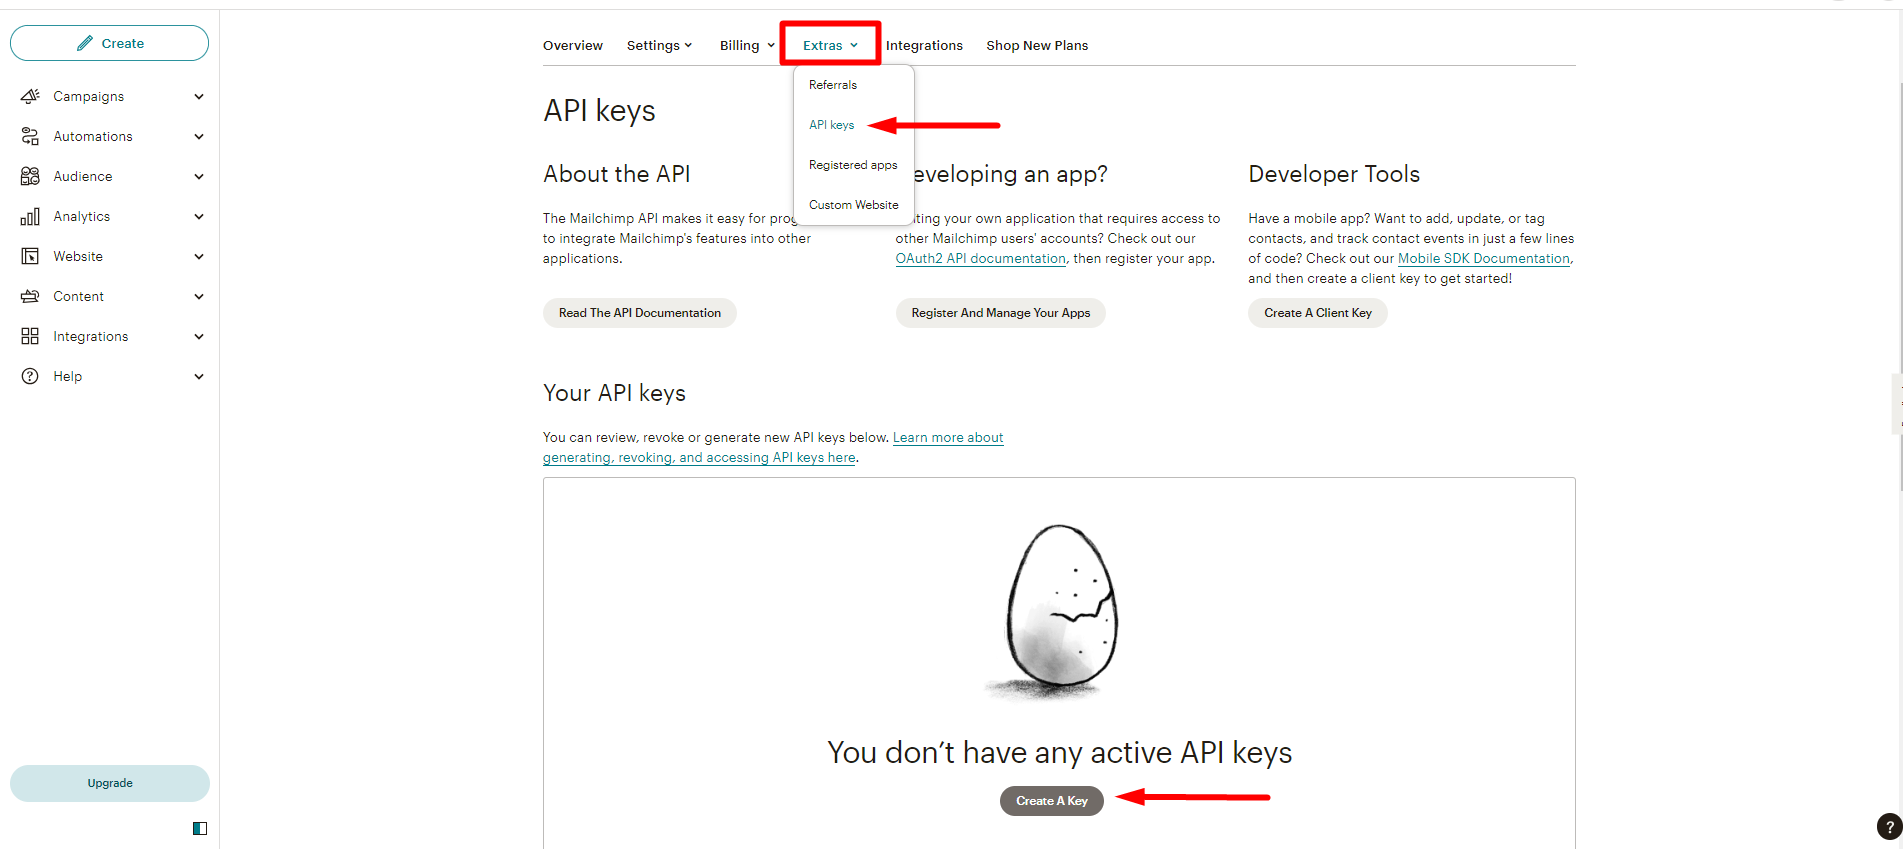
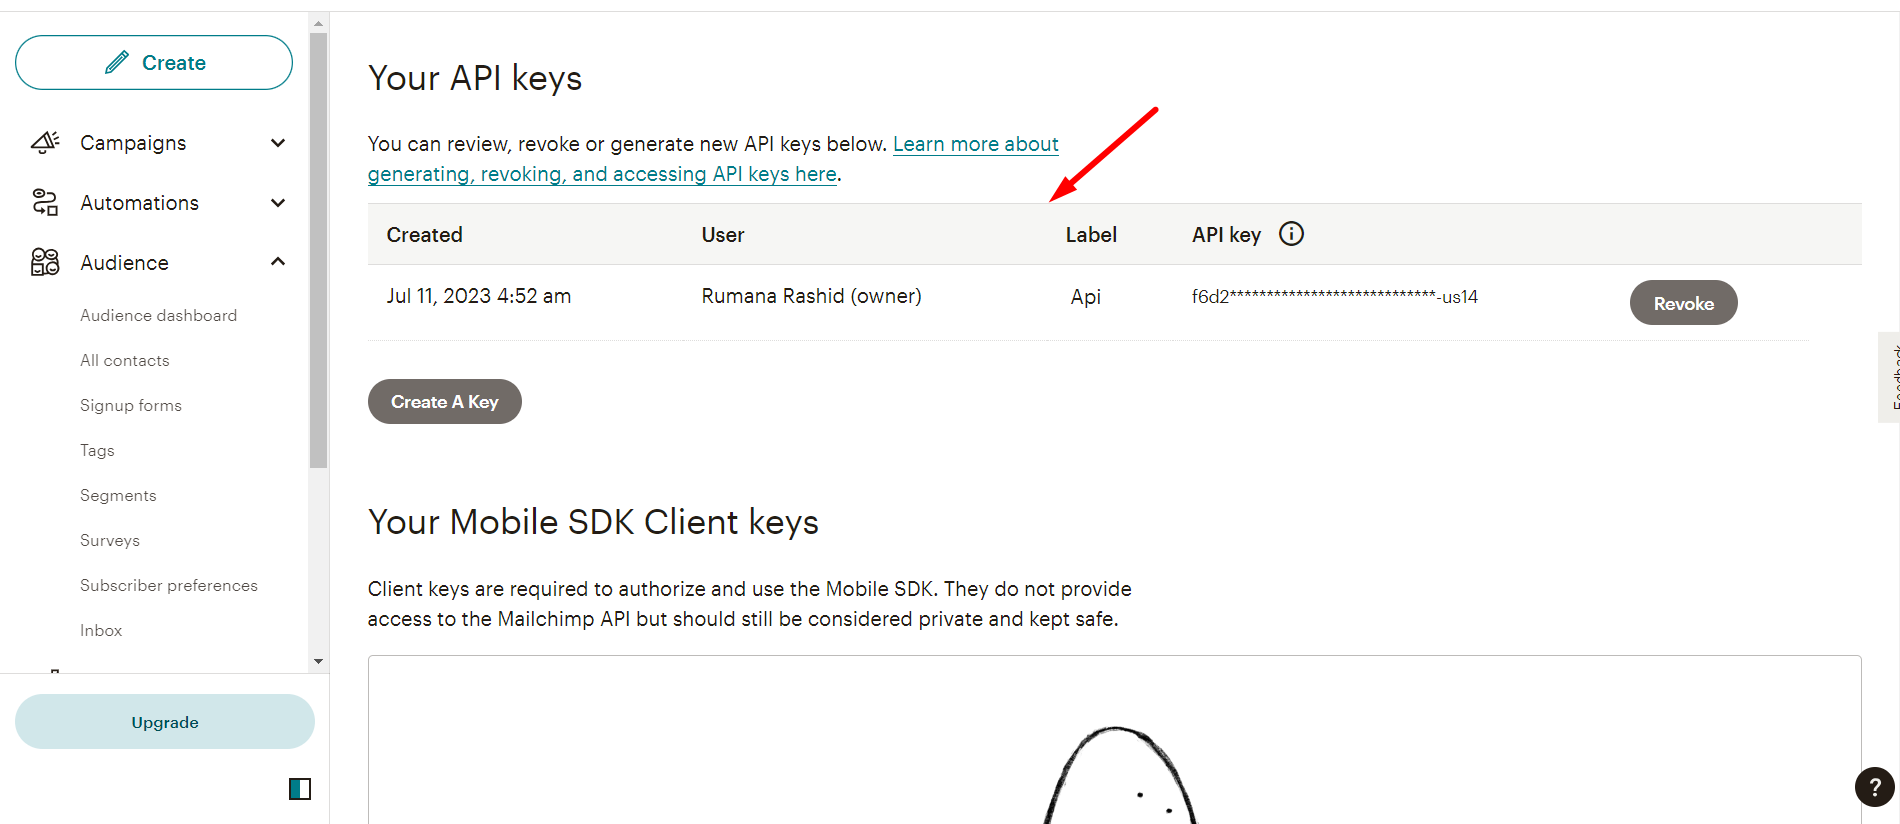
- Click API keys
- Now, click Create A key
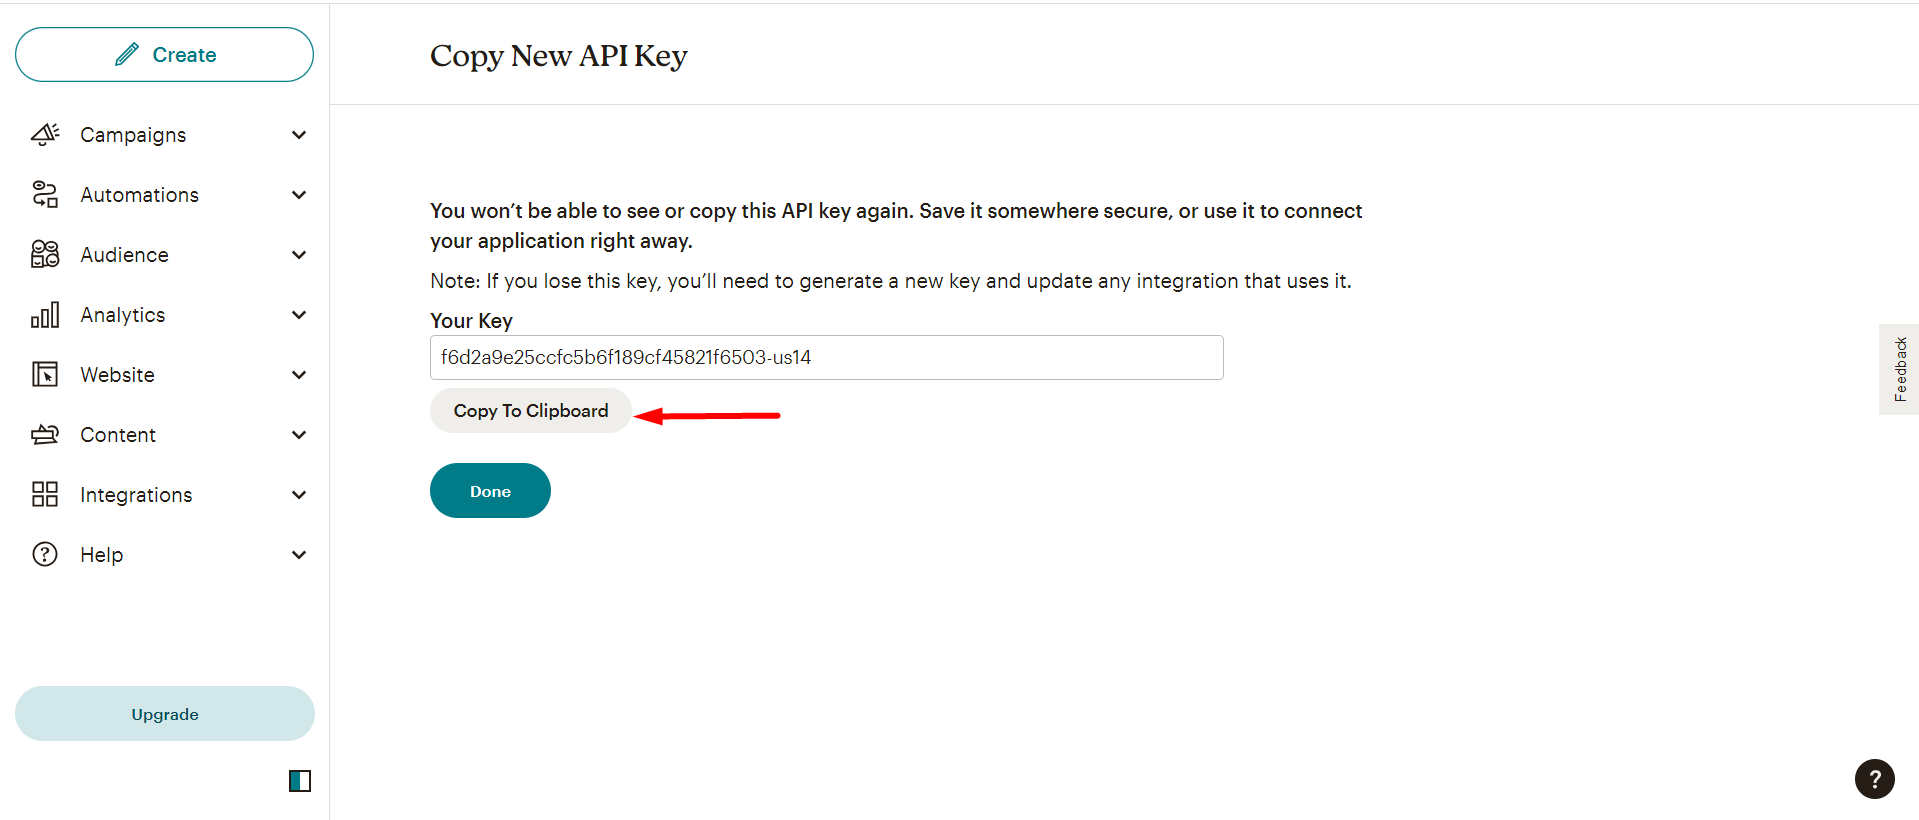
Next, copy the Key
Du kan dock kontrollera skapad lista så här -
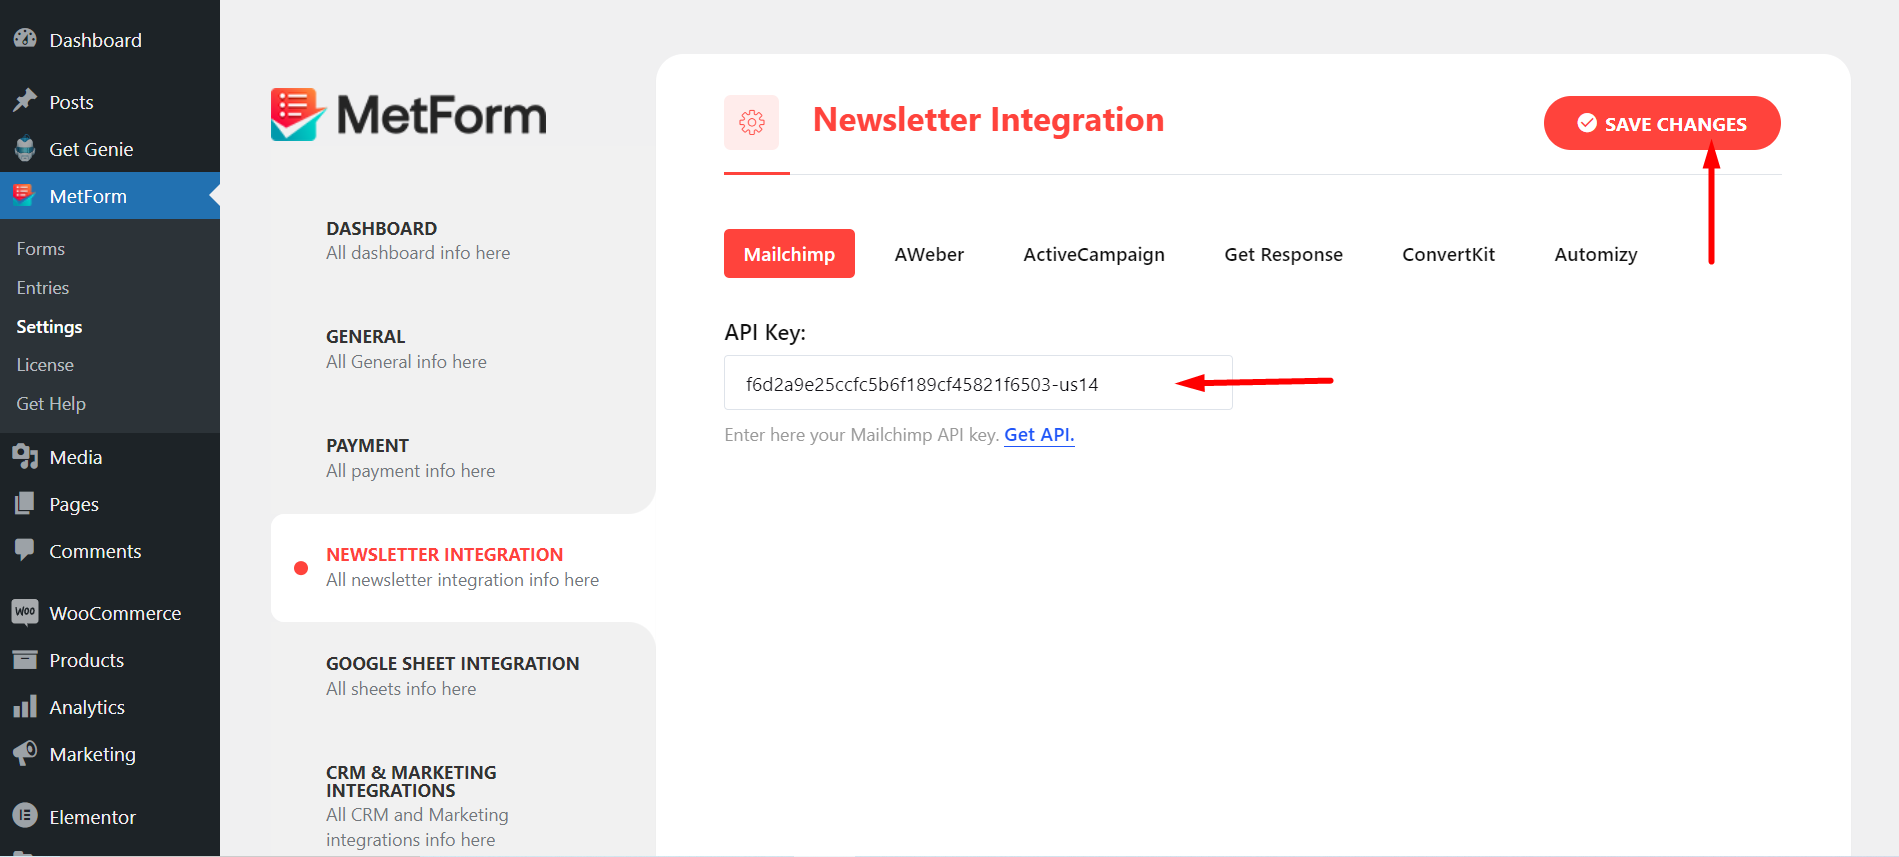
Steg=>4: Now, return back to Nyhetsbrev integration and utilize the copied Key
- Klistra in nyckeln här
- Spara ändringar
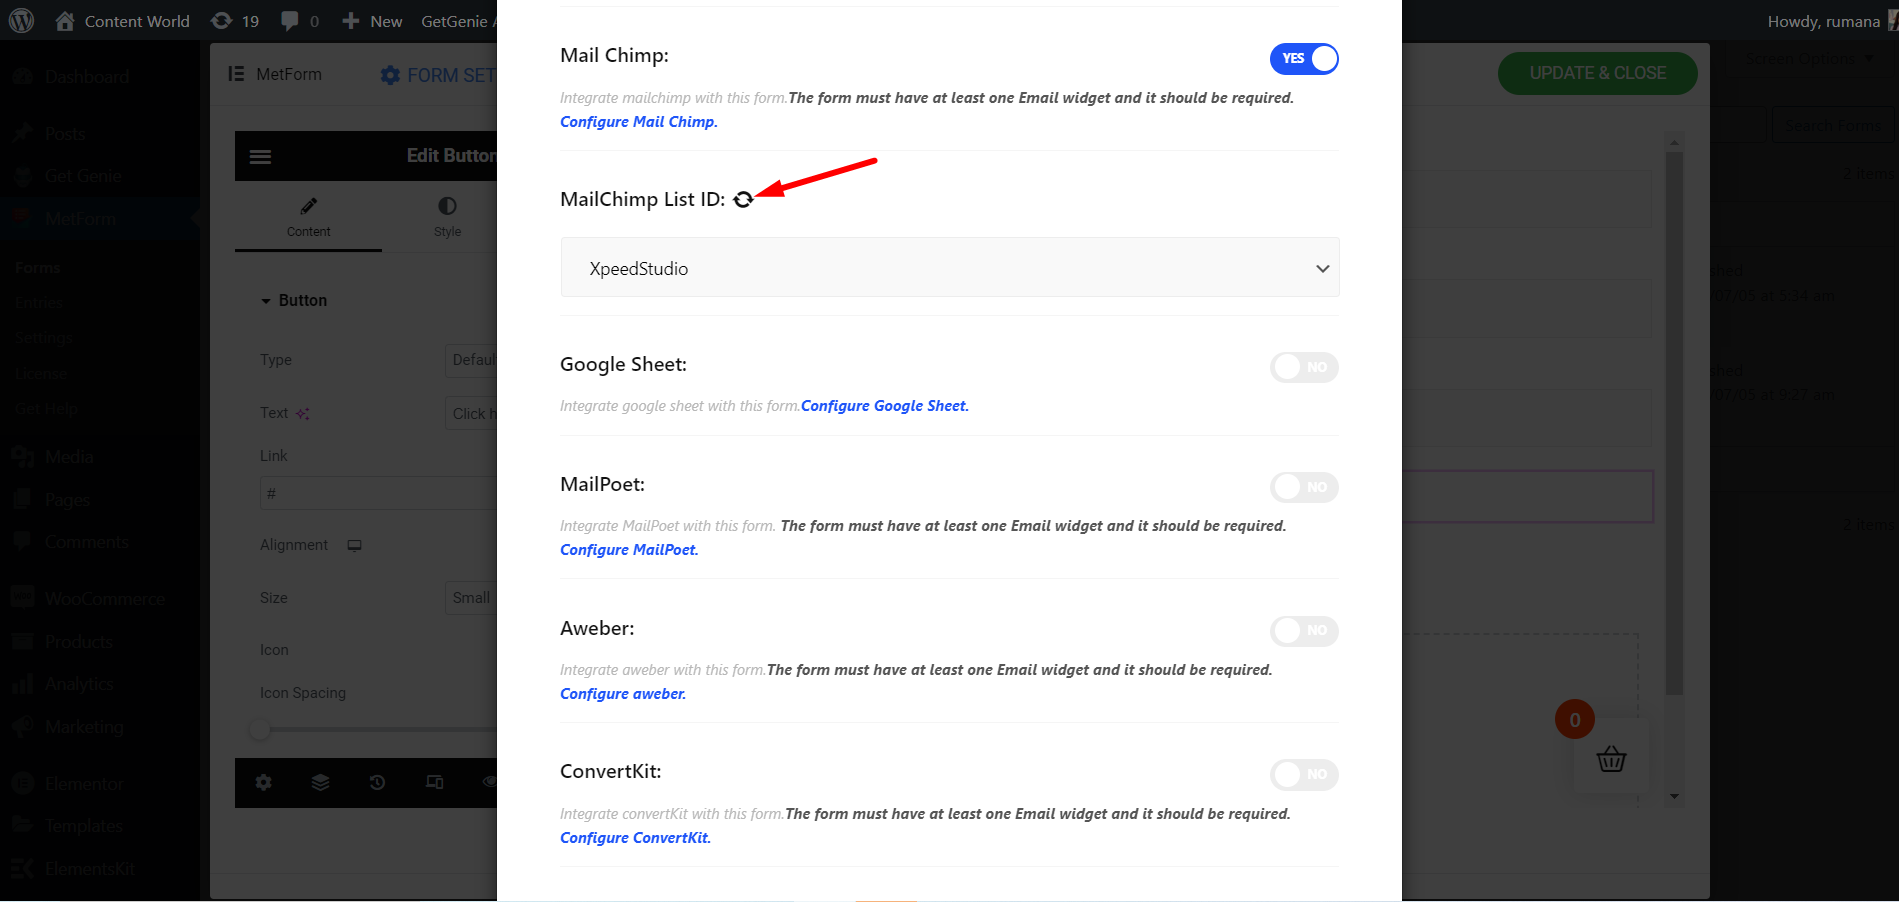
Steg=>5: Gå till Integration sektion av din form
Uppdatera genom att klicka på Uppdatera ikon
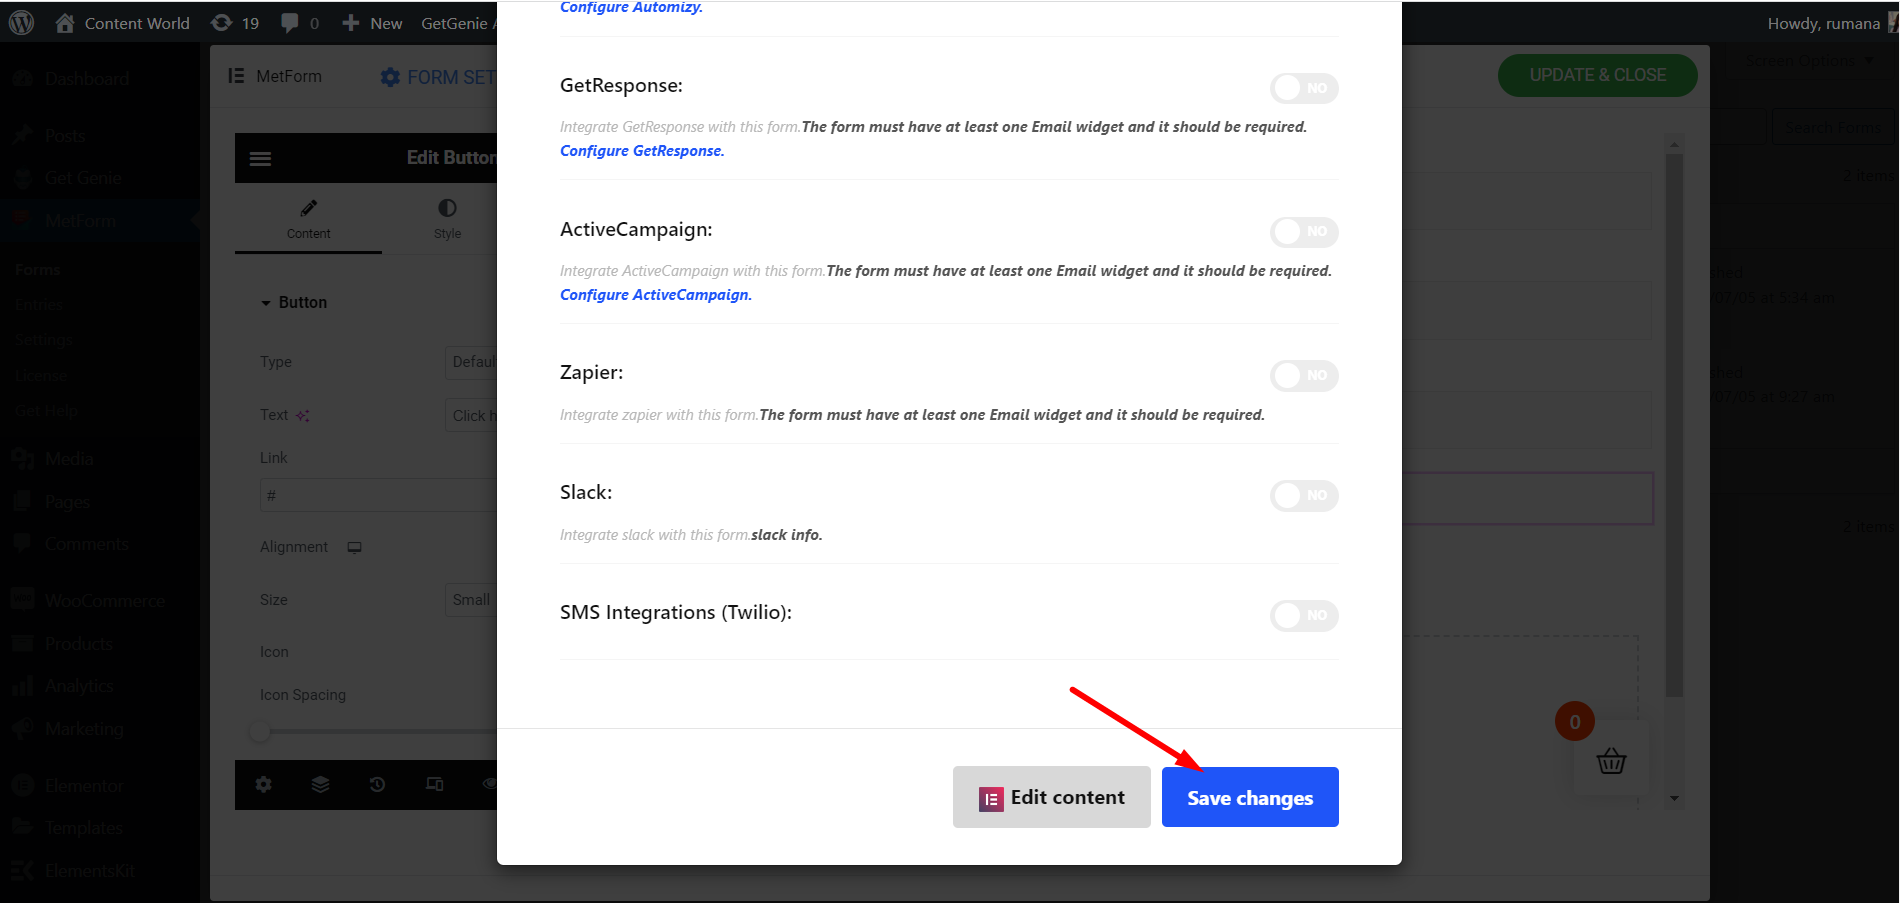
Slutligen, spara formuläret
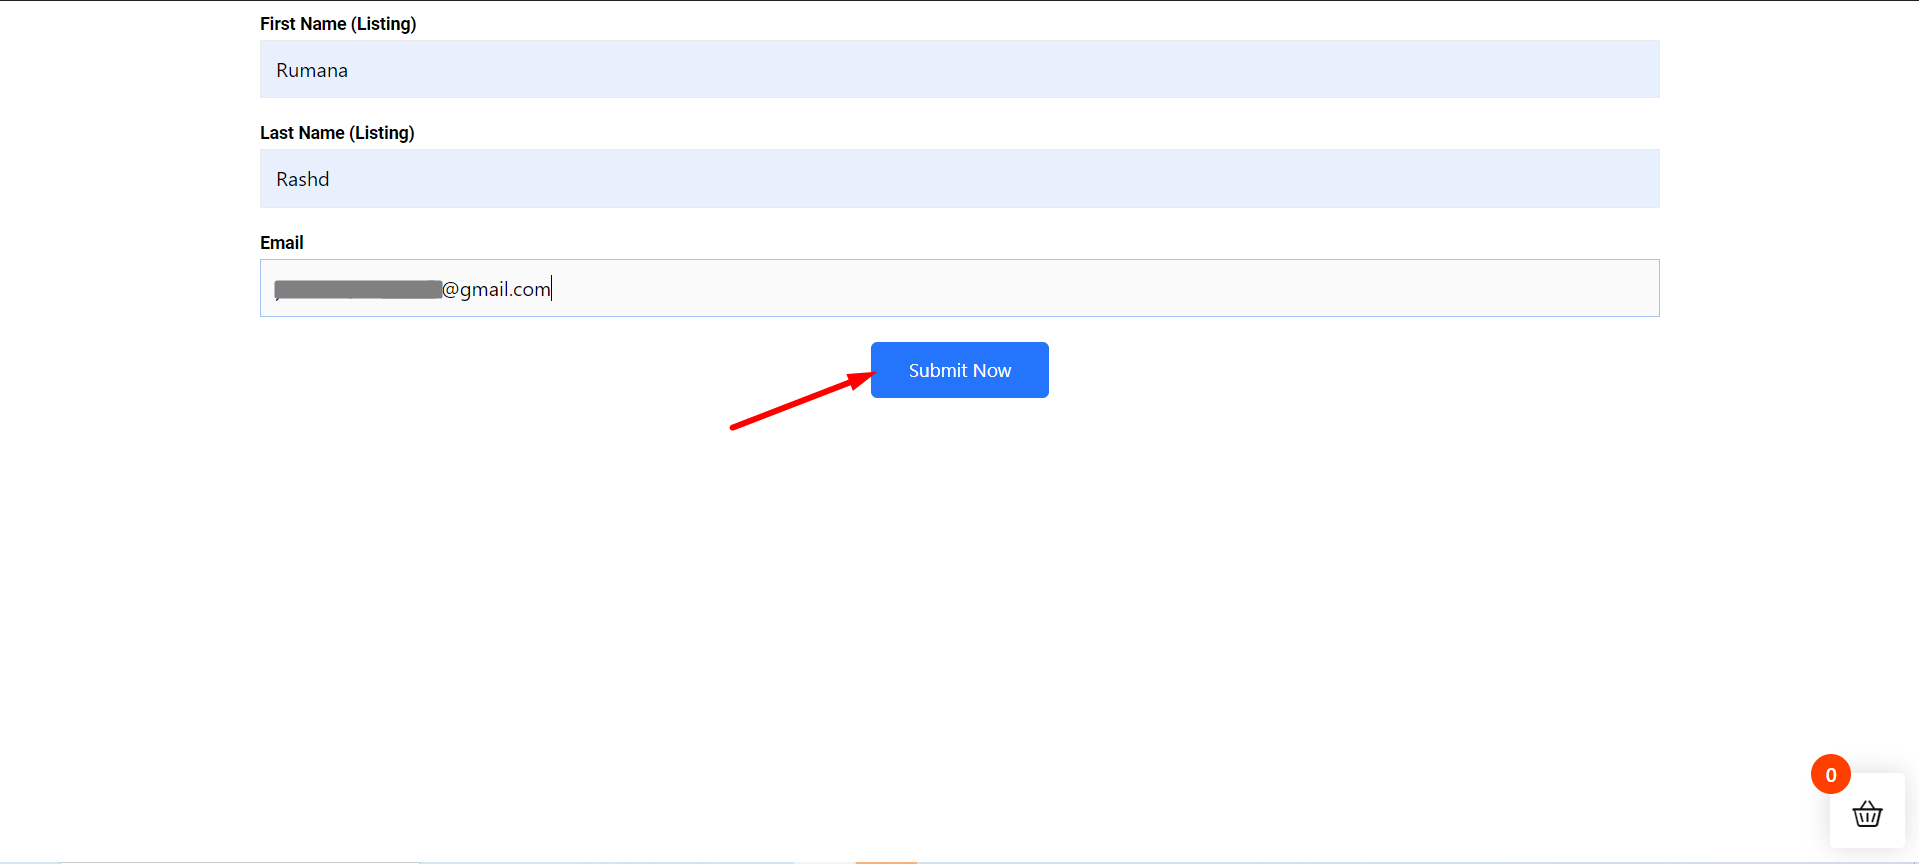
Gå till webbplatsen=> Fyll i formuläret och klicka på Skickaknapp
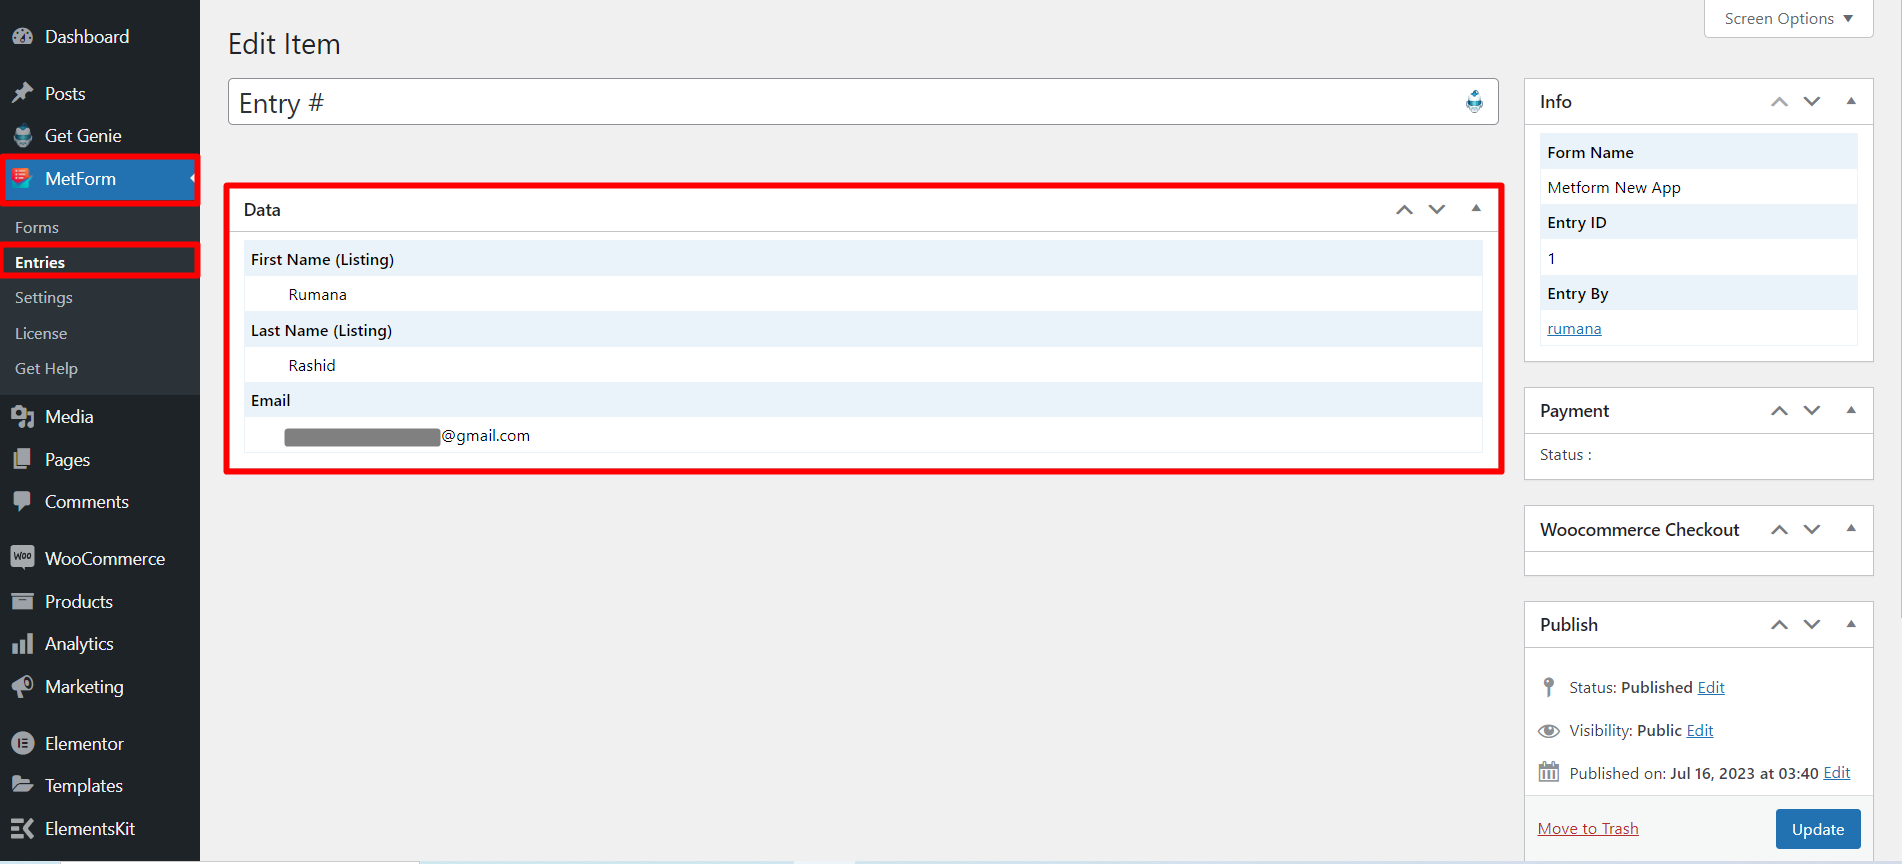
Visar inskickade uppgifter från Metform i Mailchimp-publiklistan
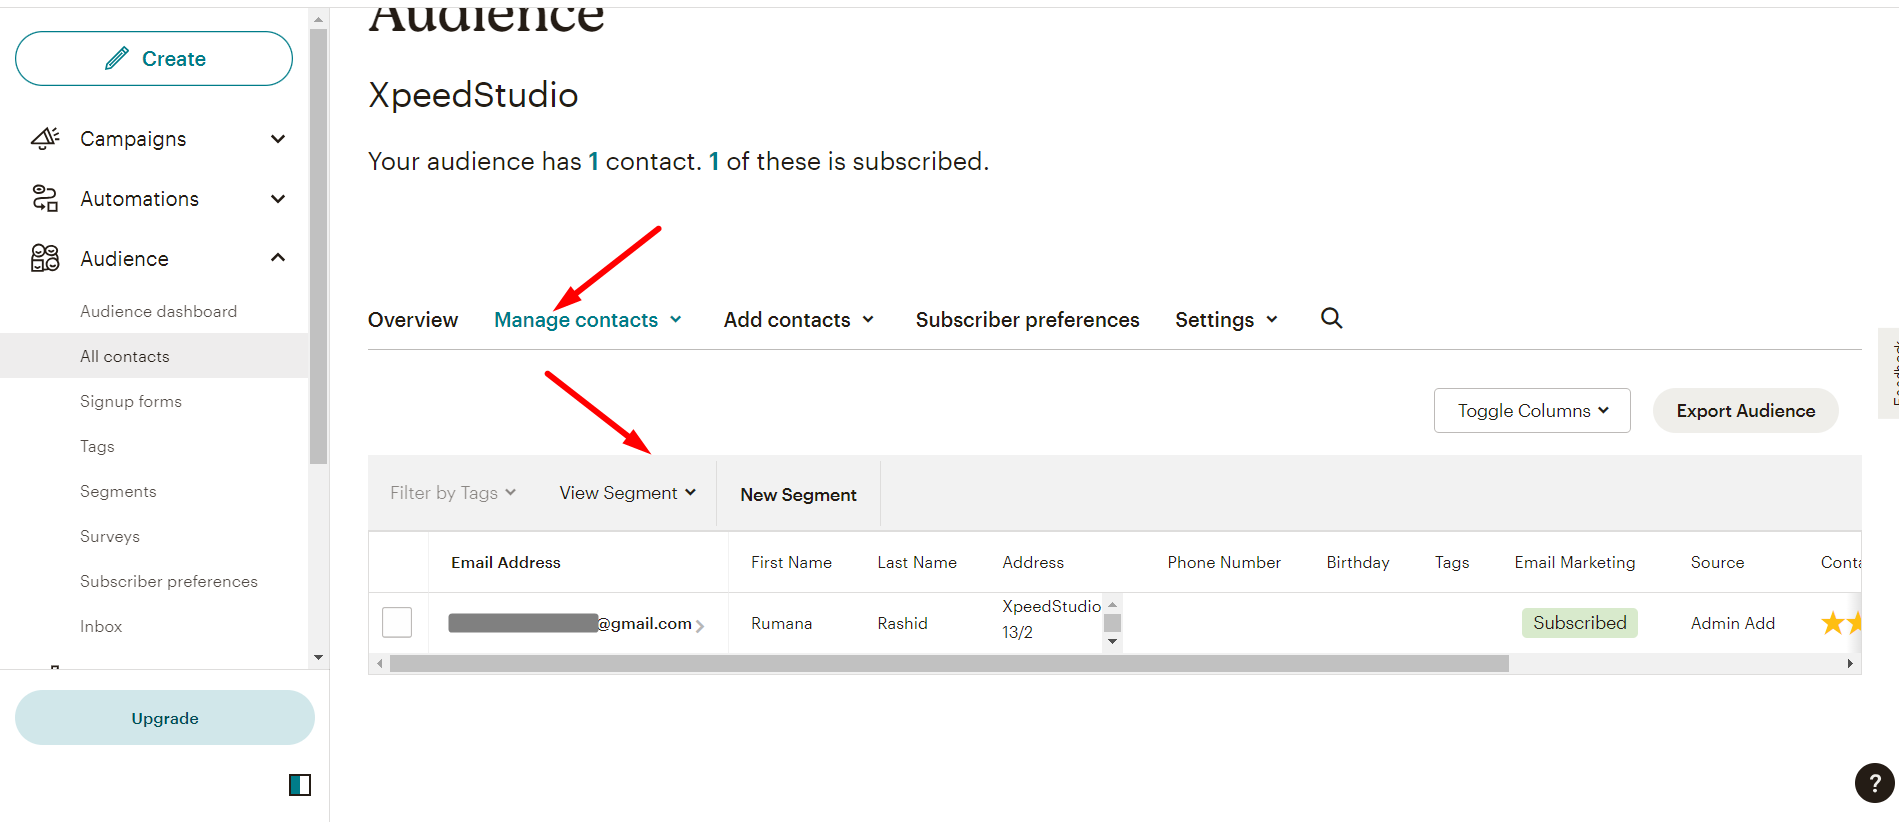
Du kan också se Inlämnad data i Metformen Anmälningslista