


Welcome to the ShopEngine documentation! Throughout all the documentation, you’ll learn how the plugin works, explore its key features, and find step-by-step guides to help you use the WooCommerce builder. To get started, the first documentation covers the installation process of the ShopEngine plugin and an overview of its dashboard.
How to Install ShopEngine WooCommerce Builder for Elementor #
Since ShopEngine is a WooCommerce builder, so you need to have the WooCommerce plugin installed in your WordPress.
Before getting started make sure, Elementor plugin is installed & activated on your website.
Om du vill använda ShopEngine med Gutenberg, följ denna dokumentation istället.
Pre-requisite:
- WooCommerce: Ladda ner plugin
- Elementor: Ladda ner plugin
Följ bara steg-för-steg-processen för att installera ShopEngine Elementor Woocommerce Builder:
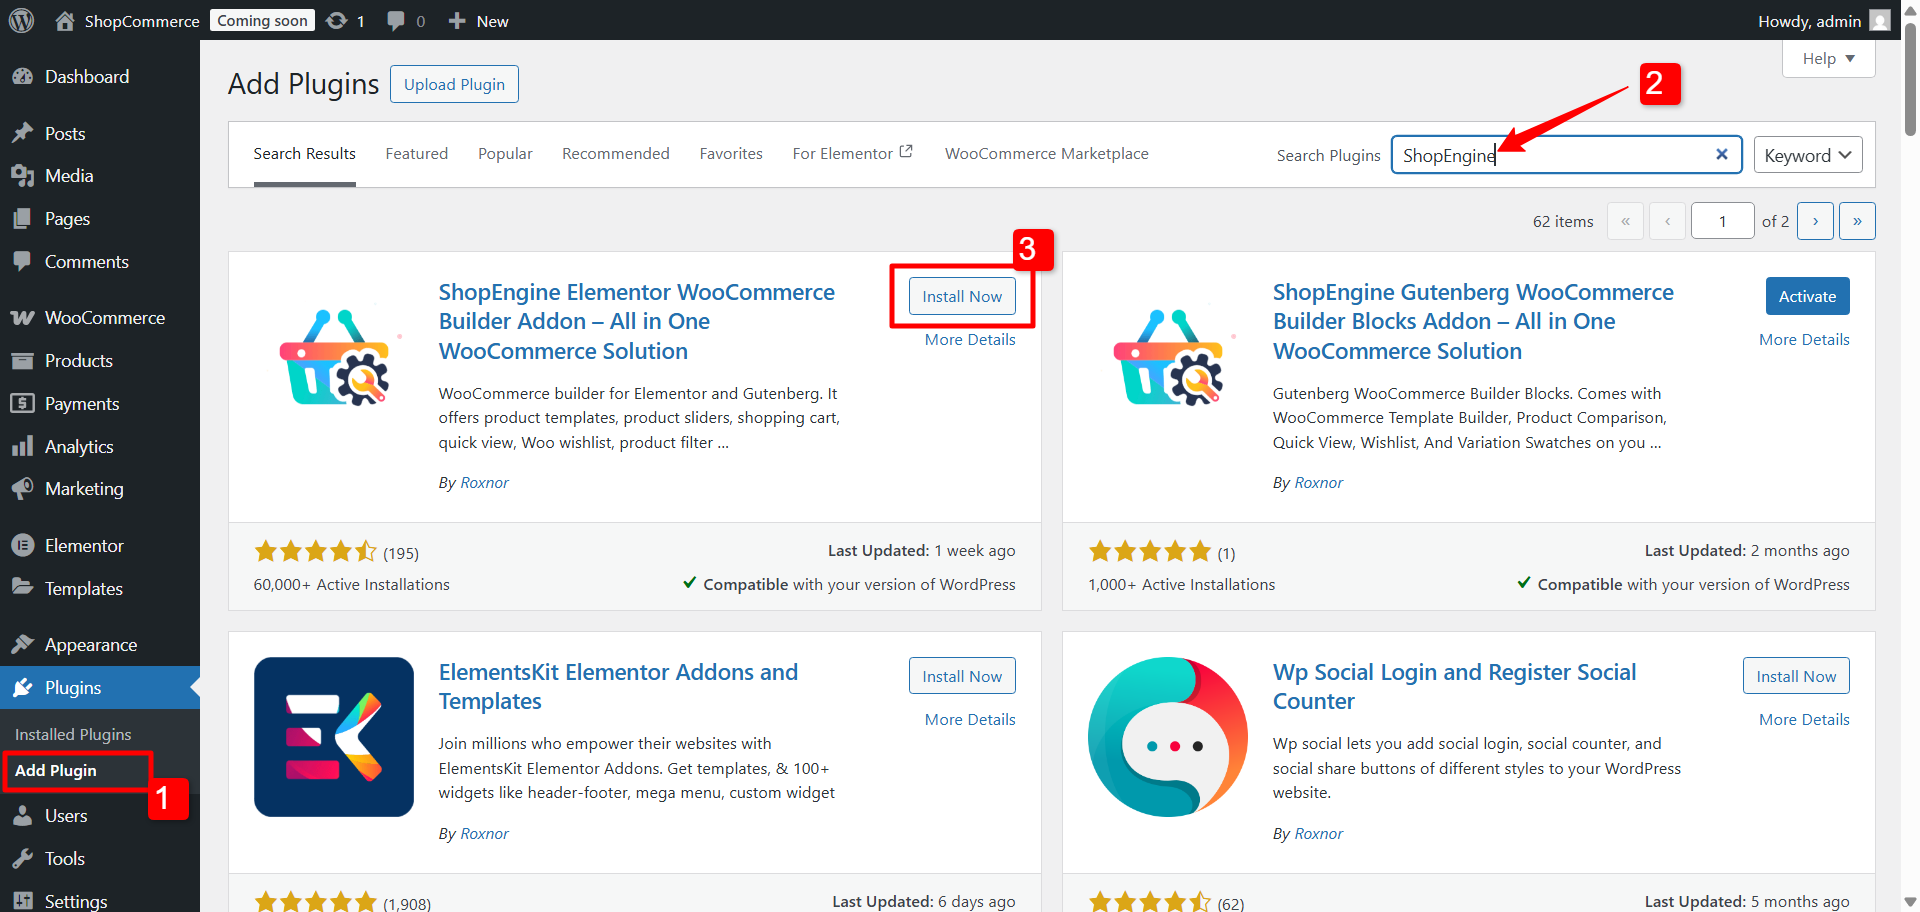
Install and activate ShopEngine plugin #
To install the the ShopEngine WooCommerce plugin:
- Gå till WordPress instrumentpanel➔ Plugins➔ Add Plugin.
- Sök for ShopEngine there.
- Once you find the plugin, click on the install button.
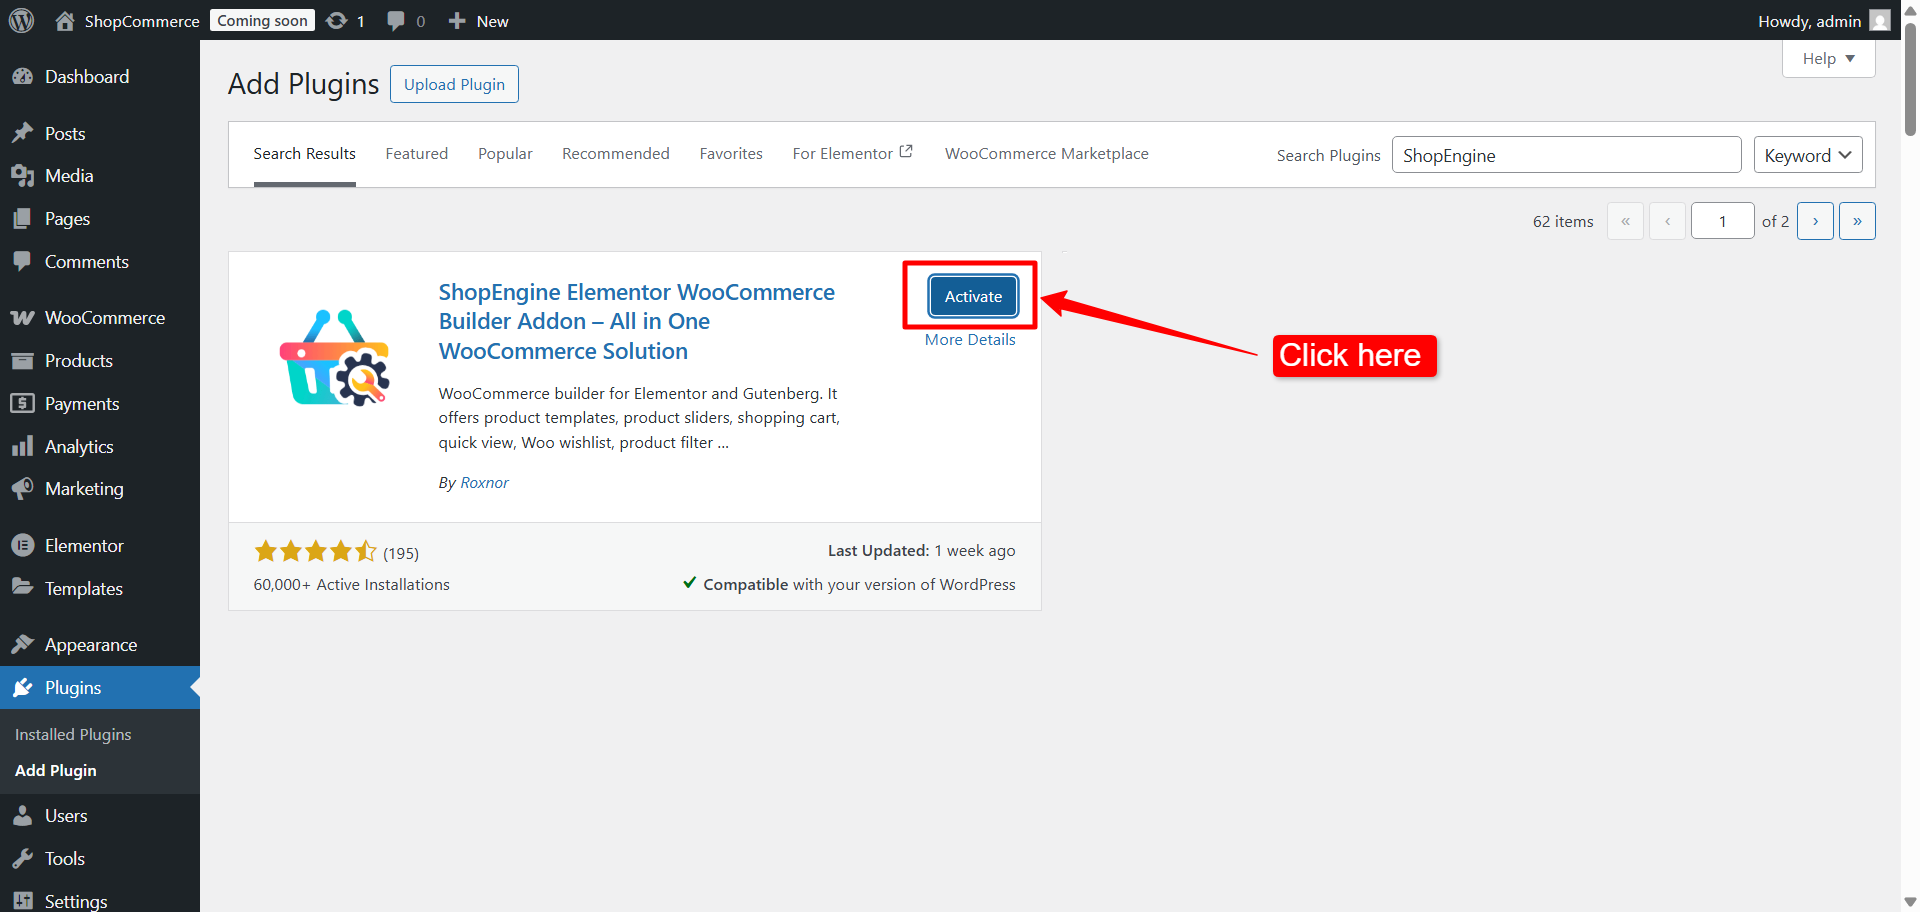
Efter lyckad installation klickar du bara på "Aktivera”-knappen för att aktivera ShopEngine.
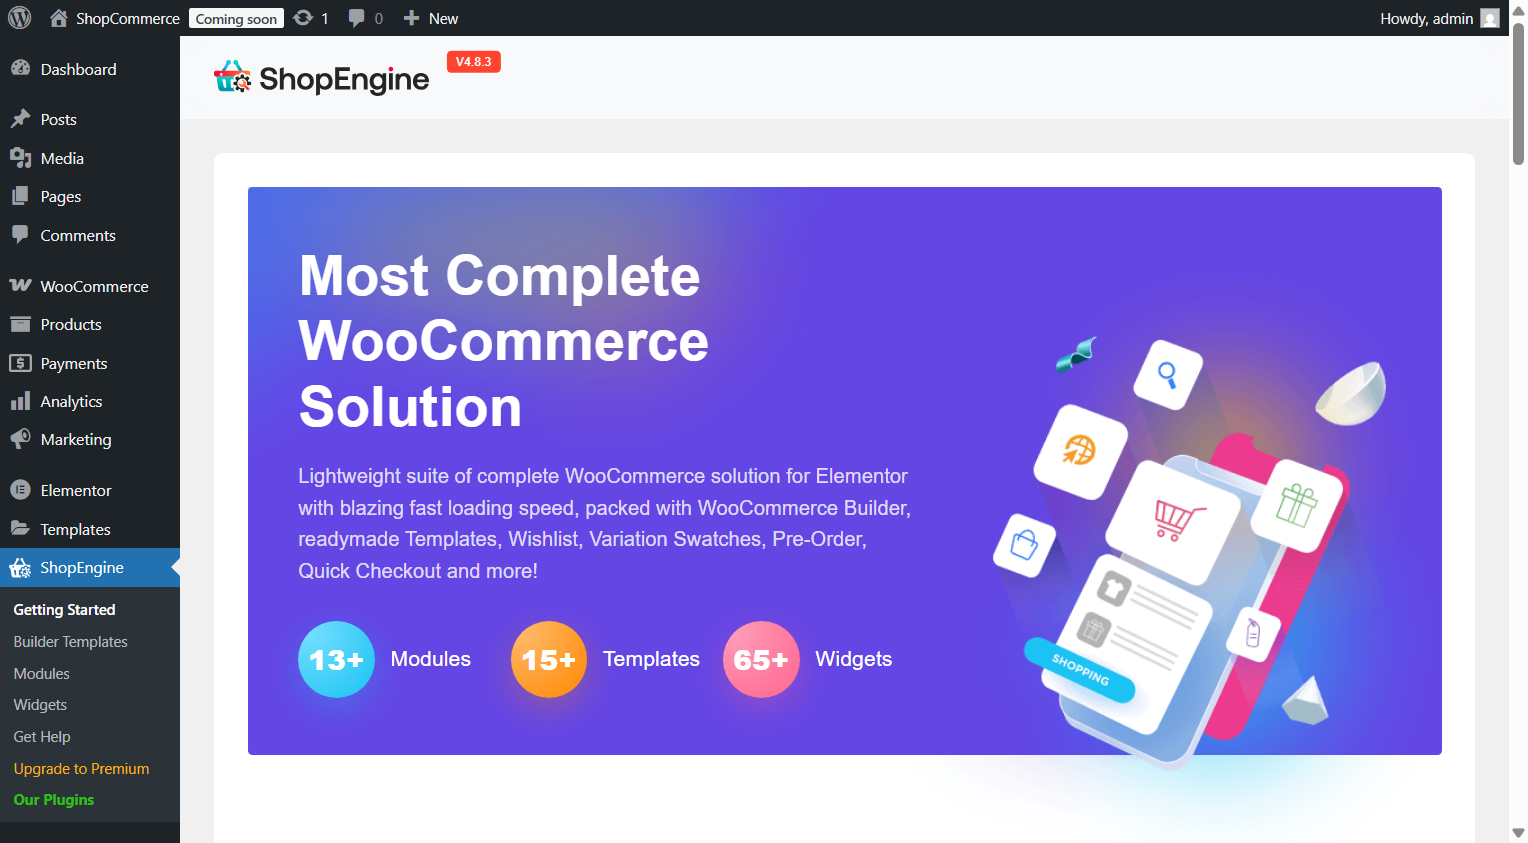
Efter att ha aktiverat plugin, ShopEngine-menyn will appear in the WordPress Dashboard. Get used to with the ShopEngine dashboard in WordPress
#
Om du funderar på att lansera en WooCommerce-webbplats men kämpar för att hitta en bra värdtjänst, kan du på ett tillförlitligt sätt välja Kinsta. De har alla viktiga värdfunktioner som du vanligtvis kan förvänta dig av en värdtjänstleverantör.


