ㅏ 결제 페이지 방문자가 결제 세부정보를 입력하고 주문을 완료할 수 있습니다. 이 페이지에는 WooCommerce 매장에 대한 결제 및 배송/청구 세부정보가 포함되어 있습니다. 여기서 당신은 지정된 몇 가지를 얻을 것입니다 ShopEngine 결제 체크아웃 양식 청구, 쿠폰 양식, 체크아웃 검토 주문, 체크아웃 결제 등을 포함한 위젯. 이러한 위젯을 사용하면 WooCommerce 결제 페이지 템플릿을 원하는 방식으로 쉽게 배열할 수 있습니다. 생성된 템플릿은 Shopify 결제 또는 다른 템플릿보다 더 독특합니다.
Quick Overview
Creating a checkout page takes less than a few minutes with the friendly WooCommerce page builder, ShopEngine. Besides ShopEngine, you will require additional free tools before jumping into the process.
Needed plugins: WooCommerce, Elementor, and ShopEngine.
After setting up these tools on your WordPress website, add a checkout template with all ShopEngine’s checkout widgets.
WooCommerce 결제 페이지 템플릿을 만드는 방법 ShopEngine과 함께 #
단계별 프로세스에 따라 WordPress Checkout 페이지 템플릿을 만들고 아름답게 만드세요.
1단계: 결제 템플릿 만들기 #
- Go to ShopEngine > 2. Builder Templates > 3. Add New Template
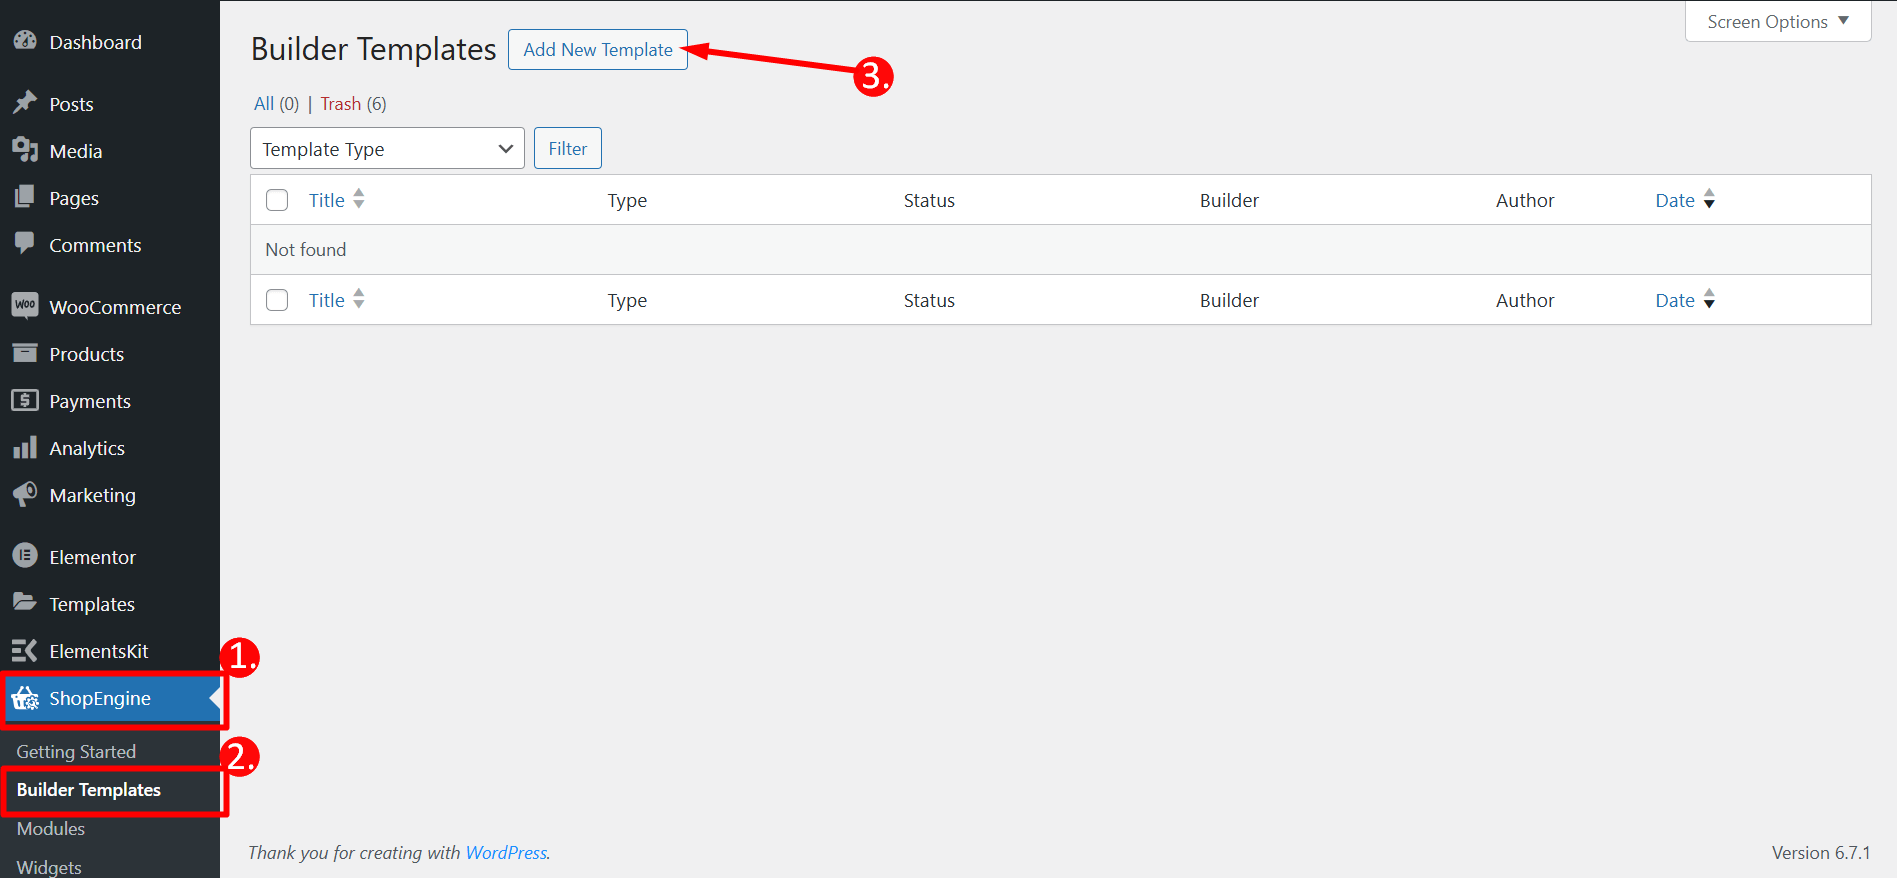
템플릿 설정
- Name – Type a name of the template
- Type – 선택하다 ‘Checkout’ as template type
- Active – Toggle the button to active the template
- Template – Choose any checkout page template or take a blank template
- Edit with Elementor – Click on the button to edit
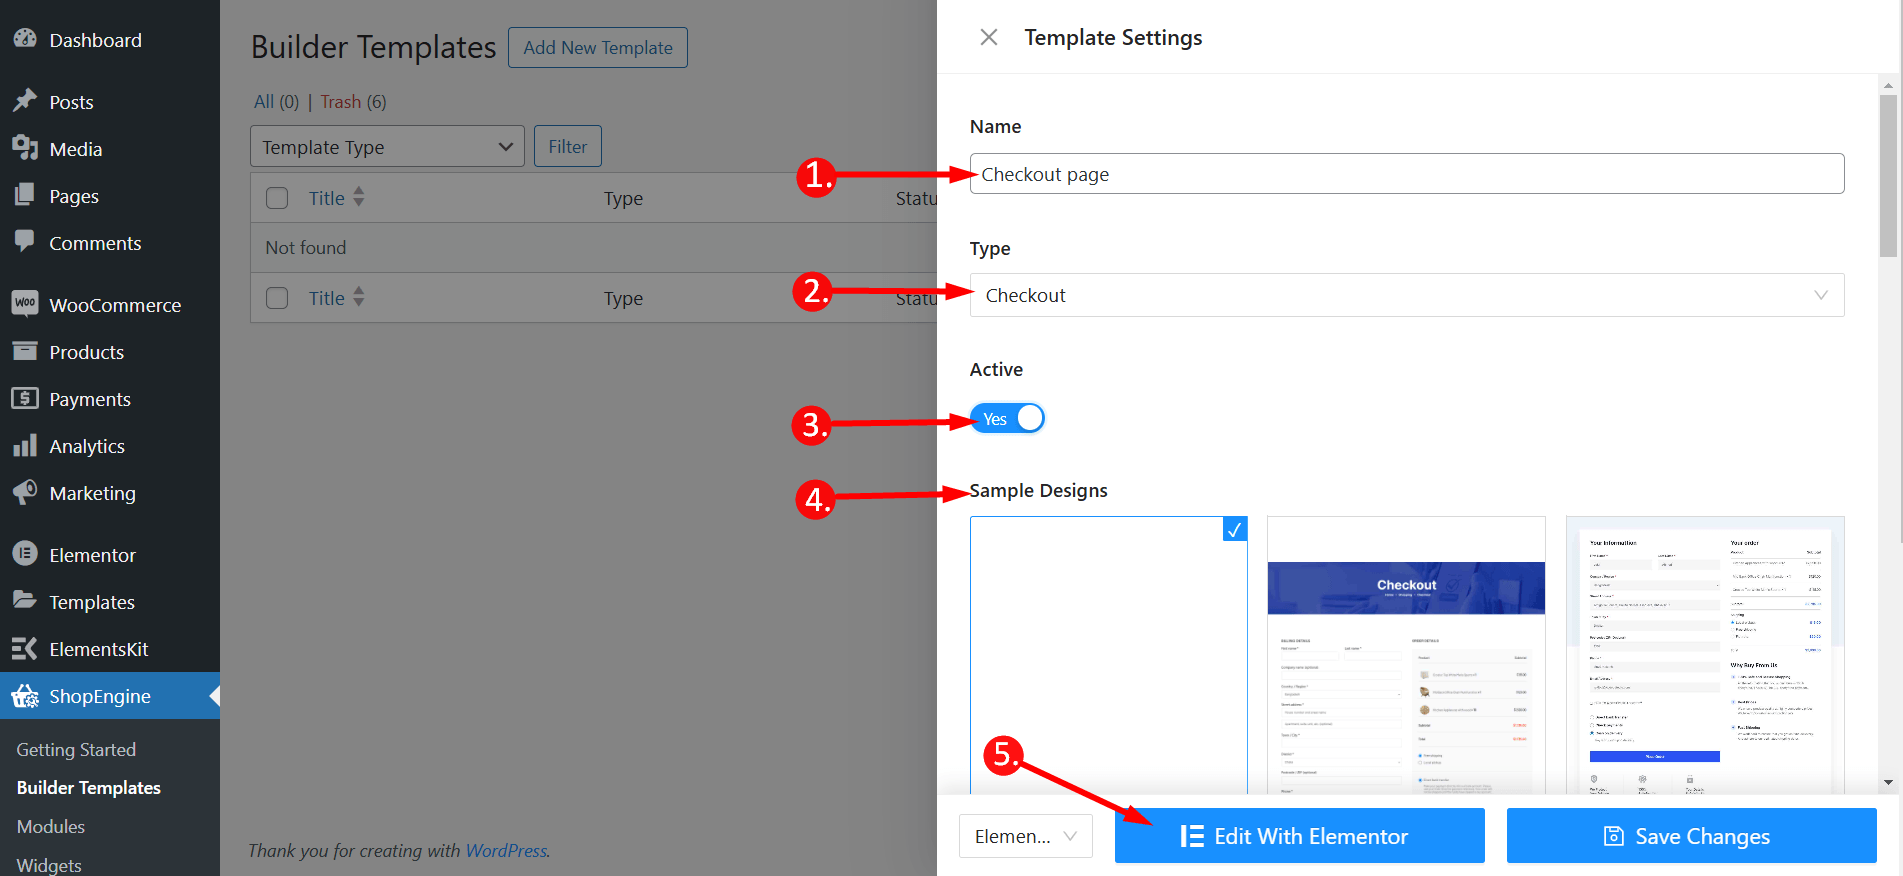
2단계: 구조 선택 #
Choose your layout style from Flexbox or Grid styles.
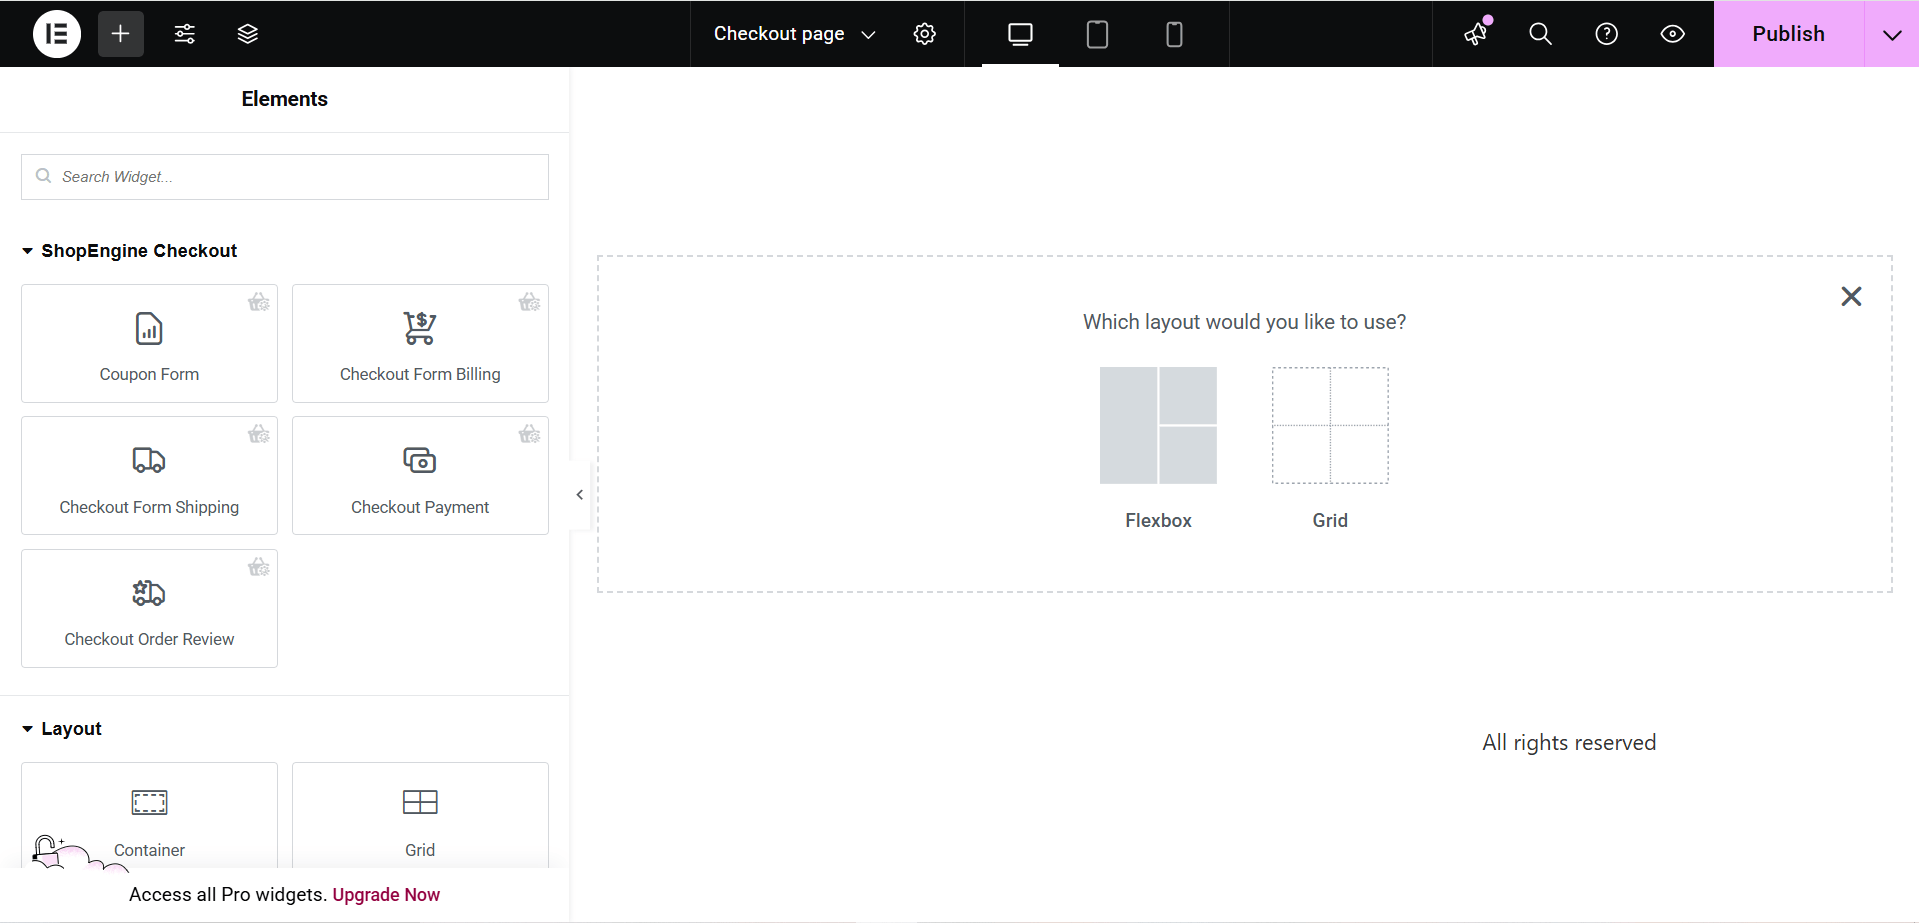
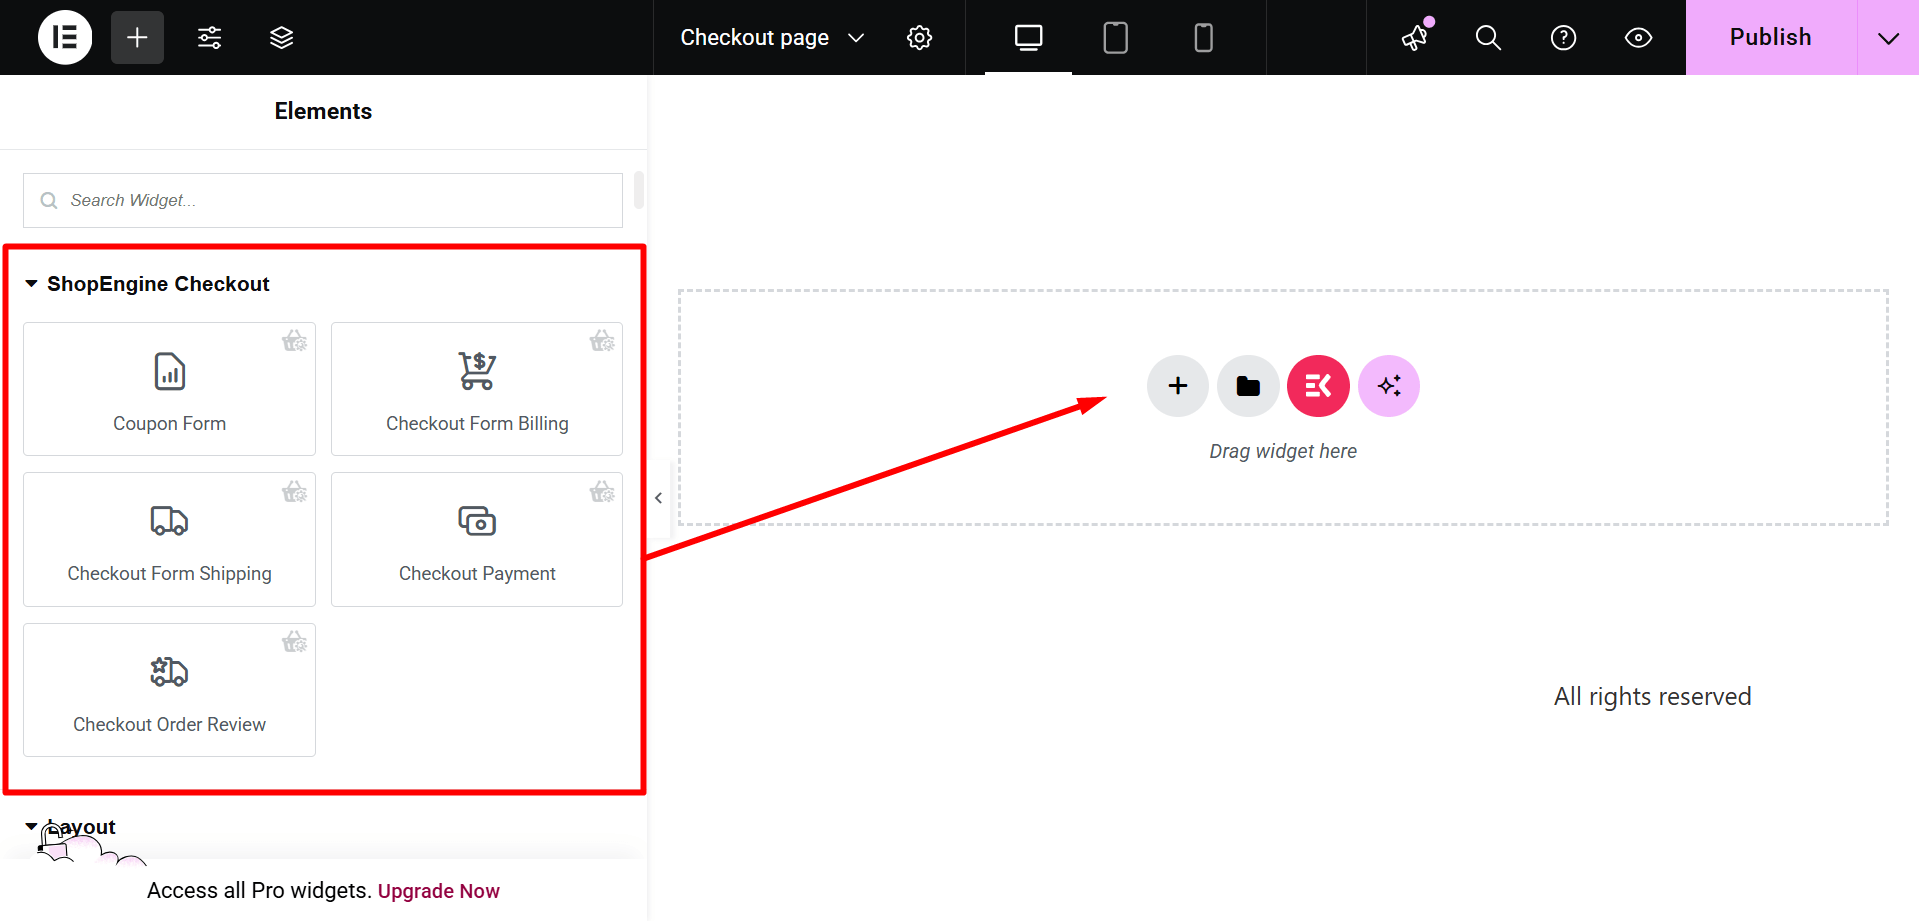
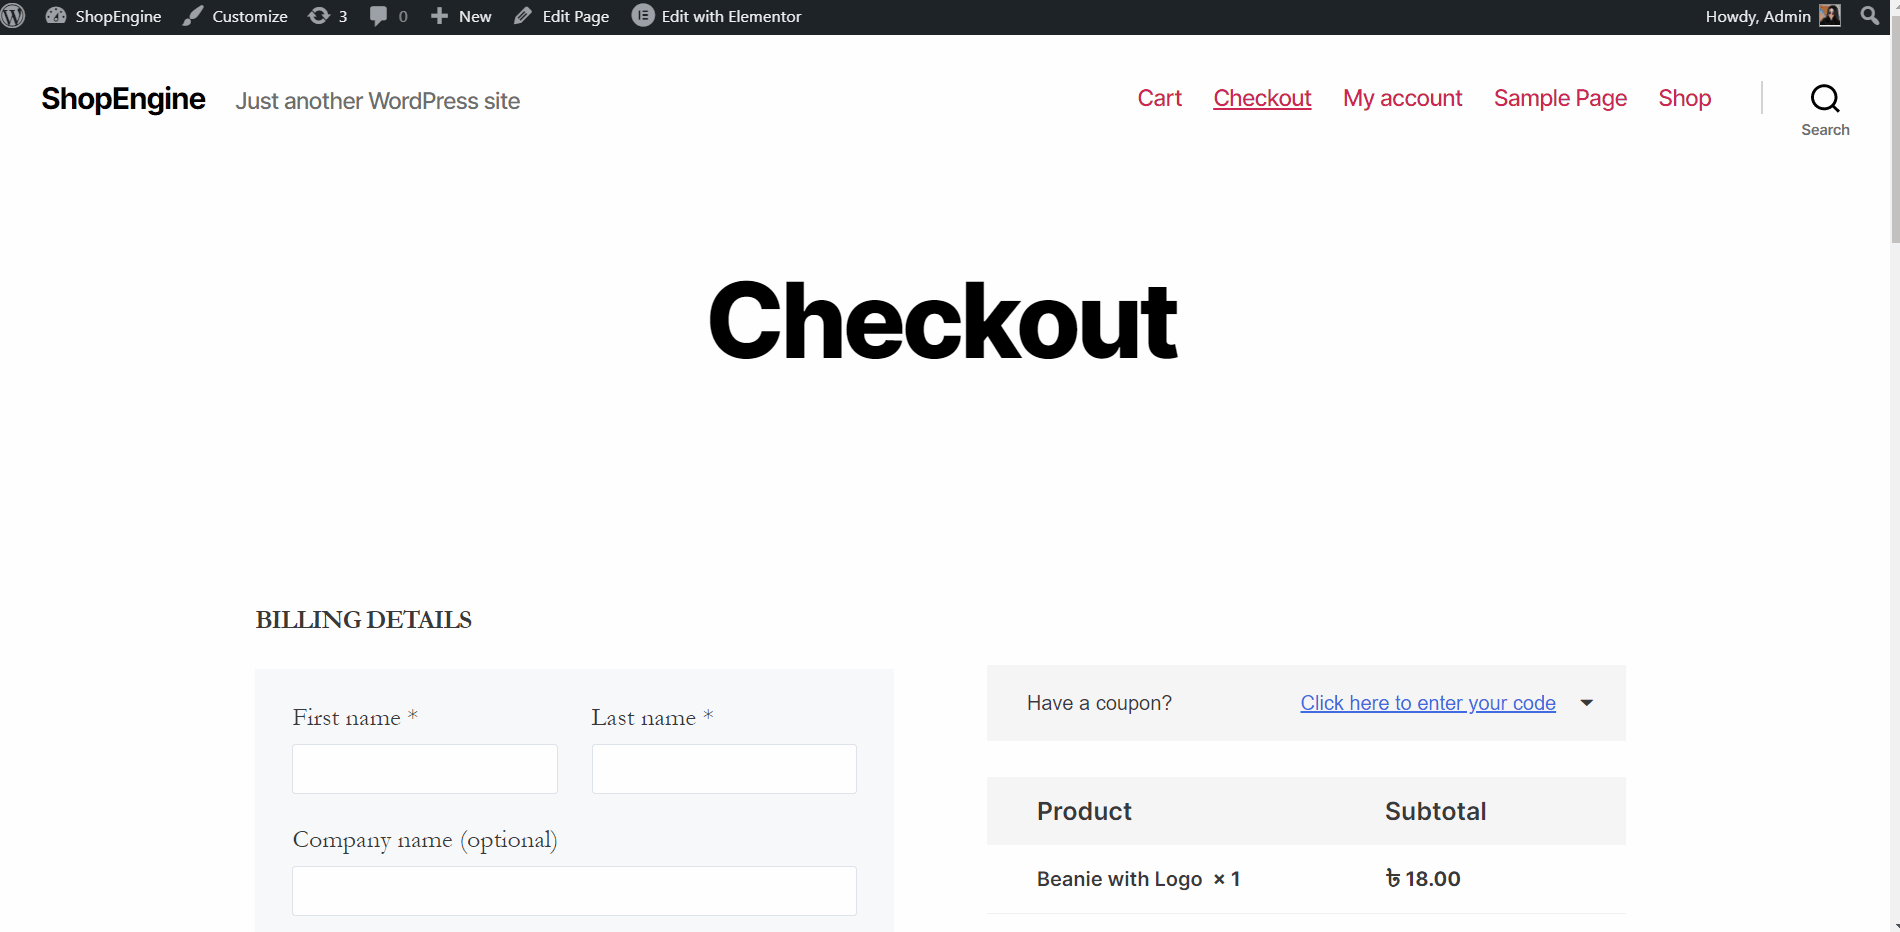
3단계: WordPress를 아름답게 꾸미세요 점검 페이지 템플릿 결제 위젯 사용 #
ShopEngine Checkout Block으로 이동하여 직접 디자인할 수 있습니다. 여기서 당신은 지정된 몇 가지를 얻을 것입니다 ShopEngine 점검 다음을 포함한 위젯 체크아웃 양식 청구, 쿠폰 양식, 체크아웃 검토 주문, 체크아웃 결제 등. These widgets also provide the advanced customization options than the Shopify or any other checkout page template. Let’s see how to customize them with ShopEngine, a WooCommerce checkout page builder:
Now just drag the following widgets and drop them on the selected area or just click on them, and they will be added to the editor.
- 쿠폰 양식
- 결제 양식 청구
- 결제 양식 배송
- 체크아웃 결제
- Checkout Order Review
4단계: 결제 페이지 게시 주형 #
- 디자인 후 클릭 게시/업데이트 Elementor 결제 페이지 템플릿을 활성화하려면
- 이제 당신의 점검 페이지-> 원하는 결제 페이지가 그에 따라 표시되는 것을 볼 수 있습니다.
결제 페이지 템플릿과 마찬가지로 WooCommerce 장바구니 페이지 템플릿, 상점 페이지 템플릿, 감사 페이지 템플릿, 제품 페이지 템플릿, 그리고 등등


