


WooCommerce Back-Order module allows customers to order out-of-stock products. You can also set the maximum back order limit for products and the estimated arrival date. Moreover, you can see the orders that are on backorder from the admin panel.
Let’s check out the steps to learn how to allow backorder in WooCommerce with ShopEngine:
Quick Overview
This documentation will walk you through the process of integrating the ability of ordering out-of-stock products with ShopEngine’s backorder module. You won’t need any coding expertise for adding WooCommerce backorder with this plugin.
However, you will require two more plugins to make use of ShopEngine’s backorder module. The plugins that are needed for this guide is:
- エレメンター(無料)
- WooCommerce (Free)
- ShopEngine (Free & Pro)
After adding these plugins to your WordPress dashboard, enable ShopEngine’s Backorder module and add backorder opportunity from WooCommerce inventory.
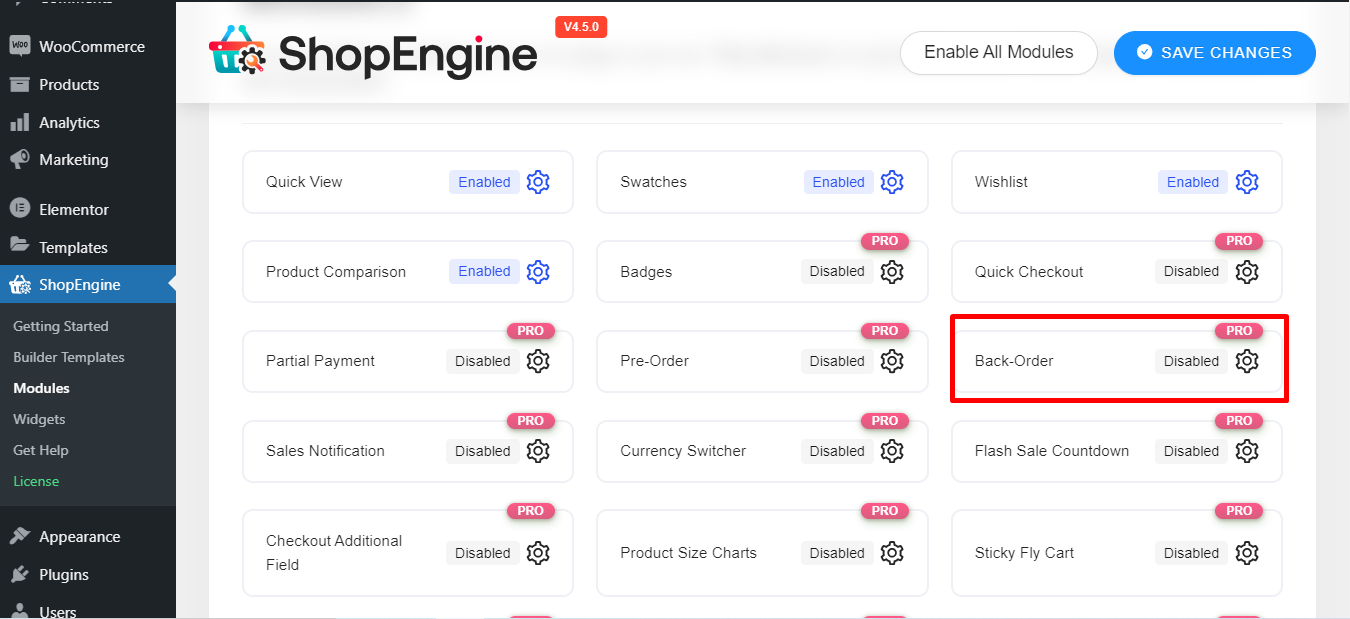
Step 1. Enable WooCommerce Back-Order module #
You need to enable the WooCommerce Back-Order module before you can access the settings. To enable the module
- に移動します: ShopEngine > モジュール > バックオーダー
- クリック で 設定 アイコン
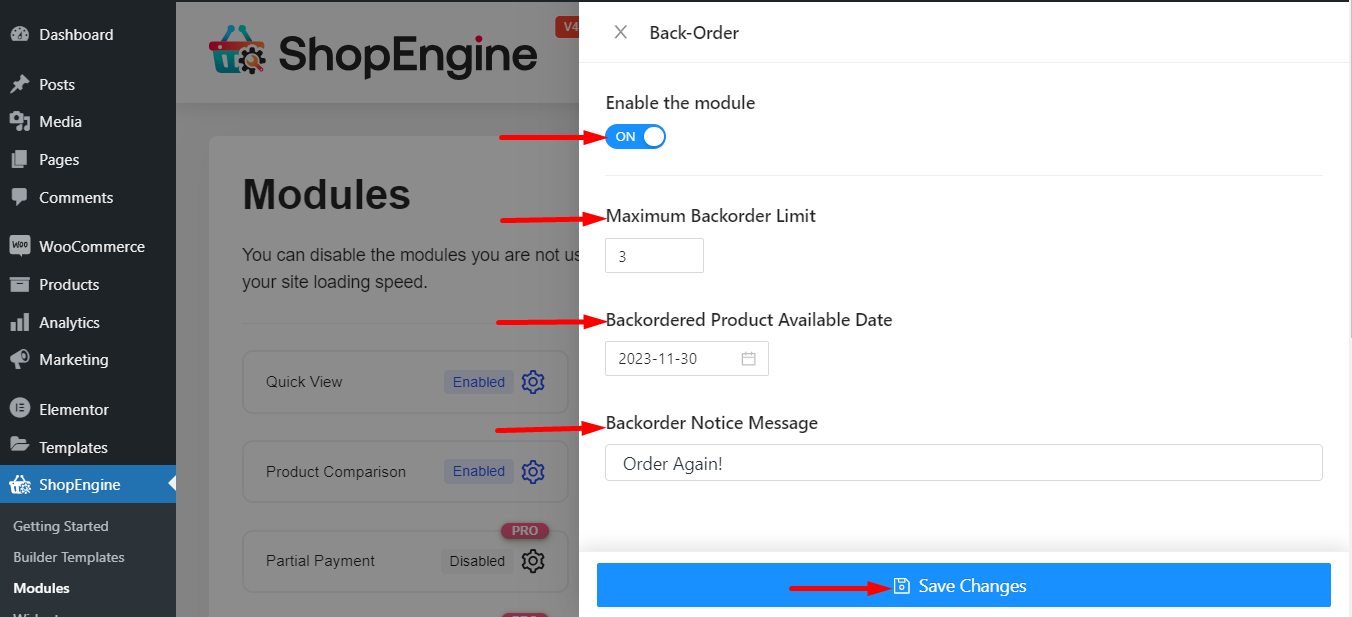
いくつかのオプションを含むウィンドウが表示されます –
- モジュールを有効にする
- 最大バックオーダー制限の数値を設定します
- 入荷待ち商品の発売日を表示する日付を設定します
- 入荷待ち通知メッセージとしてメッセージを書く
- 最後に、変更を保存します
注記: すべてのモジュールを同時に有効にすることもできます。どうすればできるかをチェックしてください すべてのモジュールを一度にオンにします。
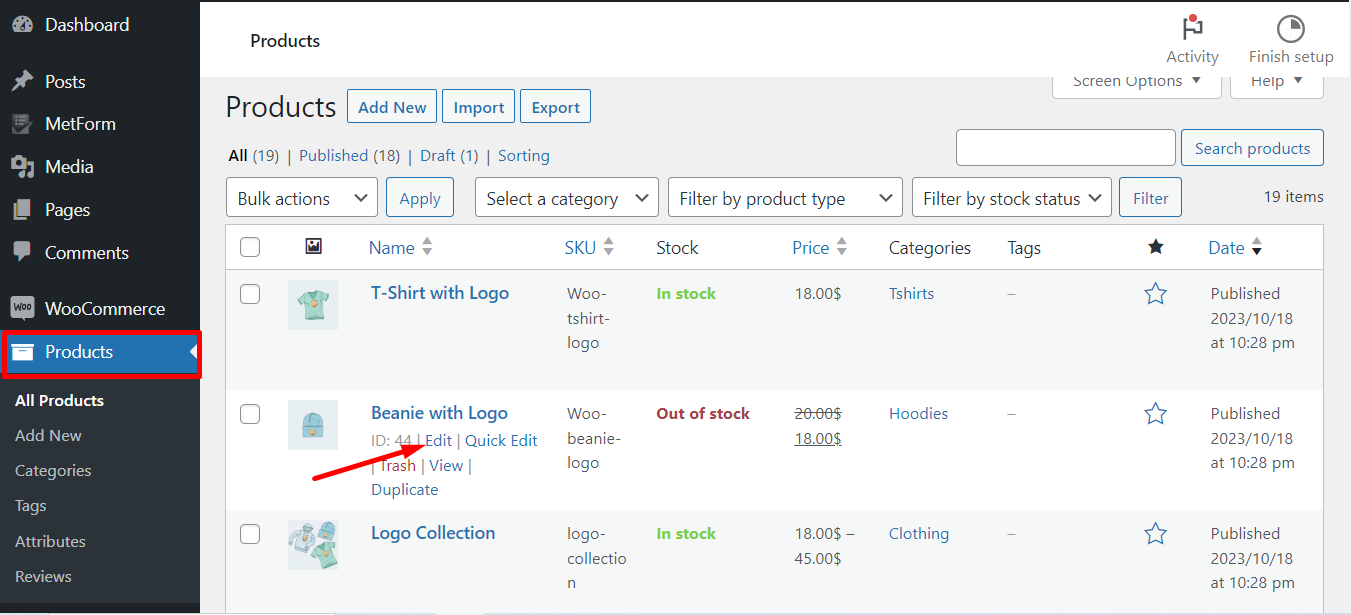
ステップ 2: WooCommerce に移動します #
バックオーダーとして表示する製品を選択し、その製品データの編集を開始します。
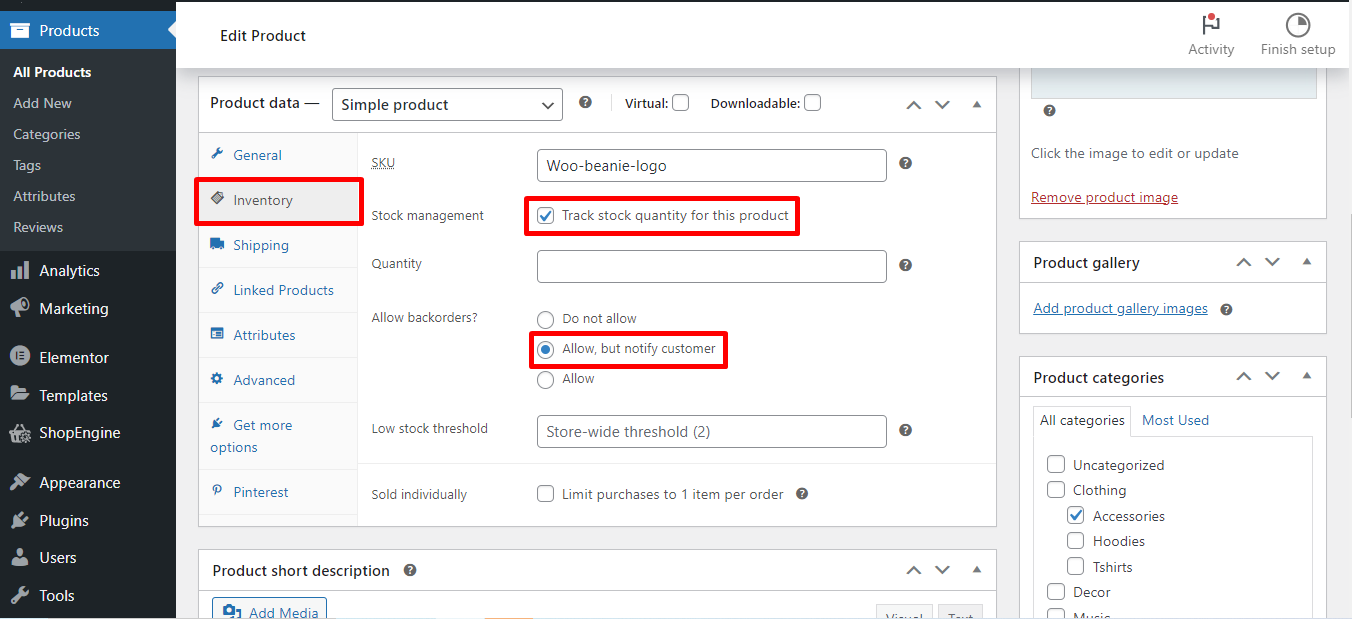
注: 製品データの設定は、グローバル設定よりも優先されます。
手順に従ってください -
- 「インベントリ」をクリックします
- 在庫管理オプションにチェックマークを付けます
- 「バックオーダーを許可しますか?」を検索します。 [許可するが顧客に通知する] を選択します
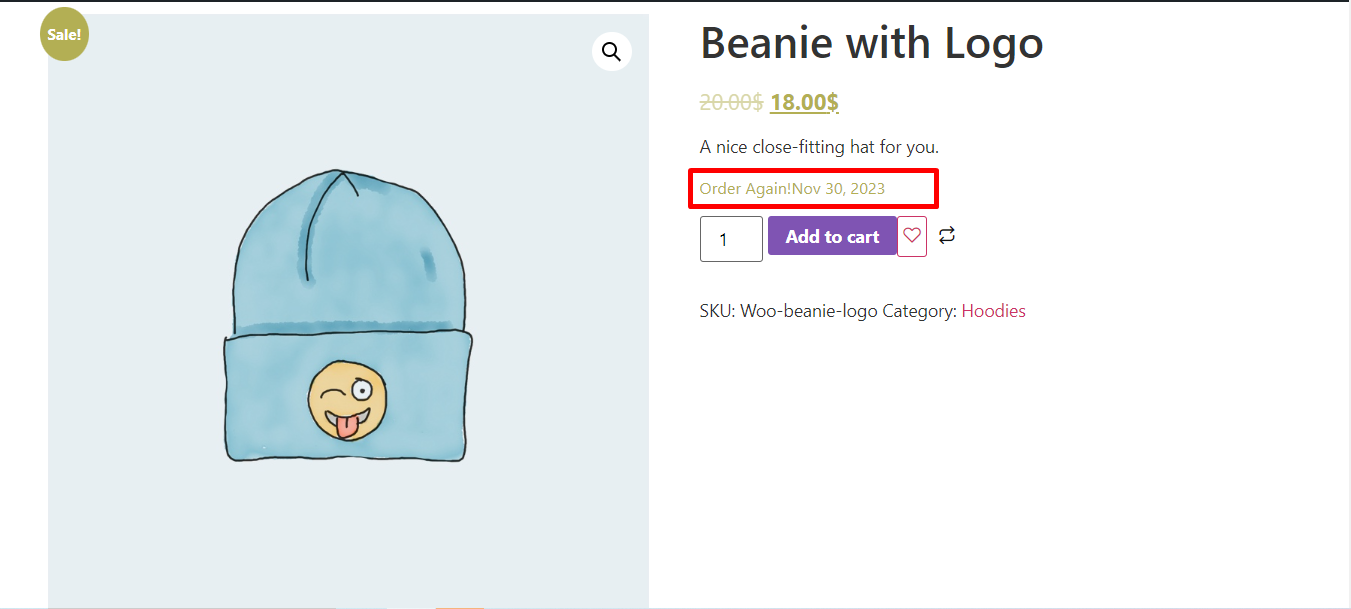
ステップ3. 入荷待ちの確認方法 #
最後に、Back Order モジュールがどのように機能するかを示すフロントエンド ビューを次に示します。 「カートに入れる」をクリックすると確認・注文できます。
これで、次のことを確認できます。 注文ページ バックエンドから
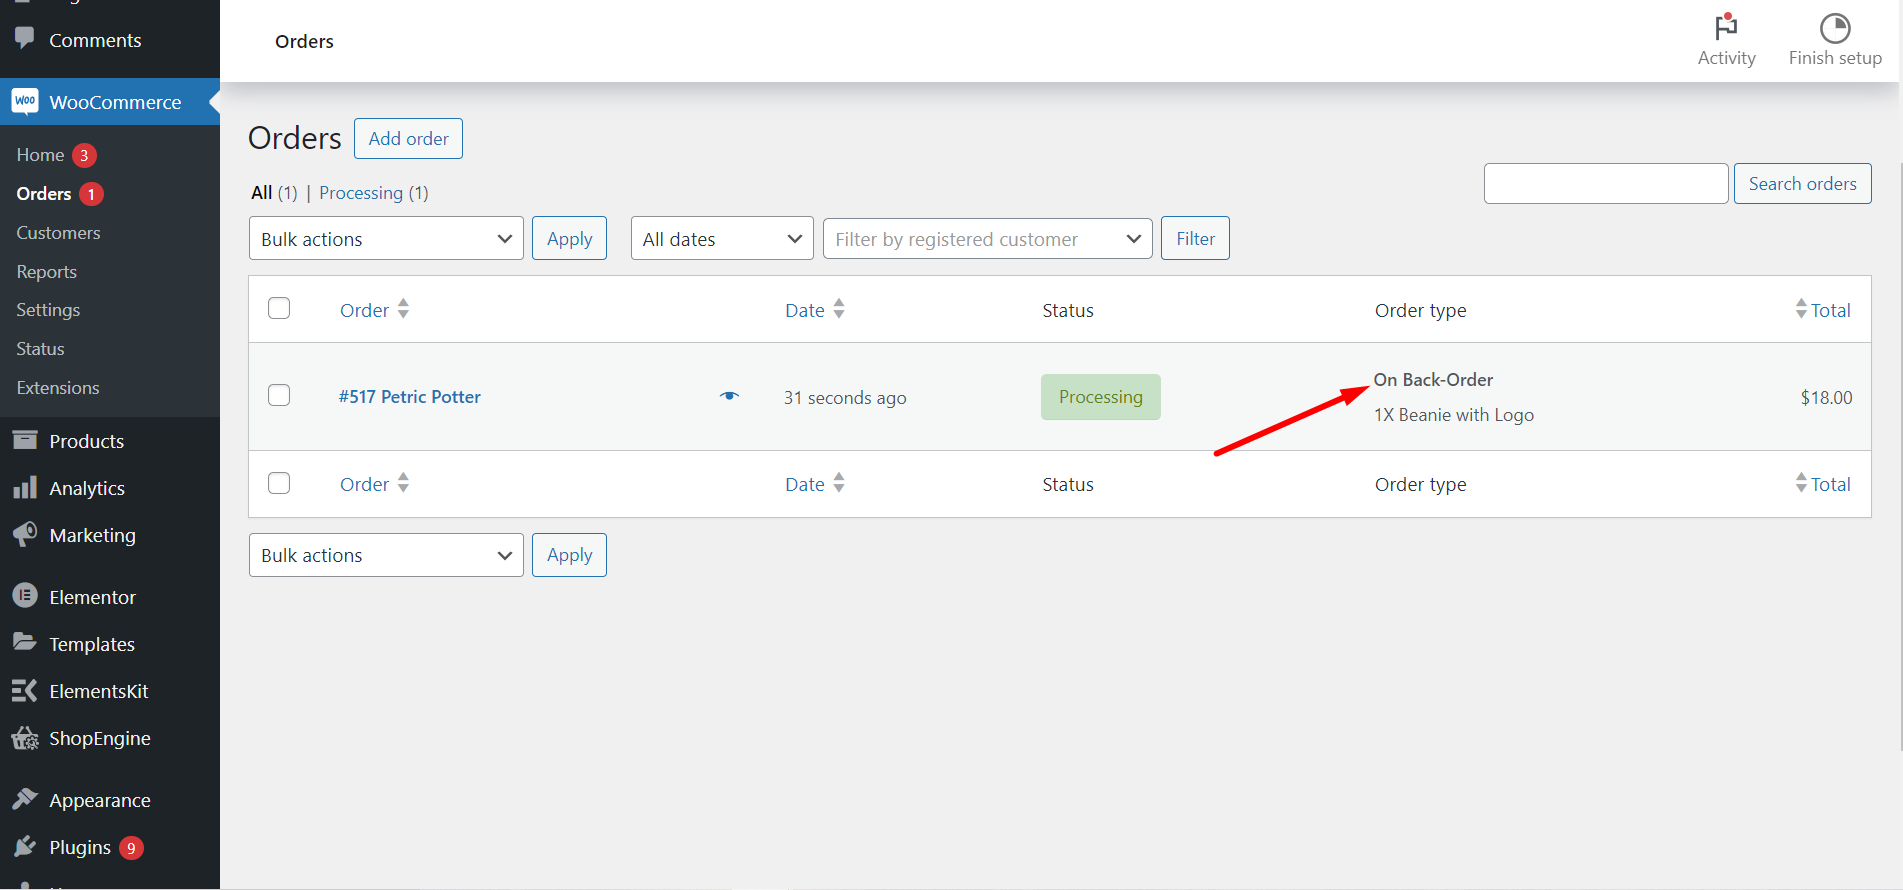
This is it! Now it’s your turn to customize your settings and set any temporarily out-of-stock product for getting WooCommerce back-order.


