


Welcome to the ShopEngine documentation! Throughout all the documentation, you’ll learn how the plugin works, explore its key features, and find step-by-step guides to help you use the WooCommerce builder. To get started, the first documentation covers the installation process of the ShopEngine plugin and an overview of its dashboard.
How to Install ShopEngine WooCommerce Builder for Elementor #
Since ShopEngine is a WooCommerce builder, so you need to have the WooCommerce plugin installed in your WordPress.
Before getting started make sure, Elementor plugin is installed & activated on your website.
Se desideri utilizzare ShopEngine con Gutenberg, seguire questa documentazione Invece.
Pre-requisite:
- WooCommerce: Scarica plugin
- Elementore: Scarica plugin
Segui semplicemente la procedura passo passo per installare ShopEngine Elementor Woocommerce Builder:
Install and activate ShopEngine plugin #
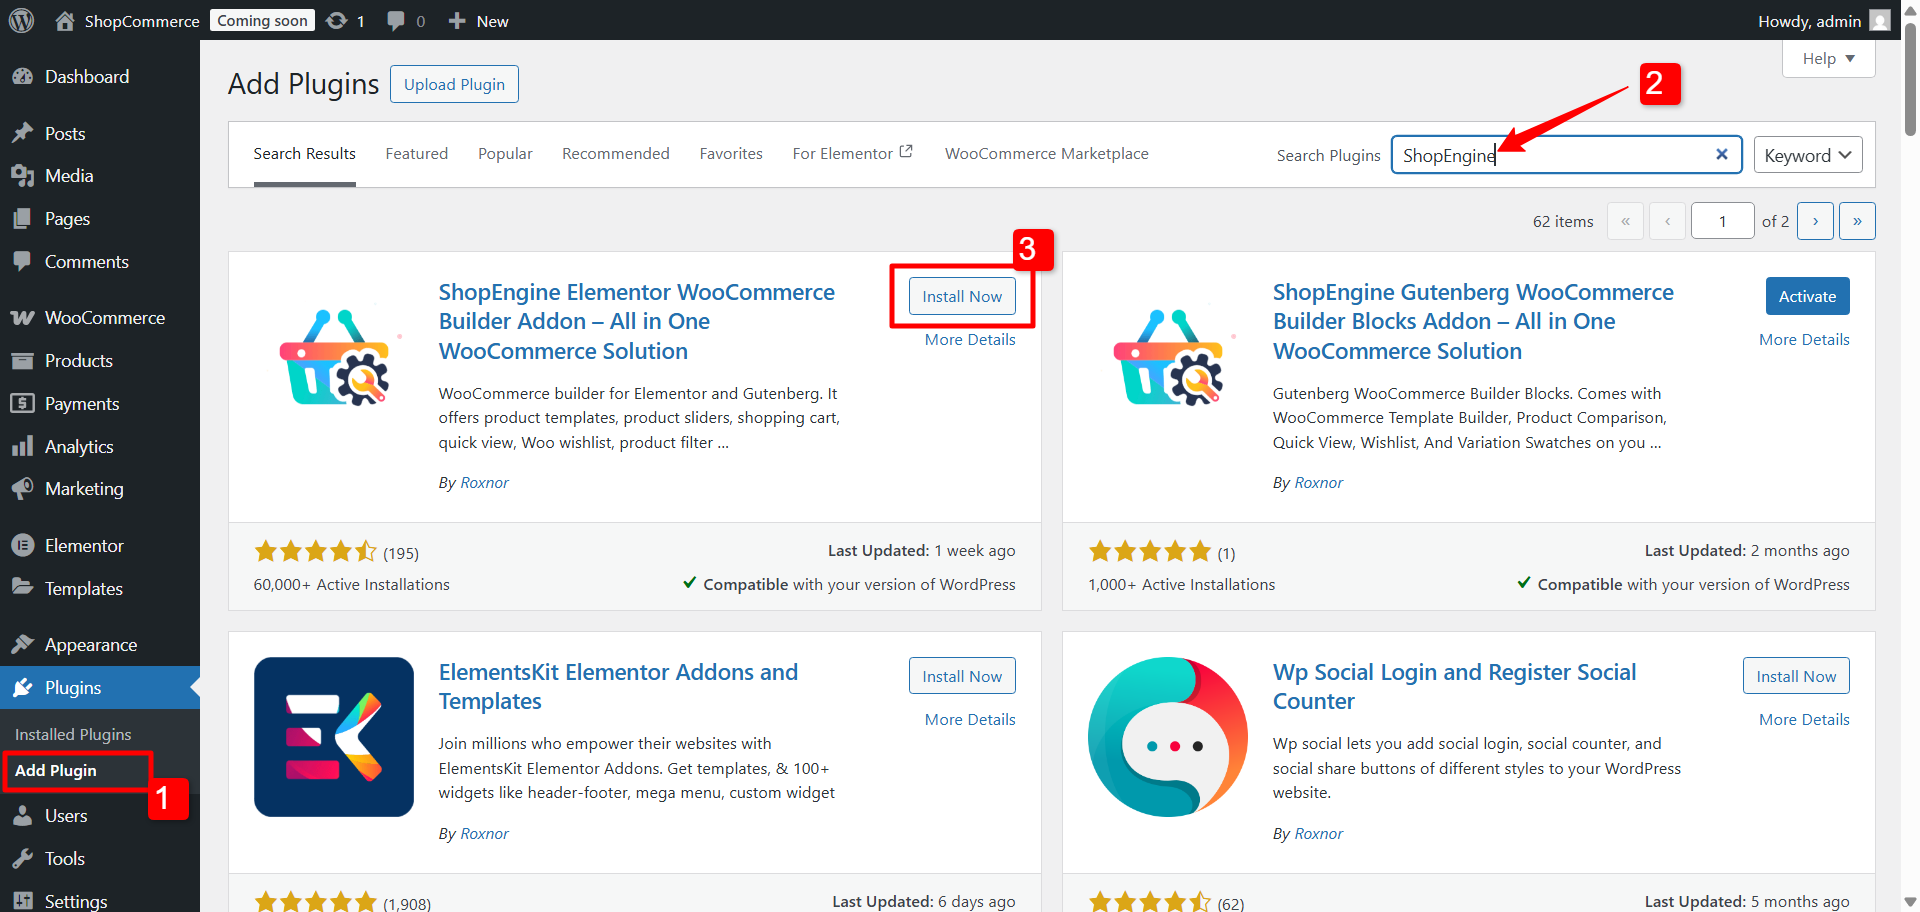
To install the the ShopEngine WooCommerce plugin:
- Vai a Pannello di controllo di WordPress➔ Plugin➔ Add Plugin.
- Ricerca for ShopEngine there.
- Once you find the plugin, click on the install button.
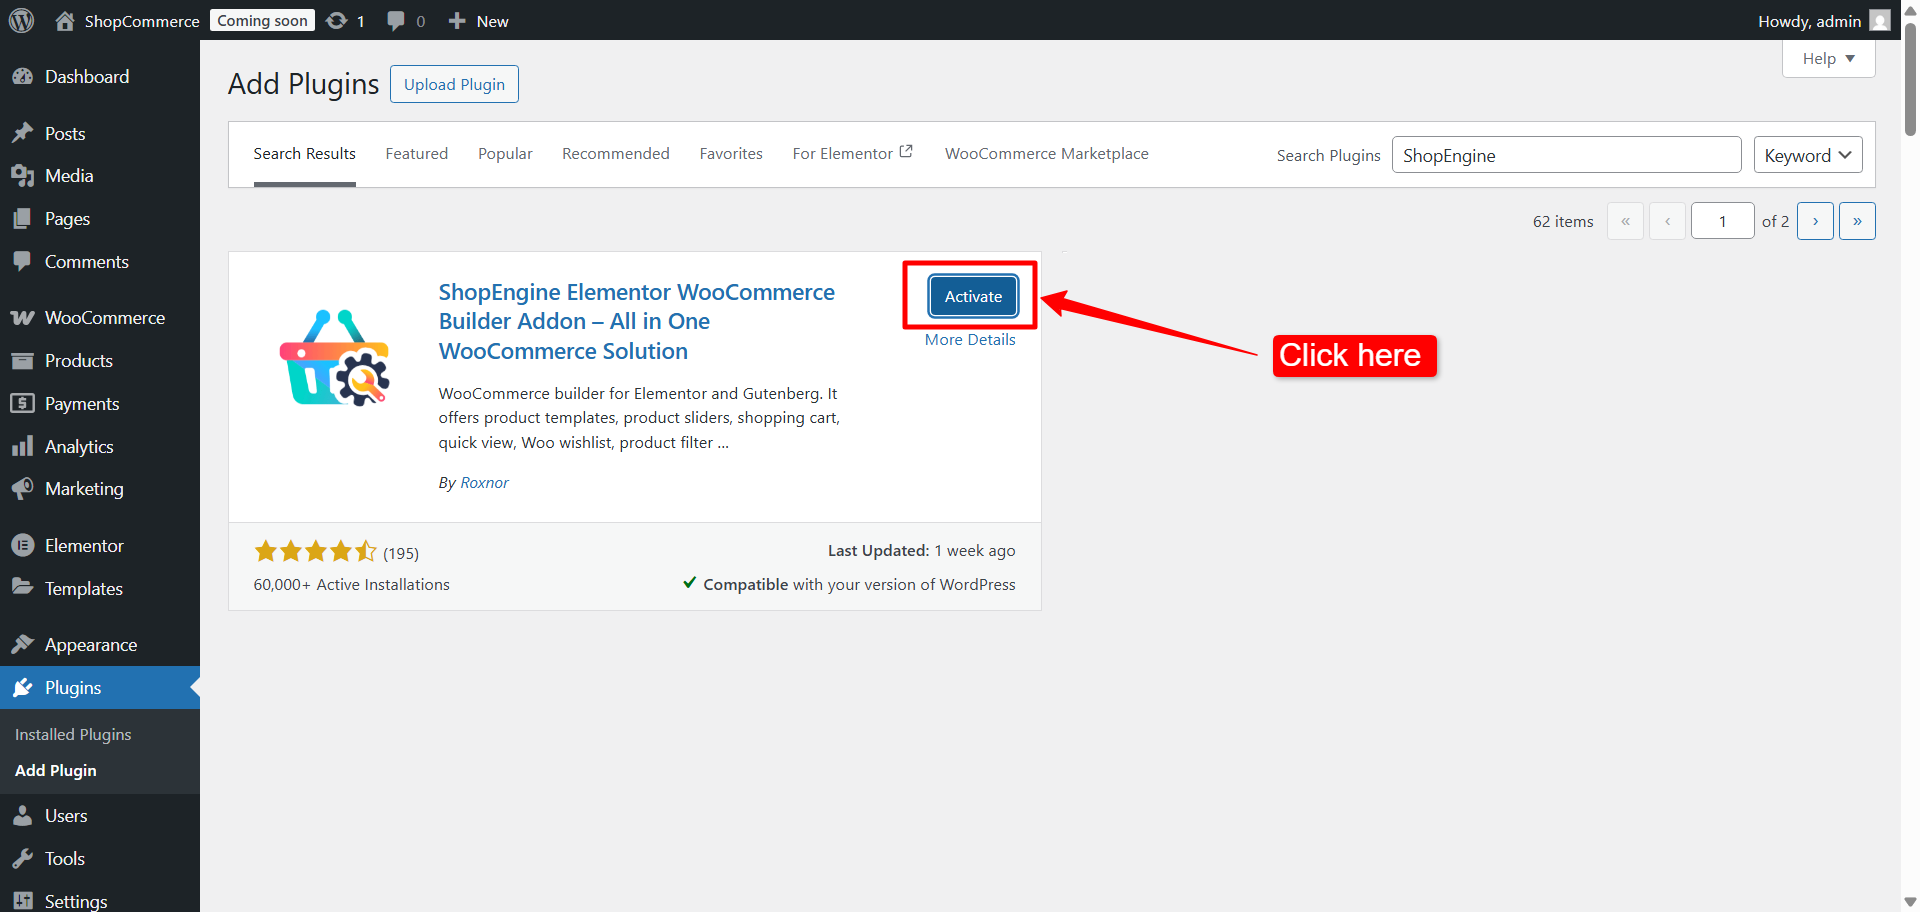
Al termine dell'installazione, basta fare clic su "Attivare" per attivare ShopEngine.
Dopo aver attivato il plugin, Menù ShopEngine will appear in the WordPress Dashboard. Get used to with the ShopEngine dashboard in WordPress
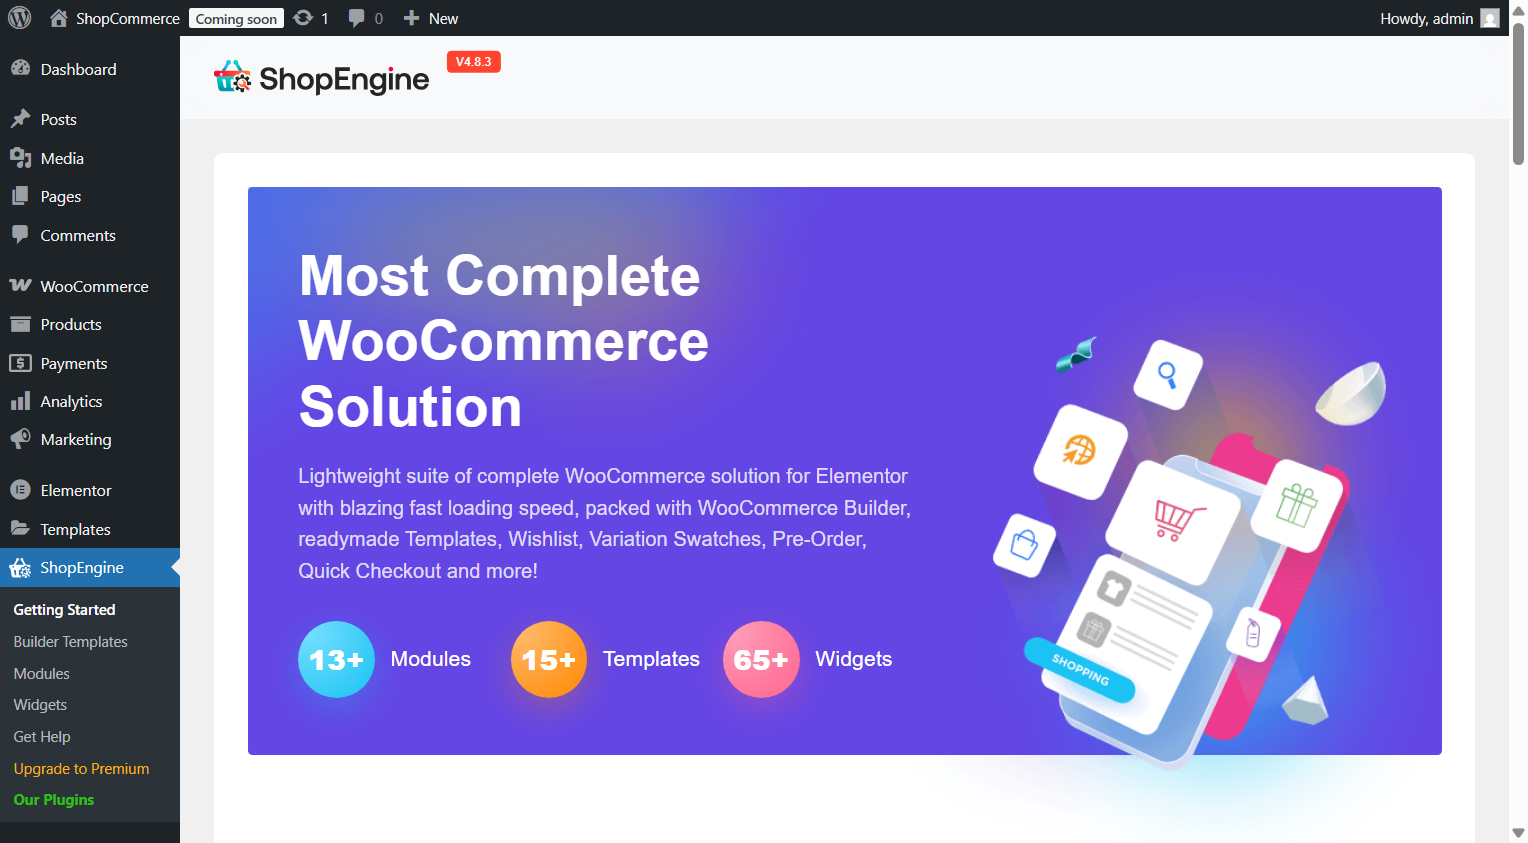
#
Se stai cercando di avviare un sito web WooCommerce ma hai difficoltà a trovare un buon servizio di hosting, puoi scegliere in modo affidabile Kinsta. Hanno tutte le funzionalità di hosting chiave che normalmente ti aspetteresti da un fornitore di servizi di hosting.


