


Building a website with WordPress can be a breeze, but crafting beautiful and unique layouts can take time. That’s where Gutenberg templates come in – pre-designed layouts that streamline the content creation process within the Gutenberg editor.
This blog post will guide you on how to use Gutenberg templates, from understanding their benefits to customizing them for your specific needs.
Why Use Gutenberg Templates
Gutenberg templates offer a multitude of advantages:
- Save Time: Pre-designed templates eliminate the need to build layouts from scratch, saving you precious hours.
- Enhanced Design: Access professional-looking layouts that elevate the aesthetics of your website.
- Improved Consistency: Maintain a cohesive visual style across your entire website with pre-built templates.
- Increased Efficiency: Focus on content creation and customization, leaving the groundwork to the templates.
Steps to Use Gutenberg Templates
While there are various Gutenberg template options, let’s explore using GutenKit, a popular and user-friendly plugin. GutenKit is a popular free plugin offering a vast library of Gutenberg templates. This plugin provides ease and eliminates the stressful website building from scratch.
Now, let’s walk through using GutenKit to leverage the power of templates:
GutenKit is offered in both free and pro plans. While pro plan offers more ready templates, pages, and patterns, its free plan can be sufficient enough to explore the amazing ready templates.
To get started with GutenKit, follow these simple steps:
1. Install and activate the GutenKit plugin on your WordPress website.
Navigate to your WordPress dashboard and look for “Plugins”. Select “Add New Plugin” and enter GutenKit in the search bar. Then, click “Install Now”.
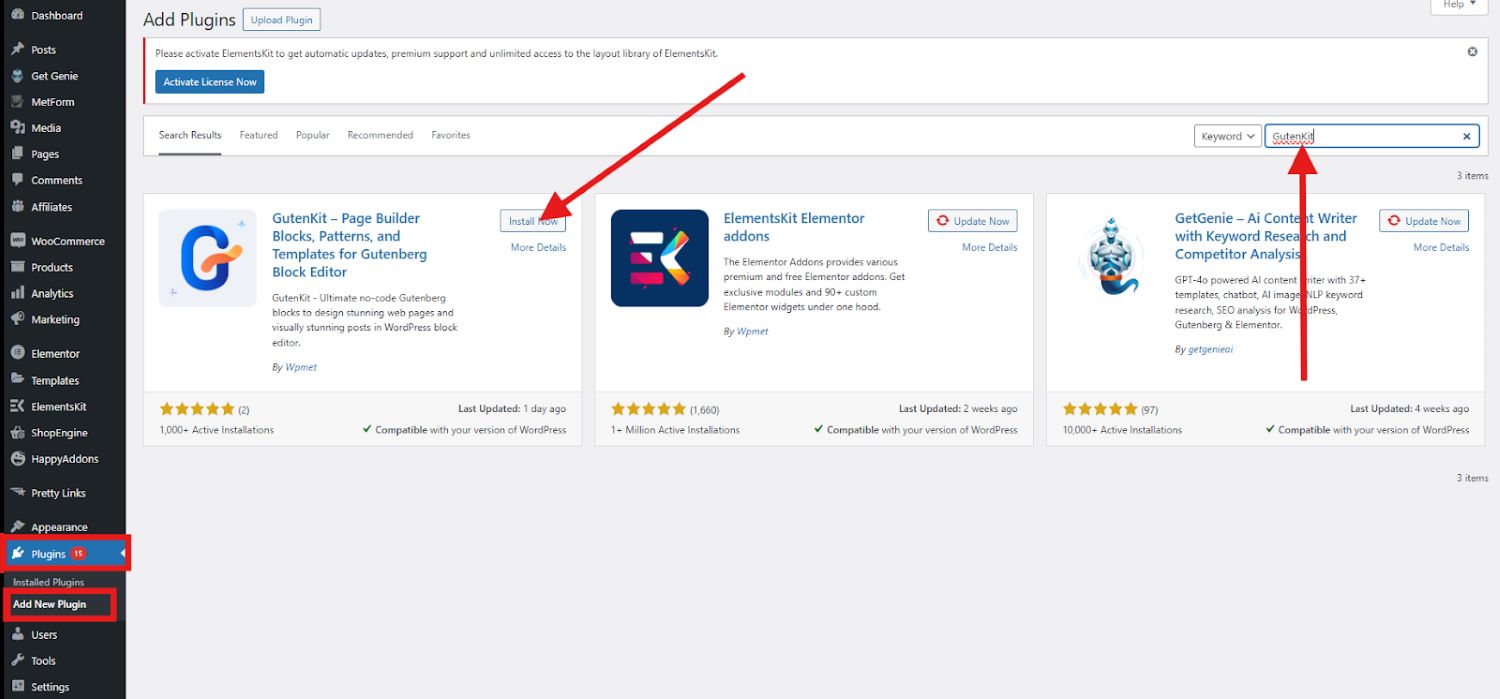
After installing, activate GutenKit.
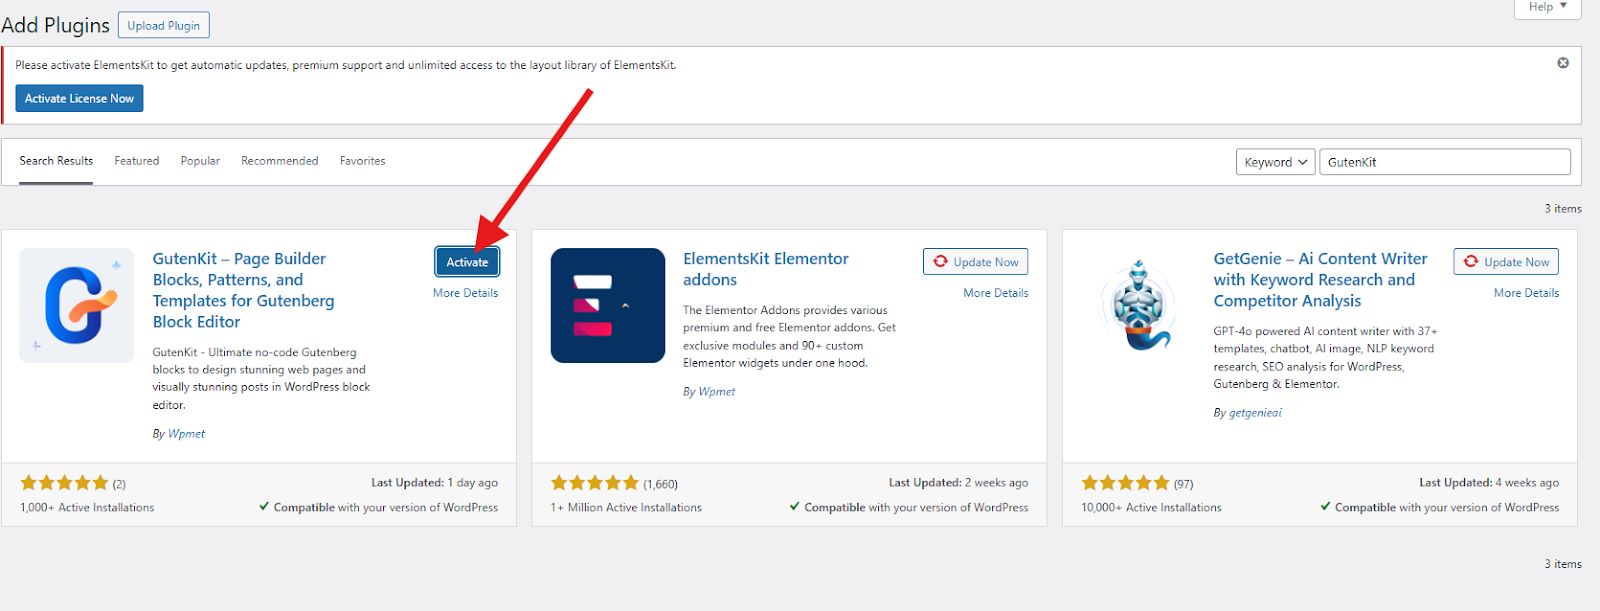
2. Upon activation, you’ll find a new “GutenKit” section in your WordPress dashboard.
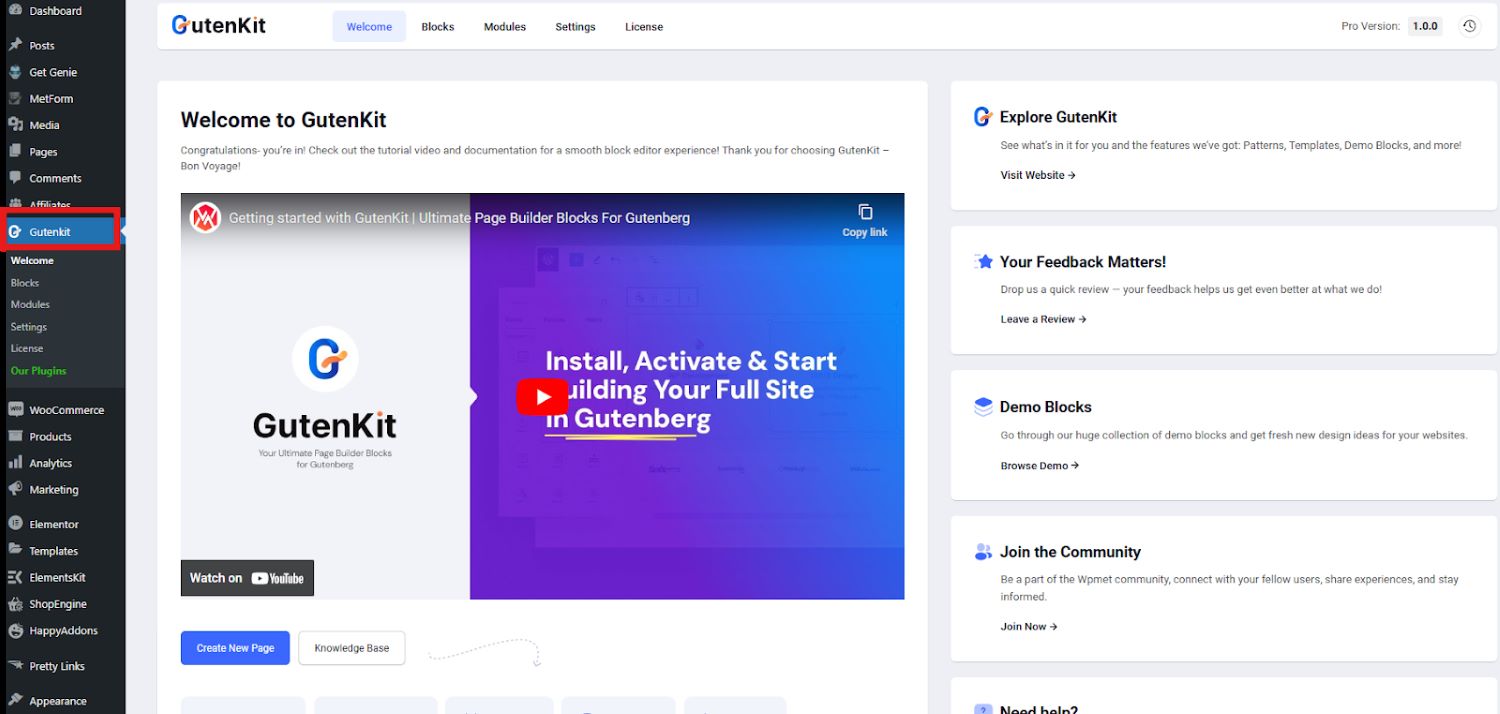
3. Navigate to “GutenKit > Library” to explore a vast collection of pre-designed templates.
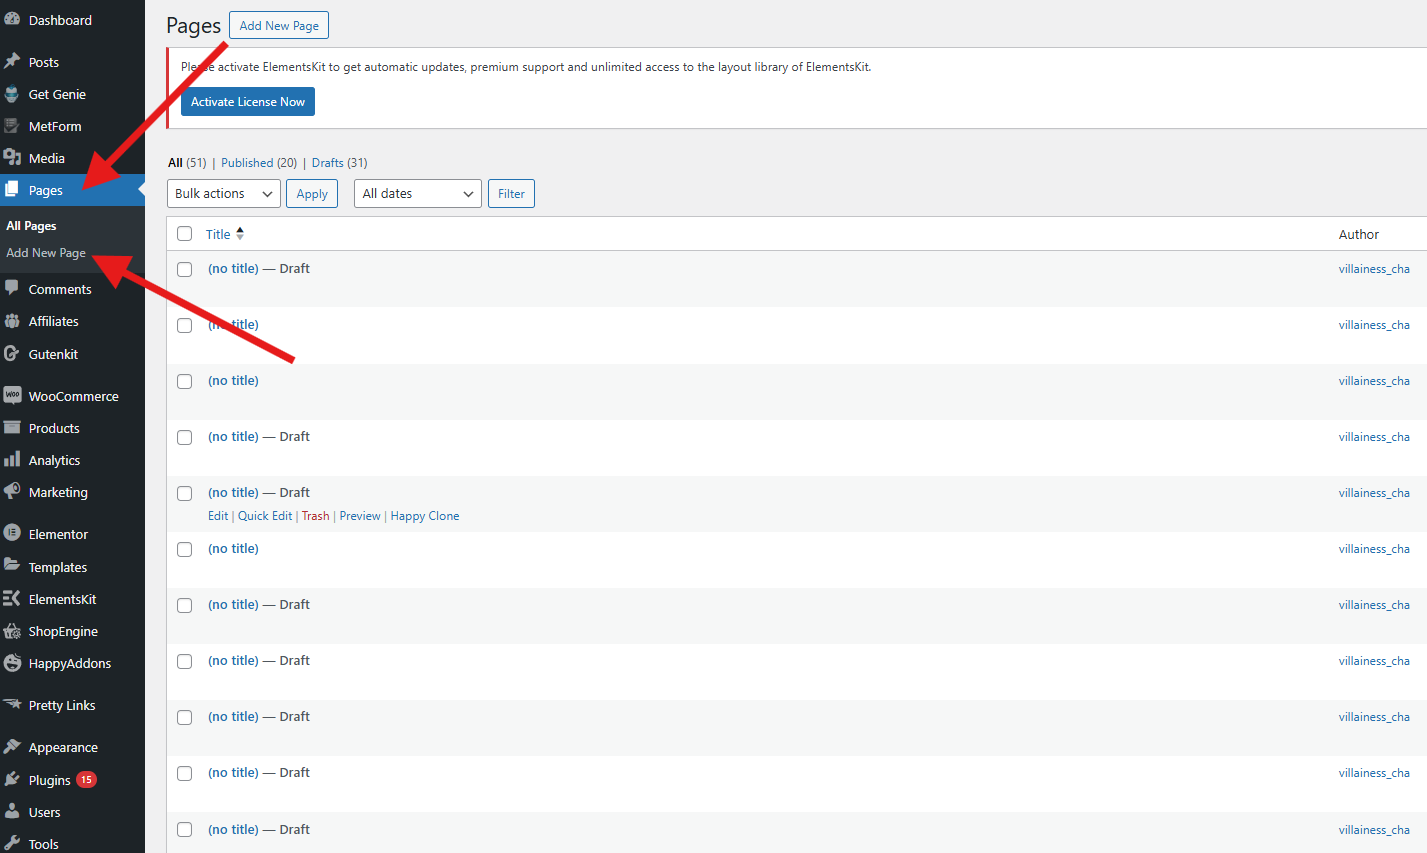
To navigate the GutenKit Template Library, go to “Pages” and “Add New Page”.
In your editor screen, you will find the GutenKit Template Library.
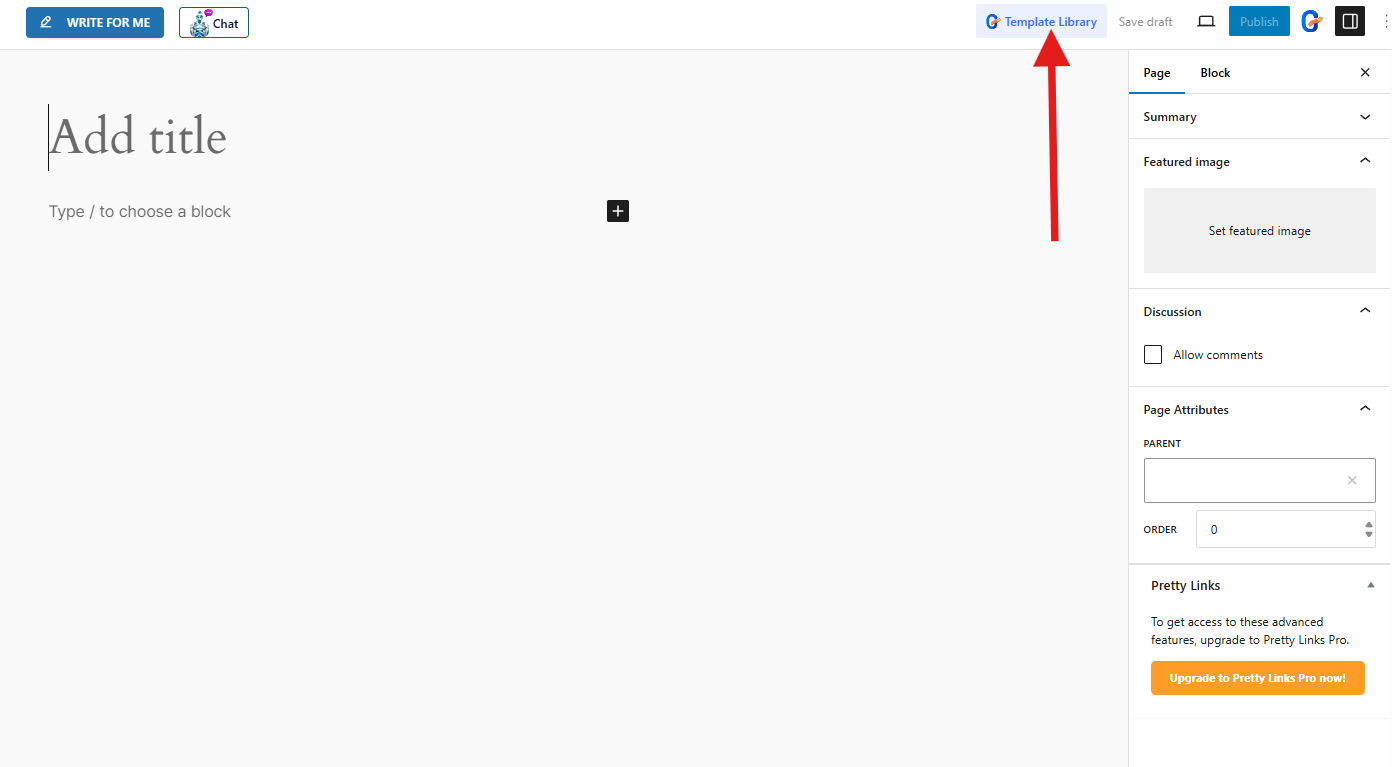
Once you click on that, you will be directed to a new page where you can find the different block patterns, templates, and pages.
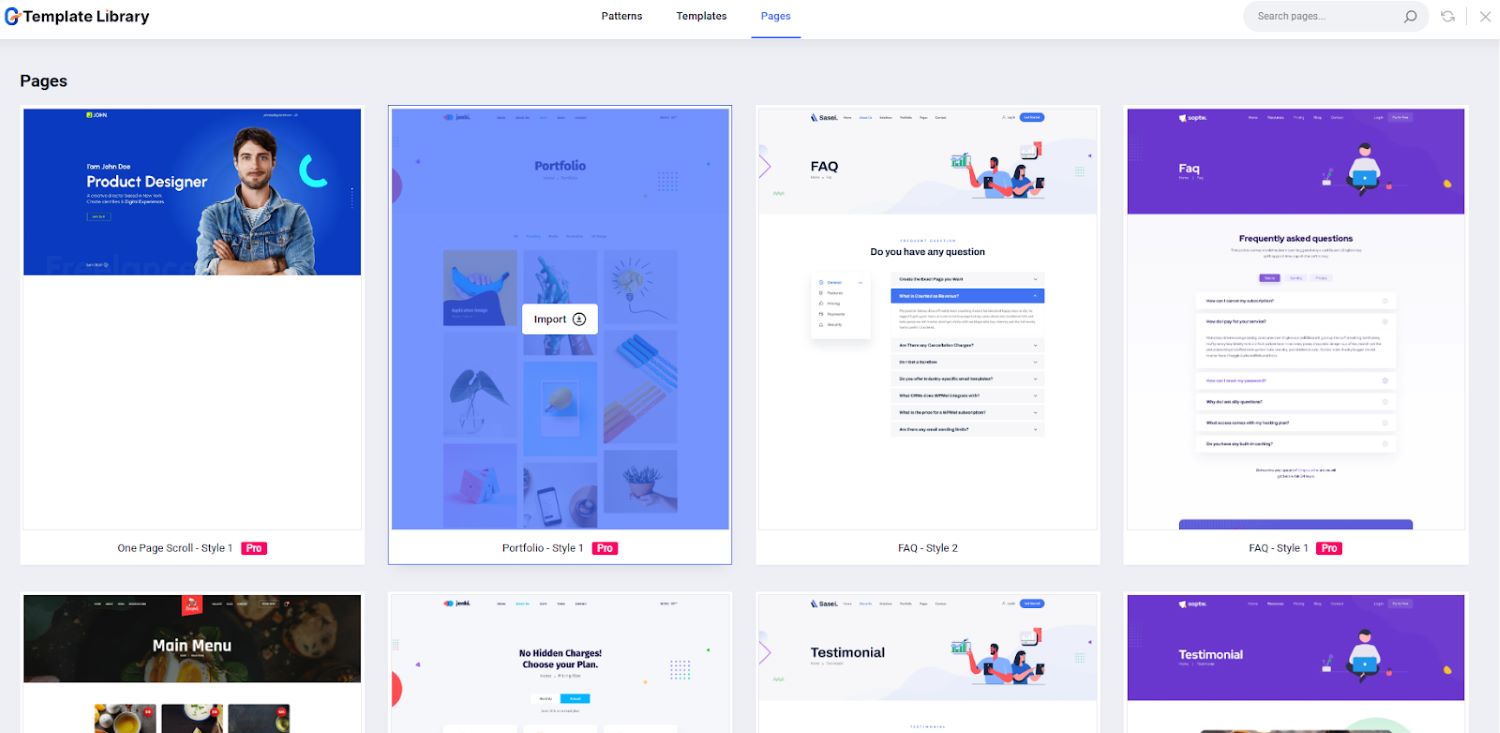

Selecting the Perfect Template
GutenKit offers a categorized library, making it easy to find the perfect template for your needs. Browse through options for homepages, landing pages, about us sections, and more.
Here’s a quick glance at the various templates for your every section:
Home

About Us
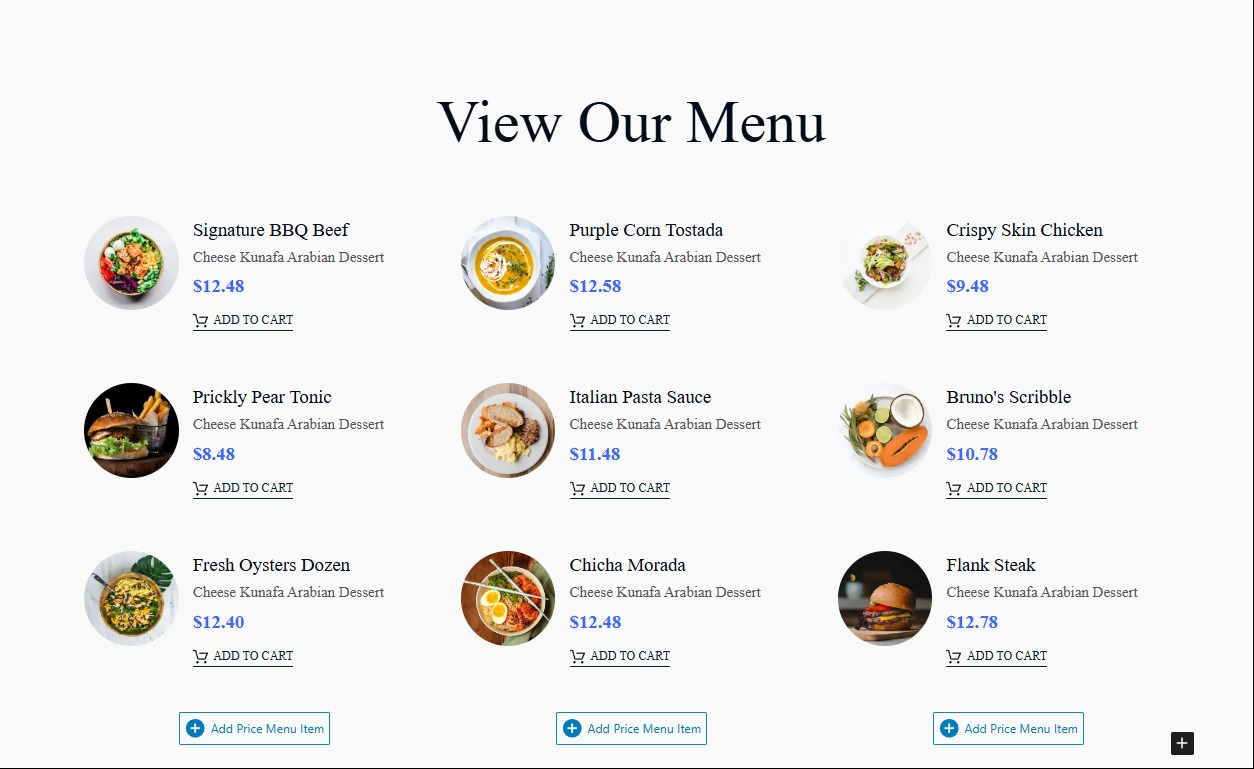
Price Menu
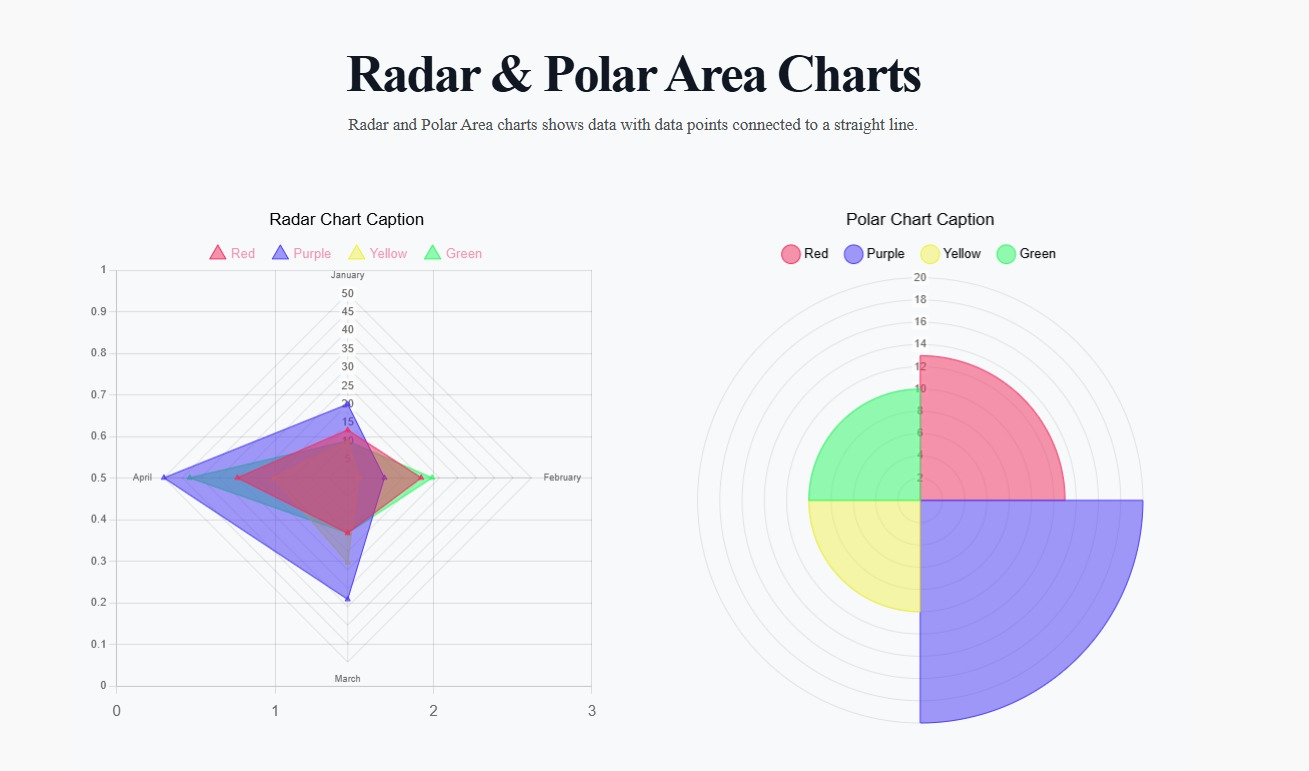
Chart
Customizing GutenKit Templates
The beauty of Gutenberg templates lies in their customizability. Once you’ve chosen a template, import it to your editor screen. Then, you can easily:
- Edit Text: Replace the placeholder text with your own content.
- Change Images: Swap out pre-existing images with your own visuals.
- Adjust Layouts: Rearrange blocks within the template to suit your preferences.
- Modify Styles: Use the built-in options to tweak colors, fonts, and spacing.
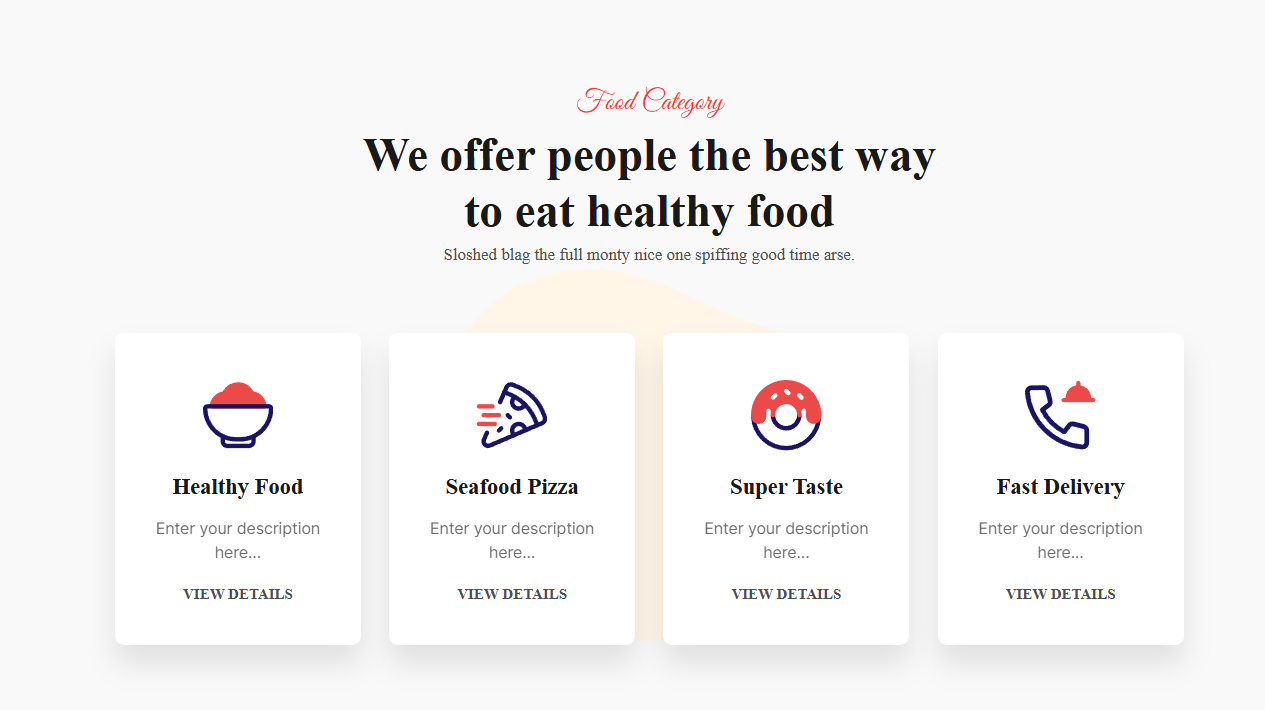
For the sake of this tutorial, we’ll select the restaurant template as our example.
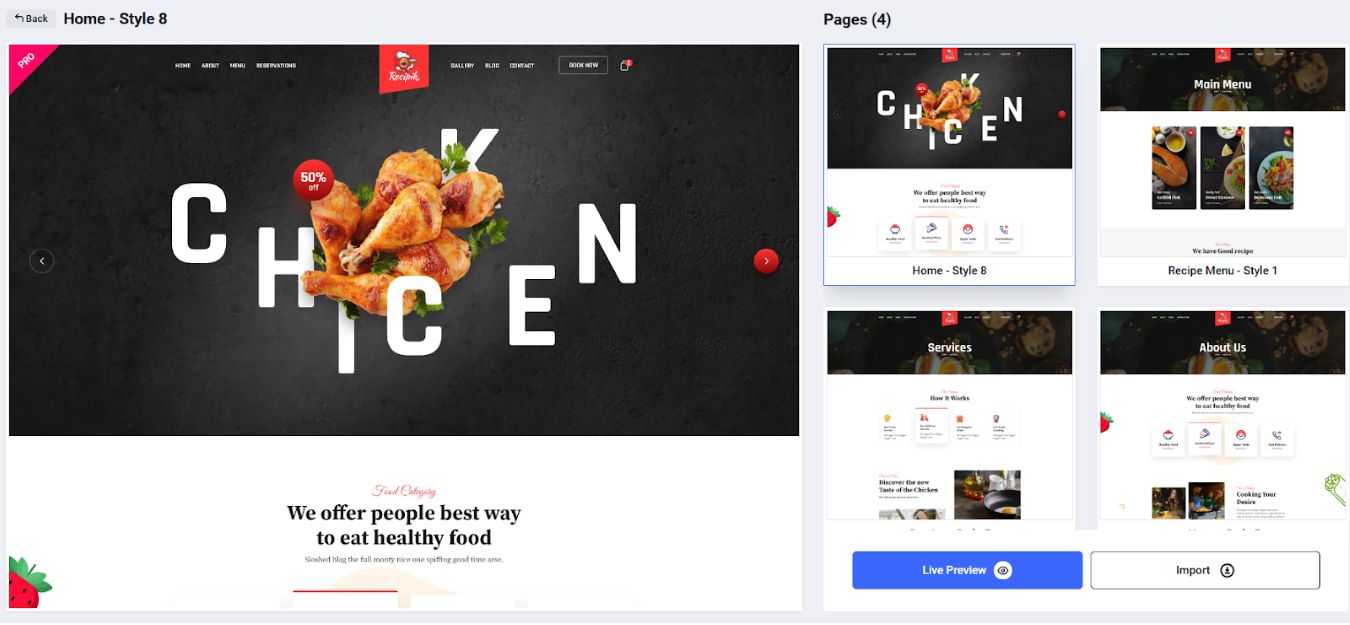
So, let’s start customizing it!
To start with, select the section or container you want to edit. Let’s say, the image below is the section of the template you want to start editing with.
If you click on any part or container of the section, you will notice that a sidebar tool will appear. That toolbar is where you can edit or customize each container of the section.
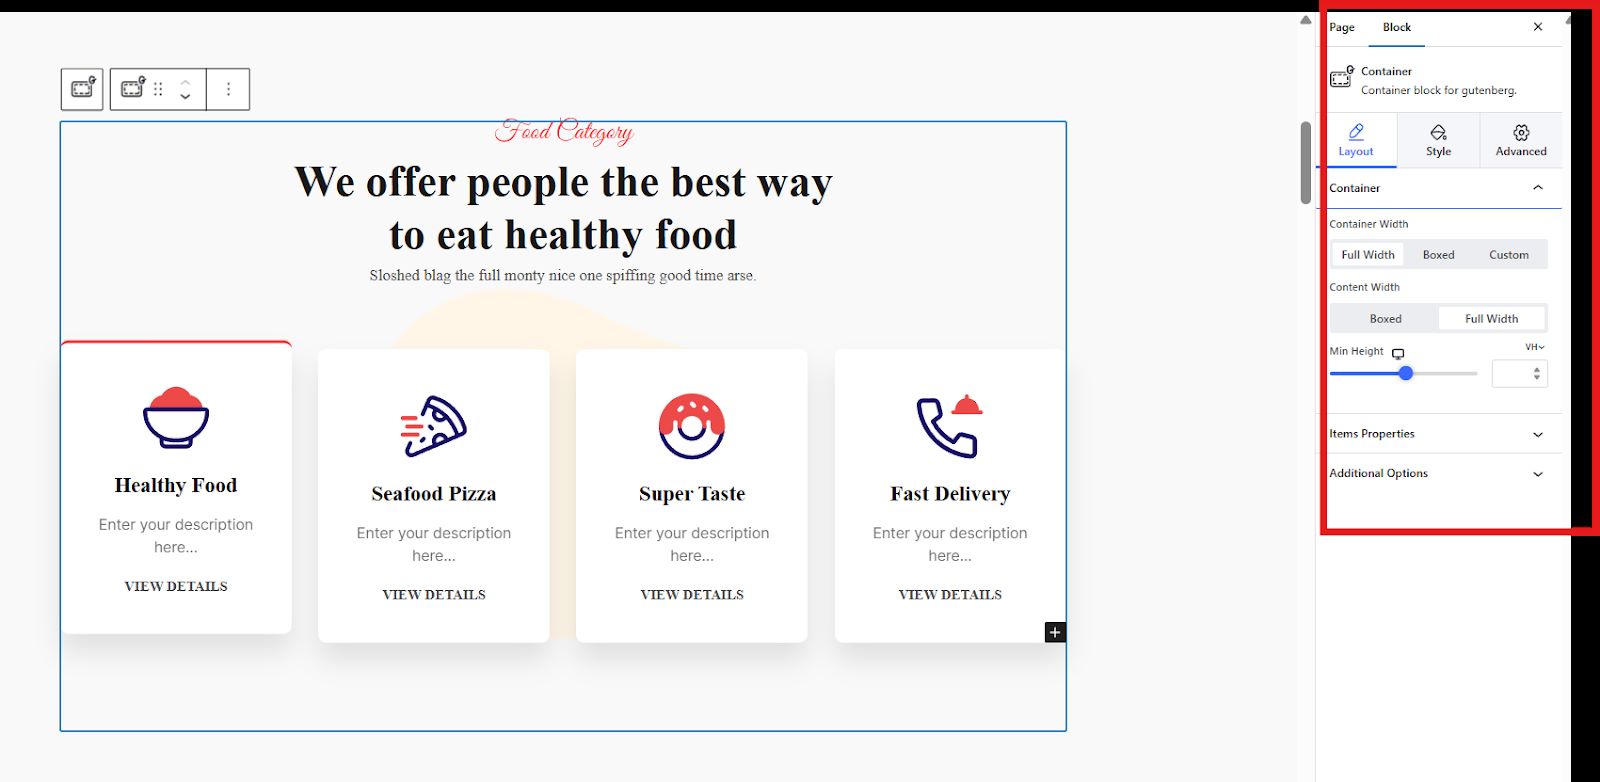
Here, you will see the sections namely: Content, Layout, Style, and Advanced settings.
Content – a section for customizing the texts.
Layout and Style – varies on the selected container.
Layout:
You can adjust the container’s width, content width, and height. You can also adjust the elements in your container such as the direction, content, alignment, etc.
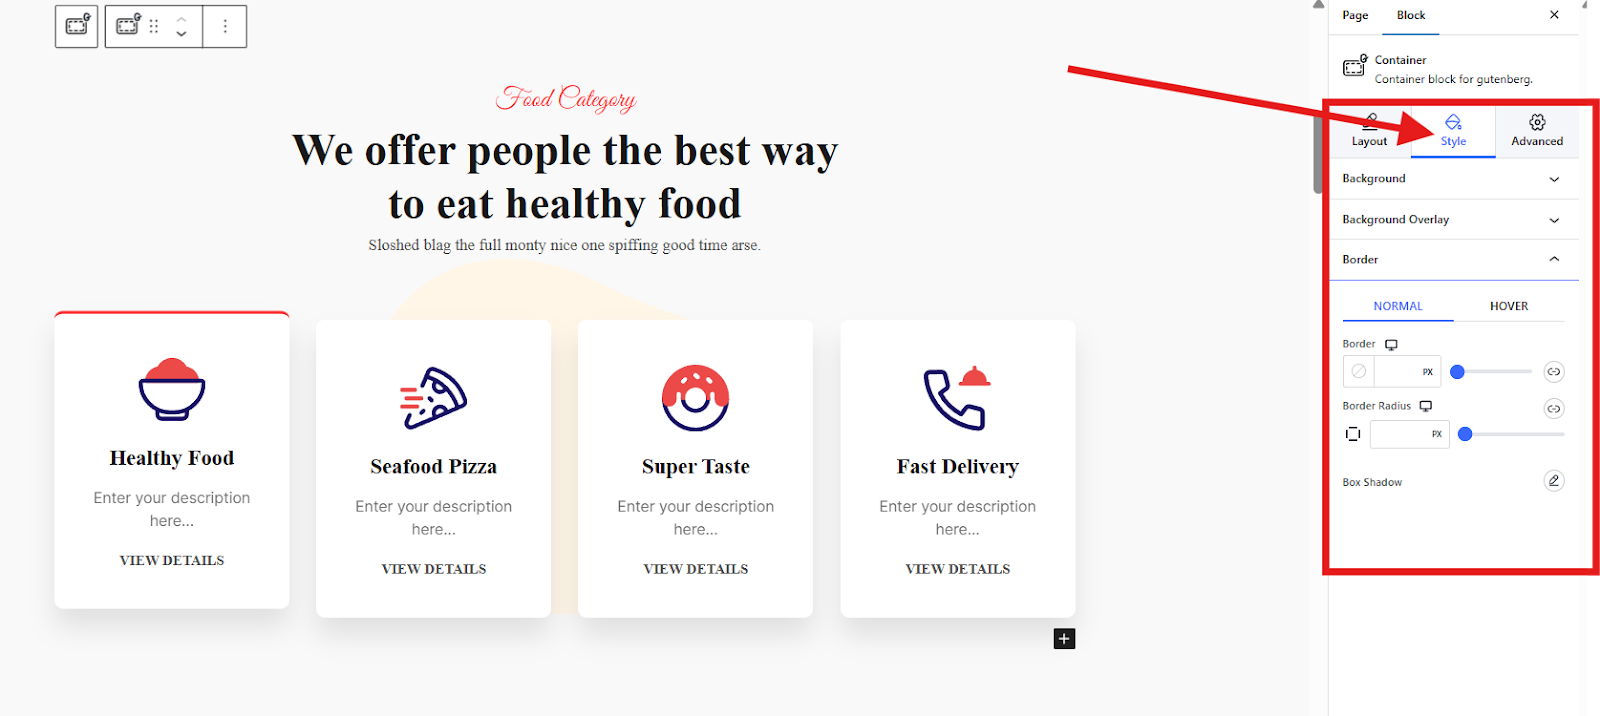
Style:
Set your background (either normal or hover), background overlay, and border.
Advanced Settings – contains various controls including:
- Layout
- Position
- Background
- Border
- Visibility
- Motion Effects
- Glass Morphism
- CSS Transform
- Advanced Tooltip
- Sticky
- Advanced
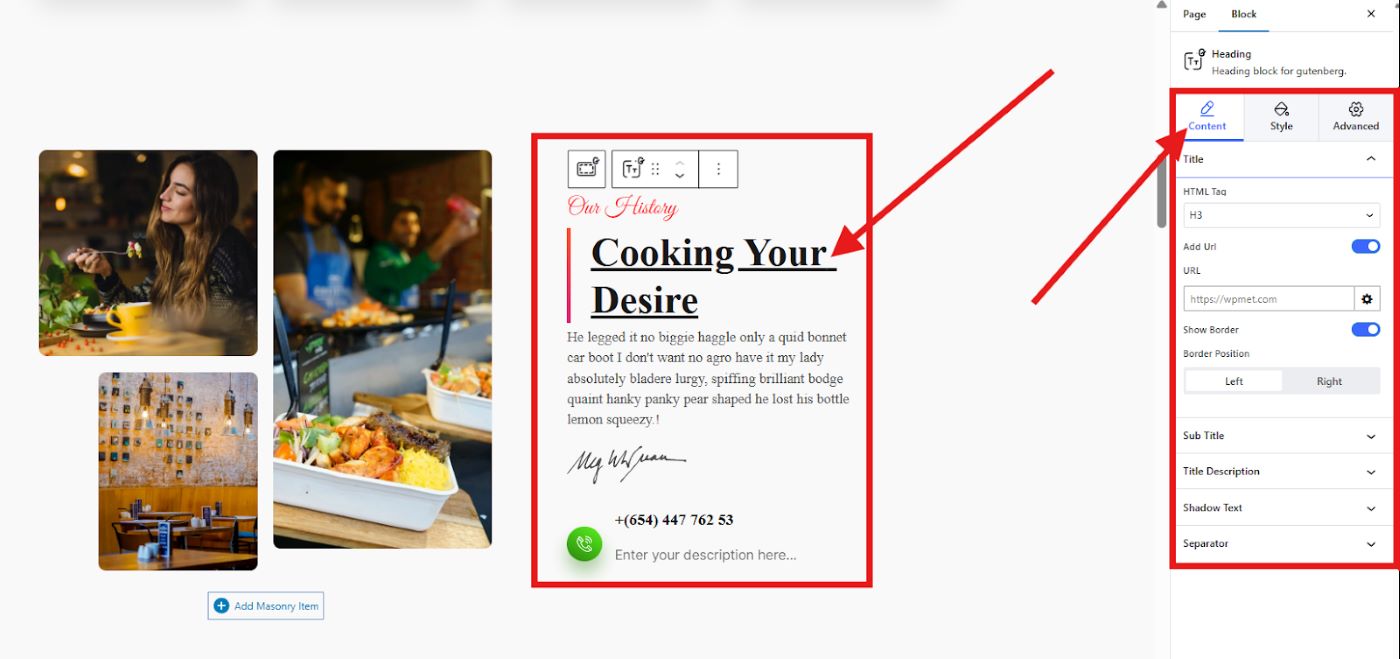
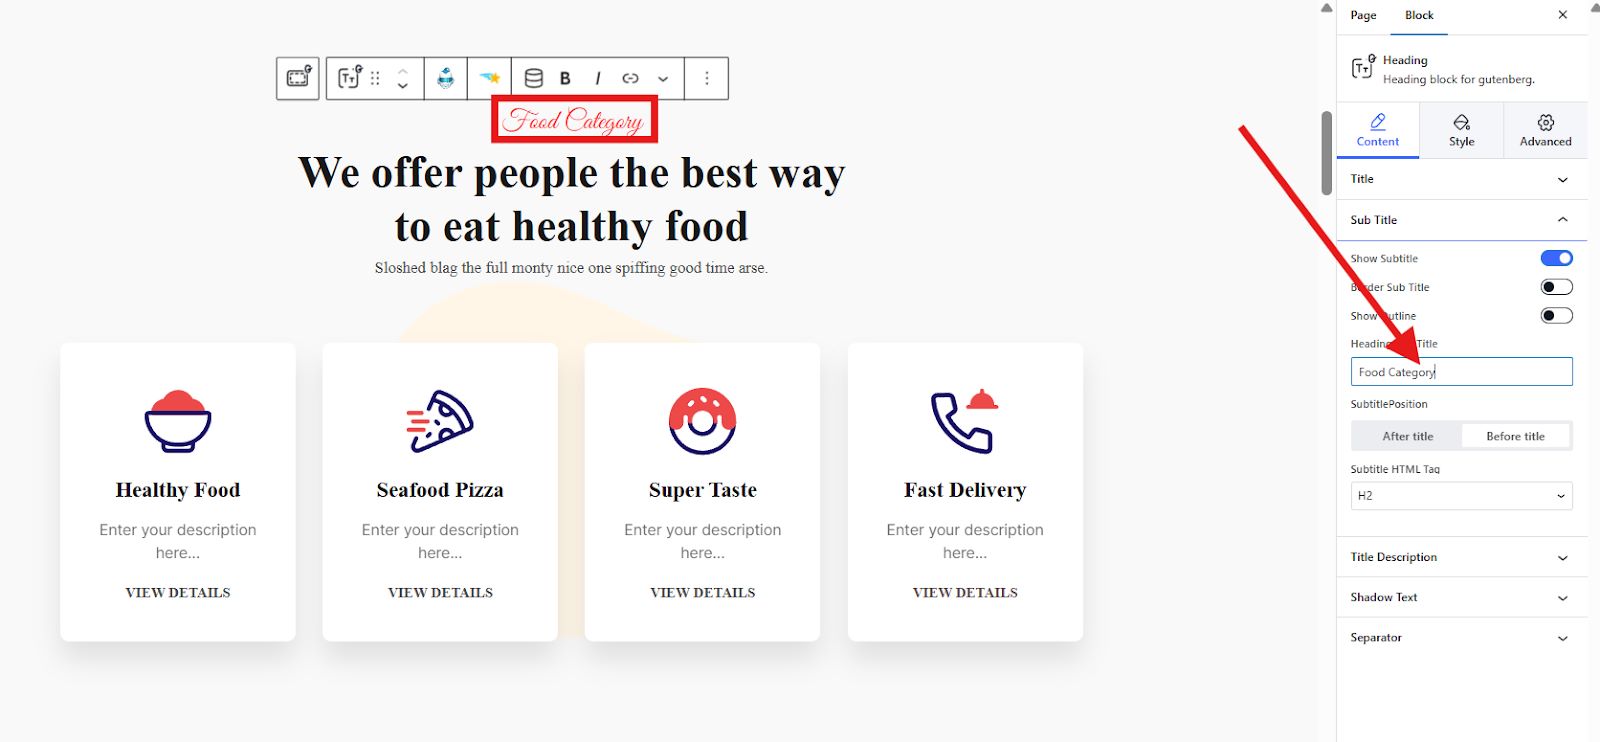
To edit the text of your section or container, just click on the text and start replacing it. There are texts that cannot be replaced directly in the editor screen. To replace that text, simply hover to the sidebar tool and select the content section. In the image below, the “Food Category” can only be edited in the sidebar tool.
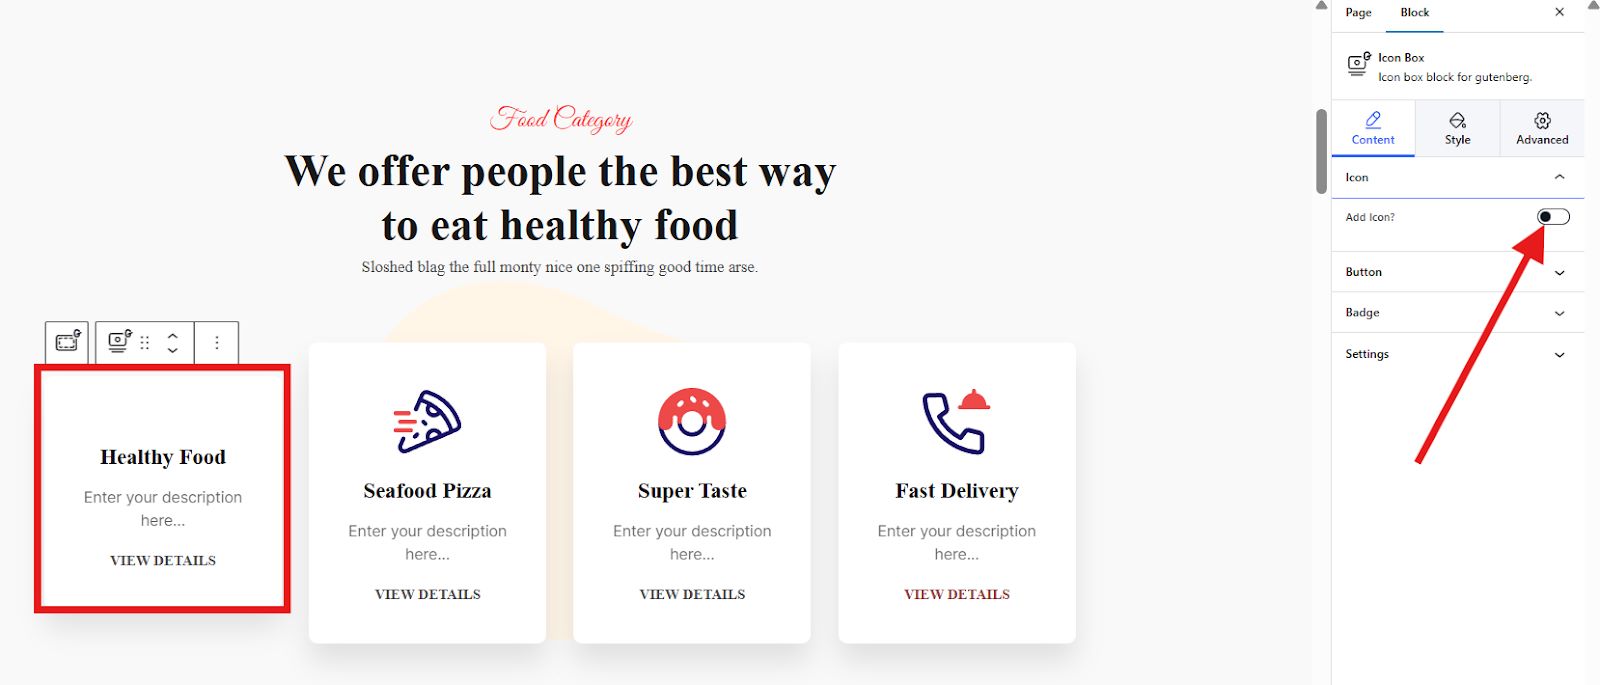
Next, let’s replace the Header icon. To do that, click on the first container saying “Healthy Food”. At the sidebar tool, you will notice that under the content section, there’s an Add Icon button. Enable the button so you can add your preferred image or change the existing image in the template.
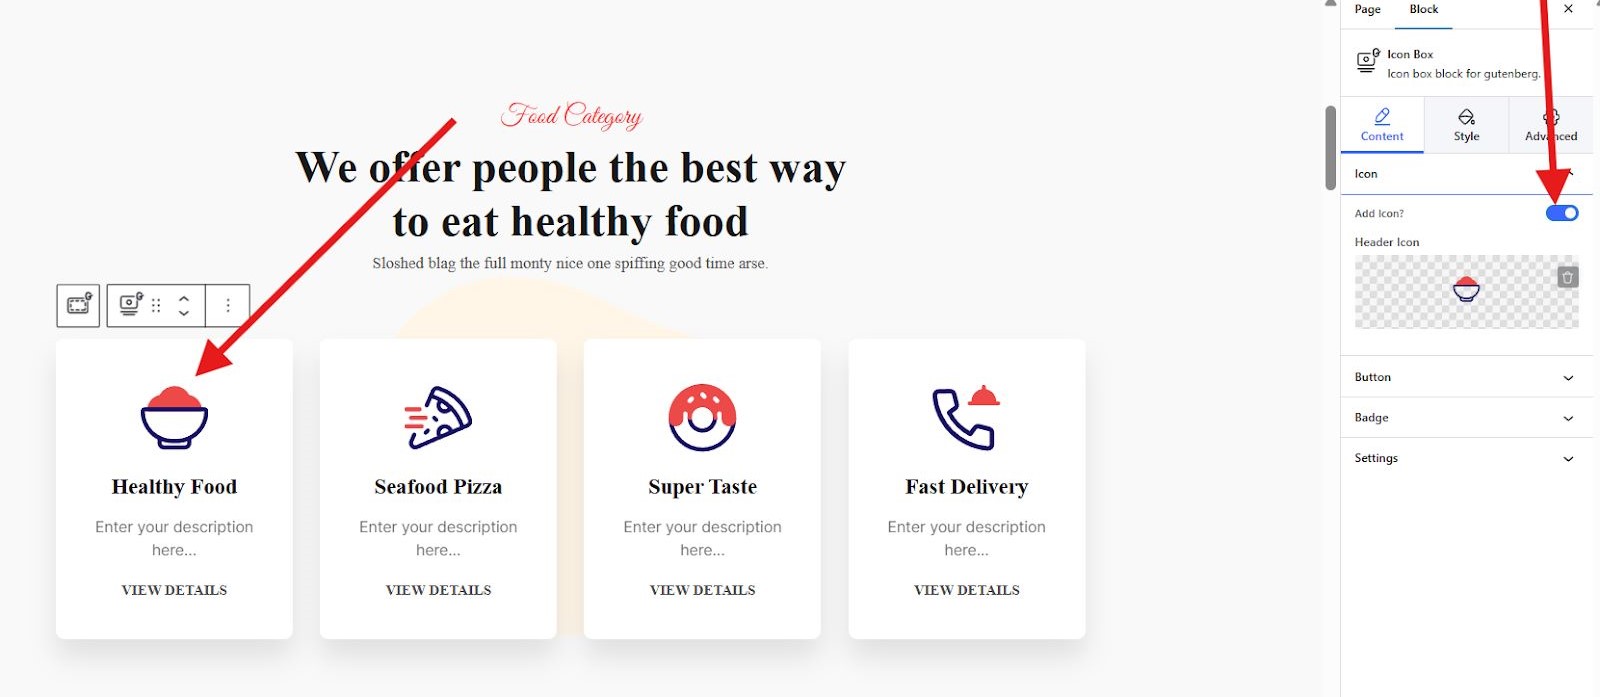
If you don’t want to enable the icon, the icon in your first container will disappear.
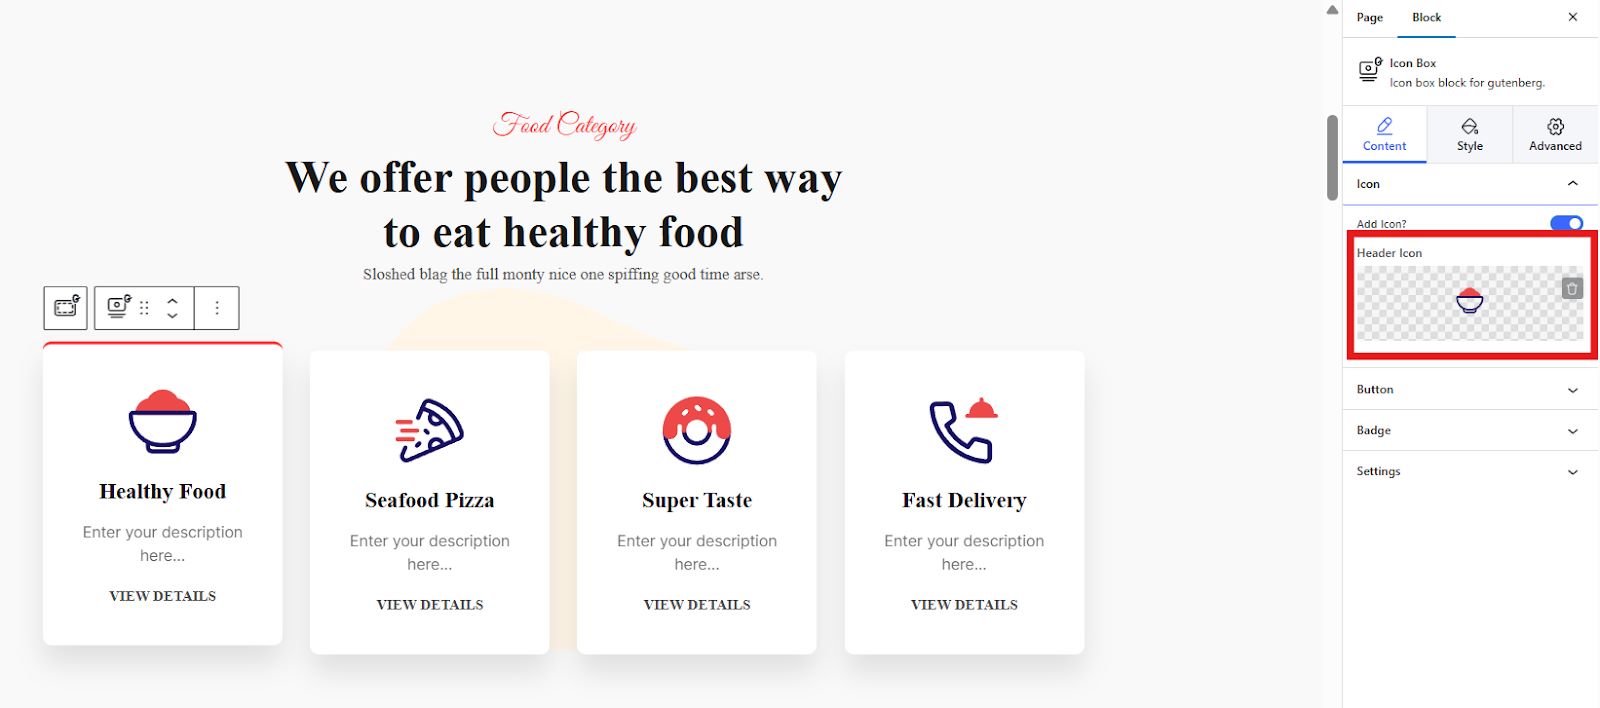
To change the icon, click on the Header Icon section. You can upload SVG or select from the icon library.
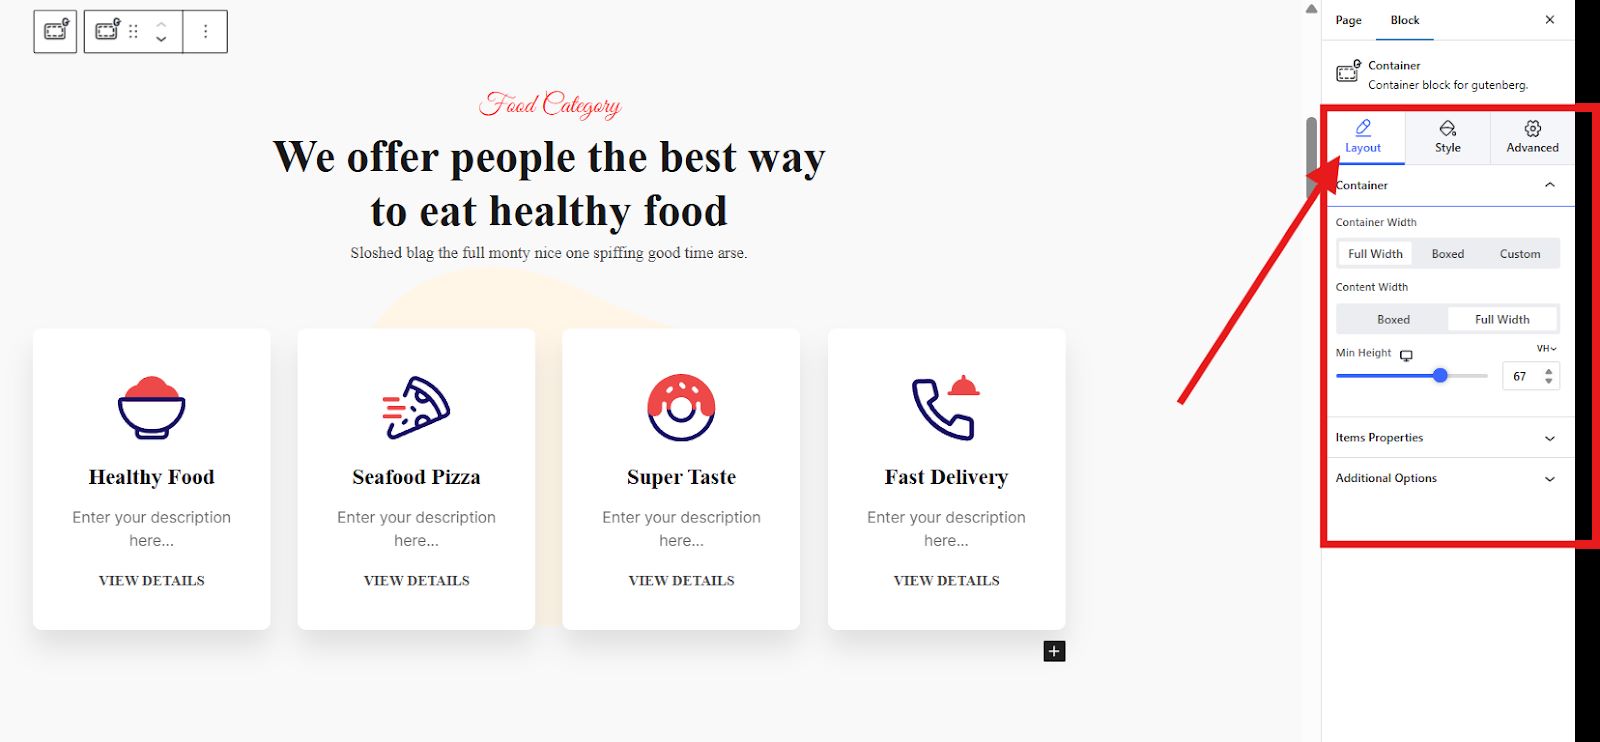
To style your section, go to Style and start adjusting the content alignment, color, margin, typography, etc. You can also add hover animation and hover background animation.
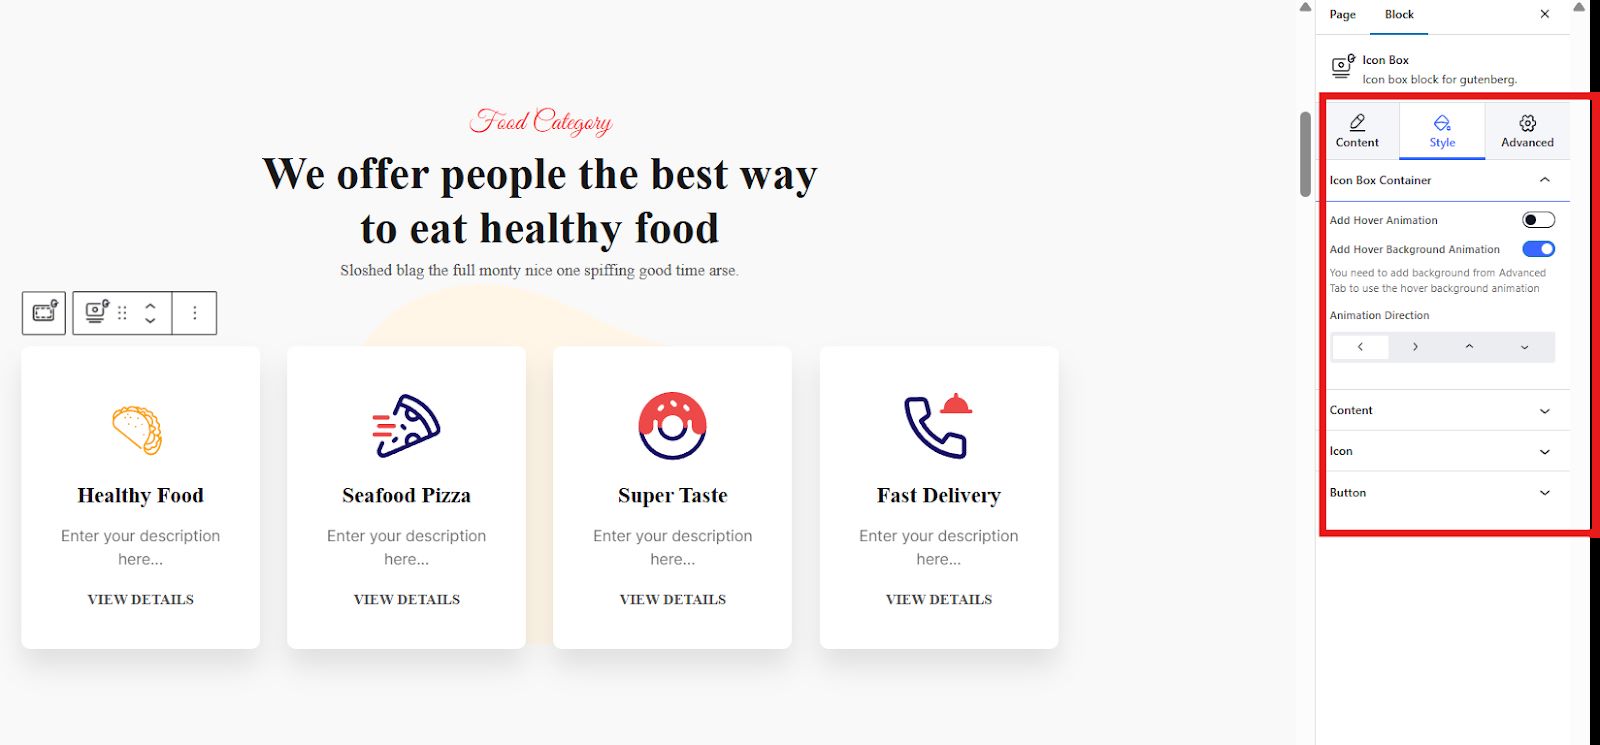
Lastly, you can further enhance the appeal or the look of your section by navigating to Advanced Settings. You can set the background of your container, adjust its border, add motion effects, etc.
Some tips for Choosing a Template
Here are some tips for choosing the best template for your page building using Gutenberg:
- Match Your Website’s Style: Select a template that aligns with your overall website aesthetic.
- Consider Functionality: Choose a template that accommodates the specific content you want to display.
- Focus on Responsiveness: Ensure the template is responsive and displays well on all devices.
👉 👉 Read this blog to rebuild your website in Gutenberg.
How to Use Gutenberg Templates [Few Tips]
Here are some additional tips to maximize your Gutenberg template experience:
- Start with a Basic Template: If you’re new to Gutenberg, begin with simpler templates and gradually move towards more complex ones.
- Check the Live Preview: Check the live preview of the template to have an idea of what your page will look like.
- Don’t Be Afraid to Experiment: Play around with different templates and layouts to discover what works best for your website.
- Utilize Reusable Blocks: Create your own reusable blocks for frequently used elements like call-to-action sections or contact forms.
- Maintain Branding Consistency: Ensure any customization adheres to your brand’s color palette and fonts.
Final Thoughts
Gutenberg templates empower you to create stunning and functional websites with ease. By leveraging their power and following these tips, you can streamline your workflow and build a website that truly stands out.
Don’t forget that you can only utilize these amazing templates from GutenKit. So, why GutenKit?
- Clean code and minimal impact on website performance.
- With a very user-friendly interface and template import.
- Focus on block-based design.
- Offers a vast library of pre-designed templates in free and pro version.
- Highly customizable.
So, try these amazing Gutenberg templates and experience a hassle-free page building!
Leave a Reply