


WordPress sites with static pictures of products or boring image galleries can fail to captivate visitors. So making them refreshing and interactive can be a great idea to engage the visitor. You can try image comparison sliders to provide an engaging user experience without wasting time on complicated setups.
Following the steps outlined in this content, you’ll learn how to create image comparison sliders in Gutenberg.
Let’s step into the process.
Why do you need an Image Comparison Slider?
Interactive image comparison sliders offer a variety of benefits that can enrich your WordPress website’s content and user experience:
✔ Improved engagement: Sliders are visually engaging and interactive elements. They can capture attention and encourage visitors to stay on a website longer.
✔ Enhanced understanding: You can display side-by-side image comparisons, showcase product features, before-and-after transformations, or diverse design options with comparison sliders. It’ll improve your visitors’ understanding of the products.
✔ Increased conversions: The sliders help promote products through clear parallel comparisons and highlight their benefits. It’ll ultimately lead to increased conversions.
✔ Professional look: If you can make custom image comparison sliders effectively, it can reinforce the website’s visual appeal and credibility.
Check out 👉👉👉 Best WordPress Image Comparison Slider!
How to create image comparison sliders in Gutenberg
Creating a WordPress image comparison slider in Gutenberg using a plugin is a straightforward process. While Gutenberg offers a basic image block, a plugin provides more advanced features, customization options, and often a more user-friendly interface for creating interactive sliders.
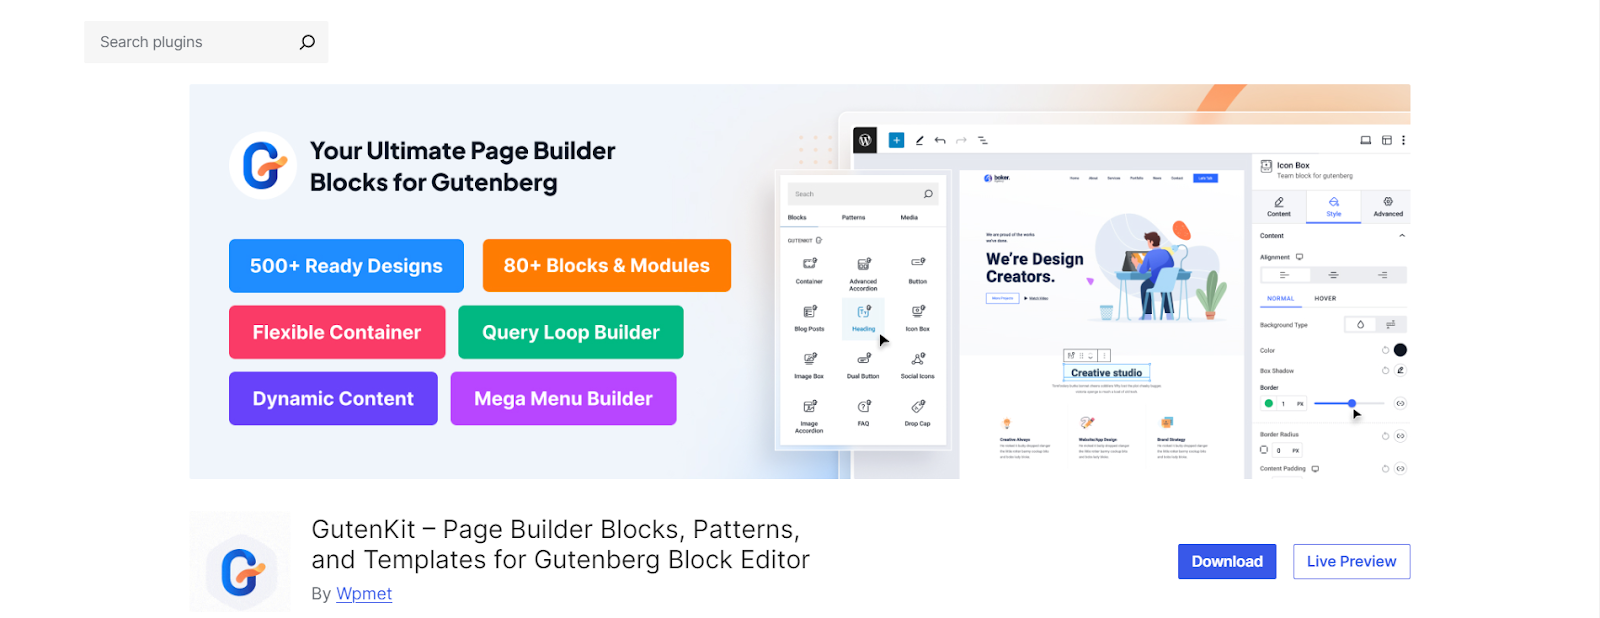
Today, we’ve picked GutenKit and going to show the creation process of an image slider comparison tutorial with this amazing plugin. GutenKit is a block editor plugin that offers a FREE image comparison block to sliders in Gutenberg.
We’ve divided the tutorial into 3steps. Let’s start-
Step 1: Download GutenKit and active
Above all else log in to the WordPress dashboard :
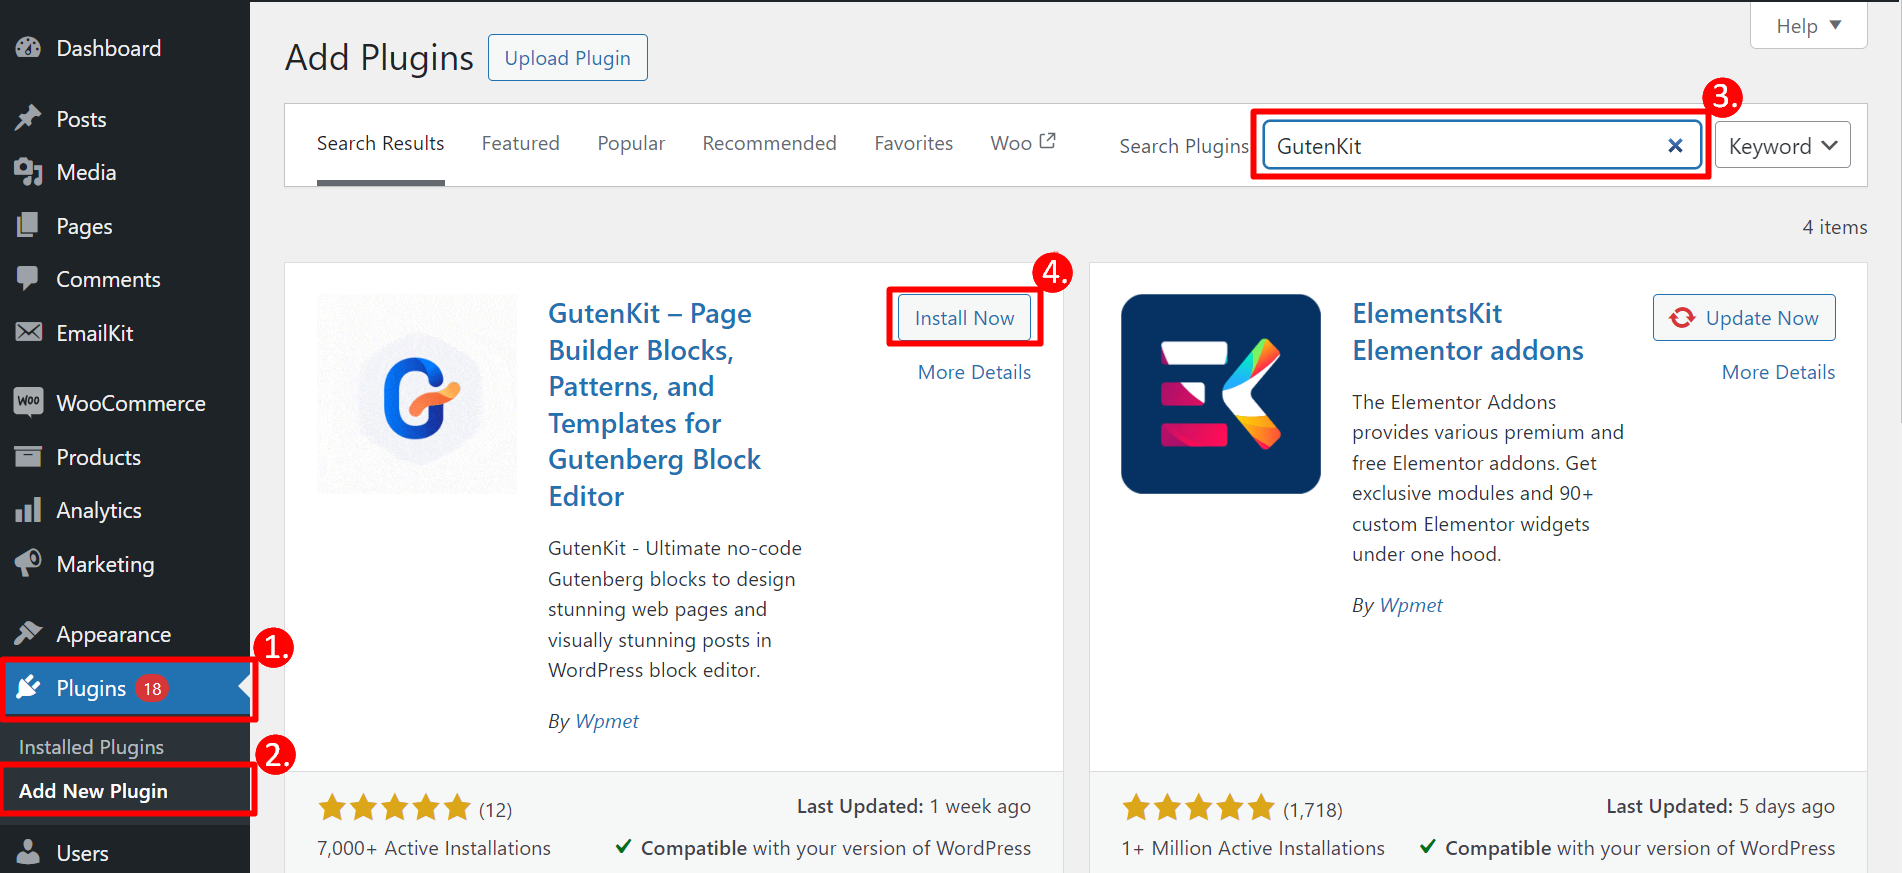
1. Go to Plugins
2. Click on the Add New Plugin
3. Search GutenKit
4. Once you find it, click on the Install Now button
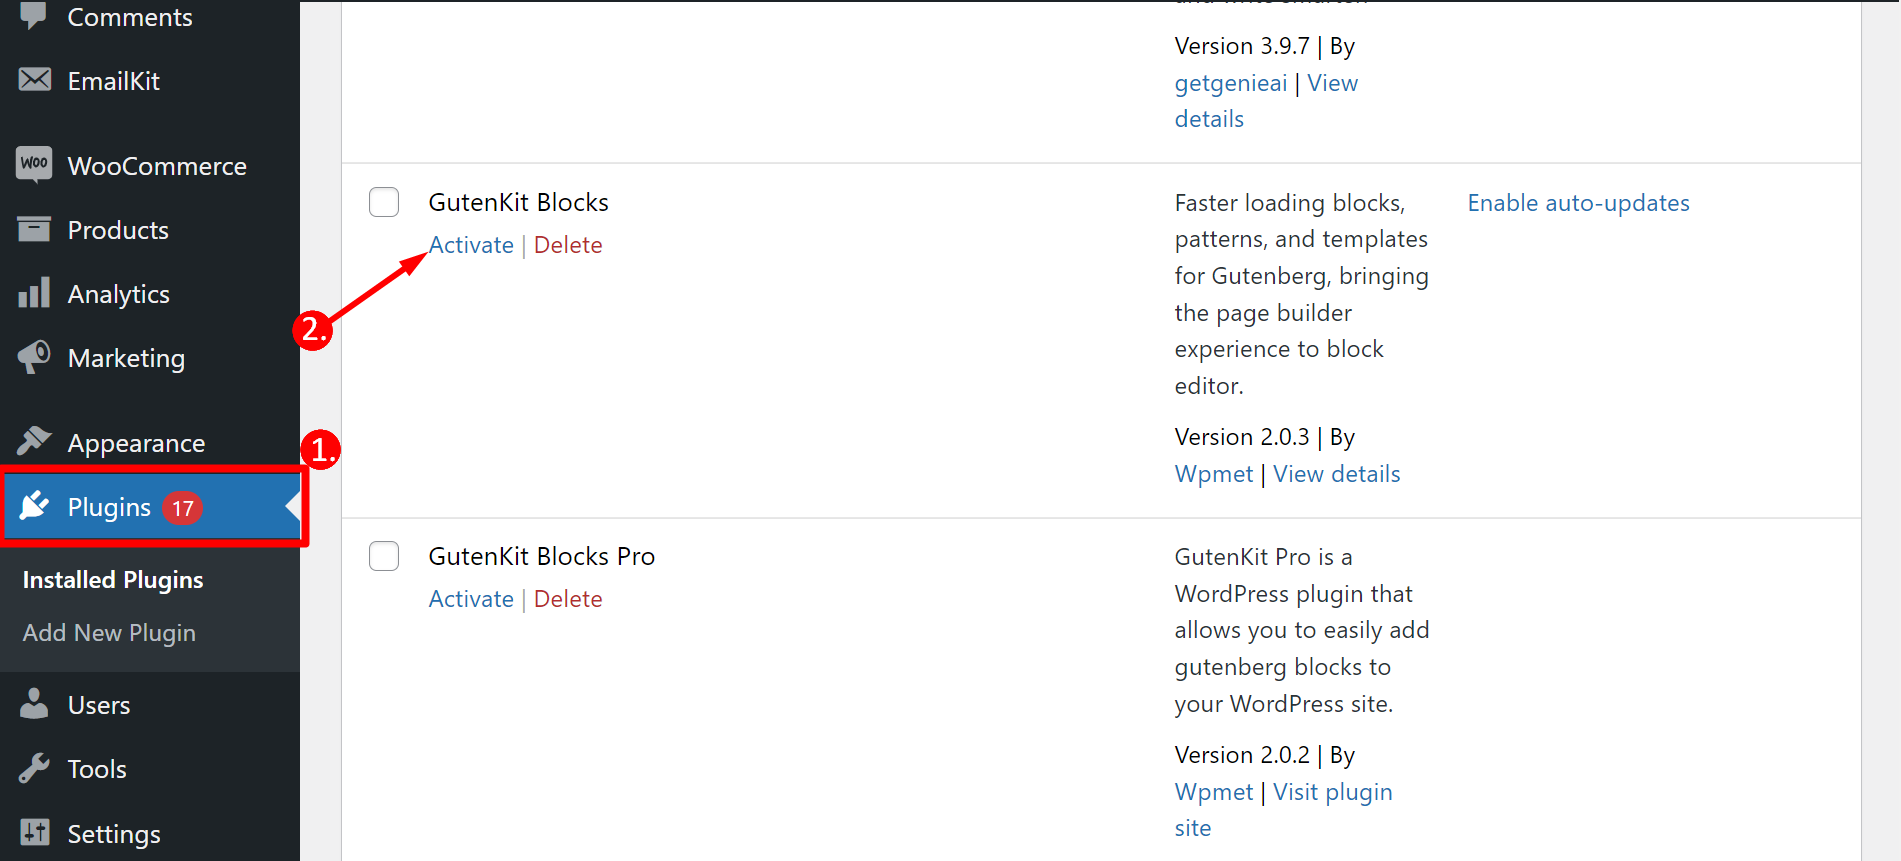
After installing the plugin, you’ve to activate it.
- Go to Plugins
- Find GutenKit from the plugins’ list and activate it
You can also download the GutenKit plugin from WordPress. org easily.
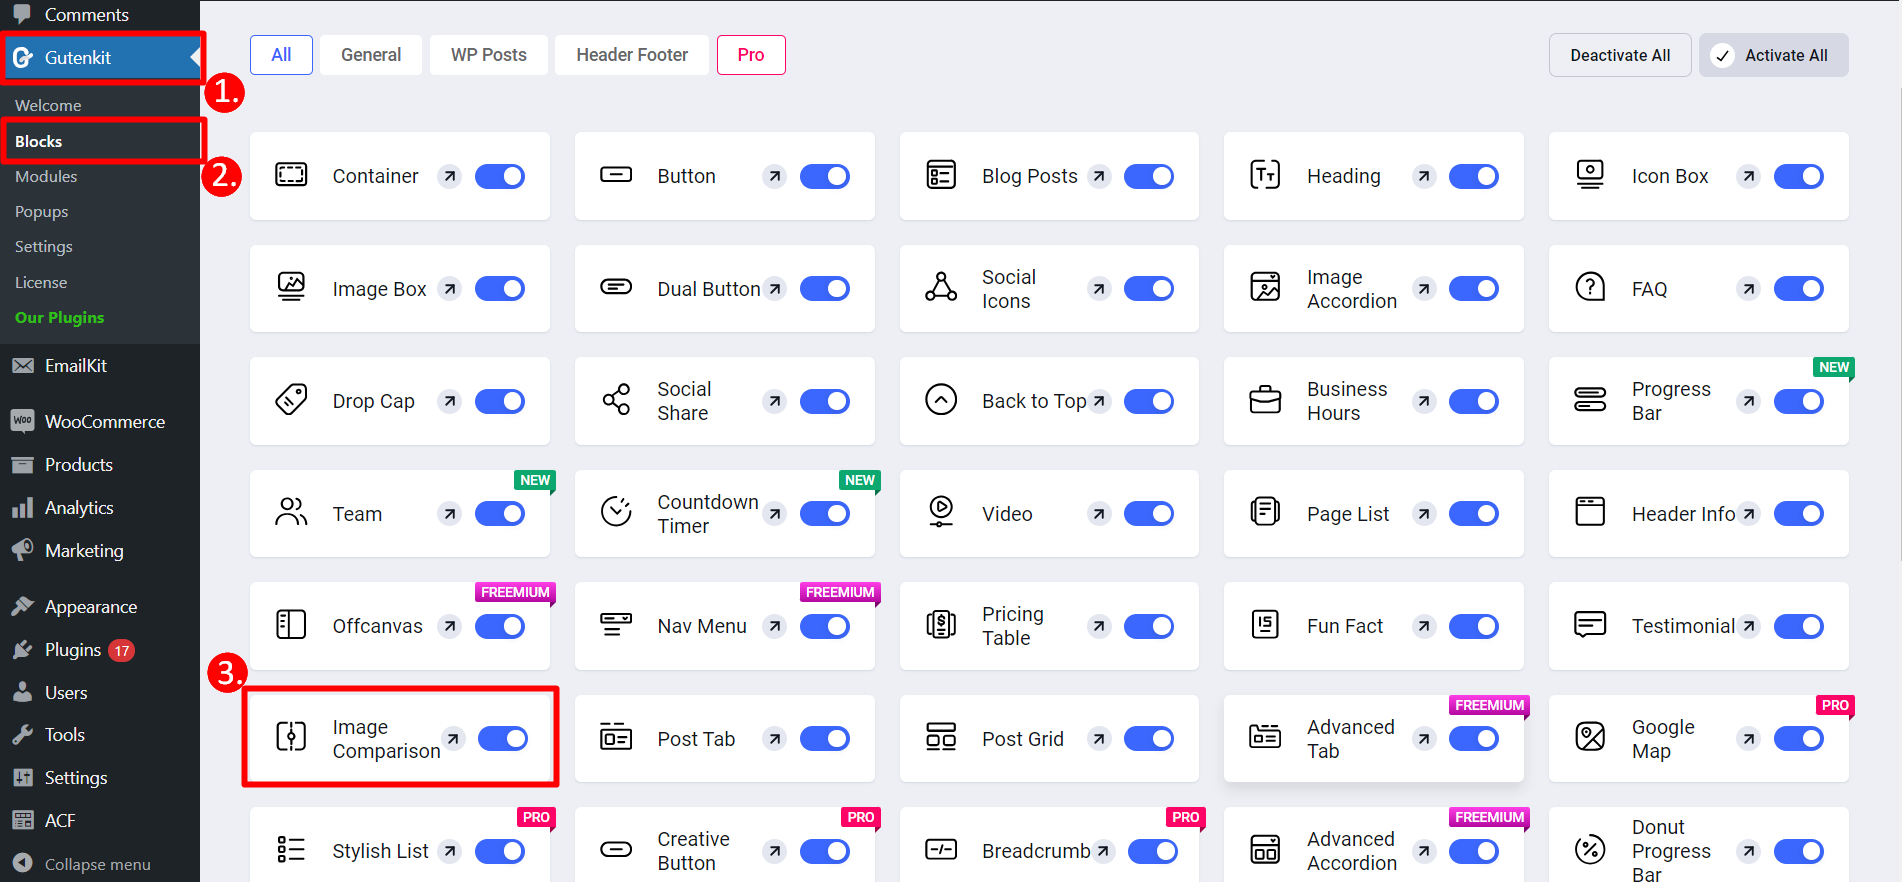
Step 2: Turn ON the image comparison block
Now, from your dashboard:
1. Find GutenKit
2. From the blocks section, you can find the image comparison block
3. Next, you need to turn ON the toggle button and it’ll be saved automatically
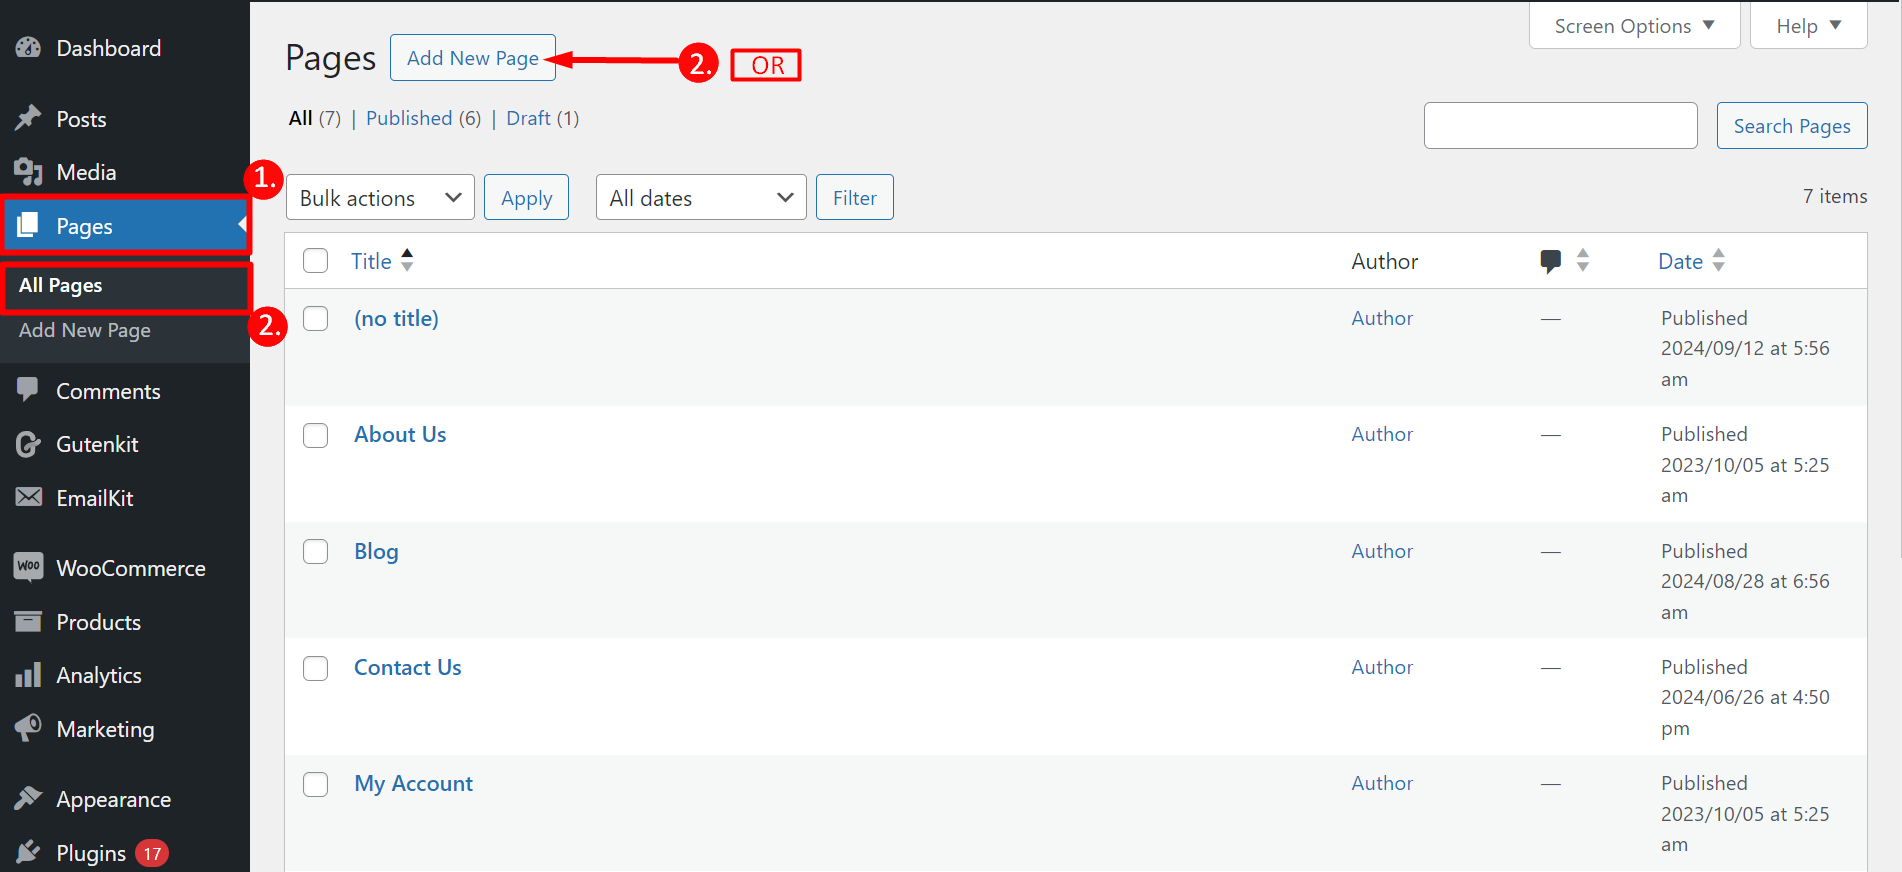
Ready to add a pop of visual interest to your WordPress page? From your dashboard –
- Navigate to Pages
- Open any existing page or add a new page
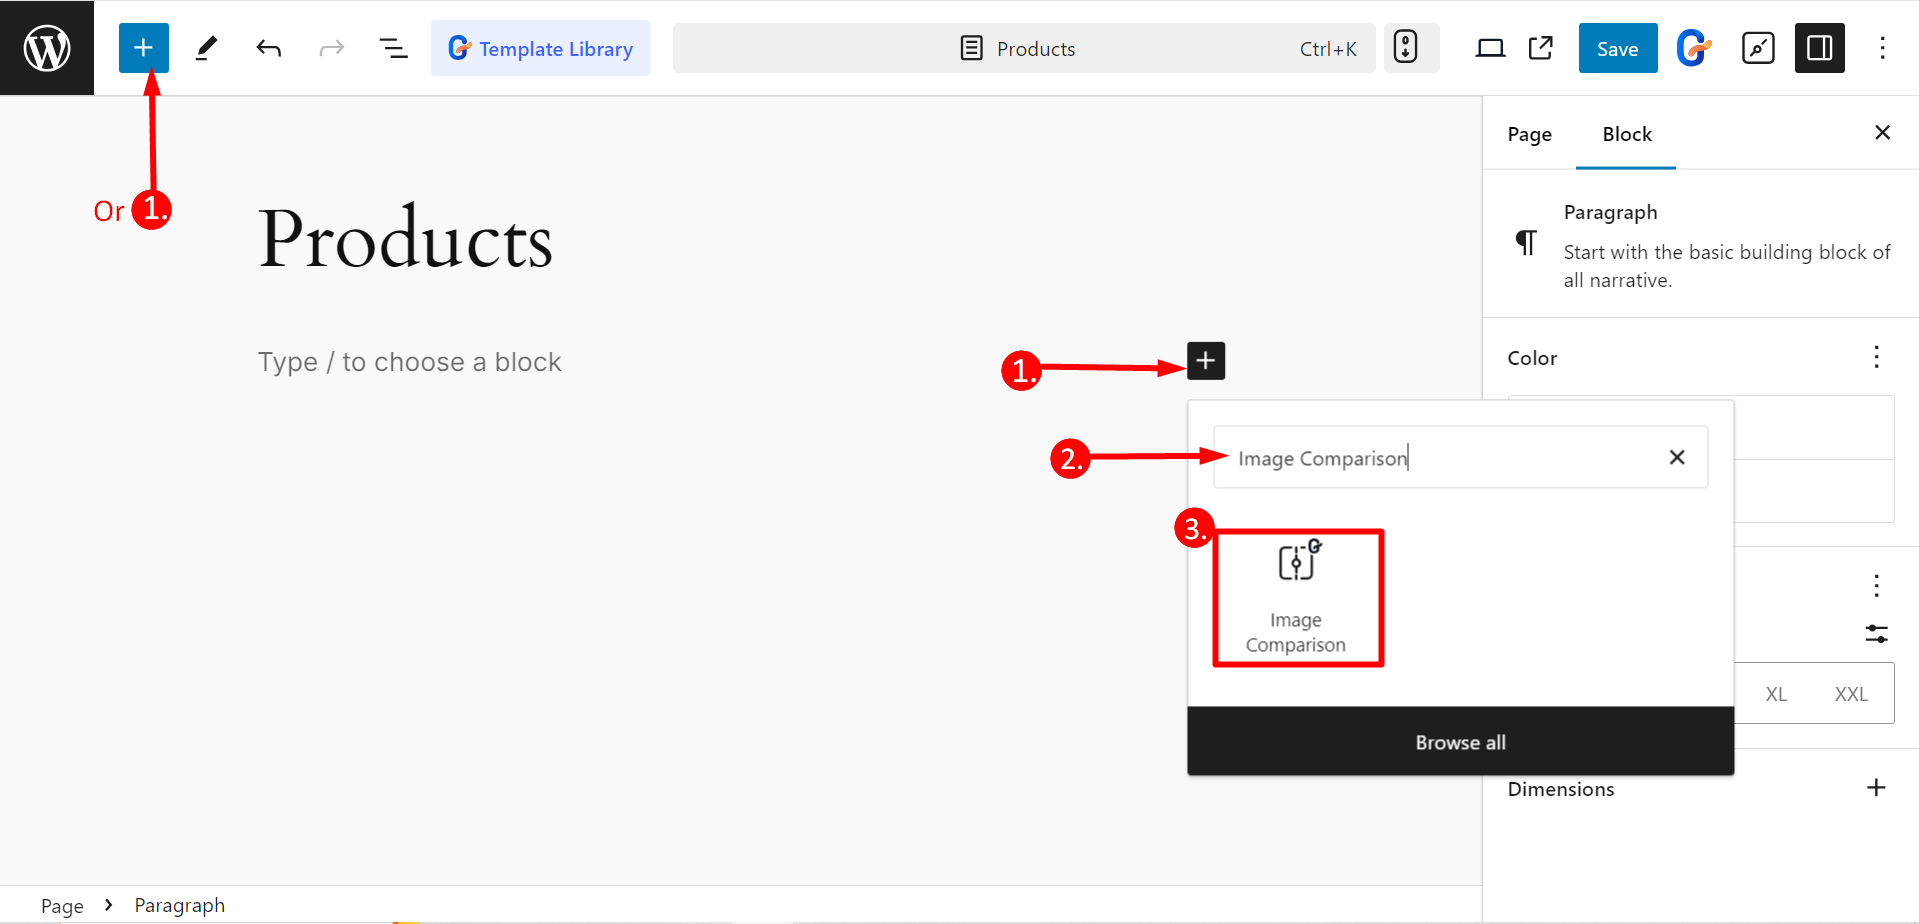
Start editing your page:
- You can see the “+” button, click on it
- Search for the “Image Comparison” block
- Click or drag and drop the image comparison slider block onto your page
Step 3: Customize the block according to your needs
In the Content part, you’ll get to edit these options –
Items: Here, you can choose the slider’s style, select before and after images, and adjust their size and labels to create the desired visual comparison.
Settings: Under this feature, you’ll do –
- Show Icon Handler: Enable the button if you want to display the icon button for moving the slider otherwise, disable it.
- Offset: It lets you adjust the position of the slider’s control bar.
- Label Style: Use this option to customize the appearance of the labels for the before and after images like Active, Hover or choose None.
- Remove Overlay: By enabling this button you can ensure not show the overlay with before and after.
- Move Slider On Hover: Enable or disable automatic slider movement when the mouse hovers over the images.
- Clicks to move: Enabling this button will allow a user to click (or tap) anywhere on the image to move the slider to that location.
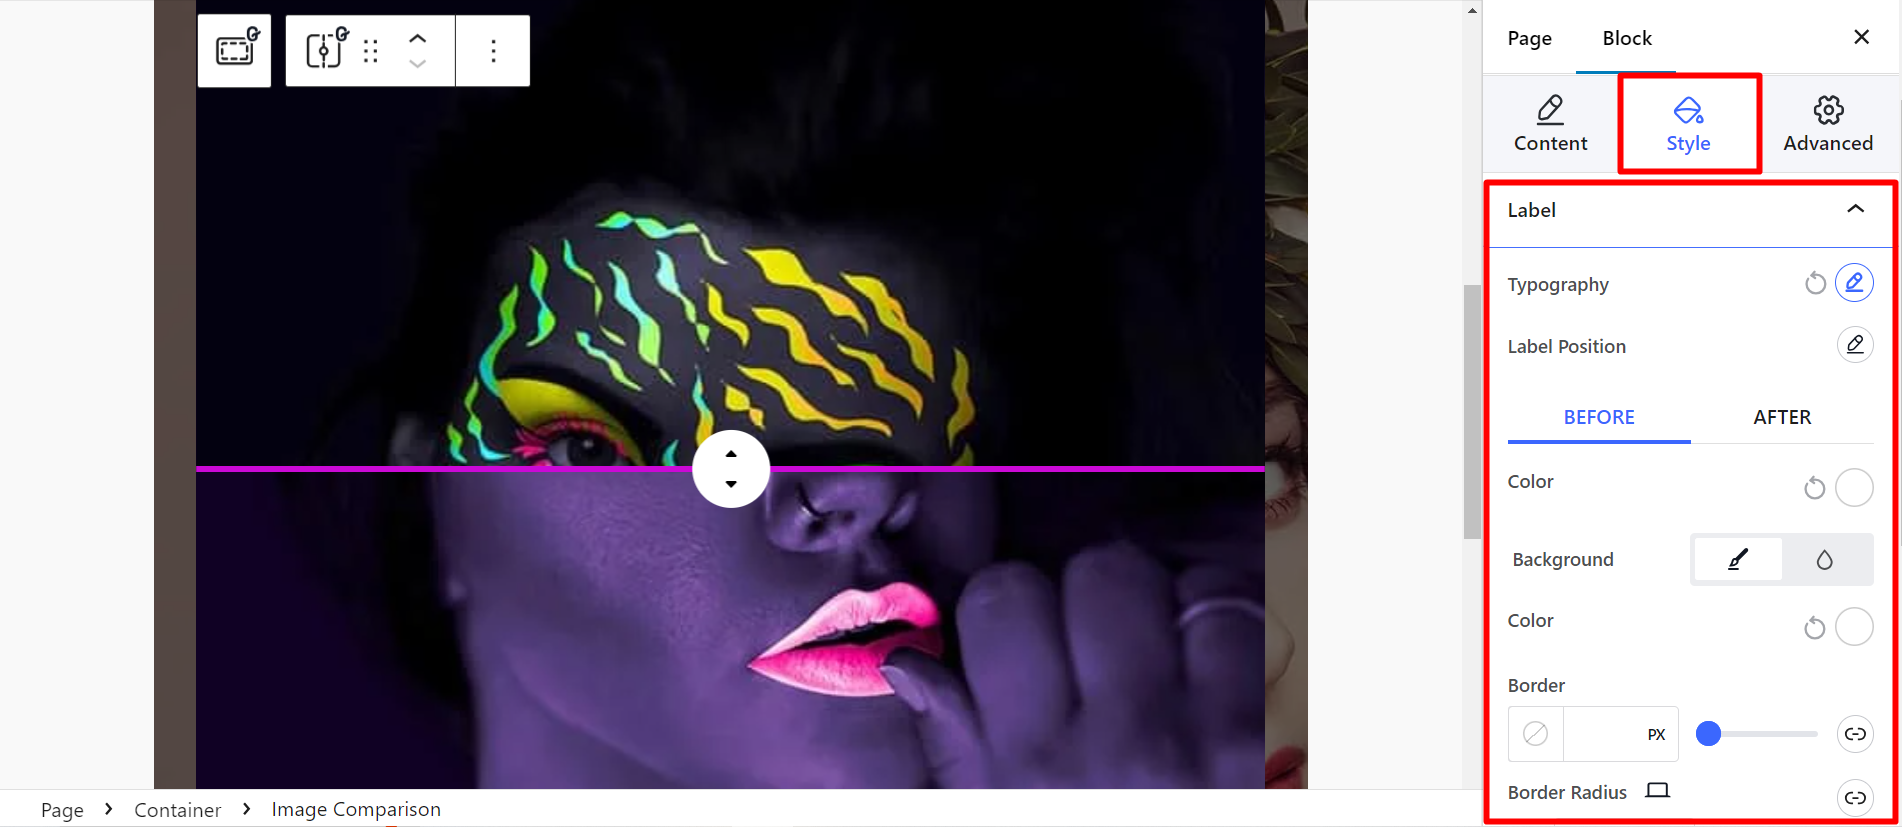
In the Style part, you’ll get to edit these options –
- Lebel: To style the label you can control typography, label position, color, border, padding, and other things.
- Handle: To customize the handle you can change icon size, height, width, background, color, adjust handle driver, and so on.
Finally, save the changes or publish the page and check how your customized image comparison slider design looks. 👌
Additional tips and tricks
✨ While selecting product images, ensure images are clear, well-lit, and relevant to your content.
✨ Optimize image size to improve loading times and avoid affecting your website’s performance.
✨ Try out various slider styles and layouts to find the best fit for your website’s design.
✨ Don’t forget to test your slider on different screen sizes and devices. It should function properly and look good.
✨ Informative and easy-to-read labels can enhance your images, so, keep them simple.
✨ You may also consider that your slider is accessible to users with disabilities. For that, use appropriate alt text and it’ll improve the site’s SEO too.
💡 Informative 👉 Website rebuilt with GutenKit
Bottom line
Isn’t the block amazing? Yes, GutenKit assists you in making a responsive image comparison slider in Gutenberg the best! ❤️
If you carefully select images and customize the slider’s appearance and functionality a plugin like GutenKit can be the ideal way to achieve your design goals. Also, you can save time while upgrading your website’s visual appeal.

Leave a Reply