


PopupKit now features powerful webhooks integration. This mechanism instantly transforms key popup events, like a successful sign-up, into immediate data signals for any external application. It’s the simplest way to launch automated tasks and keep all your different software programs working together perfectly.
Webhook Integration with PopupKit #
Prerequisites:
Webhook integration is included in the PopupKit Pro version, pick the plan that suits you.
Now follow these steps.
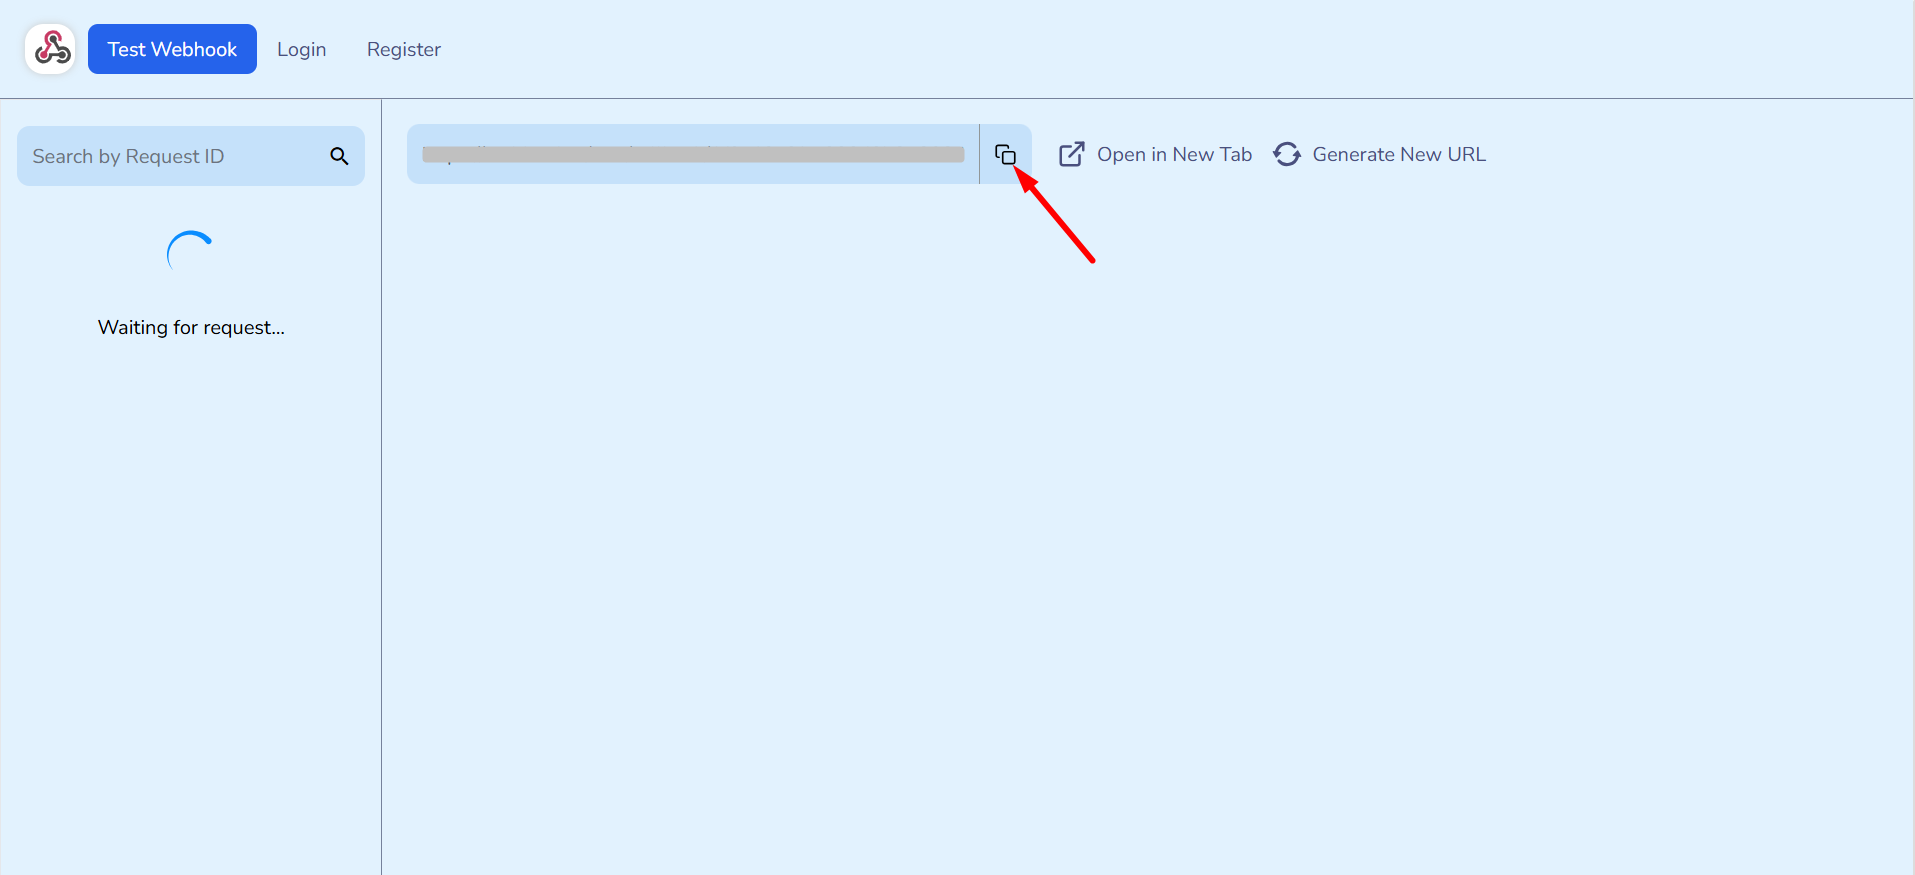
STEP 1: Access to Webhook #
Go to the Webhook’s test site and copy your unique URL (you don’t need any account to access the URL).
STEP 2: Access PopupKit pro #
Access your WordPress dashboard. Afterward, navigate to PopupKit and select the Integrations tab.
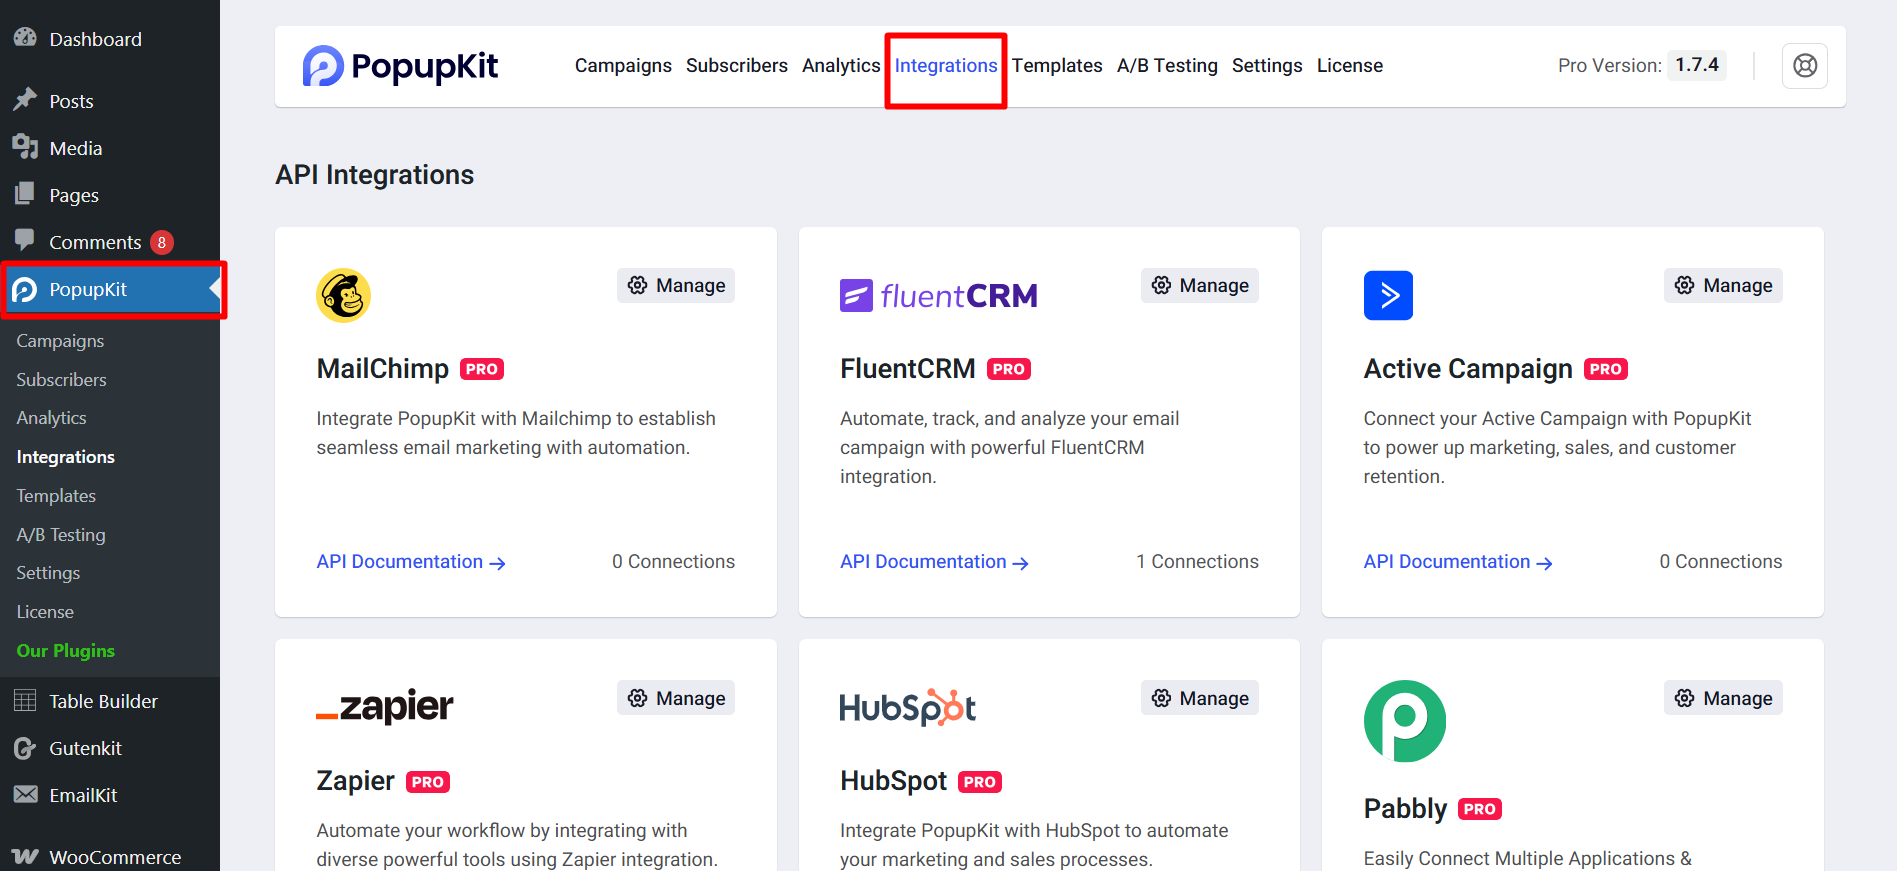
Once there, locate Webhook and click on the Manage Settings icon.
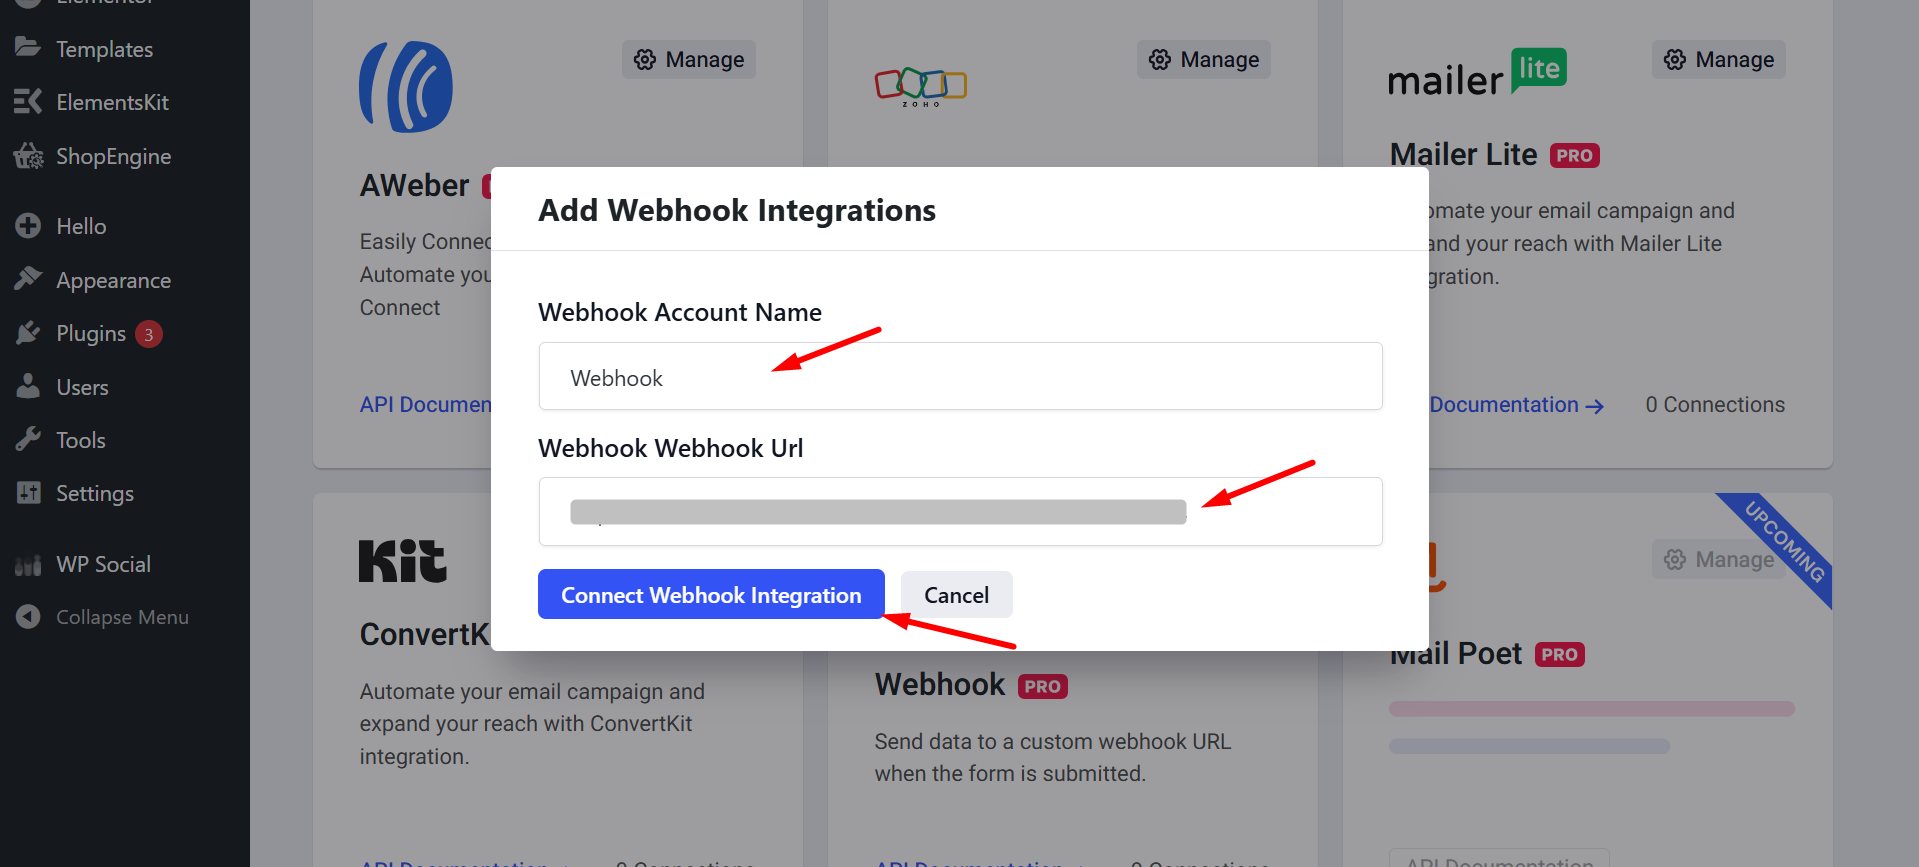
Here, you have to provide the Webhook Account Name and the Webhook Url you copied in step 1, so you can Connect the integration.
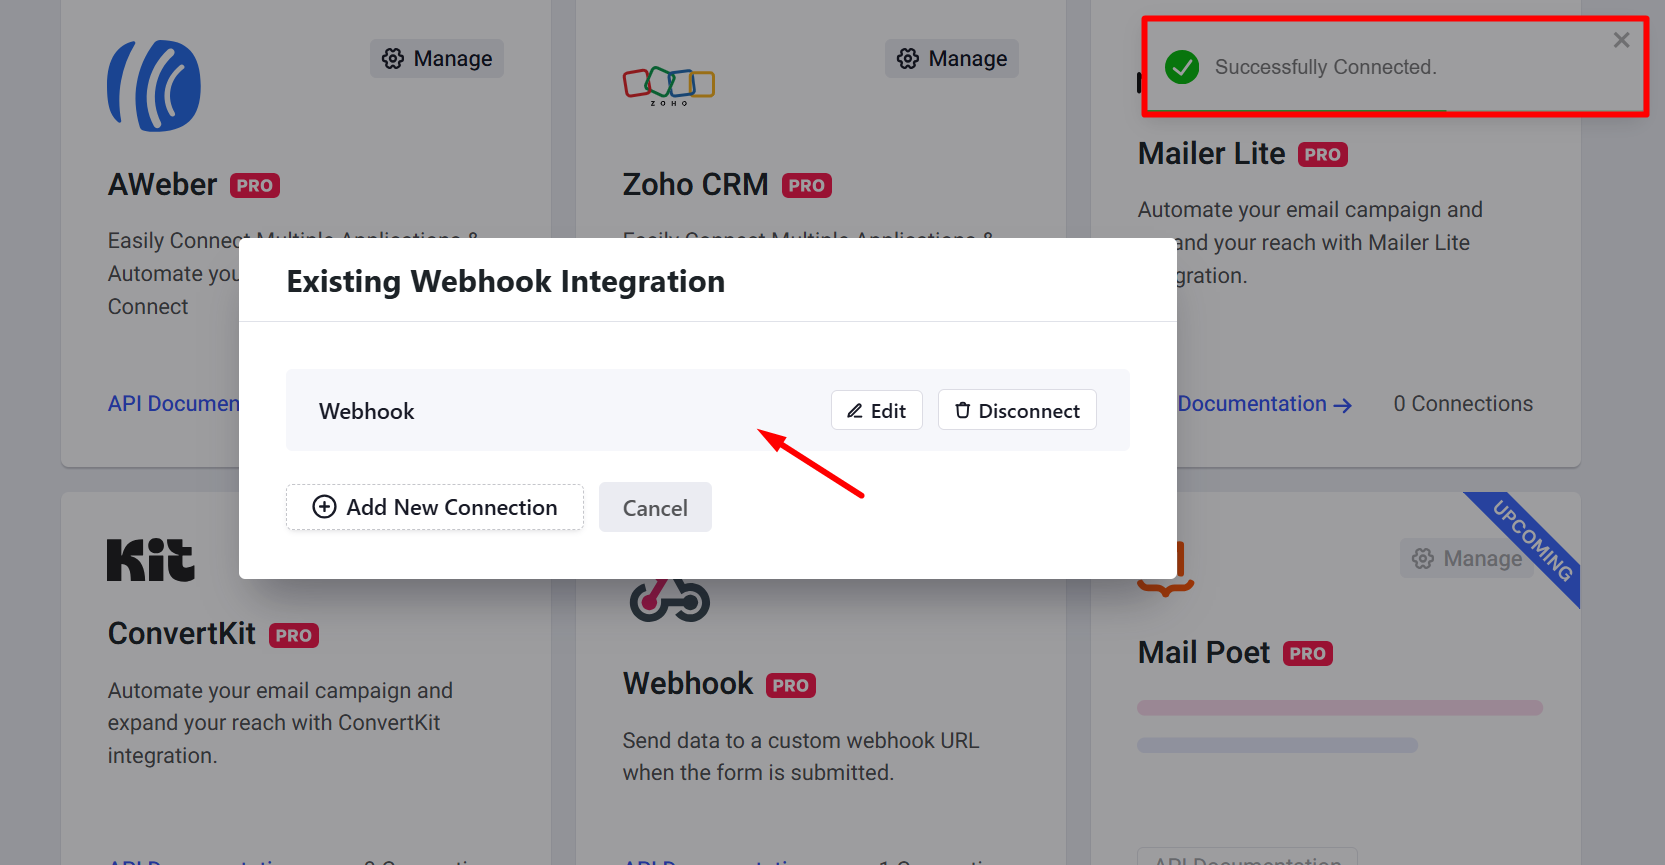
You can now see that the Webhook is successfully connected.
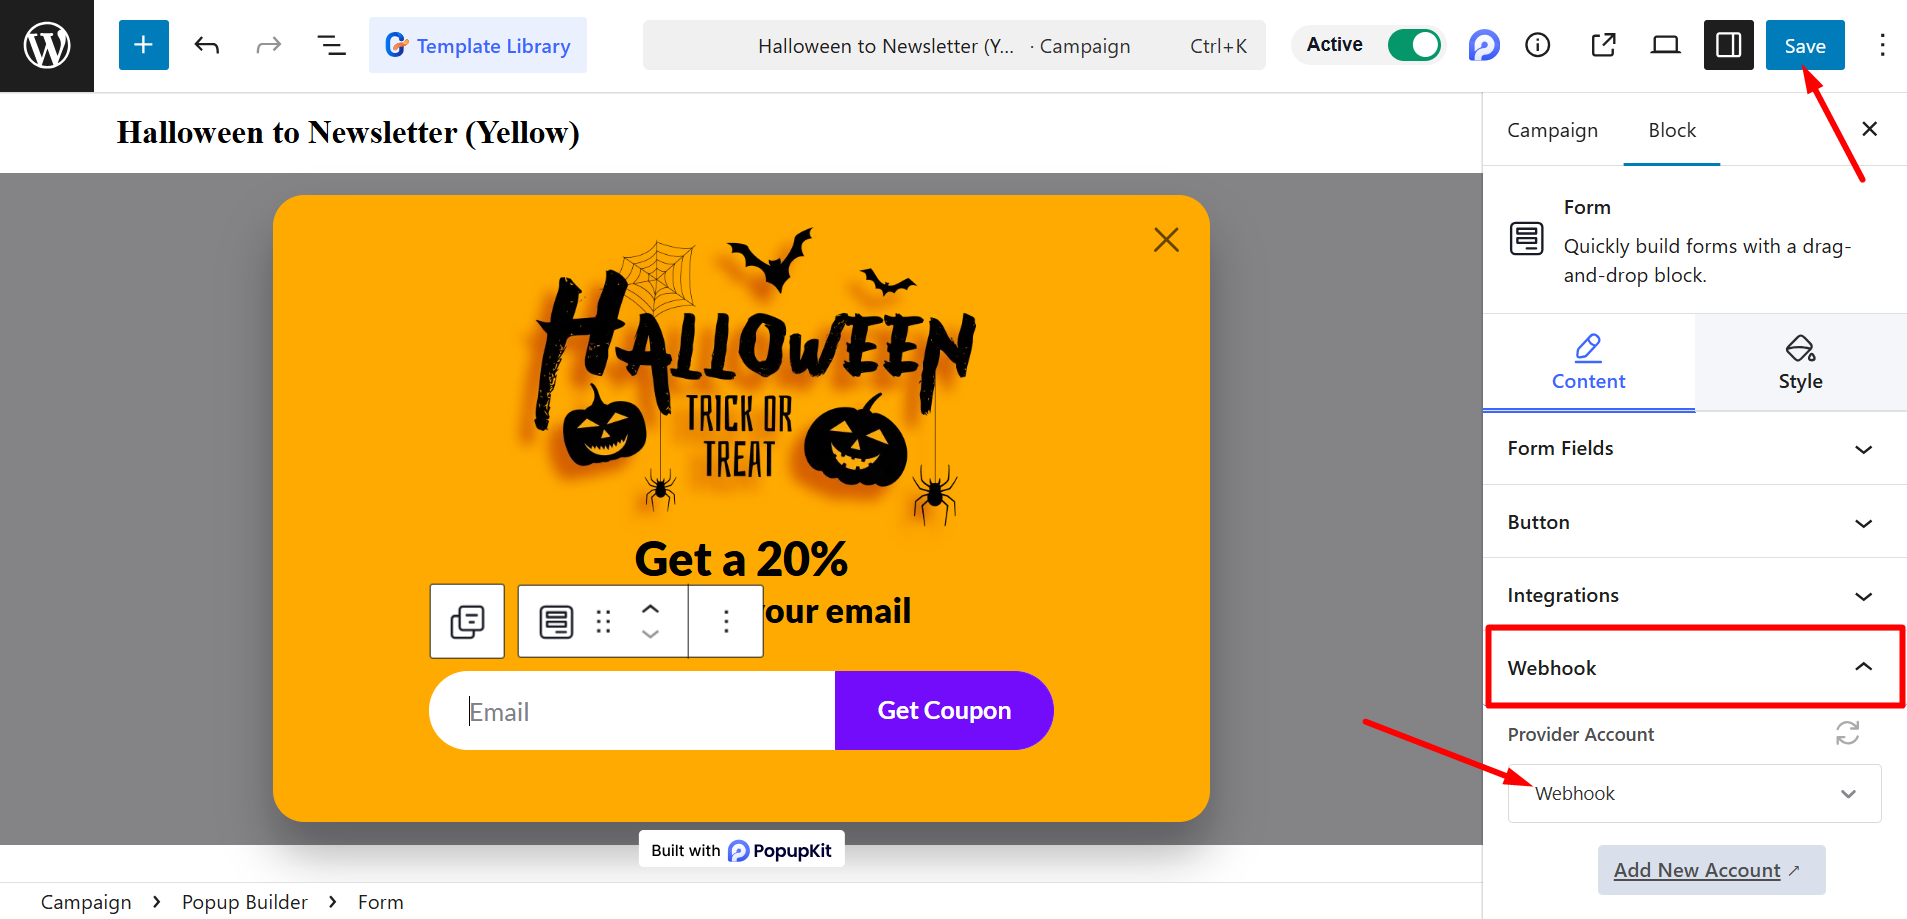
STEP 3: Connect Webhook to a Campaign #
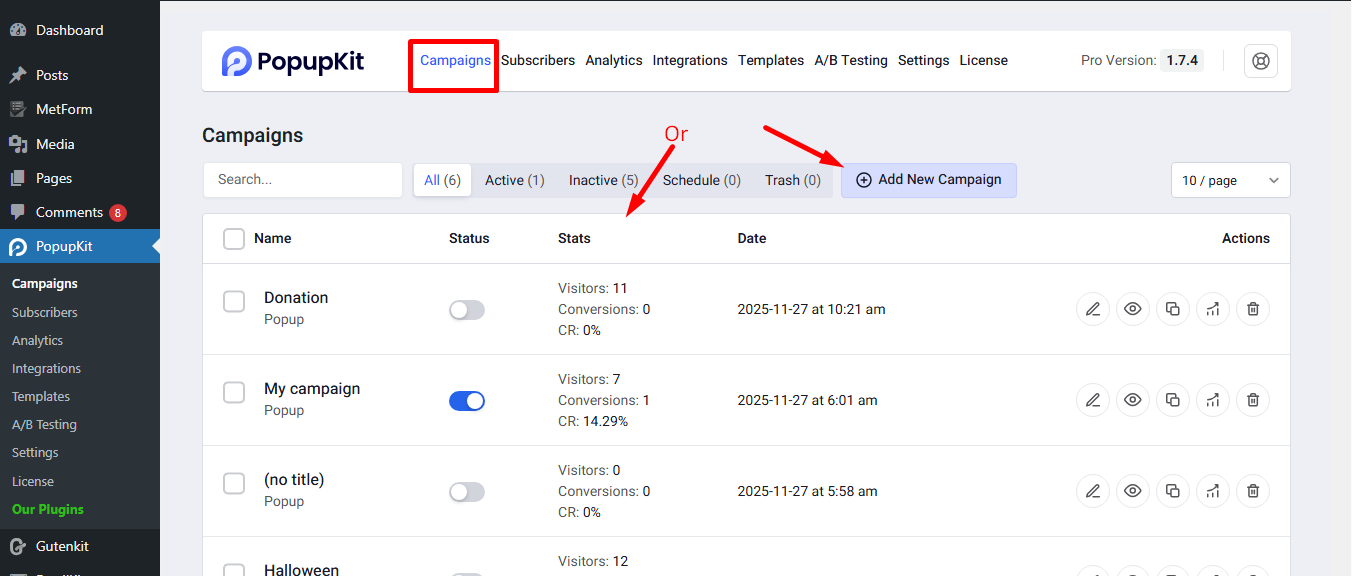
Open a new campaign or choose any active campaign from the list.
Click on the form field and you’ll see the Integrations option on the right side. Select Webhook from the integrations list
Note: The form field is required for this integration to work.

Choose a provider account from the list where you want to store the form data. Then click ‘Save’ to confirm your selection.
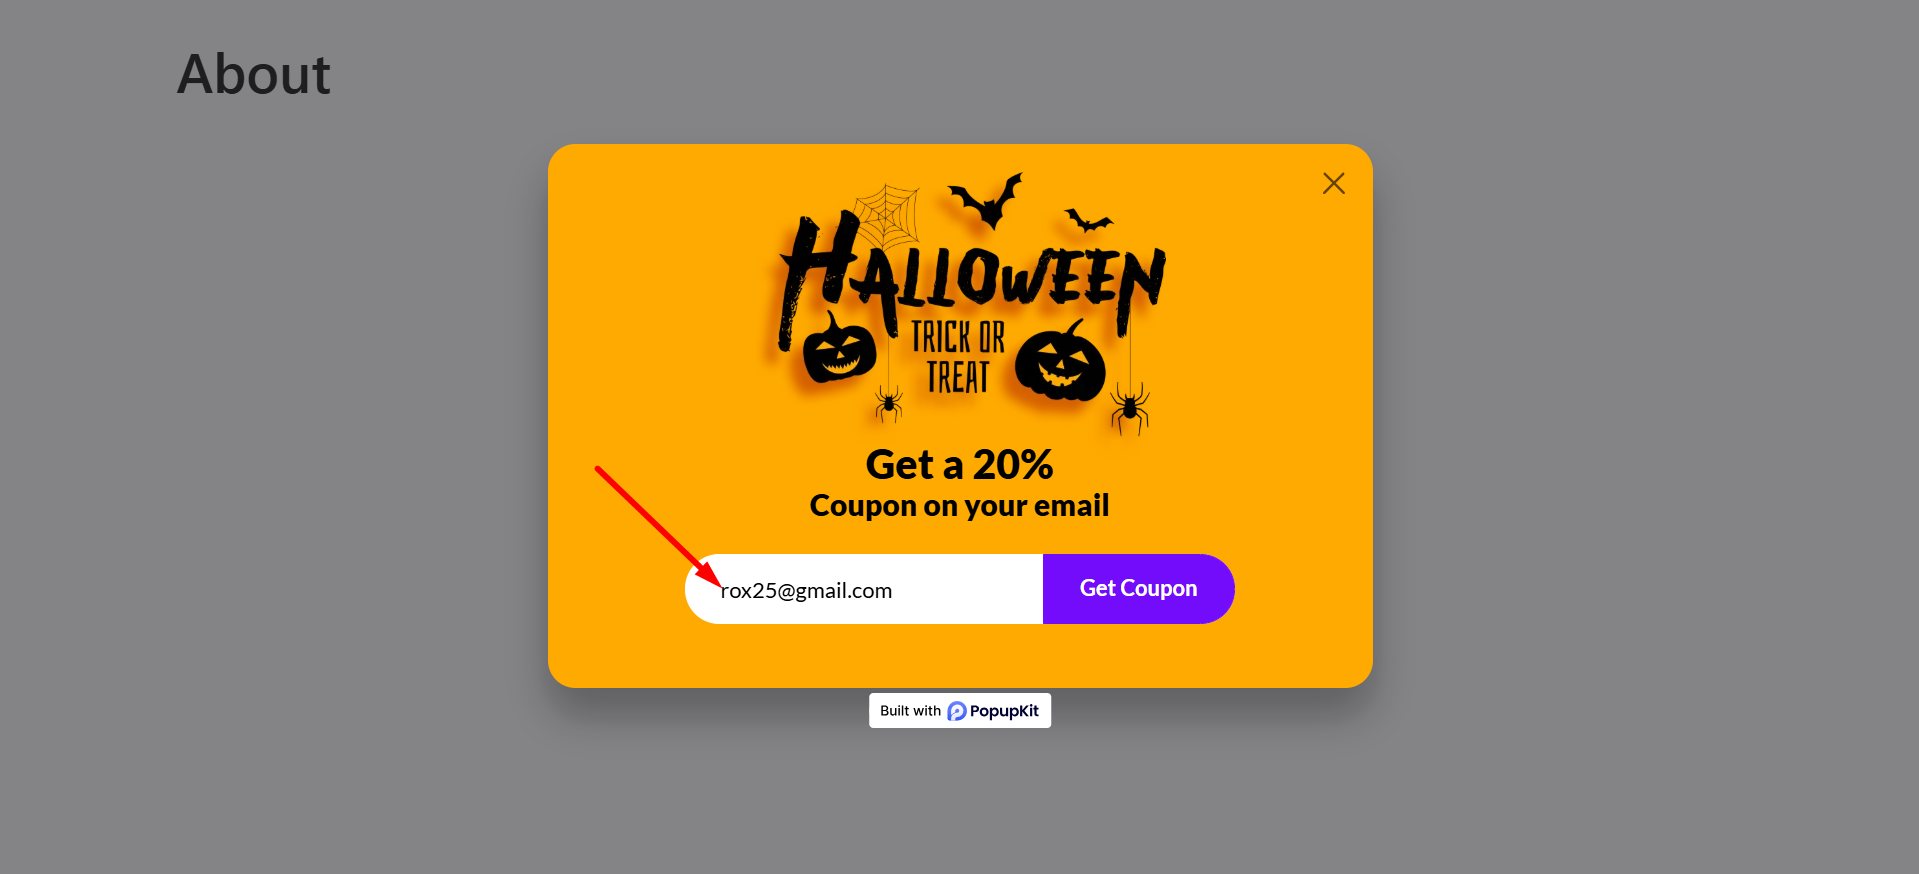
Finally, preview the popup and submit the form.
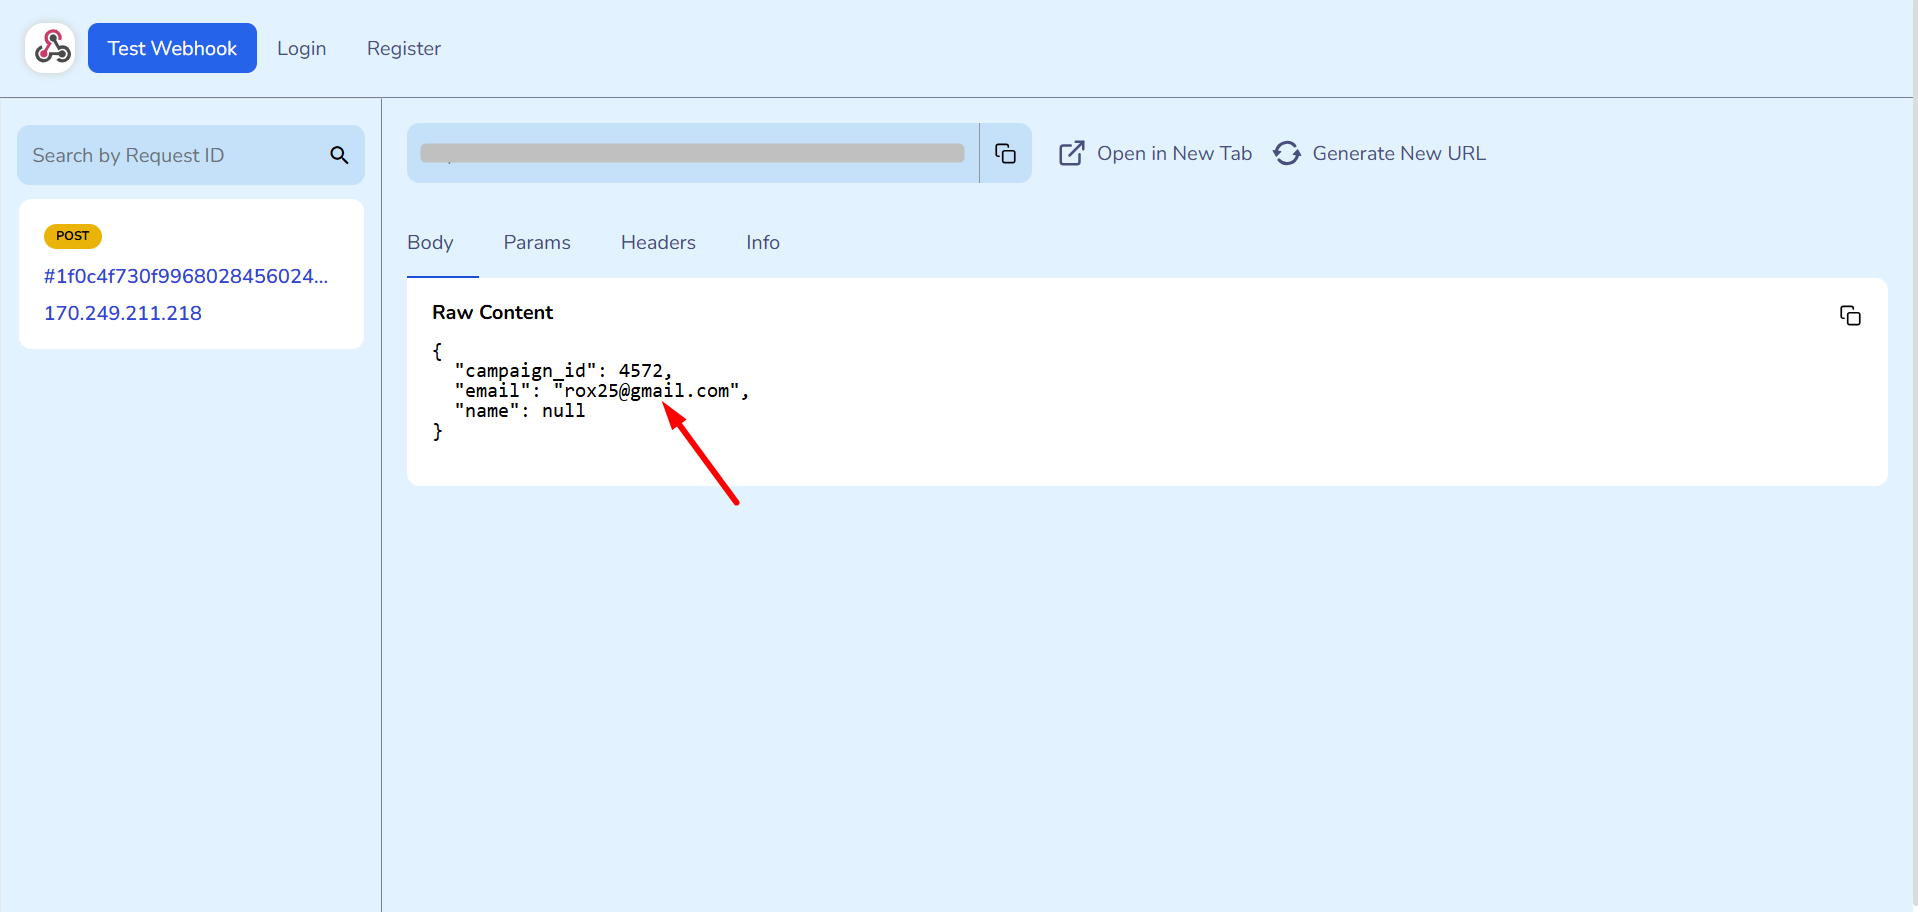
Here you go, visit Webhook test site again and check your form submission request.
It’s a quick setup! You just connect the webhook once, and PopupKit ensures your visitor data automatically goes right where you need it. Try it now!


