


With the GutenKit Erweitertes Bild block you can insert images into various posts and pages with more control and flexibility.
Here, we will help you learn about how to use the GutenKit Advanced Image block.
Before entering the process, you must know how to install and activate GutenKit for WordPress.
Wie können Sie den erweiterten Bildblock verwenden? #
Using Advanced Image via GutenKit is quite smooth. Let’s learn process as follows:
Entering the WordPress Dashboard #
First, you need to access your your WordPress dashboard. Then, follow these steps:
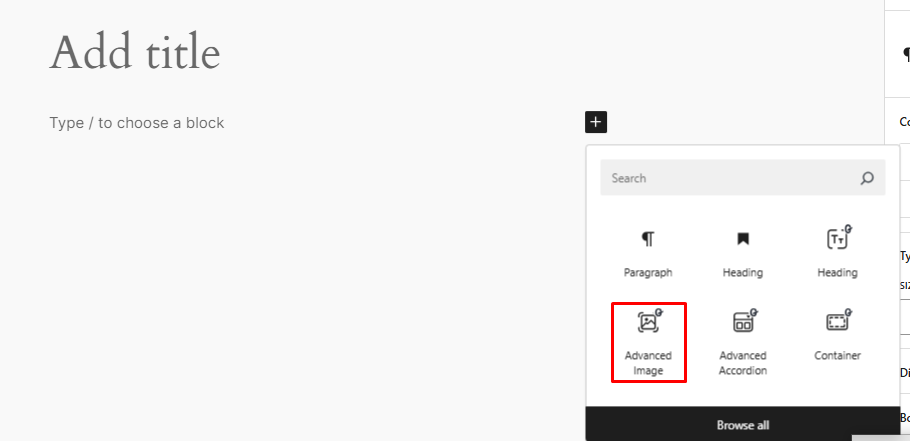
- Finden Seiten/Beiträge > Neue Seite/Beitrag hinzufügen oder beginnen Sie mit der Bearbeitung einer vorhandenen Seite mit dem Blockeditor.
- Suche nach "+”-Symbol auf der rechten Seite oder oben im Editor-Bildschirm. Klick es.
- Es erscheint ein Blockmenü, suchen Sie nach „Erweitertes Bild“.
- Wenn Sie es sehen, klicken Sie darauf oder ziehen Sie es per Drag & Drop auf den Blockeditor-Bildschirm.
Using Advanced Image of Gutenkit #
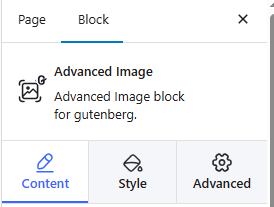
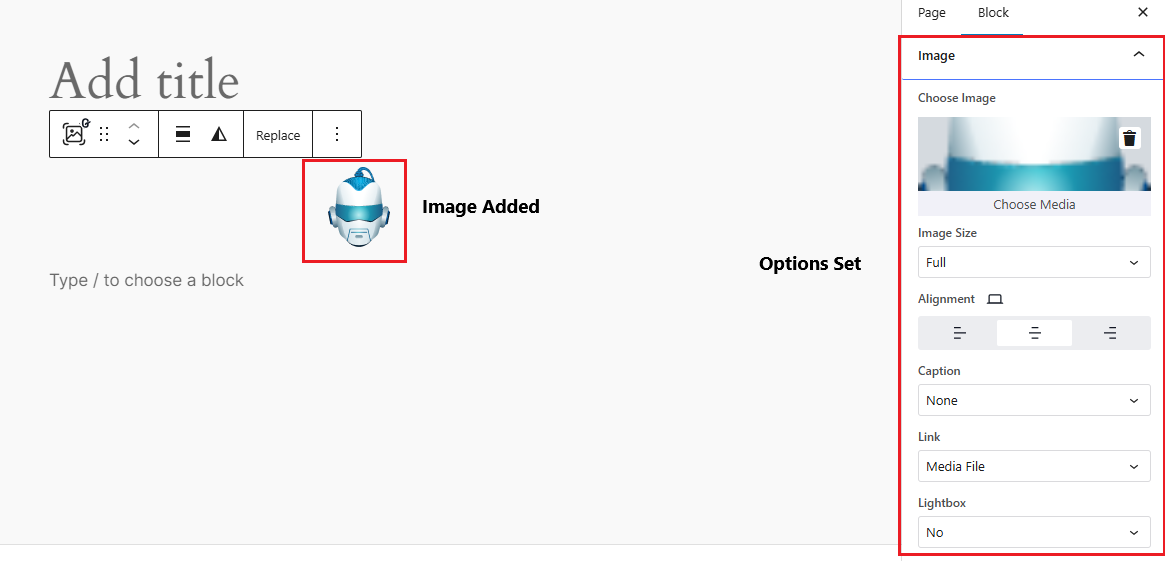
When you click on Erweitertes Bild, you’ll get these sections under the block settings: Content, Style and Advanced.
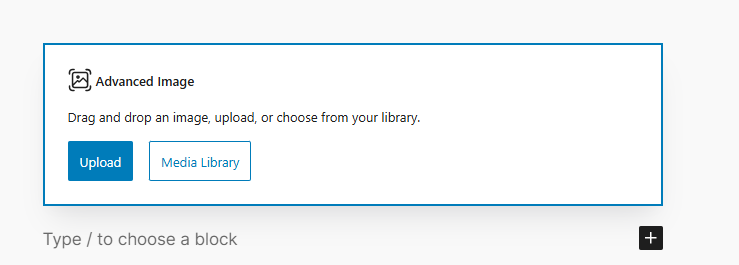
You can also directly upload an image from your device or the Media Library when you click on Advanced Image.
Step 1: Working with Content section #
Under the Content section, there is the Bild option. From there, you can choose your image.
Also, how the image will be aligned can also be opted here, along with the types of captions and media links/files.
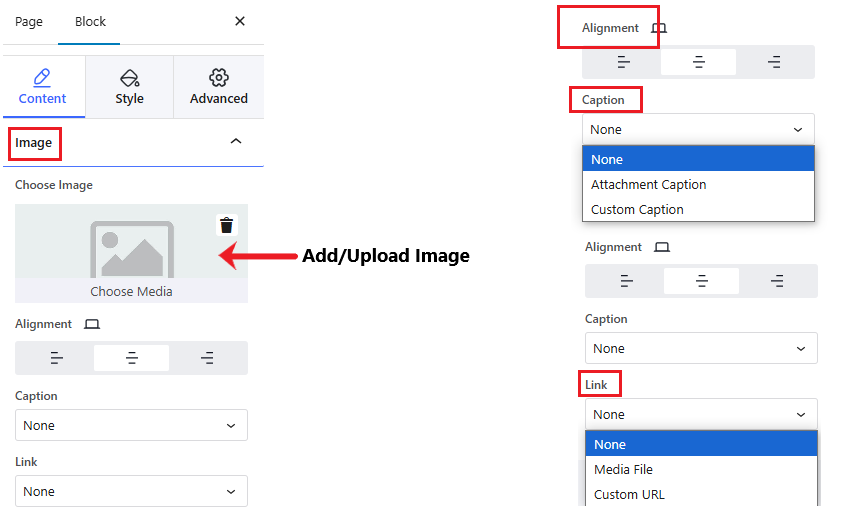
To make it more clear, the Media file lets you adjust Lightbox option, 'Ja Nein'. A Lightbox sorgt für eine fokussiertere und immersivere Betrachtung experience for the media file. Again, if you select Custom URL, you can insert your desired URL with the image.
And example is given below:
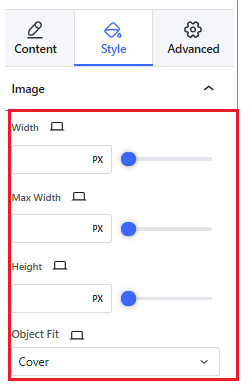
Step 2: Style #
Next up is selecting the Stil of your image.
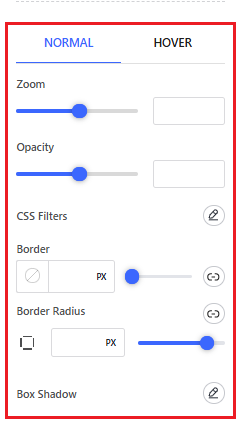
To style the image, you will get all the essential options under Style > Image including Width, Max width, Height, Object Fit, and Opacity controlling bars. Also available are options for adjusting CSS Filters, Borders, and Box shadow.
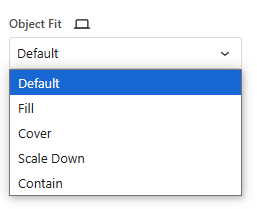
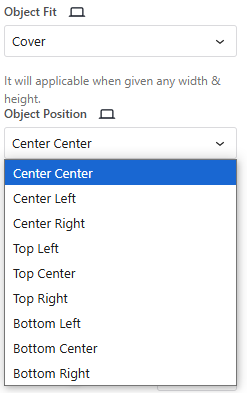
Zum Beispiel, Object Fit offers 5 options on how the image will fill the the area: Default, Cover, Fill, Scale Down, and Contain.
Going further, choosing Cover offers the following options as shown in the image:
There is also an Überlagerung section which allows you to either show or not show overlay.
Step 3: The Advanced Section #
Finally, we can navigate to the Advanced section, which gives you options like:
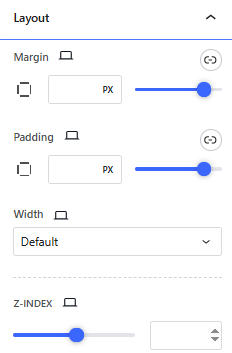
- Layout: How much margins you want to keep, how much padding you want to create, how much width the image will cover, and the length of Z-index.
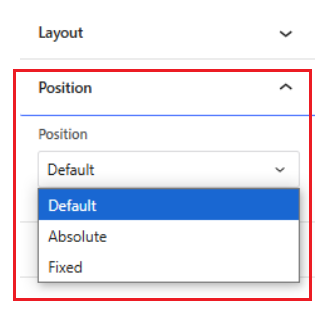
- Position: Here, you can select whether the image’s position will be fixed or absolute.
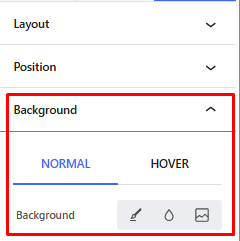
- Hintergrund: Advanced Image lets the users modify image background as they wish. The user can add image to background or even make the image hover with transition.
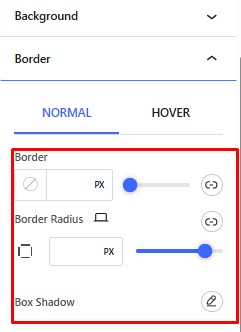
- Grenze: Like the Style section, the Advanced section lets you choose borders and box shadows as per need.
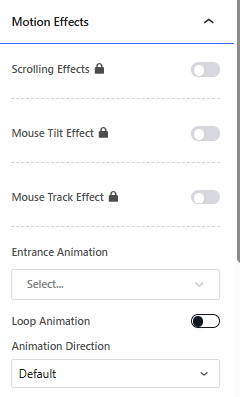
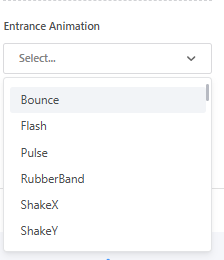
- Bewegungseffekte: Another special feature you get with Advanced Image is the motion effects. You can add various animations to your image and make it look catchy.
And finally, one can round everything off by setting the Sichtweite, which includes:

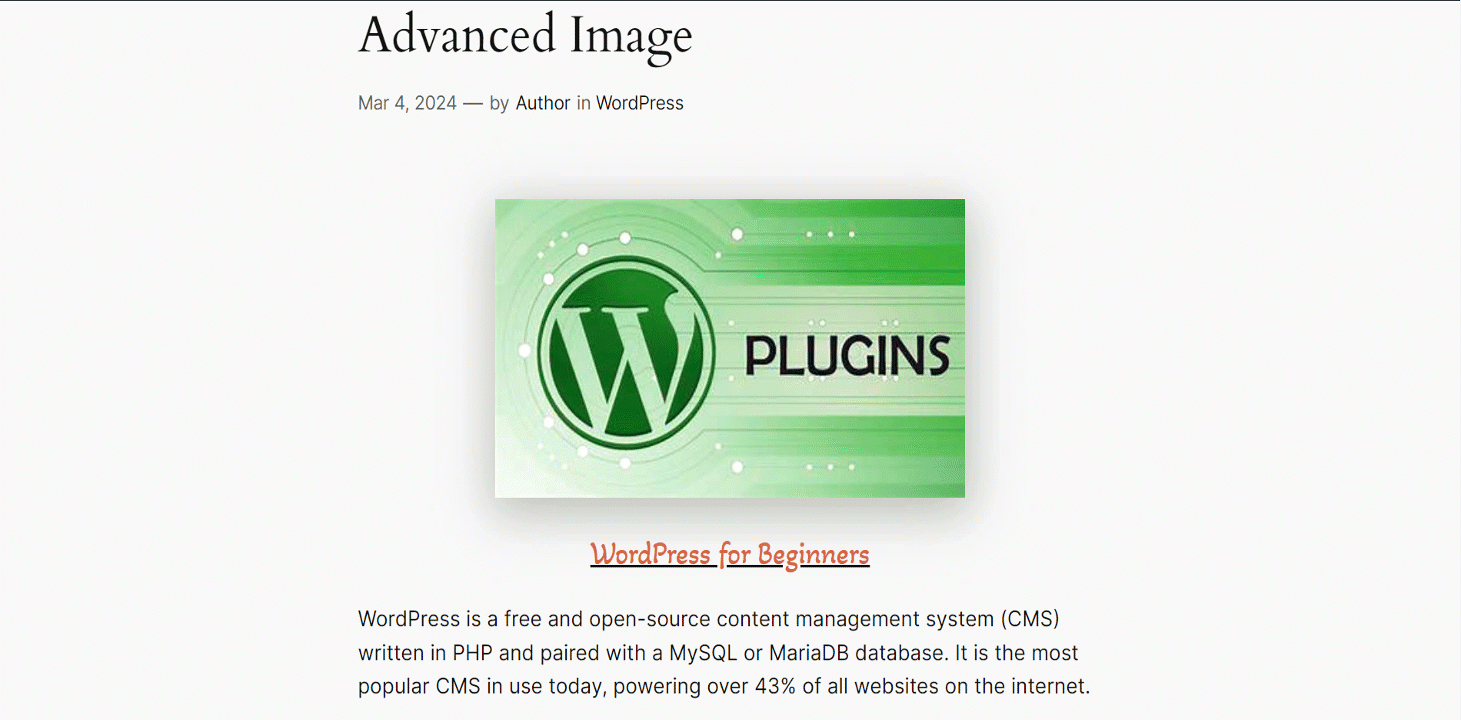
Endgültige Ausgabe #
Wir haben ein Beispiel für Sie vorbereitet –
The steps are simple yet the output is amazing. Try GutenKit now and explore the magic of Advanced Image.


