


The latest trend in web design is the use of particle effects, which add motion and interactivity to websites. Whether it’s animated snowfall, floating bubbles, or dynamic background particles, these effects create a visually engaging experience that captivates visitors and keeps them on your page longer.
However, customizing such advanced animations within the Gutenberg block editor can be challenging, especially for users unfamiliar with animation tools. That’s why, in this tutorial, I’ll guide you through the step-by-step process of how to add particle effects to your Gutenberg website, making it both stunning and interactive with ease.
Why Use Particle Effects?
You may have some idea about particle effects, such as its decorative element, where there are a bunch of white dots on the page. But, in today’s world of web design, particle effects have been enhanced with modern aesthetics and visual appeal.
The beauty and sophistication of the latest particle designs can captivate visitors and keep them engaged. You can add different shapes, like animated colored balls or 3D objects for interactive or non-interactive particle animation.
And, whatever type of particle effect you apply, here are a few reasons you should always consider:
➡️ Increased User Engagement: The conjunction of your design concept and particle effects can create a bold visual appeal among visitors and make them stay on your website longer.
➡️ Unique Visual Concept: There are many website animation functionalities commonly available, like the type-writer effect, tooltip, mouse track, etc. However, particles could be the state-of-the-art design that visitors can encounter for the first time.
➡️ Precise Brand Definition: The fusion you create, including all the design elements and particle effects, can describe your company’s or organization’s best branding. You can bring life to showcasing your thoughts.
➡️ Professional Artistic Exposure: The implementation of graphical elements within the particle design can give a professional attire of your website to visitors.
And there are many other benefits of adding particle effects to your website’s background, headers, sliders, and any other parts. The process of applying it on Gutenberg websites requires no special technical expertise if you follow the tutorial below.
How to add Particle Effects to Gutenberg Websites
Let’s begin our main part. Here, you’ll see the real procedure of adding particle effects to your Gutenberg website.
Start by selecting a block editor plugin. You should opt for a multipurpose Gutenberg page builder option. By choosing this type of plugin, you will access all the website-building features in one plugin.
But choosing the right block editor plugin is hard. There are many plugins in the WordPress repository. The effective one would be GutenKit- a comprehensive block editor addon. One of its animated functions is the GutenKit Particle Module.
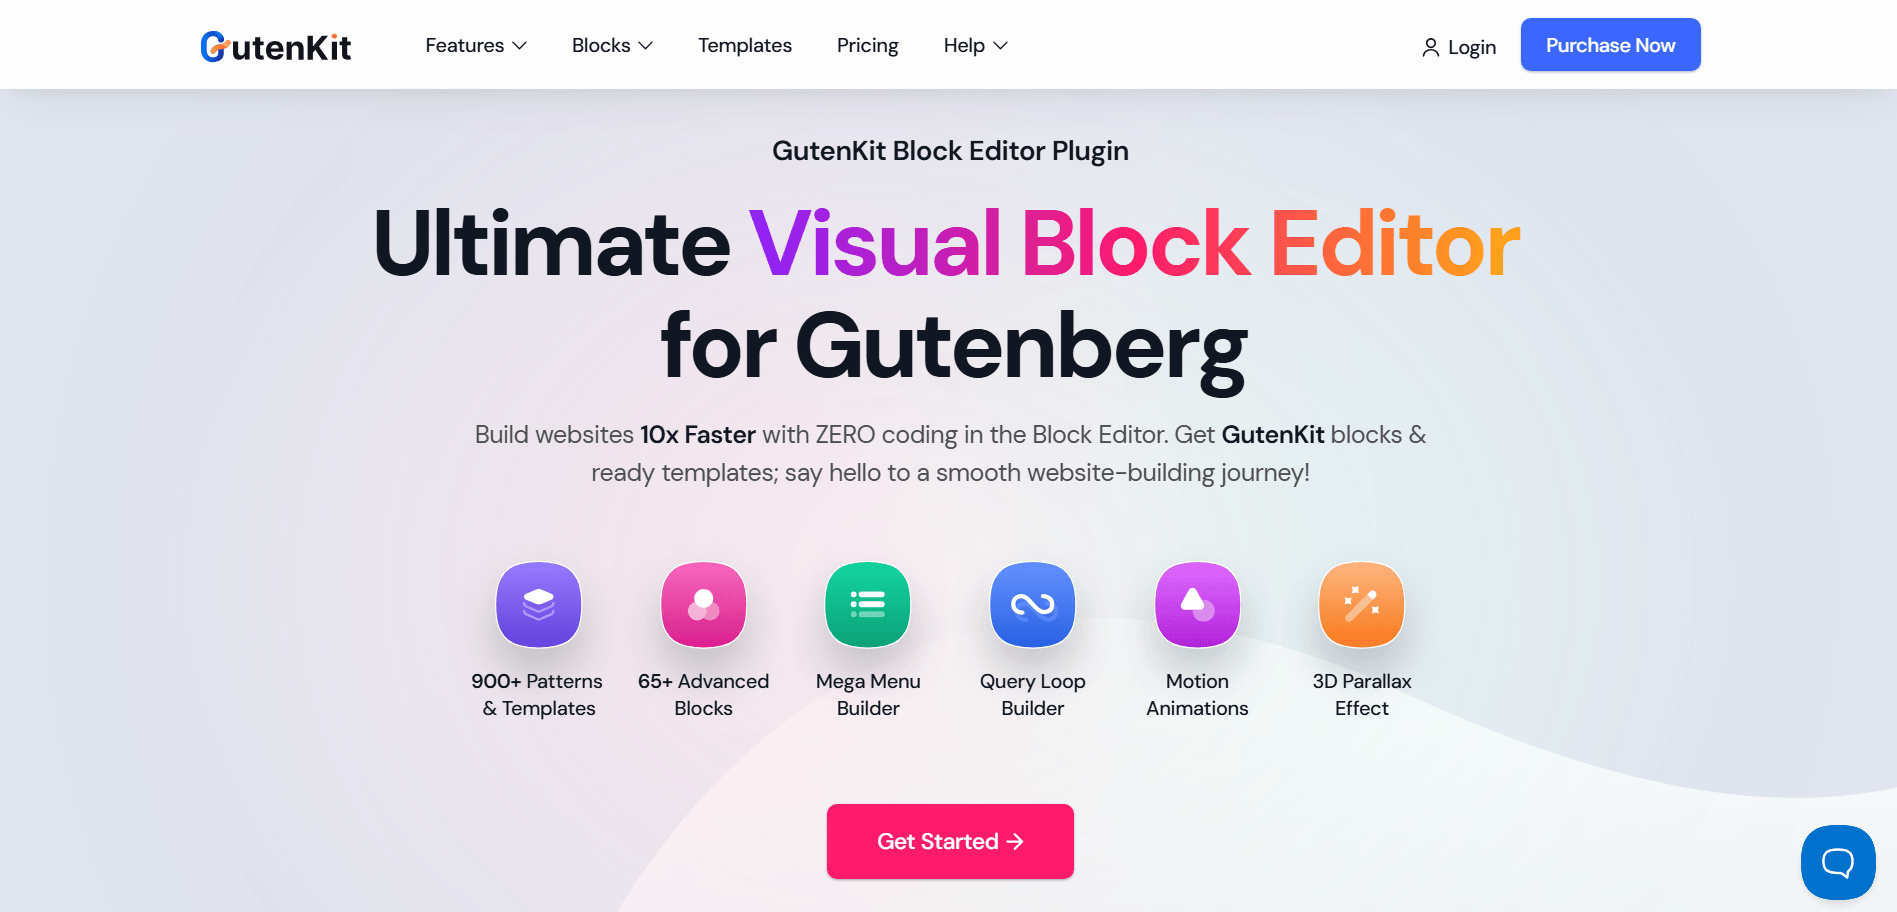
This element empowers us to design an interactive and creative section. You can display any part of a web page with moveable particles to glue visitors’ attention to your website.
Below are some of the main reasons behind picking GutenKit to add particle effects to Gutenberg websites:
🔸 Allows to add graphical elements like dots, lines, shapes, components, etc.
🔸 Provide various user-interaction effects like scrolling, hovering, clicking, and more.
🔸 Drag and drop effortless web-designing interface.
🔸 10+ preset formats to add particle effects to your WordPress website.
🔸 Upload your own particle effect with a JASON file or JASON code.
🔸 Define the position to trigger particle effects.
Plus, GutenKit has versatile interactive animated functions like tooltips, sticky content, image masking, glass morphism, interaction effects, motion effects, and many more true page builder functionalities.
Do note that the particle module is a premium feature in the GutenKit plugin. So, you need to purchase the pro version of this block editor addon to apply particle effects on your website.
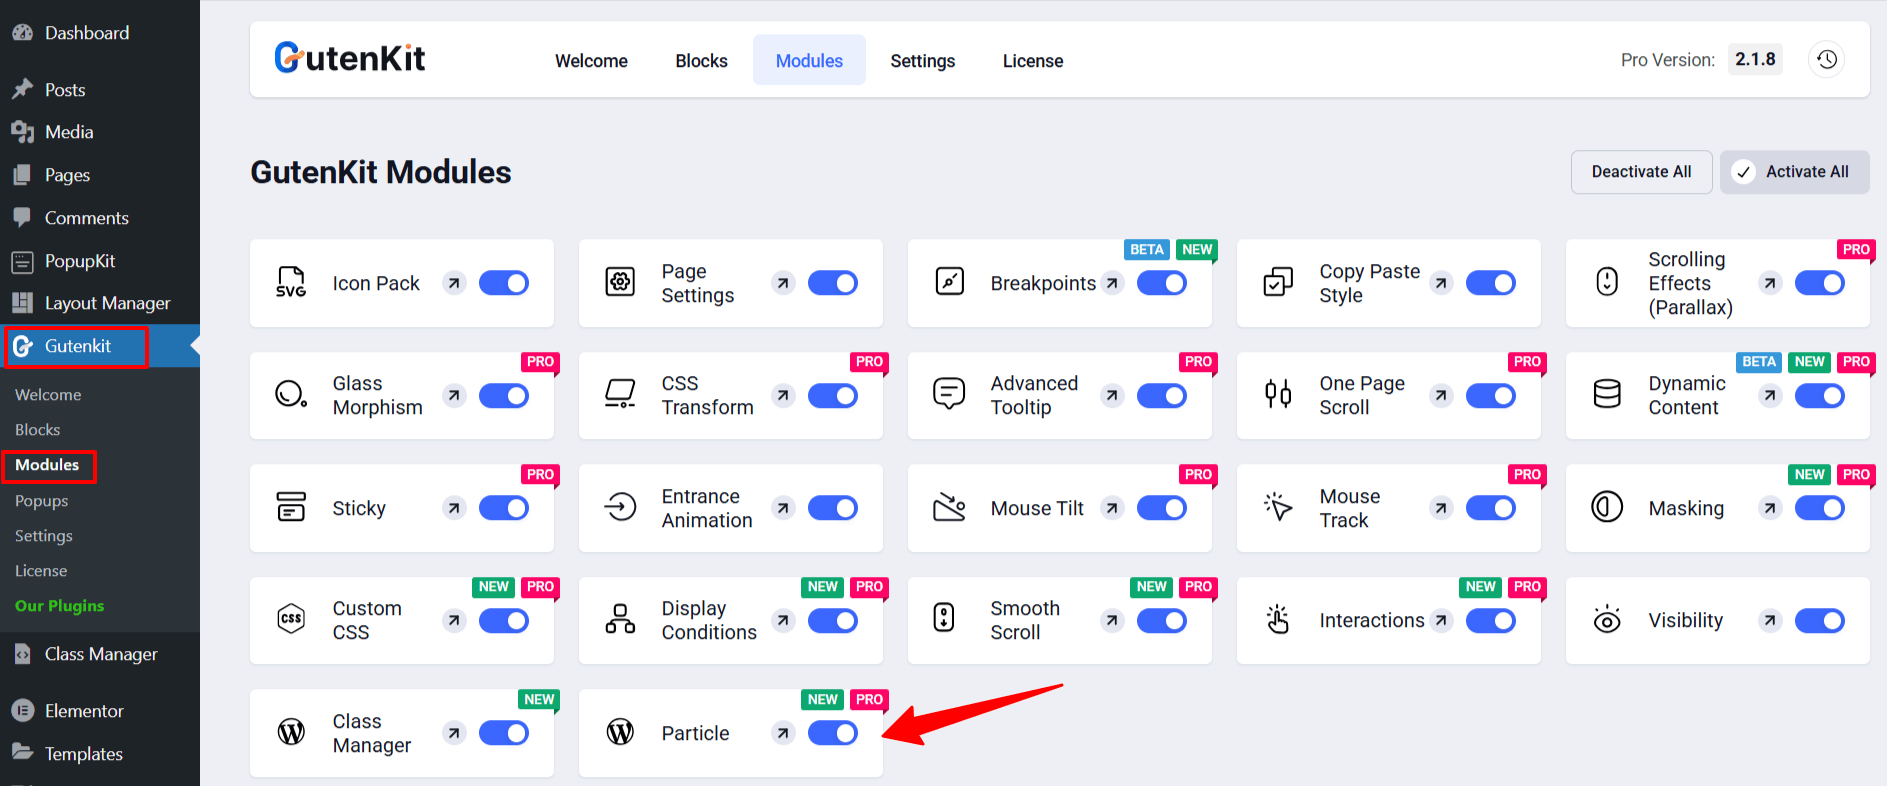
Step 1: Add GutenKit Particle Module
Install and activate the GutenKit Pro plugin. Once done, go to GutenKit > Modules within the WordPress dashboard. On the next page, find the Particle module and activate it. Your changes will be saved automatically on this page.
Now, get started with the first step of how to add particle effects on Gutenberg website tutorial.
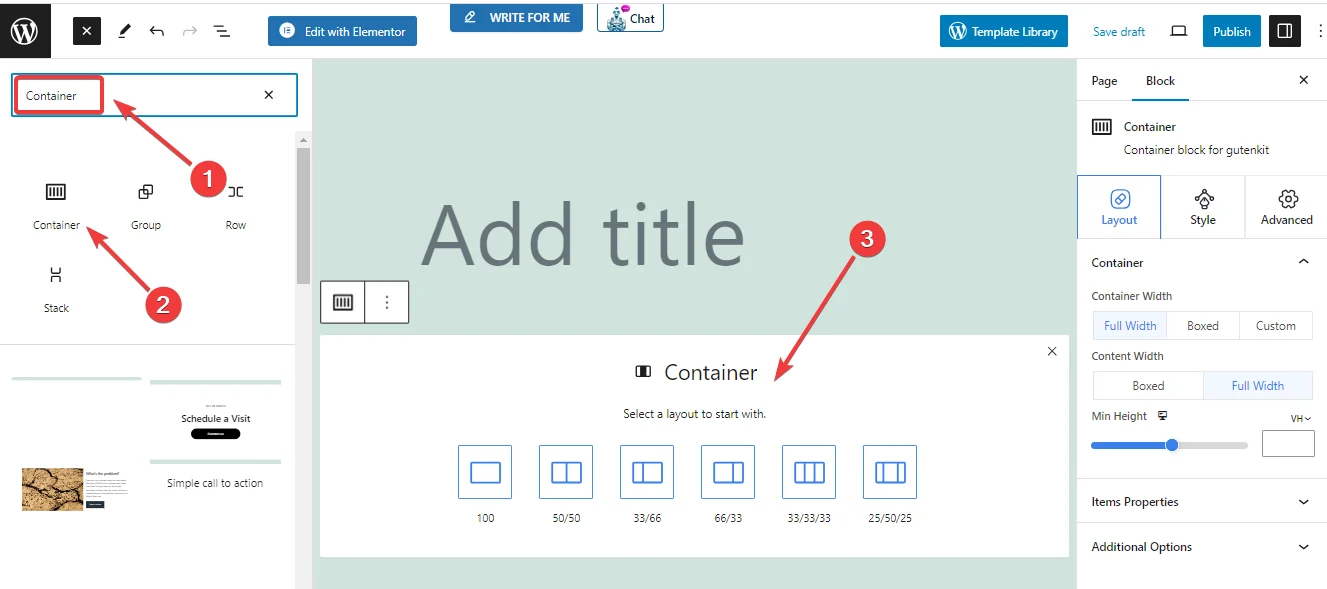
Step 2: Create & Customize a Section
From your WordPress dashboard, take a new page or insert it into an existing one. As you move to the block editor interface, click the “+” icon at the top left. Here, look for the GutenKit Container block. Once you see it, drag and drop it to the editor.
Now, within this container, you need to design and customize your main content. For example, if you notice the demo design below, there are text, heading, buttons, and images.
So, create your own section design with the GutenKit Container Block and enter the block settings.
Step 3: Add & Configure Particle Effect
Once you’re in the GutenKit Container Block settings, move to the Advanced Tab. Then, scroll down to find the Particle option. Once you see it, open its dropdown and configure the following settings:
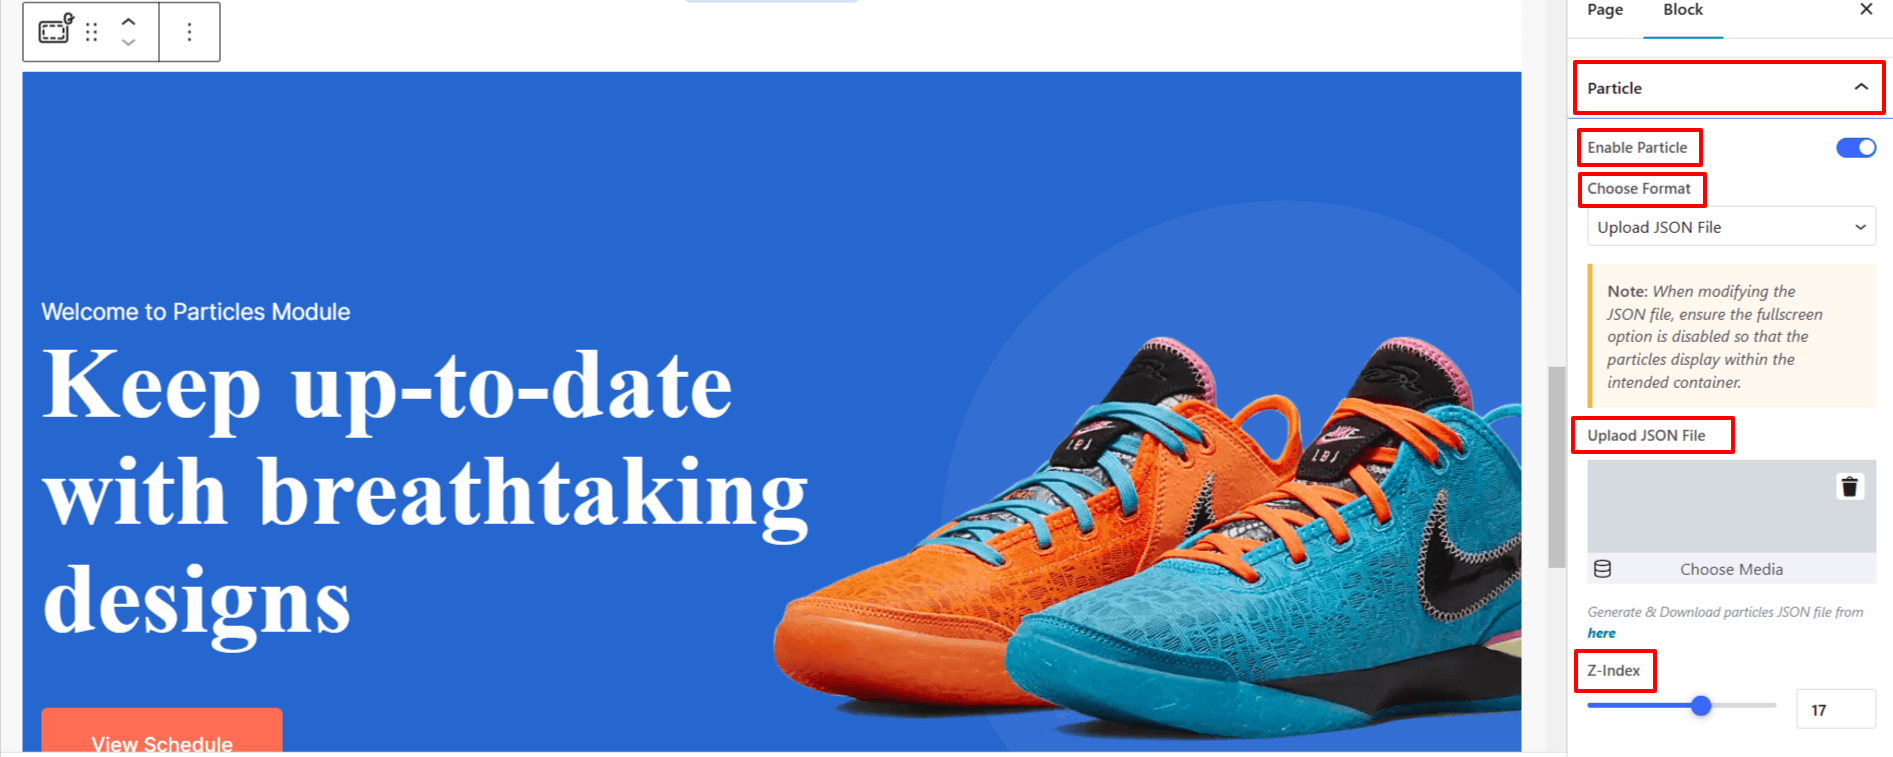
Enable Particle: Active this toggle button to reveal particle settings.
Choose Format: Select options to upload particle assets or choose from default options.
Presets: GutenKit ships with different in-built particle presets like Color, Nasa, Bubble, Snow, Nyan Cat, Parallax, Confeti, Confetti Explotion, Side Confeti, etc. These prebuilt presets are wonderfully helpful for applying particle effects on your website with a single click.
I have opted for the Snow particle effect style for my Gutenberg website. However, you can upload a JSON file or code from your device using the GutenKit Particle module. To do this, click on the Choose Format option.
Select “Upload JSON File” or “Enter JSON Code” to choose between uploading a JSON file or manually entering JSON code in a box.
And, whatever options you choose to insert the particle effect, there will always be a slider to control the Z-index. You can also manually enter a value in the box. This option lets you define the position of the particle effect as per your requirement.
Step 4: Preview and Publish
After setting up your website’s particle effect, preview it before going live. Viewing your design in a test environment helps identify any unnoticed mistakes. This allows you to fix issues and publish a polished, accurate version of your particle effect design.
Here’s the outcome of our design:
Best Practices for Using Particle Effects
One common concern for WordPress users is the potential performance impact of excessive particle effects. However, many Gutenberg-based plugins are designed to efficiently manage animation assets without compromising speed.
With this issue in mind, next, I will outline best practices for adding particle effects to Gutenberg websites.
🔶 Optimize for Performance: Simply use lightweight files of particle effect to avoid slowing your website. Also, focus on the best possible way to optimize it.
🔶 Get Lightweight Plugins: If you use a plugin to apply particle effects to your website, choose a lightweight plugin. For example, using GutenKit, you can create fast-loading websites because GutenKit only loads the necessary resources.
🔶 Maintain Readability: Use particle effects graphical elements sparingly; otherwise, the readability of your content blocks will be impaired.
🔶 Use Subtle Animations: Overly complex or fast-moving effects can be distracting. Opt for smooth, subtle animations that enhance rather than overwhelm.
🔶 Test Across Devices: Particle effects should function well on both desktop and mobile devices. Check responsiveness to ensure a seamless experience.
🔶 Keep It Relevant: Choose effects that align with your brand and website theme rather than adding them just for the sake of animation.
➡️ Read how to create search bar on Gutenberg.
Wrap Up!
Particle effects are a fantastic way to add a modern and dynamic touch to your Gutenberg website. When used correctly, they can improve engagement, enhance aesthetics, and create a more immersive user experience.
By following best practices, you can ensure that your animations are visually appealing without compromising performance. Ready to get started? Explore different particle effect libraries and bring your WordPress site to life, from the GutenKit particle module!

Leave a Reply