Ícones sociais são pequenas imagens ou botões que vinculam aos perfis de mídia social da sua organização. O bloco de ícones sociais do GutenKit é uma maneira eficaz e direta de adicionar mídias sociais populares às suas postagens e páginas. Ele é enriquecido com recursos e permite que você estilize os ícones adicionados de forma agradável.
Verifique a documentação e saiba como você pode utilizar o bloco de ícones sociais do GutenKit.
Como usar os ícones sociais do GutenKit? #
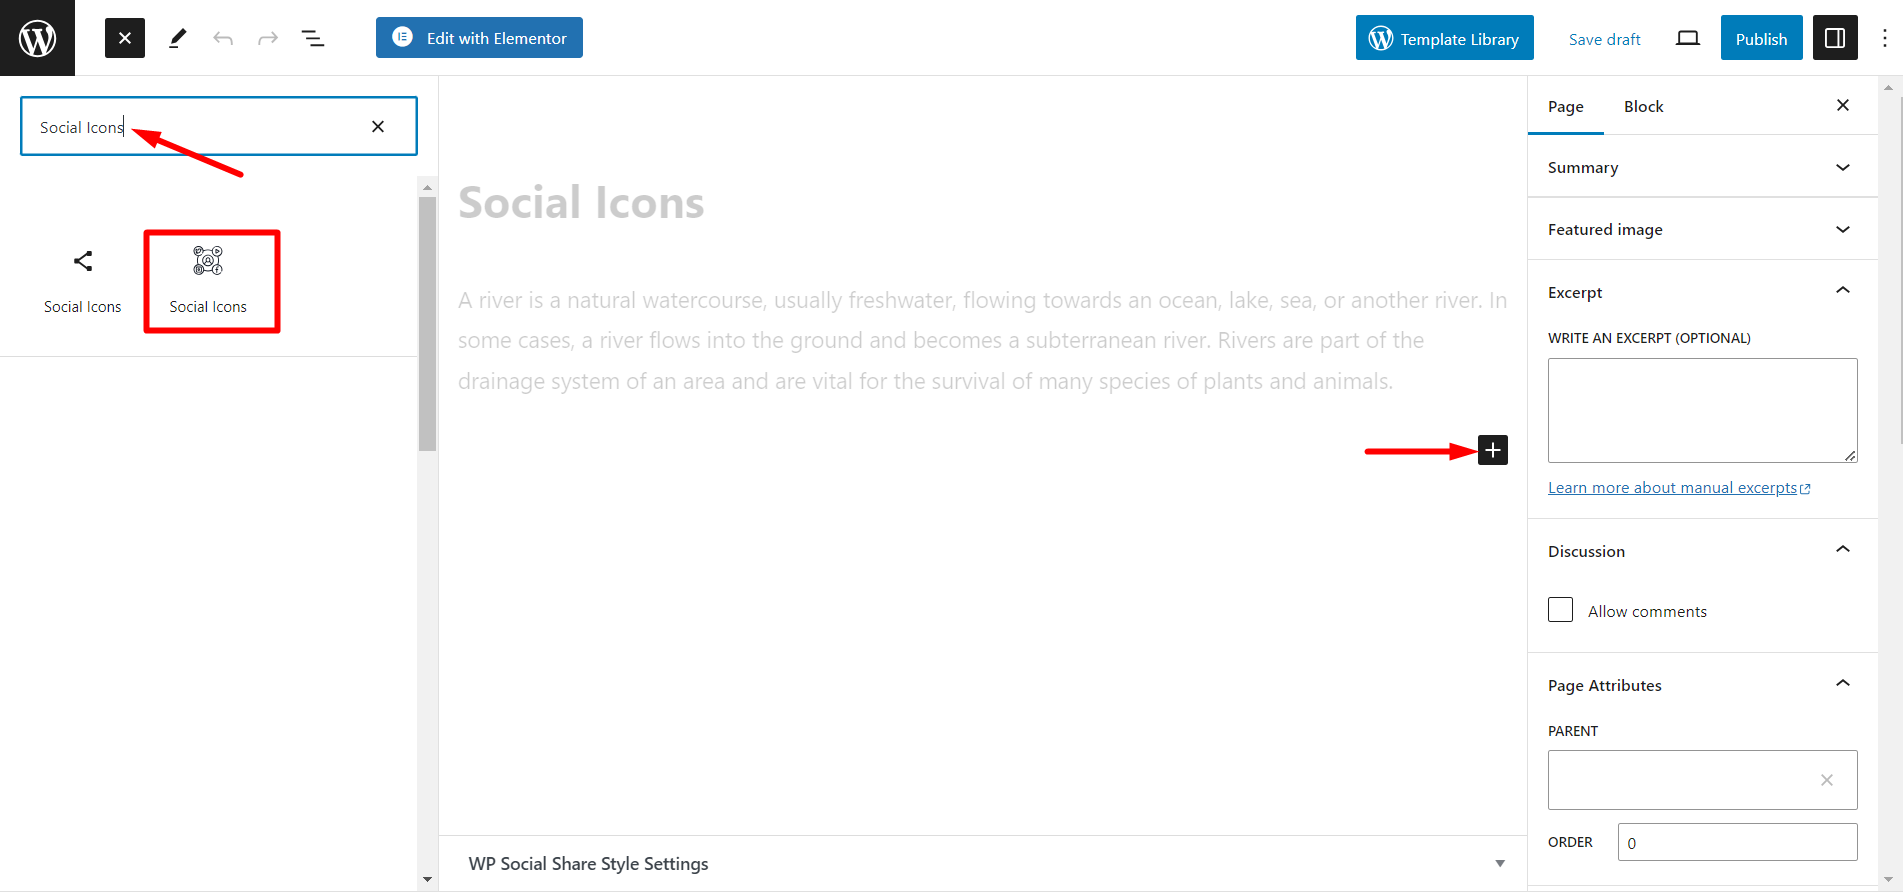
Usar Ícones Sociais do GutenKit, acesso ao seu painel do WordPress –
- Vá para Páginas/postagens > Adicionar nova página/postagem ou comece a editar uma página existente com o editor de blocos.
- Procure o "+”Ícone no lado direito ou na parte superior da tela do editor. Clique.
- Um menu de bloqueio aparecerá, procure por “Ícones Sociais”.
- Ao vê-lo, clique nele ou arraste e solte na tela do editor de blocos.
Conteúdo de ícones sociais personalizados #
Clique e expanda a seção de conteúdo e comece a editar.
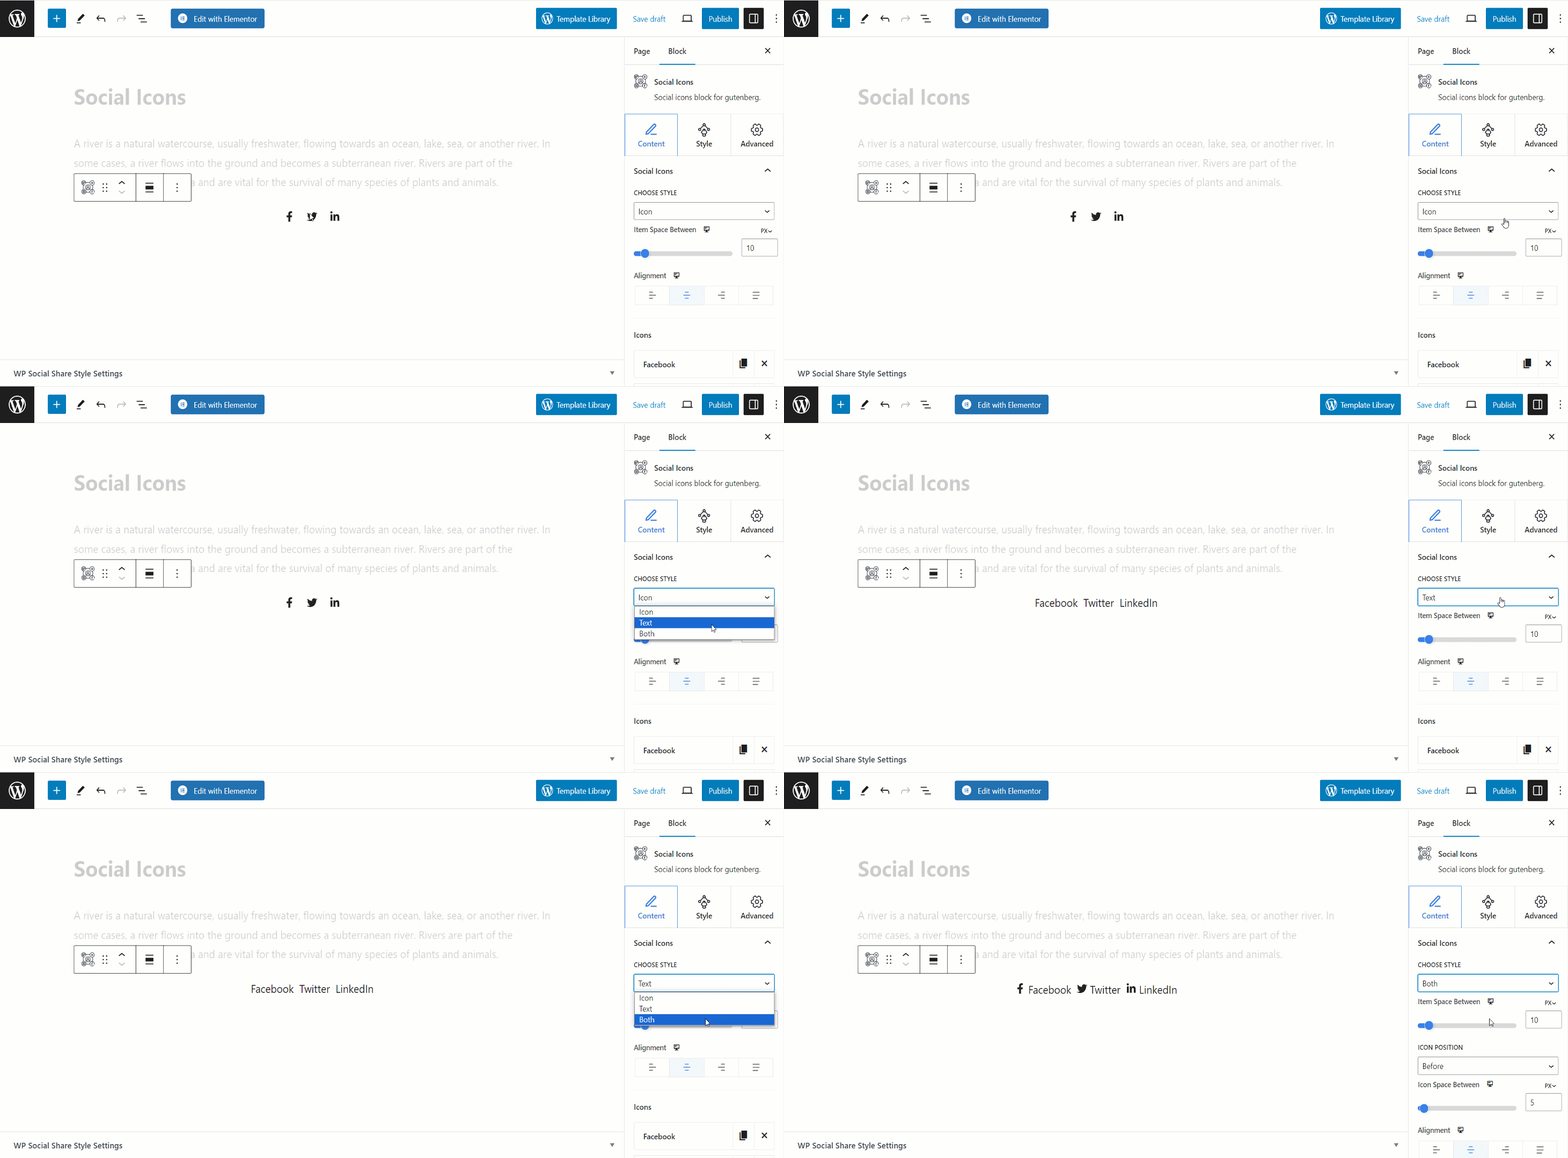
Escolha o estilo #
Você pode escolher qualquer estilo de ícones. Há três opções – você pode mostrar apenas ícones, apenas textos ou ícones com texto.
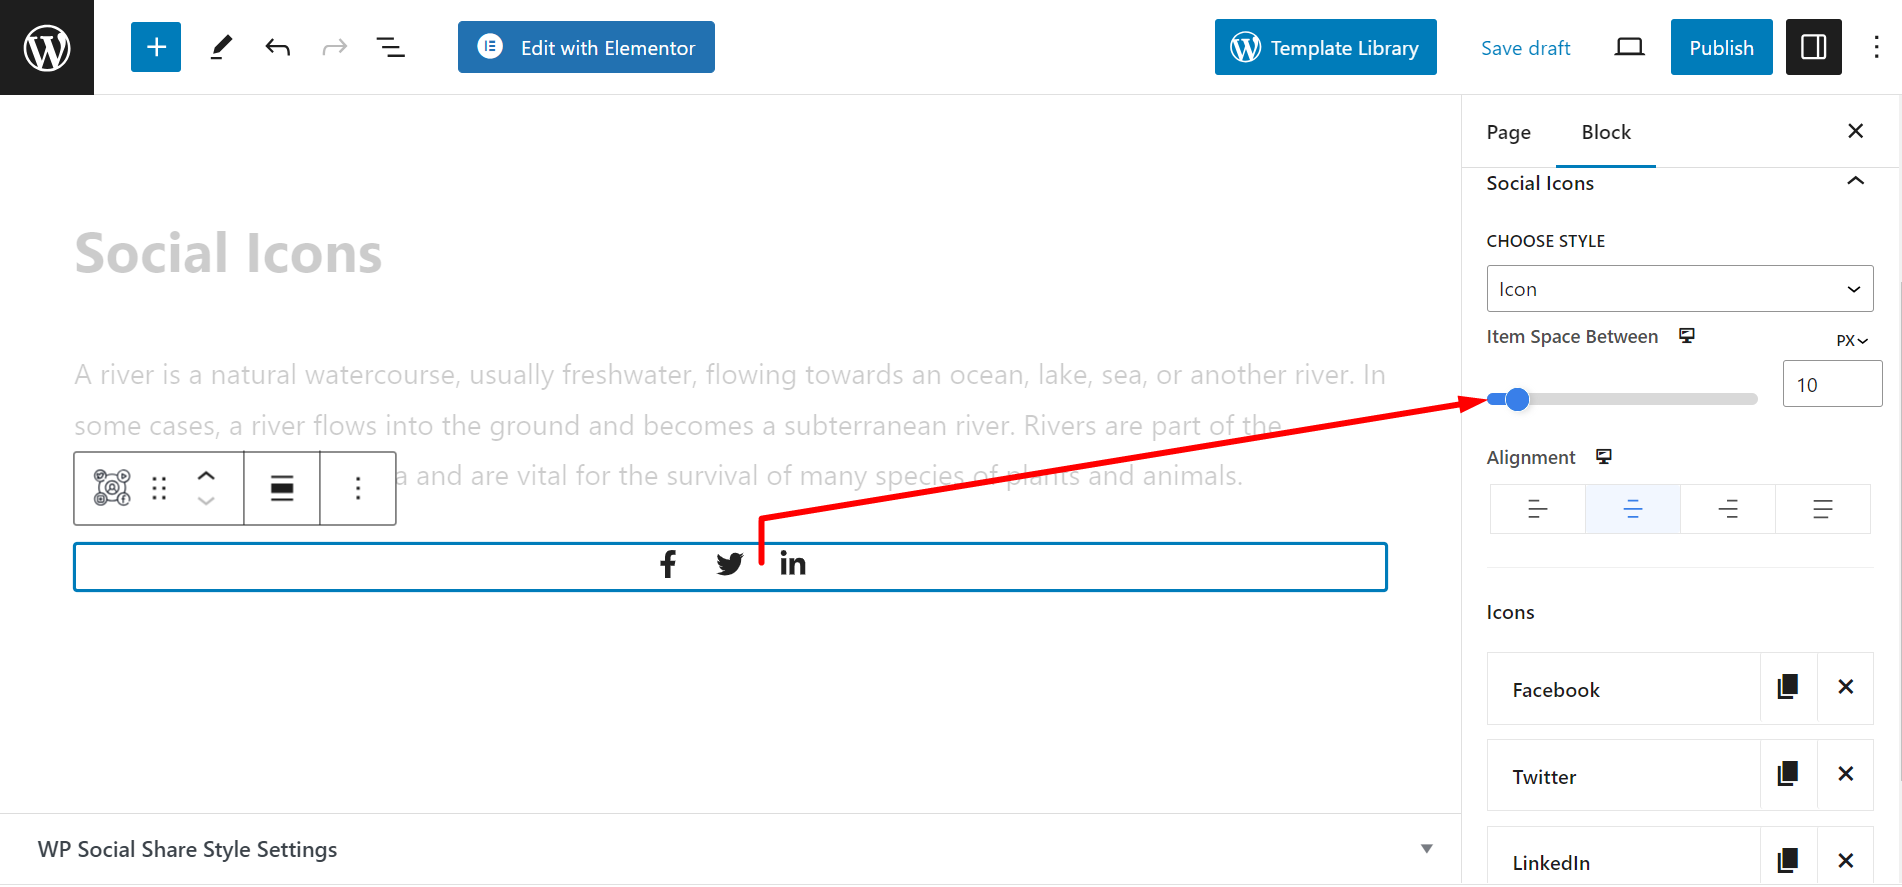
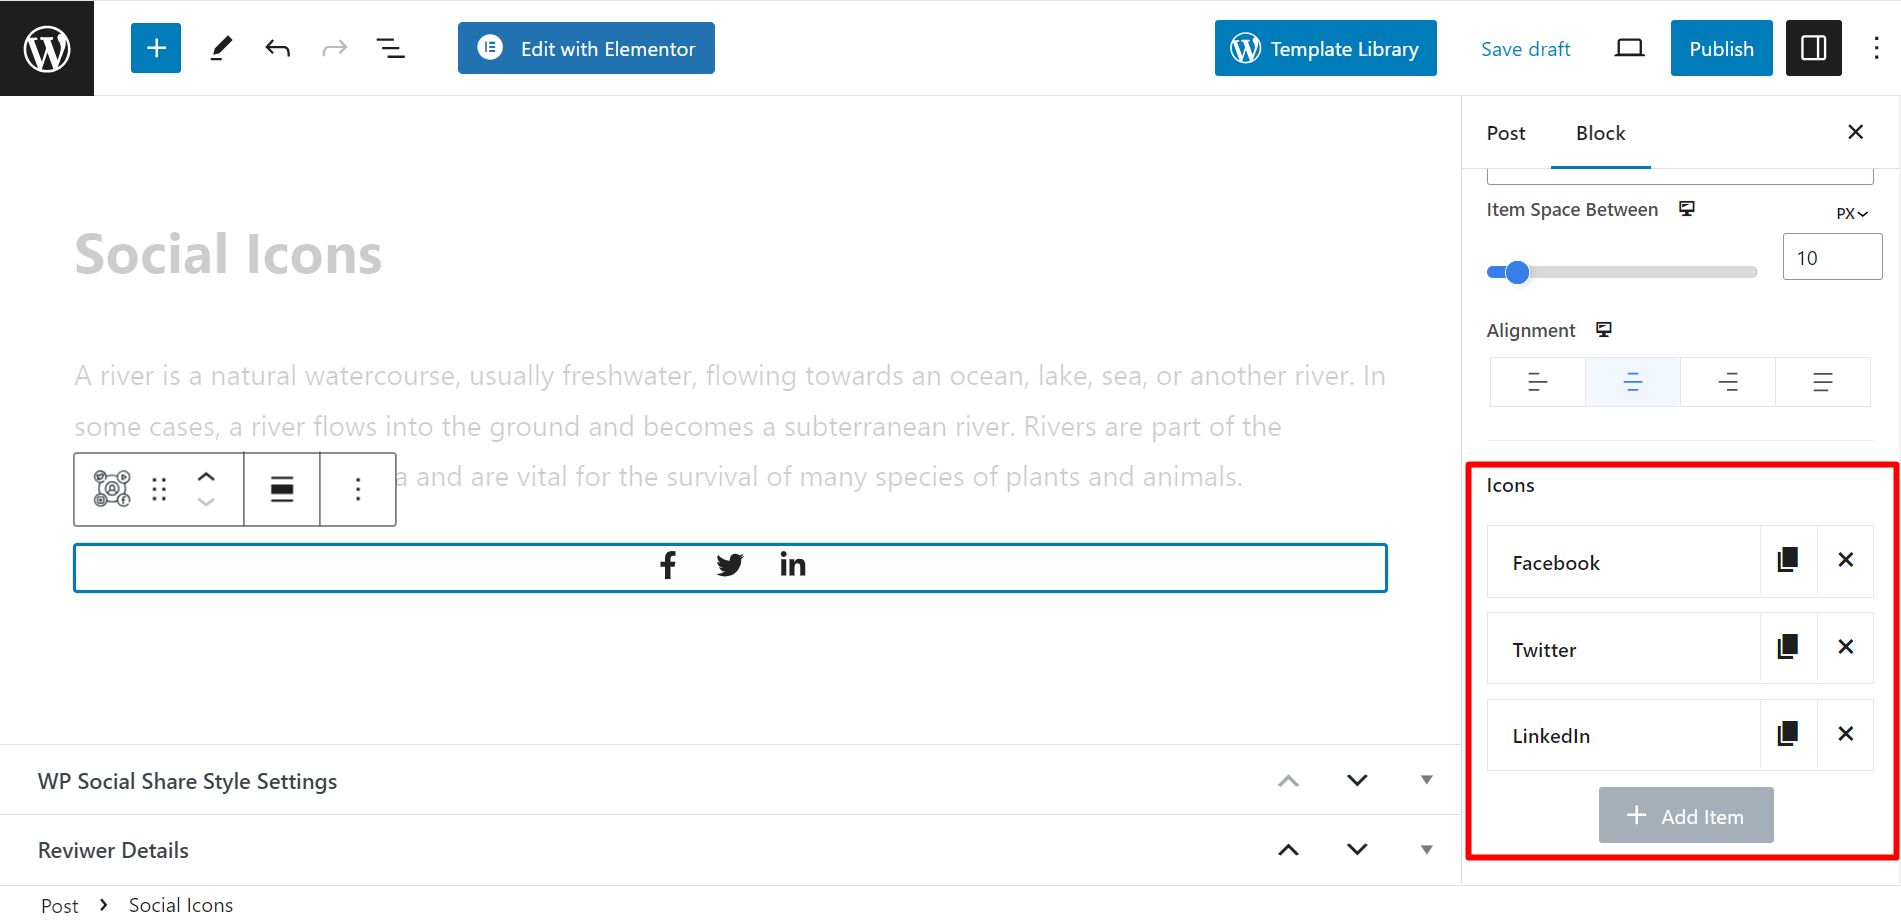
Espaço do item entre #
Este recurso permite ajustar os espaços entre dois ícones.
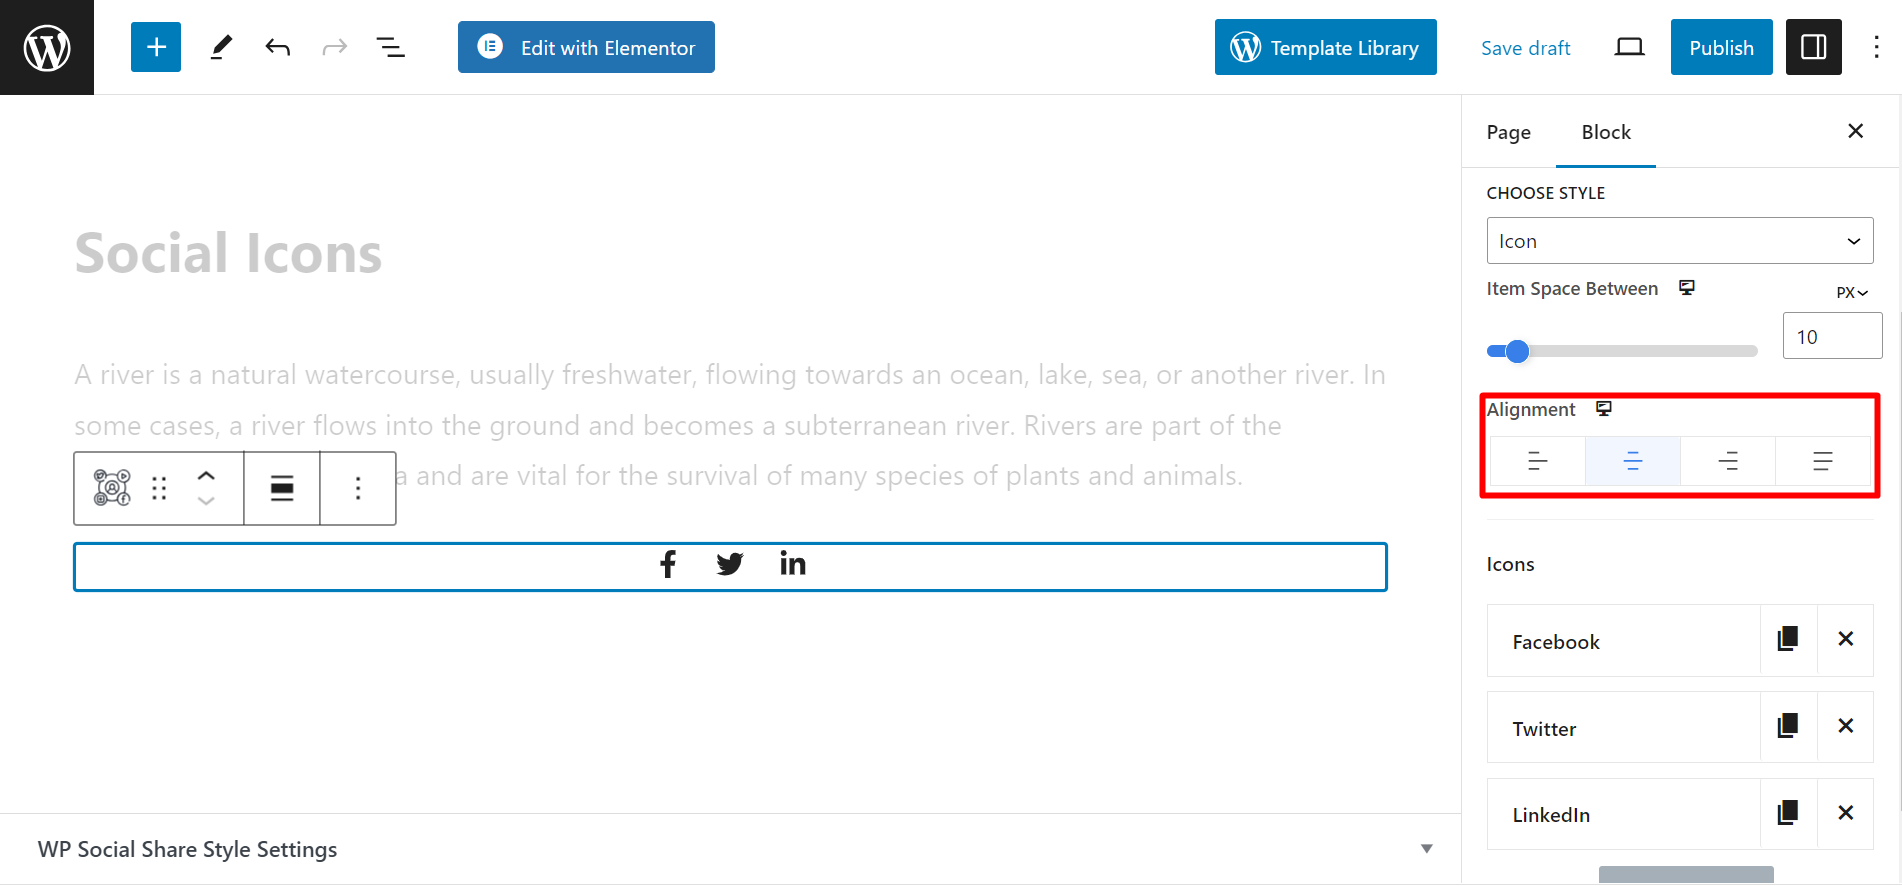
Ajustando o alinhamento #
Você pode mostrar os ícones em qualquer lado do post/página que quiser. As opções de alinhamento são – Início, Centro, Fim, Espaço entre.
Adicionar/Remover Ícones #
Aqui, você tem a opção de adicionar e remover ícones. Expandindo o nome de um ícone, você terá a opção de personalizar o nome, a cor, o estilo de foco, a cor, adicionar um link e outras coisas.
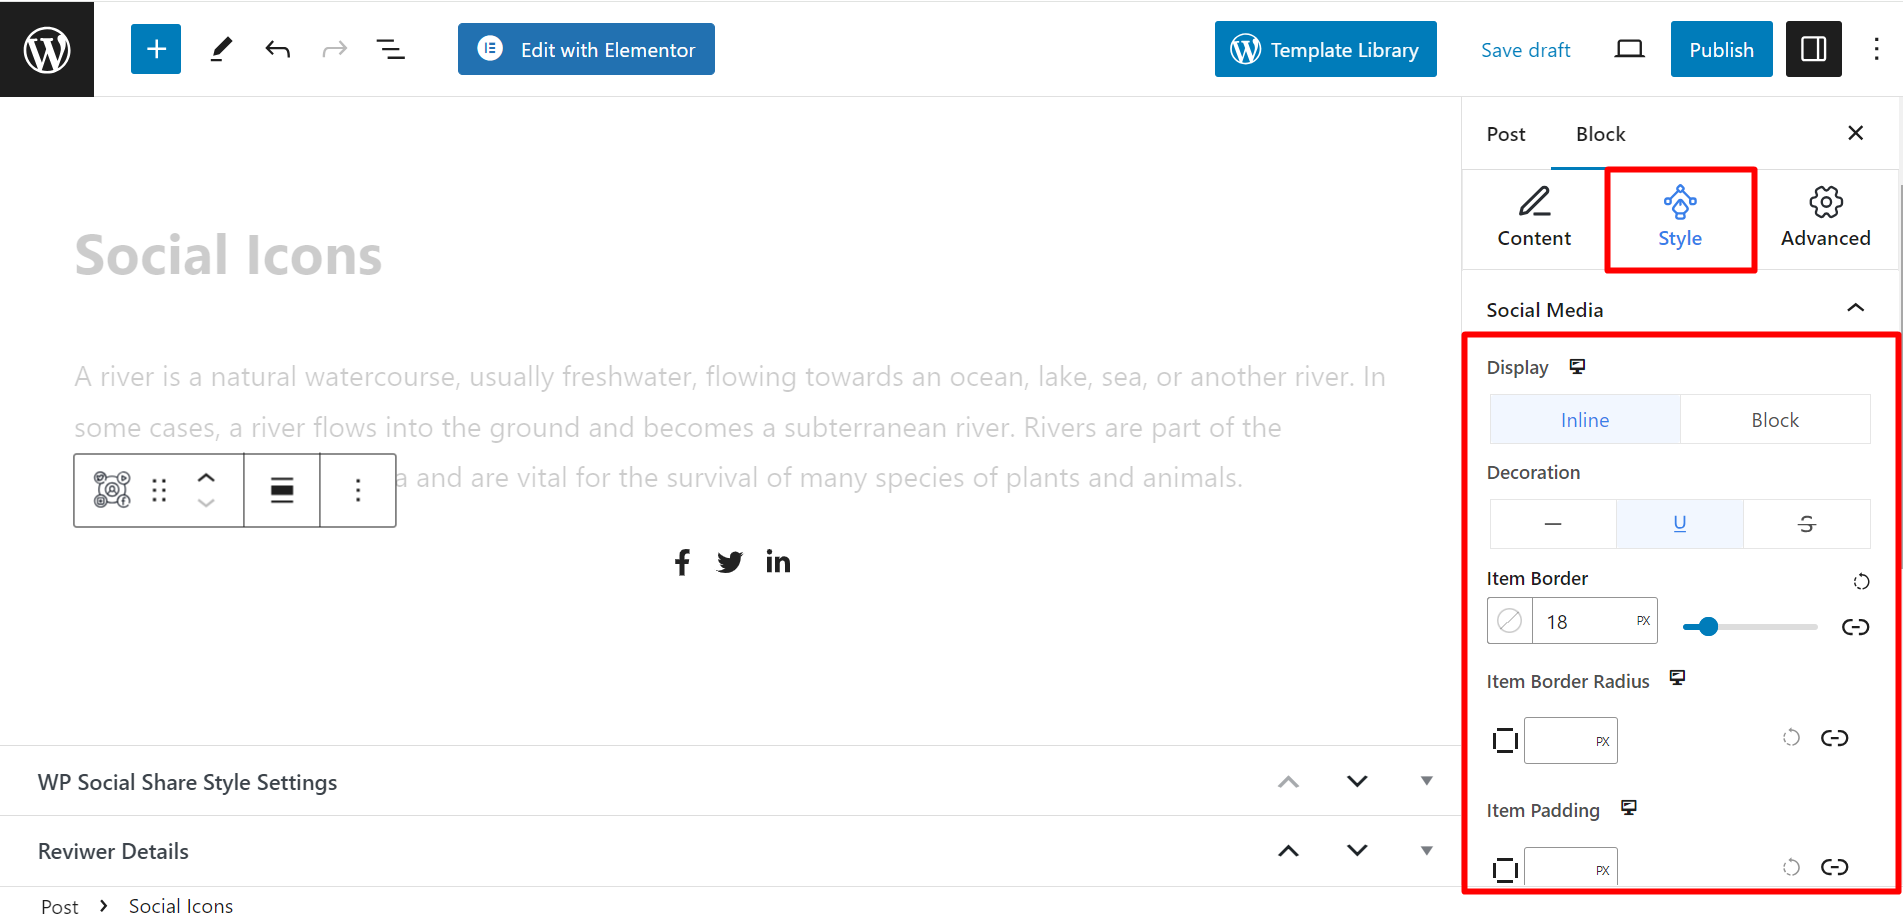
Agora, apresentaremos as opções de estilo para estilizar seus ícones. Vá para a seção Estilo e encontre –
- Mostrar: As opções são Inline e Block. Inline mostrará os ícones horizontalmente e Block os mostrará verticalmente.
- Decoração: Este recurso é para ícones de estilo de texto. Os estilos são – normal, sublinhado, tachado.
- Borda do item: Você pode definir uma borda ao redor dos ícones. Quando você expandir a opção, ela mostrará as opções de cor e estilo.
- Raio da borda do item: Se você escolher um tipo de borda, poderá ajustar o raio da borda aqui.
- Preenchimento de itens: Esta opção ajusta o preenchimento.
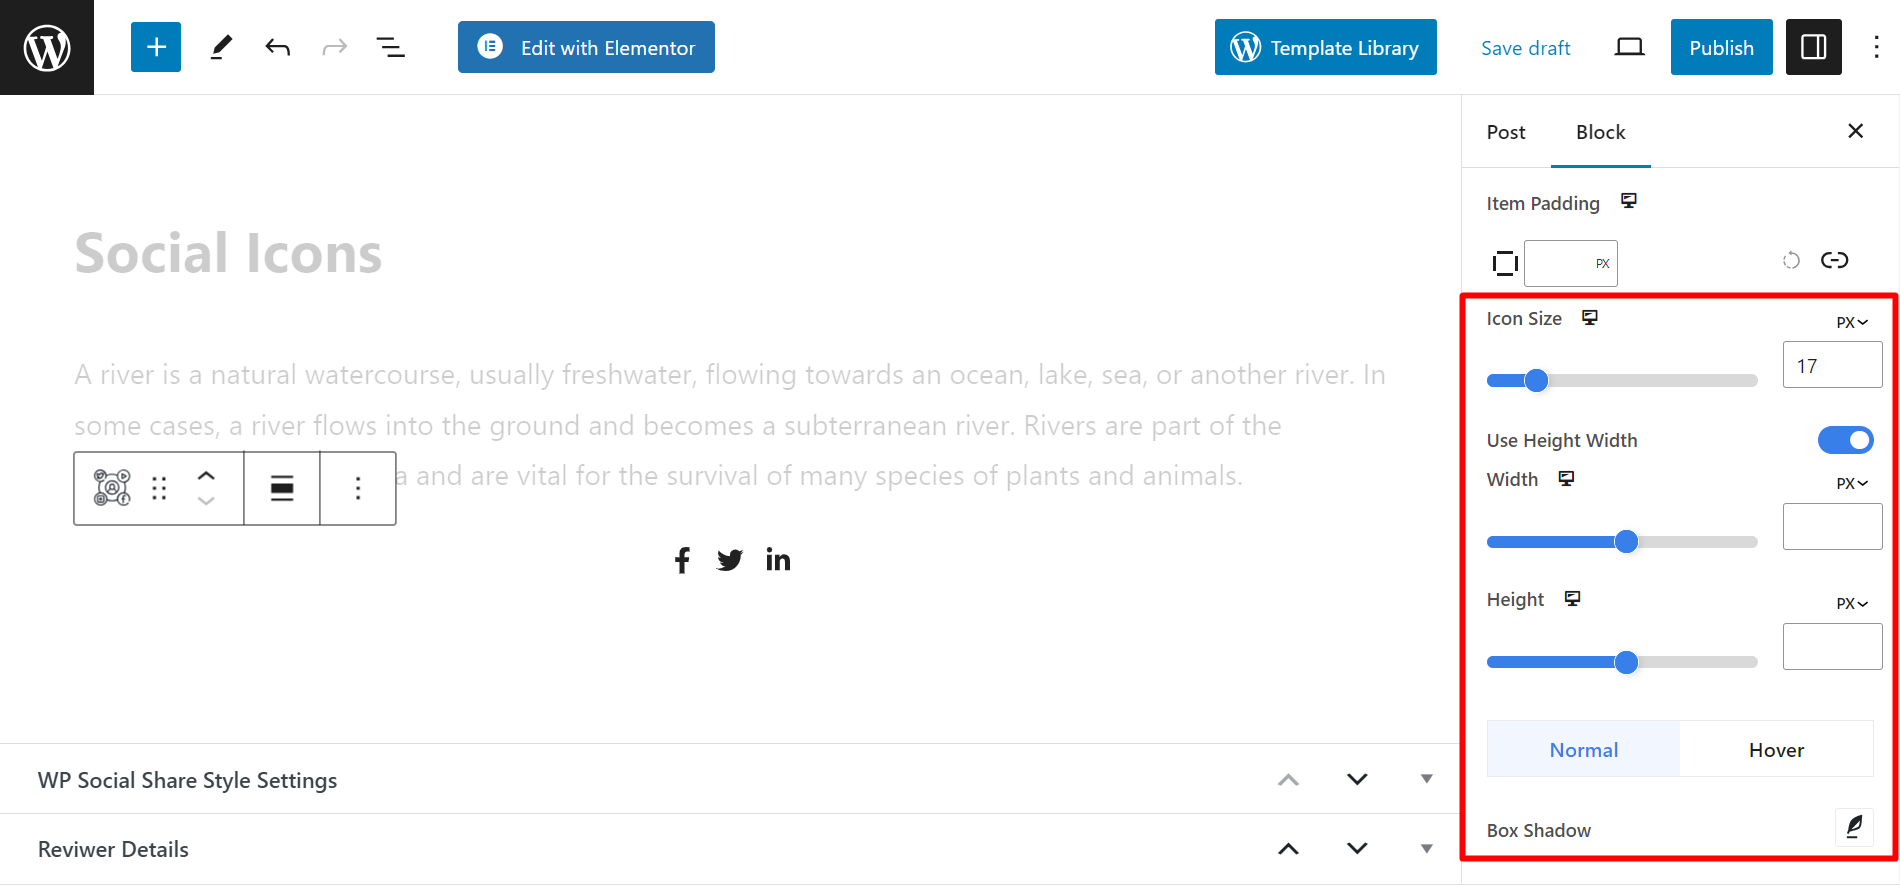
- Tamanho do ícone: Permite que você defina o tamanho do ícone.
- Usar Altura Largura: Se você quiser ajustar a altura e a largura dos ícones, você tem que alternar o botão. Agora, você pode ver as opções, largura, e altura e utilizá-los adequadamente.
- Sombra da caixa: Adicionar sombra a Normal ou pairar estilize e personalize os ícones com base nos seus desejos.
Por fim, você precisa salvar as alterações que fez. Veja o GIF abaixo, nós exibimos os ícones assim 👇
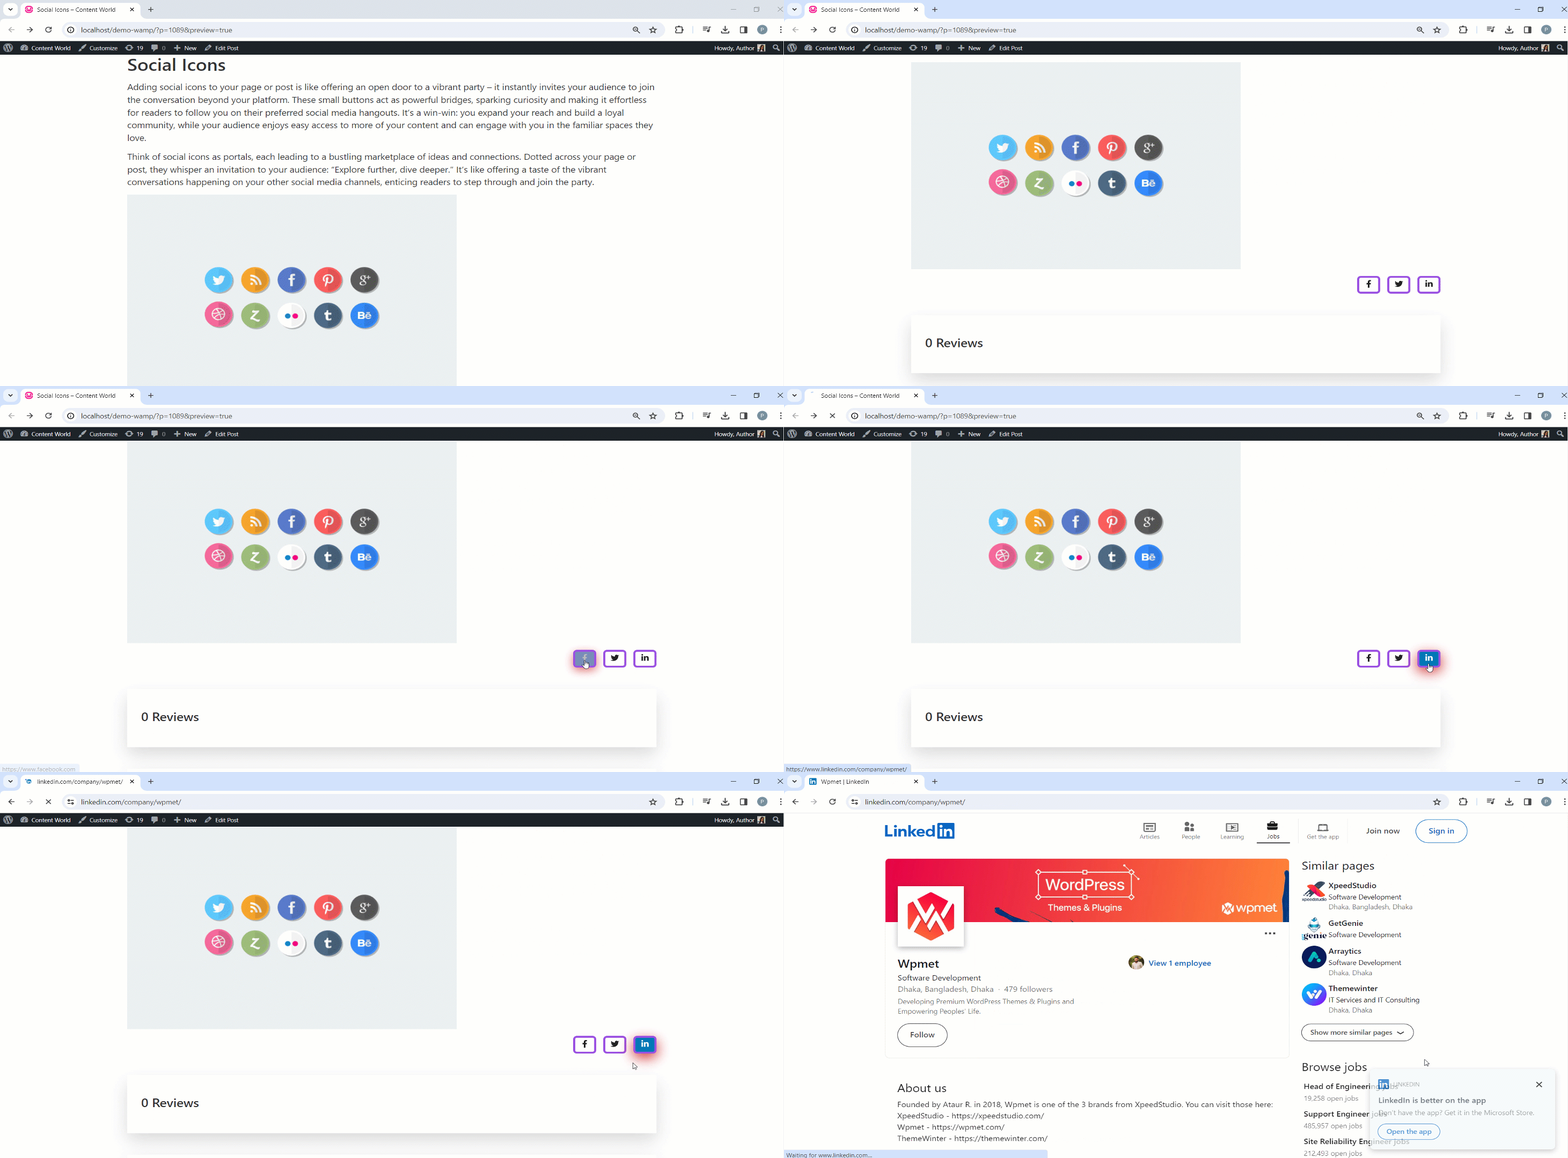
É simples! Experimente e nos dê seu valioso feedback.


