


With the GutenKit 고급 이미지 block you can insert images into various posts and pages with more control and flexibility.
Here, we will help you learn about how to use the GutenKit Advanced Image block.
Before entering the process, you must know how to install and activate GutenKit for WordPress.
고급 이미지 블록을 어떻게 사용할 수 있나요? #
Using Advanced Image via GutenKit is quite smooth. Let’s learn process as follows:
Entering the WordPress Dashboard #
First, you need to access your your WordPress dashboard. Then, follow these steps:
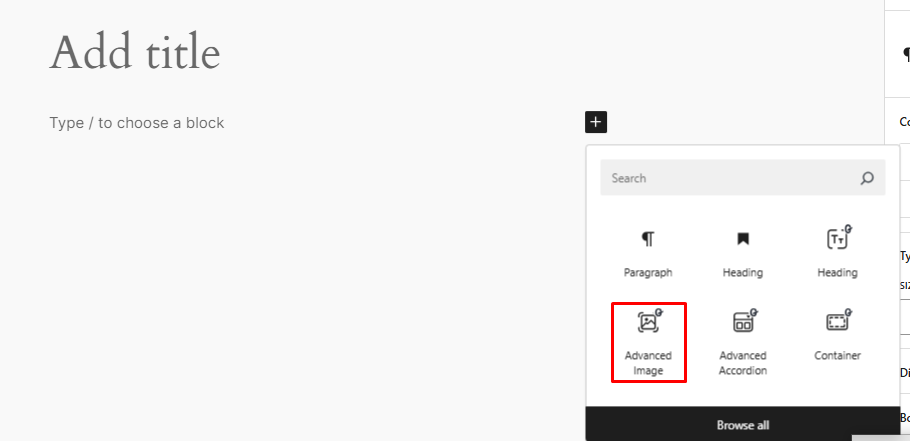
- 찾다 페이지/게시물 > 새 페이지/게시물 추가 또는 블록 편집기를 사용하여 기존 페이지 편집을 시작하세요.
- “를 찾으세요.+” 아이콘은 에디터 화면 오른쪽이나 상단에 있습니다. 클릭하세요.
- 블록 메뉴가 나타나면 '를 검색하세요.고급 이미지".
- 보이면 클릭하거나 블록 에디터 화면에 드래그 앤 드롭하세요.
Using Advanced Image of Gutenkit #
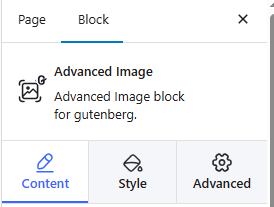
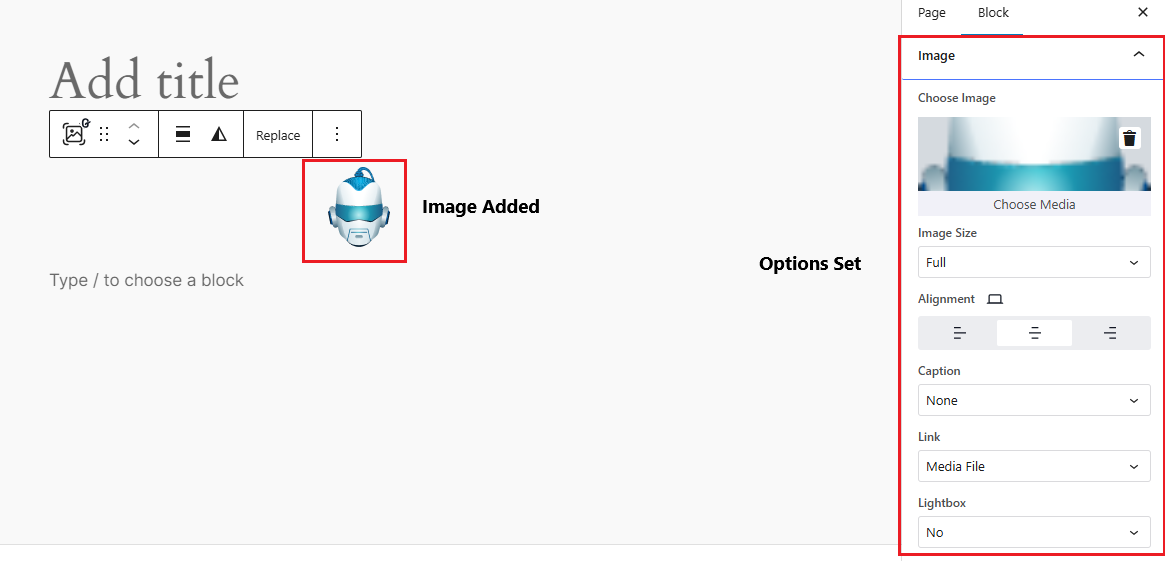
When you click on 고급 이미지, you’ll get these sections under the block settings: Content, Style and Advanced.
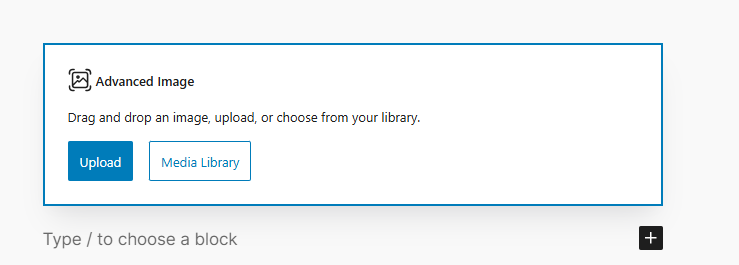
You can also directly upload an image from your device or the Media Library when you click on Advanced Image.
Step 1: Working with Content section #
Under the Content section, there is the 영상 option. From there, you can choose your image.
Also, how the image will be aligned can also be opted here, along with the types of captions and media links/files.
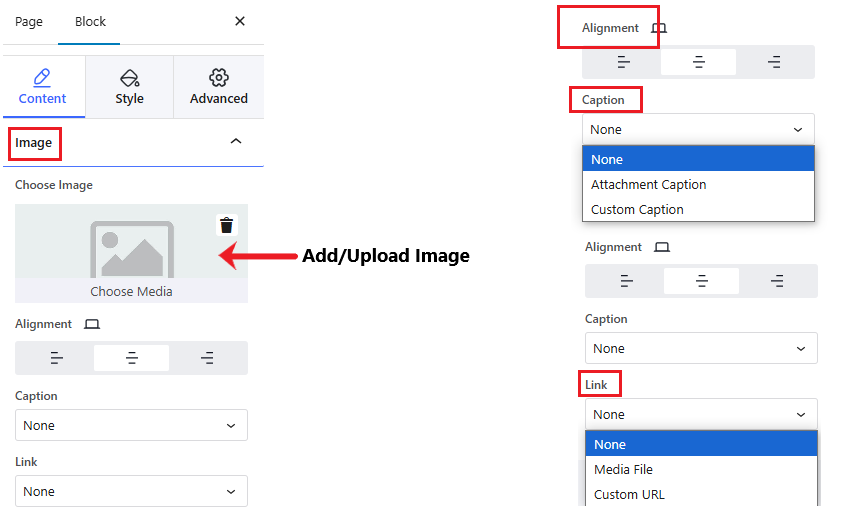
To make it more clear, the Media file lets you adjust Lightbox option, '예 아니오'. ㅏ 라이트박스는 더욱 집중적이고 몰입감 있는 시청을 제공합니다. experience for the media file. Again, if you select Custom URL, you can insert your desired URL with the image.
And example is given below:
Step 2: Style #
Next up is selecting the 스타일 of your image.
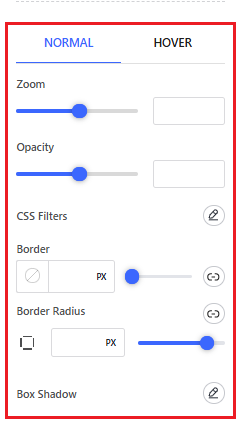
To style the image, you will get all the essential options under Style > Image including Width, Max width, Height, Object Fit, and Opacity controlling bars. Also available are options for adjusting CSS Filters, Borders, and Box shadow.
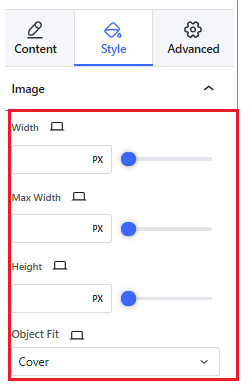
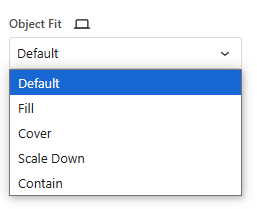
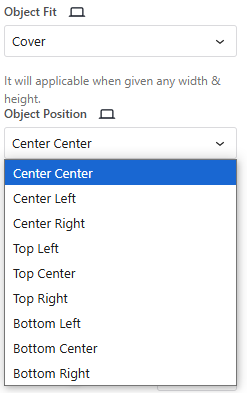
예를 들어, Object Fit offers 5 options on how the image will fill the the area: Default, Cover, Fill, Scale Down, and Contain.
Going further, choosing Cover offers the following options as shown in the image:
There is also an 씌우다 section which allows you to either show or not show overlay.
Step 3: The Advanced Section #
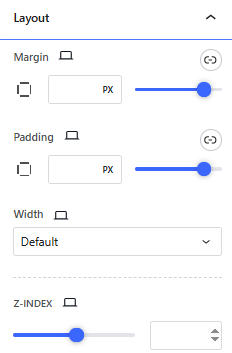
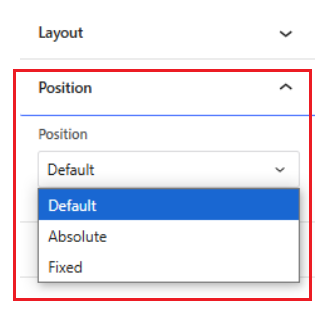
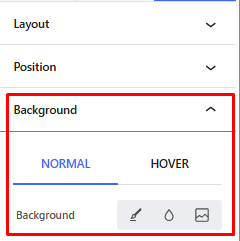
Finally, we can navigate to the Advanced section, which gives you options like:
- 공들여 나열한 것: How much margins you want to keep, how much padding you want to create, how much width the image will cover, and the length of Z-index.
- 위치: Here, you can select whether the image’s position will be fixed or absolute.
- 배경: Advanced Image lets the users modify image background as they wish. The user can add image to background or even make the image hover with transition.
- 국경: Like the Style section, the Advanced section lets you choose borders and box shadows as per need.
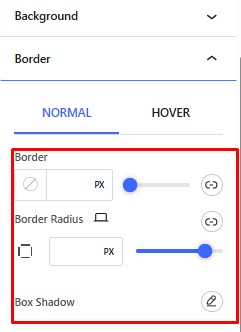
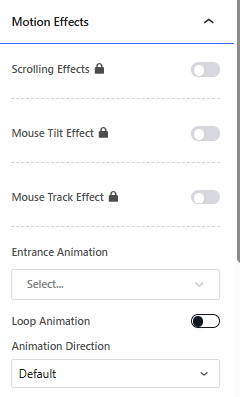
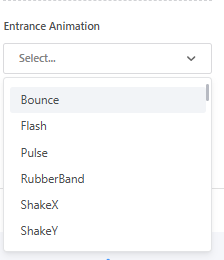
- 모션 효과: Another special feature you get with Advanced Image is the motion effects. You can add various animations to your image and make it look catchy.
And finally, one can round everything off by setting the 시계, which includes:

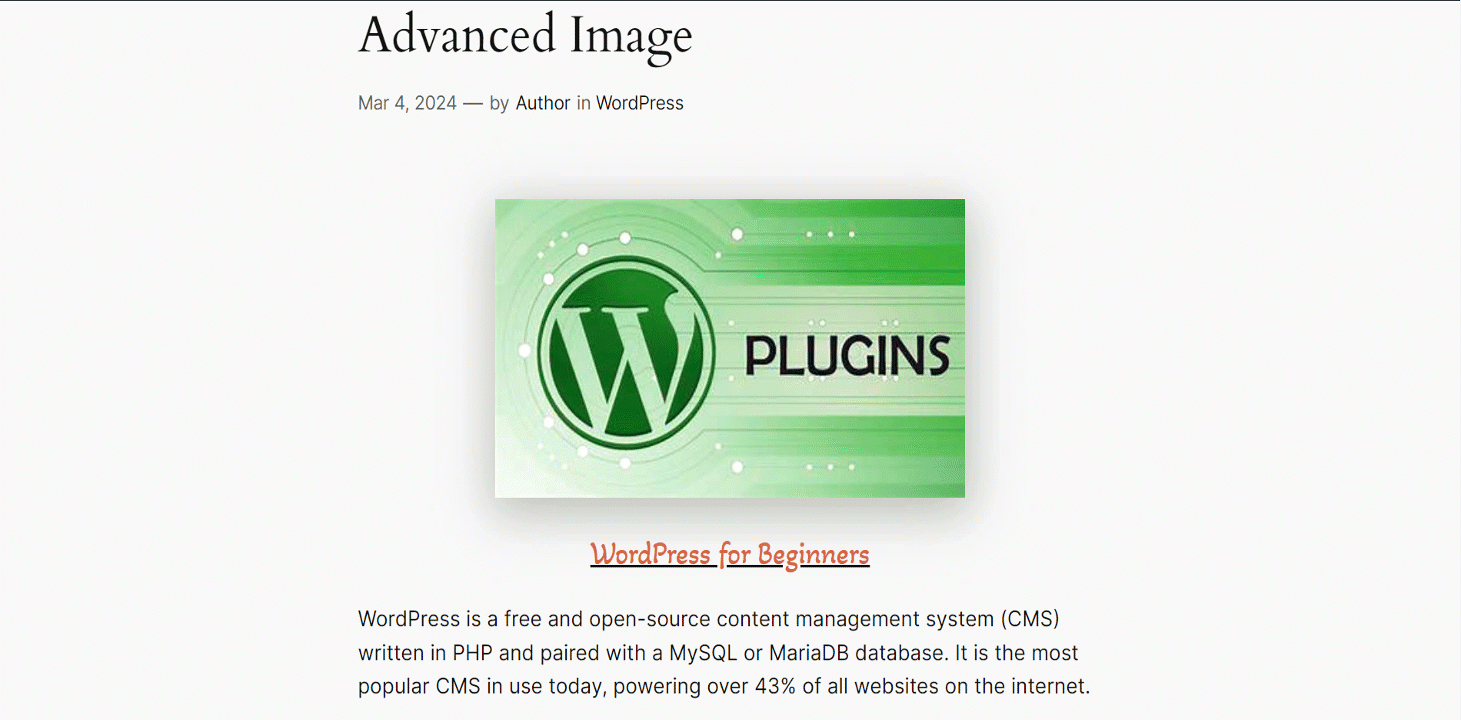
최종 출력 #
우리는 당신을 위해 예를 준비했습니다 –
The steps are simple yet the output is amazing. Try GutenKit now and explore the magic of Advanced Image.


