


배경 이미지 패럴랙스 #
A major trend in web design is Parallax scrolling, which involves the Background Image is moving at a slower rate to the foreground content as you scroll down the page. This 시차 효과 can be applied to Elementor site.
이 가이드에서는 ElementsKit을 사용하여 배경 이미지에 시차 효과를 추가하는 방법을 보여드리겠습니다.
비디오 가이드를 시청하세요:
또는 아래의 단계별 지침을 따르세요.
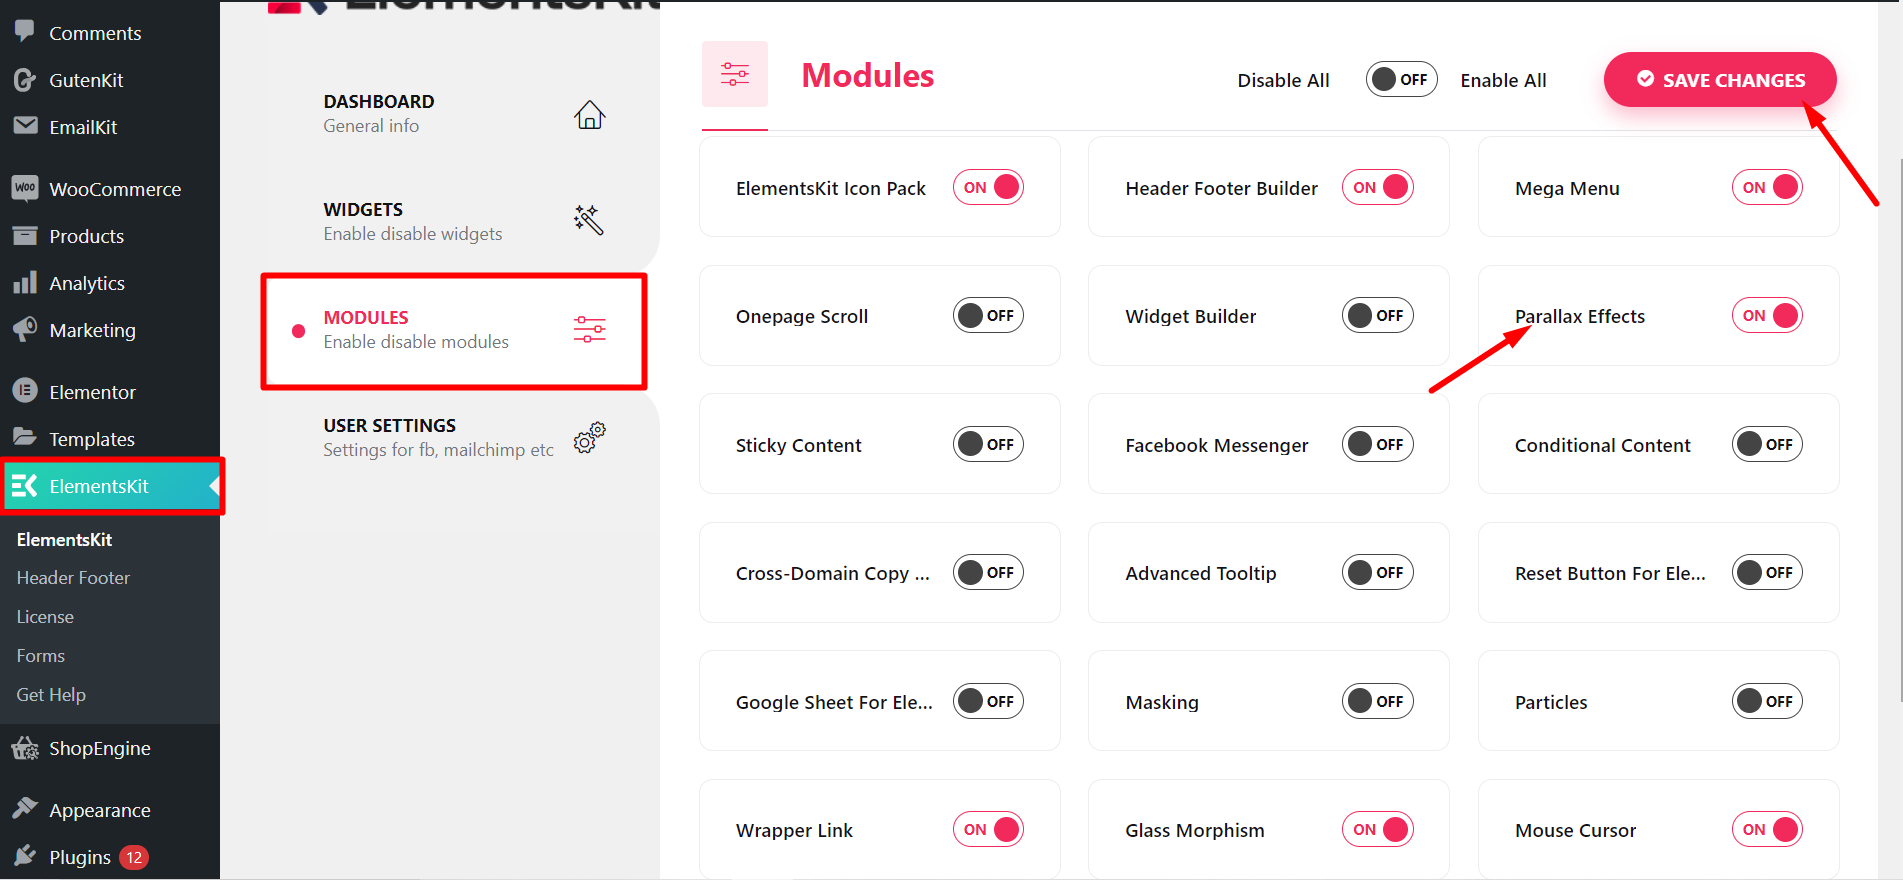
단계=>1: 확인하세요 시차 모듈은 에 ~에서 계기반 → ElementsKit → 모듈
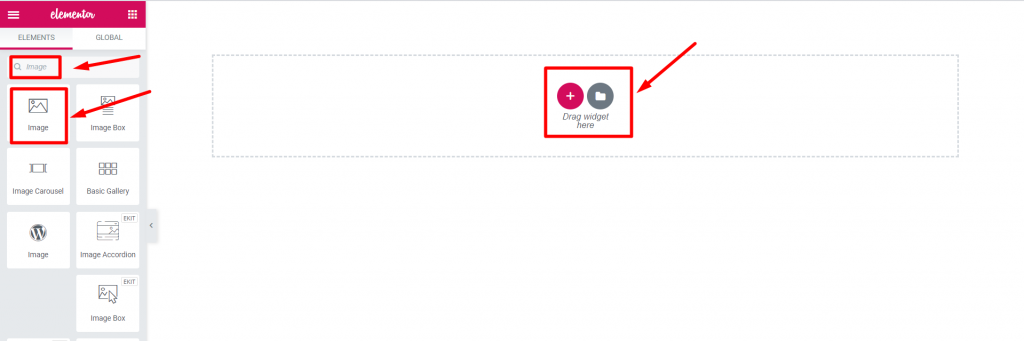
단계=>2: 이동 강요=> 검색 영상=> 드래그 앤 드롭 이미지 섹션.
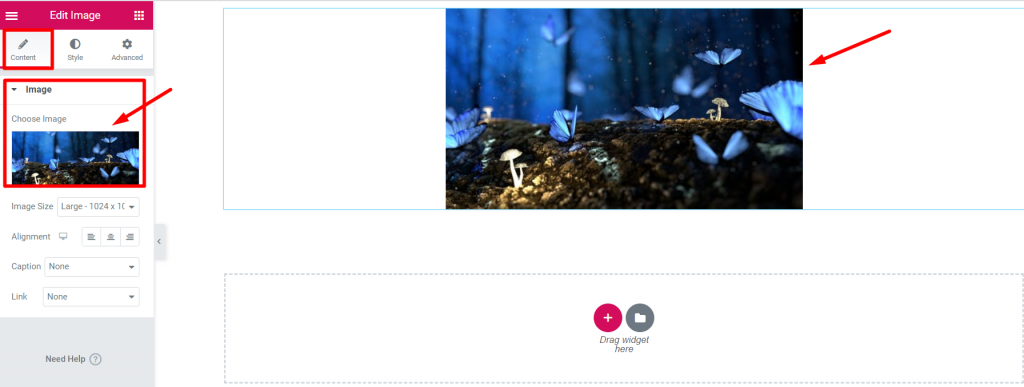
단계=>3: 을 추가하다 배경 이미지 ~에서 섹션 편집 → 콘텐츠 탭
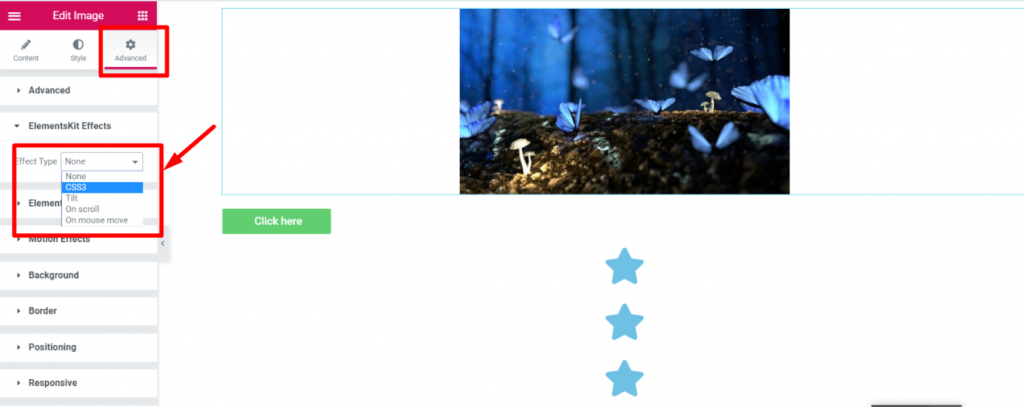
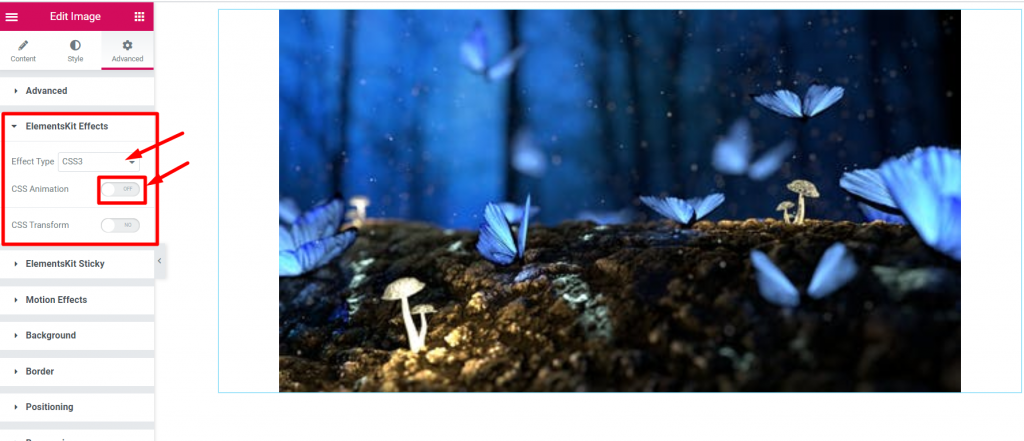
단계=>4: 이동 고급 탭 -> 클릭하세요 ElementsKit 효과->효과 유형 선택 CSS3, 틸트, 스크롤 시, 마우스 이동 시 옵션 당신의 선택에 따라
CSS3 #
- 단계=>1: 이동 고급 탭=>ElementsKit 효과=> 효과 유형=> 선택 CSS3=> Turn on the CSS 애니메이션 비녀장
- 선택하다 애니메이션 효과 ~에서 쓰러지 다
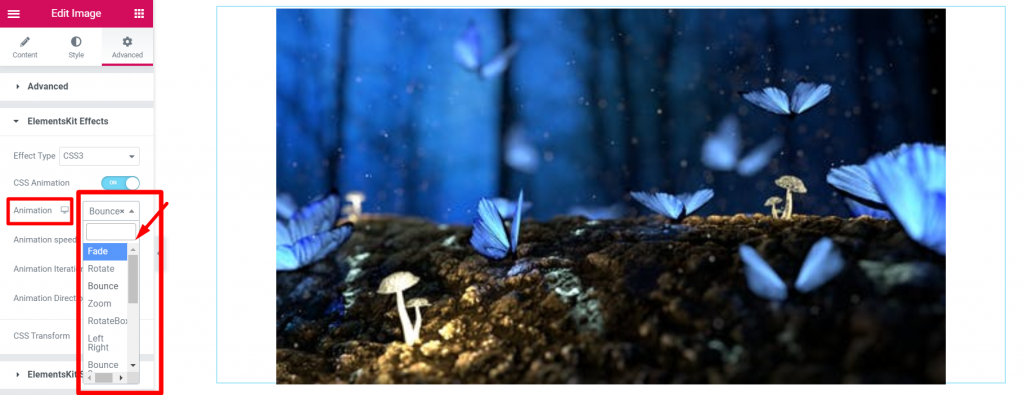
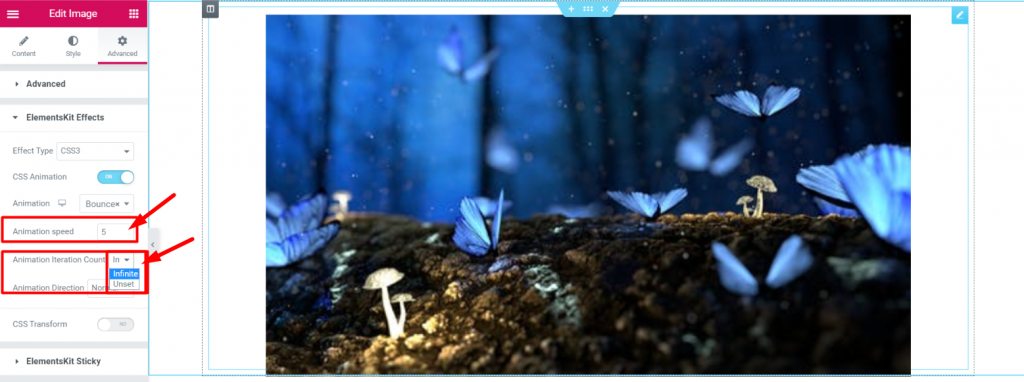
- 수정하다 생기 속도
- 생기 반복 횟수=> 무한 또는 설정 안 함
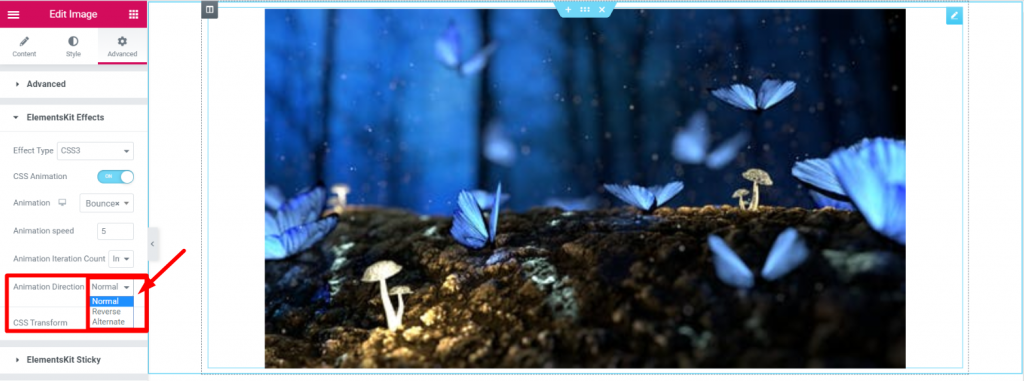
- 선택하다 애니메이션 방향
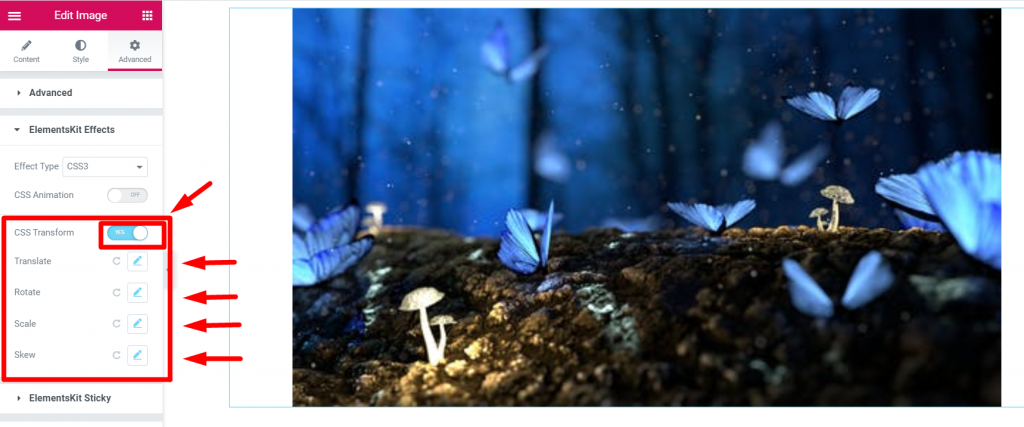
- 단계=>2: ElementsKit 효과=> 효과 유형=> 선택 CSS3=> Turn on the CSS 변환 비녀장
- 번역하다
- 회전
- 규모
- 비스듬한
- 원하면 재설정하세요
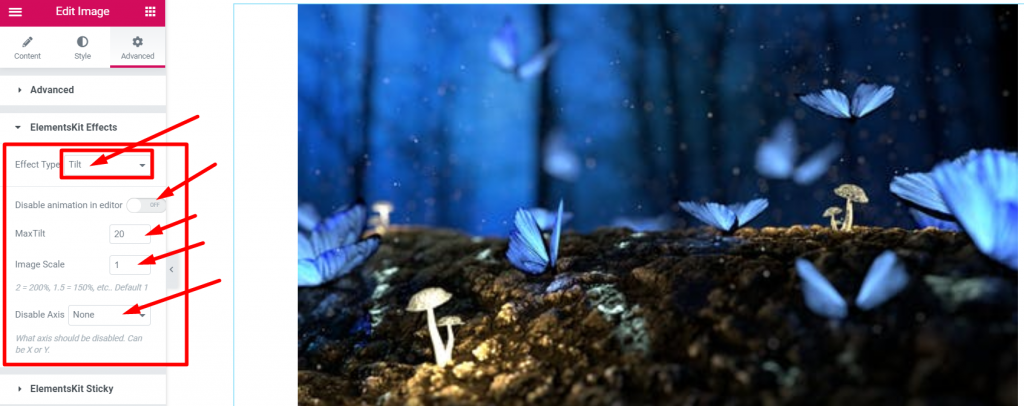
경사 #
단계=>1: 이동 고급 탭=>ElementsKit 효과=> 효과 유형=> 선택 경사
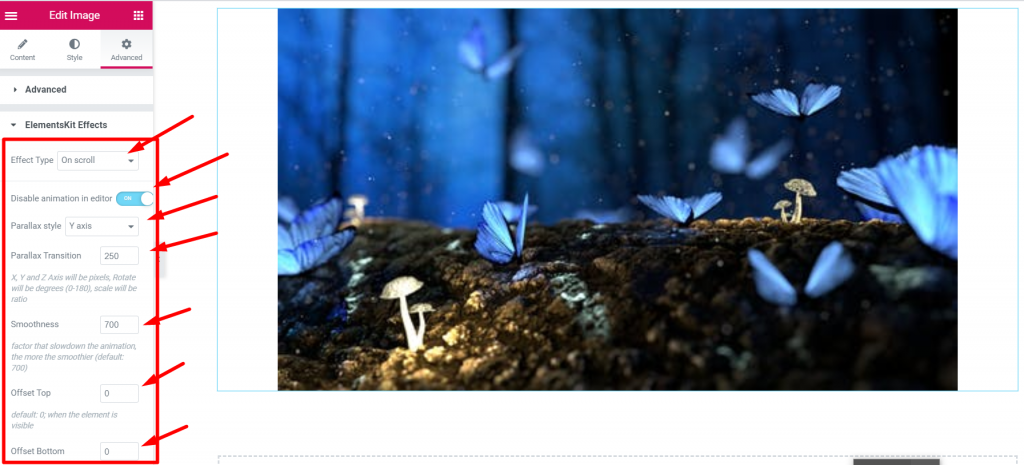
스크롤 켜기 #
단계=>1: 이동 고급 탭=>ElementsKit 효과=> 효과 유형=> 스크롤에서 선택
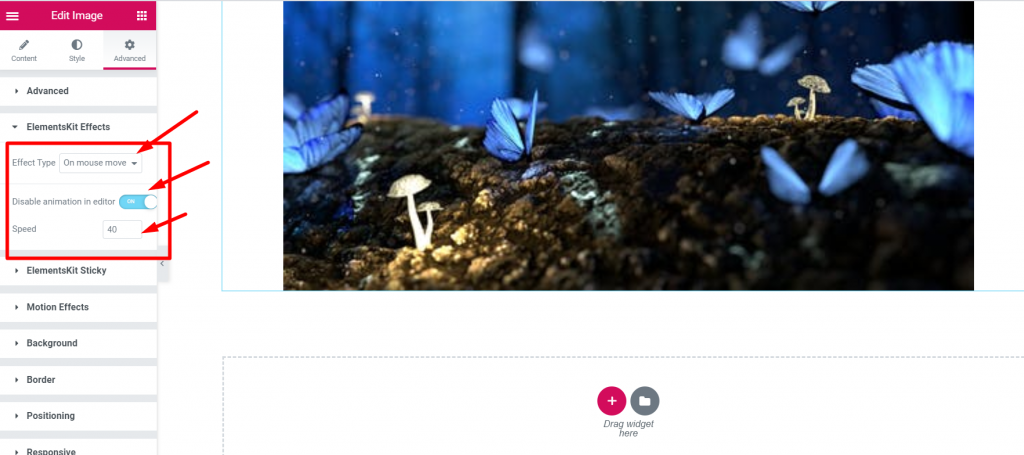
마우스 이동 시 #
단계=>1: 이동 고급 탭=>ElementsKit 효과=> 효과 유형=> 마우스 이동 시 선택
이것이 Elementor 페이지나 웹사이트에 패럴랙스 효과를 적용할 수 있는 방법입니다. Elementor 페이지에 패럴랙스를 적용하는 간단하고 매력적인 방법을 알아보세요.
Quick Recap
Let’s recap what we covered in this tutorial on adding parallax effects on WordPress websites.
Tools Used: Elementor & ElementsKit 요소 애드온
✅ Install and activate the ElementsKit Advanced Parallax Module.
✅ Start editing with Elementor the page or post where you want to add the parallax background effect
✅ From the Advanced tab, select the effect type between CSS3, Tilt, On scroll, or On Mouse Move option.
✅ Apply your preferred motion effects and save changes.
✅ Preview and publish the parallax design.
Following this, ElementsKit parallax effects tutorial, you can easily add an illusion of depth and 3D movement to any section or container of your WordPress page without any coding.


