


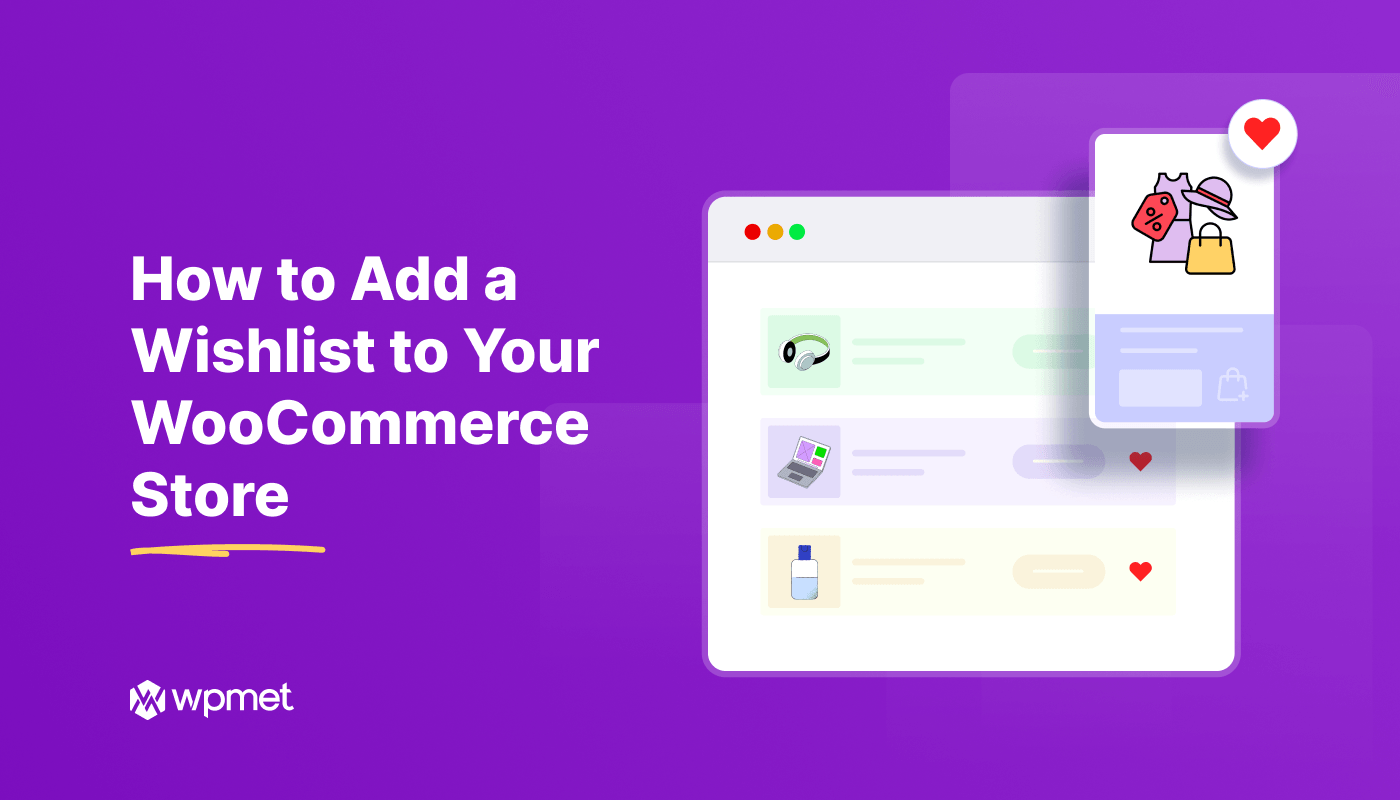
Allowing customers to save their favorite products for later purchases means mastering the ease of their shopping experience. It also improves customer engagement and leads to increased sales. So, keeping a wishlist option for your WooCommerce business is beneficial.
In this guide, we’ll show you how to add a wishlist to your WooCommerce store.
Quick Overview
This guide will showcase adding wishlist feature to your eCommerce store, letting customers save products for future purchase. You will need zero coding for this tutorial. First, you have to install a WooCommerce wishlist plugin, ShopEngine. Since it’s an Elementor and WooCommerce addon, you have to install free version of these plugins along with ShopEngine free & pro.
Tools Used: WooCommerce (free), Elementor (free), ShopEngine (free & pro)
Now, follow the steps below to set wishlist on your WooCommerce store:
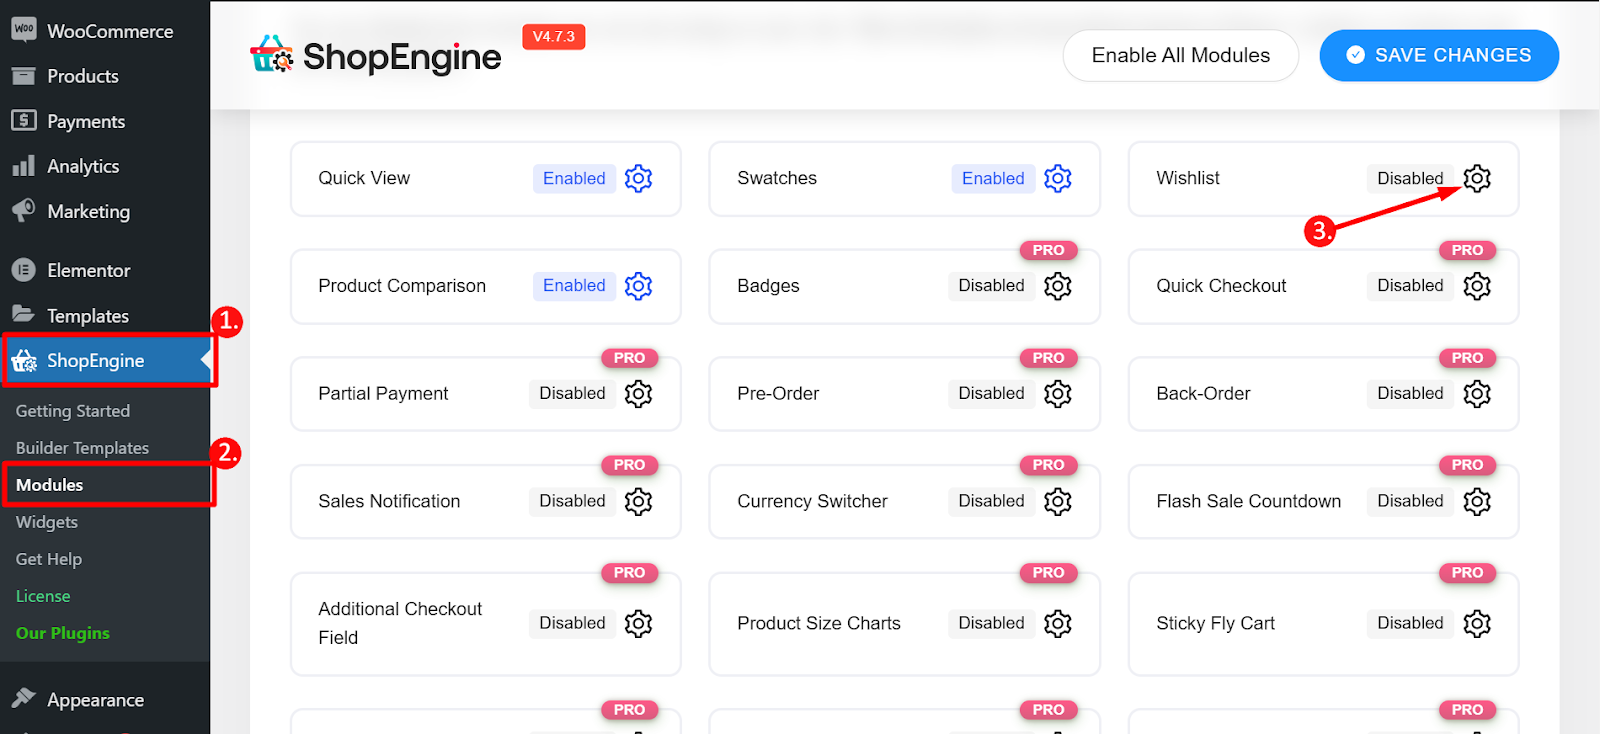
✅ Navigate to the Modules tab.
✅ Wishlist module configuration.
What is a wishlist?
A wishlist is a list of desired items. When customers visit WooCommerce stores and check products, they save items for future reference or purchase.
Adding a wishlist enhances your customers’ experiences and encourages repeat visits.
How to add a wishlist to your WooCommerce store
を使って WooCommerce wishlist plugin is the quickest way to add your desired wishlist to a WordPress site.
Here, we’ll use ShopEngine, among the best wishlist plugins for WooCommerce.
You can install and configure it in just a few steps on your WordPress site.
Let’s learn the steps of how to add a wishlist to your WooCommerce store with ShopEngine.
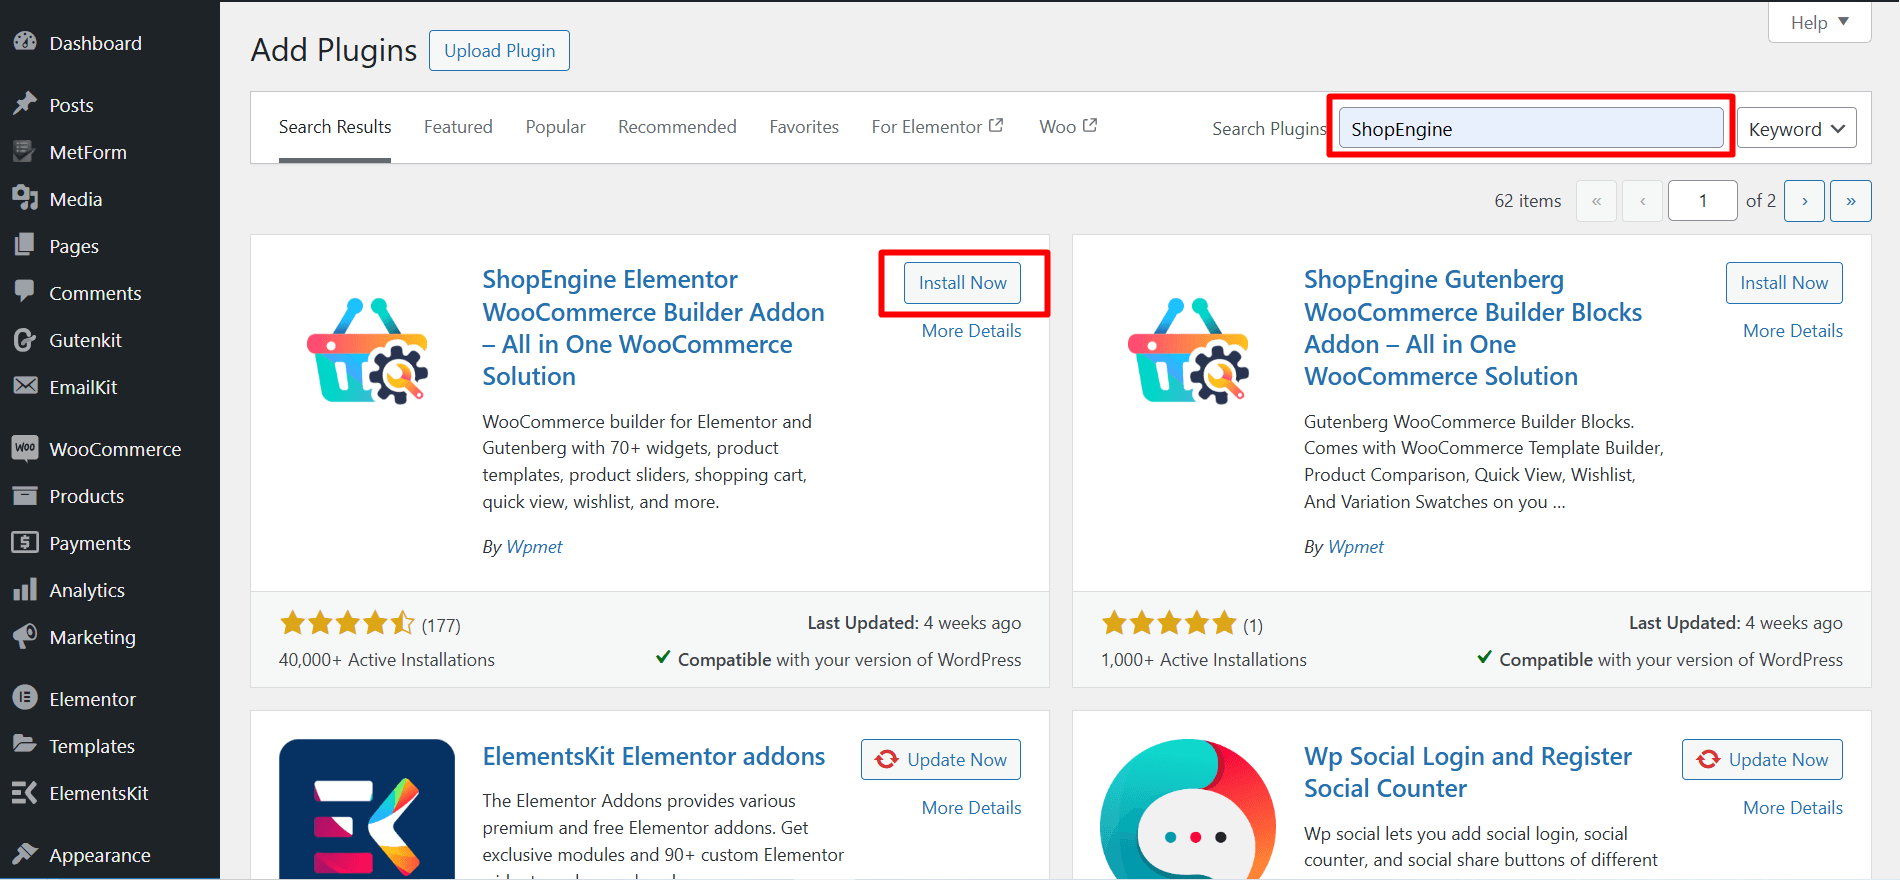
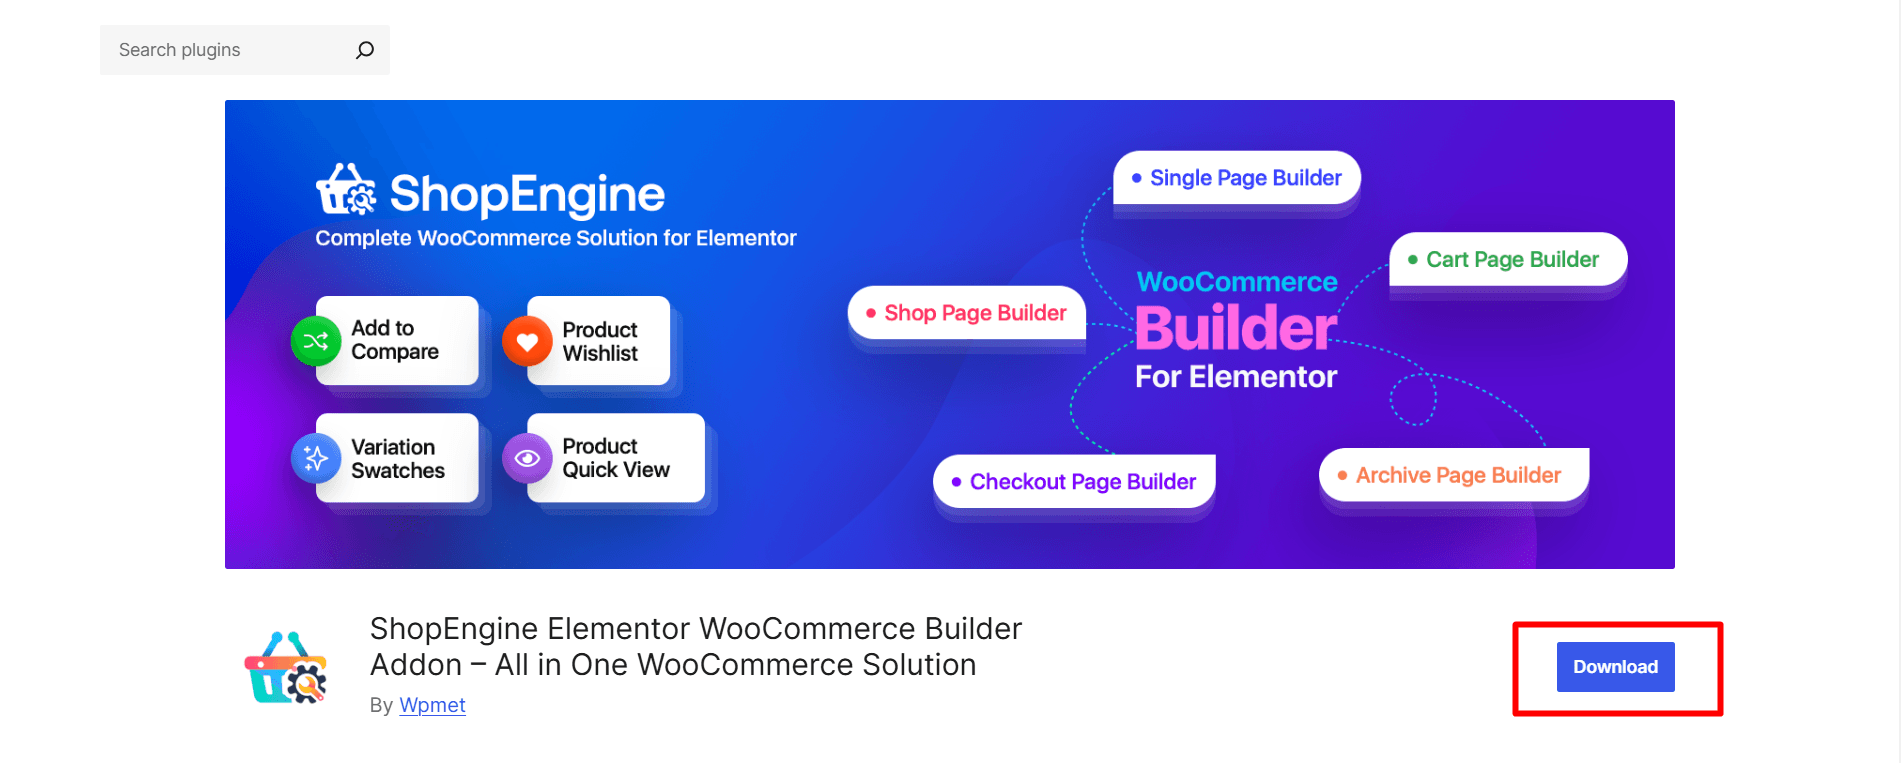
Step 1: Install ショップエンジン (The entire solution for your WooCommerce store)
Go to plugins and search ShopEngine from your WordPress dashboard > Click on the Install Now button.
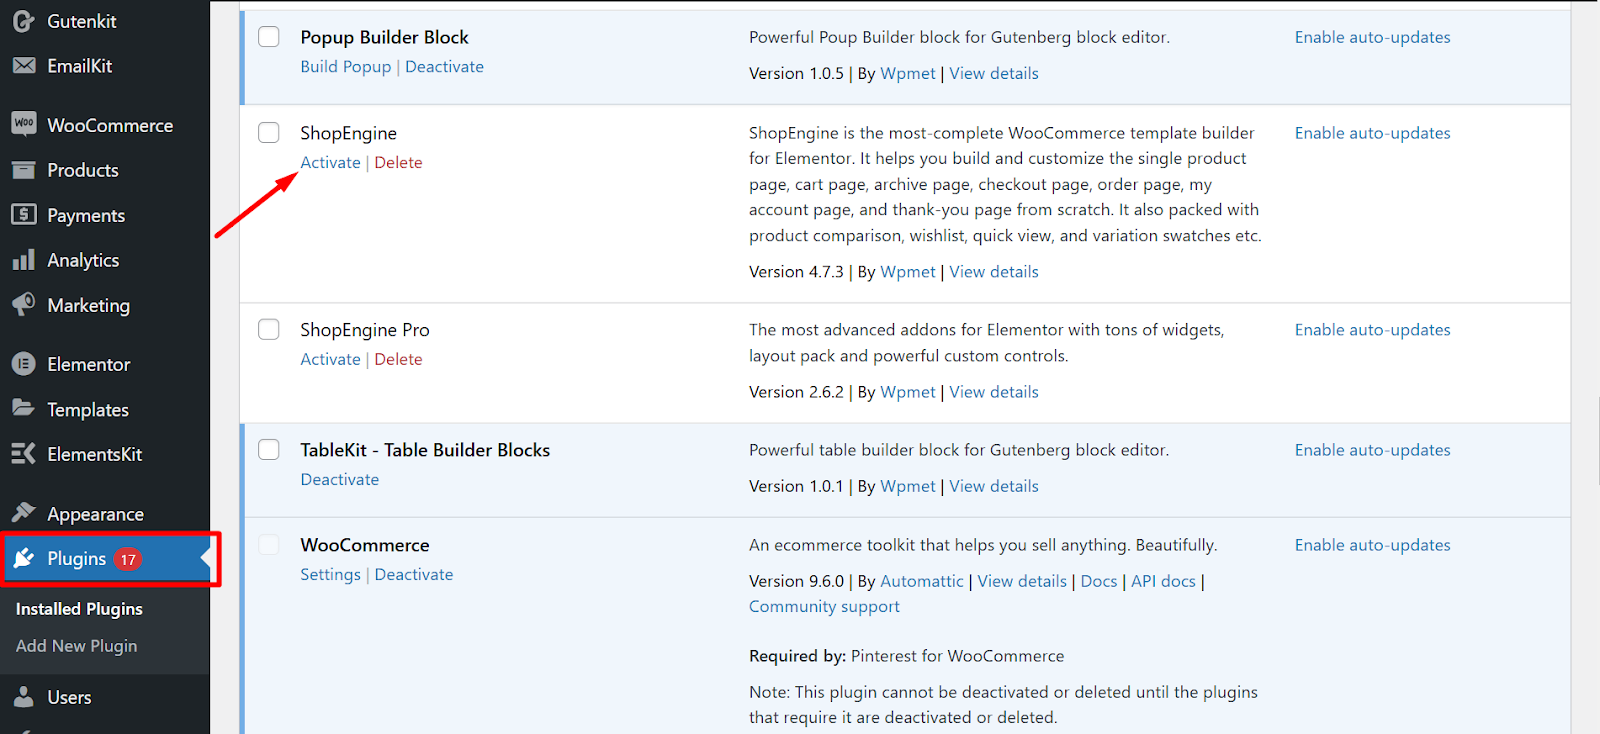
Now, you have to activate the plugin and you’re done.
OR, download the ShopEngine plugin from org.
Next, from the dashboard:
- Proceed to the Plugins > Add Plugins > Upload Plugin
- クリックしてください ファイルを選ぶ button and upload the downloaded zip file.
- クリック 今すぐインストール and after that, activate the plugin.

Step 2: Find the Wishlist module and enable
You need to enable the module to activate it. To enable the module:
- Navigate to ShopEngine > Modules.
- Find the Wishlist Module from the module list.
- 設定アイコンをクリックします
After clicking on the settings icon, you’ll have a window with the enable option.
Enable the module: You have to toggle this button and save the changes to enable the Wishlist module.
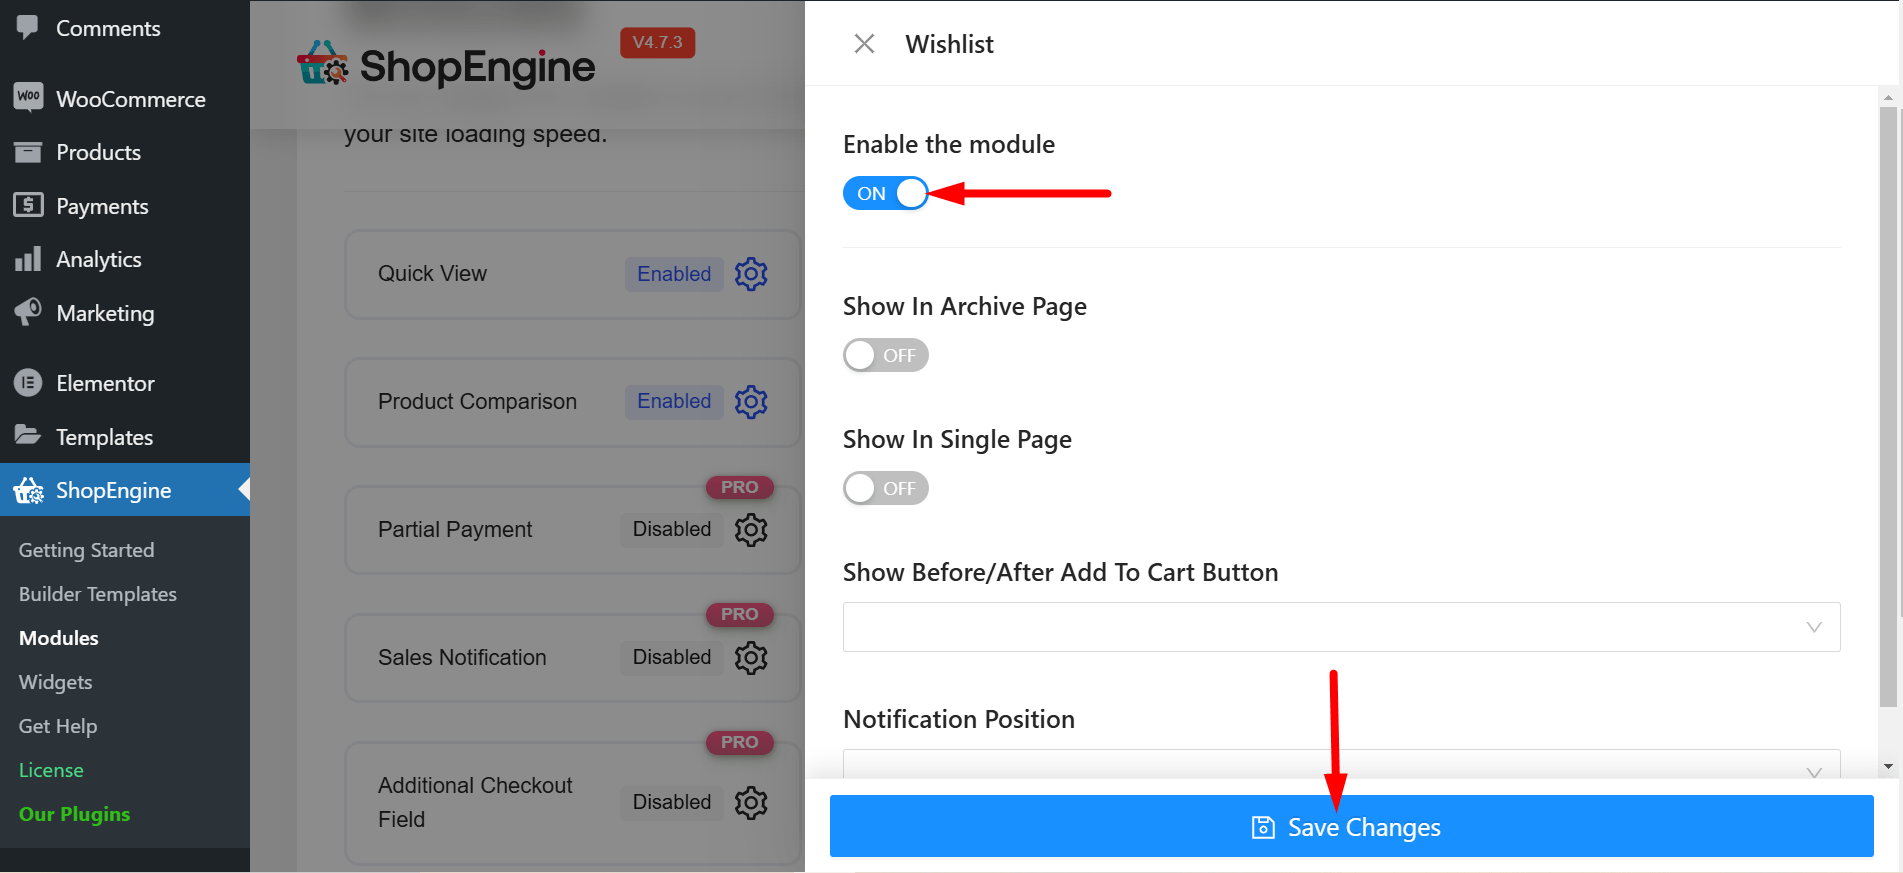
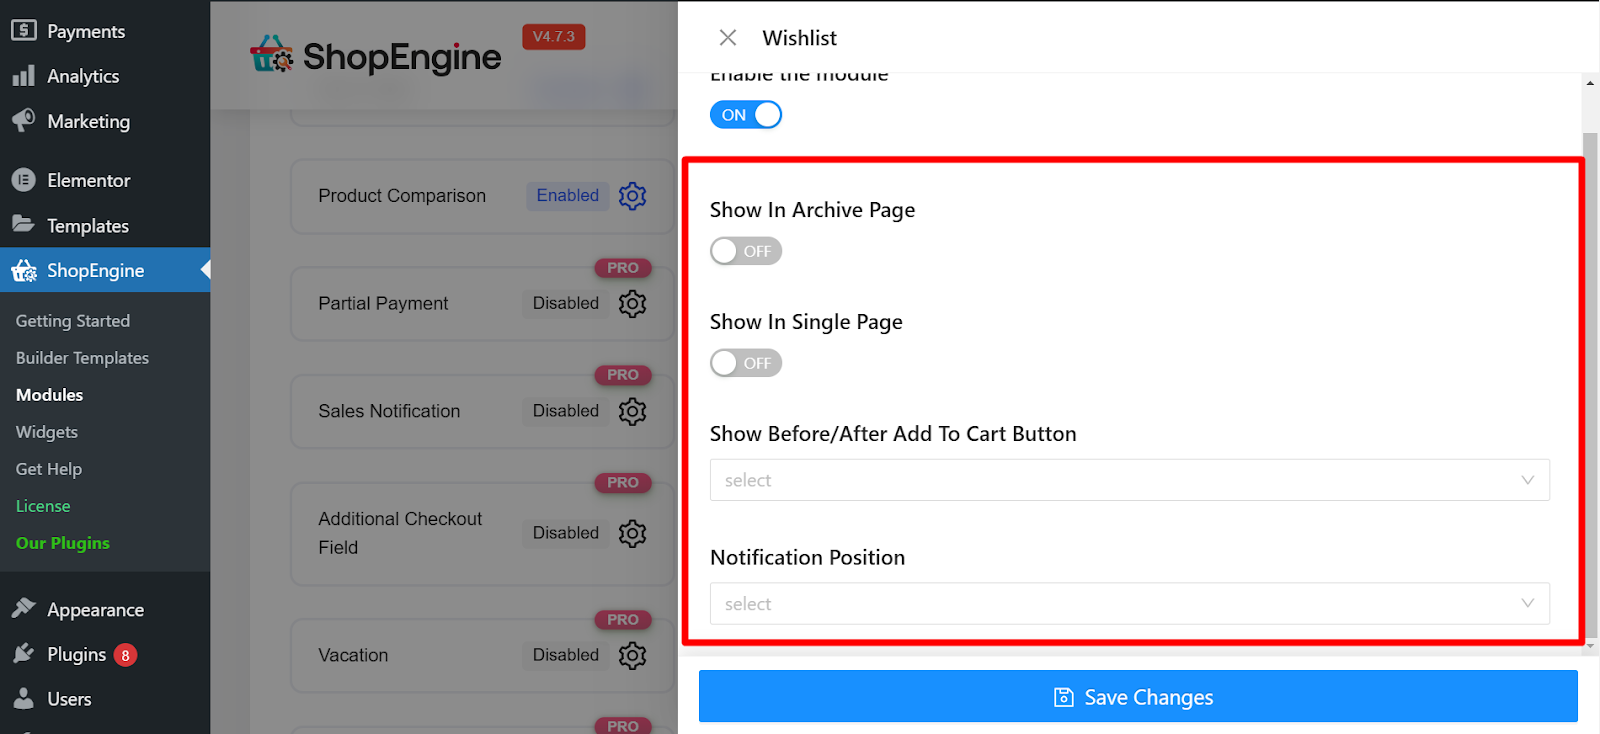
しかし、 you can also customize the following settings:
- Show in Archive Page: You can show the wishlist option on the archive page.
- Show in Single Page: If you want you can display the wishlist option on individual product pages.
- 「カートに追加」ボタンの前後に表示: This option lets you position the Wishlist button on product pages before or after the ‘Add to Cart’ button.
- 通知位置: This might determine where a notification (e.g., ‘Item added to Wishlist’) is displayed on the screen. Examples of positions could include Top left, Top right, Bottom left, and Bottom right.
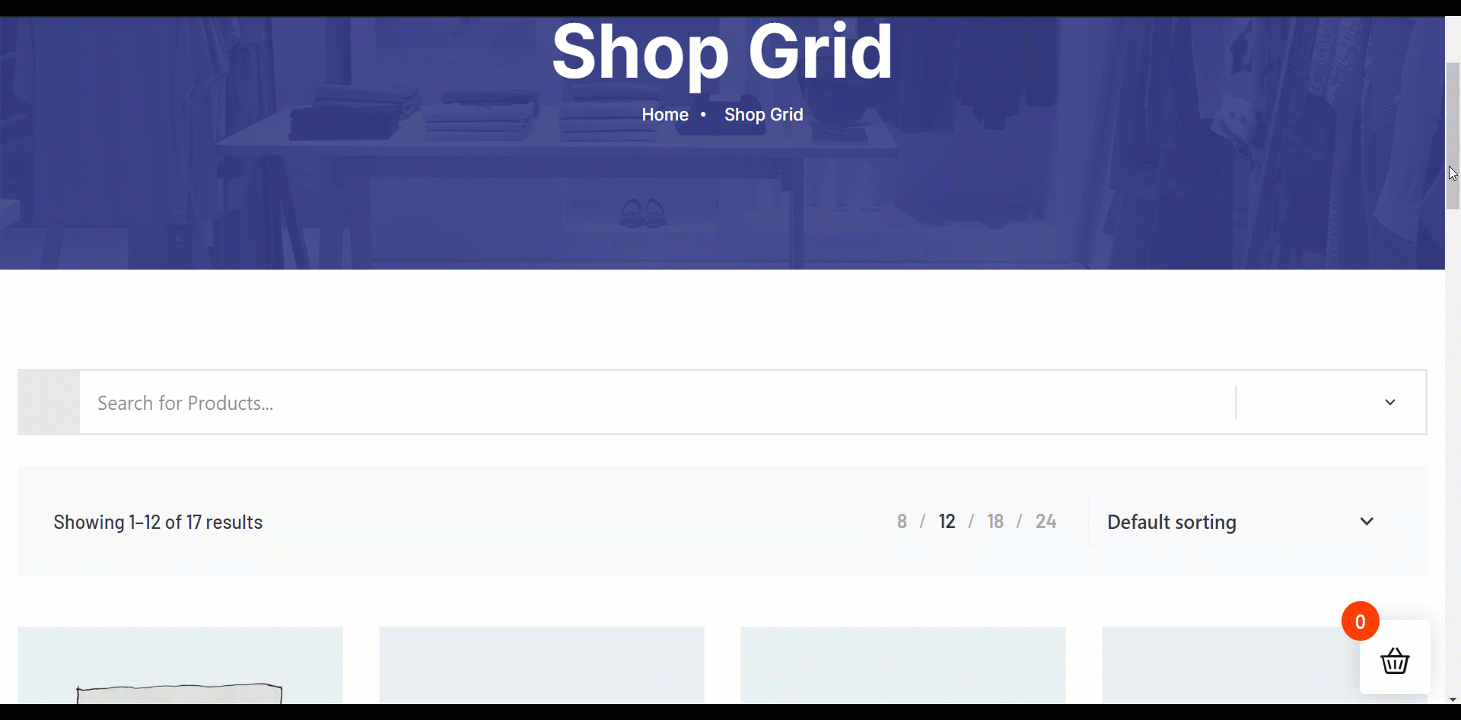
Visit a Shop page, archive page, or single page and check if the Wishlist button has been added.
See the GIF below, the Wishlist button has been added. This is how you can click on the wishlist button and get an instant notification ‘Your product is added to wishlist’.
Moreover, you can also remove an added product from the wishlist by pressing the same button. A popup will show the notification ‘Your product is removed from wishlist’.
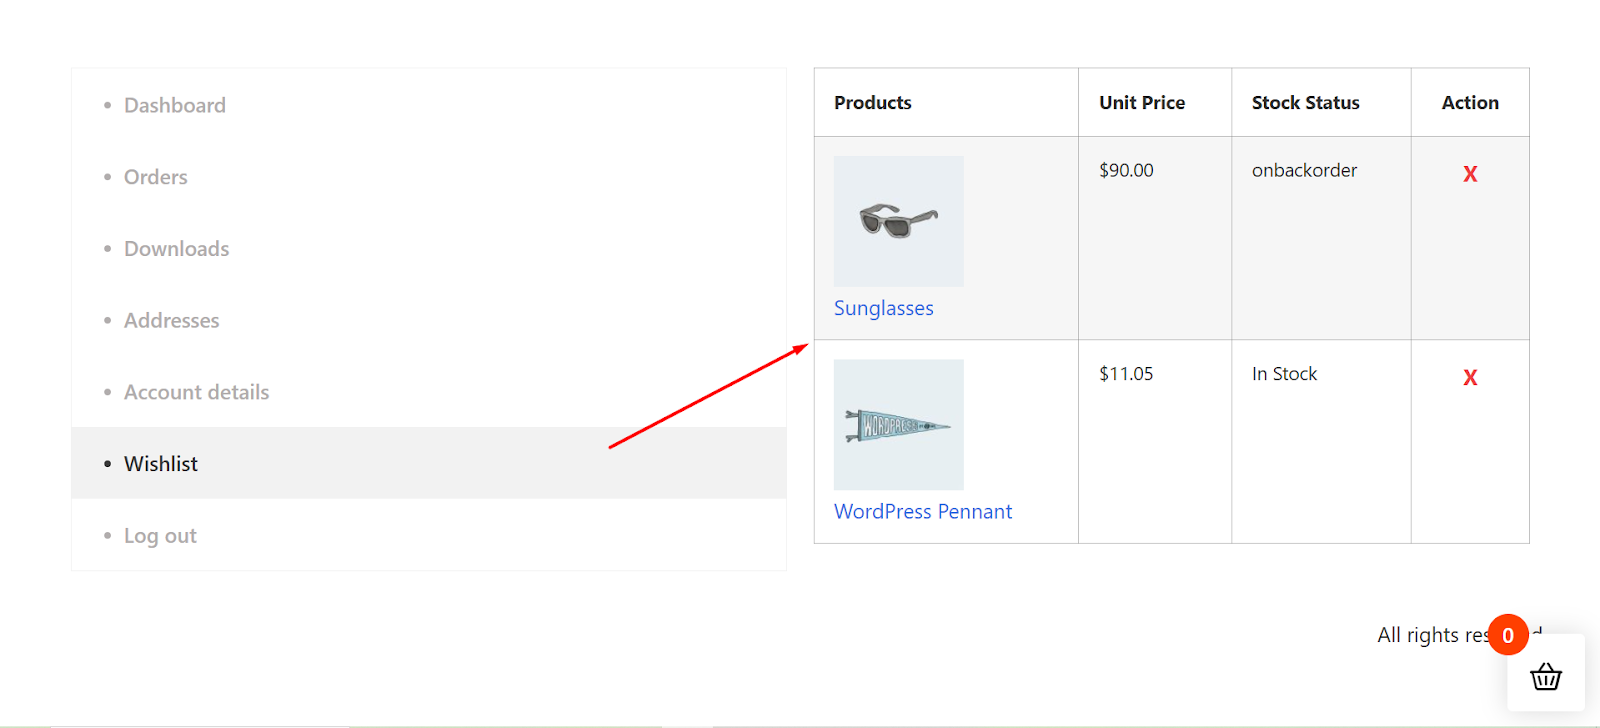
To check the list of your added products to the wishlist, you have to go to the My Account page その後 go to the wishlist tab. Here are your added products and by clicking the cross option from the ‘Action’ row, you can remove any product easily.
Beyond the wishlist: Features to improve your store
Enriching your online store goes beyond just a wishlist feature.
You can find several additional tools and functionalities that can take your shopping experience to the next level.
Let’s get introduced to some of the popular features:
1. Product comparison option: This feature allows customers to 製品の比較 side by side, helping them make informed decisions.
2. Quick view option: It’s a quick way to preview product details. You can keep this option to enable shoppers to check details without navigating away from the current page.
3. Adding badges and labels: に highlight key product features, discounts, promotions, etc. you can create badges and labels. It helps to attract customers’ attention quickly and improves user experience.
4. Partial payment system: It lets customers pay a portion of the total amount upfront and the rest later. The system takes care of your clients’ affordability and enhances their flexibility.
5. 通貨スイッチャー: It caters to a global audience. It allows customers to view product prices and make purchases in their preferred currency. So, you can ensure a seamless and localized shopping experience with this feature.
結論
Can you manage the WooCommerce wishlist now? The answer should be YES! With the right plugin, you can do it and let your customers save and return their favorite products anytime. ✌️

コメントを残す