


This documentation guides you through how to purchase, install, and activate ElementsKit Pro. The process is quick and easy, just follow the steps below.
Purchase, Install, and Activate ElementsKit Pro #
前提条件:
- Ensure the page builder is installed and active 👉 エレメンター
- Install and activate the lite plugin 👉 ElementsKit
ステップ1: ElementsKit Proの購入方法 #
- ナビゲーション 価格設定 ページ のために ElementsKit
- ご希望の料金プランを選択してクリックしてください 今すぐ購入 ボタン。
- リダイレクトされます Checkout page. On this page, complete the required procedures and click on the 購入 ボタン。
- ご希望のお支払い方法を選択し、次の手順に進みます。
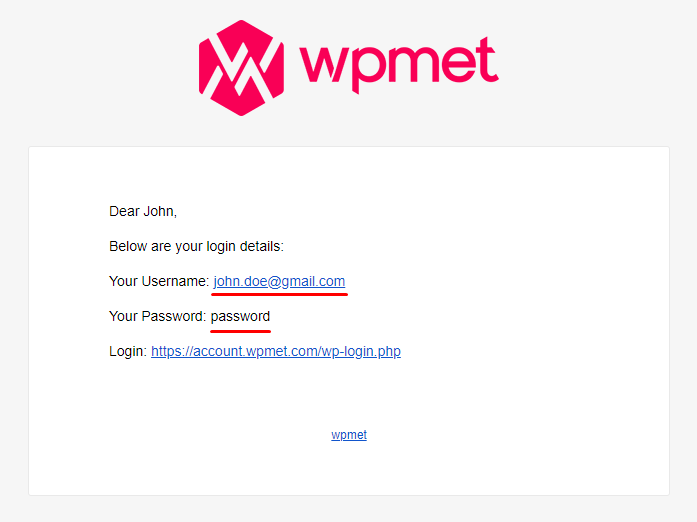
- Once payments are successfully made, you’ll get an email about your purchase and a link to download the plugin.
Step 2: How to download the plugin #
クリックしてください ログインURL that you got in the email and log in to Wpmet account. Alternatively, you can visit our site and log in easily.
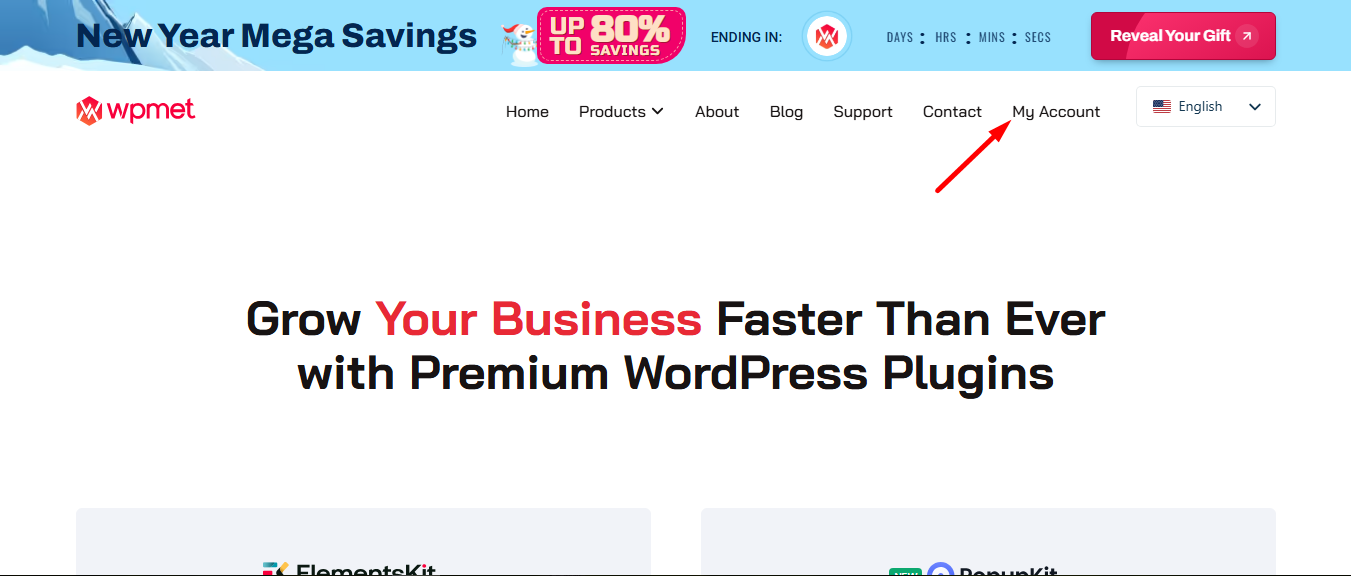
You’ll be redirected to your Account dashboard.
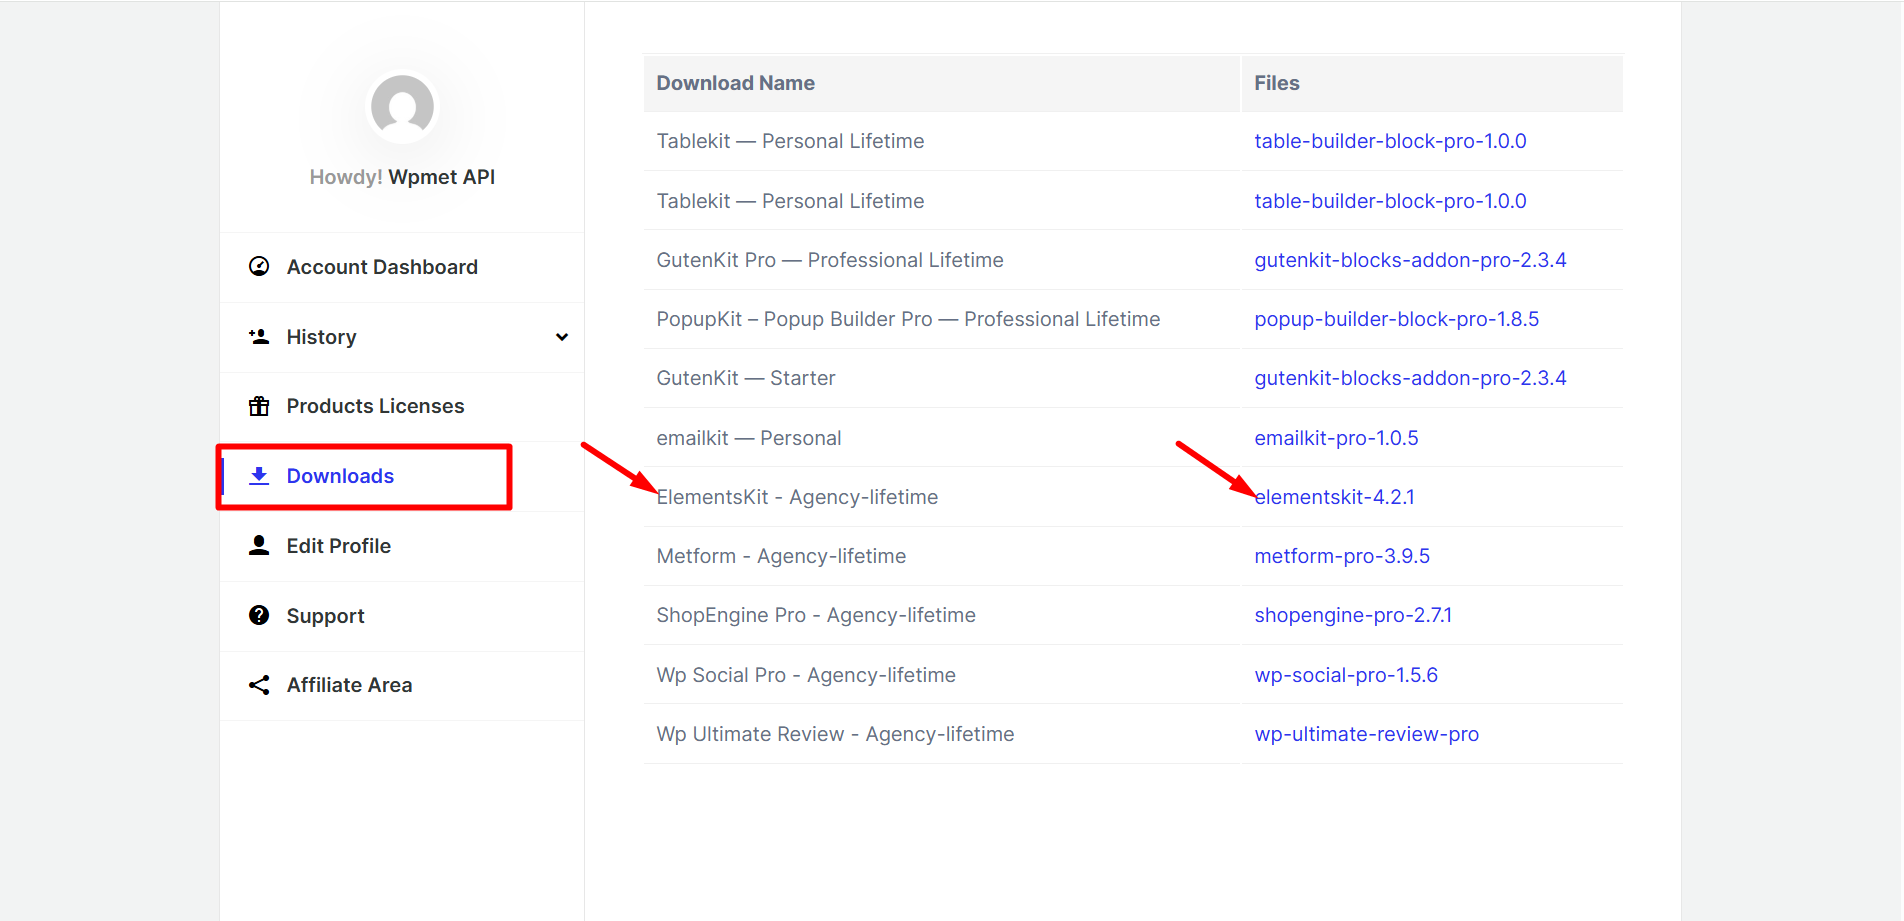
プラグインをダウンロードするには: ダウンロードに移動し、ファイル名をクリックしてプラグインをダウンロードします。.
Step 3: How to install ElementsKit Pro #
Access the Dashboard, click on Plugins, and continue with the following steps.
- クリックしてください 新しく追加する
- Next, cick on the プラグインをアップロード
- を選択してください ElementsKit プロ plugin file you downloaded
- クリック Install the plugin
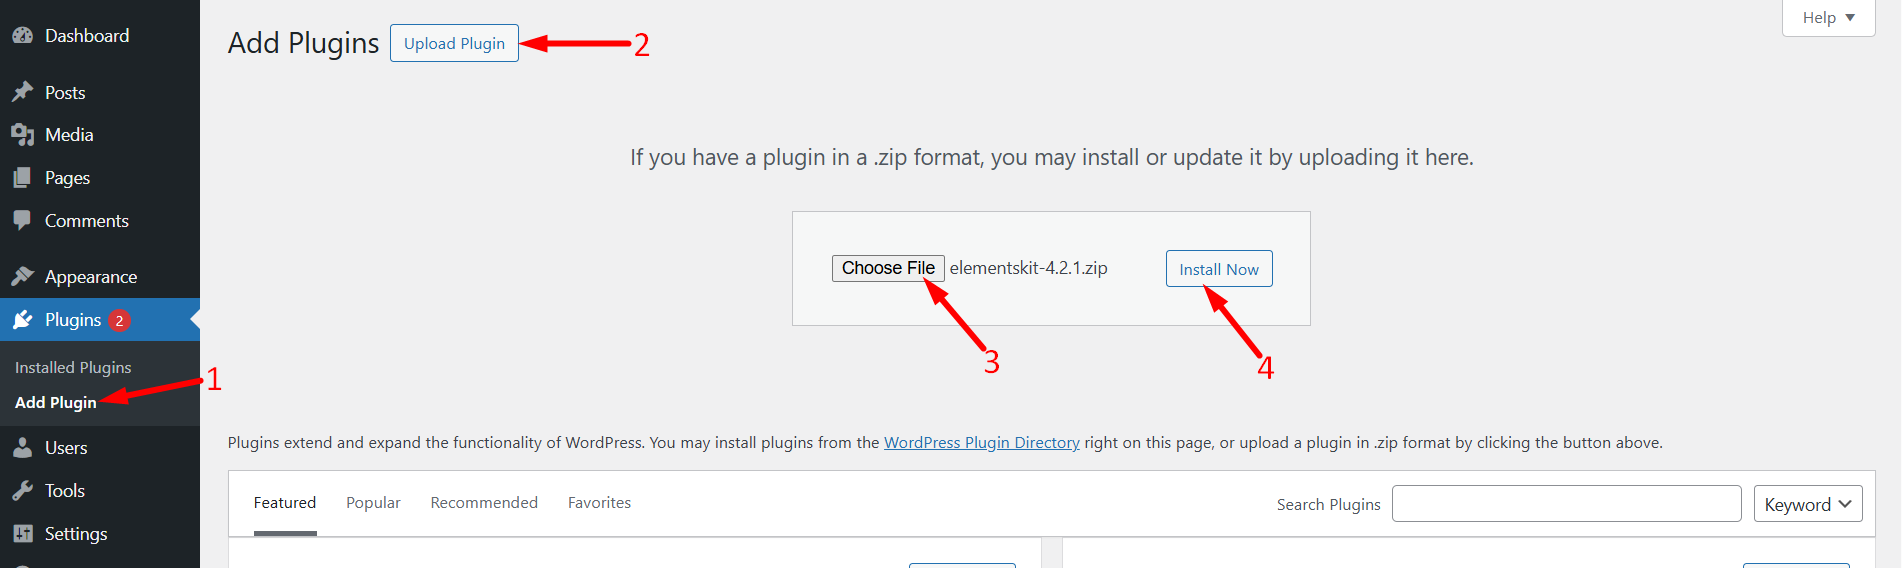
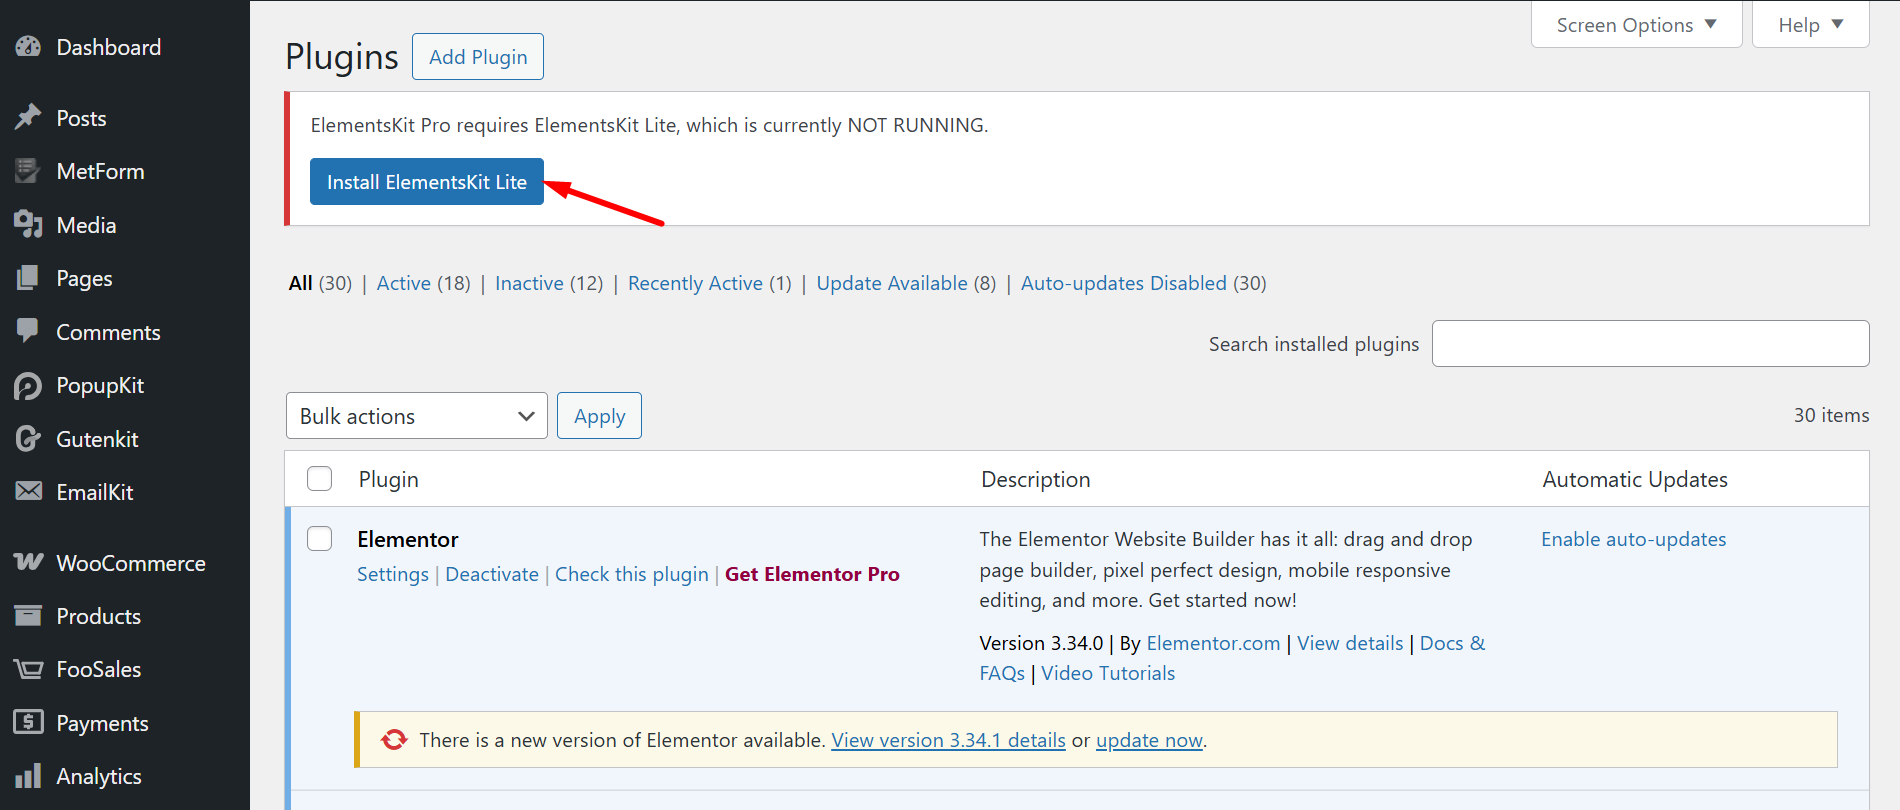
しかし、 ElementsKit Pro depends on ElementsKit Lite. If you haven’t installed the Lite version yet, please install it first.
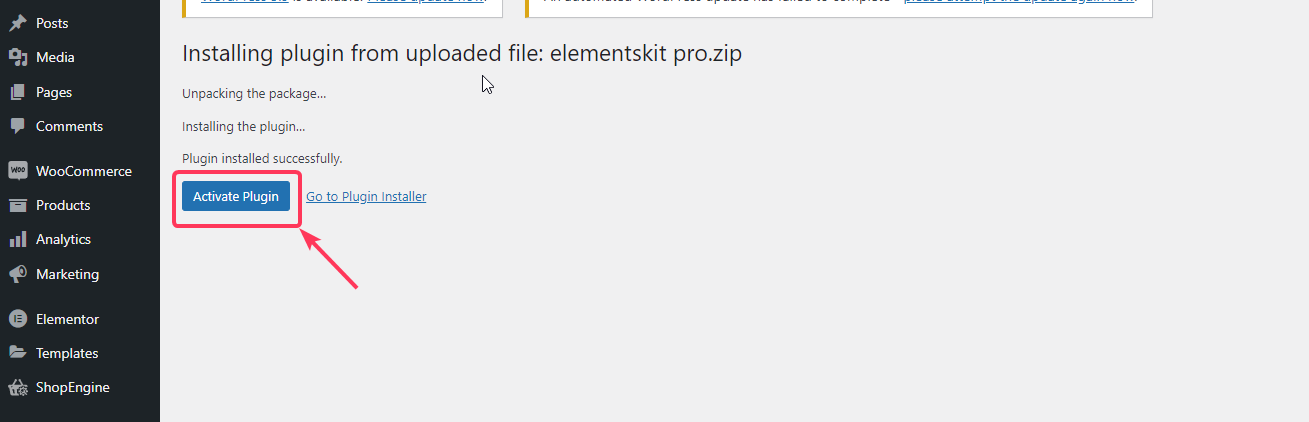
4. After the installation, プラグインを有効化をクリック 有効にするために。
Step 4: License Activation Process #
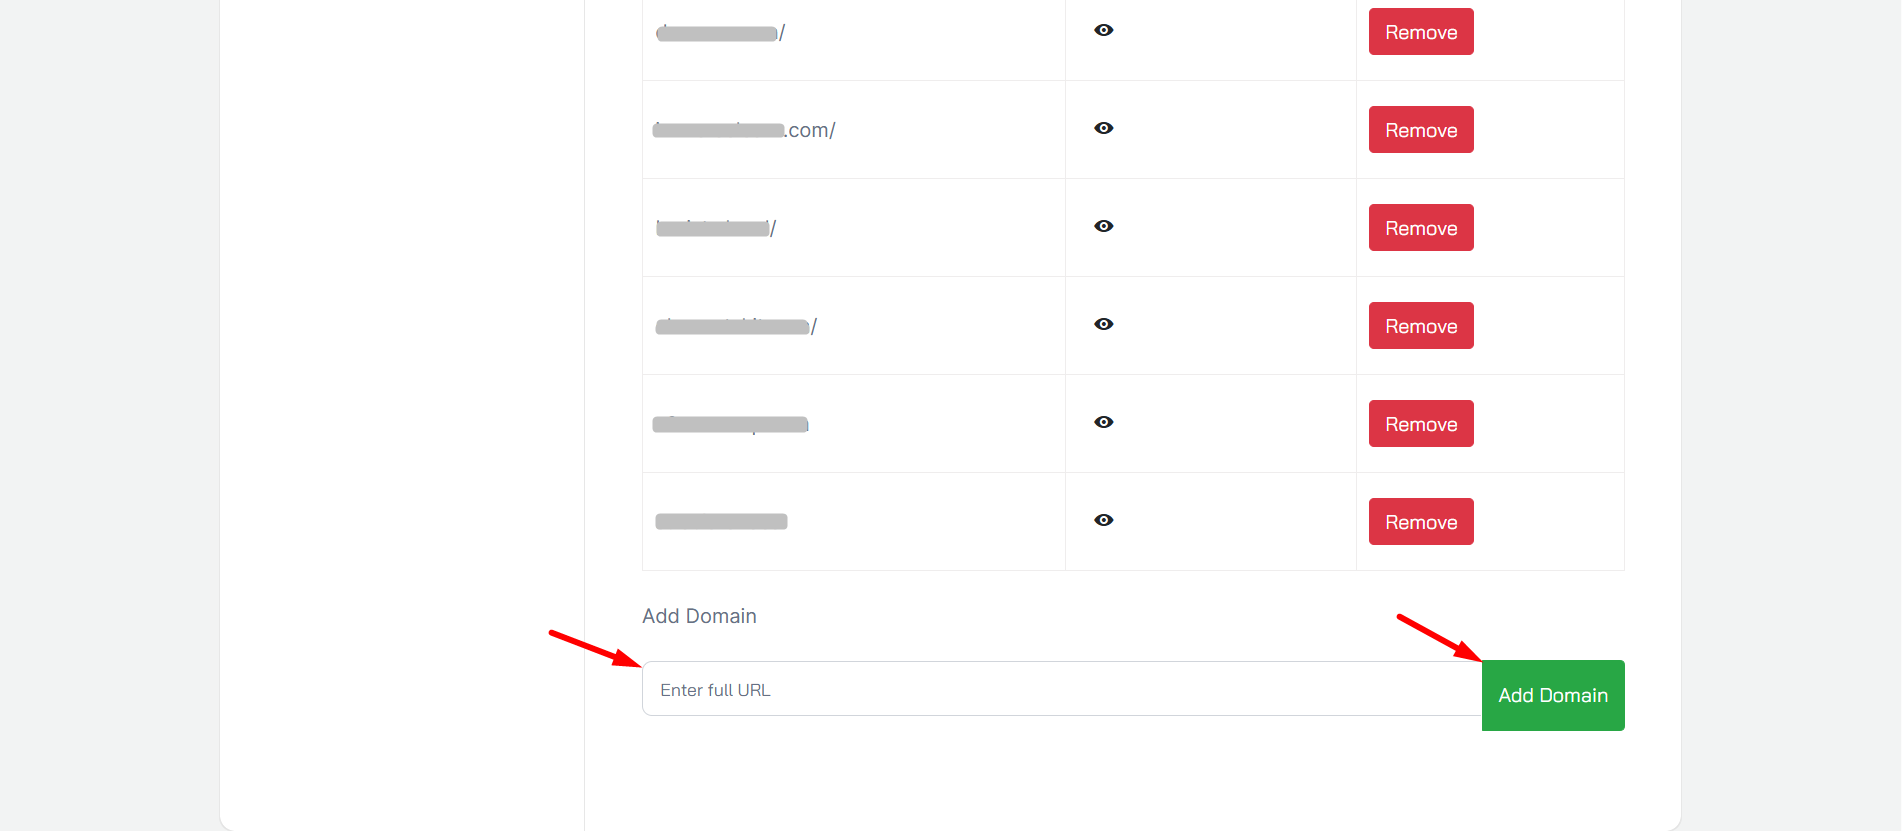
Go back to your Wpmet account. Select ElementsKit Pro from the Product Licenses tab and add the domain of your site.
次:
- Find your domain リストにあります。
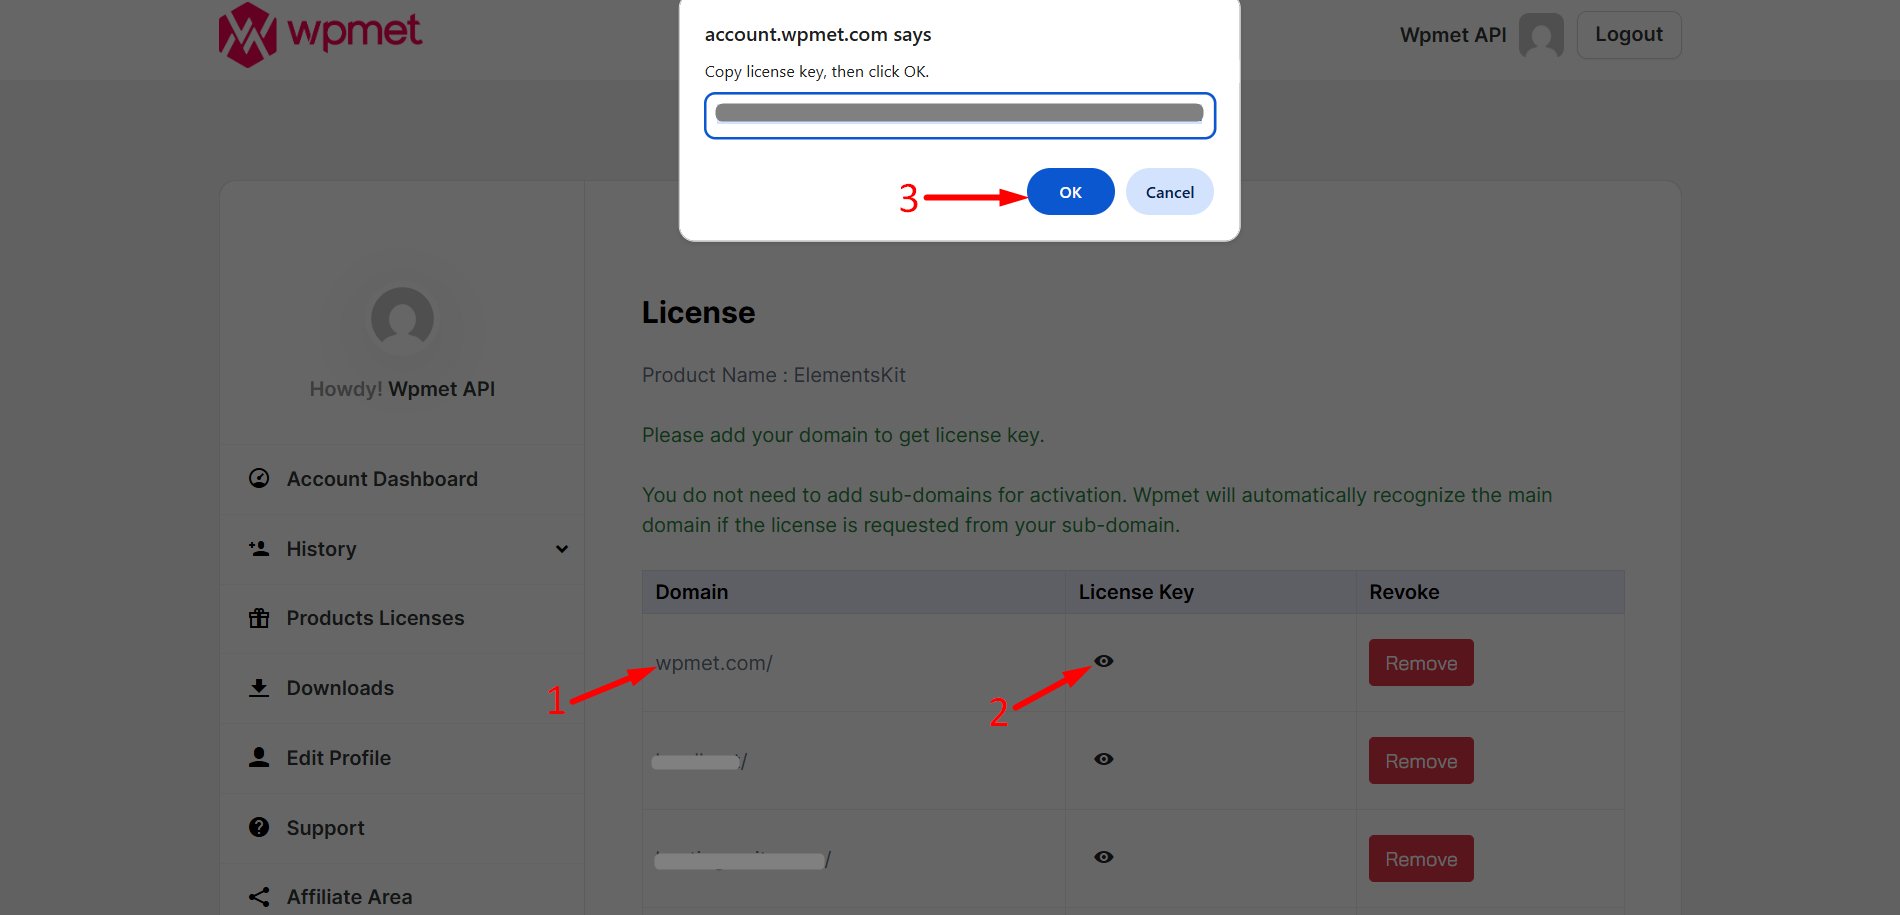
- クリック eye icon next to it.
- Copy your license key and hit わかりました.
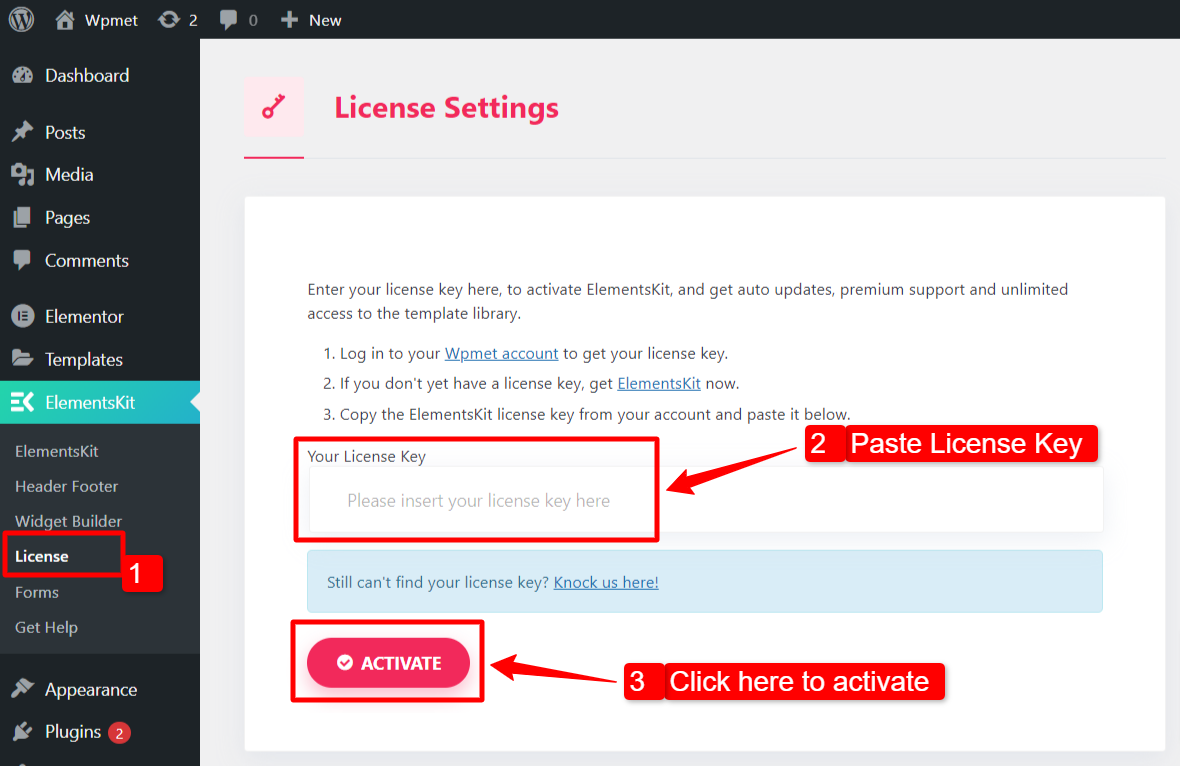
Step 5: Activate the license key on your WordPress #
To activate the license key on your WordPress site, go to your WordPress Admin Dashboard.
- 案内する ElementsKit > ライセンス.
- ライセンスキーを貼り付けます 必須フィールドに入力します。
- クリックしてください 活性化 ボタン。
最後に、WordPress ウェブサイトに ElementsKit Pro をインストールして有効化しました。これで、ElementKit Pro に付属する Elementor の何百もの高度な要素にアクセスできるようになりました。


