I timer per il conto alla rovescia sui siti web agiscono come bombe a orologeria, creando un senso di urgenza che spinge gli utenti ad agire rapidamente. Che si tratti di cogliere un'offerta a tempo limitato o di iscriversi prima che sia troppo tardi, questi timer aumentano le conversioni, l'impegno e mettono in evidenza gli eventi chiave, il tutto in un batter d'occhio. Pensa a loro come a piccoli spinte persuasive che spingono gli utenti a muoversi!
Timer per il conto alla rovescia Uisng GutenKit #
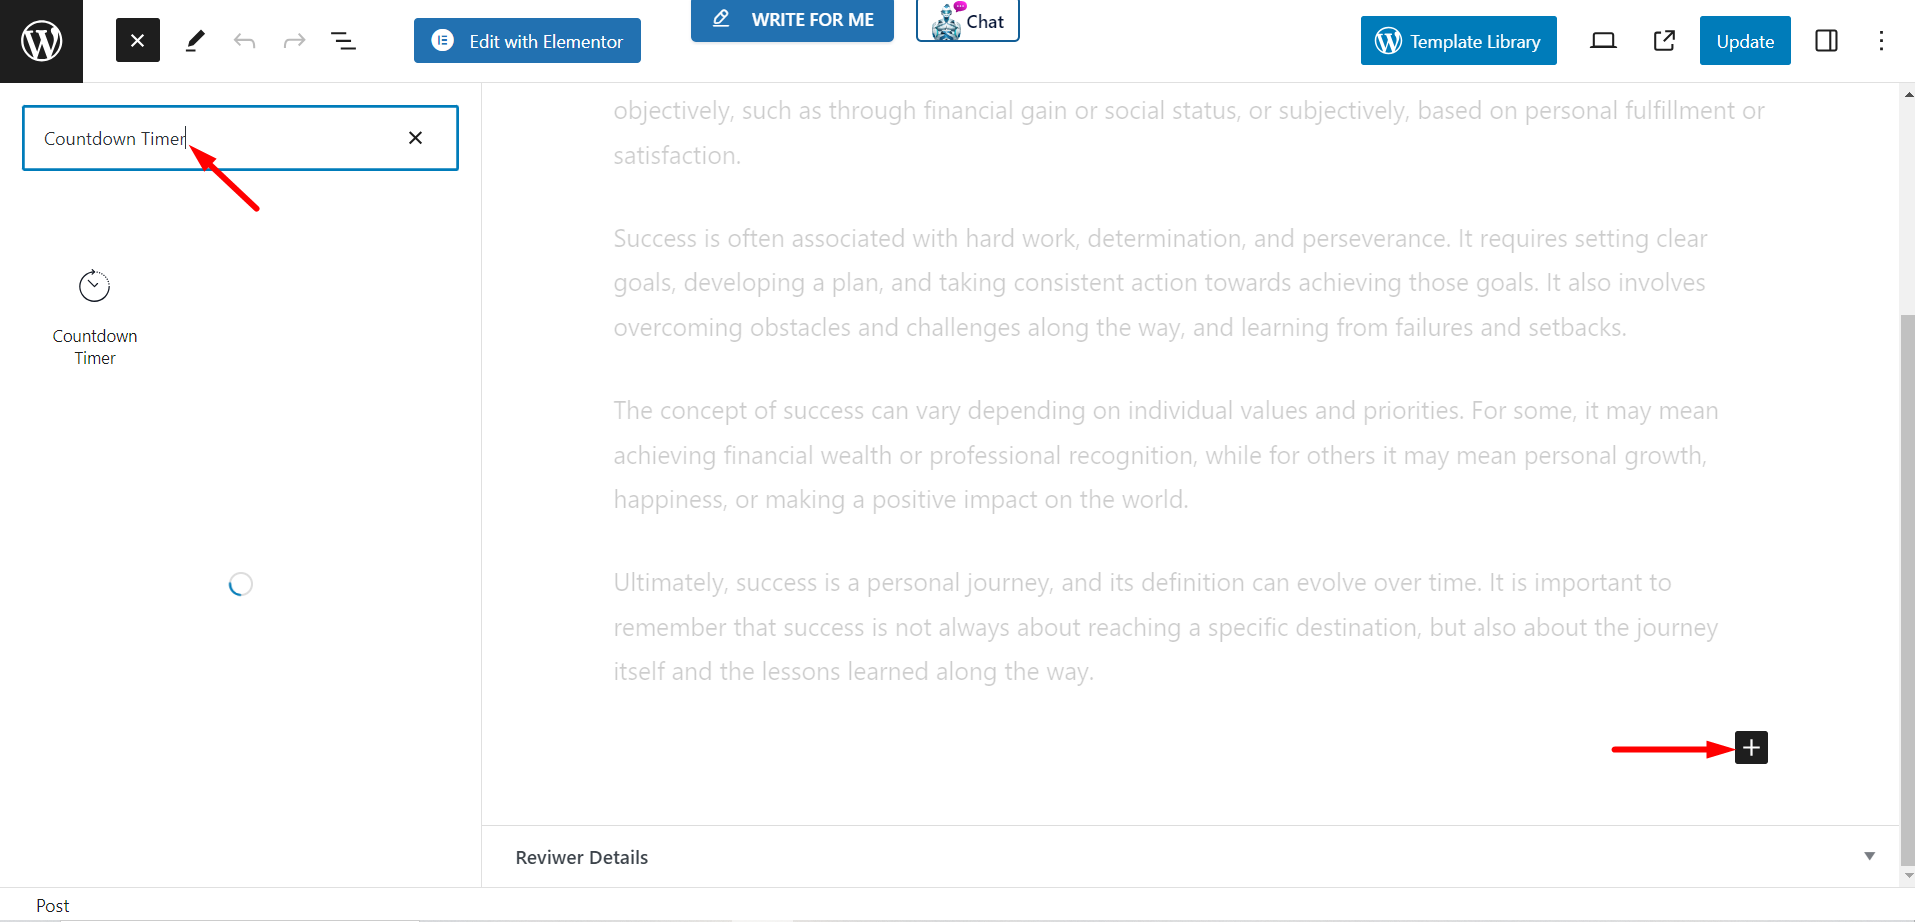
Installa il plugin GutenKit e vai alla dashboard di WordPress. Quindi, prendi una nuova pagina o un nuovo post e segui i passaggi sottostanti:
- Abilita l'editor a blocchi.
- Trovare il "+" nella parte superiore della schermata dell'editor.
- Cliccandoci sopra verrà visualizzata una libreria di blocchi.
- Cerca il timer per il conto alla rovescia GutenKit.
- Una volta che lo vedi, cliccalo o trascinalo e rilascialo nella schermata dell'editor.
Contenuto #
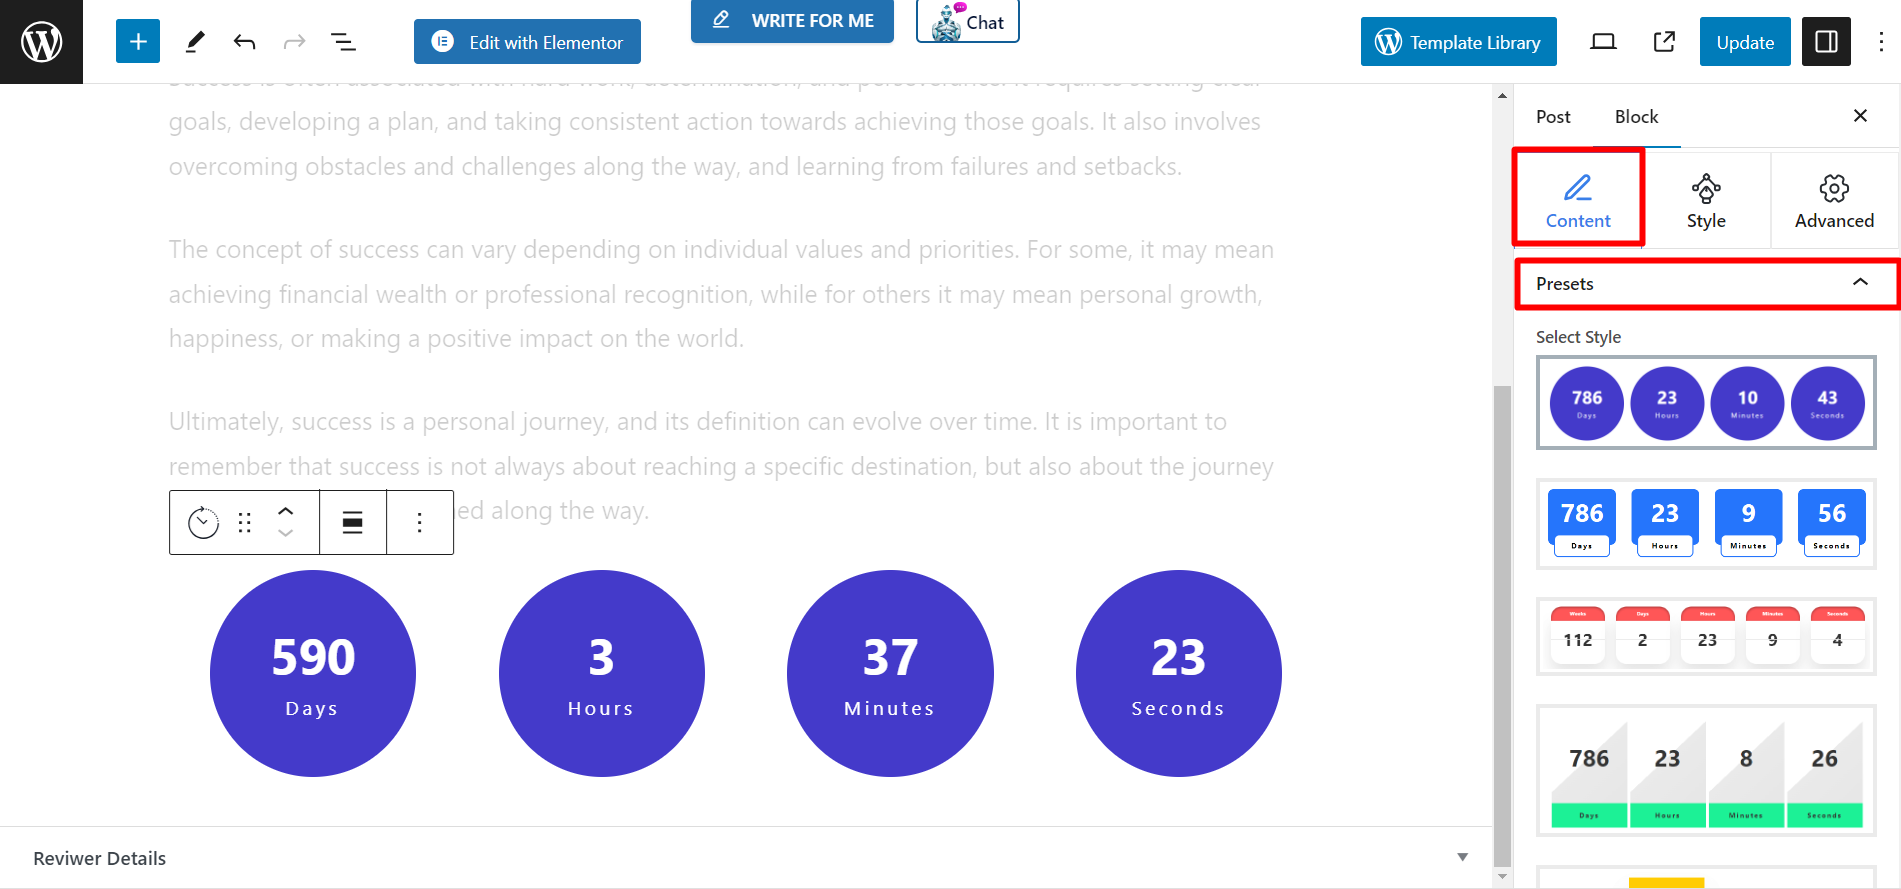
In questa parte sono disponibili quattro funzionalità per personalizzare il contenuto del blocco.
Preimpostazioni #
Ci sono diverse opzioni per scegliere uno stile per il tuo timer per il conto alla rovescia.
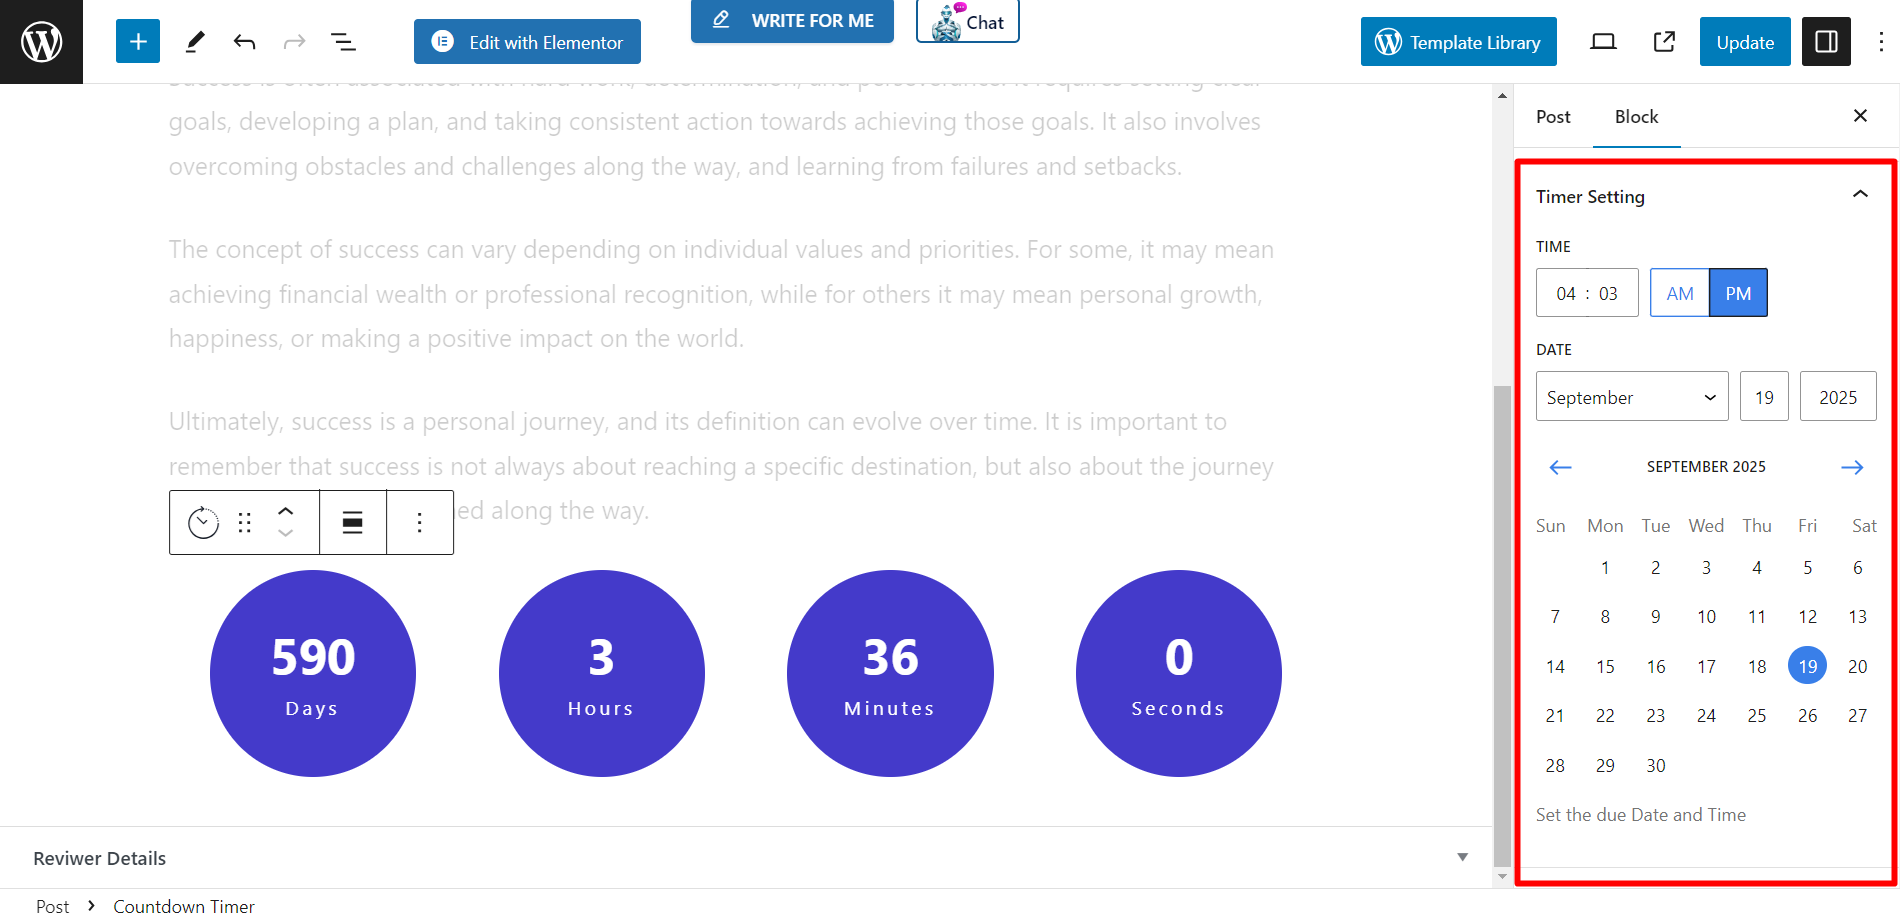
Impostazione del timer #
- Tempo - Imposta l'ora da qui.
- Dmangiò - Regola la data tramite il calendario in base alle tue esigenze.
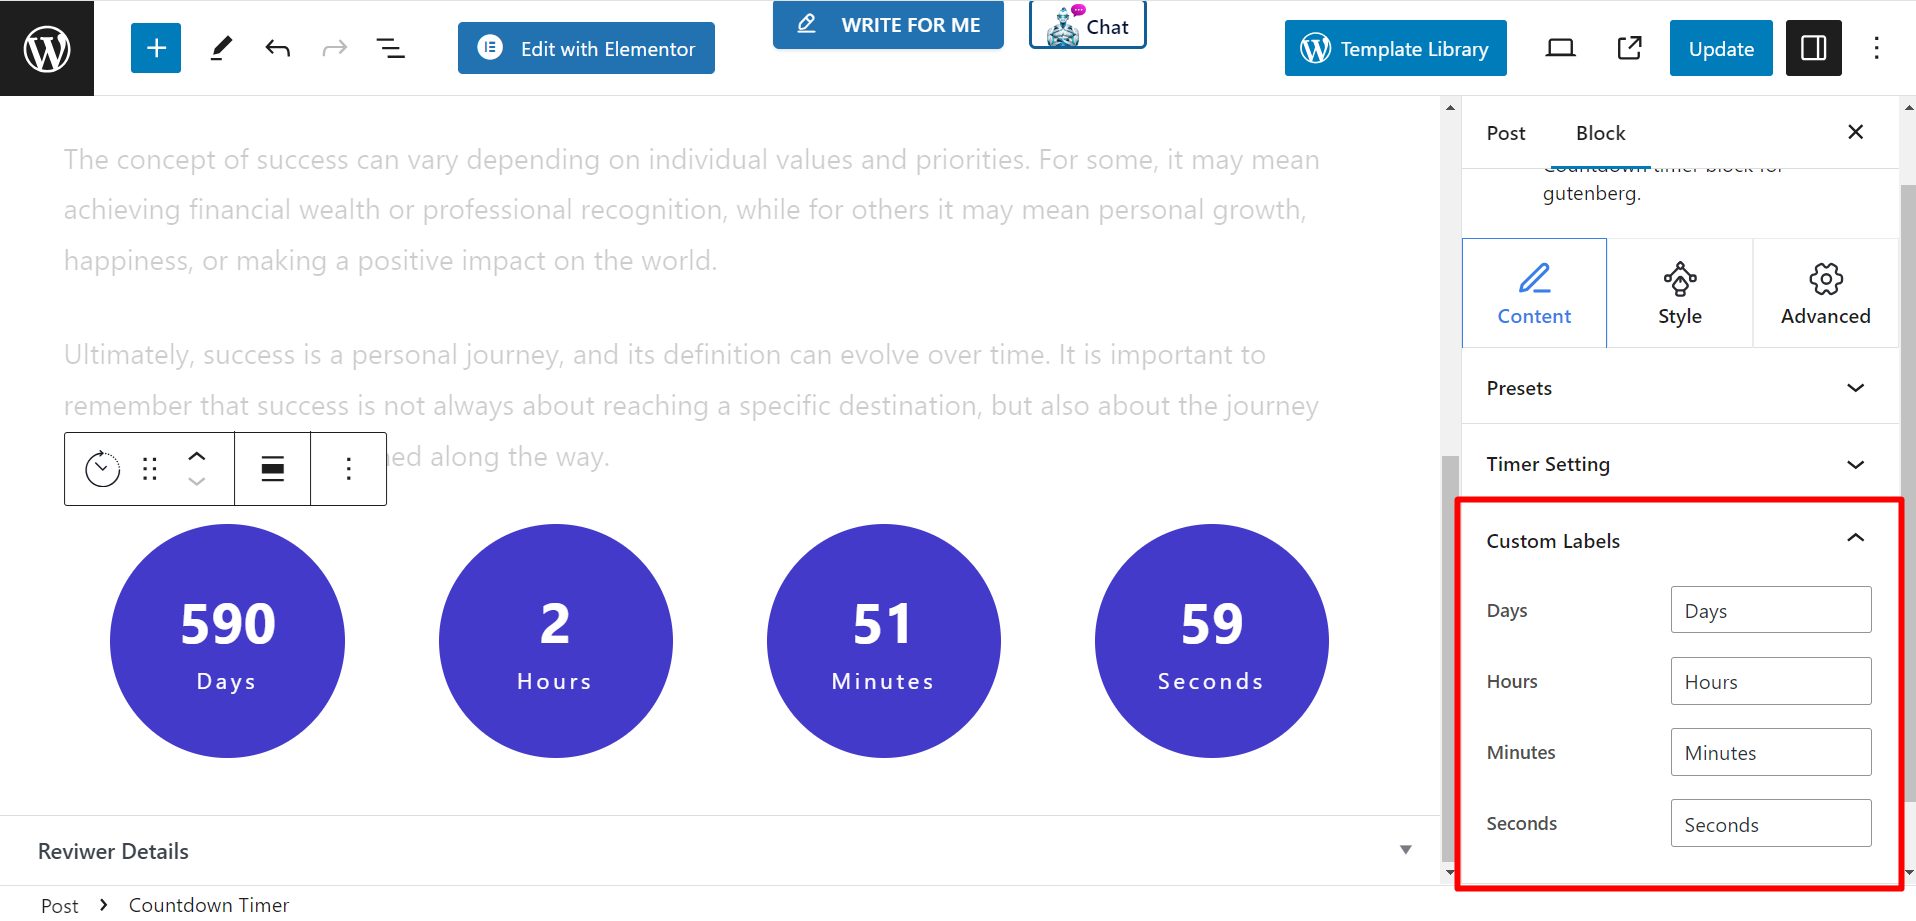
Etichette personalizzate #
Questa funzione mostra le opzioni di impostazione per giorni, ore, minuti e secondi.
Azione di scadenza #
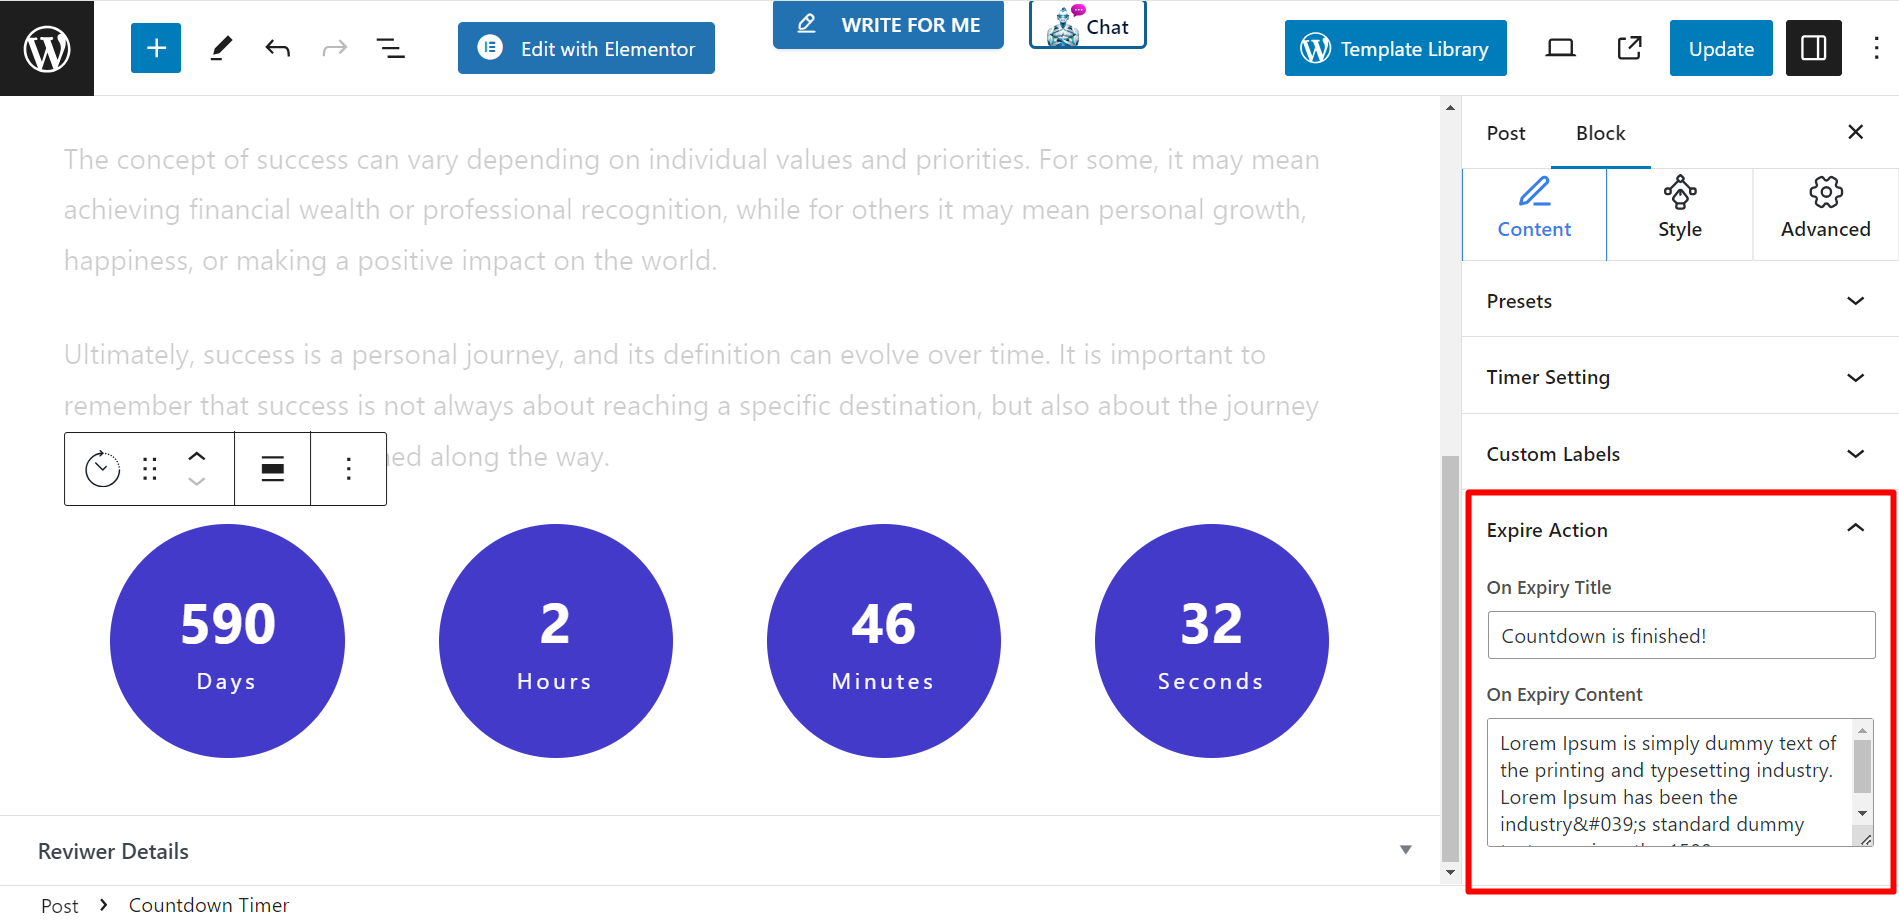
Una volta terminato il conto alla rovescia, puoi impostare un'azione di scadenza per avvisare i visitatori del sito web.
- Alla scadenza del titolo – Scrivi un titolo che vuoi mostrare ai visitatori per avvisarli che il conto alla rovescia è terminato.
- Contenuto in scadenza – Qui puoi scrivere contenuti dettagliati se desideri visualizzarli allo scadere del conto alla rovescia.
Stile #
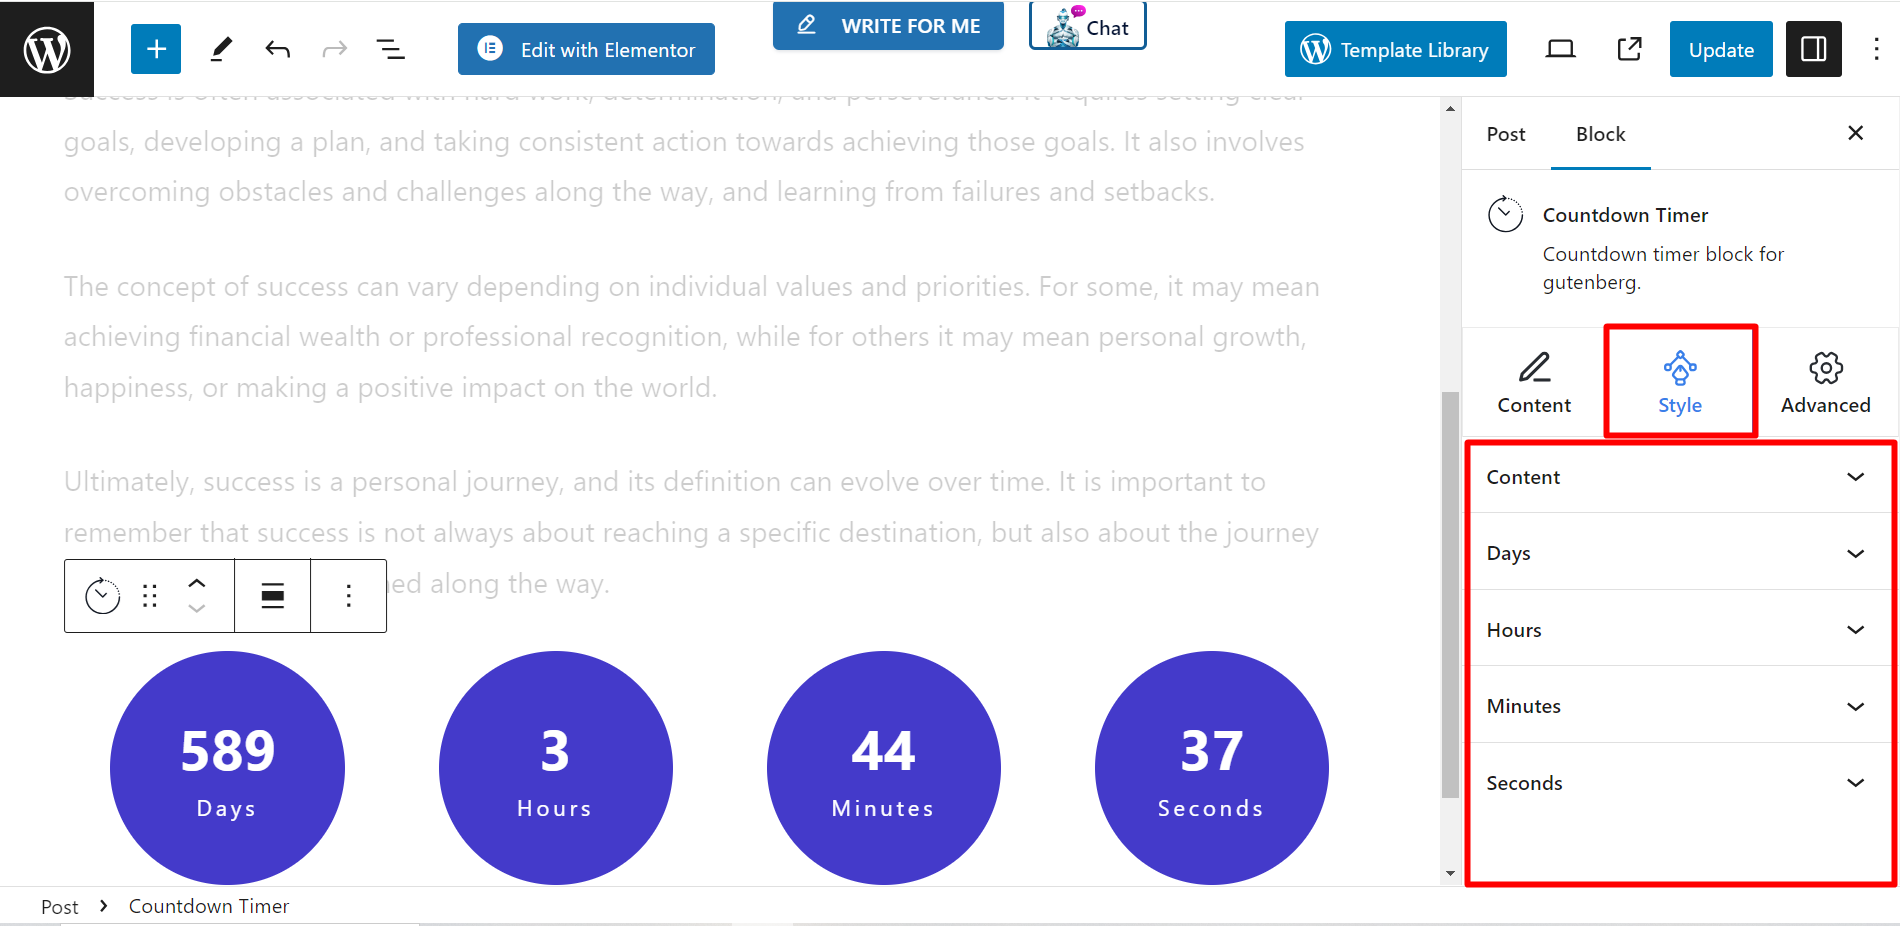
Questa è la sezione di stile del blocco del timer per il conto alla rovescia. Puoi impostare larghezza, altezza, spaziatura tra colonne, spaziatura tra righe, tipografia, colore, tipo di sfondo, bordo, raggio del bordo e altre cose correlate nel timer.
