


If you’re looking to make your WordPress website more interactive and visually appealing, adding image hover effects is a simple yet powerful way to do that. These subtle animations not only catch the visitor’s eye but also significantly elevate the user experience. With Elementor and the right toolkit, adding image hover effects can be a breeze.
In this guide, we’ll walk you through everything you need to know about how to add image hover effects in Elementor WordPress website using ElementsKit, your ultimate add-on for Elementor users.
Quick Overview
If you want to make your WordPress website more interactive and visually engaging, image hover effects are a simple but impactful way to do it.
Tools Used: ElementsKit and Elementor.
The guide walks you through the entire process:
✅ Enabling the Image Hover Effect widget in ElementsKit,
✅ Applying and customizing hover effects using Elementor’s drag-and-drop interface,
✅ And saving and previewing the final result.
What Exactly are Image Hover Effects in WordPress?
Image hover effects are visual transformations that occur when a user hovers their mouse pointer over an image. These effects can include transitions like zoom, blur, rotate, grayscale, shadow, and more. They are commonly used to highlight product images, portfolios, blog thumbnails, or call-to-action banners.
Image hover effects come in many styles, and although they resemble animations, they don’t impact site performance. They are naturally lightweight, which ensures the site’s speed.
You can use hover effects in all kinds of creative ways. For example, a photography site might use them to display the photo’s location, date, or camera settings. In an online store, you could use them to highlight a product’s price, availability, or key features when users hover over the image.
In WordPress, especially when using page builders like Elementor, these effects can be applied without writing a single line of code.
Why Add Image Hover Effects in Elementor Website?
Adding image hover effects is more than just a design trend, it’s a UX strategy. Here are a couple of reasons why you need image hover effects in an Elementor website:
🔥 Improves Visual Engagement: Hover effects grab attention and invite interaction, keeping users engaged longer.
🔥 Guides User Navigation: A subtle effect can signal that an image is clickable or contains more information.
🔥 Enhances Professional Look: Adds a layer of sophistication and polish to your website design.
🔥 Highlights Important Content: You can direct focus toward products, features, or services that matter most.
With Elementor’s drag-and-drop builder, implementing these effects becomes intuitive and accessible, even for non-designers.
👉 Also, check how to create creative button in WordPress.
How To Add Image Hover Effects in Elementor WordPress
Before we dive into the step-by-step guide to adding stunning image hover effects, let’s first know the tools you need:
1. WordPress site
2. Elementor (Free)
3. ElementsKit (Free and Pro)
Now, here is the complete process of adding image hover effects in Elementor using ElementsKit:
Step 1: Enable the Image Hover Effect Widget
Go to your WordPress dashboard and look for ElementsKit. Then, select Widgets.
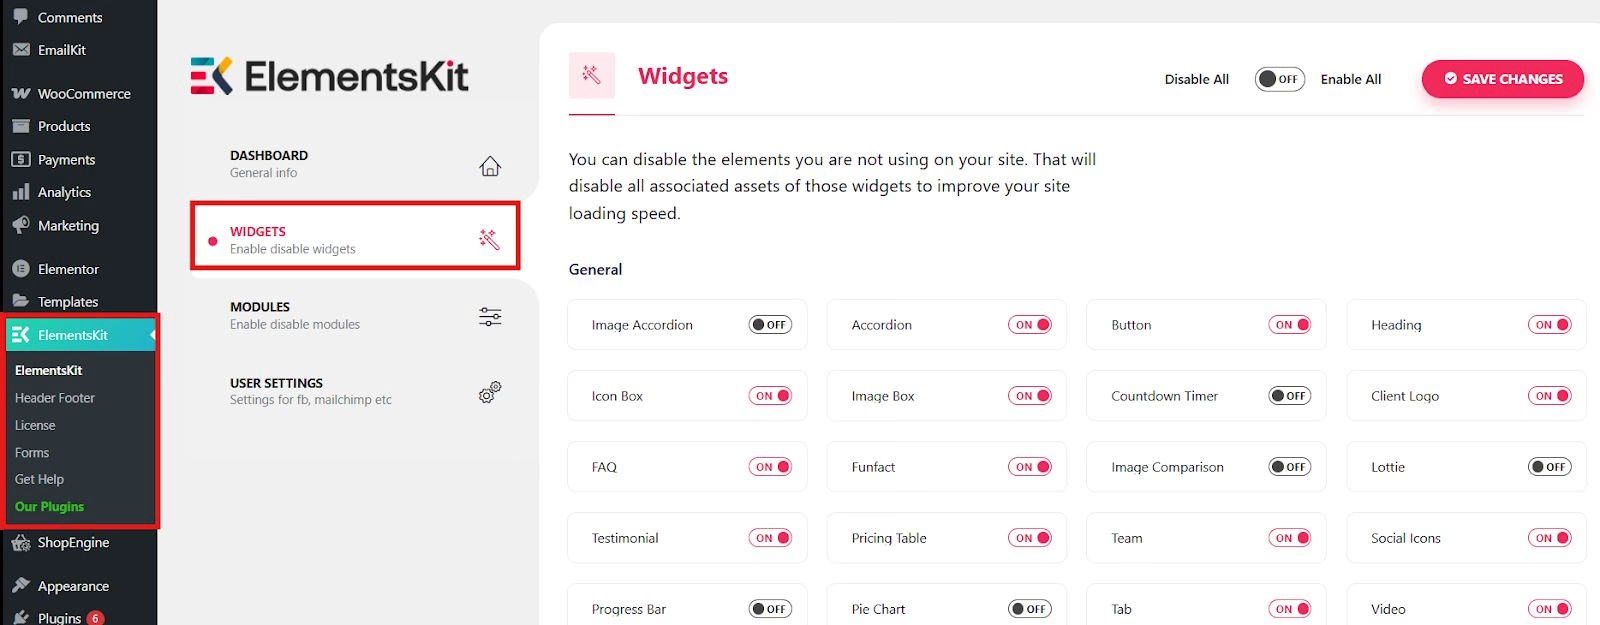
Find the Image Hover Effect widget and toggle it ON. Then, save changes.
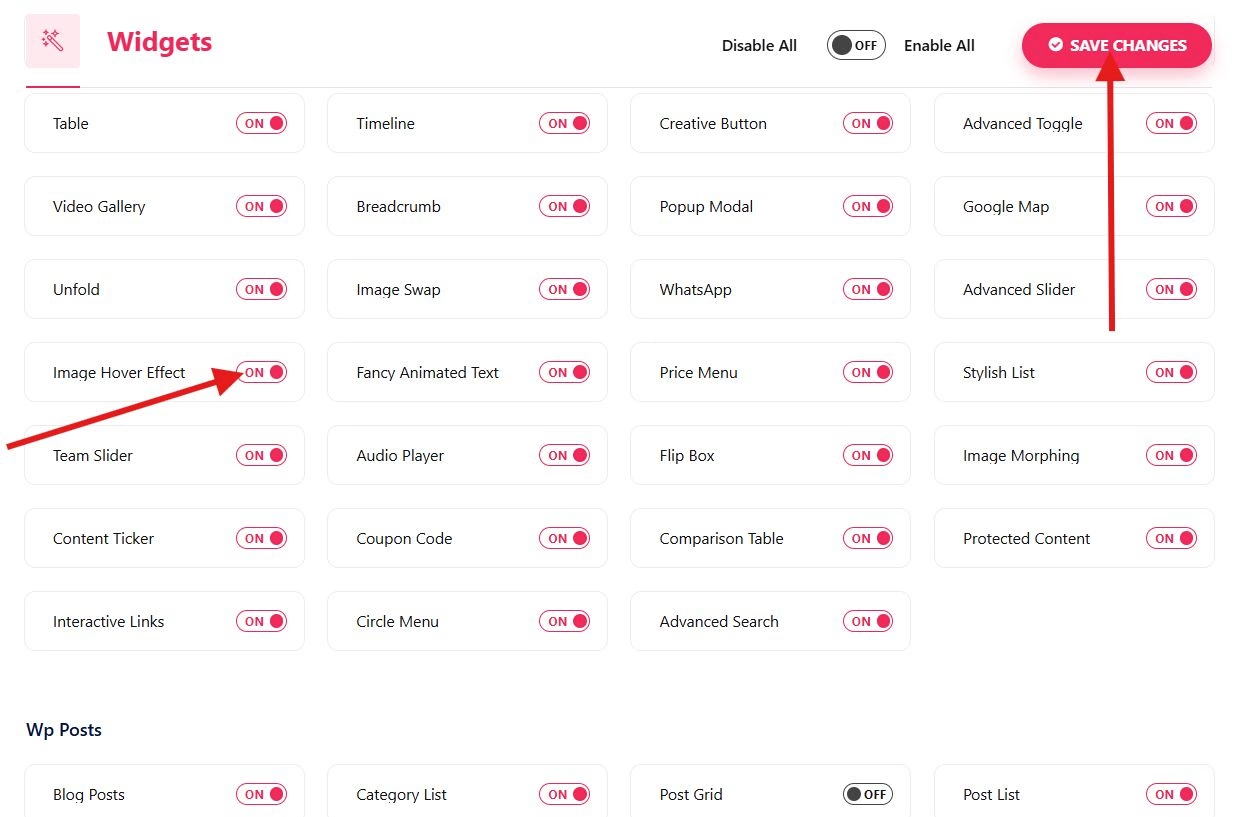
This activates the widget and makes it available inside the Elementor editor.
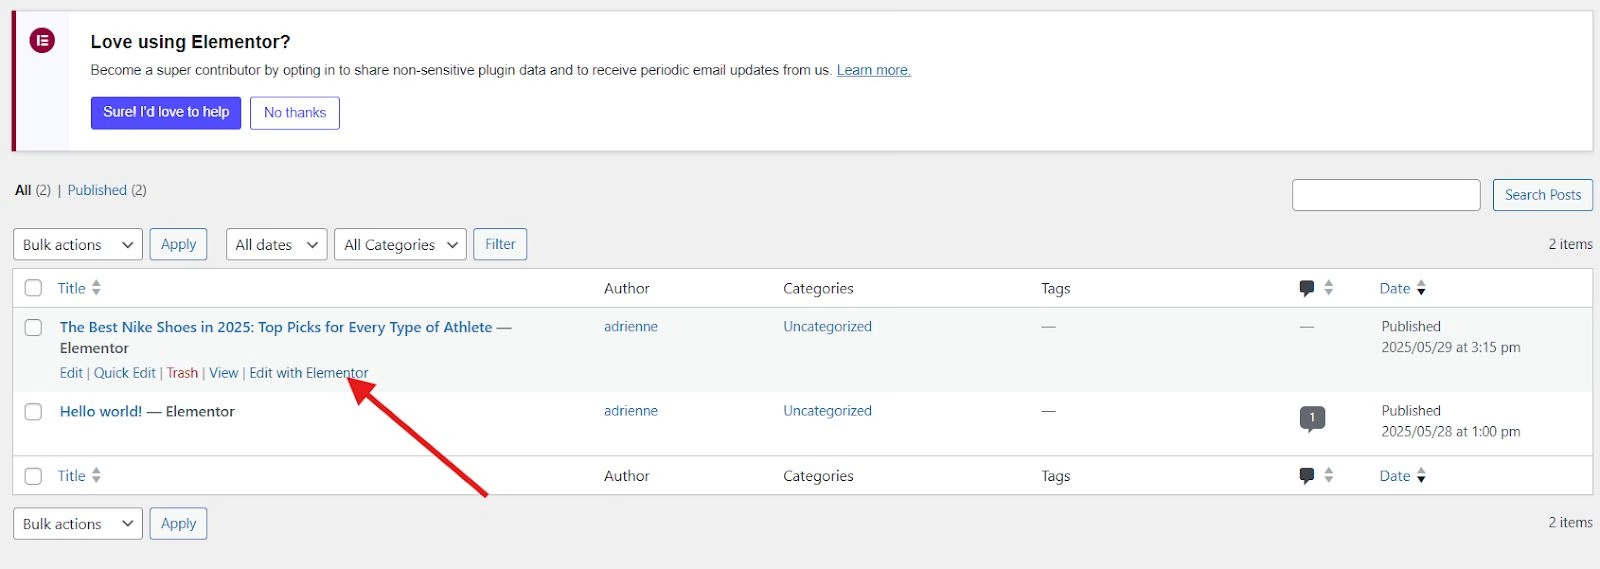
Step 2: Apply Image Hover Effects in Your Page or Post
Open an existing page or post in your WordPress dashboard. In this tutorial, we’ll add an image hover effect to a post. Click Edit With Elementor.
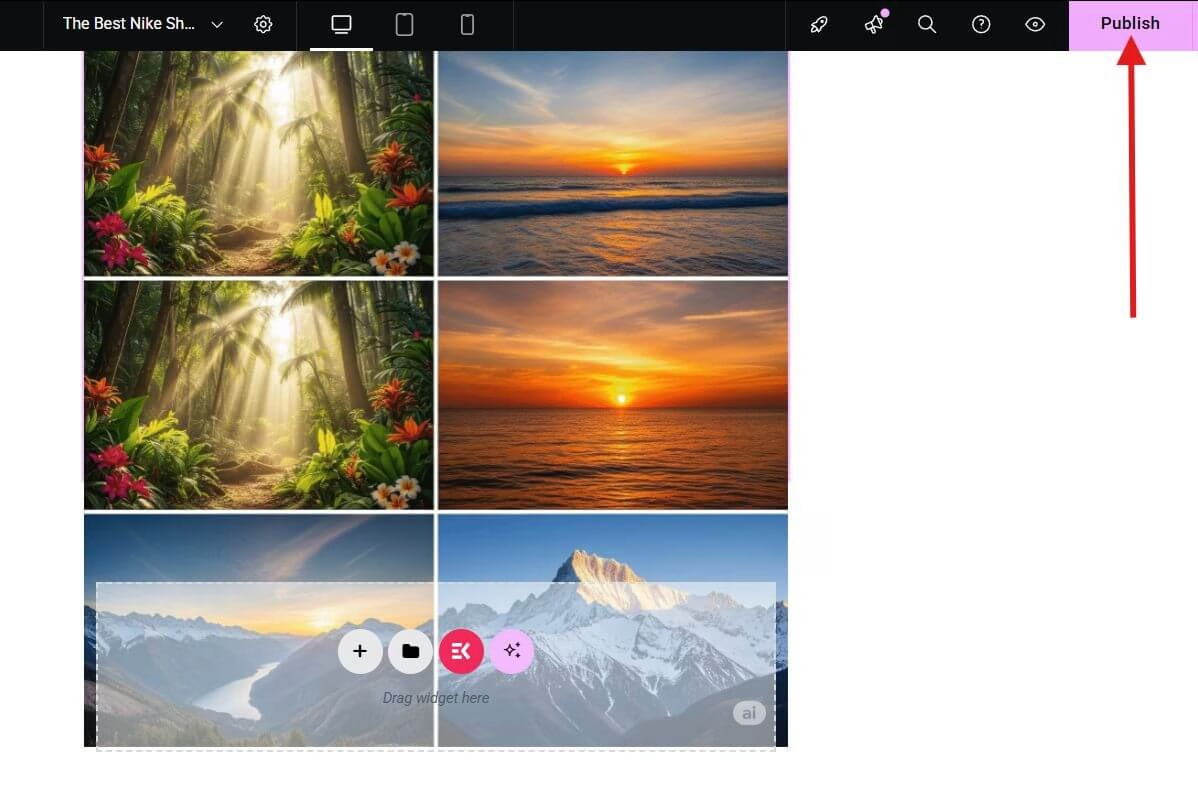
In the Elementor interface, search for the image and drag it to the center of the position where you want to add the image hover effects.
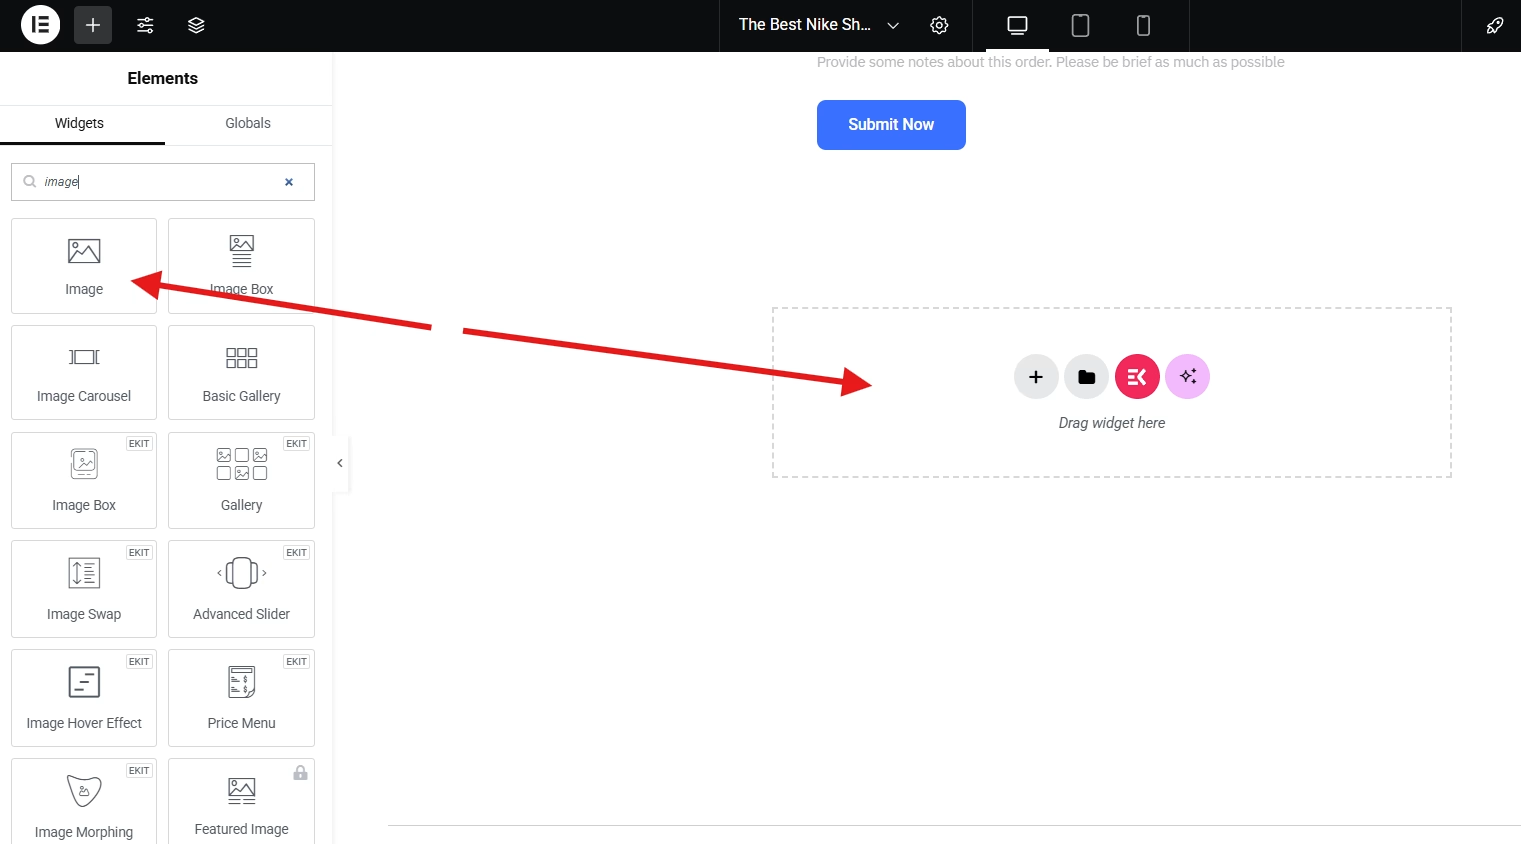
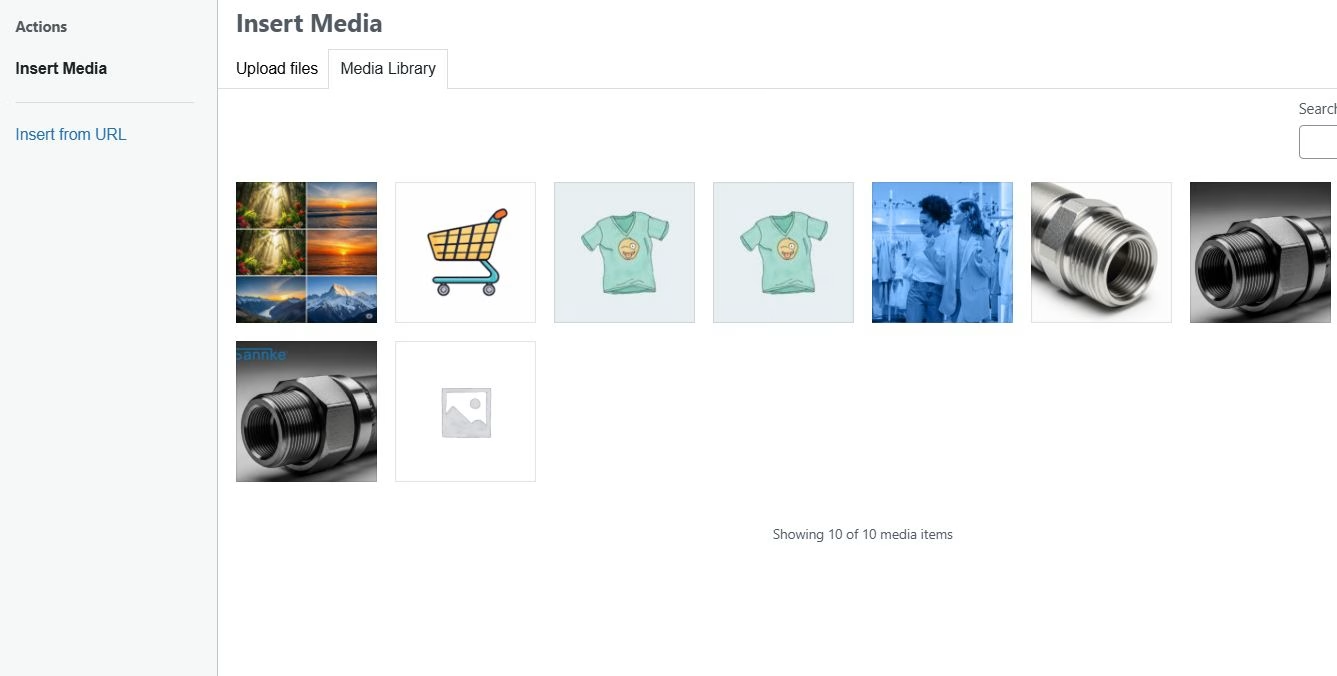
Then, choose your image.
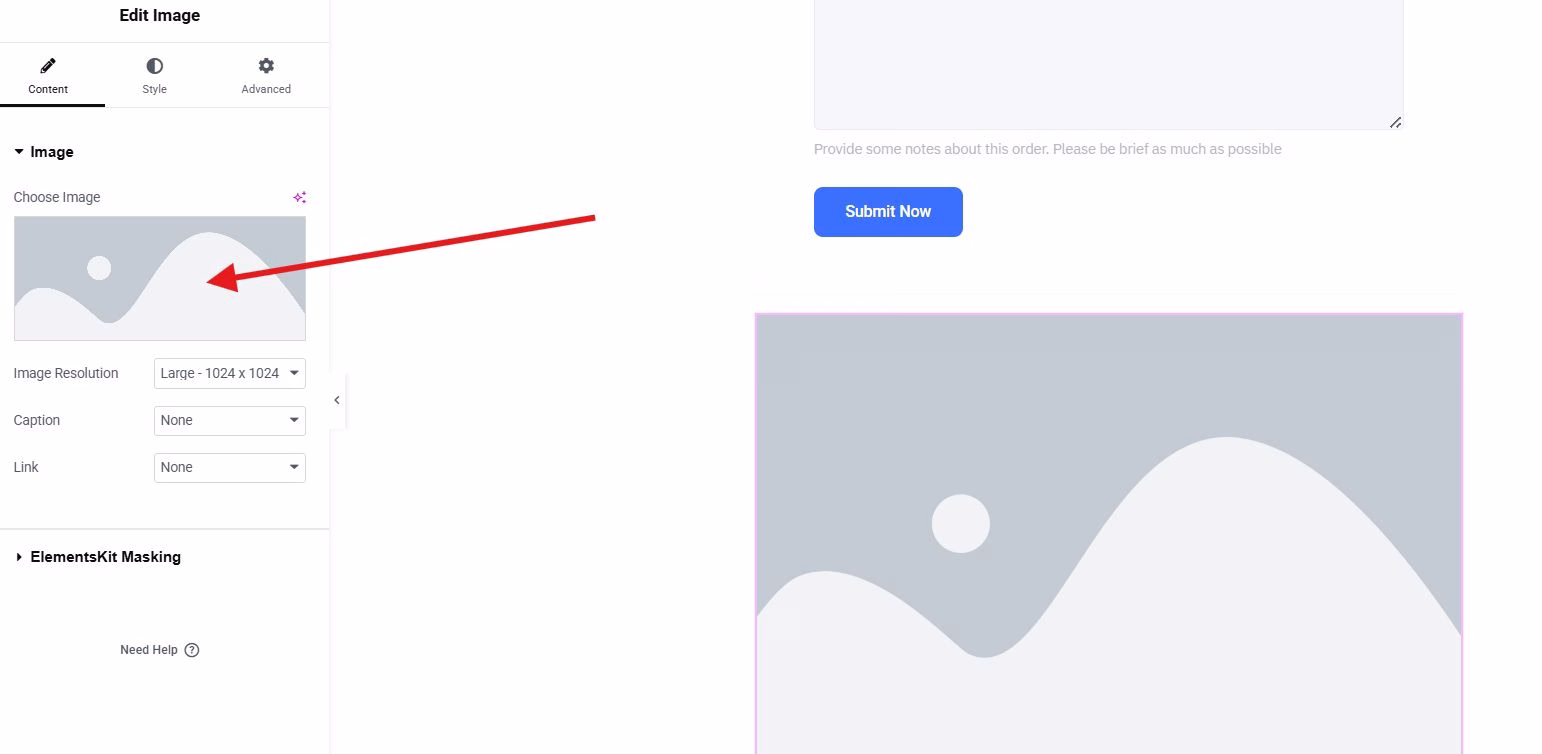
You can select from your media library or upload from your browser.
Step 3: Customize Image Hover Effect Style
Once the widget is placed, explore the Style et Avancé onglets.
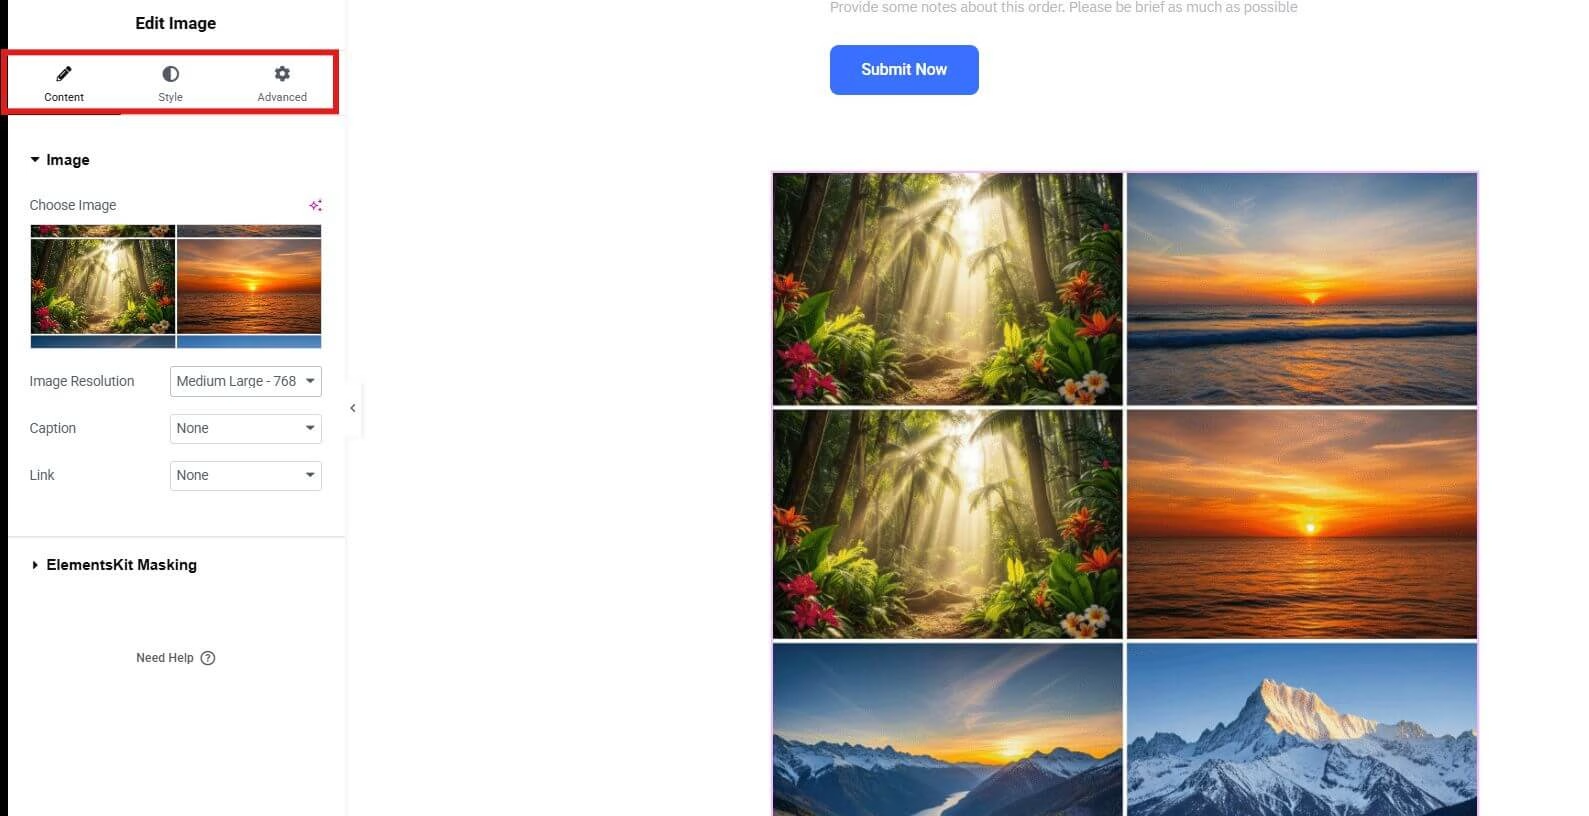
In the style section, you can adjust the alignment, width, height, and etc. Fine-tune typography, spacing, and borders to match your site’s branding.
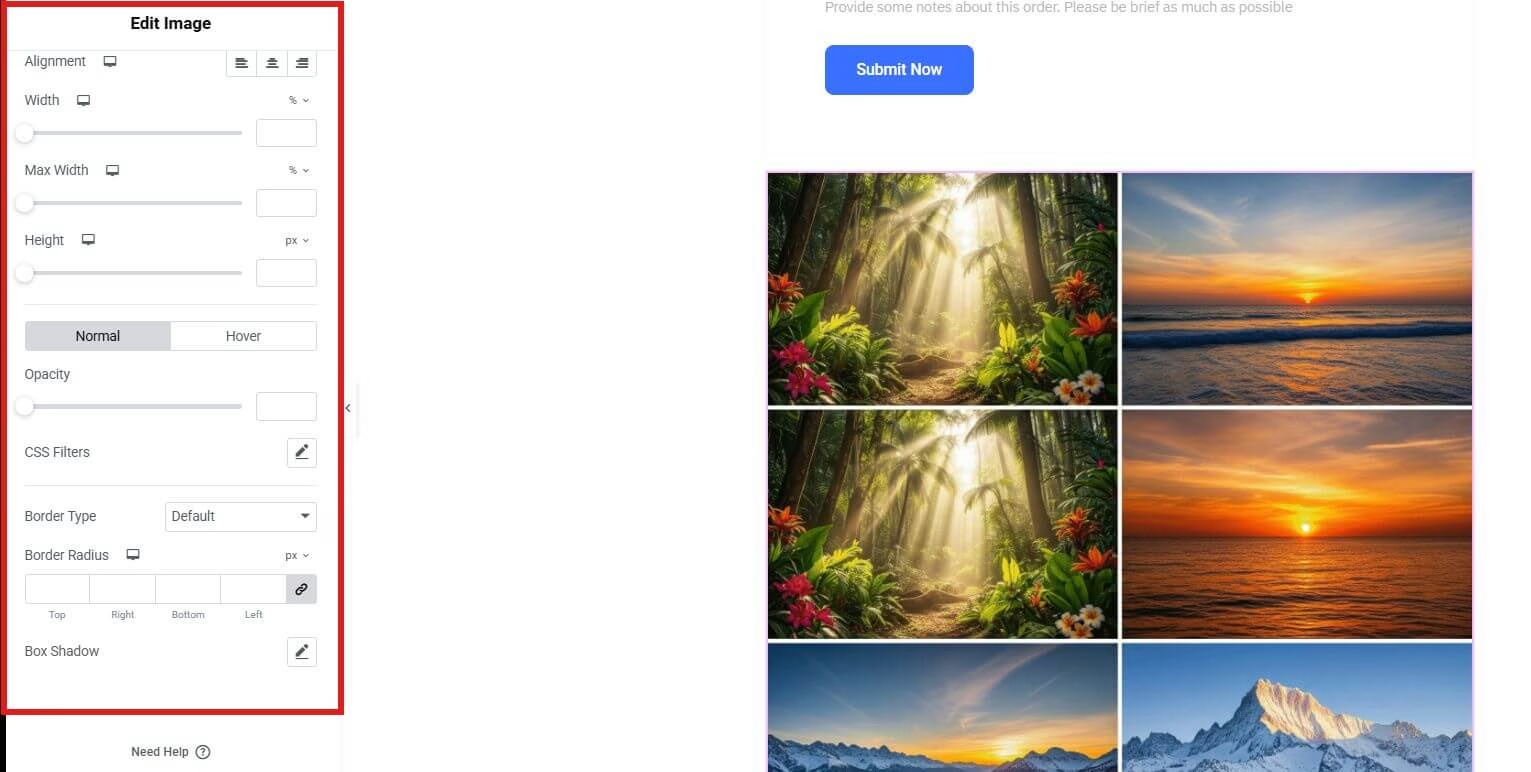
While in the advanced settings, you can adjust the layout, add motion effects, and add the effect type.

Step 4: Save Changes and Preview the Page
When you’re happy with the design, publish it to save the changes.
You can hit Aperçu to see the hover effect in action on your live site.

Why Choose ElementsKit to Add Image Hover Effects in Your Elementor Website?
While Elementor offers basic hover capabilities, ElementsKit takes things to the next level. Here’s why it stands out:
✅ Dedicated Image Hover Effect Widget: Choose from various pre-built hover styles and transitions.
✅ No Coding Needed: Apply professional effects in just a few clicks.
✅ Lightweight and Fast: Optimized for speed, so your site won’t slow down.
✅ Personnalisation avancée: Fine-tune every detail, from animations to overlay colors and text.
✅ Intégration transparente: Works perfectly within the Elementor interface, preserving your workflow.
Whether you’re a beginner or an advanced user, ElementsKit simplifies the process while giving you complete control over the look and feel of your hover effects.
Need to make your WordPress website more stunning than ever?
Try these now!
➡️ Comment ajouter un effet de curseur de souris sophistiqué dans WordPress
➡️ How to Create Liquid Glass Effects on WordPress Websites?
Time To Act
Adding image hover effects doesn’t just improve aesthetics — it boosts interaction, enhances storytelling, and helps guide users more effectively. With ElementsKit for Elementor, you can create beautiful hover animations in minutes and give your website the dynamic edge it deserves.
Ready to transform your visuals into interactive experiences? Install ElementsKit now and start creating magic with every hover.
Laisser un commentaire