


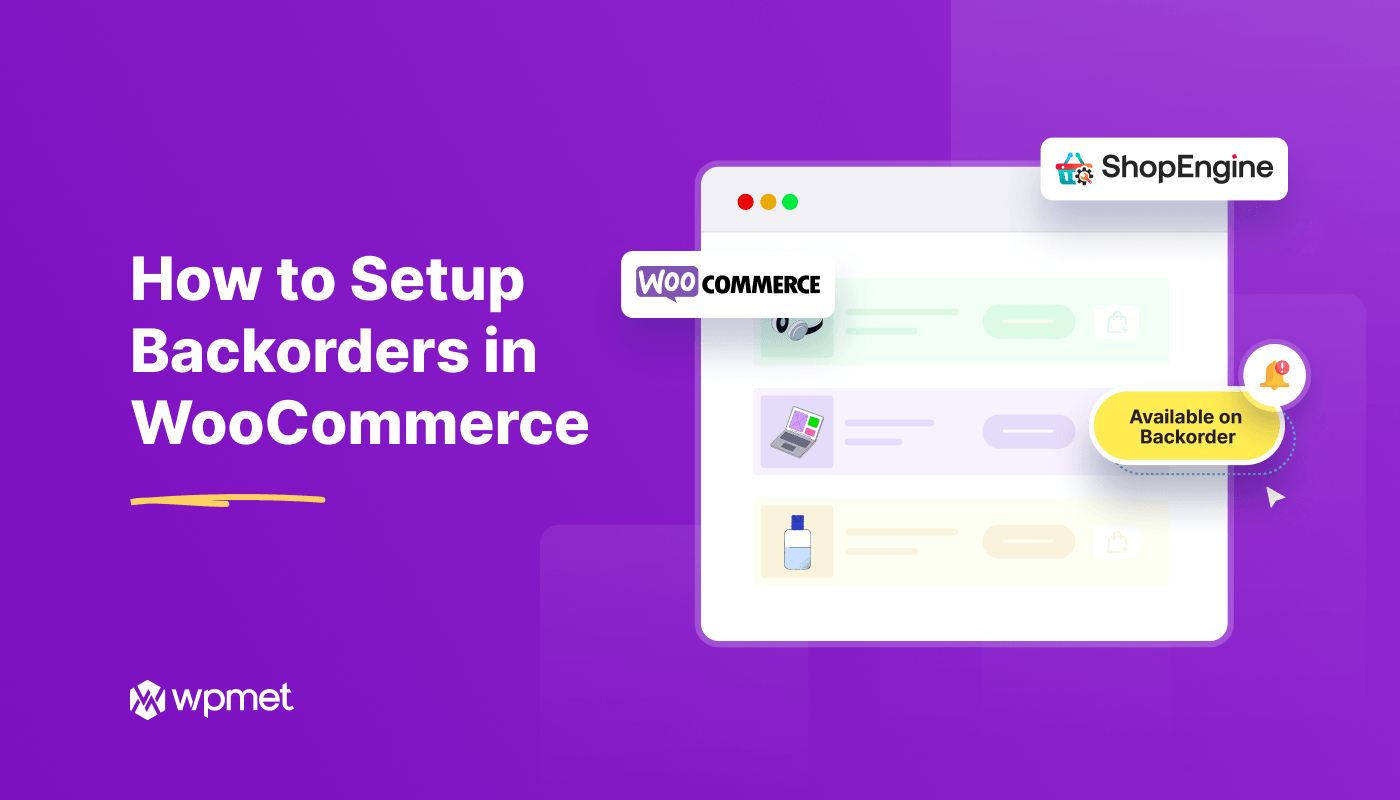
Backorders in WooCommerce allow customers to order and purchase out-of-stock products. Enabling WooCommerce backorders helps you manage inventory effectively and informs customers about product availability.
In this guide, we’ll walk you through how to set up backorders in WooCommerce, so you can keep selling even when stock runs low.
Quick Overview
ShopEngine comes with a Backorder module to effortlessly add ordering the out-of-stock products in WooCommerce. Just you have to enable the Backorder module after downloading the following plugins:
Needed plugins: WooCommerce (free), Elementor (free), ShopEngine (free & pro)
Then, edit a product to add backorder from the WooCommerce Invertory. Thus, after updating the product, your customer can place order for the out-of-stock product and you can get an estimation of the amount of restocking stockout product items.
What do backorders mean?
In WooCommerce, ‘Backorders’ is a feature that allows you to purchase products even when they are temporarily out of stock. It means you can order an item that is not currently available in inventory and will receive it once the stock is restocked.
A backorder system helps your business maintain sales and customer engagement even when facing temporary stock shortages.
How to Set up Backorders in WooCommerce with ShopEngine
Setting up backorders in WooCommerce is easier if you use a plugin. TiendaMotor is a perfect option here, a powerful WordPress backorder plugin that enhances your store’s functionality. With ShopEngine, you can manage stock efficiently, allowing customers to place orders even when products are temporarily unavailable.
Follow these simple steps on how to setup backorders in WooCommerce with ShopEngine seamlessly.
Step 1: Install ShopEngine
Let’s start with getting the plugin from WordPress.org.
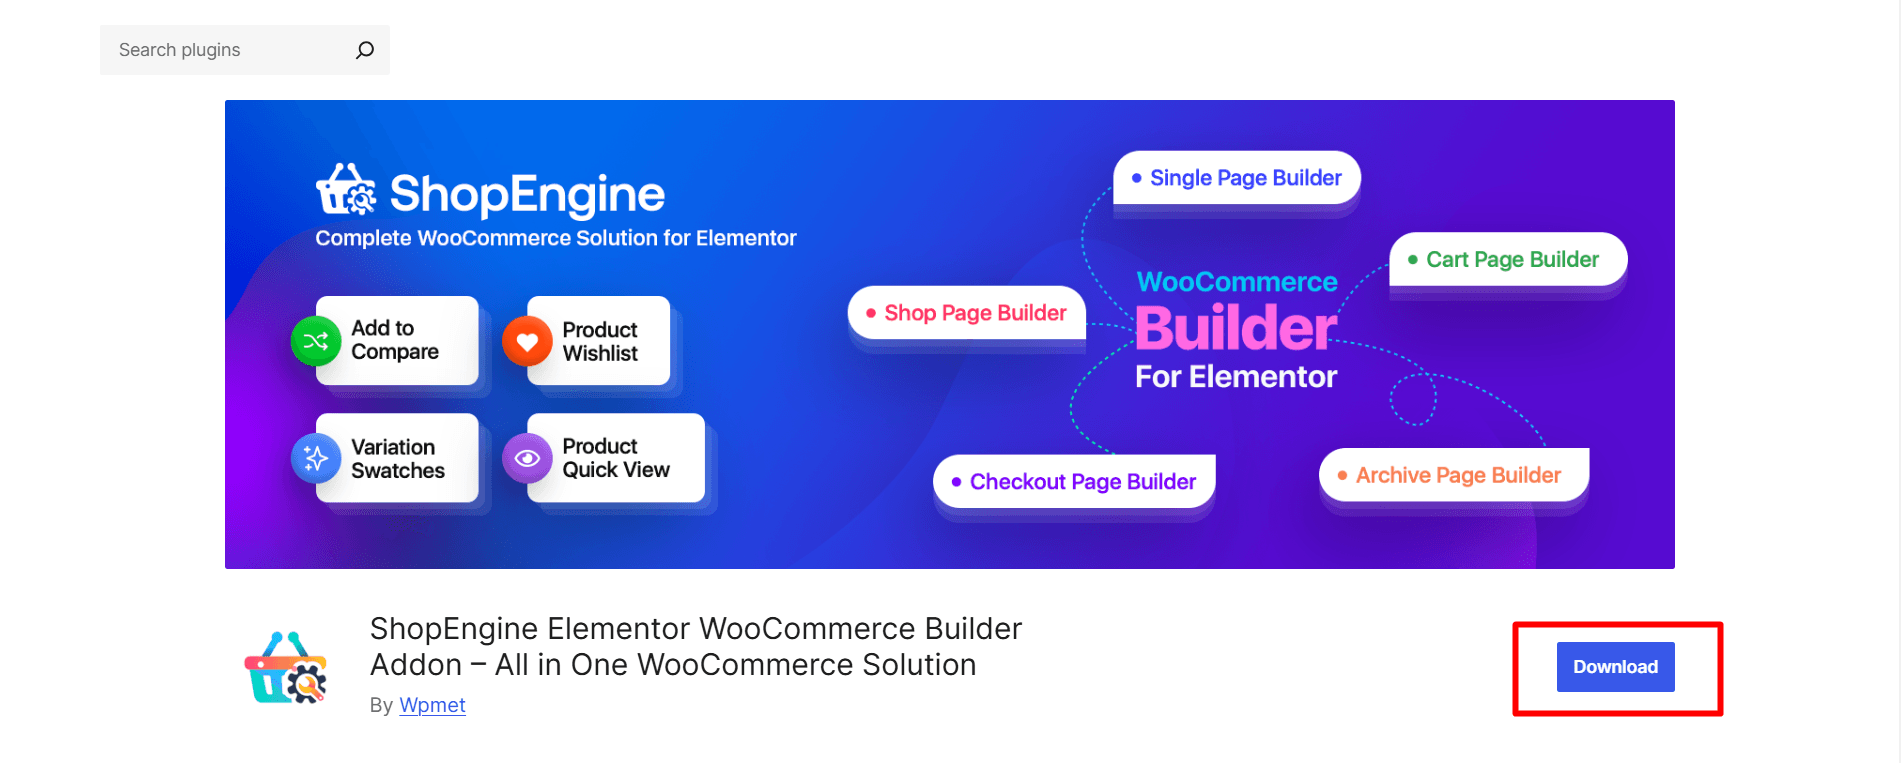
You can also search ShopEngine from the plugins section of your WordPress dashboard and install this WooCommerce backorder plugin.

Once the installation process is complete, you must activate the plugin to use its features.

Step 2: Find and enable the Backorder module
ShopEngine offers a module named Pedido pendiente.
To use the module you have to enable it and activate it. To enable the module:
- Navigate to ShopEngine > Modules
- Encuentra el Back-Order Module from the module list
- Haga clic en el icono de configuración

A window with the enable option will appear after you click on the settings icon.
Enable the module: To turn ON the Back-Order module, toggle the button and save the changes.

Sin embargo, you can also customize the following settings:
- Maximum Backorder Limit: Set the maximum quantity of a product allowed for backorders.
- Backordered Product Available date: Select the date when the product will be back in stock.
- Backorder Notice Message: Show a message informing customers about backorders.

Step 3: Go to Products
- Go to Products from your dashboard (find the product you want to put in backorder)
- Haga clic en Editar

- Next, navigate to Inventory
- Stock management: Mark the checkbox (Track stock quantity for this product)
- Allow backorders?: Select ‘Allow, but notify customer’

You can also change the product’s stock status to ‘On backorder’

The stock status will be shown as this 👇

Step 4: You have set WooCommerce backorders
Finally, place an order for that product and check the status from the order list of WooCommerce.
The status should be ‘Processing’ and when you check the details it’ll show you Backordered: yes

Why should you use a WooCommerce Builder Addon?
Well, WooCommerce has some inherent limitations. You can’t design everything exactly as you might visualize without additional plugins, custom coding, or third-party tools. So, a standard WooCommerce builder addon is recommended for highly specific and professional design features. For example, ShopEngine lets you add wishlist functionality, quick view pop-ups for products, countdowns for sales, customizable badges and more. WooCommerce does not include such features natively.
A WooCommerce builder addon enhances your store’s customization capabilities. With pre-designed templates and advanced styling options with a drag-and-drop functionality, you feel tensionless about designing your dream Woo store with the right addon.
When you gain more control over your store’s appearance and functionality, it ultimately leads to higher engagement and increased sales. ✌️
It’s your turn
We’ve shown you the easiest way to allow backorders in WooCommerce. ShopEngine has made it super easy to receive orders for temporarily unavailable products.
So, try now; with a few simple settings, you can fix the WooCommerce backorder setup and see your store running smoothly.

Deja una respuesta