


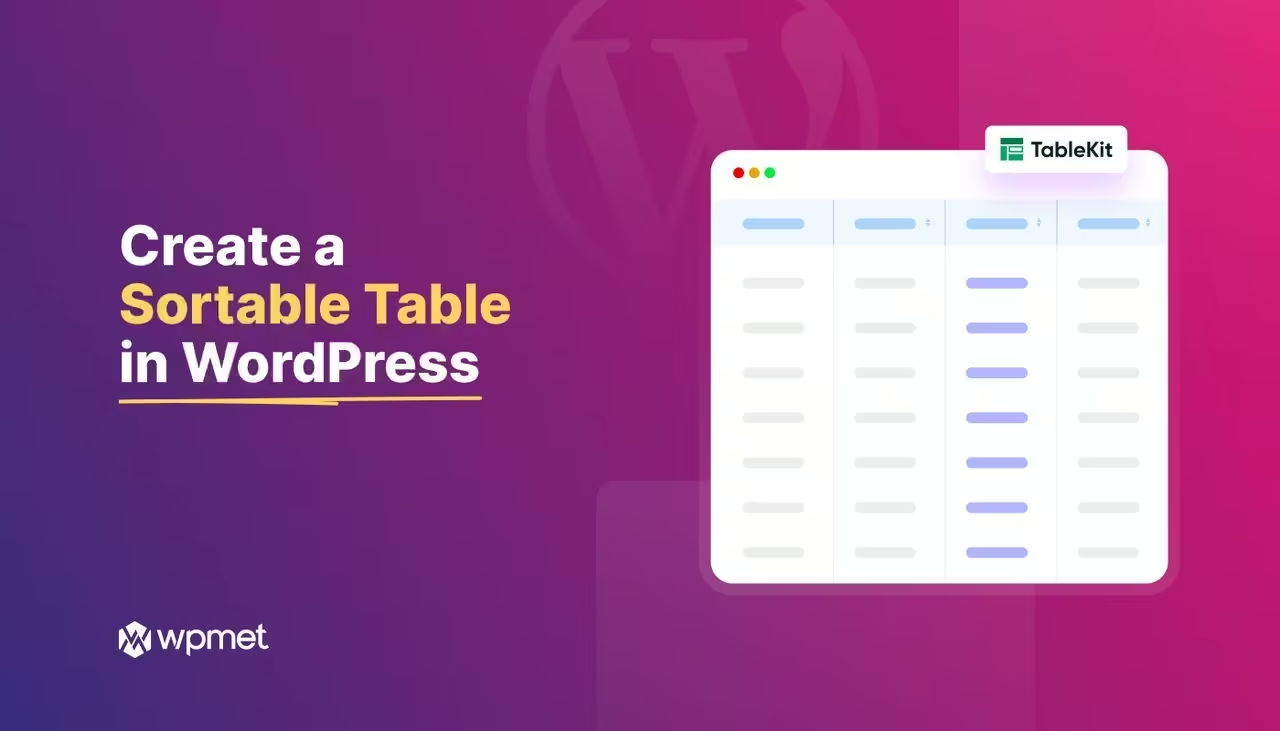
Creating a sortable table in WordPress requires an advanced table solution like TableKit, as the default WordPress table block offers only basic functionality. With TableKit, you can easily add a sortable table by dragging and dropping a table block and enabling column sorting in just a few minutes.
Unlike TableKit, the default table block does not support essential features such as sorting, search, pagination, or automatic data fetching capabilities.
With the right table builder, you can allow users to sort data by columns, compare values easily, and navigate large datasets in minutes.
In this guide, we’ll walk you through how to create a sortable table in WordPress step by step, from installing a table solution to publishing a fully customizable sortable table without any coding.
Quick Overview
Creating a sortable table in WordPress is simple when you use a dedicated table builder like TableKit. Here are the steps you need to follow to create a sortable table in WordPress using TableKit:
Step 1: Install a table plugin
Install and activate TableKit to access advanced table features such as sorting.
Step 2: Add a post or page
Create a new post or page where you want to display the sortable table.
Step 3: Insert the TableKit Data Table block
Drag and drop the Data Table block into the editor and add or import your table data.
Step 4: Enable column sorting
Turn on sorting from the table settings so users can organize data by clicking column headers.
Step 5: Customize and publish the table
Adjust layout, style, and additional features, then publish the page or post.
Why add a sortable table in WordPress?
Integrating a sortable table in your WordPress site helps users to organize content based on their needs. From a lengthy table, this instantly allows them to find information in minutes.
Besides, this benefits users in many more ways. Here are the advantages of adding a sortable table in WordPress:
- Easily read and understand large datasets.
- Let users sort information based on their preferences.
- Organize columns and rows by reducing content cluttering.
- Boost user engagement and time on site.
- Help users to sort and find the information in the shortest possible time.
- Increase customer satisfaction as they can easily find the info they are looking for.
- Ensure better data presentation for pricing tables, reports, and lists.
How to create a sortable table in WordPress
Here is the step-by-step process of how to create a sortable table in WordPress, from installing the table solution to publishing a custom sortable table, all included:
Step 1: Install a table plugin
In the first step, you have to select a table builder block for Gutenberg that allows you to import and add tables using blocks with zero coding expertise.
TableKit is an ultimate table builder for the Gutenberg editor, which allows you to create a WordPress sortable table in a drag-and-drop interface. Besides, it has a minimal learning curve that makes it super friendly even for beginners. So, here we’ll use TableKit to add a sortable table in WordPress.
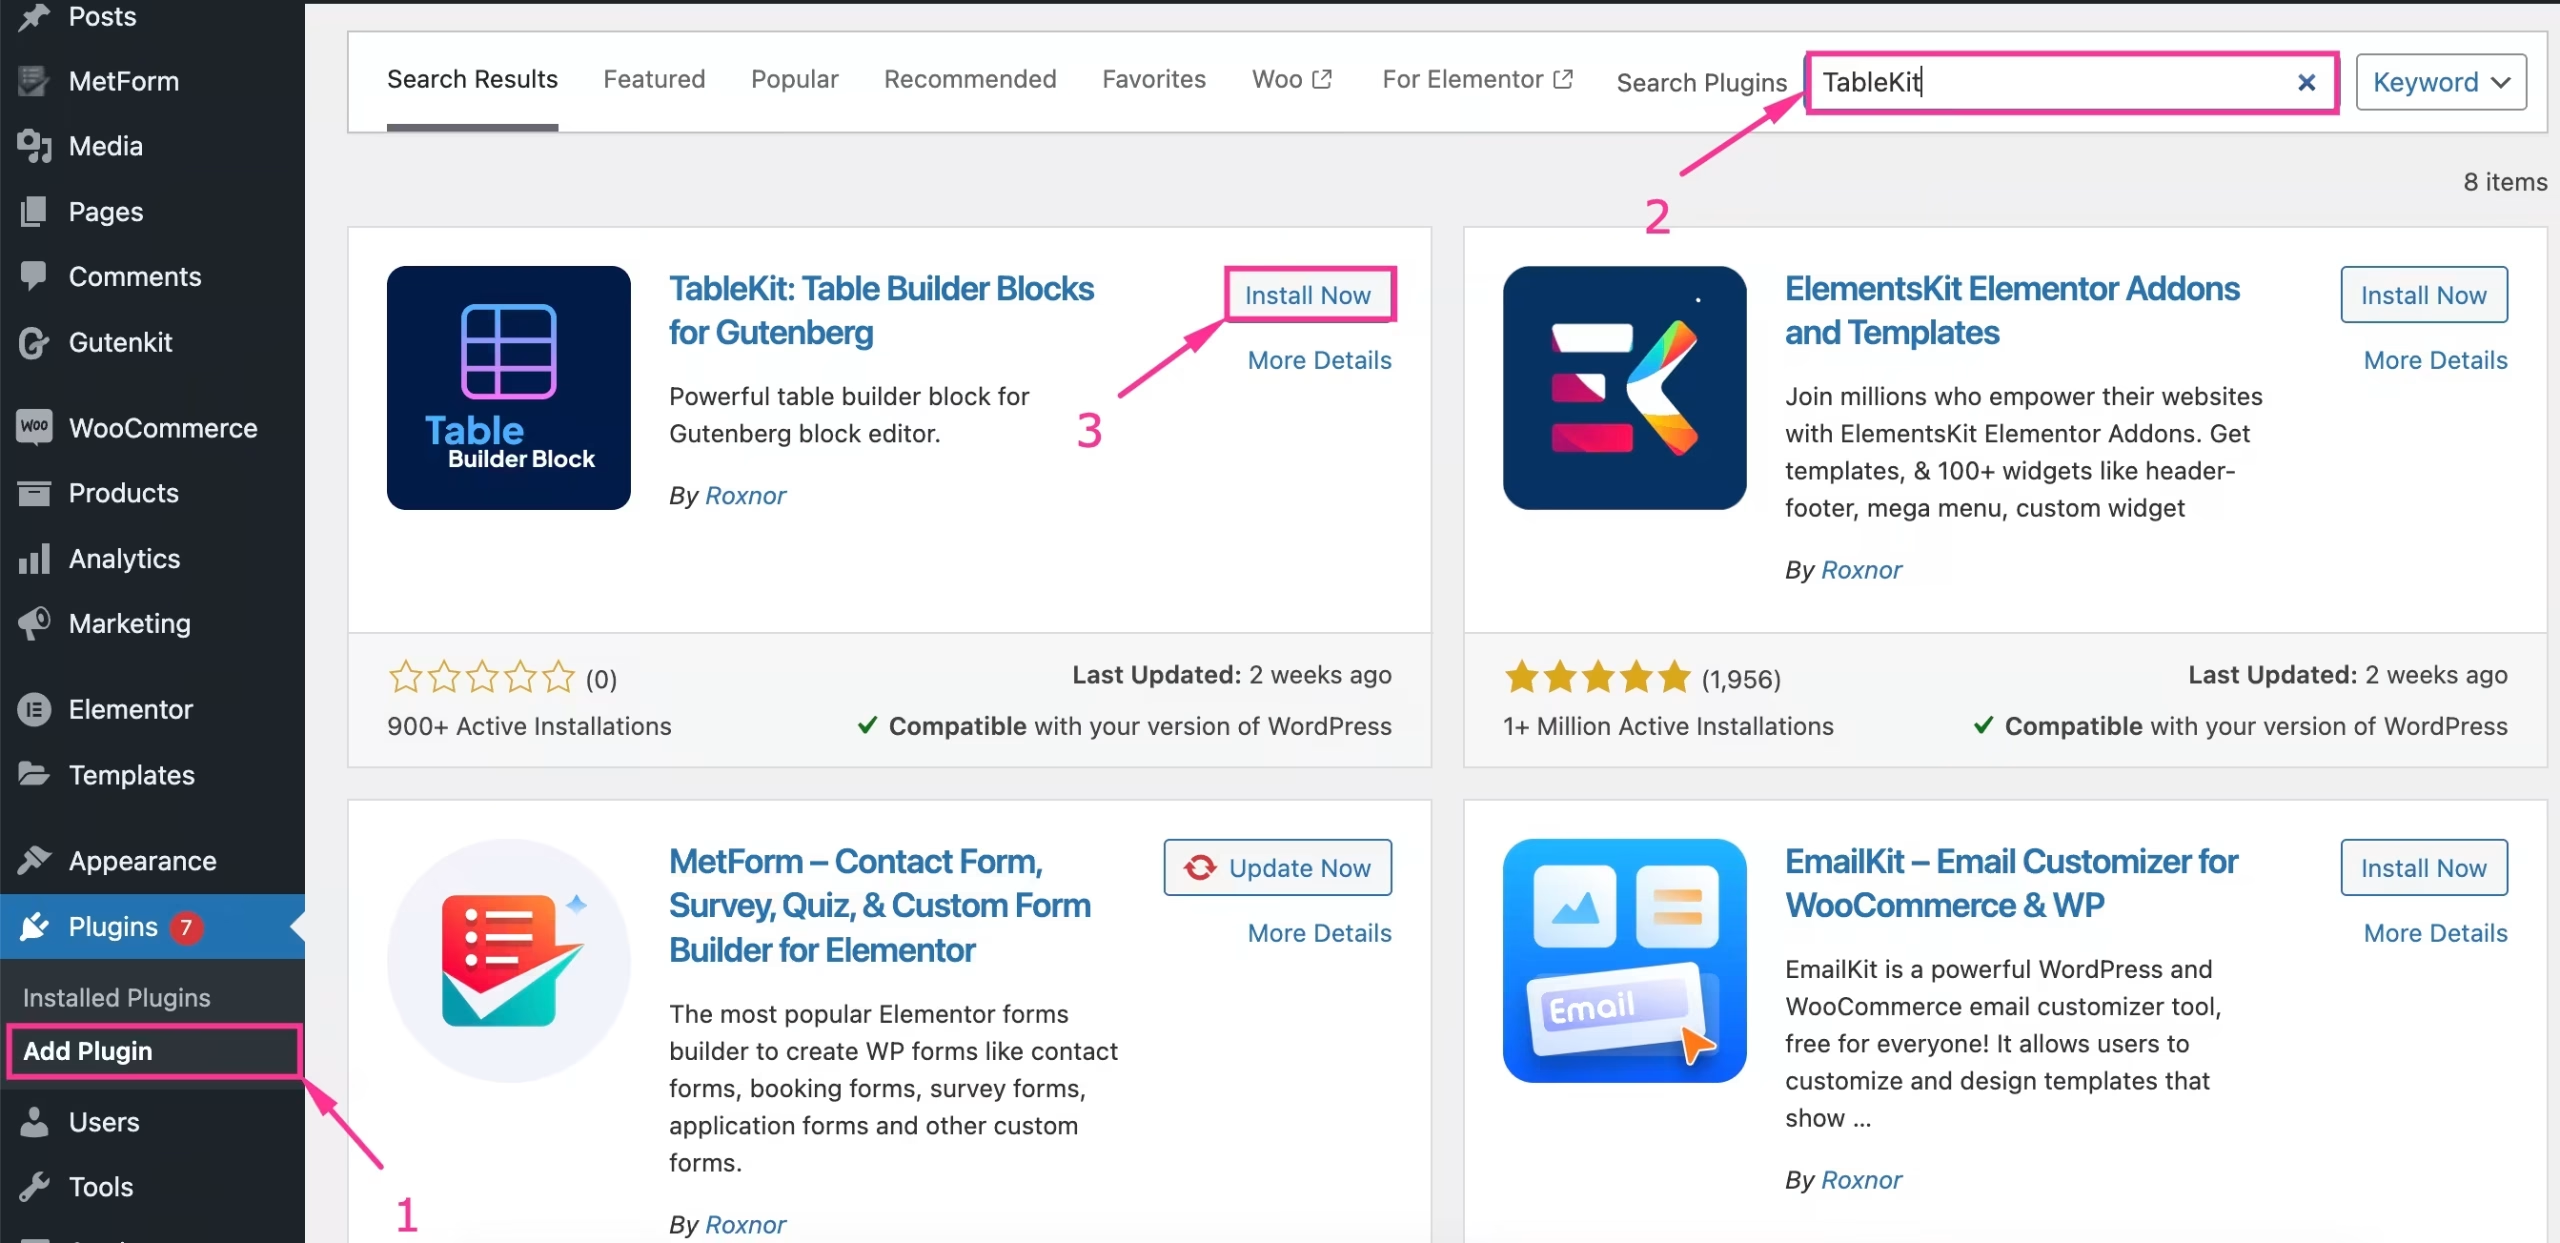
First, navigate to Plugins → Add Plugin och search for TableKit. Sedan, install TableKit and activate it afterwards.
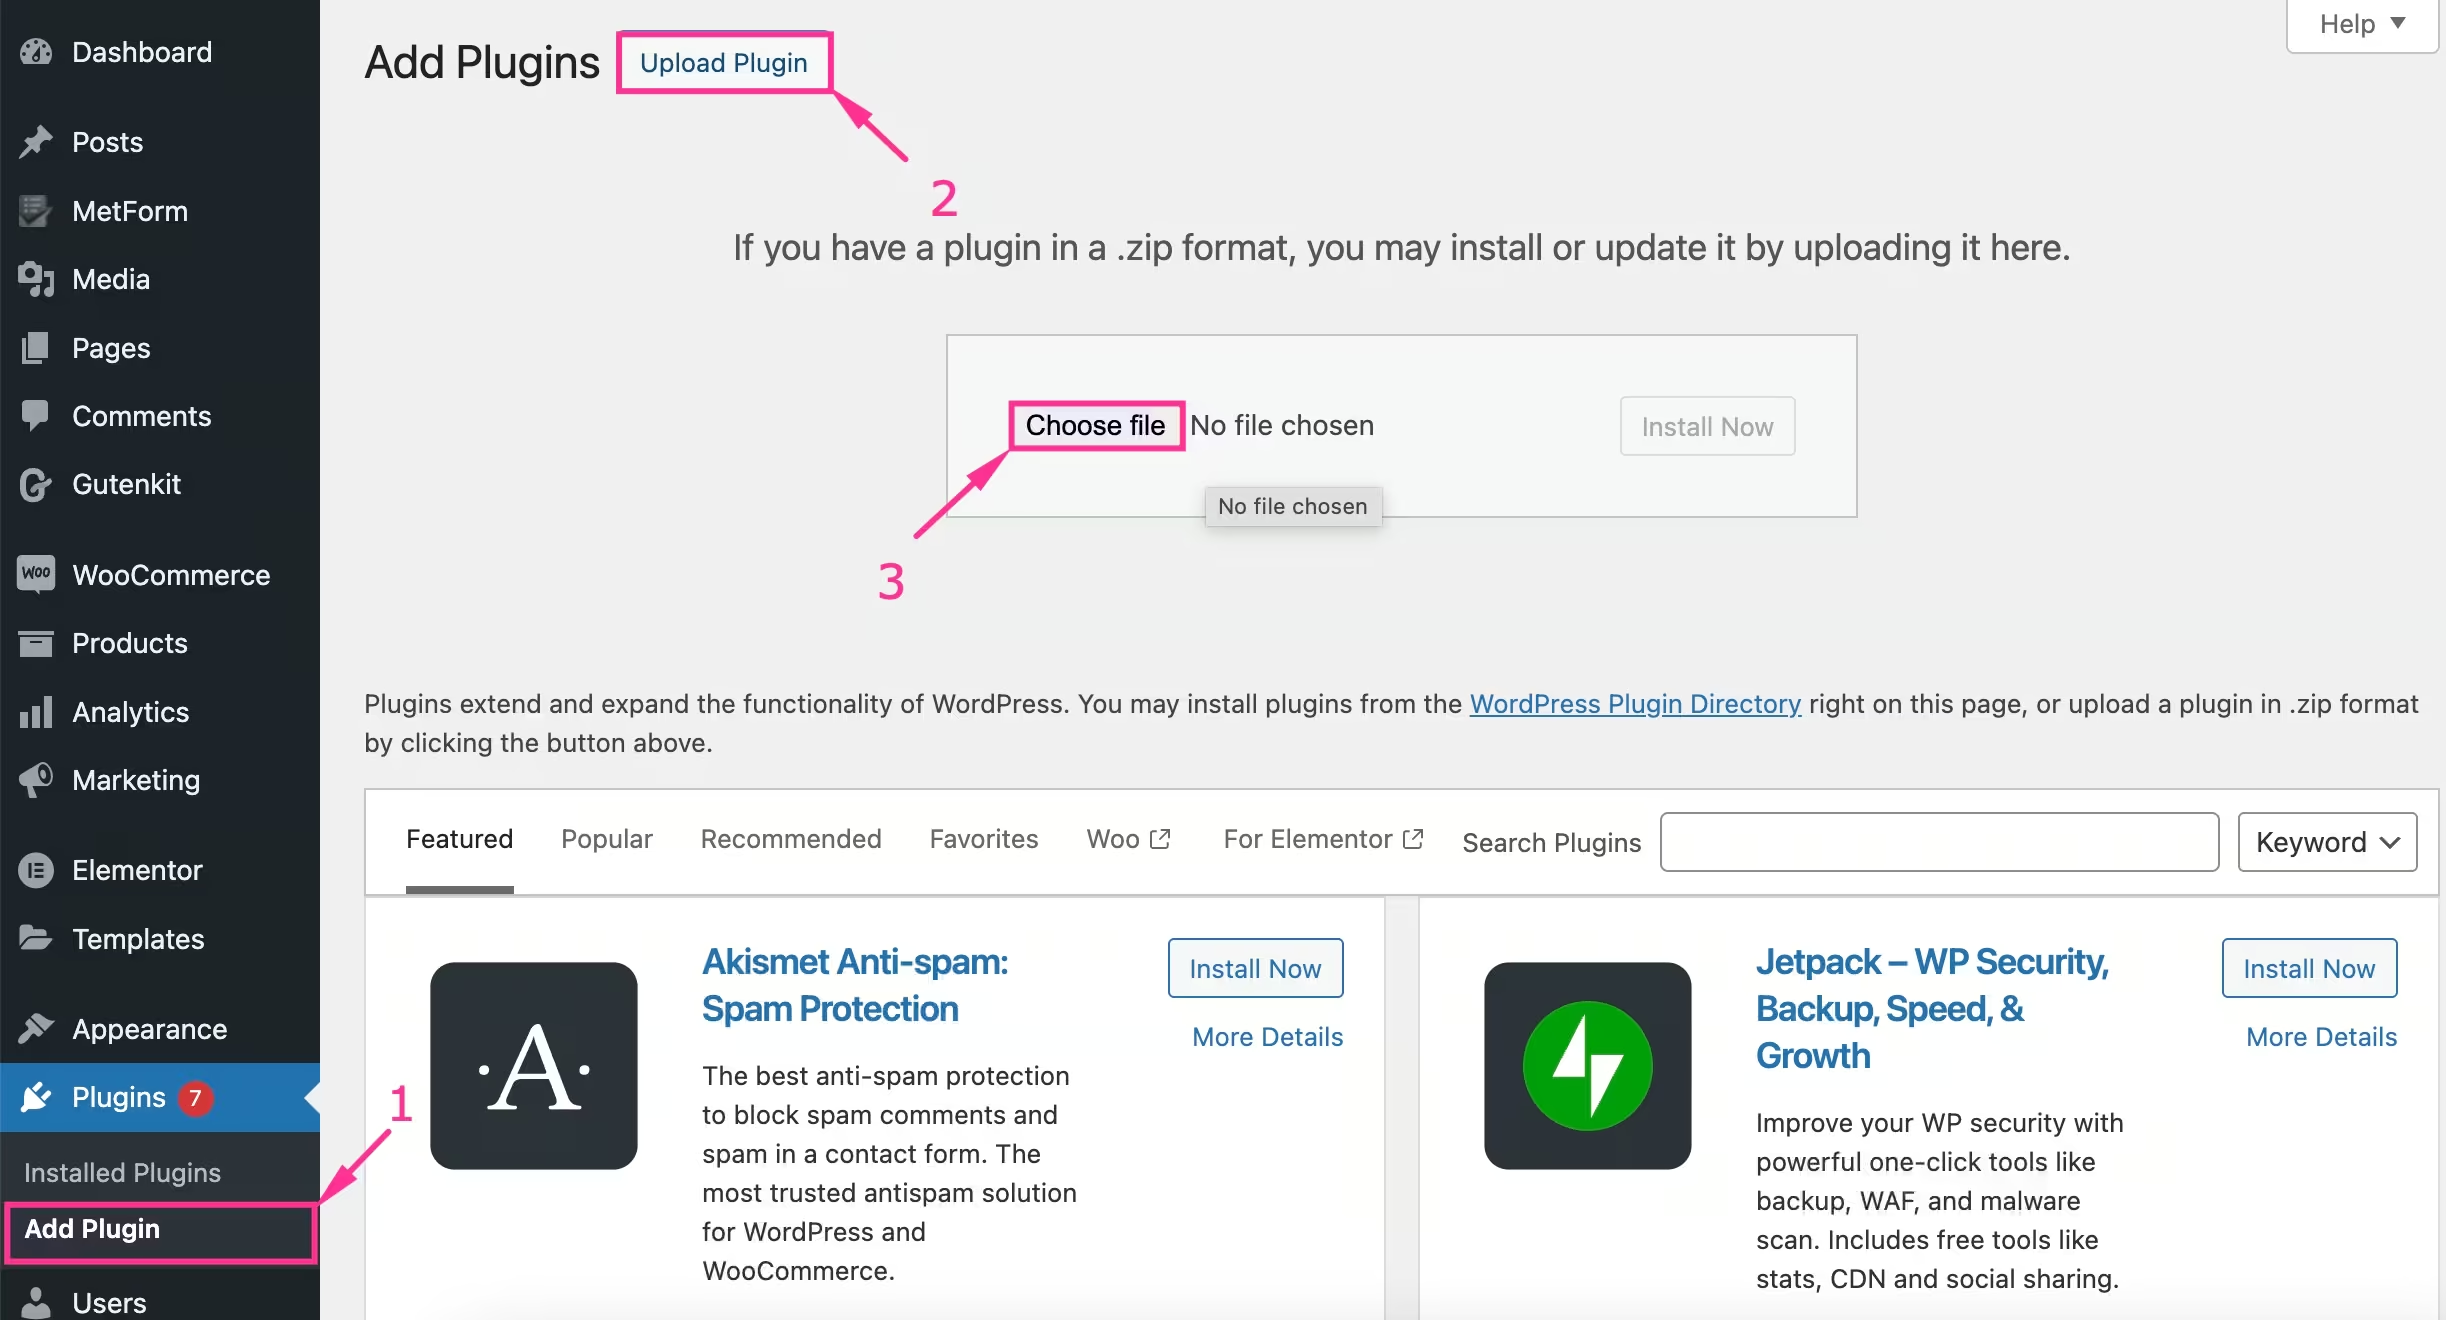
Also, you can upload TableKit Pro by visiting Plugins >> Add Plugin och pressing “Upload plugin”. Sedan choose a file from your device to download and activate TableKit.
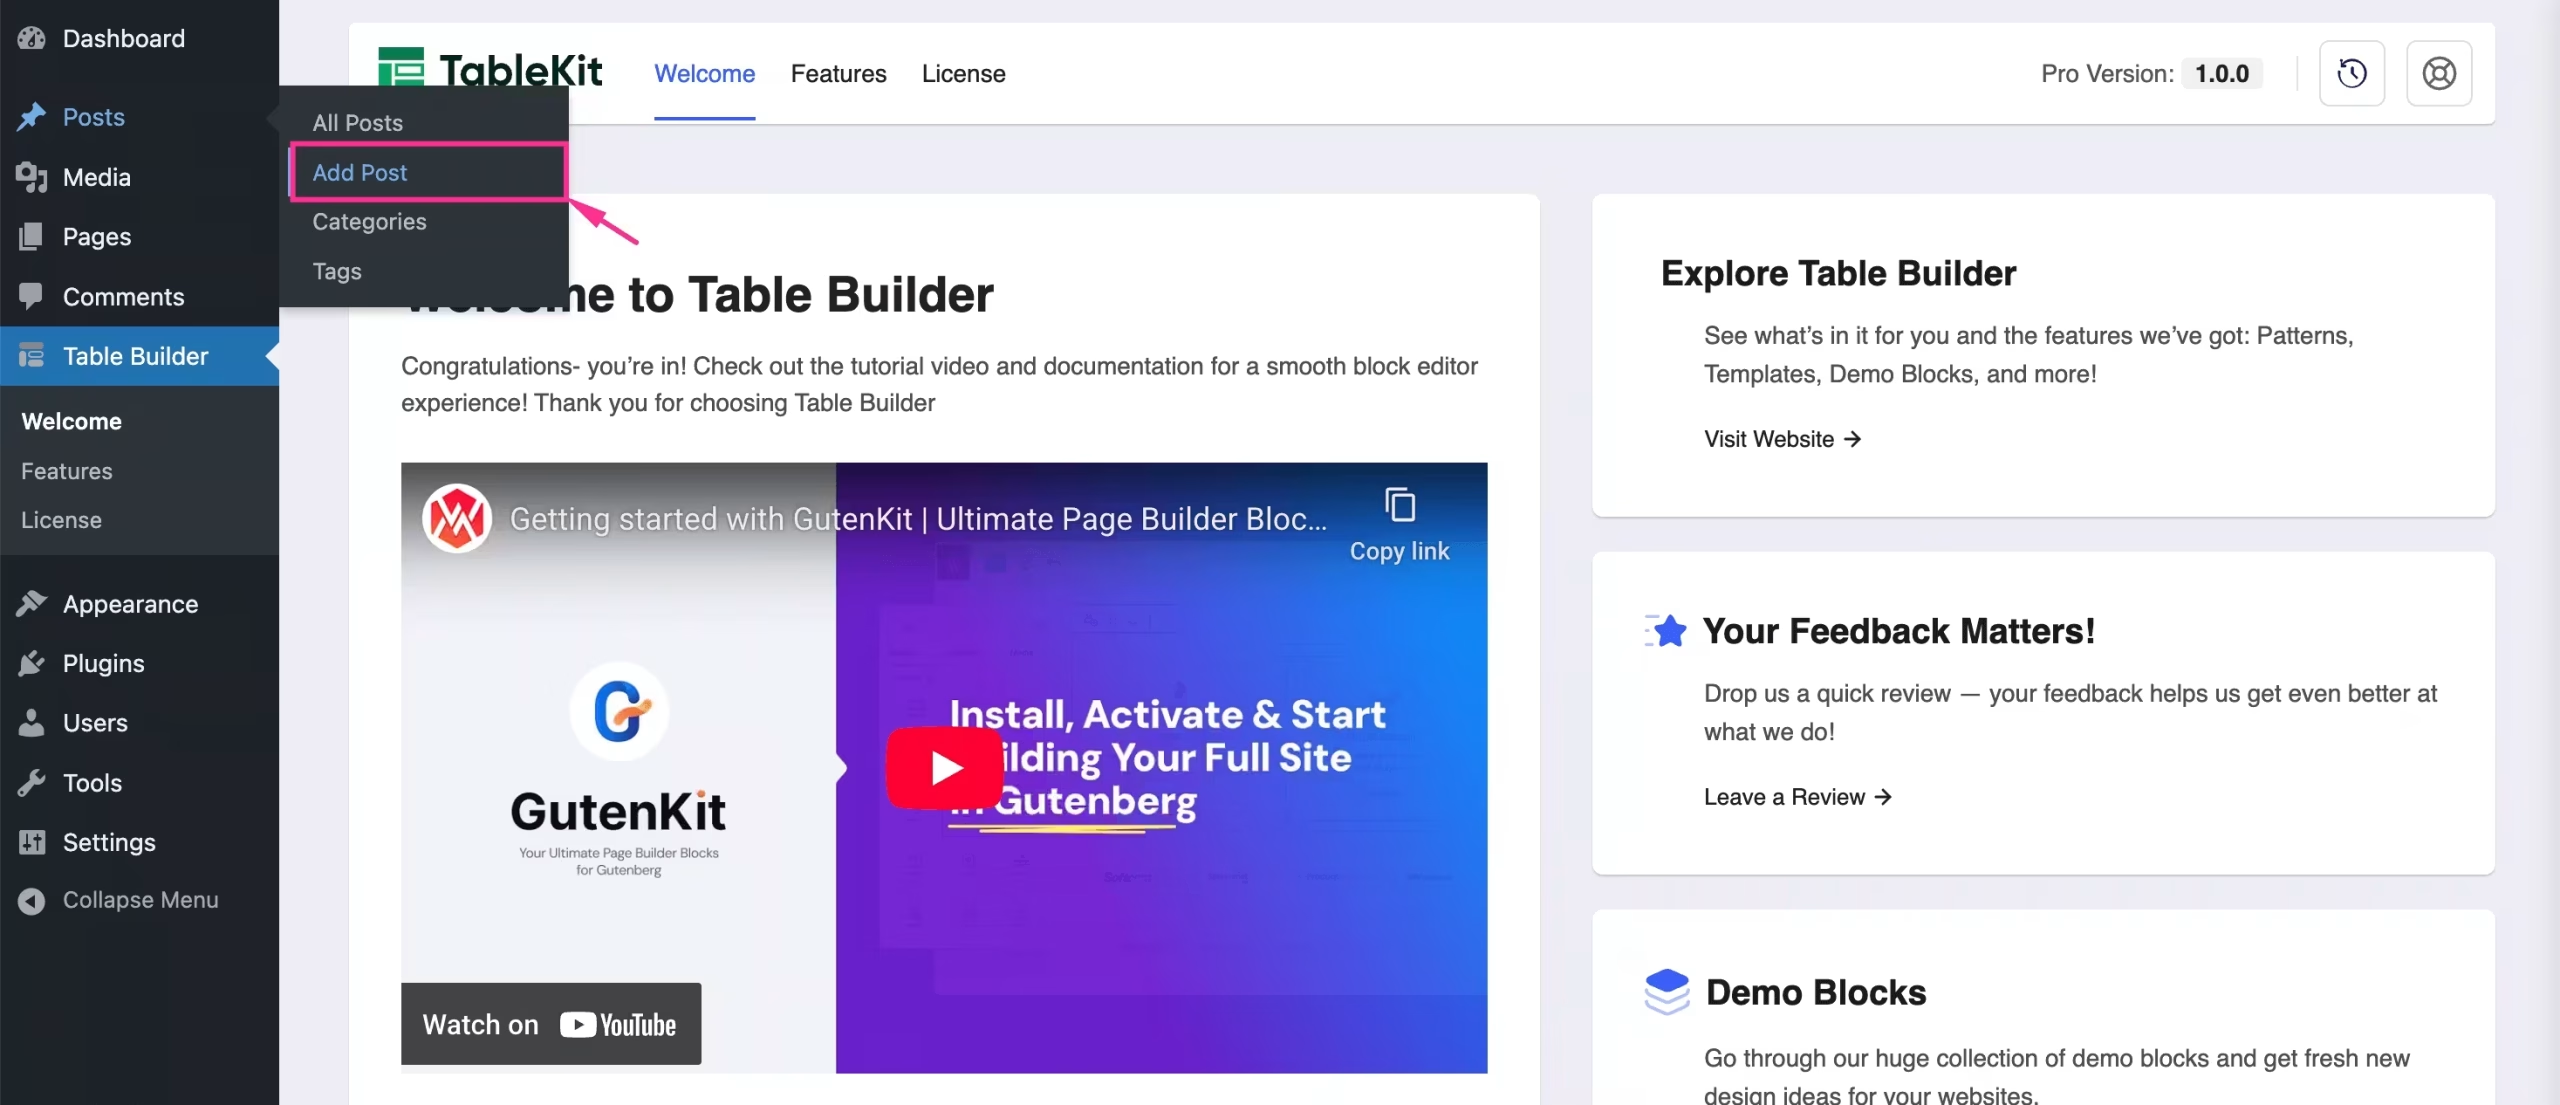
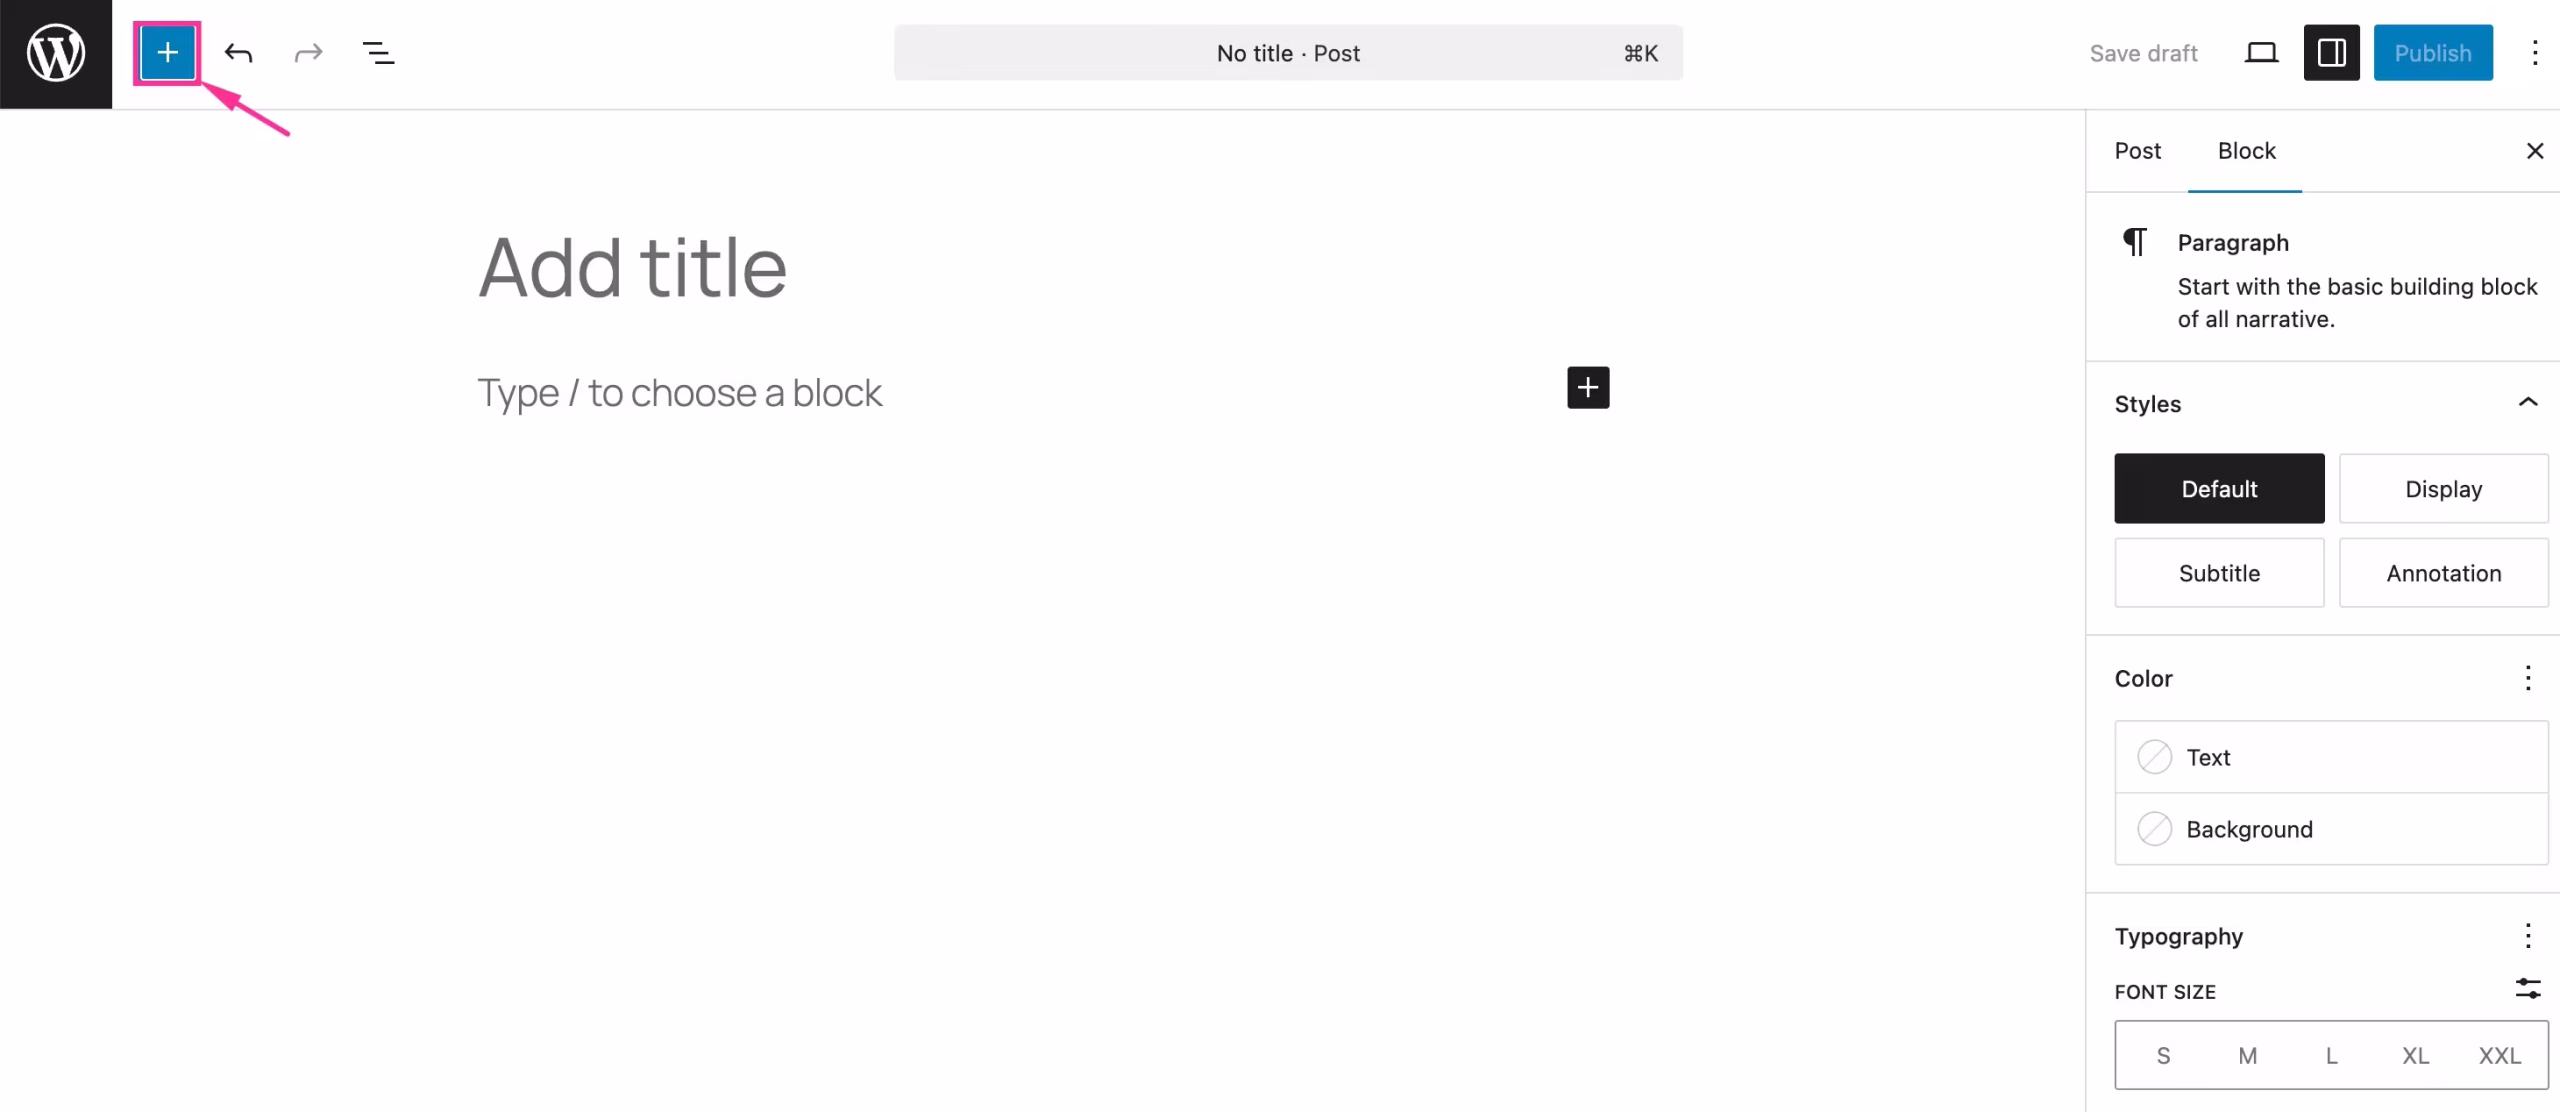
Step 2: Add a post or page
After installing and activating the table plugin, add a new post or page to create WordPress tables. For that, hover your mouse over Add Post under Posts and klick to open that page.
Step 3: Drag-and-drop table block
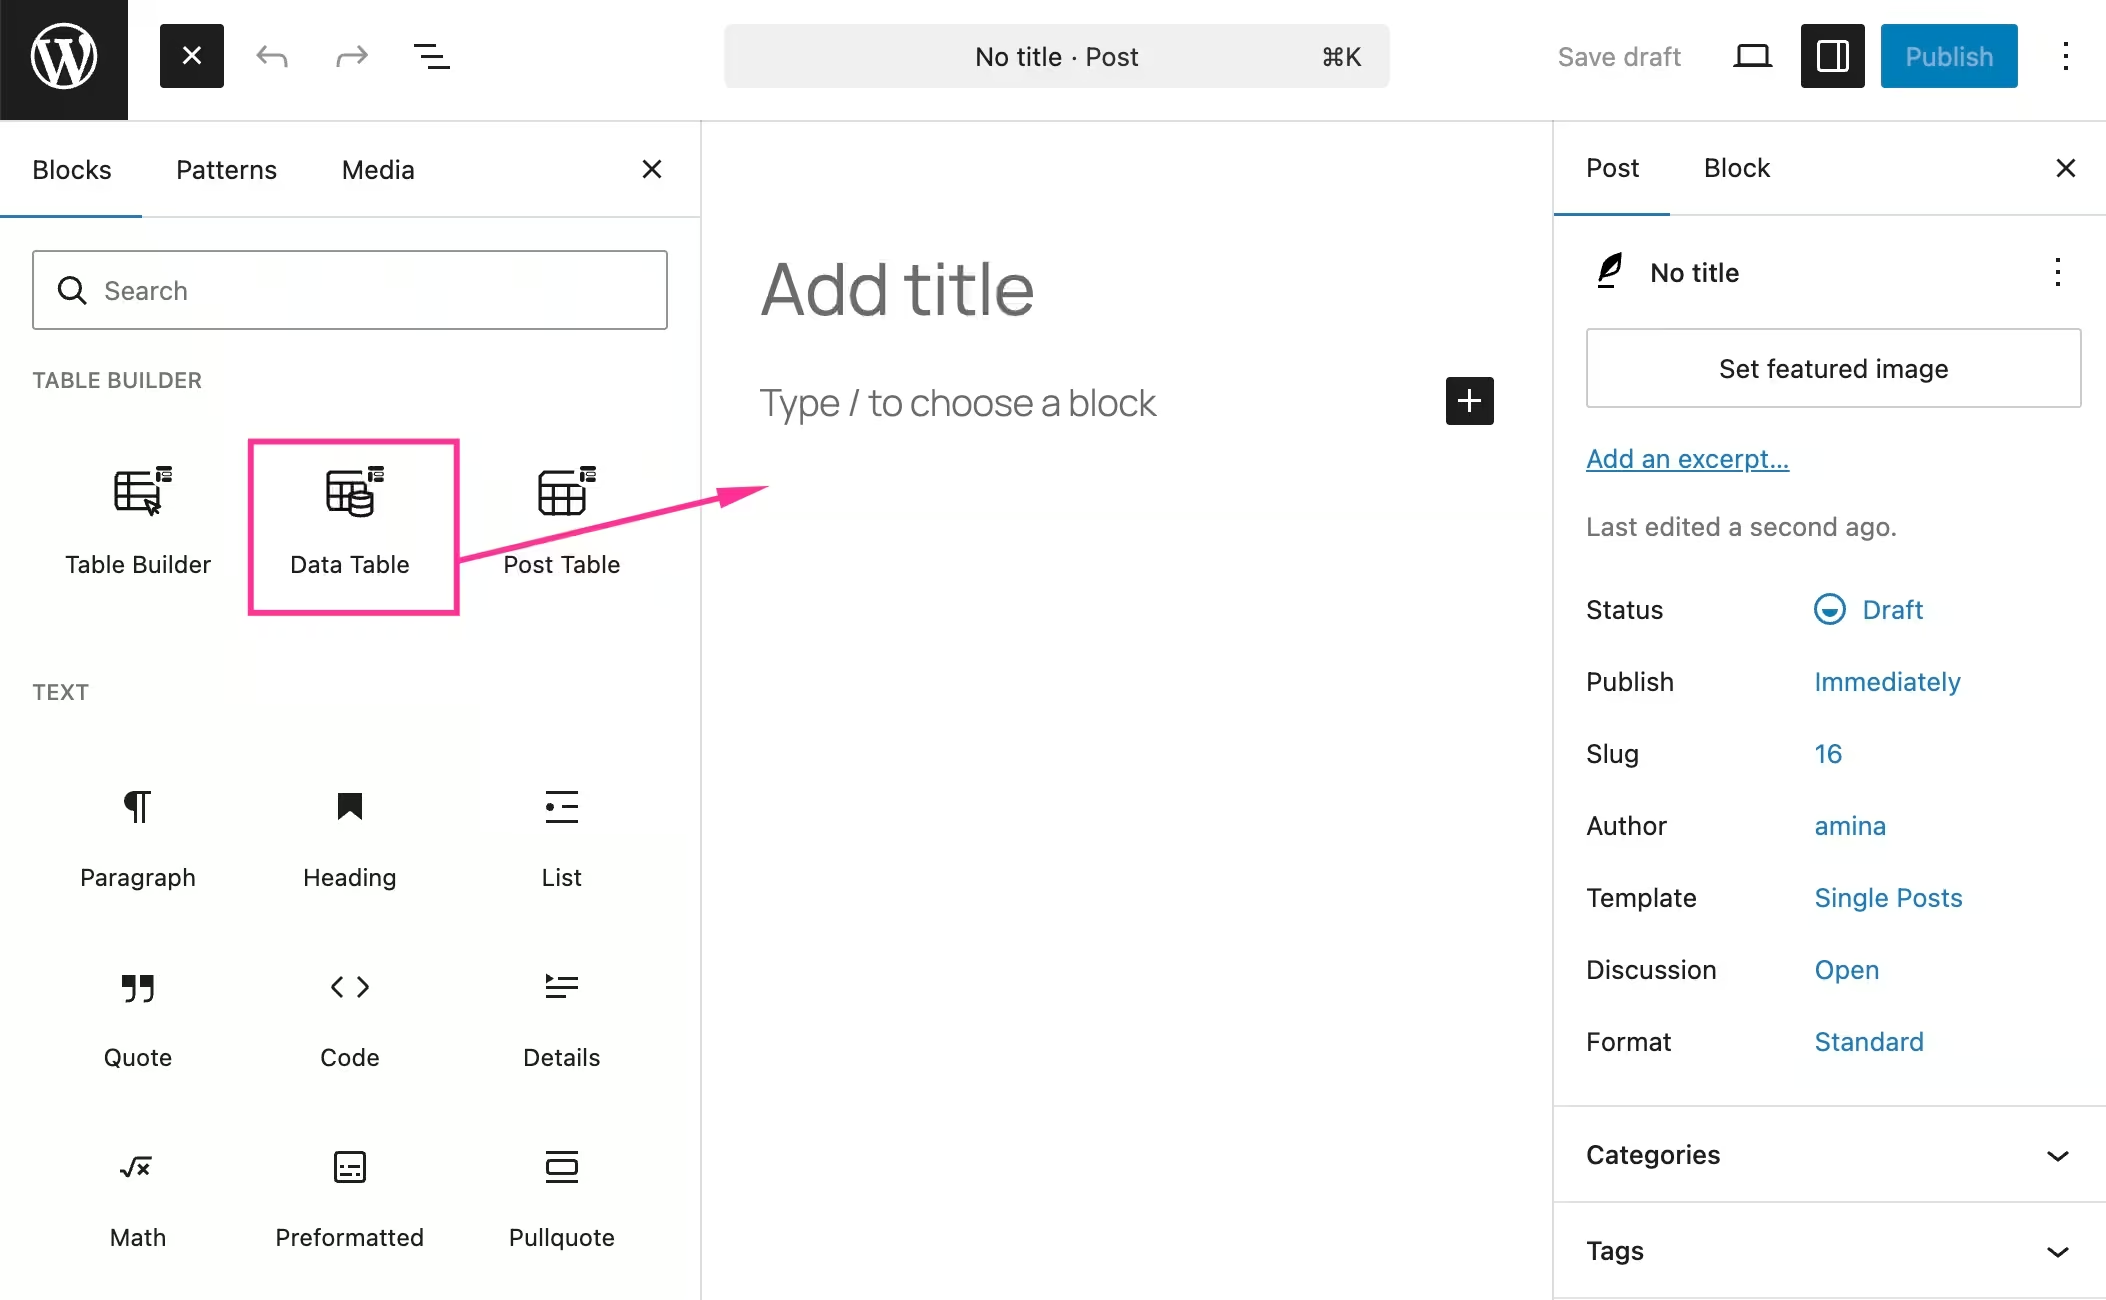
Nu, click the “+” icon to view all the available blocks of TableKit.
This will open up a tab on the left side from where you have to drag-and-drop the Data Table block on the right side.
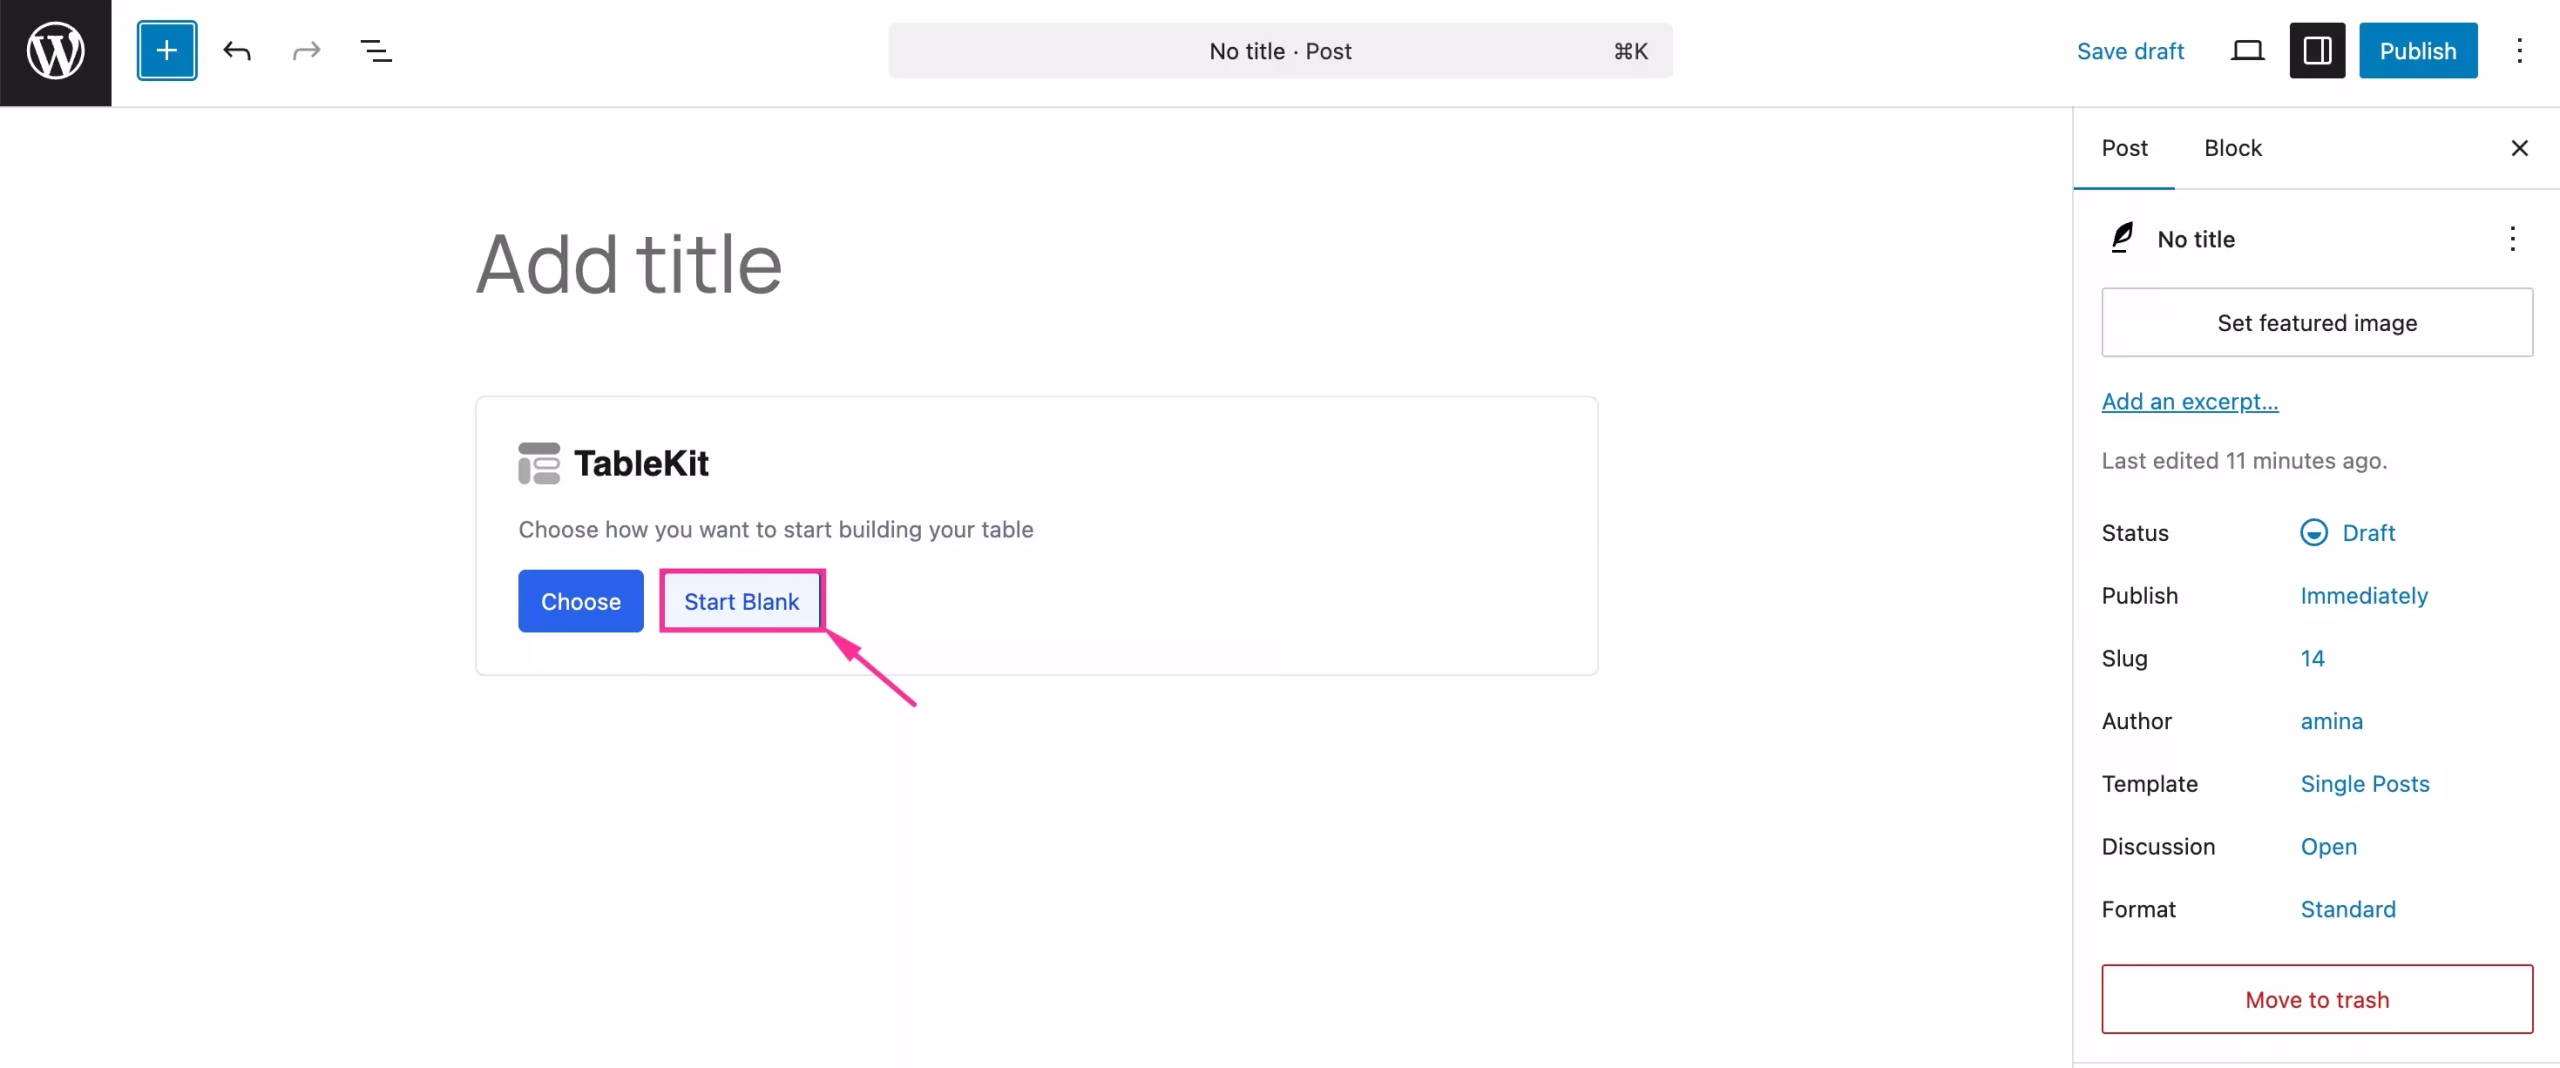
Efter det, press the “Start Blank” button to access all the controls of table import and customizations.
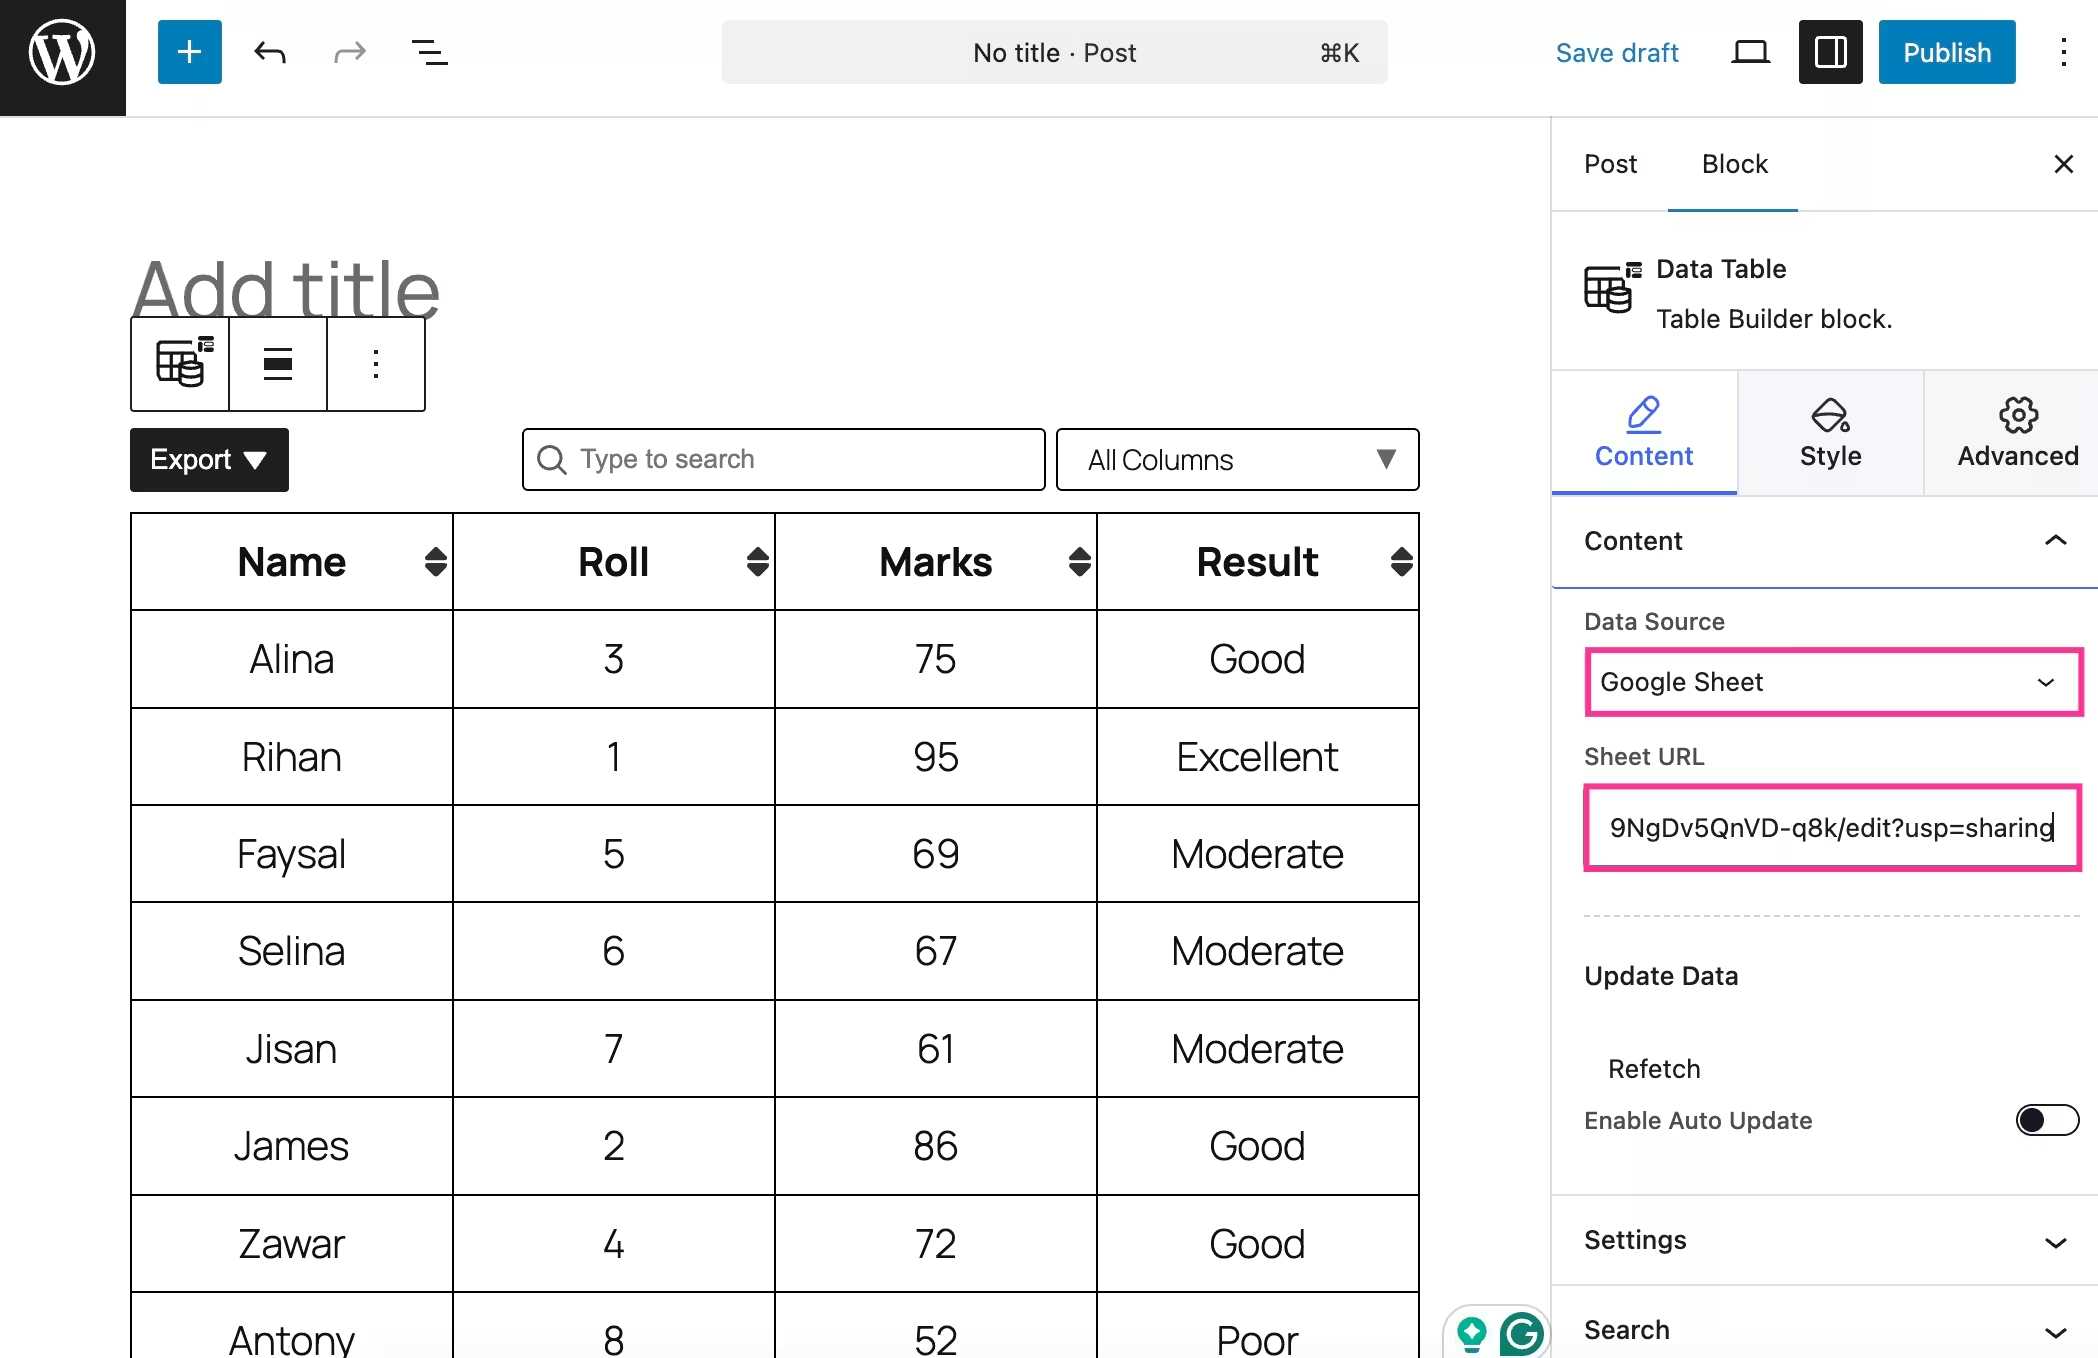
This will let you source a data table from a CSV file, Google Sheets, JSON file, and Nested Json file. Next to selecting a Data Source, such as Google Kalkylark, enter the URL of that sheet. Thus, your table will be displayed on the left side.
Also, you can enable auto data fetching by turning on the toggle button on the right side.
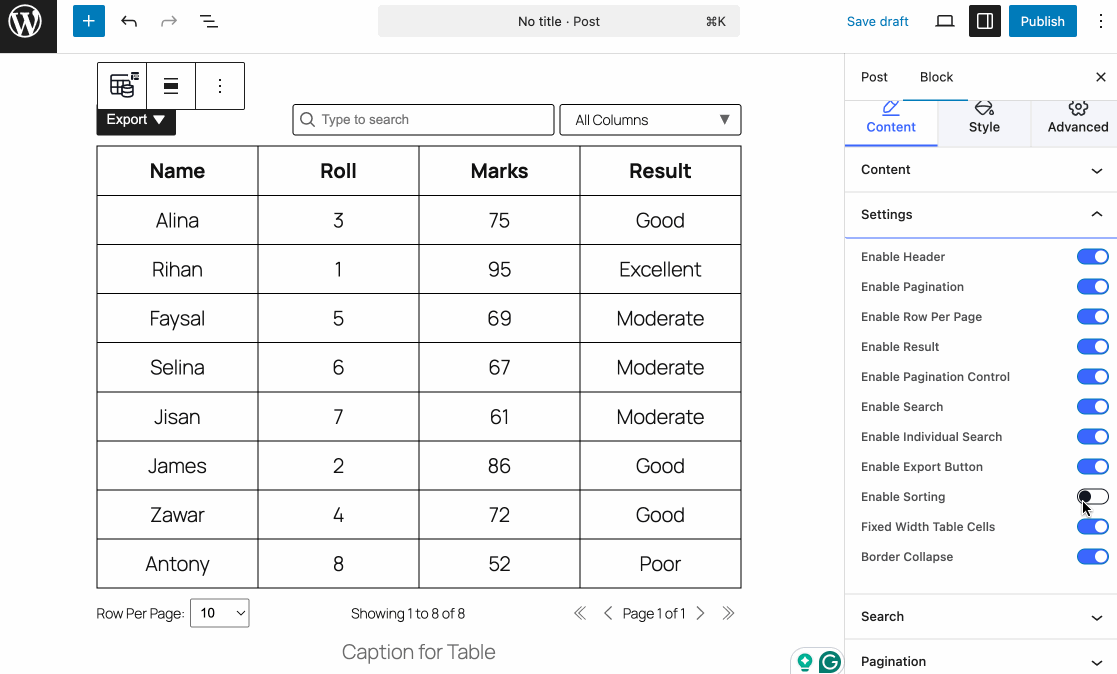
Step 4: Enable data sorting
In the fourth step, you have to enable data sorting from the Settings tab.
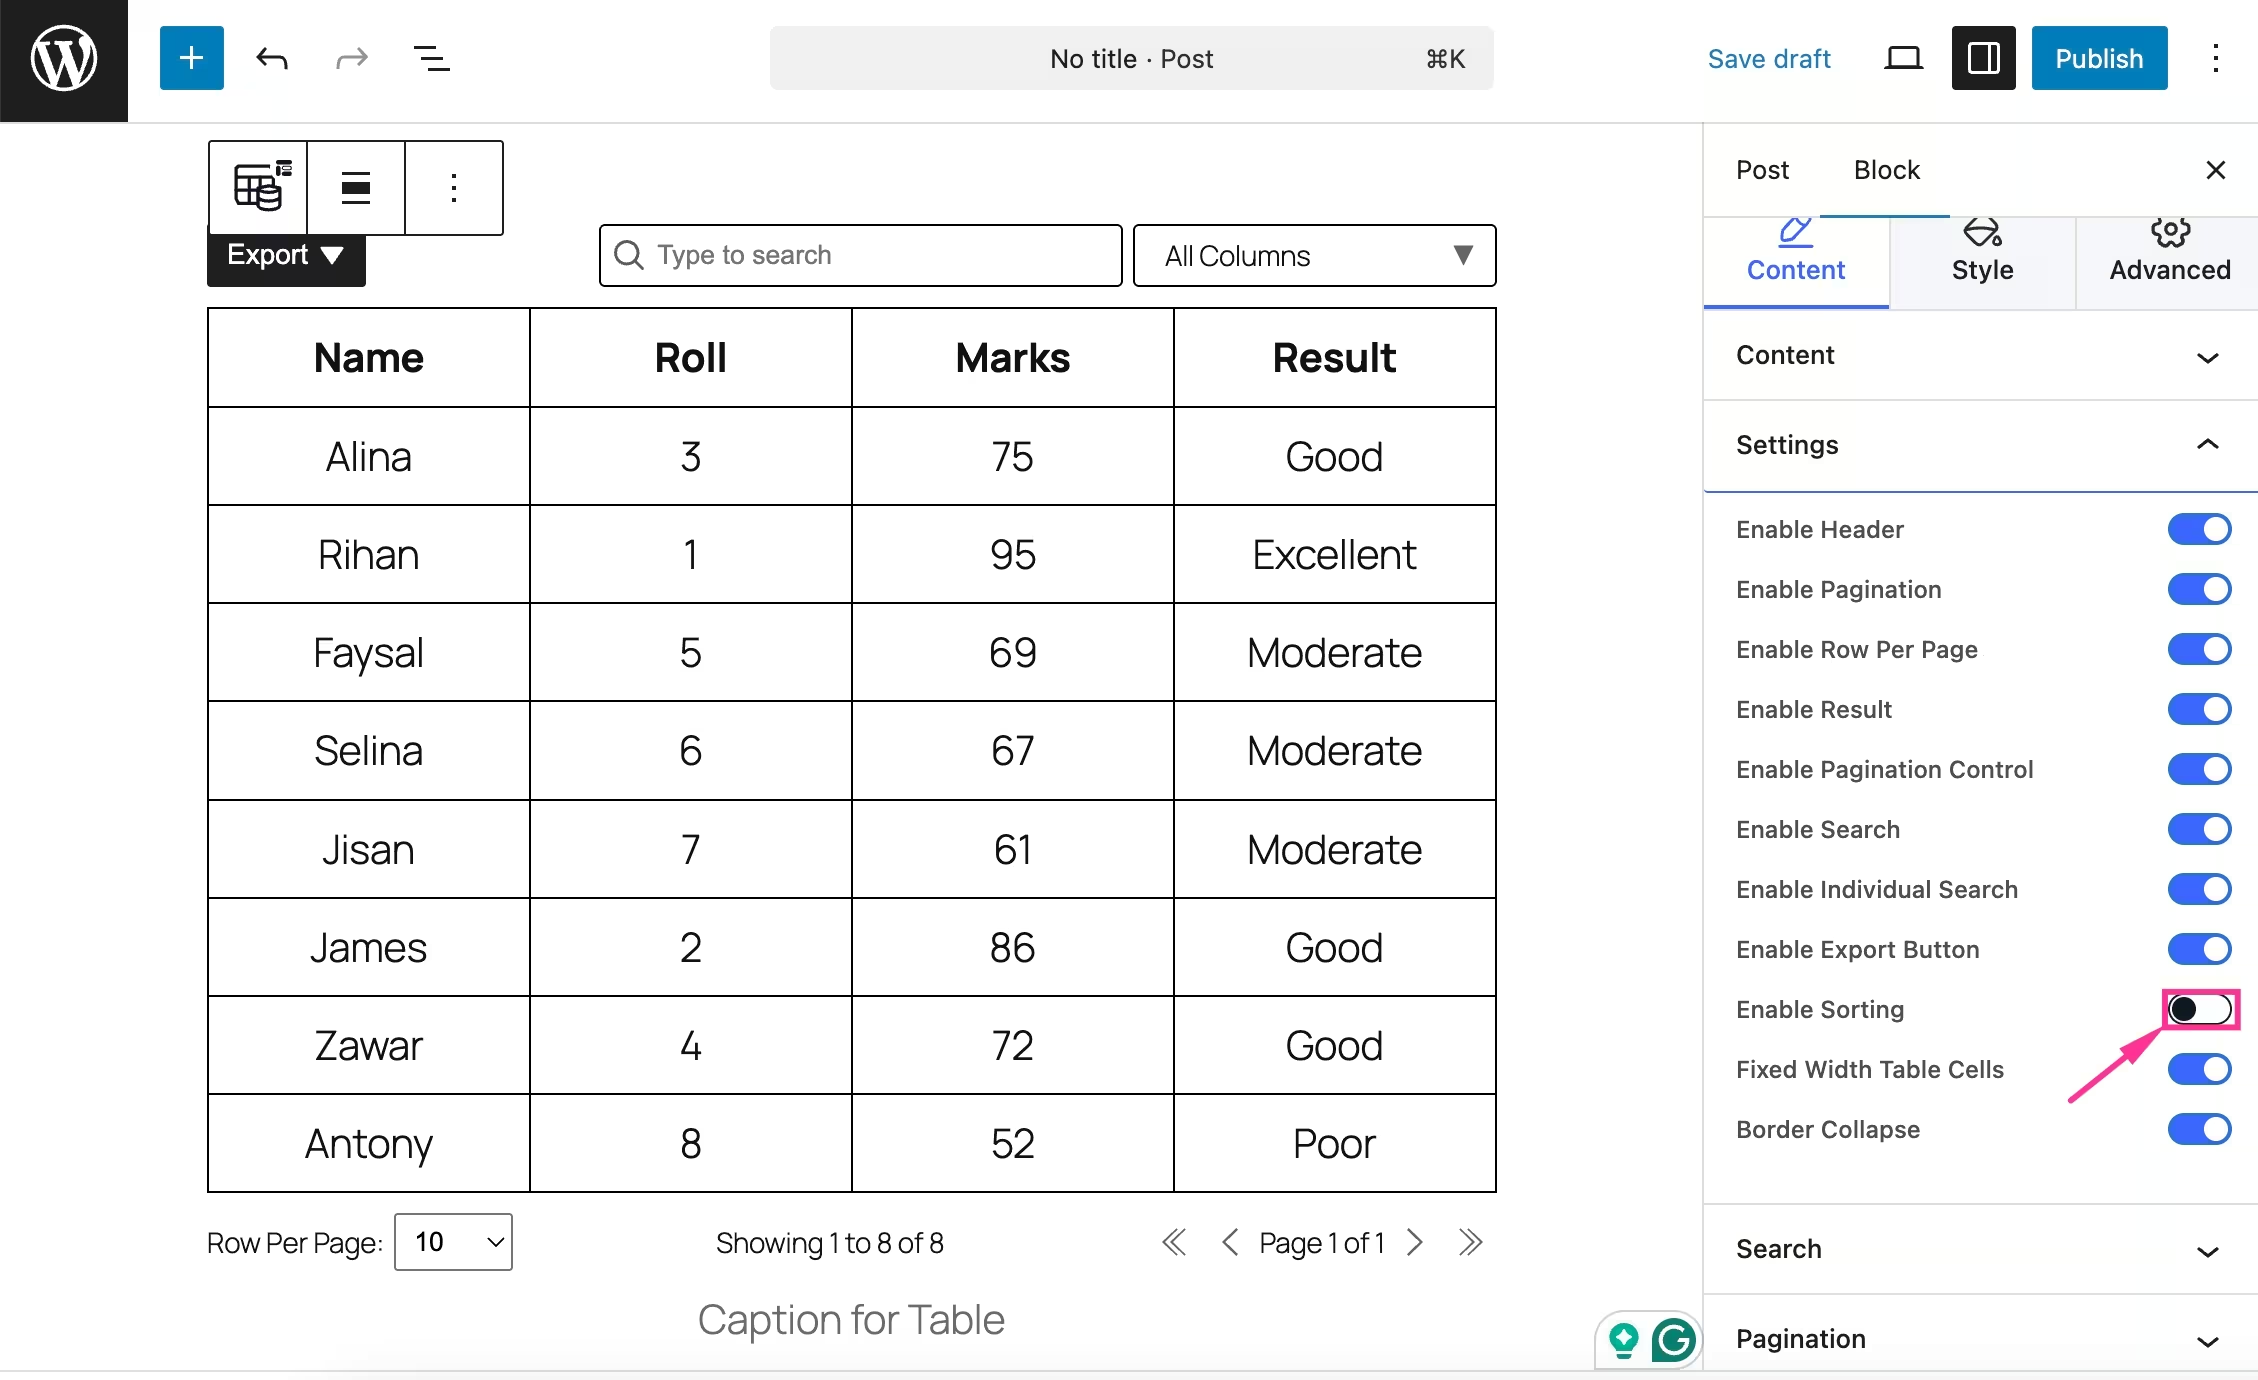
After enabling the data sorting, you can sort the data in a column based on your selected fields. Along with data sorting, you can enable header, pagination, row per page, result, pagination control, search, individual search, export button, fixed-width table cells, och border collapse.
Step 5: Configure other table customization
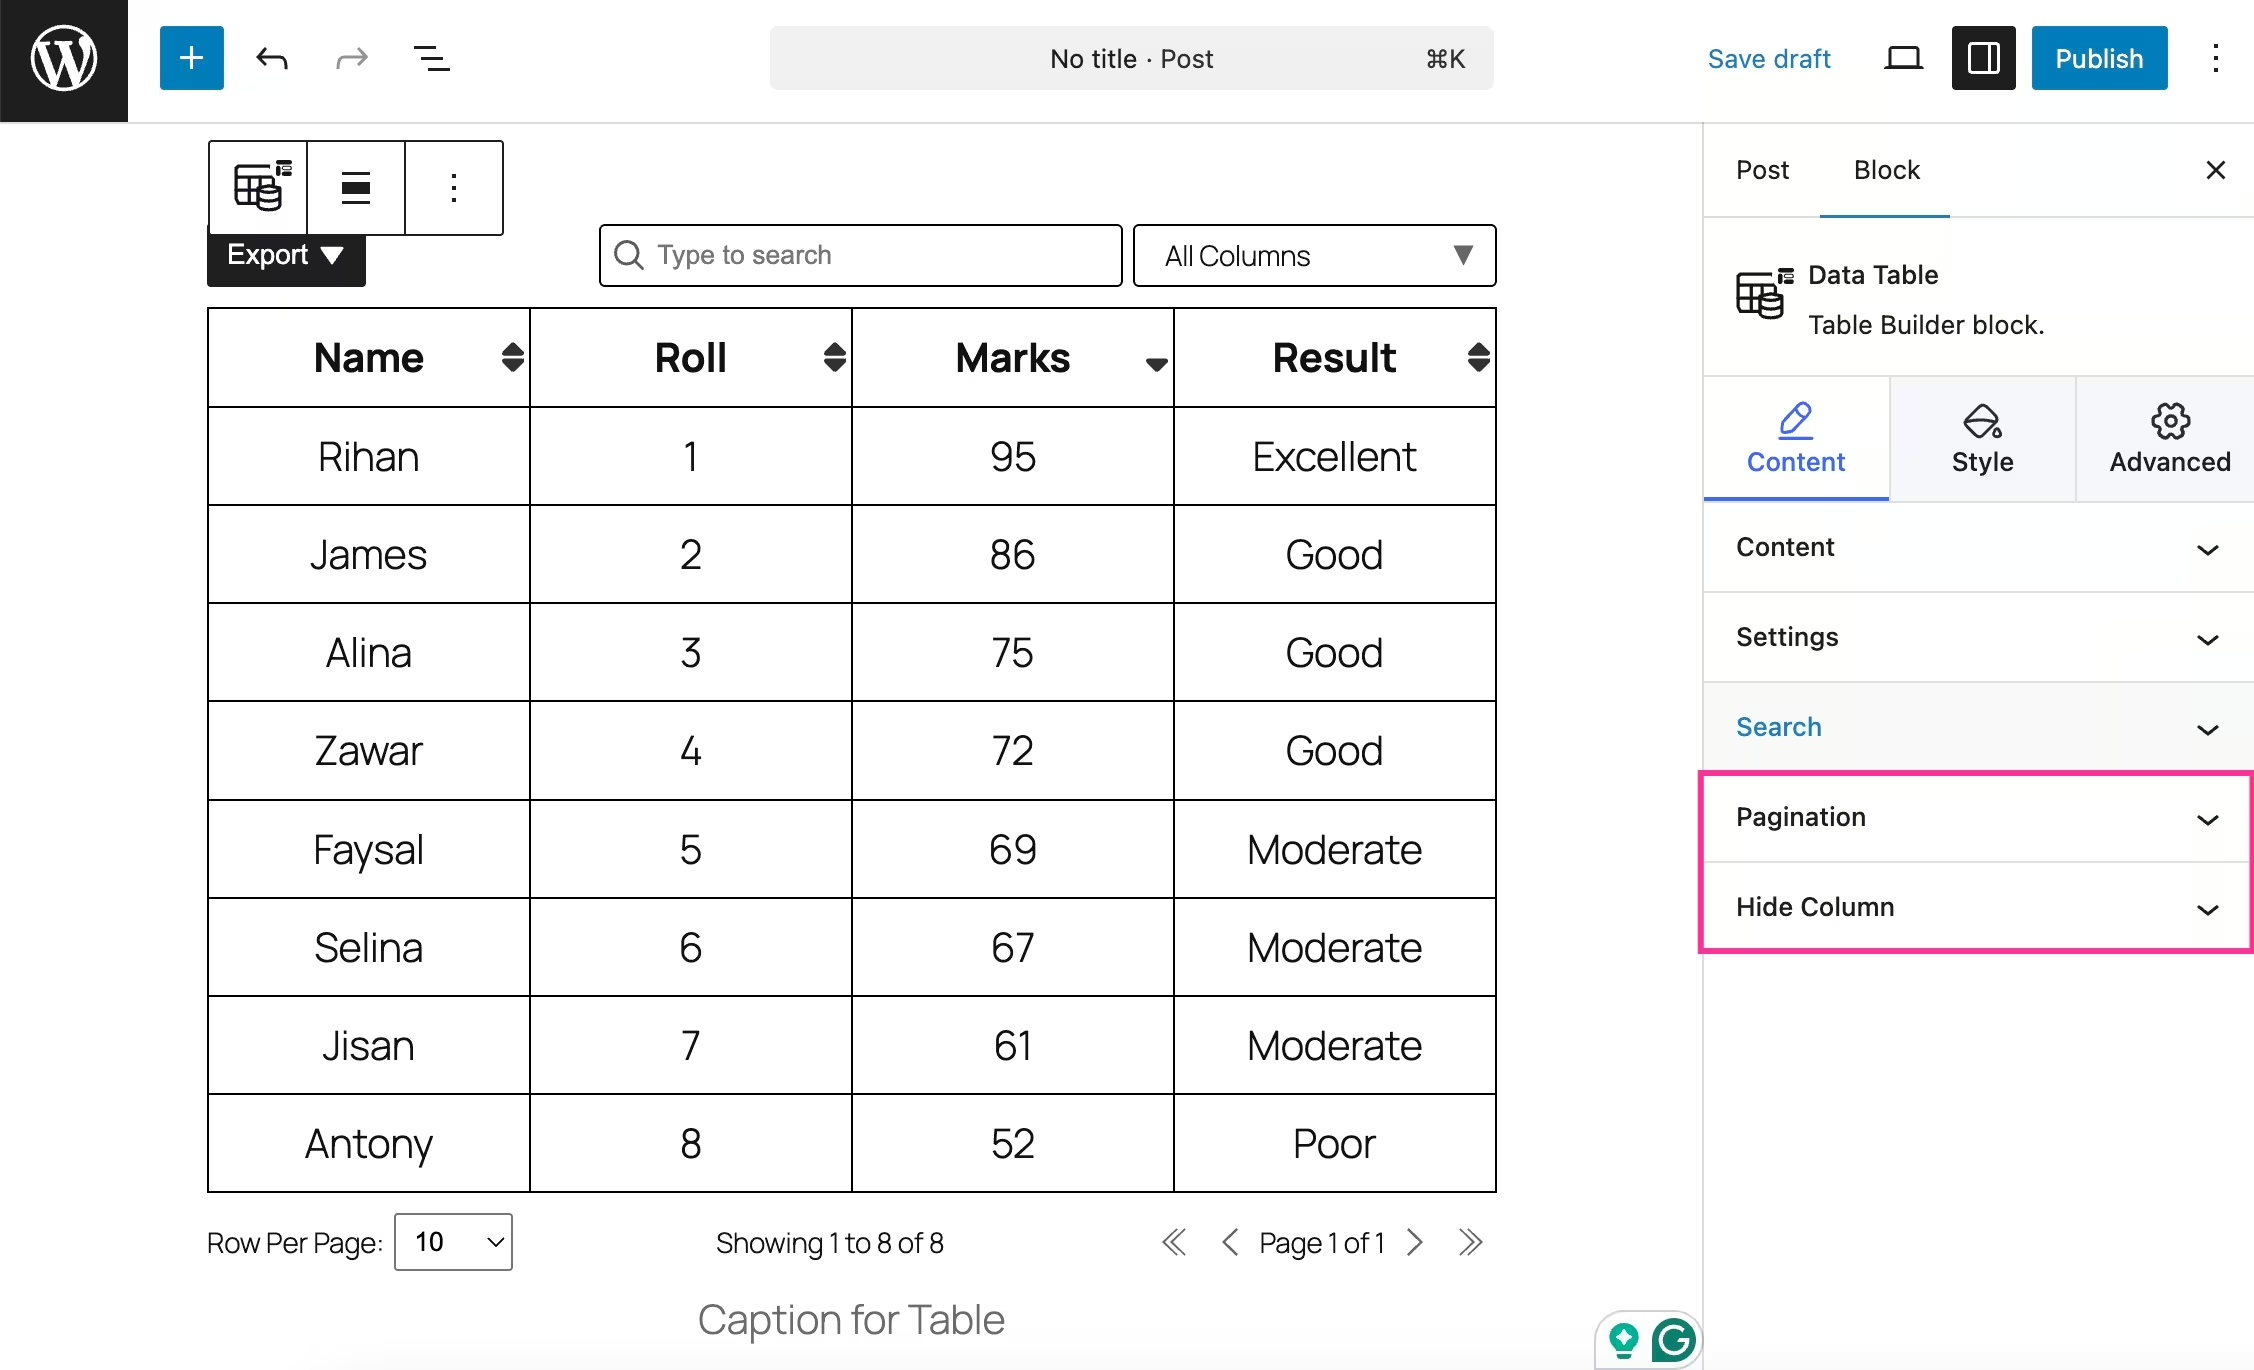
Again, you can integrate search functionality by expanding the search tab. Therefore, set the search icon and a placeholder text.

Besides search, you can also add pagination and hide columns for sorting table data.
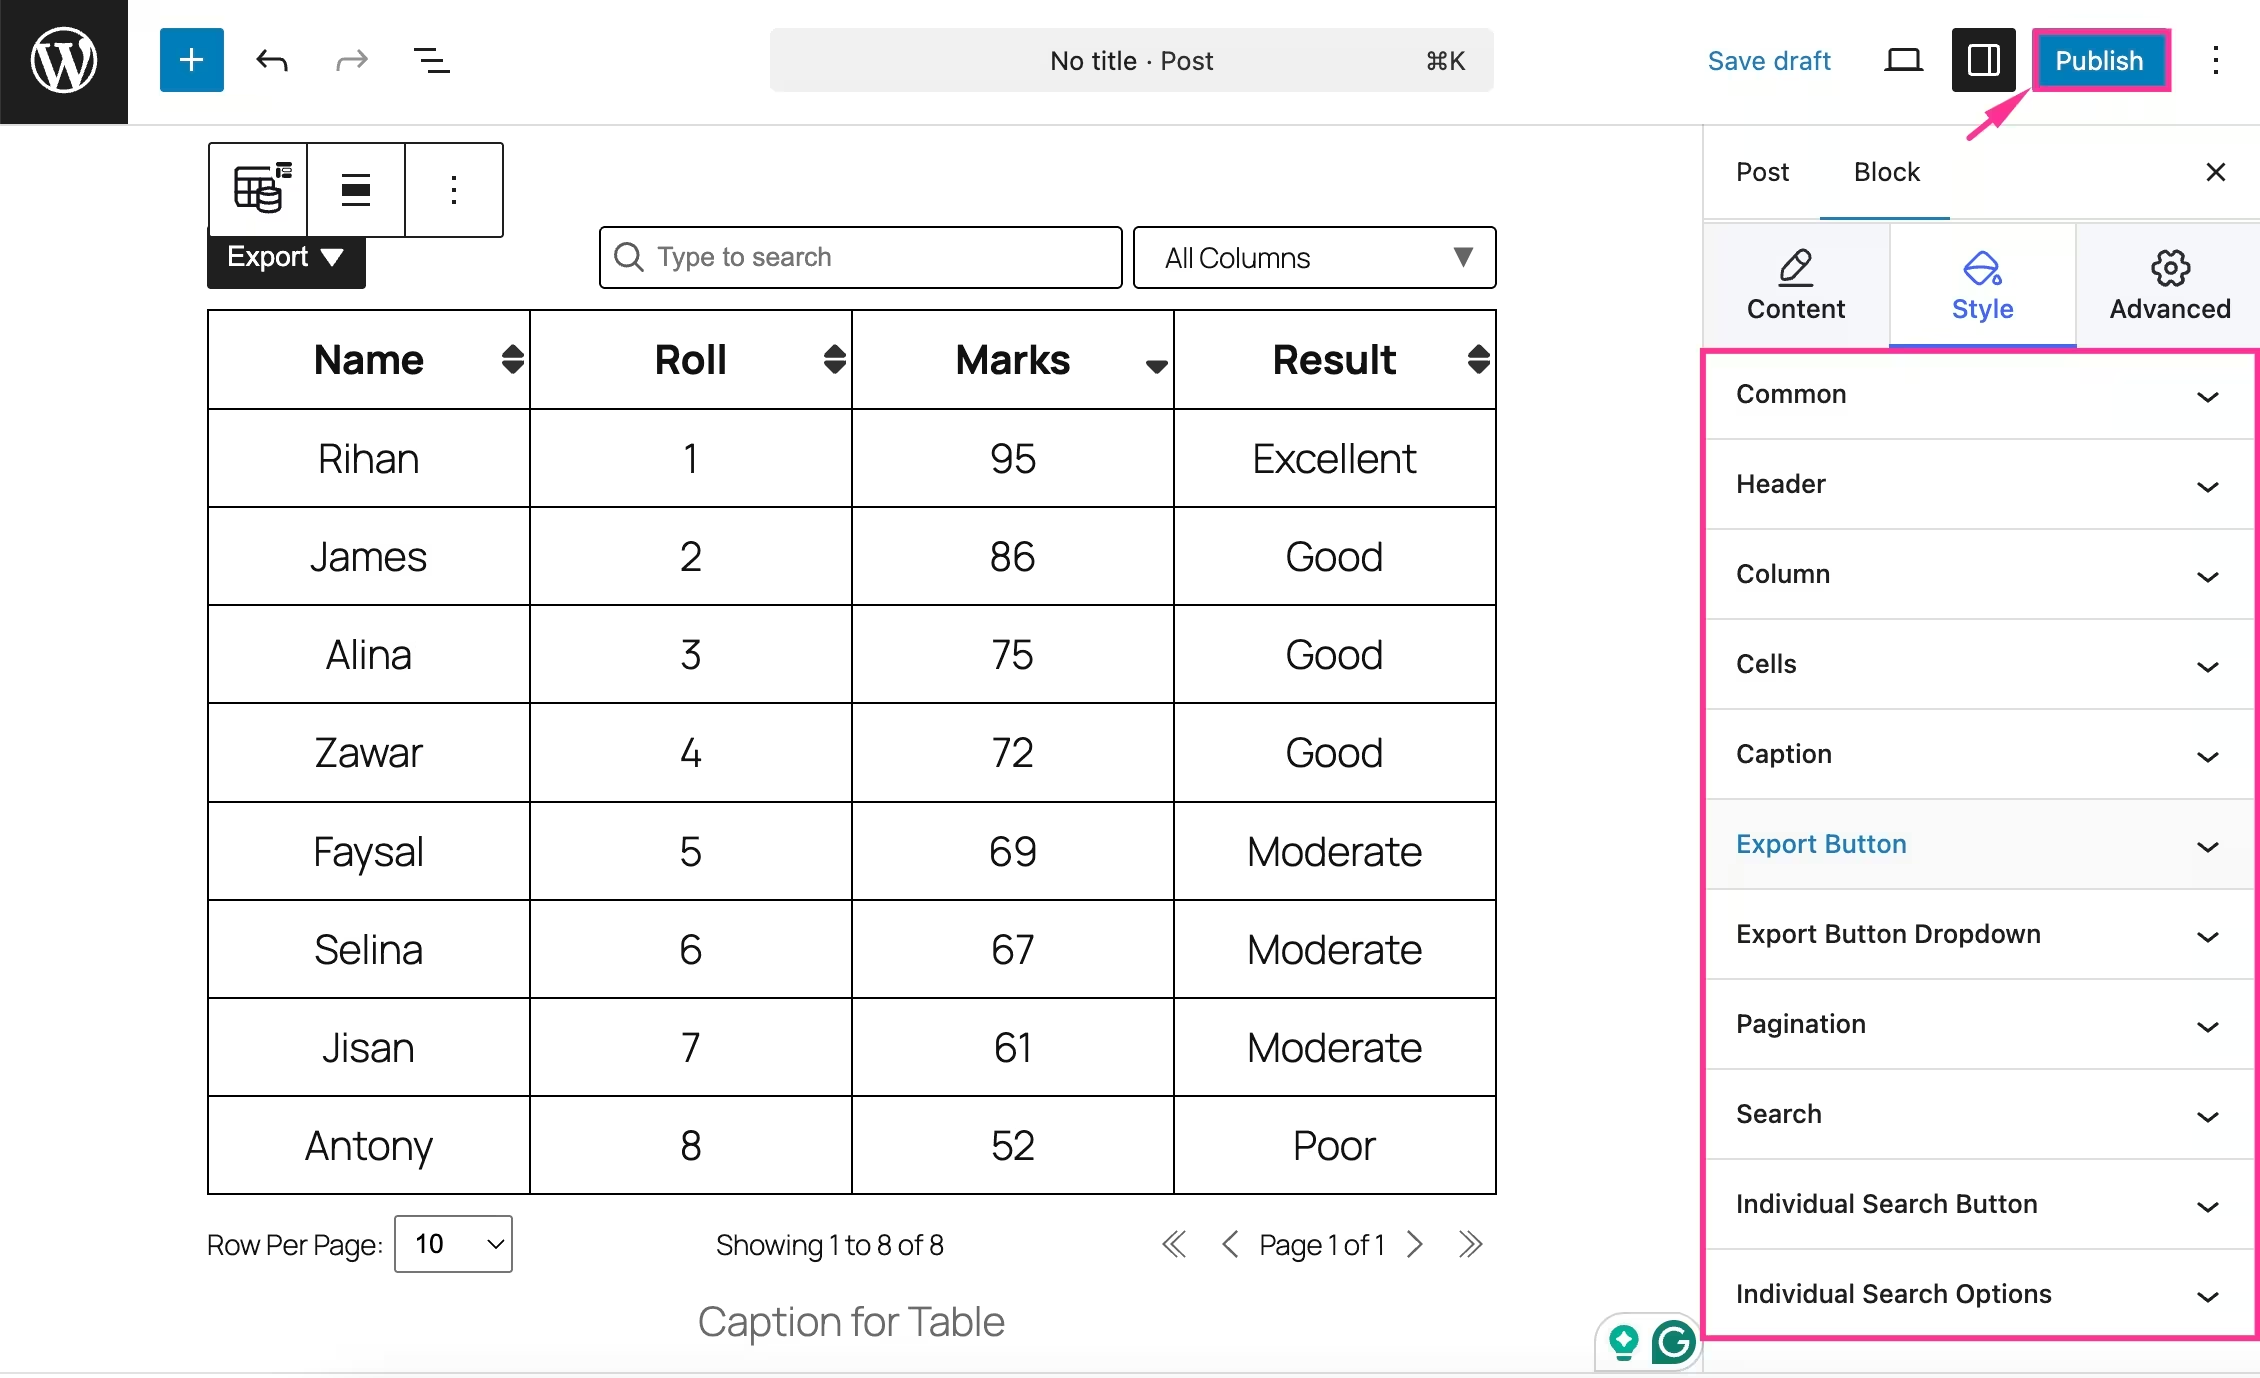
Nästa, navigate to the Style tab och customize alignment, color, background color, typography, border, box shadow, padding, etc. for common, header, column, cells, caption, export button, pagination, and other fields. After all customizations, tryck på "Publicera" button to live your custom data table.
Vanliga frågor
Do you need coding to add a sortable table in WordPress?
No. By using a block-based table plugin like TableKit, you can create sortable tables using a drag-and-drop interface without writing any code.
Can you integrate a sortable table using default Gutenberg blocks?
No, the default block only supports the basic features. No advanced functionalities such as sorting, search, pagination, auto fetching are available in the default one.
Which data sources from you can import sortable table?
With TableKit, you can add a sortable table by using data from a CSV file, Google Sheets, Json file, and nested JSON files. Besides, it allows you to auto-fetch data whenever the data source is updated.
Are sortable tables mobile responsive?
Yes, the tables created with modern table builders are fully mobile responsive, letting your table look perfect on any screen size.
Avslutar
Sortable tables make WordPress data more interactive, accessible, and user-friendly. This provides your users with full control over how they want to view and compare data.
By following the simple steps covered in this guide, you can add a fully functional sortable table in WordPress within minutes. The process is quick, beginner-friendly, and requires no coding, which helps you to enhance data presentation without any hassle.
Lämna ett svar