


While displaying research data, statistics, product lists, pricing comparisons, etc., it is very much needed to display that complex information in a clean and structured format. In such cases, WordPress data tables come in handy.
Fortunately, integrating these tables doesn’t need any coding skills. All you need to figure out is the right method of adding these data tables in WordPress. Thankfully, this tutorial is fully focused on it.
In this guide, we promise to offer you the friendliest method of creating a data table in WordPress with the all-in-one Elementor addon and data table plugin, ElementsKit.
Quick Overview
There are different WordPress solutions that come with a dedicated feature for it. Such as ElementsKit, a WordPress data table plugin which includes Data Table widget. It’s a premium solution so you will need both its free and pro version. Besides, you need to install Elementor as ElementsKit is an Elementor addon.
Tools Used: ElementsKit (Free & Pro) & Elementor (Free).
After completing installation and activation of Elementor and ElementsKit, take the following attempts:
✅ Turn on Data Table widget.
✅ Drag-and-drop Data Table.
✅ Content customization.
✅ Style customization.
Prerequisites before integrating WordPress data table
The first requirement to add a data table is to install a solution that provides the easiest way to add a data table. ElementsKit is a no-code WordPress data table plugin that lets you add a custom or CSV data table in a drag-and-drop Elementor interface. To benefit from this solution, you will need additional free tools.
Aqui está o prerequisite plugins you need to install before diving into the process of adding a data table in WordPress:
- Elementor (livre)
How to create a data table in WordPress
Since you are all prepared to integrate WordPress data tables by downloading the required tools, let’s check out the complete five-step tutorial on how to create a data table in WordPress:
Step 1: Enable the Data Table widget.
In the first step, you need to enable the Data Table widget of ElementsKit after installing the prerequisite plugins. For that, navigate to ElementsKit >> Widgets e rolar para baixo until you find the Data Table widget.
Depois de encontrá-lo, ligar the toggle button and scroll up.
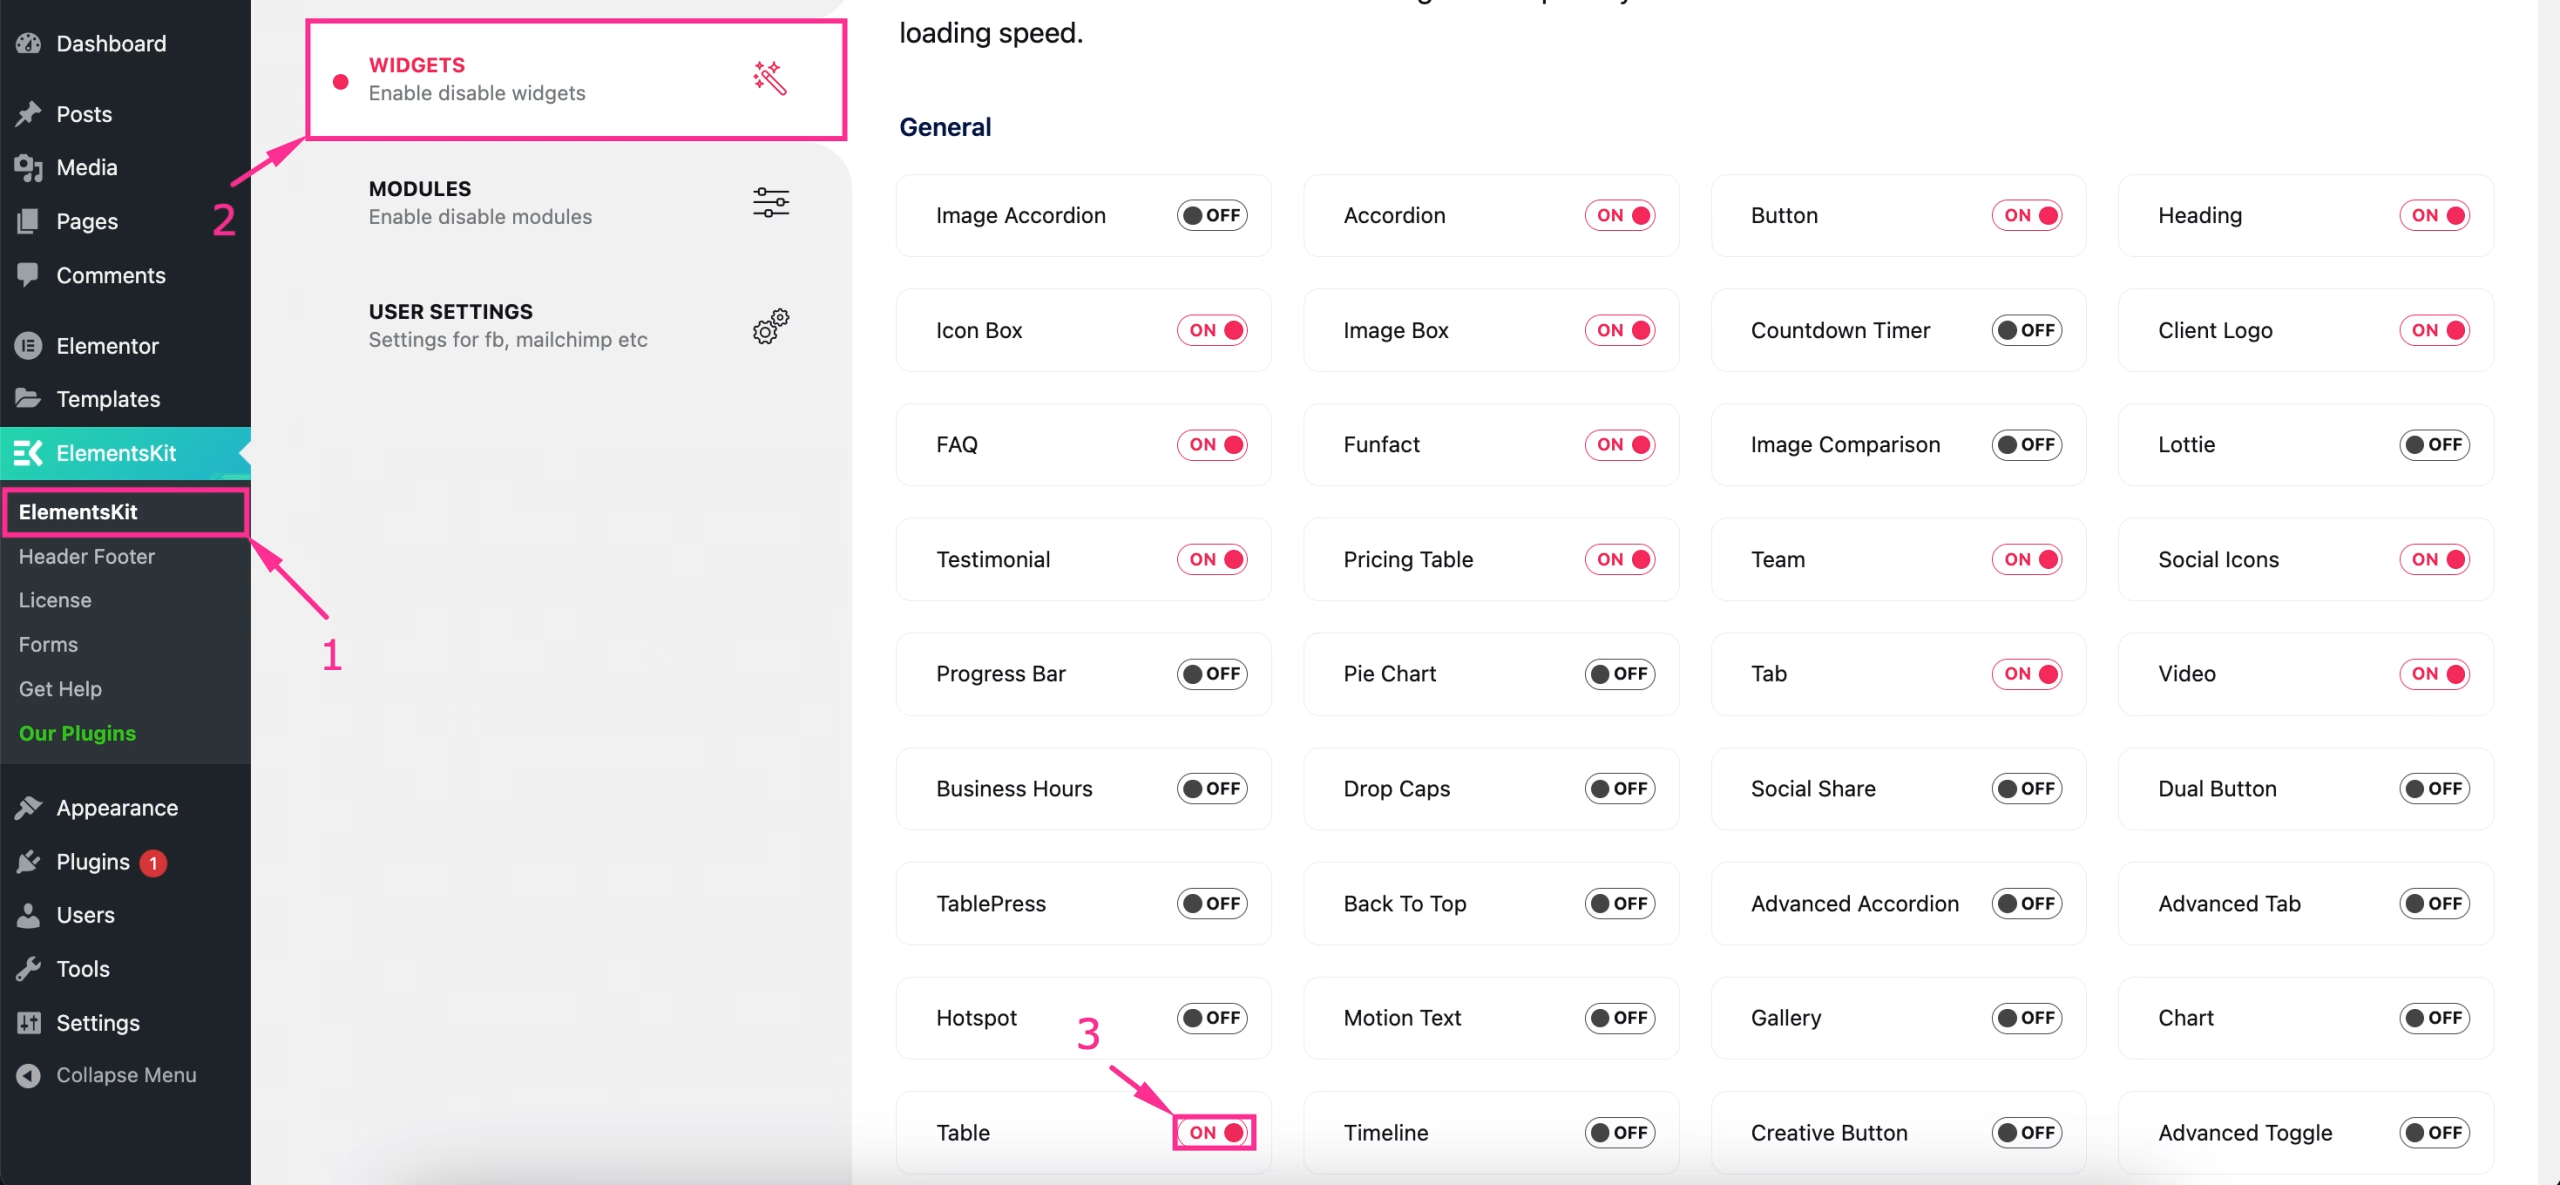
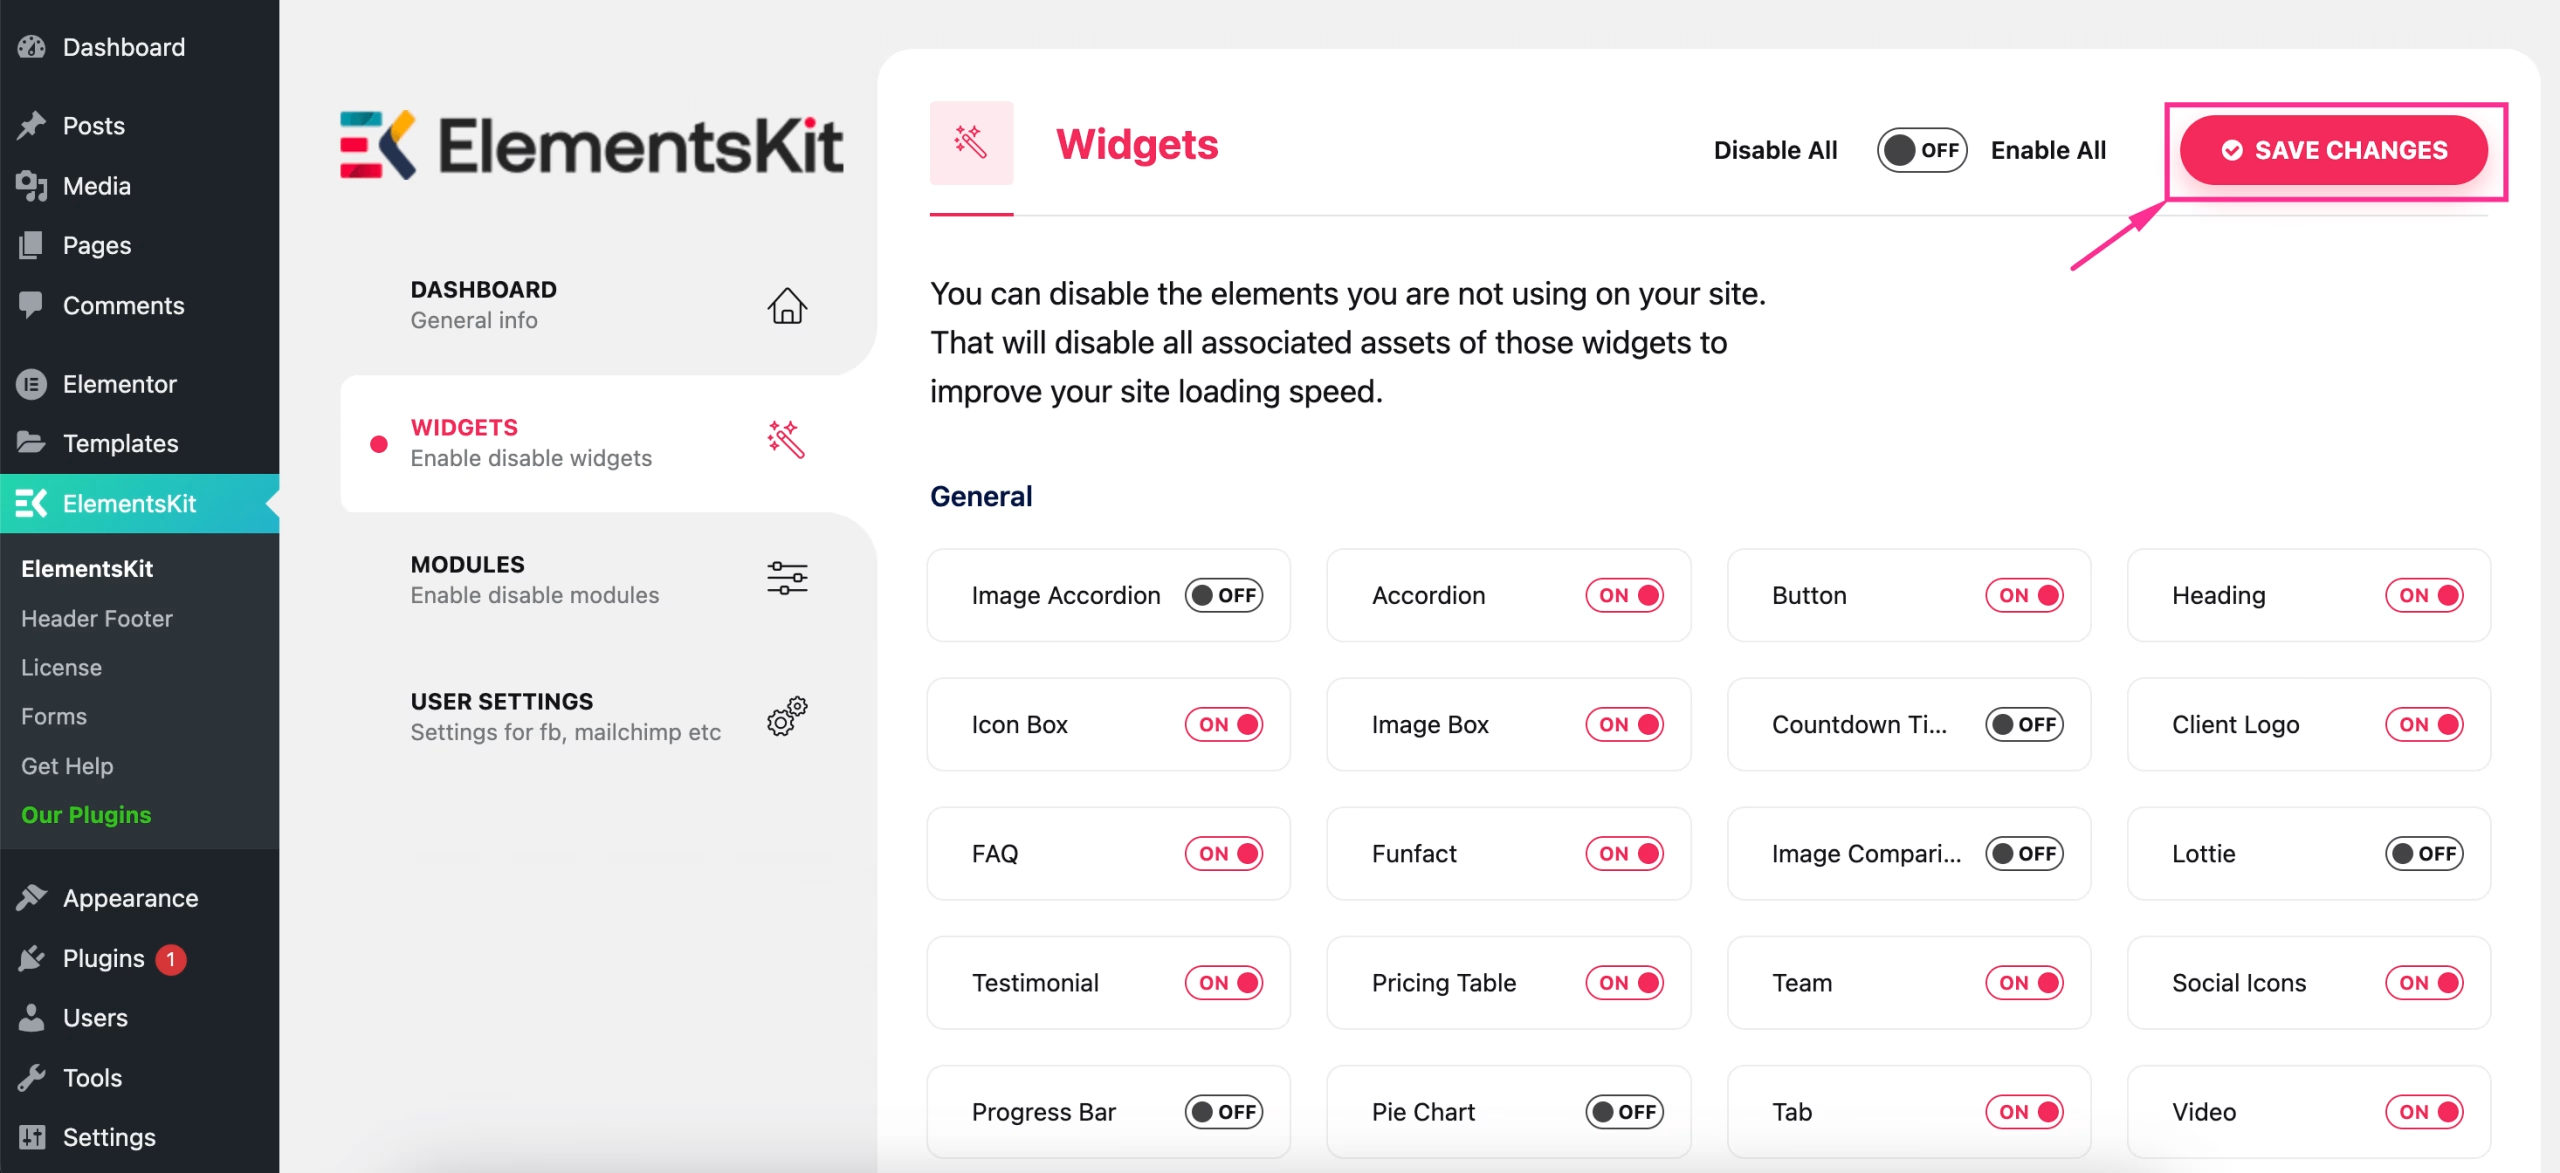
Then, after scrolling up, you will see a “Salvar alterações” button that you have to hit to save the changes you have made.
Step 2: Drag-and-drop the Data Table widget.
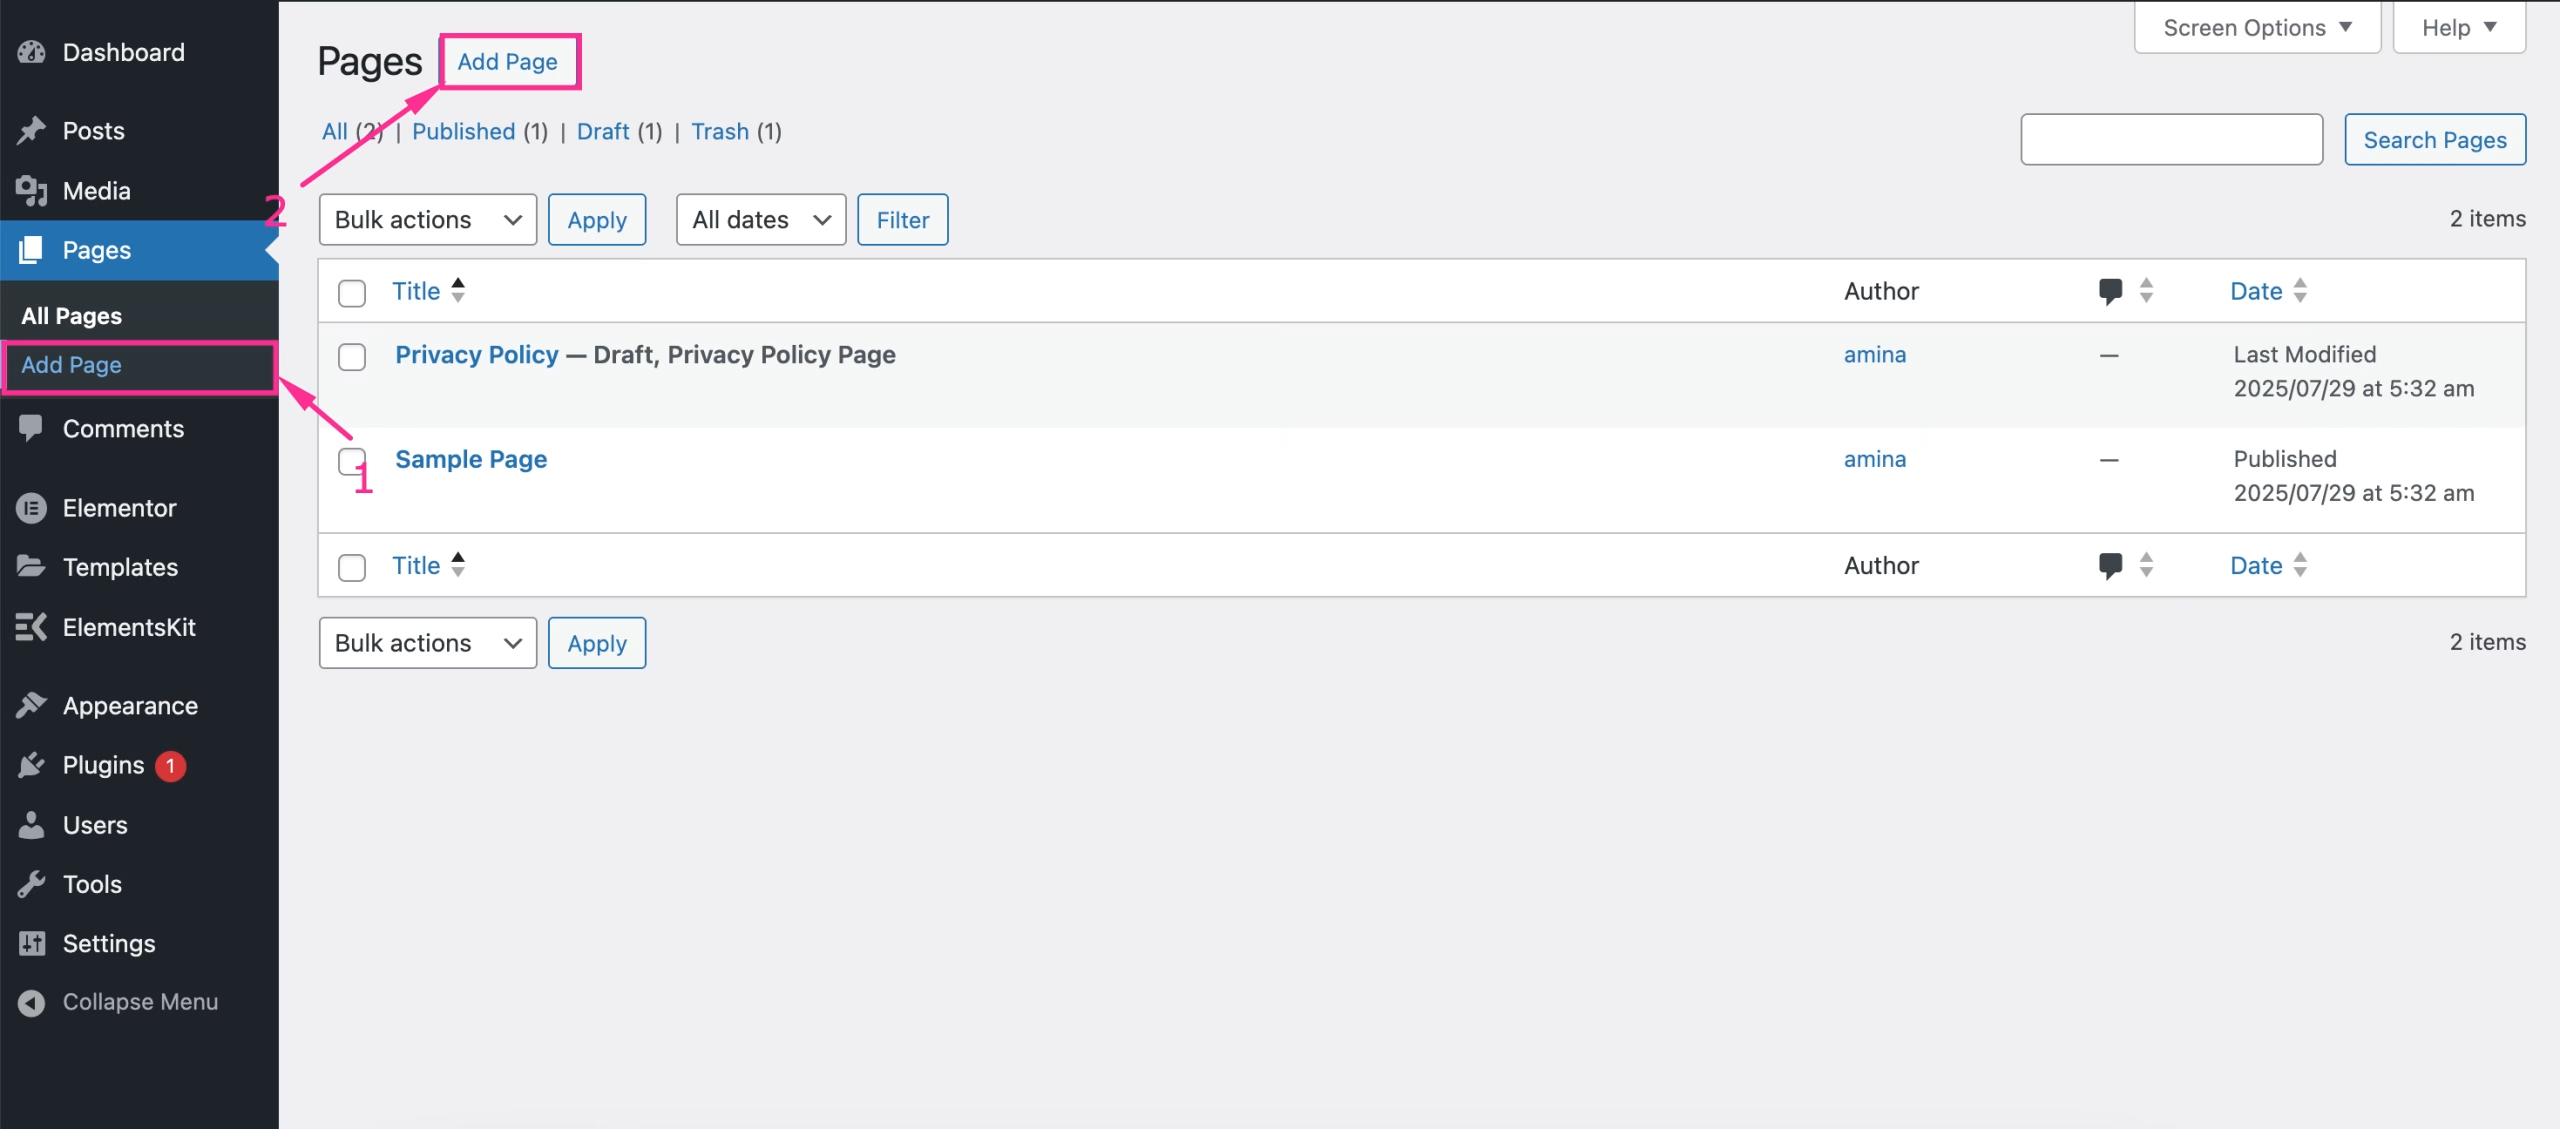
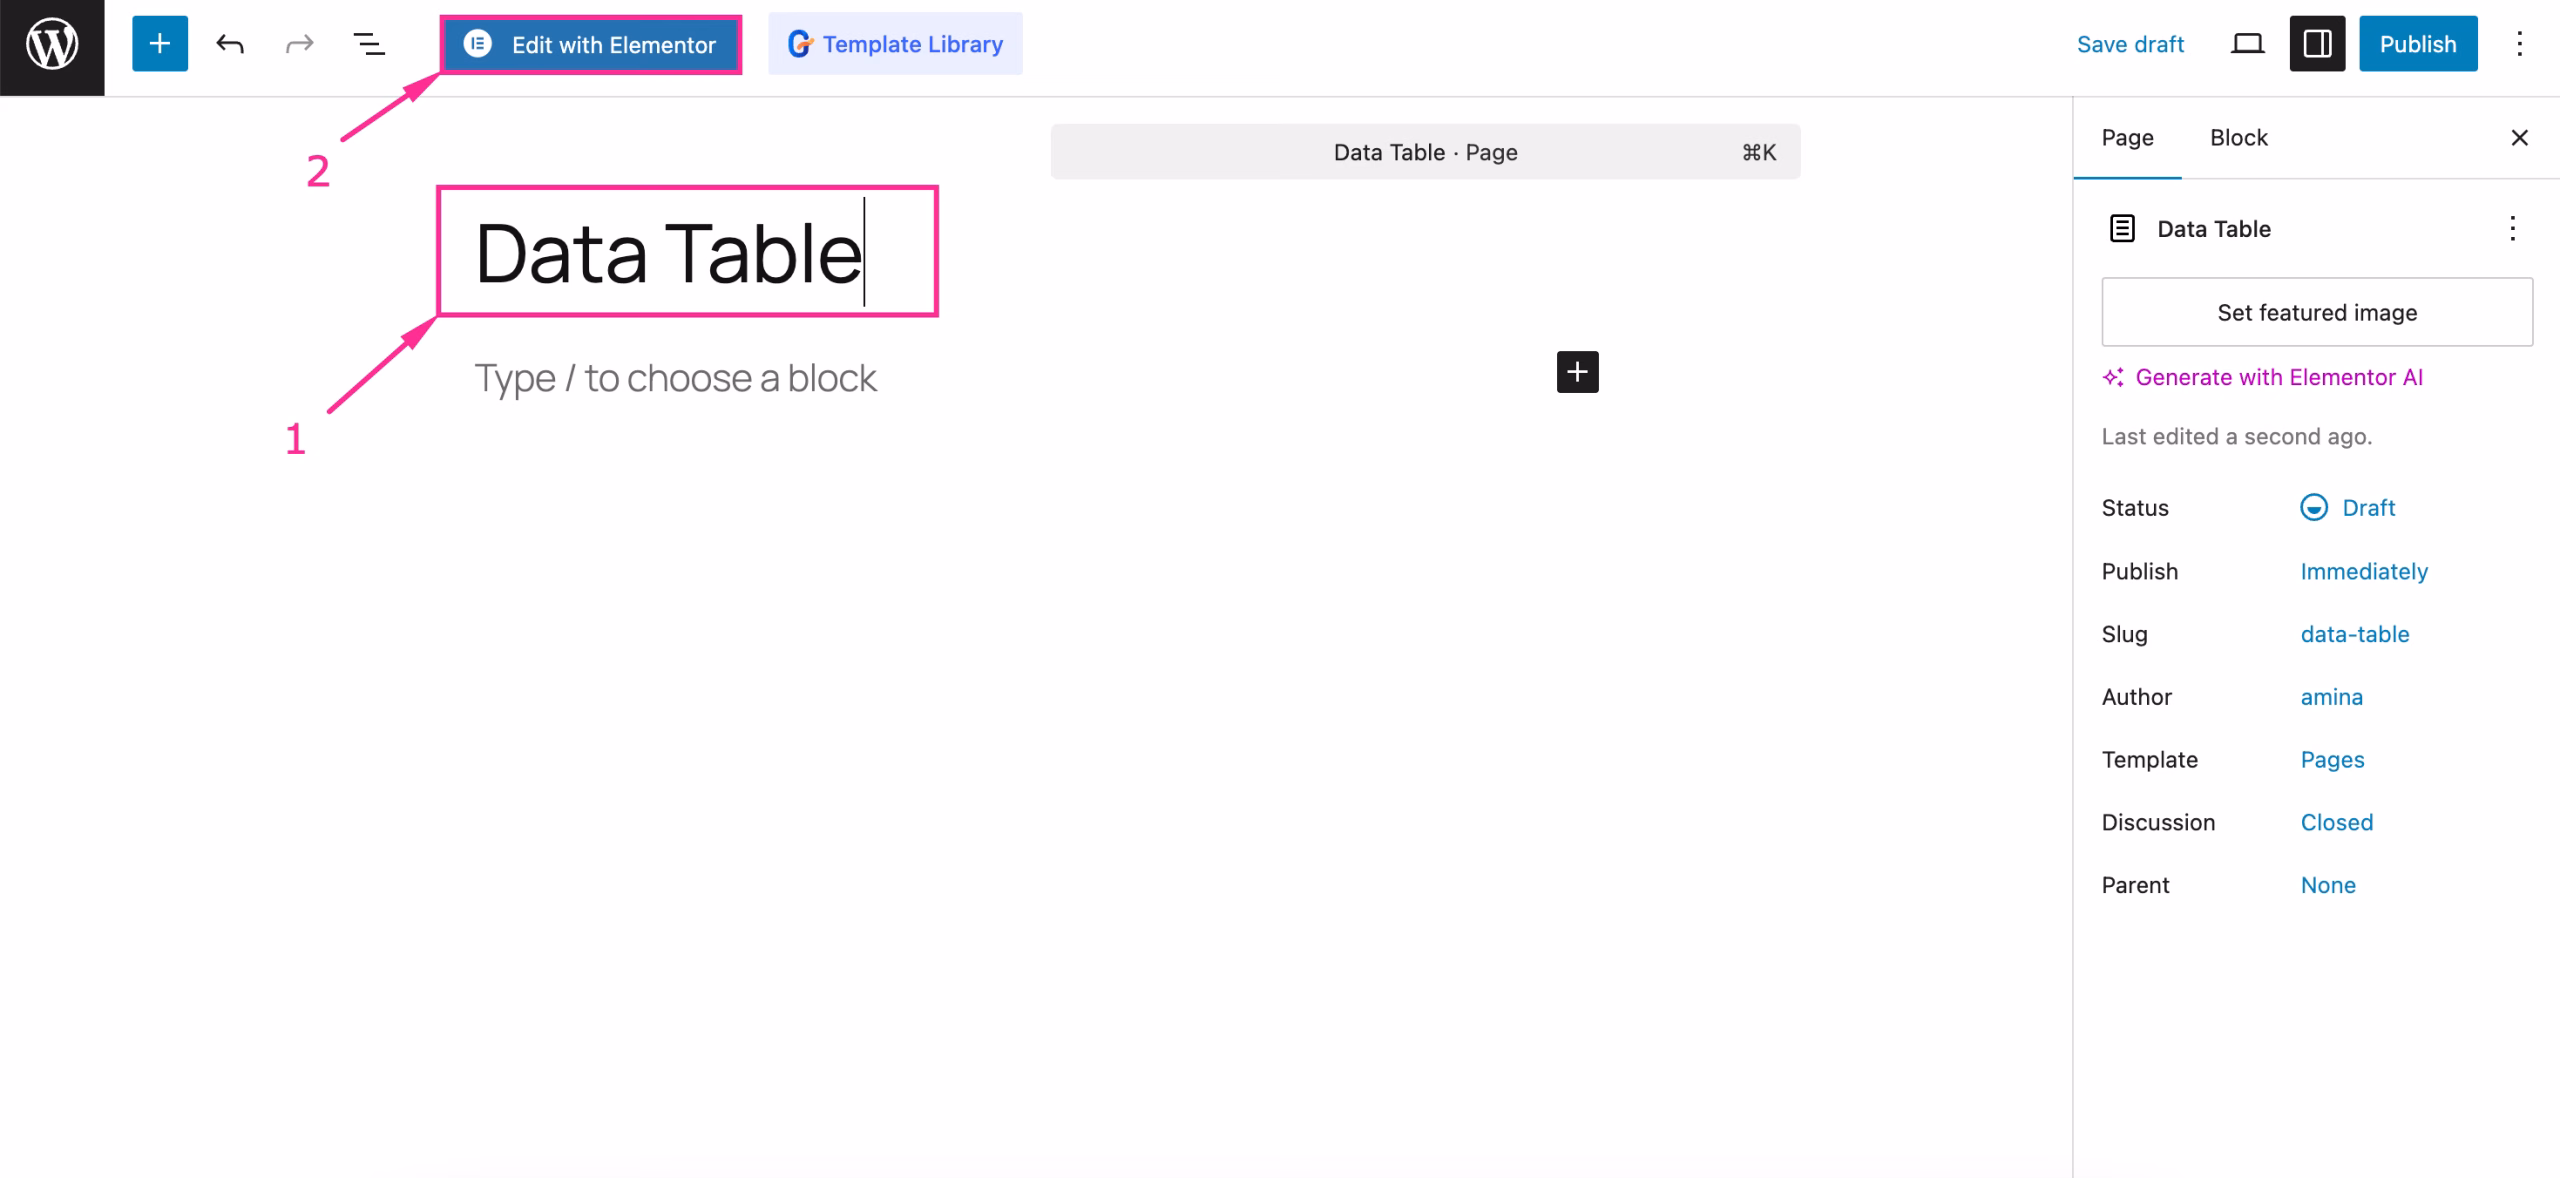
In the second step, you need to add a page by visiting Pages >> Add Page e hitting the “Add Page” button. Or, you can add a data table to an existing page by clicking the “Edit with Elementor” opção.
Depois de redirecionar para uma nova página, dê um título to the page and pressione o botão “Editar com Elementor” botão.
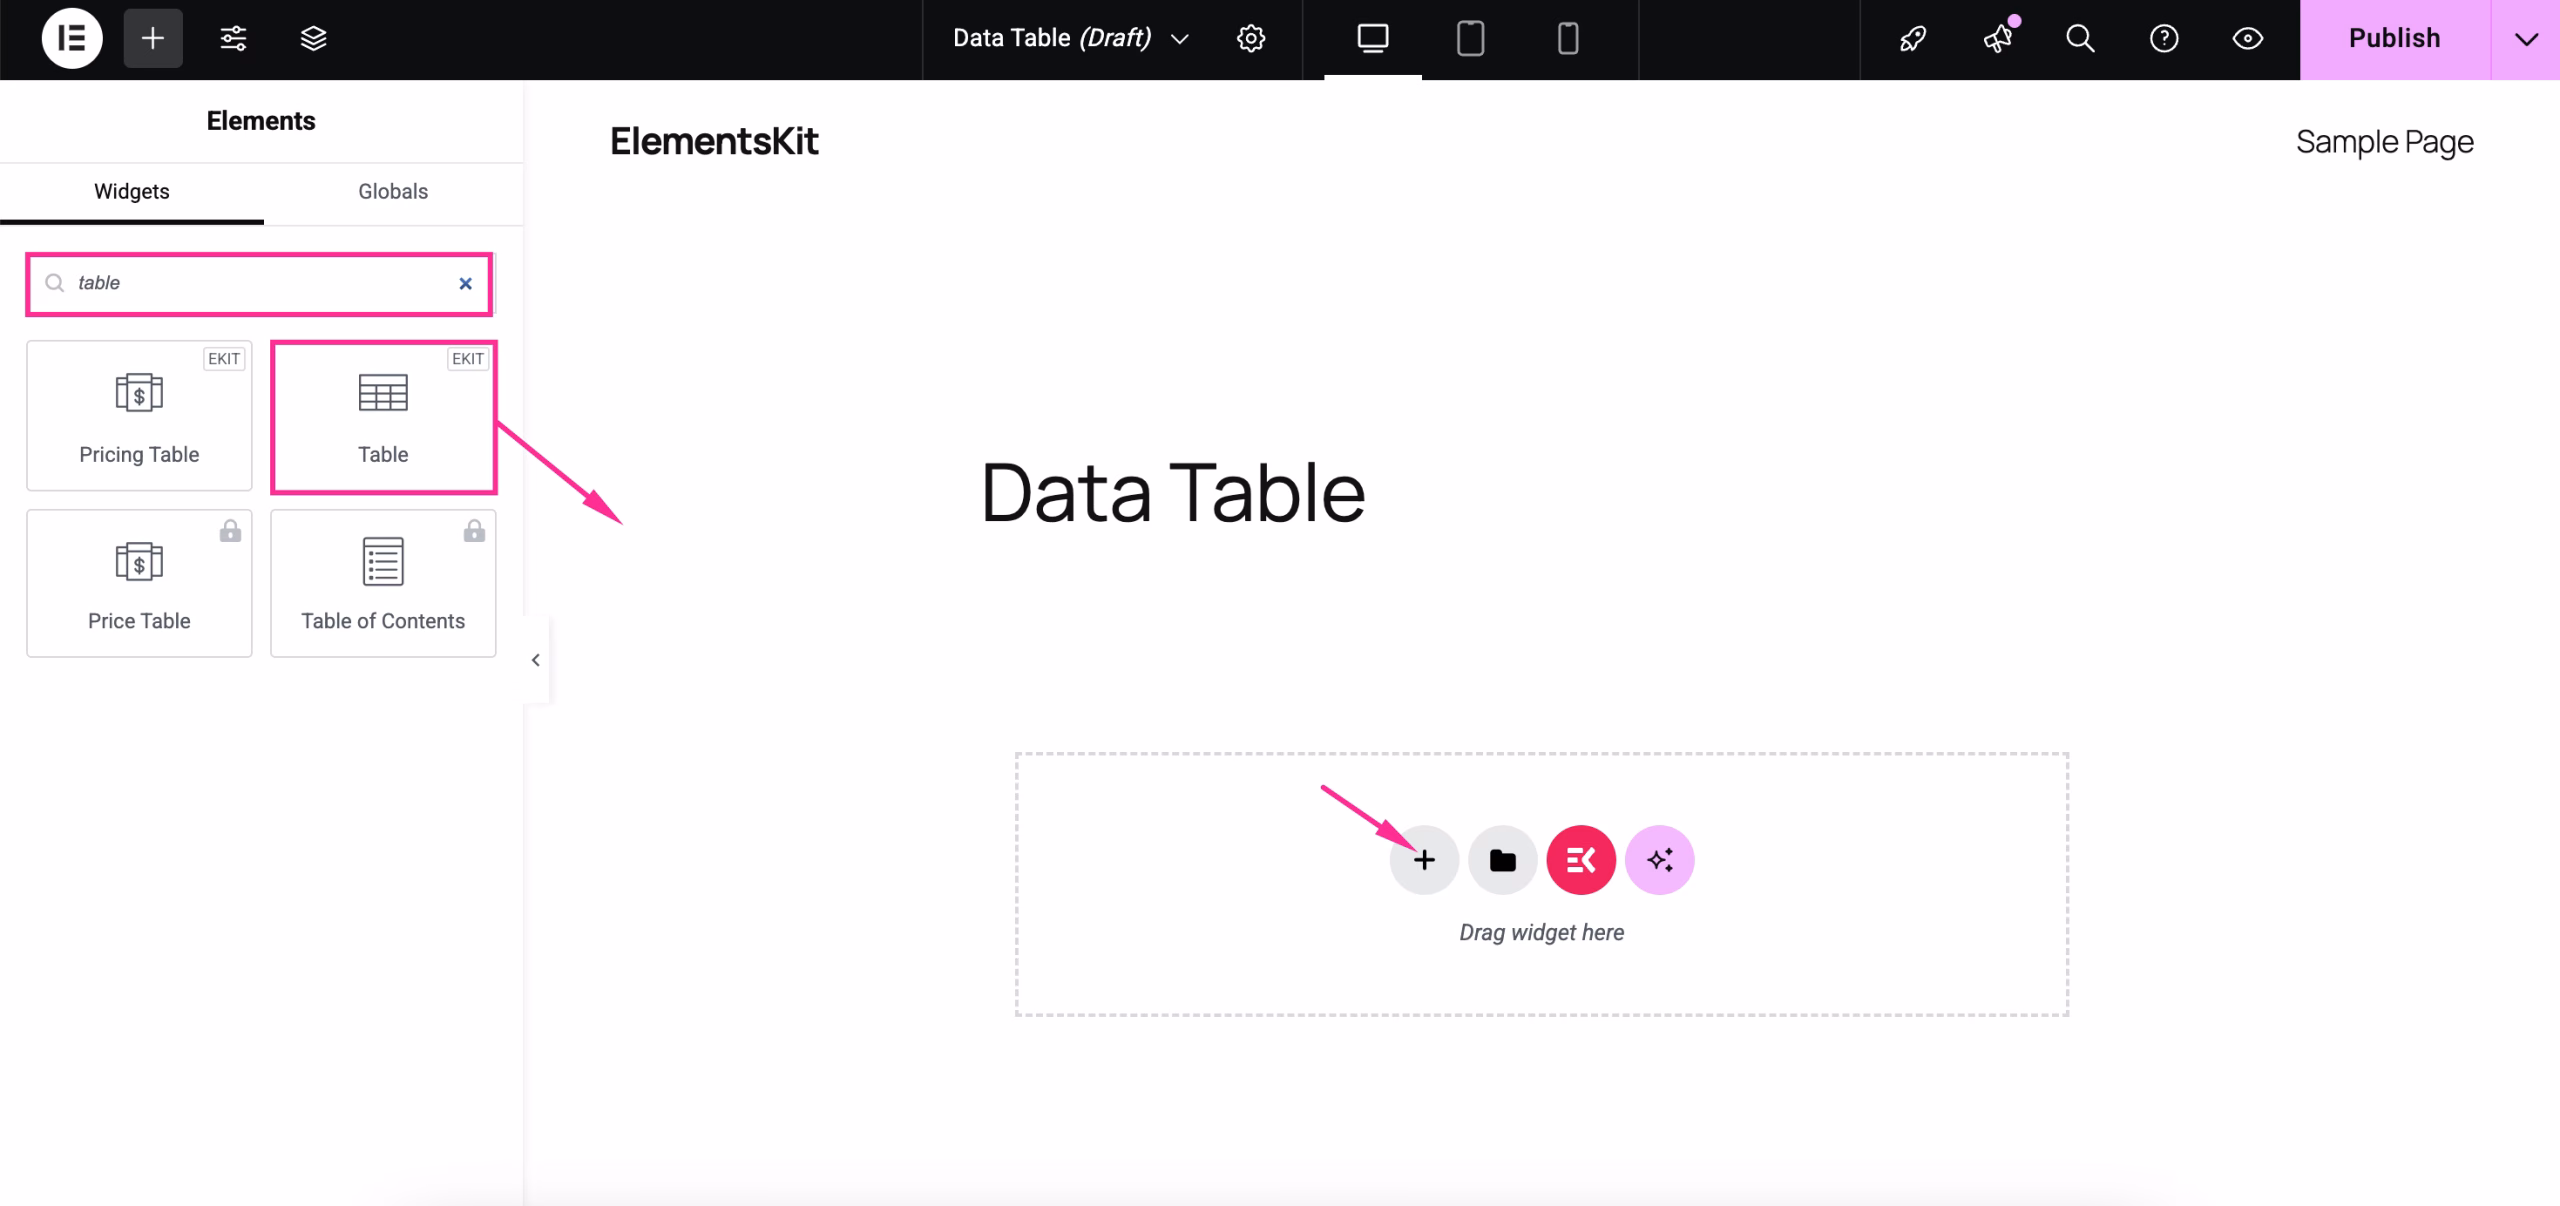
Next to redirecting to the Elementor editor, search for the Data Table widget e arraste e solte no “+” ícone.
Step 3: Edit the content of the custom data table.
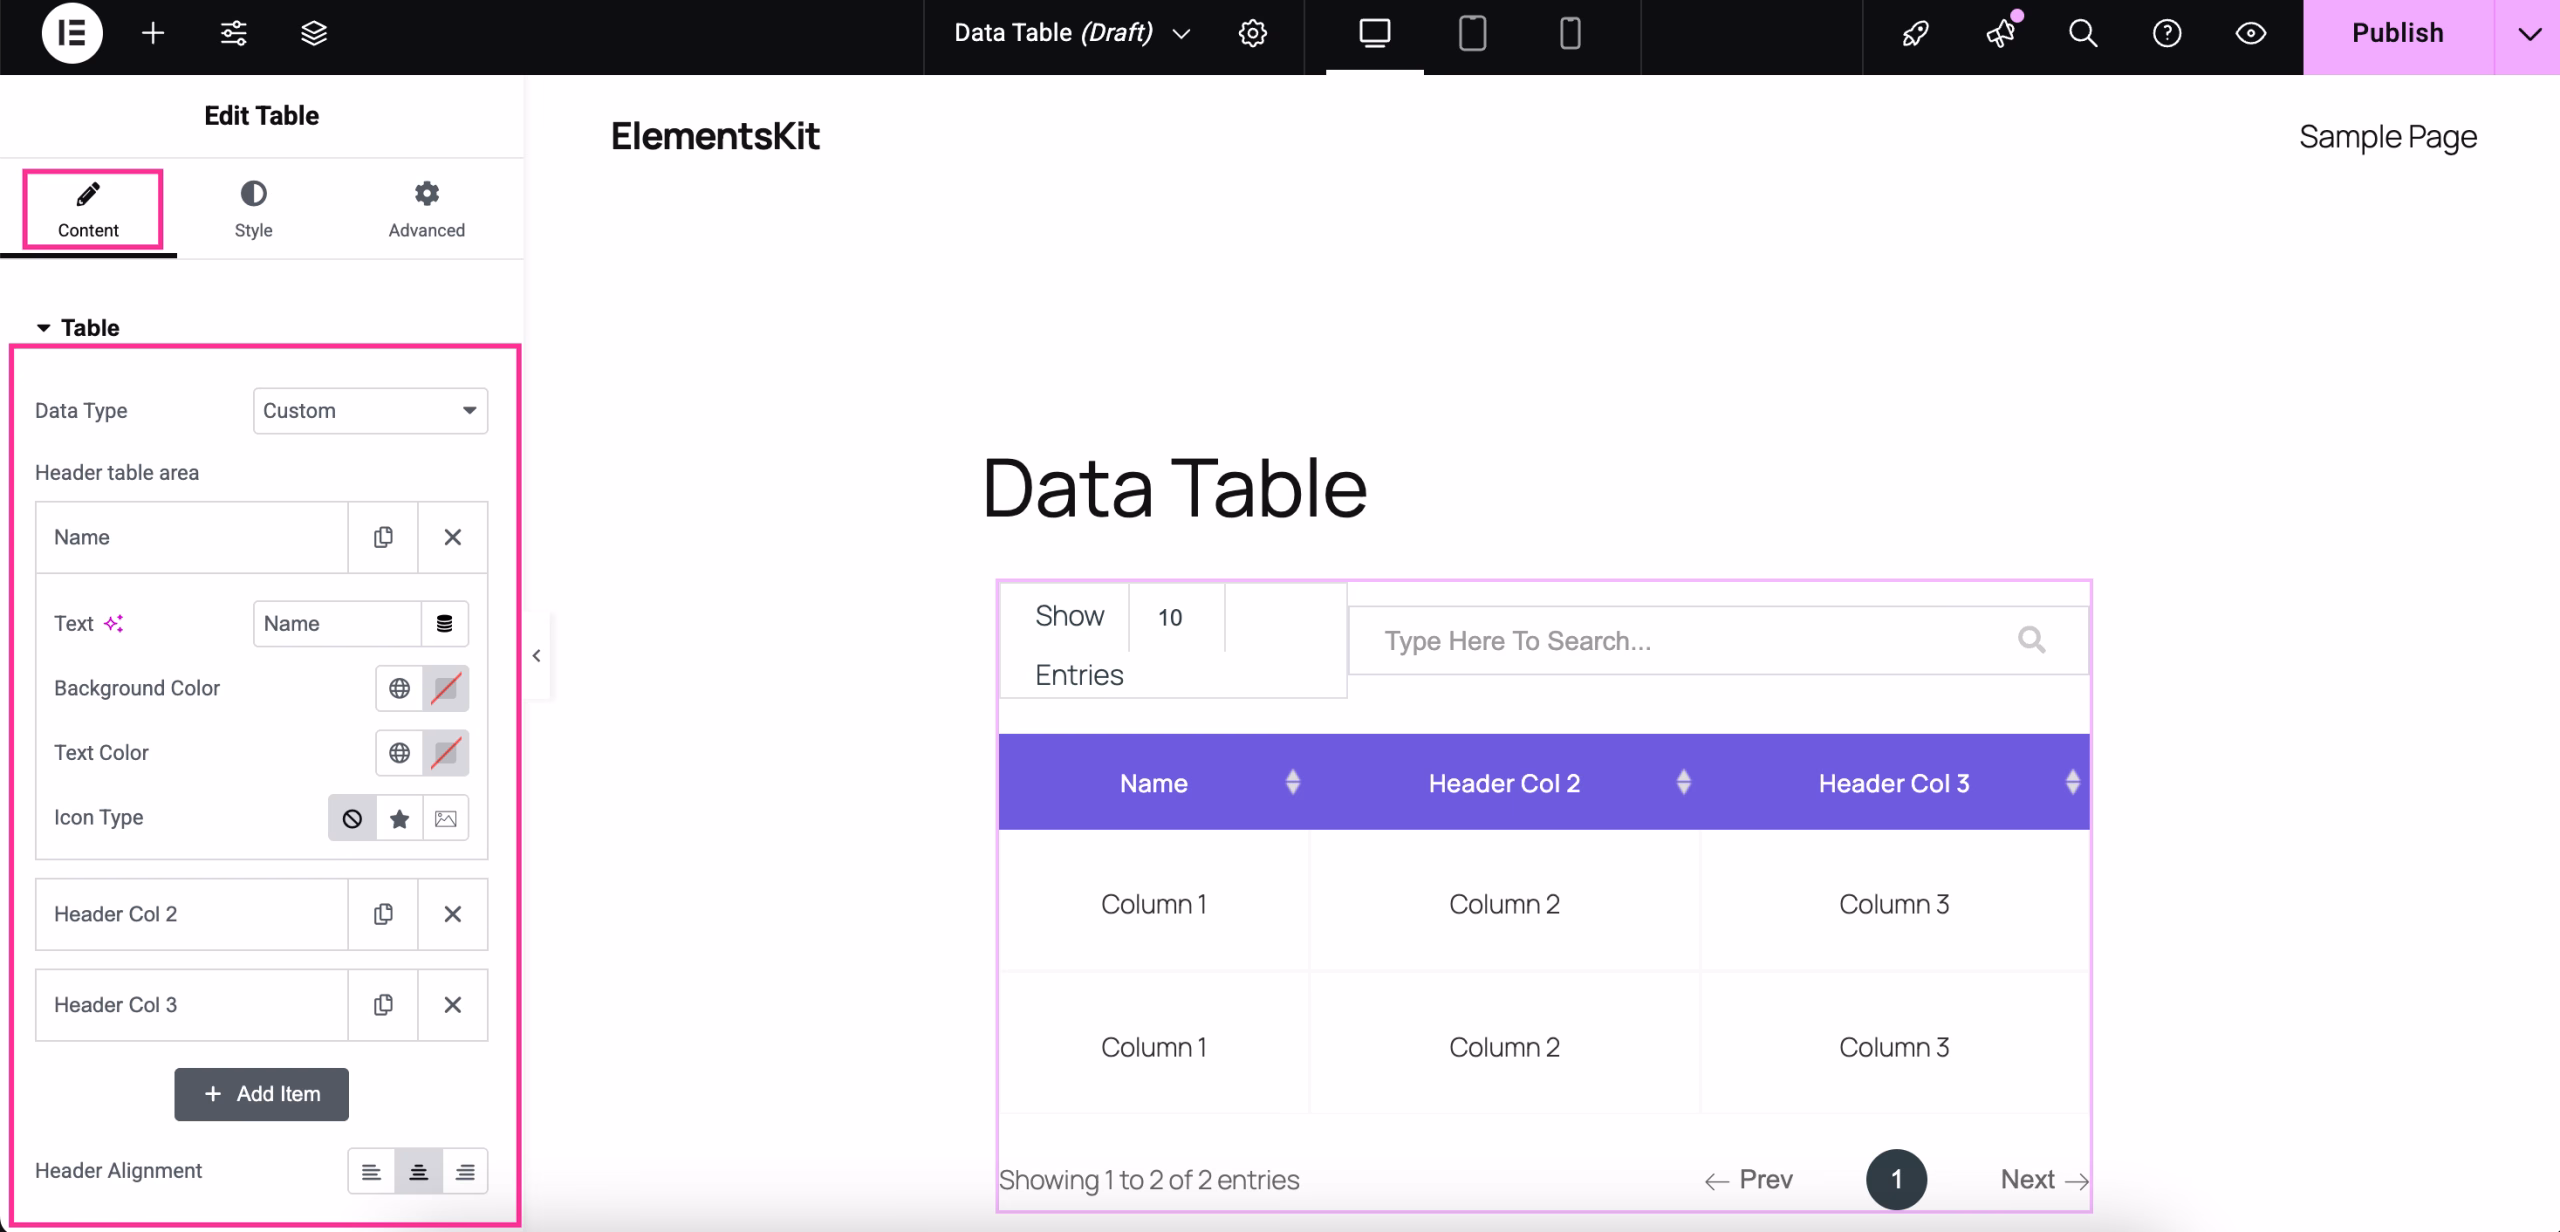
After adding a Data Table widget, navigate to the content tab and customize table content by doing the following:
- Data Type: Select Custom from the dropdown option to upload a custom table.
- Header table area: Adjust the table header.
- Texto: Enter header text.
- Cor de fundo: select background color for the table area.
- Cor do texto: Choose text color.
- Tipo de ícone: Select icon type.
- Adicionar Item: Add more items or header columns by clicking on it.
- Header Alignment: Select alignment for this header.
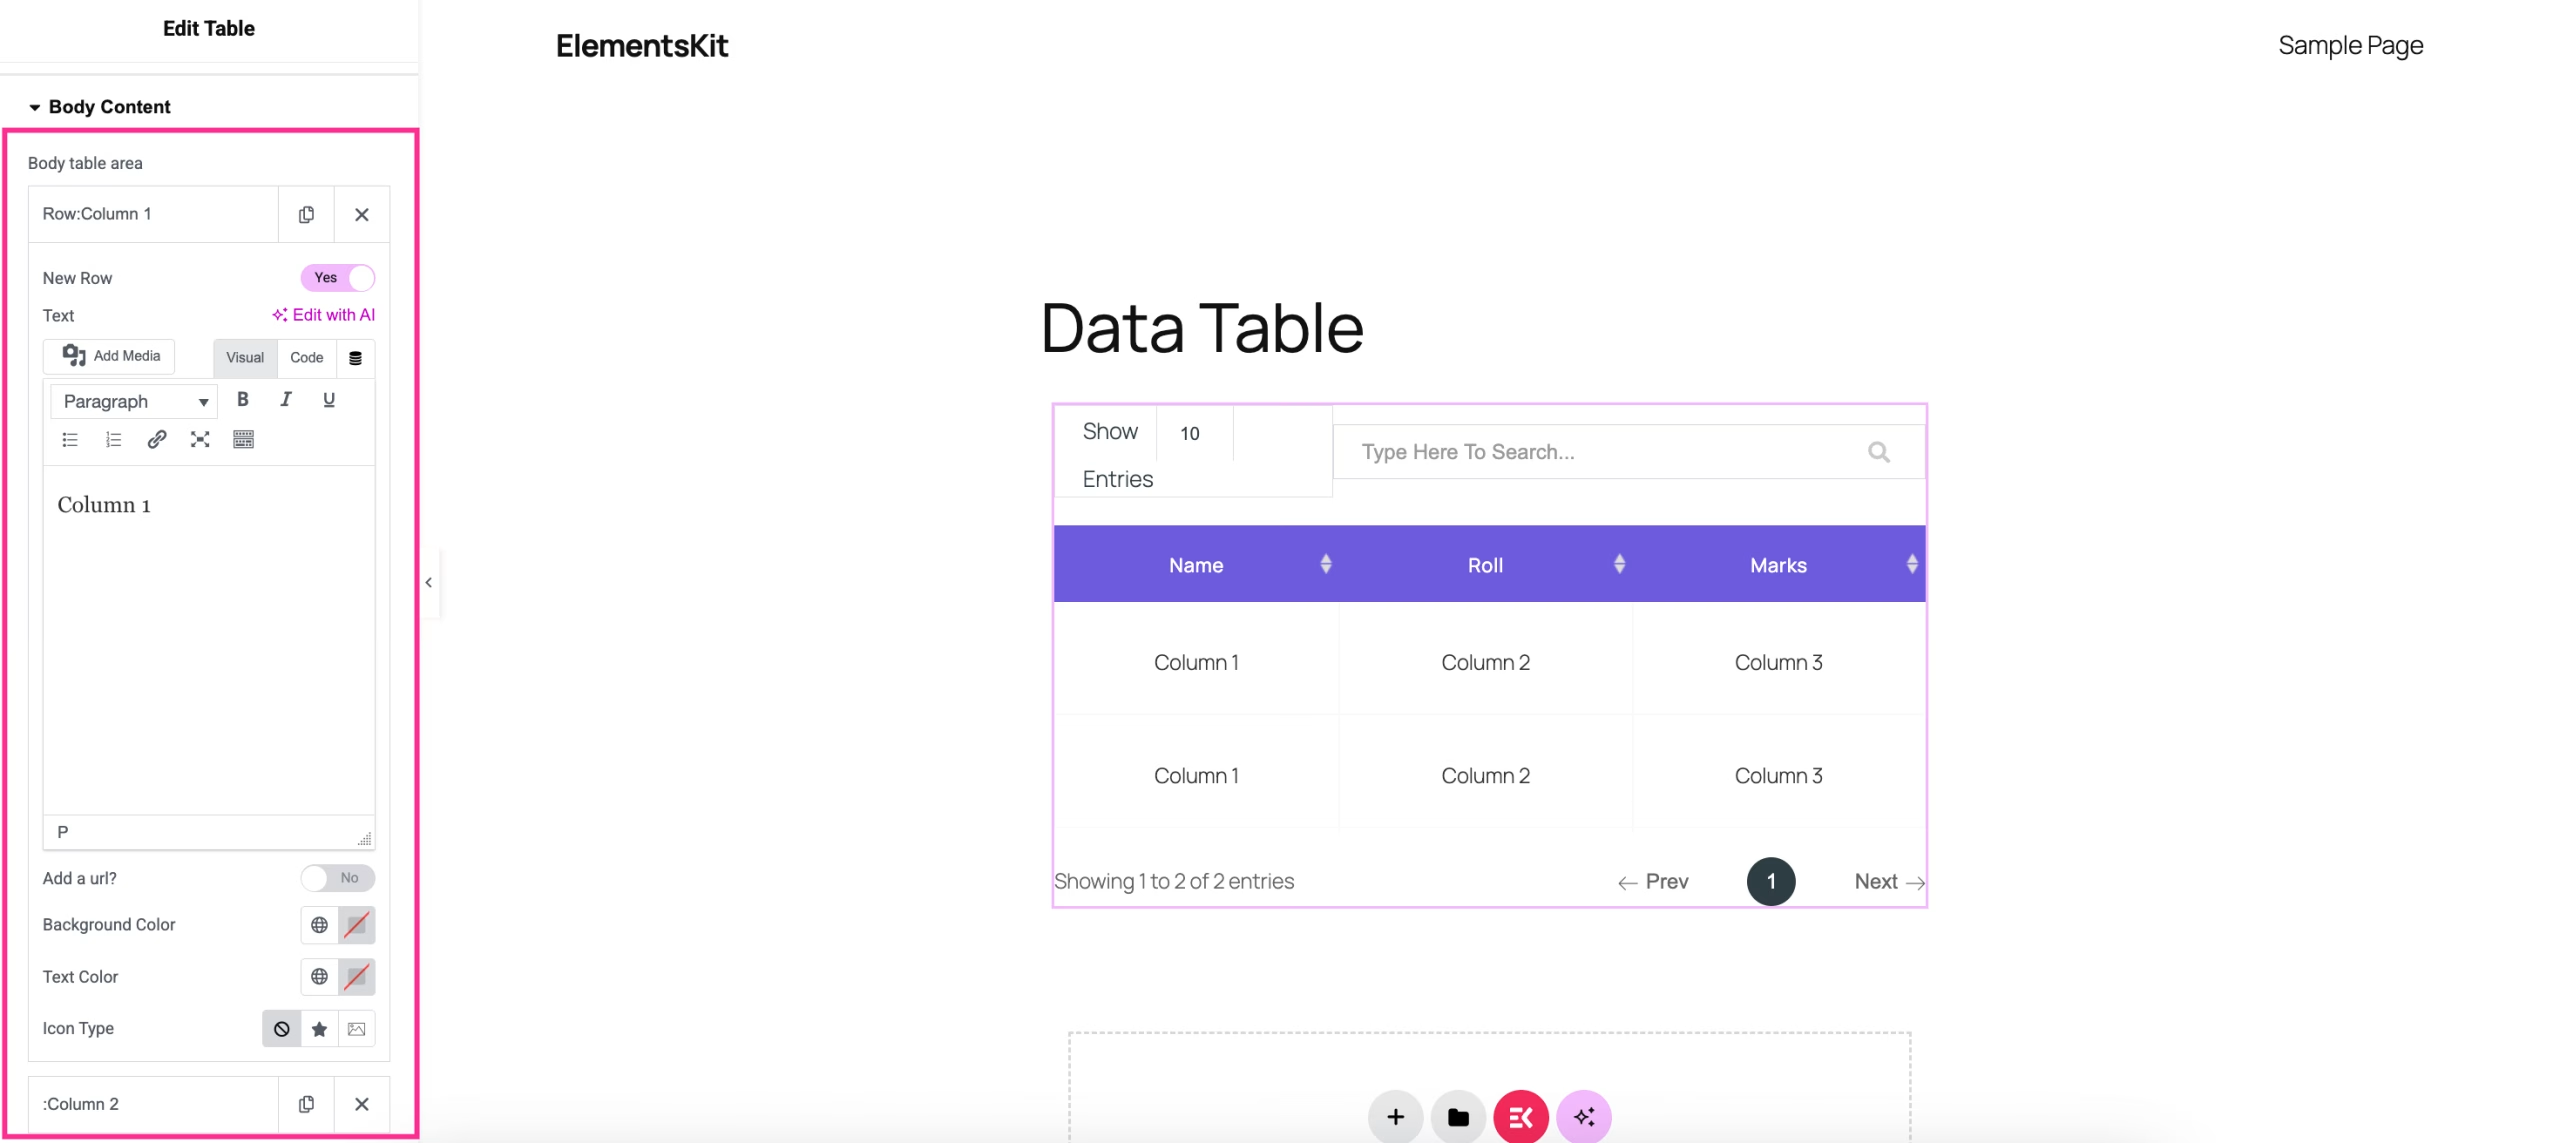
Agora, expand the Body Content tab and edit the content of the row of your table. For that, expand row 1 and adjust the following areas:
- New Row: Enable the toggle button to add a new row.
- Texto: Insert text for column.
- Add a URL: Enable it to add a url.
- Cor de fundo: Adjust background color.
- Cor do texto: Select the text color.
- Tipo de ícone: Choose icon type.
Similarly, customize the content of the other rows for your data table.
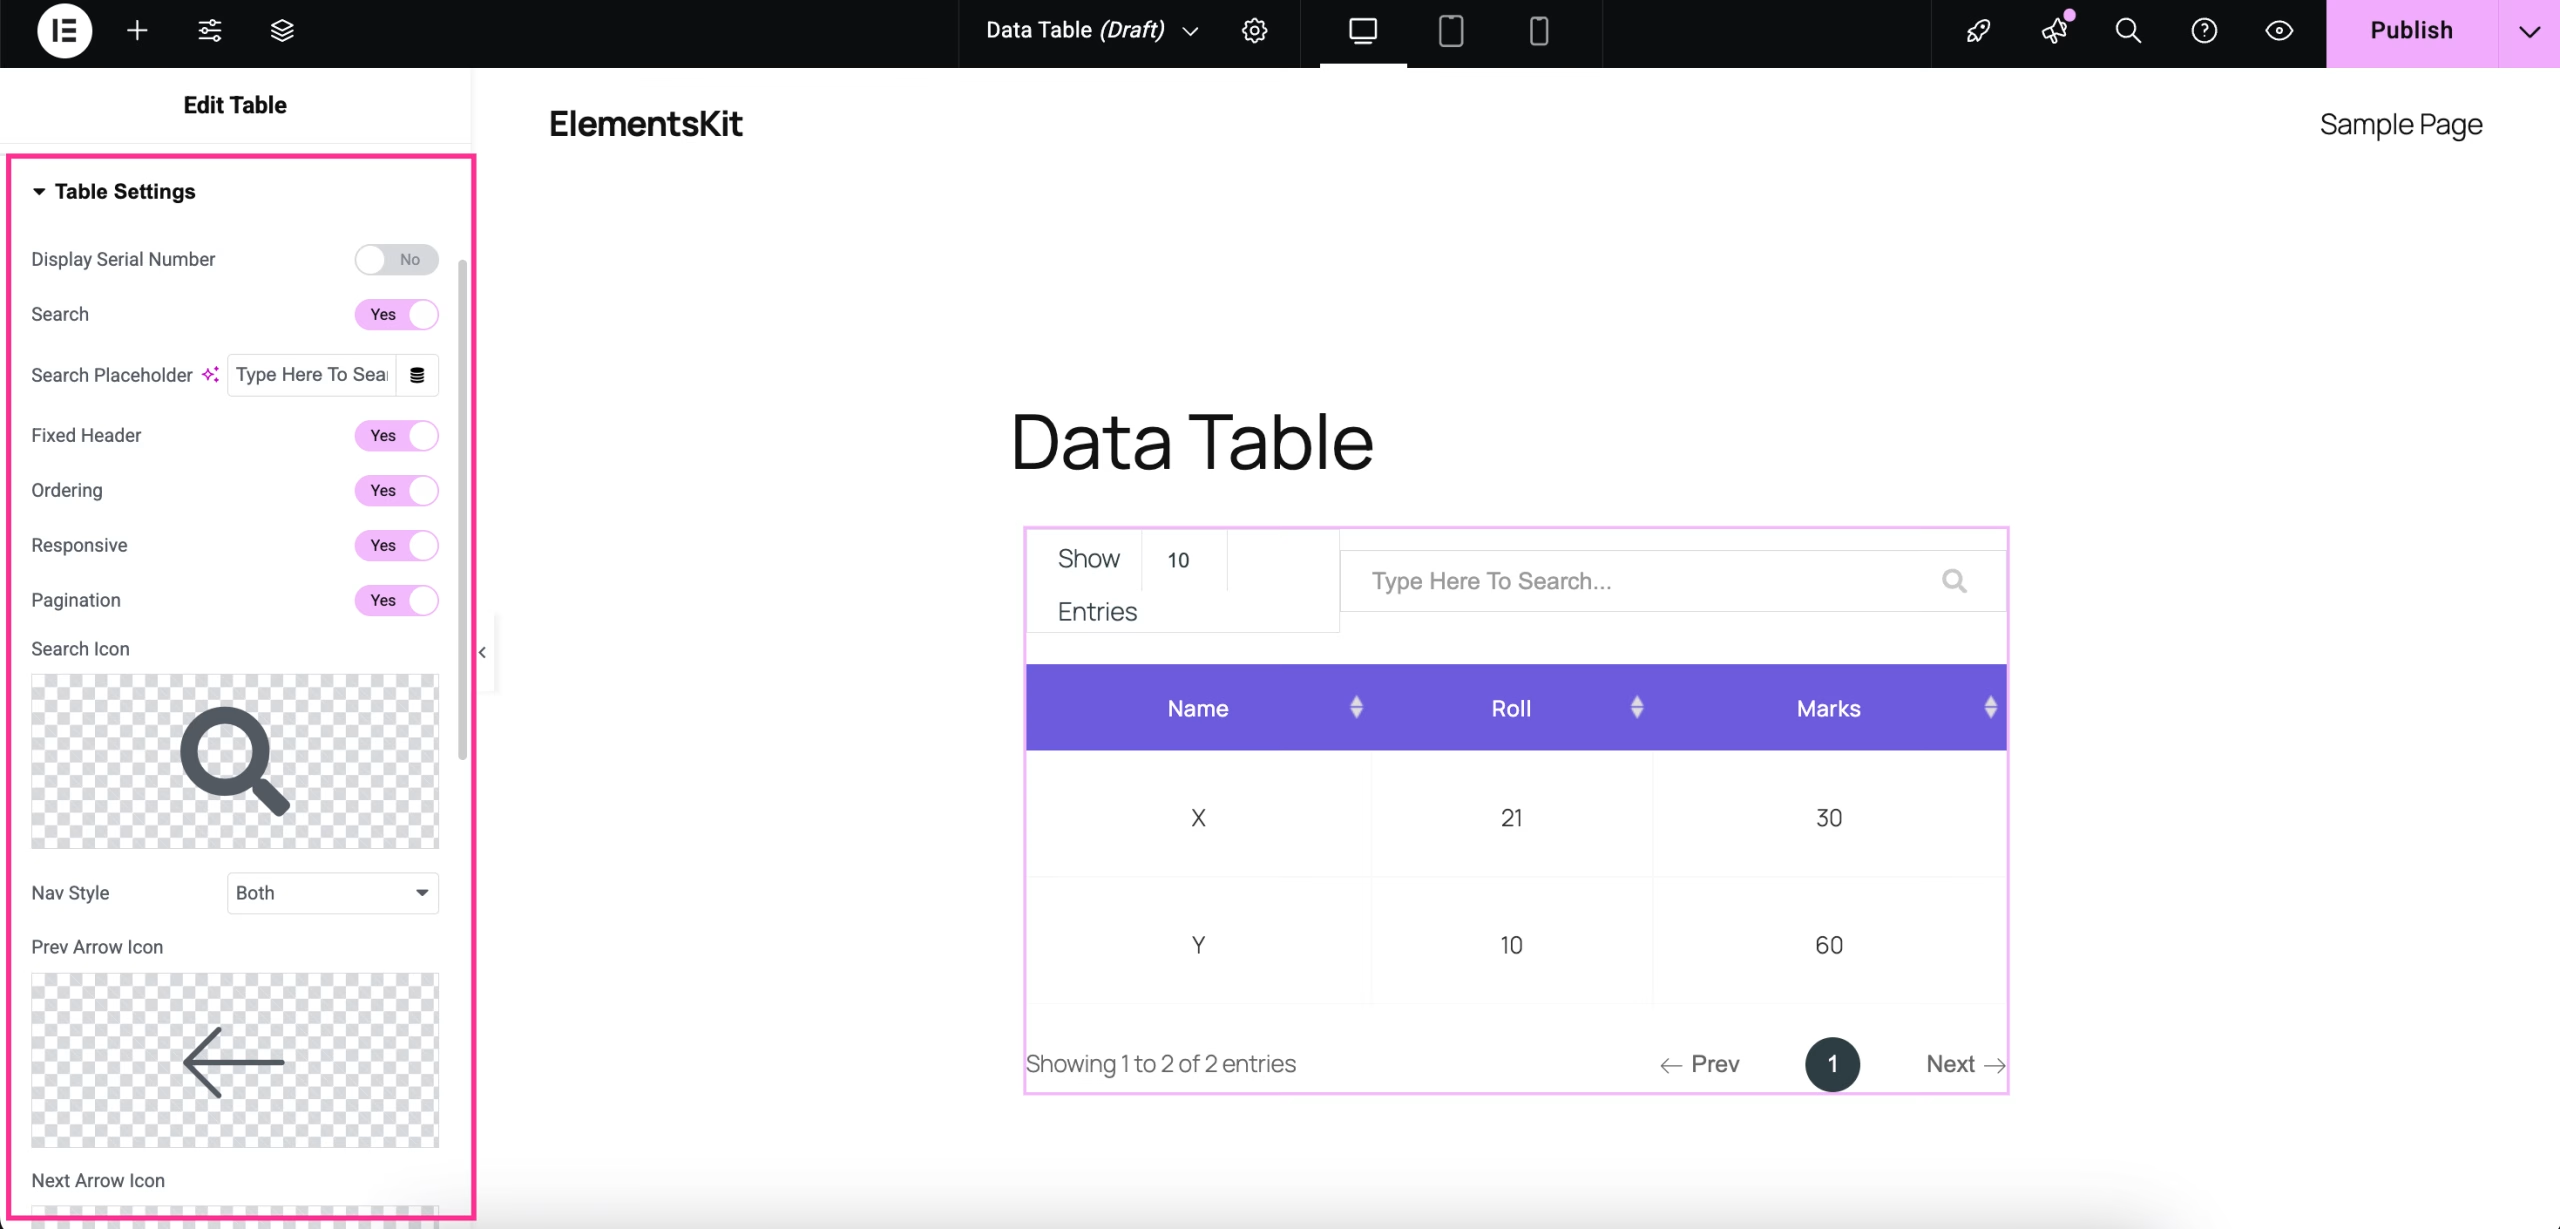
After adjusting the body content, expand table settings, e make the following adjustments:
- Display Serial Number: Enable it to display the serial number.
- Procurar: Enable it to show the search option.
- Espaço reservado para pesquisa: Add the placeholder text for the search option.
- Cabeçalho Fixo: Turn on to fix the header.
- Encomenda: Enable to activate ordering.
- Responsivo: Turn on for the table responsiveness.
- Paginação: Activate to show table pagination.
- Search Icon: Insert the search icon.
- Prev Text: Show previous text for pagination.
- Next Text: Add next text for pagination.
- Informações: Enable it to add info text for the data table.
- Info text: Insert info text.
- Entradas: Enable it to add entries.
- Entries text: Add text for entries.
- Show items per page: Set how many rows or items you want to display on a single page.
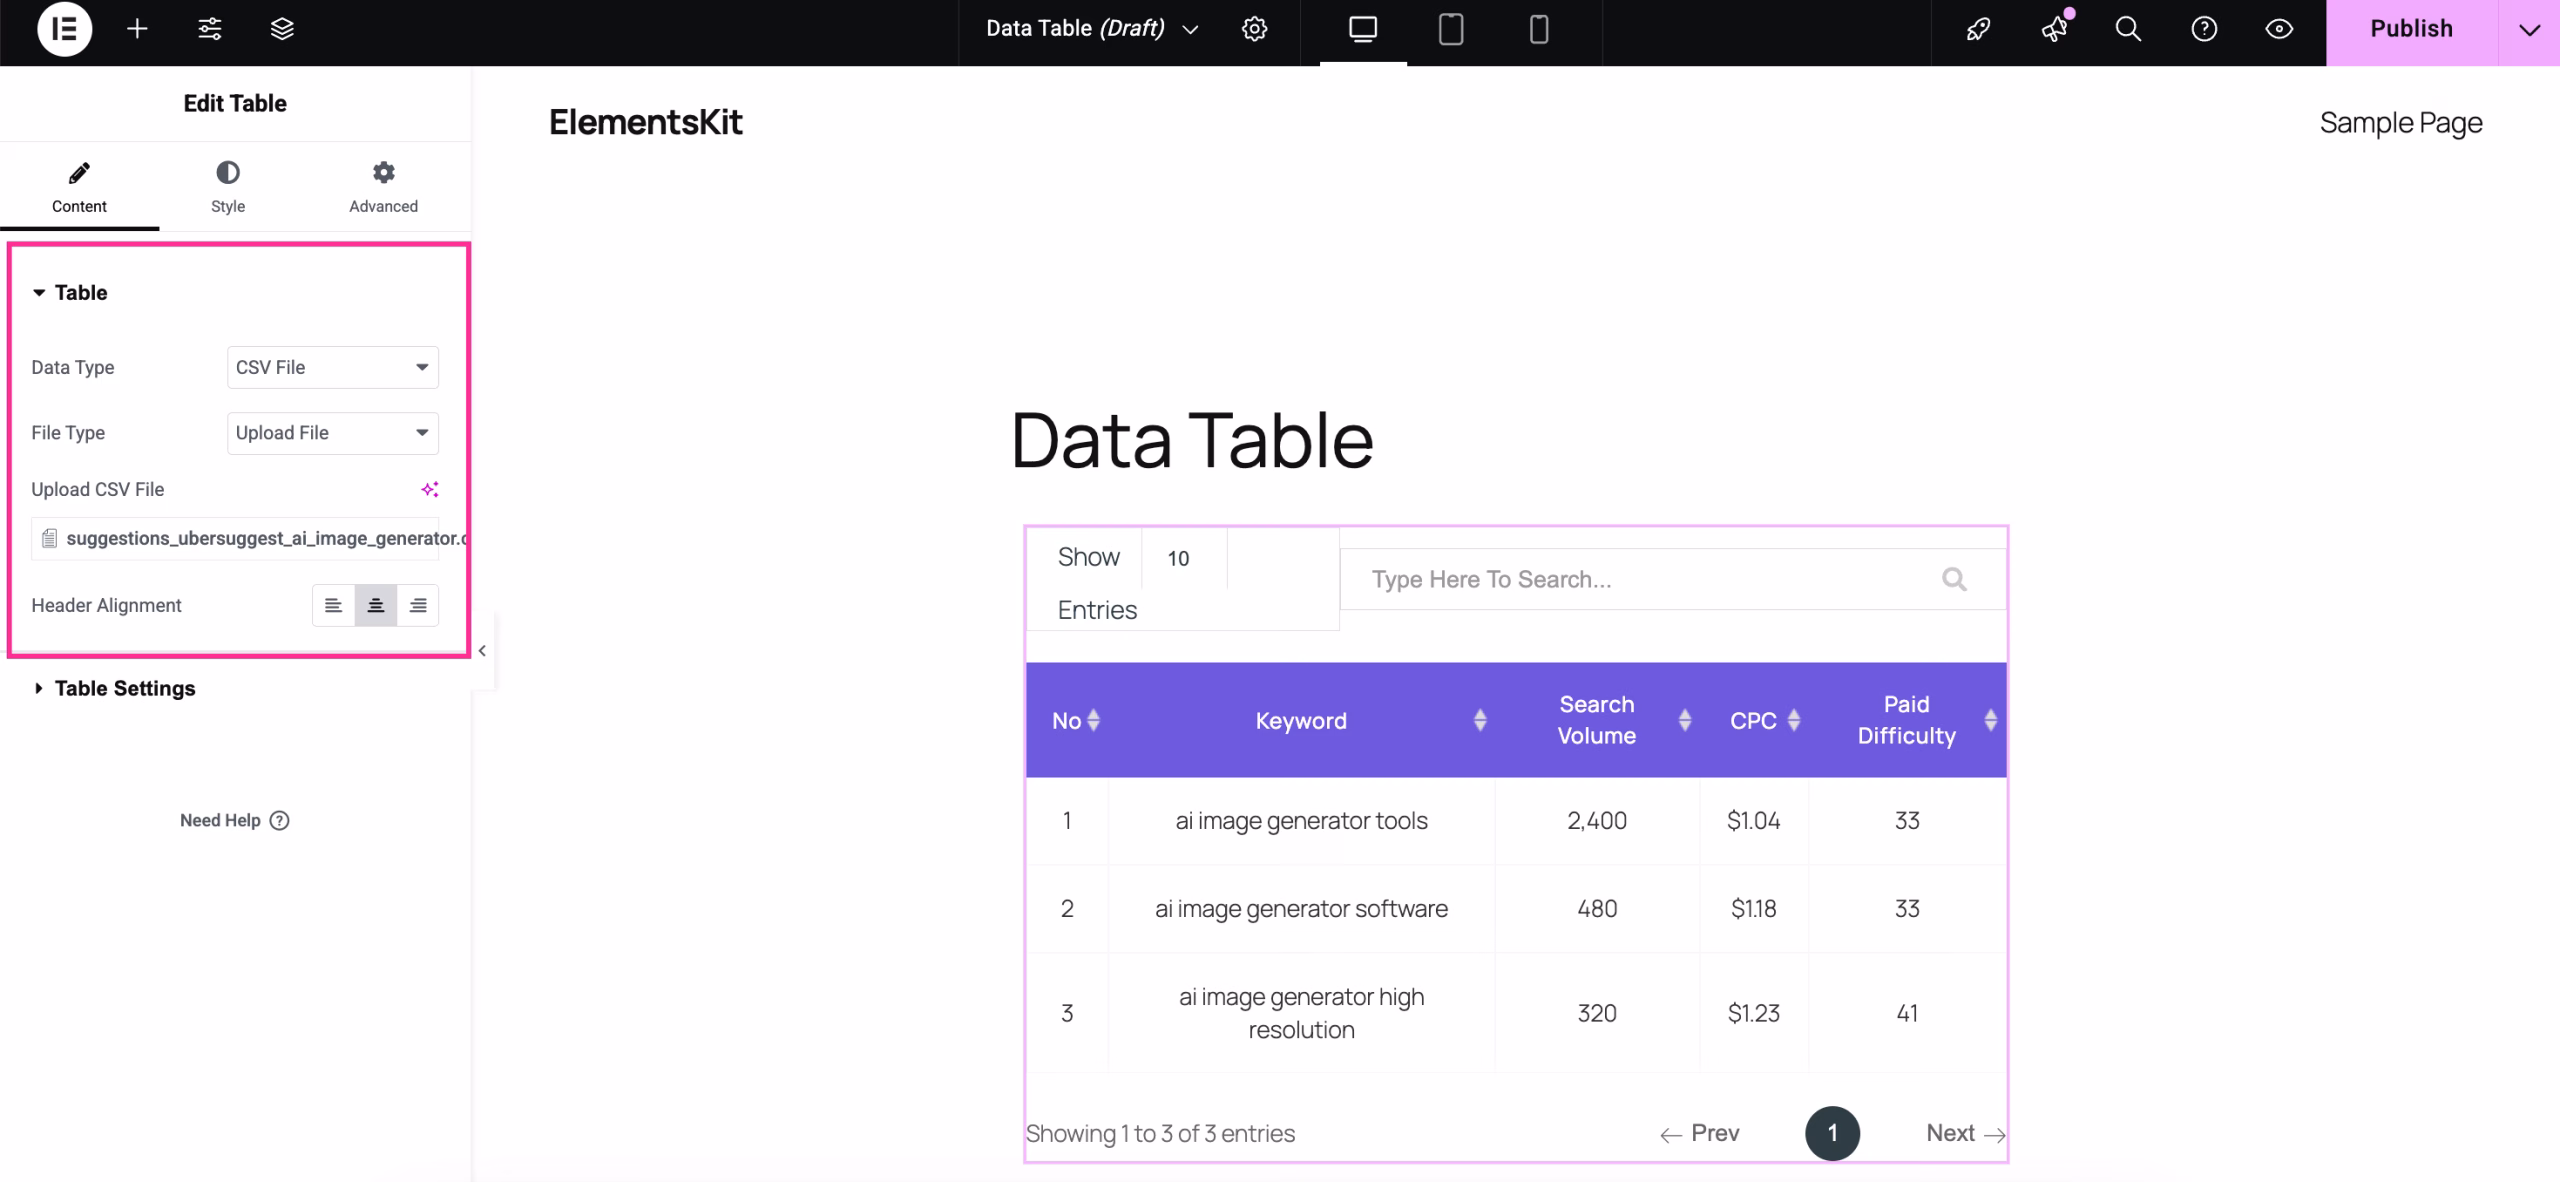
Step 4: Upload a CSV file in WordPress
Besides a custom data table, you can also upload a CSV file in WordPress. You can directly fazer upload de um arquivo CSV or from a remote file URL, or from a Google Sheet viewer URL.
Upload CSV file to WordPress
After expanding the Table, select CSV file from the dropdown option and select “Upload File” for the File Type. Then, enter the CSV file URL. Thus, your data table will be displayed. You can also adjust the header alignment. Then, after editing table settings and style customization, hit the "Publicar" botão.
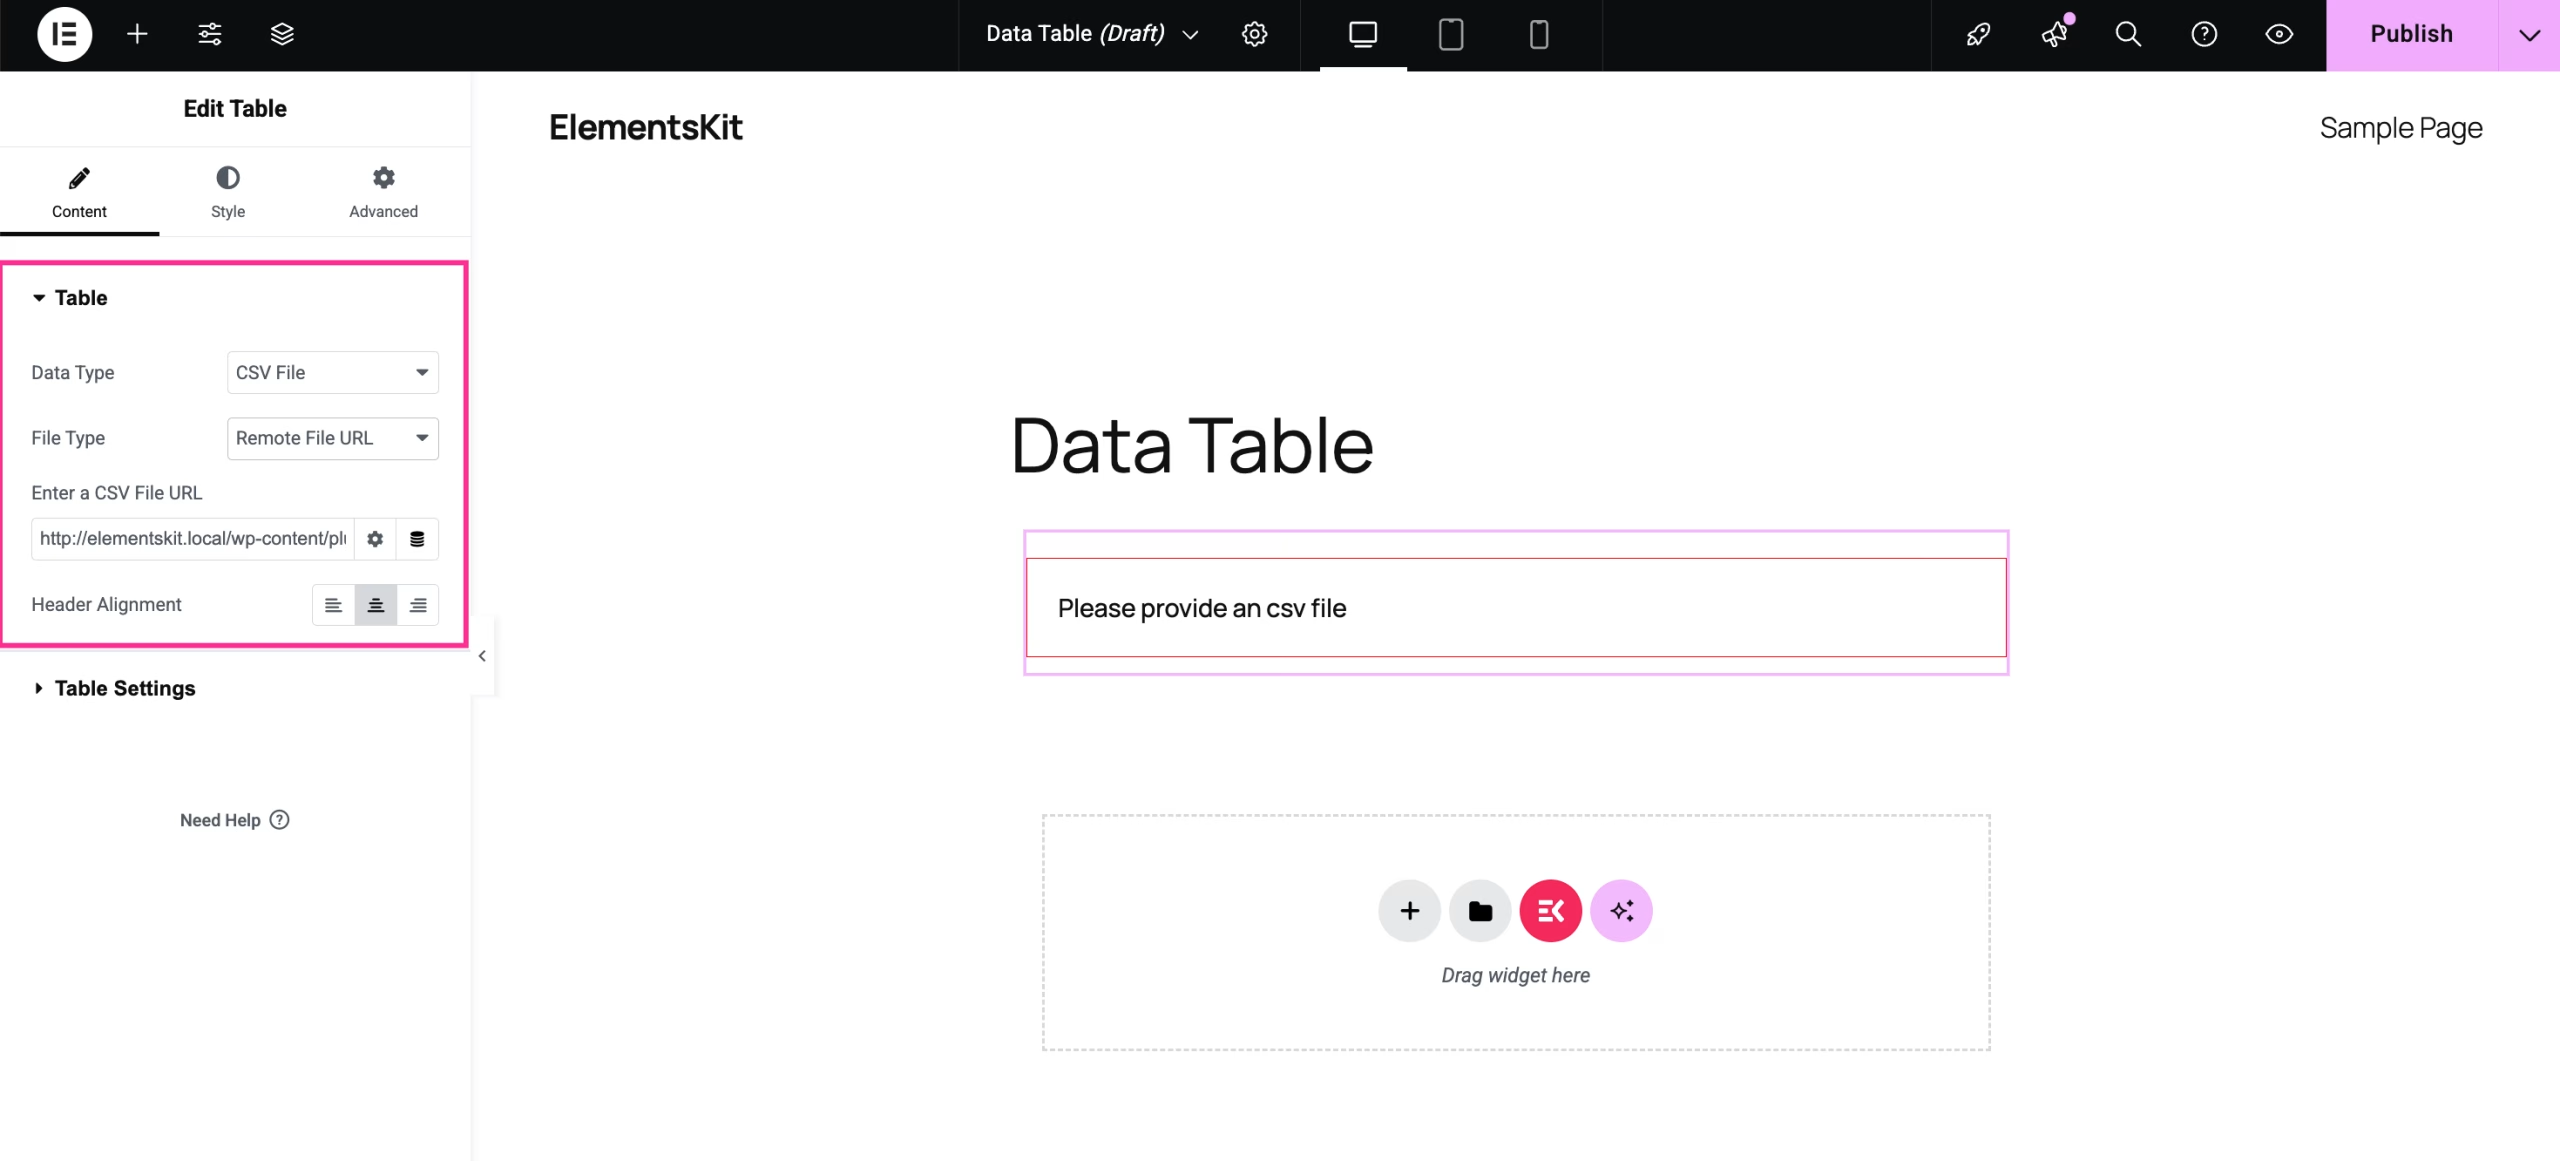
URL do arquivo remoto
Also, you can add a data table from a remote URL. For that, select “Remote File URL” for the File Type and enter your CSV file URL in the respective field. Also, set header alignment e clique em “Publicar” button after customizing the complete data table.
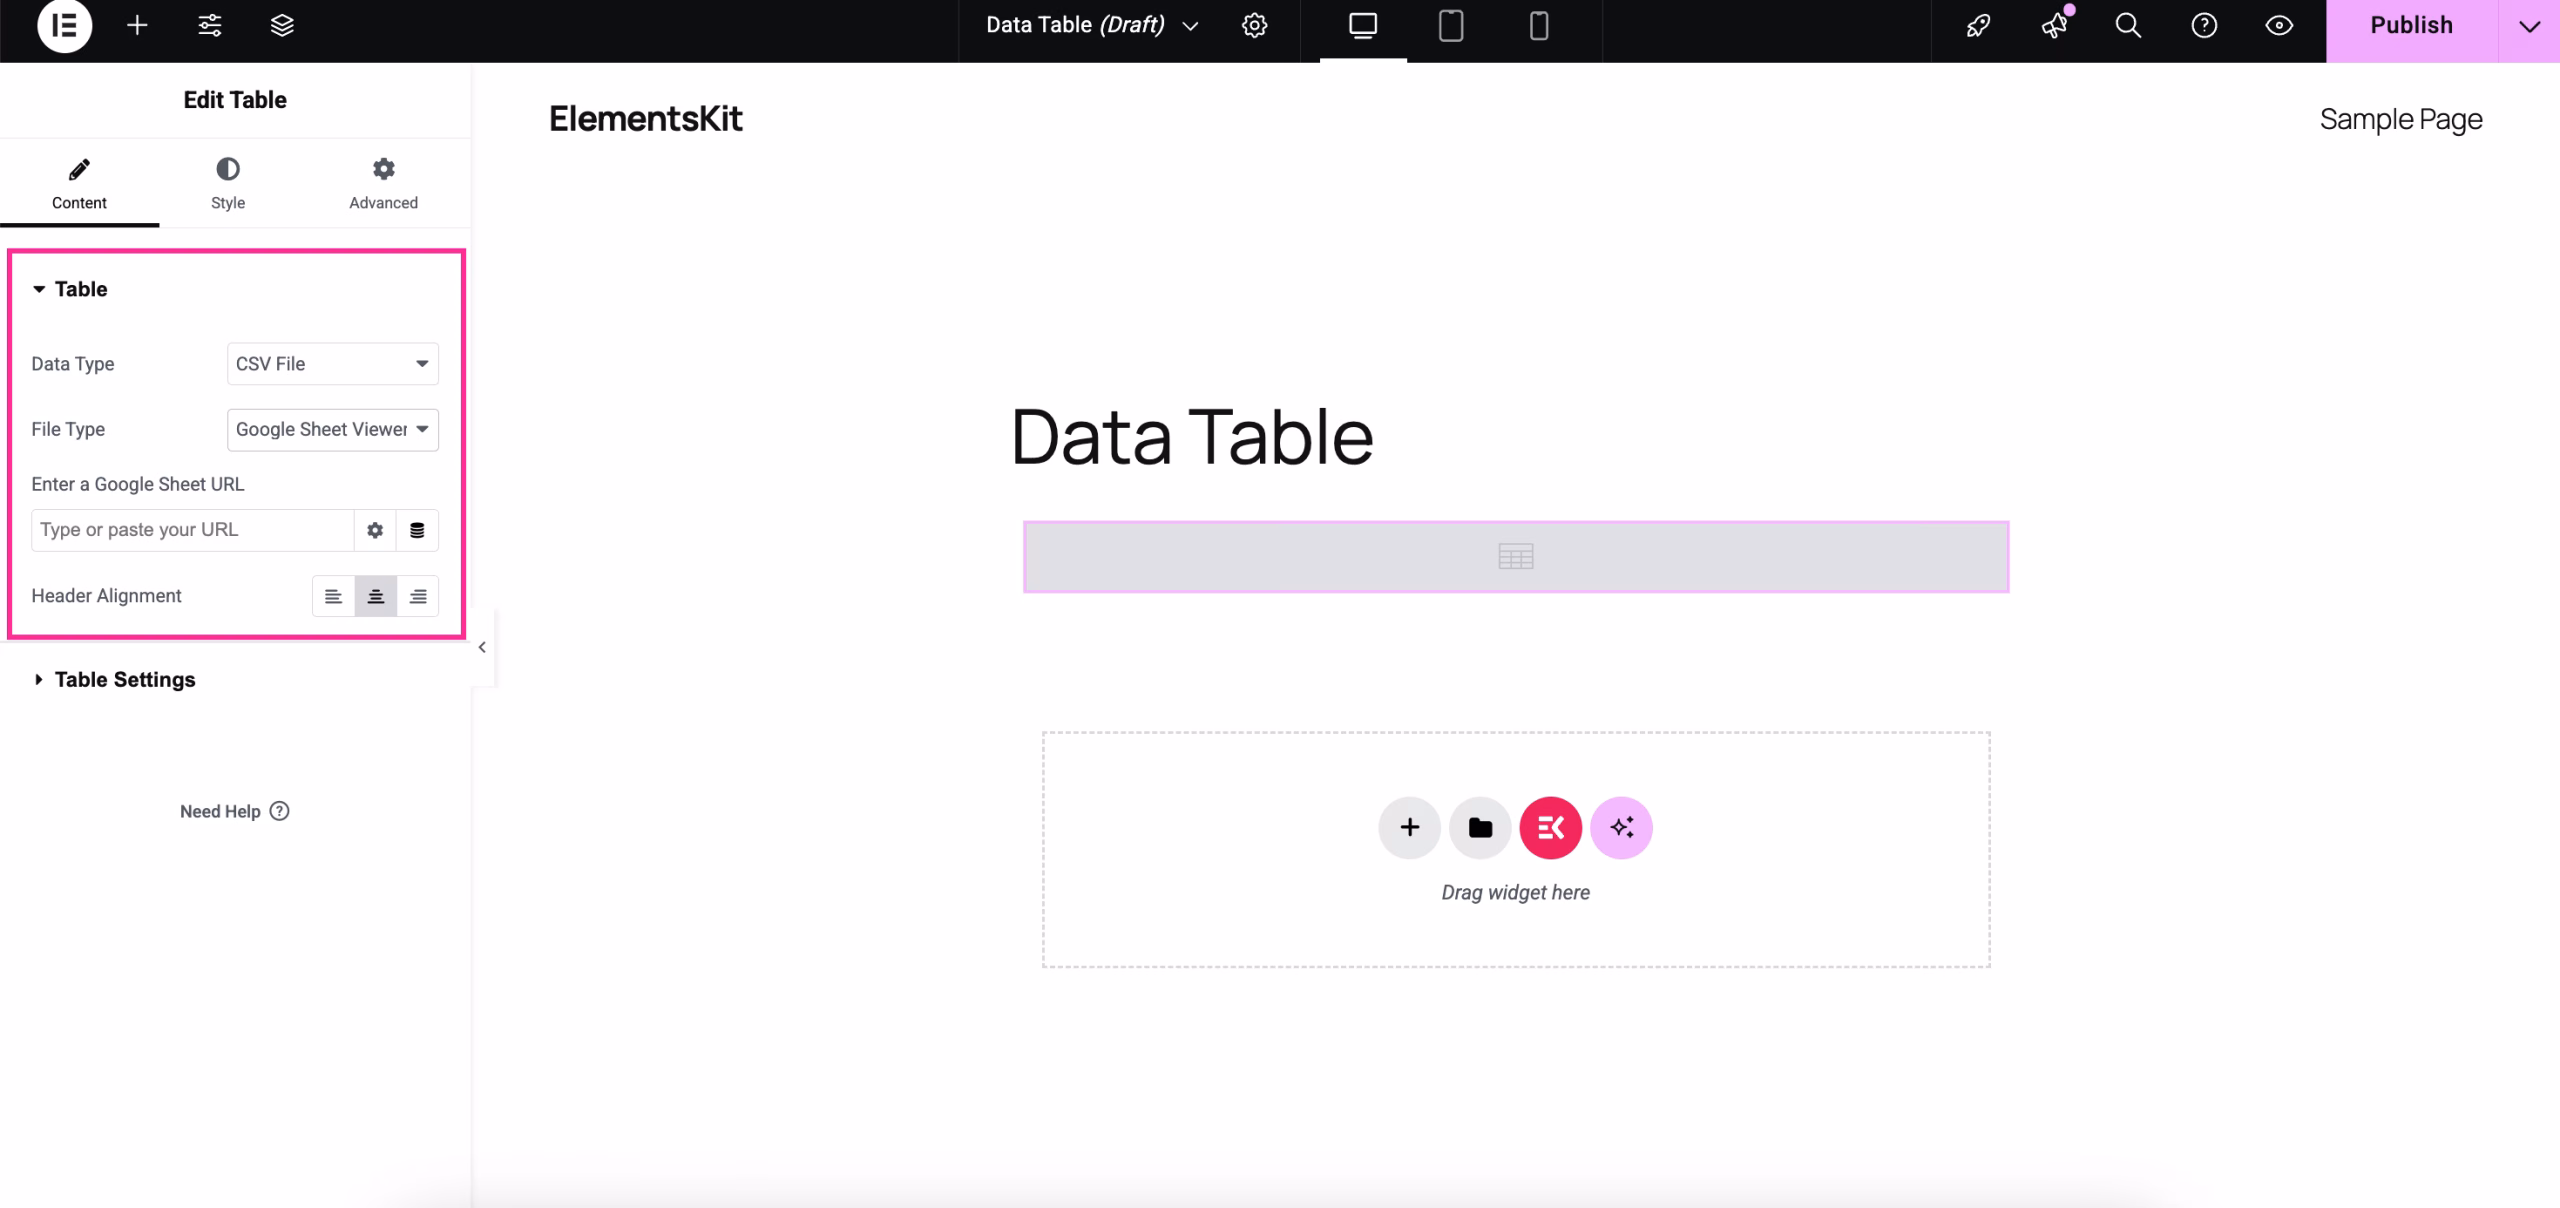
URL do visualizador de planilhas do Google
Again, you can add a Google Sheet by selecting “Google Sheet Viewer URL” for the File Type. Now, enter the URL of your Google Sheet and select header alignment. Finally, do table settings.
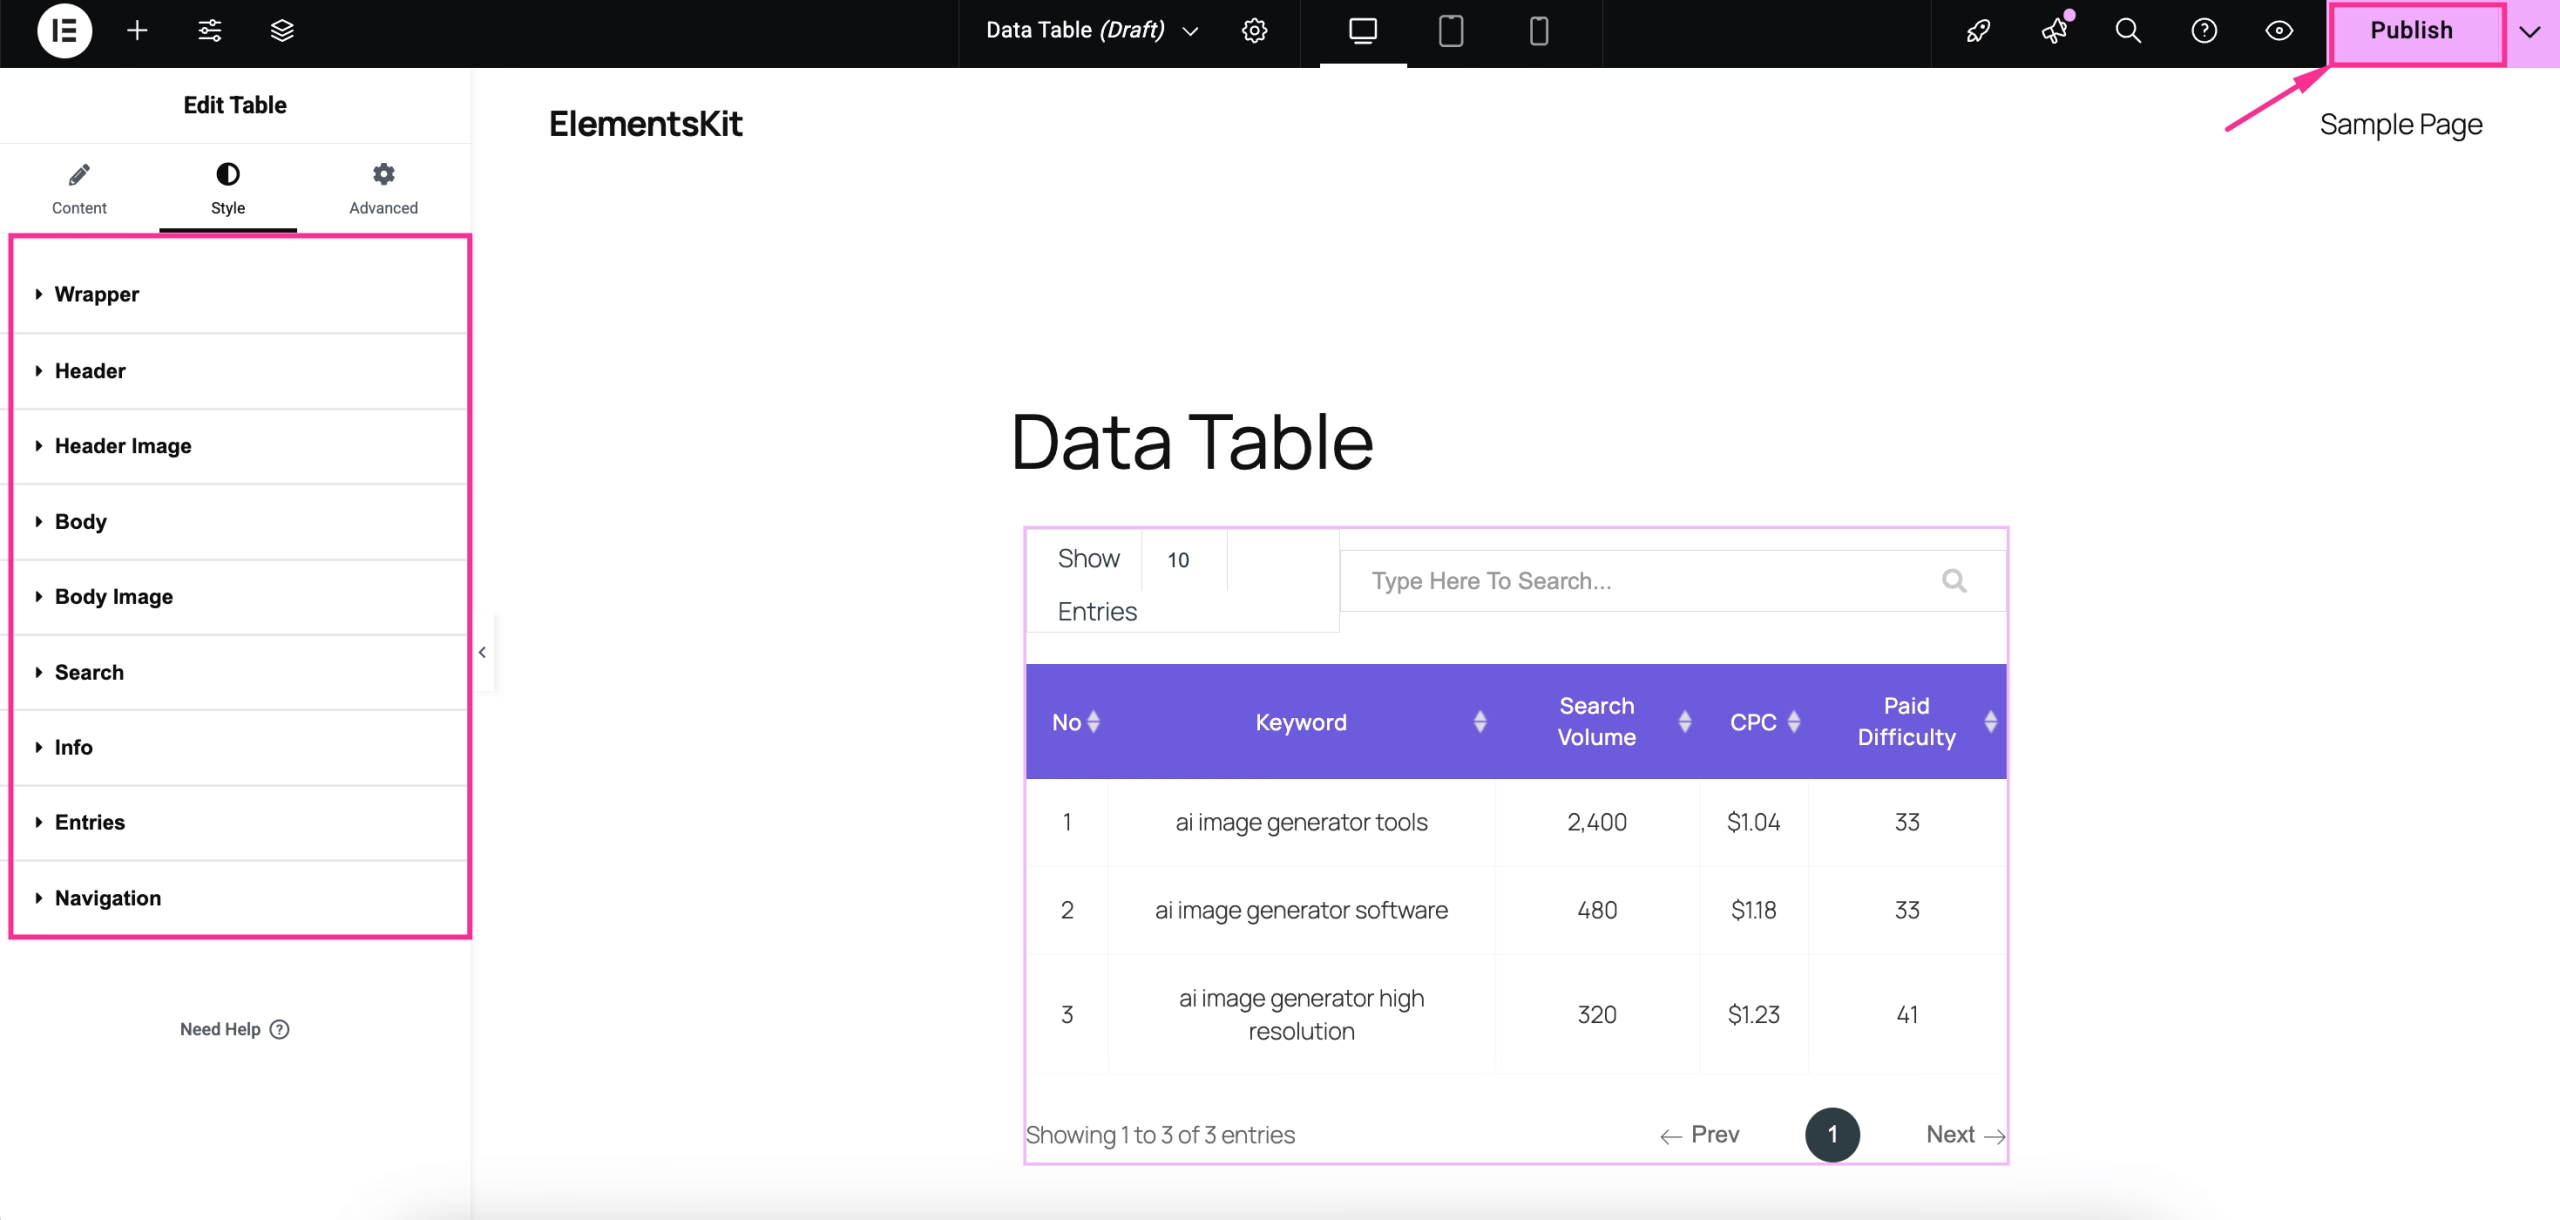
Step 5: Customize the style of the custom data table.
In the final step, after adjusting the content of your data table, customize the style of your table by editing the background Type, Preenchimento, Margem, Tipo de borda, Sombra da caixa, etc. of your Wrapper.
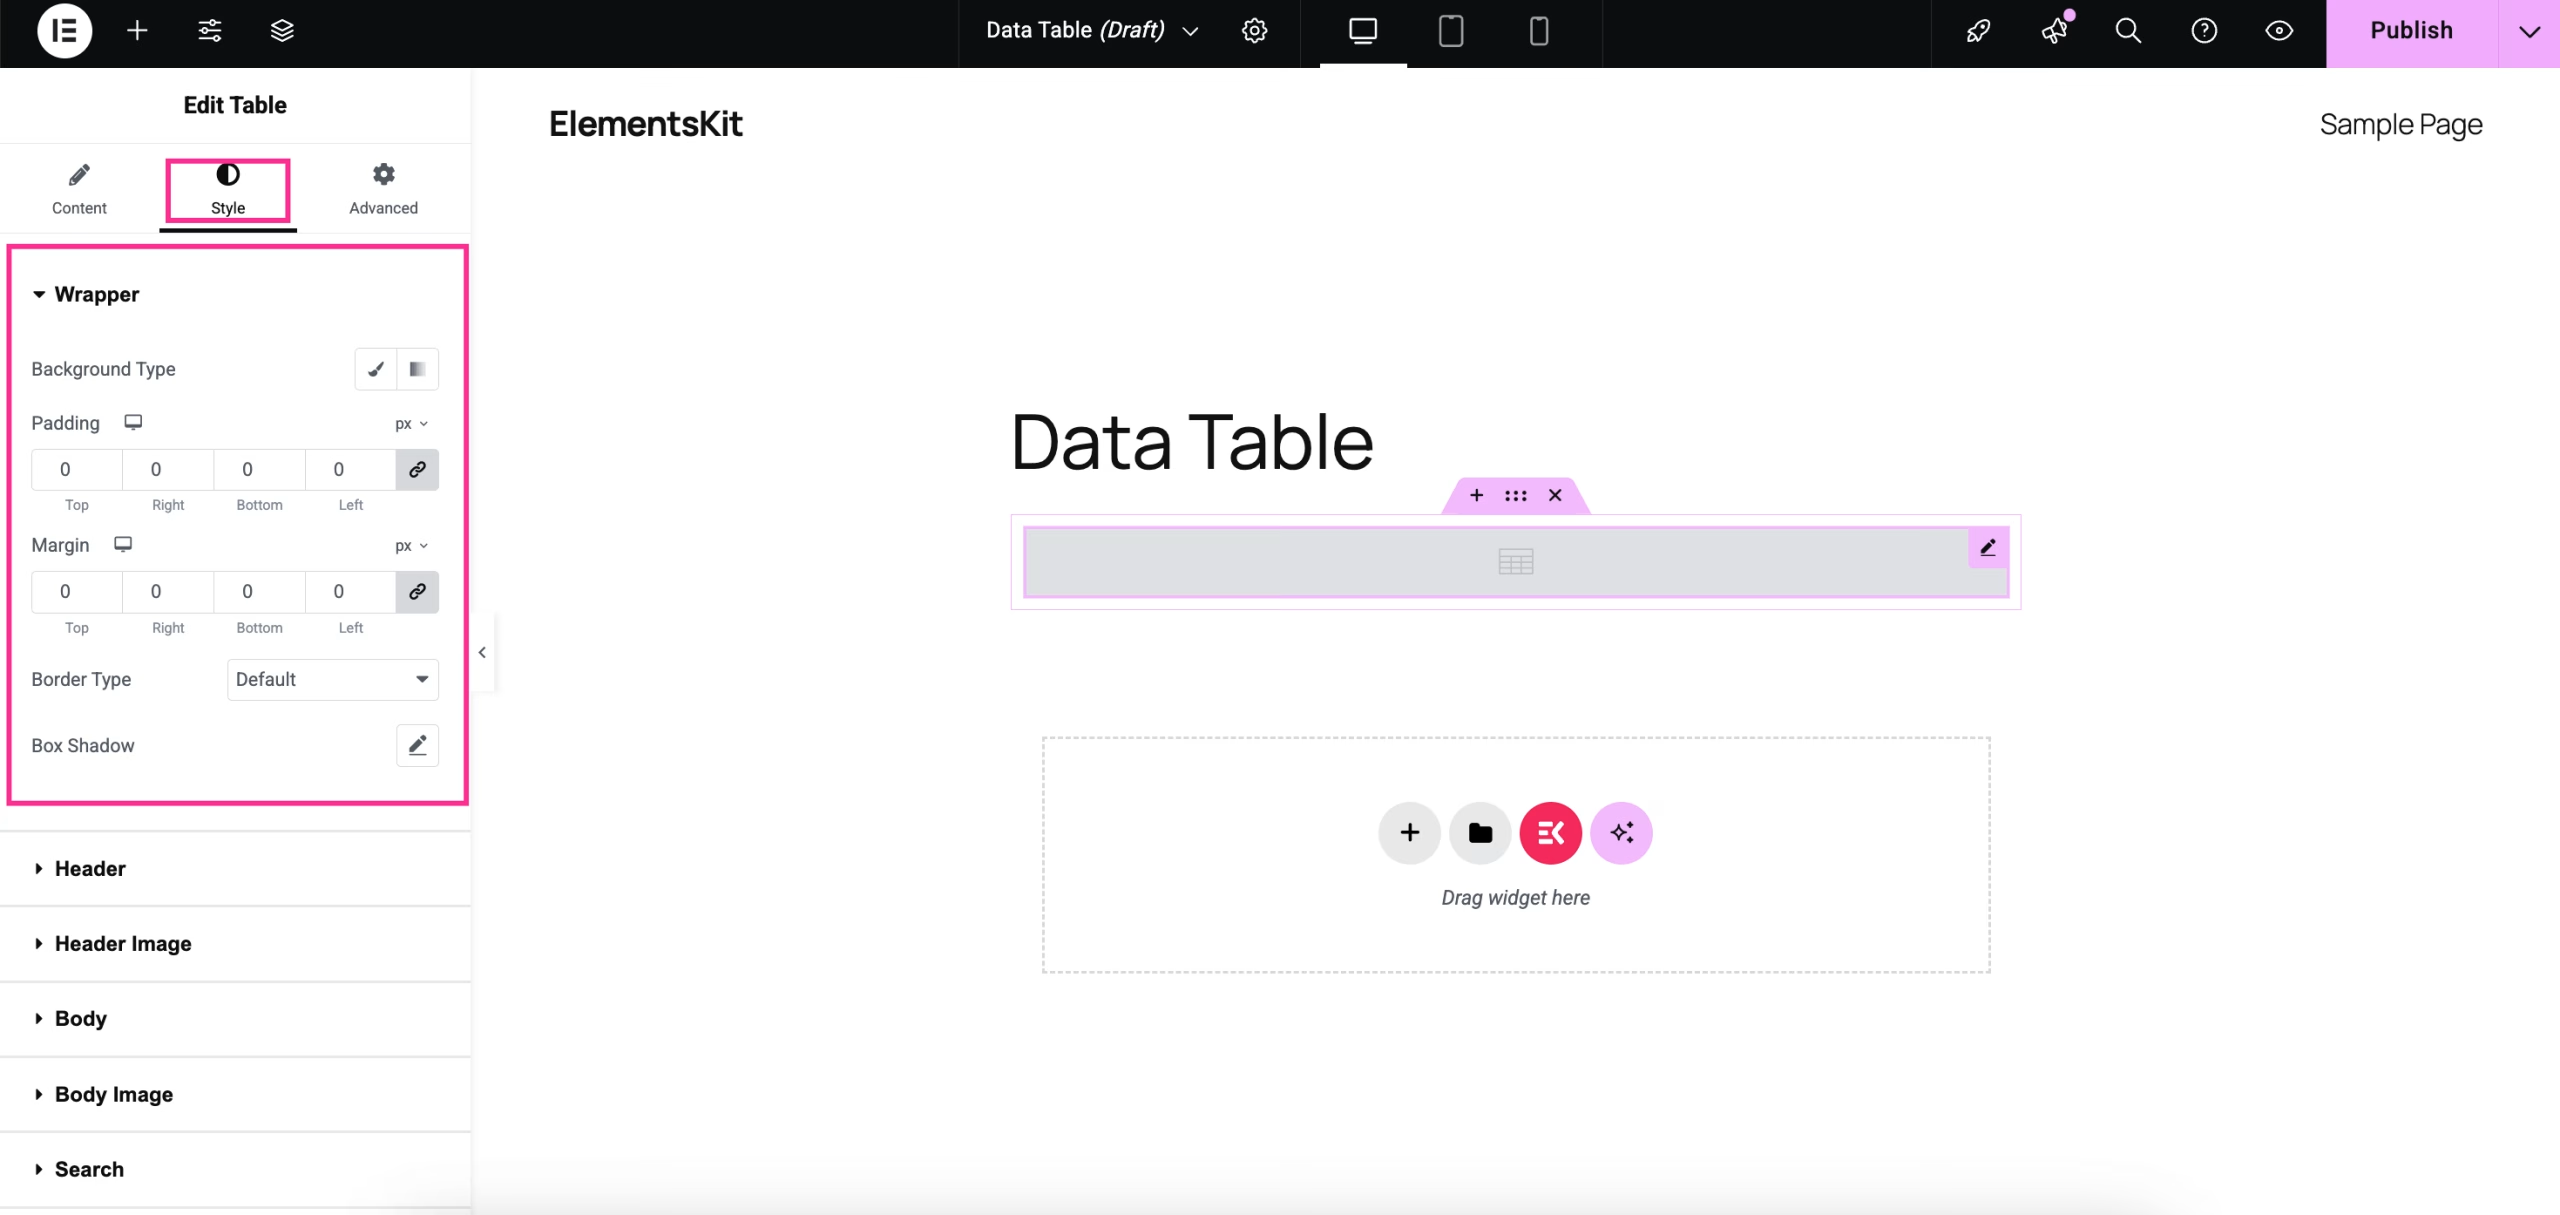
Similarly, adjust the style of the Cabeçalho, Header Image, Corpo, Body Image, Procurar, Informações, Entradas, e Navegação of your data table.
Resumindo
Now, you know how to create a data table in Elementor, maintaining the best presentation and customization with ElementsKit. Because ElementsKit will hand you full control over the table settings and other customizations. Moreover, these customizations need zero coding knowledge.
So, whether you want to integrate a CSV file or Google Sheets, ElementsKit comes with all the possible options to add a custom data table in WordPress, avoiding coding hassle.

Deixe um comentário