


To schedule a form on WordPress, you will need a form builder like MetForm. Scheduling allows the form to automatically appear and disappear based on your defined timeframe. This feature saves time, prevents unwanted submissions, and improves user experience.
In this beginner’s guide, you’ll learn how to schedule a form on WordPress step by step using a user-friendly form builder, along with best practices and solutions to common issues.
Quick Overview: How to Schedule a Form on WordPress
To schedule a form, you will need a WordPress form builder like MetForm. It allows you to set a start and end time, so the form automatically opens and closes based on your schedule.
Steps to schedule a form on WordPress:
✅Create the Form – Go to WordPress Dashboard → MetForm → Forms → Add New, choose a template or build your form in Elementor, customize the fields, and publish the form.
✅ Enable Scheduling – Open the form settings in MetForm, enable the scheduling option, then set the start date/time and end date/time. You can also add messages for when the form is not active.
✅ Set the Correct Timezone – Go to Settings → General in WordPress and confirm the timezone and time format so the schedule works correctly.
✅ Test the Schedule – Before launching, test the form by setting a near start time and checking that it activates and closes automatically.
Przykład
When running an event registration, you can set the form to open on June 1 at 9 AM and close on June 10 at midnight. Visitors will only be able to submit registrations during this period.
Takeaway
Form scheduling in WordPress helps you automate submission periods without manual monitoring. By using a plugin like MetForm, you can easily control when forms open and close, making it ideal for events, promotions, applications, and surveys.
What You Need Before Getting Started
Before scheduling your form, make sure you have the following:
- A WordPress Website
- Kreator stron Elementora
- MetForm Plugin to create a form and scheduling
📌 Click 👉 Tutaj on how to install and activate MetForm
Once these basics are in place, you can proceed to create and schedule your form.
How to Schedule a Form in WordPress
Scheduling a form with MetForm is very easy. Follow the steps below to set it up.
Step 1: Create Your Form
First, build the form you want to schedule, and to do that, the following steps should be followed:
- Idź do swojego Panel WordPressa.
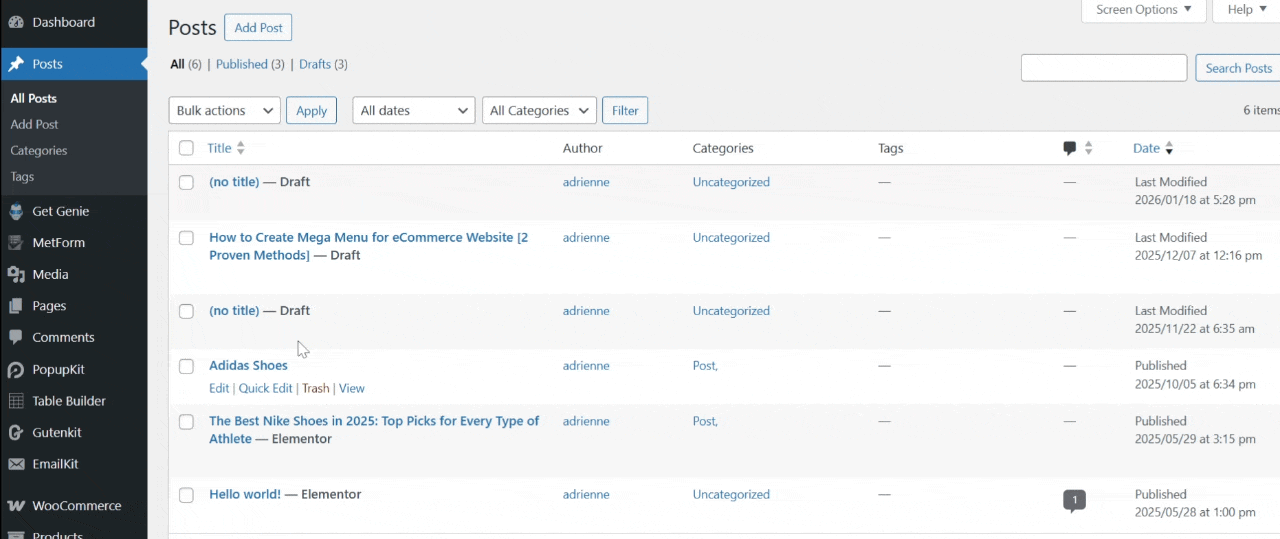
- Nawigować do MetForm → Forms.
- Kliknij Dodaj nowe.
- In this guide, we’ll select a ready-made template. Simply select General and choose the template you want.
- Kliknij "Import the Form” button, and it will be opened inside the Elementor editor.
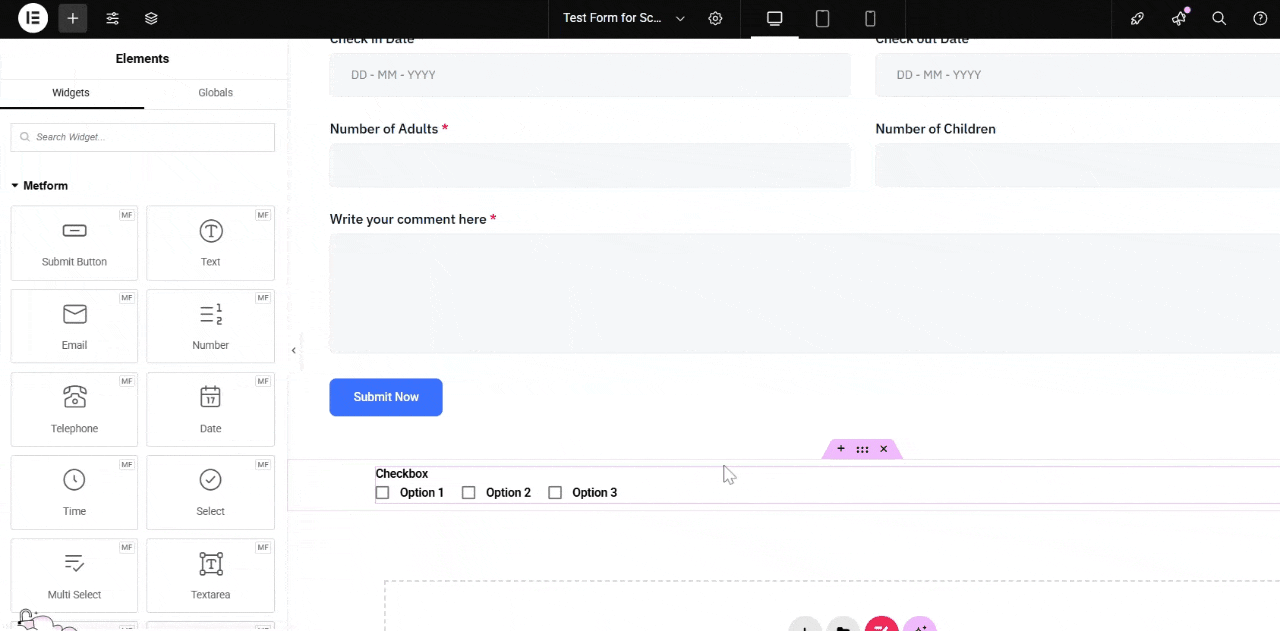
Here’s the appearance of your form in the Elementor editor.
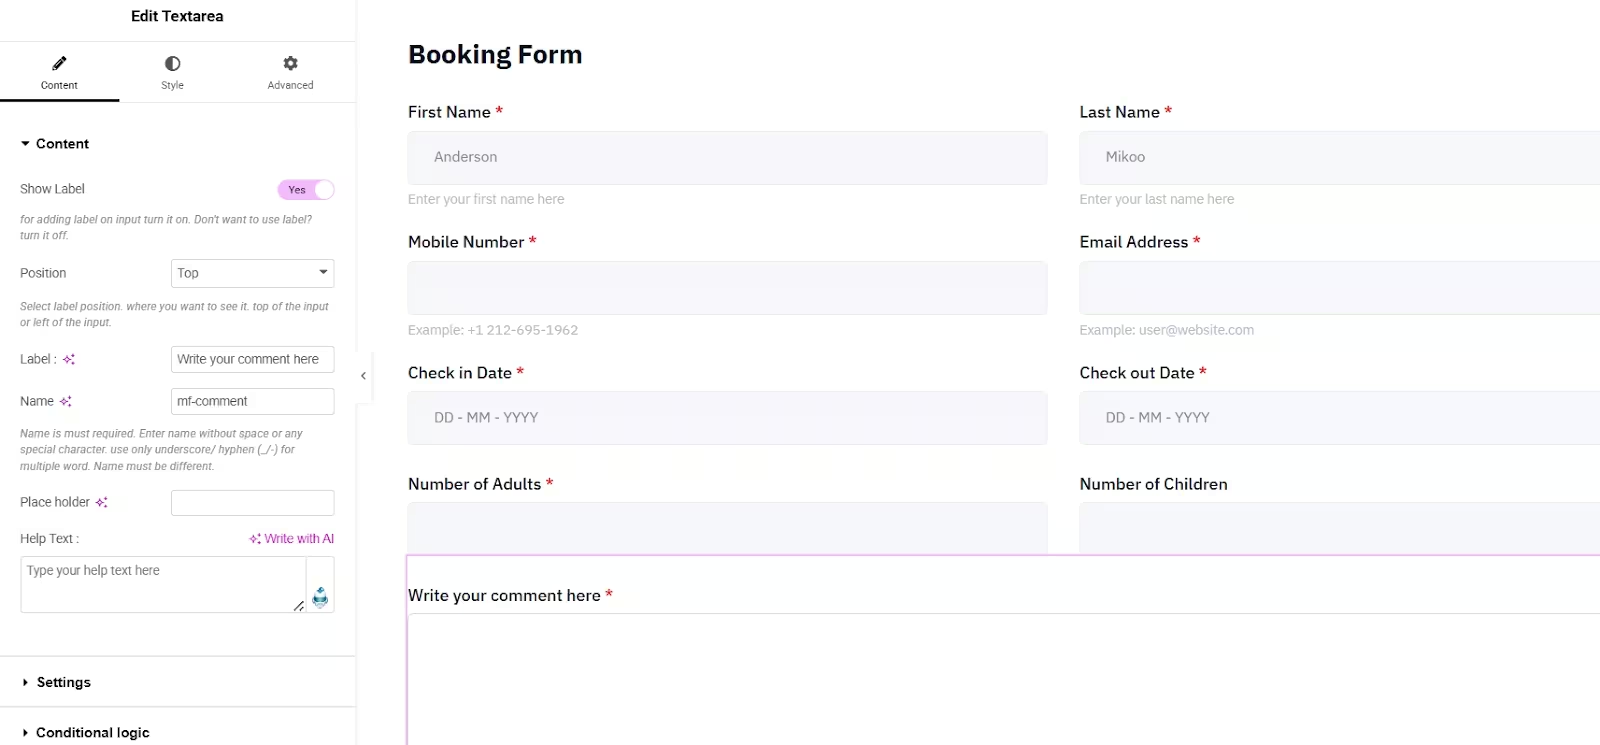
If you want to add a field like a dropdown or a checkbox field, simply:
- Locate the plus (+) icon at the top.
- Find the checkbox widget and drag-and-drop it to the center.
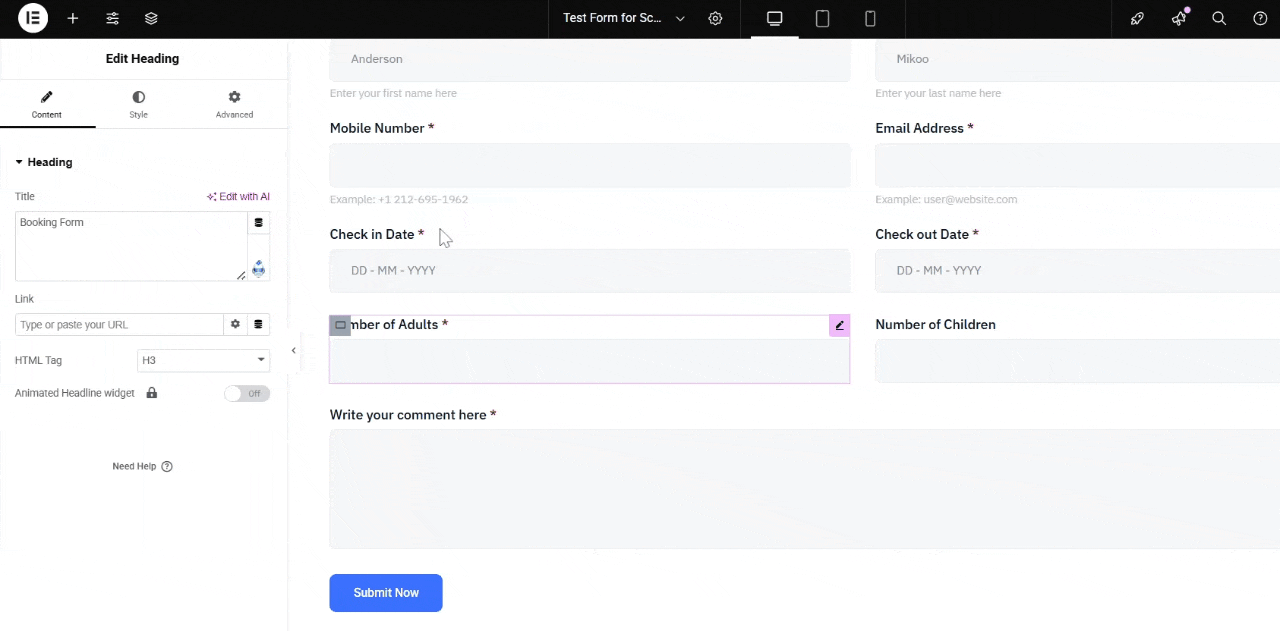
You can rearrange the form fields according to your preference by simply dragging them to your preferred location.
Make sure that you publish your form. At this point, your form exists and is always available. Next, you’ll set the schedule.
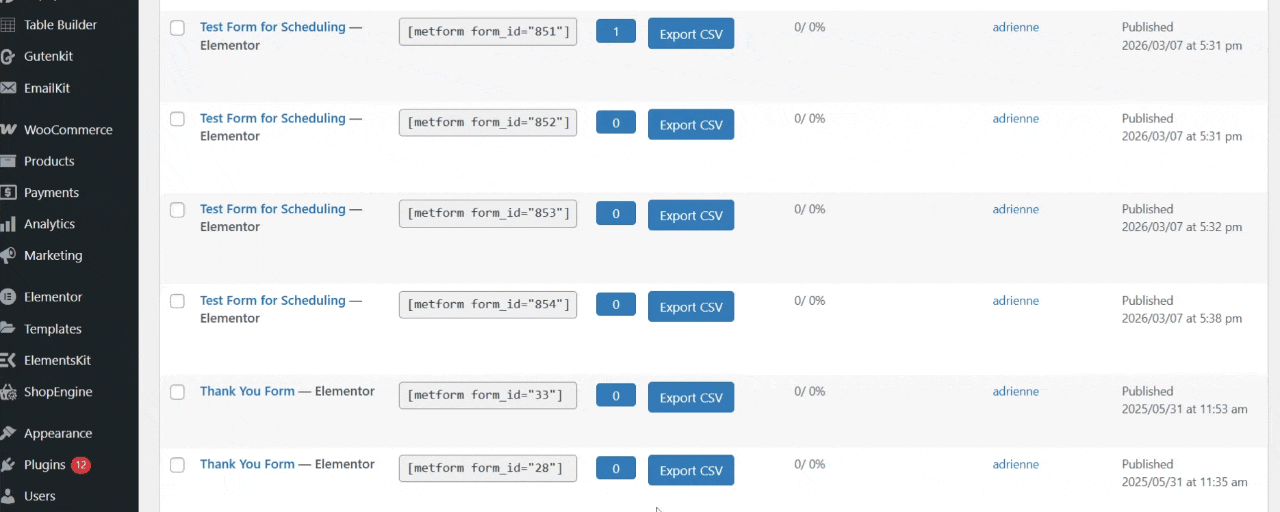
Additionally, you can select from your existing forms and click “Edit” to enable form scheduling.

Step 2: Enable Form Scheduling
Now it’s time to control when the form can accept submissions.
- Go back to MetForm and select forms.
- Locate the form with the title.
- Click Edit to enable the scheduling feature.
- Ustaw Start Date and Time (when the form becomes active).
- Ustaw End Date and Time (when submissions stop).
- Optionally add a message such as:
- Please wait! Registration opens soon.
- This form is no longer accepting responses.
- Click Save Changes to activate the form scheduling.
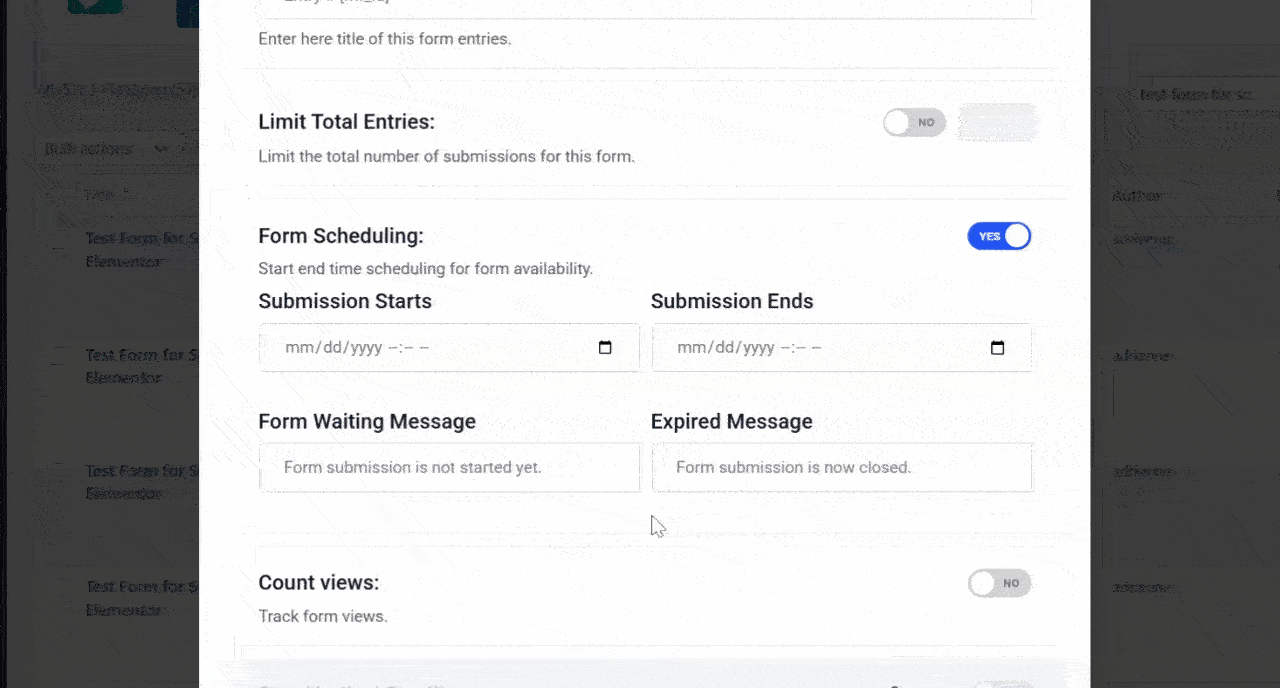
After saving the settings, your form will automatically follow the schedule you configured.
Step 3: Set the Timezone of your WordPress Dashboard
Once the form is ready and scheduling is enabled, set the time and date from your WordPress dashboard.
Go to the Settings and select General. Then, proceed to the Timezone and set the time and date formats.
Step 4: Test the Schedule
Before making the form live publicly, it’s important to test it. Testing ensures everything works correctly before users begin submitting responses.
You can do this by:
- Temporarily setting the start time a few minutes ahead.
- Checking if the form becomes active automatically.
- Verifying the form stops accepting submissions after the end time.
- Also, check how the scheduled message appears when the form is inactive.

Why You Might Want to Schedule a Form?
Scheduling helps automate these processes without manual monitoring. Scheduling forms are useful in many situations, such as:
1. Event Registration
If you’re organizing a webinar, conference, or workshop, you can open registrations at a specific time and close them when the event reaches capacity.
2. Limited-Time Promotions
Businesses often run promotions for a fixed period. A scheduled form allows users to claim offers only during the promotion window.
3. Job Applications
Recruitment forms can be scheduled to accept applications only during the official hiring period.
4. Surveys and Feedback Campaigns
You may want to collect feedback only during a specific campaign or product launch.
5. Course Enrollments
Educational websites frequently open and close course registrations at scheduled times.
Best Practices for Scheduling WordPress Forms
To get the most out of form scheduling, follow these best practices.
1. Clearly Communicate Deadlines
Always inform users when submissions open and close. This prevents confusion and missed opportunities.
2. Add Countdown Timers
Using countdown timers on the form page can increase urgency and encourage users to submit before the deadline.
3. Include Expiration Messages
When the form is closed, display a helpful message such as:
- Registrations are closed.
- Applications have ended.
- Check back soon for the next opportunity.
4. Test Before Launch
Always test scheduling settings before announcing the form publicly to avoid technical issues.
5. Monitor Submissions
Even with scheduling enabled, keep an eye on submissions to ensure everything works smoothly.
Common Problems and How to Fix Them
Even though scheduling is simple, you may encounter a few issues.
1. Form Doesn’t Activate at the Scheduled Time
This problem is commonly caused by:
- Incorrect timezone settings in WordPress
- Wrong start date or time
To fix, go to Settings → General and confirm your site’s timezone.
2. Form Still Accepts Submissions After the End Date
This may happen if the scheduling feature was not fully enabled. You can fix it by checking that the End Date and Time are correctly configured in the form settings.
3. Visitors Can’t See the Form
This problem occurs due to the delay in caching plugins or CDN services. But it can easily be resolved by clearing your website and CDN caches or reloading the page in an Incognito browser.
4. Scheduled Message Not Showing
If the inactive message doesn’t appear, ensure the message field is properly filled in the scheduling settings.
Często zadawane pytania
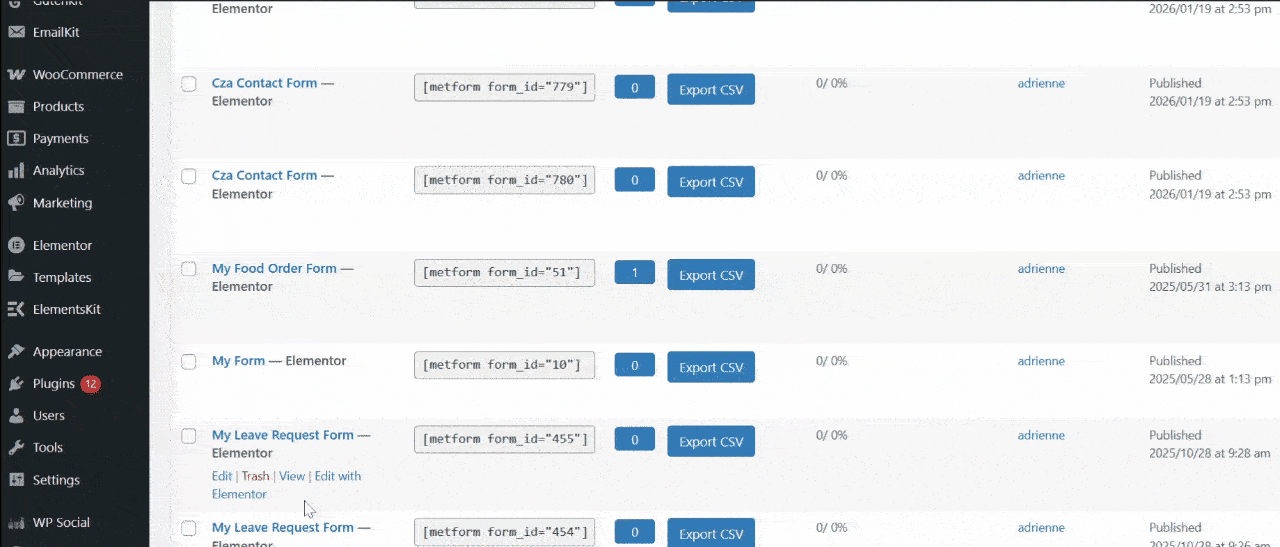
1. Can You Schedule Multiple Forms on WordPress?
Yes. You can schedule as many forms as you want, each with its own start and end time.
2. Do You Need Coding Knowledge to Schedule a Form?
No. Form scheduling with MetForm is fully beginner-friendly and works through a visual interface.
3. Can You Reopen a Form After It has Closed?
Yes. Simply edit the form schedule and update the end date or remove the scheduling restriction.
4. What Happens to Submissions After the Form Closes?
All previous submissions remain stored in your WordPress database and can still be viewed in the form entries.
5. Can You Display a Custom Message When the Form Closes?
Yes. Most form builders allow you to show a custom message after the submission window ends.
Końcowe przemyślenia
Scheduling forms in WordPress is a simple yet powerful way to control when users can submit information. Using a plugin like MetForm makes the process beginner-friendly.
Follow every step in this guide, and you can schedule a form on your WordPress website. You can ensure your forms open and close exactly when you need them to.
Now that you know how to schedule forms in WordPress, you can start creating your form and scheduling it for convenience.
Dodaj komentarz