


PopupKit’s powerful connection with Zapier lets you automate workflows and smoothly connect your campaigns.
This documentation will guide you through every step of the process.
Ready? Let’s go!
Zapier Integration with PopupKit #
Warunki wstępne: This integration is available exclusively to PopupKit Pro użytkownicy.
Installed and activated PopupKit Pro? Now follow the steps below:
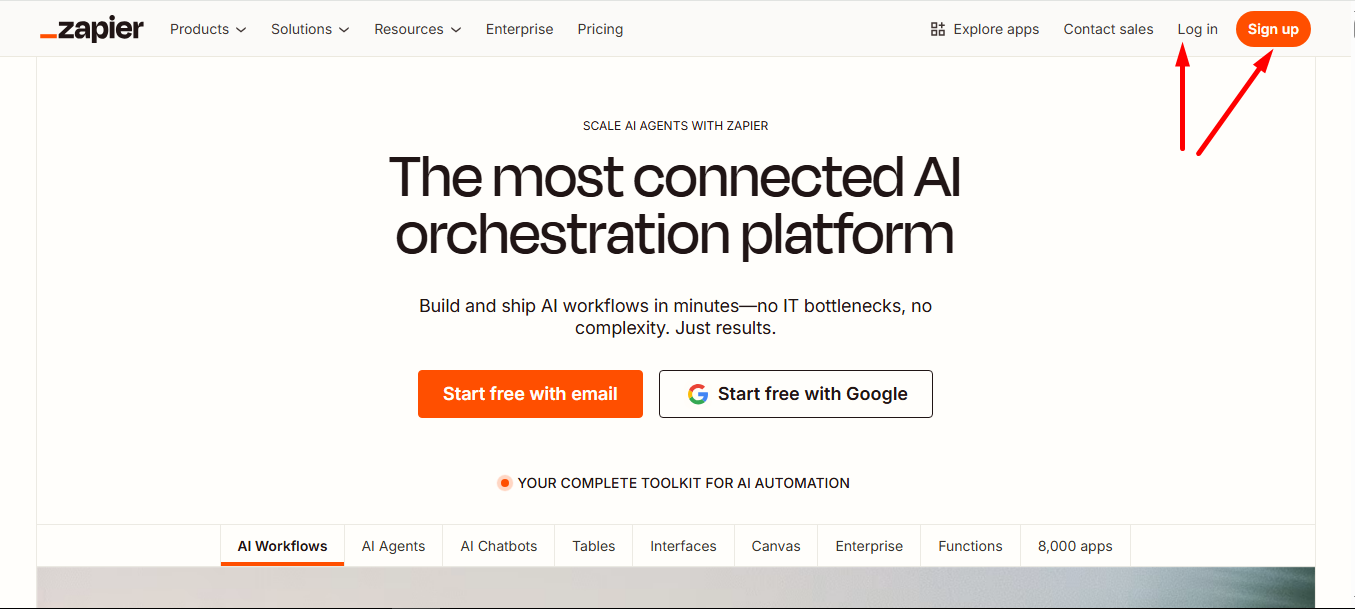
Krok 1: Log in to the Zapier account #
Get started on Zapier by visiting their website and either creating a fresh account or connecting with your existing account with Google.
Najedź kursorem na + sign at the left side menu and find Zaps.
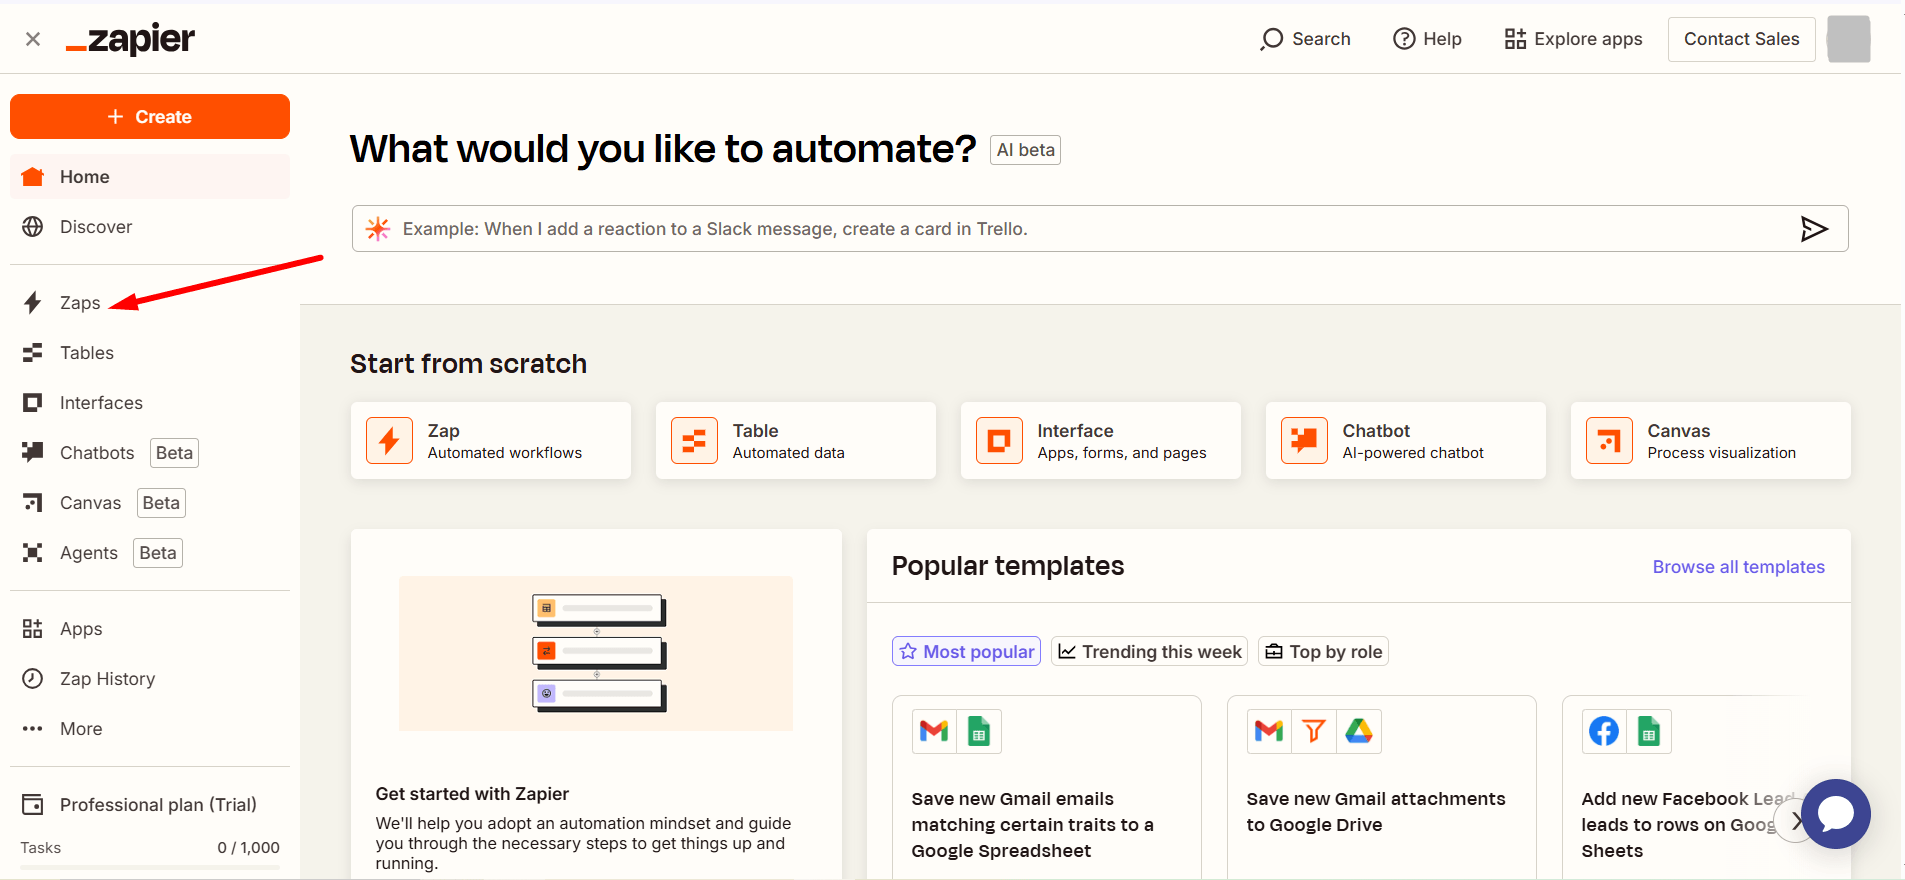
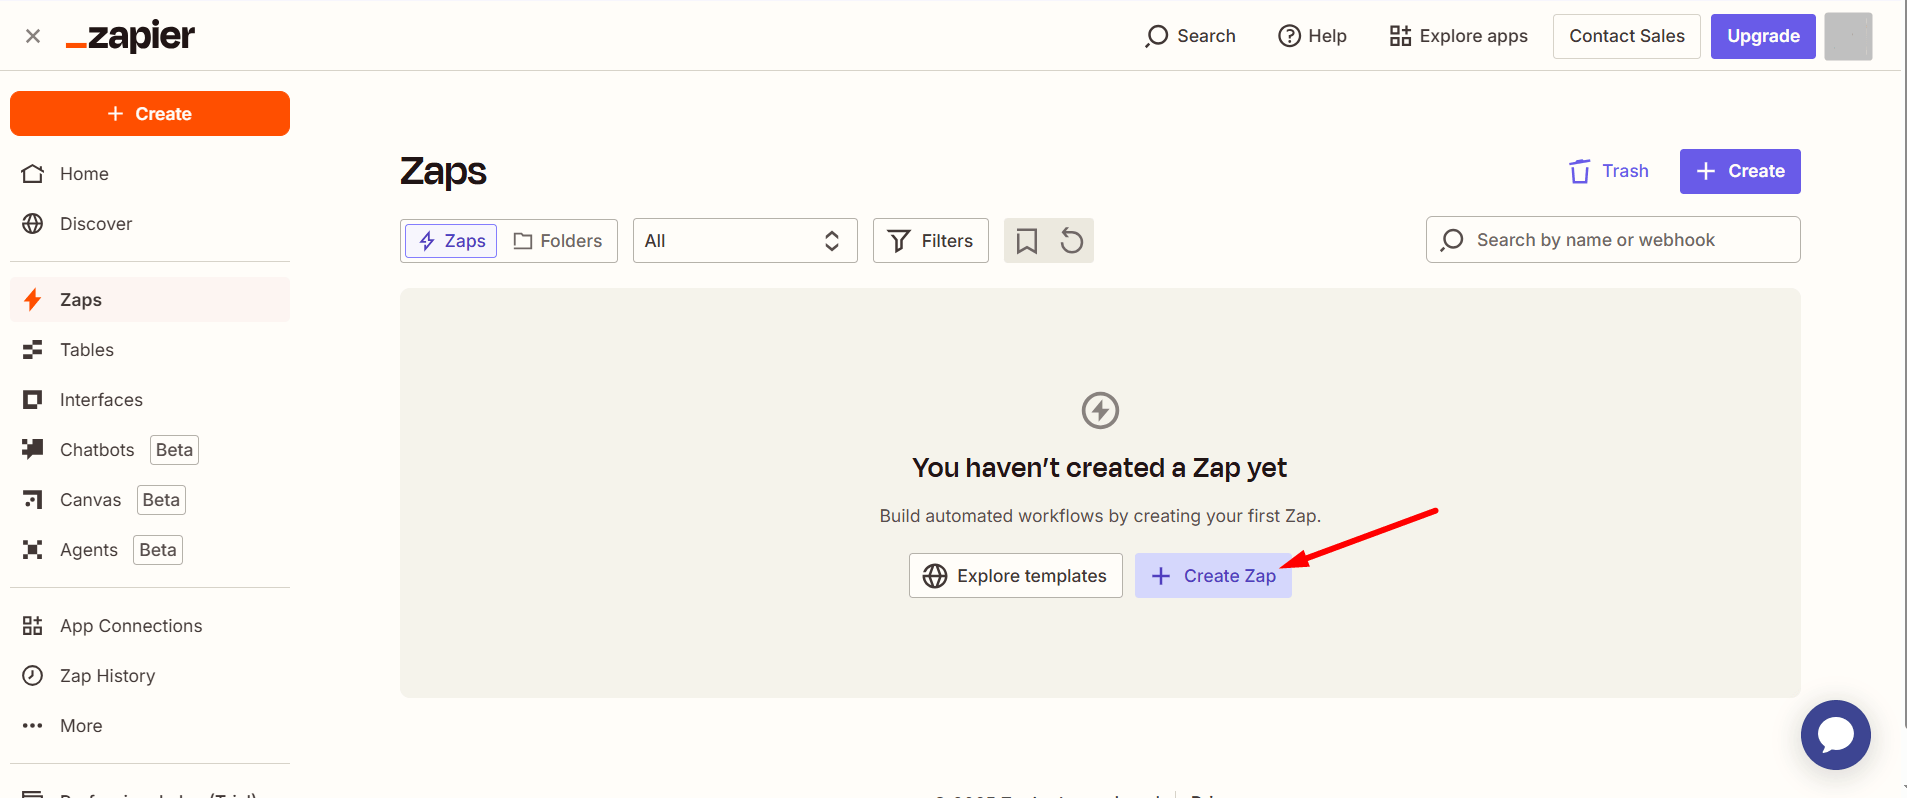
Click on the button Create Zap
Kliknij na Trigger option.

Następny, select Webhooks.
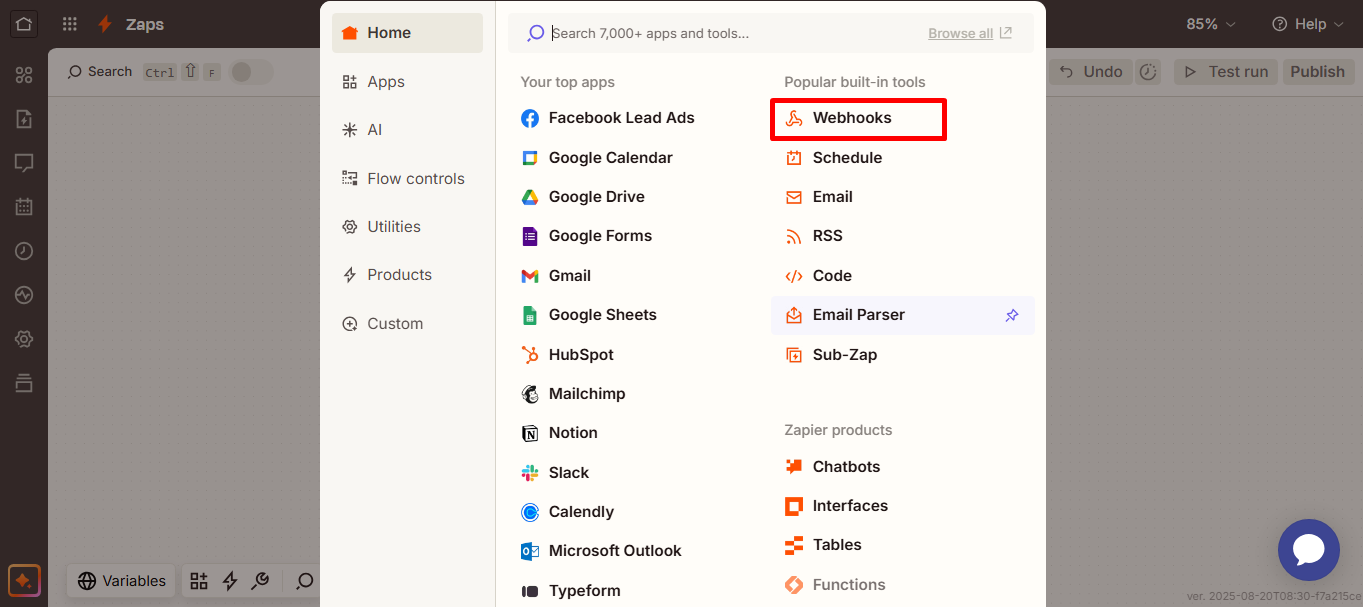
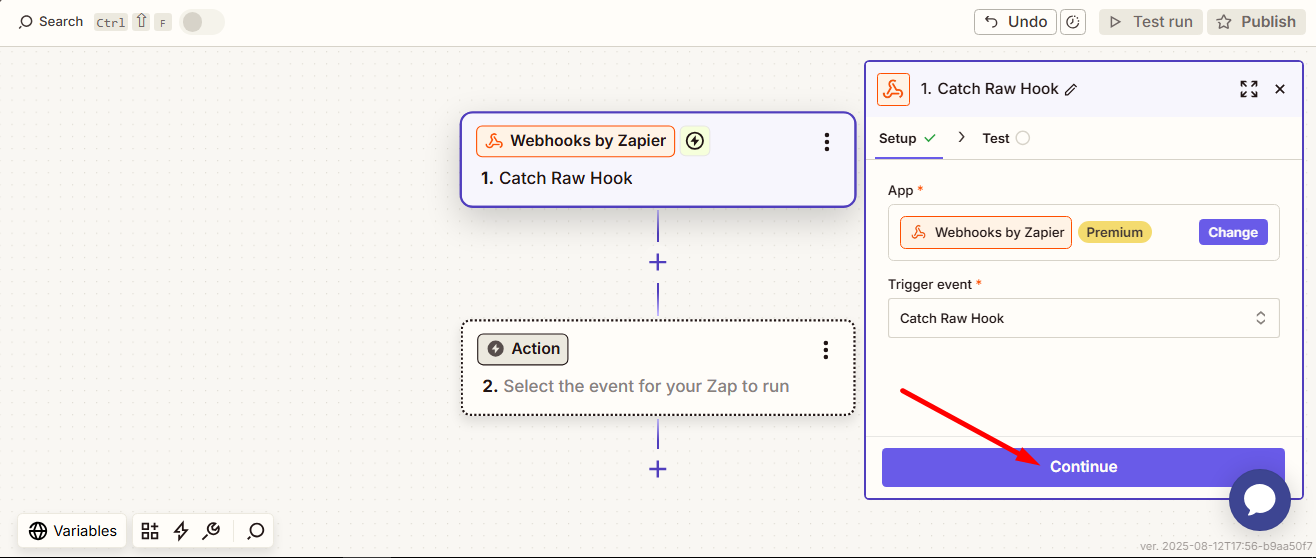
Choose your event from the menu: Trigger Raw Hook.
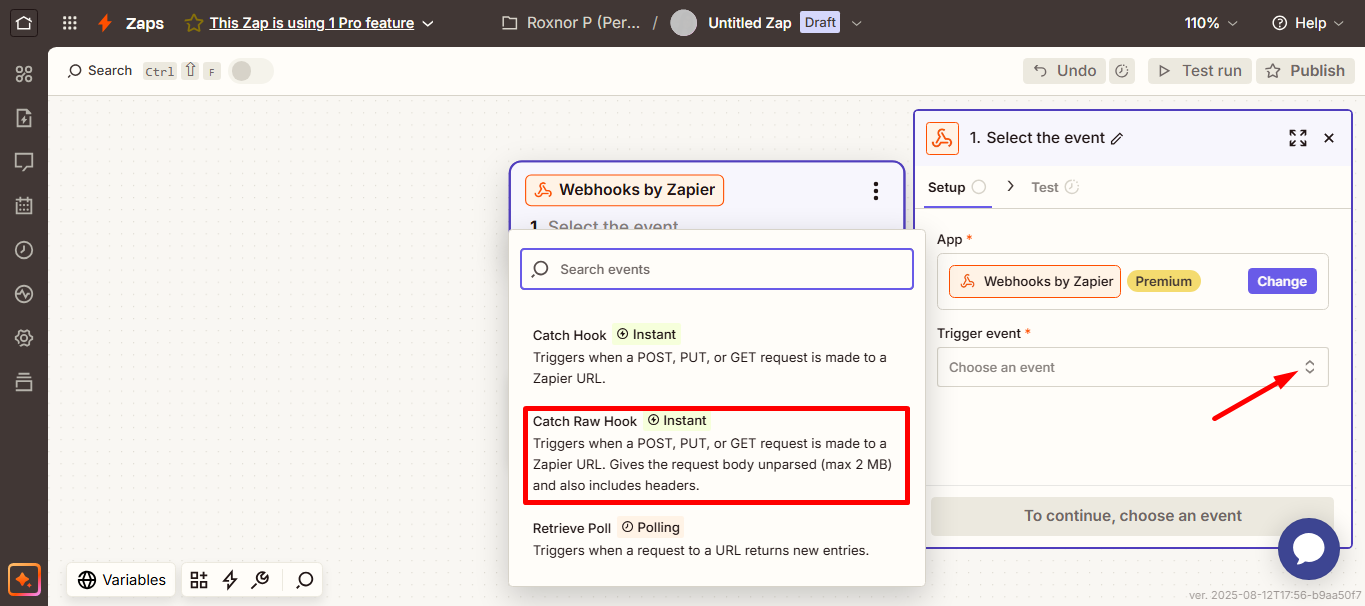
Then click the Continue button.
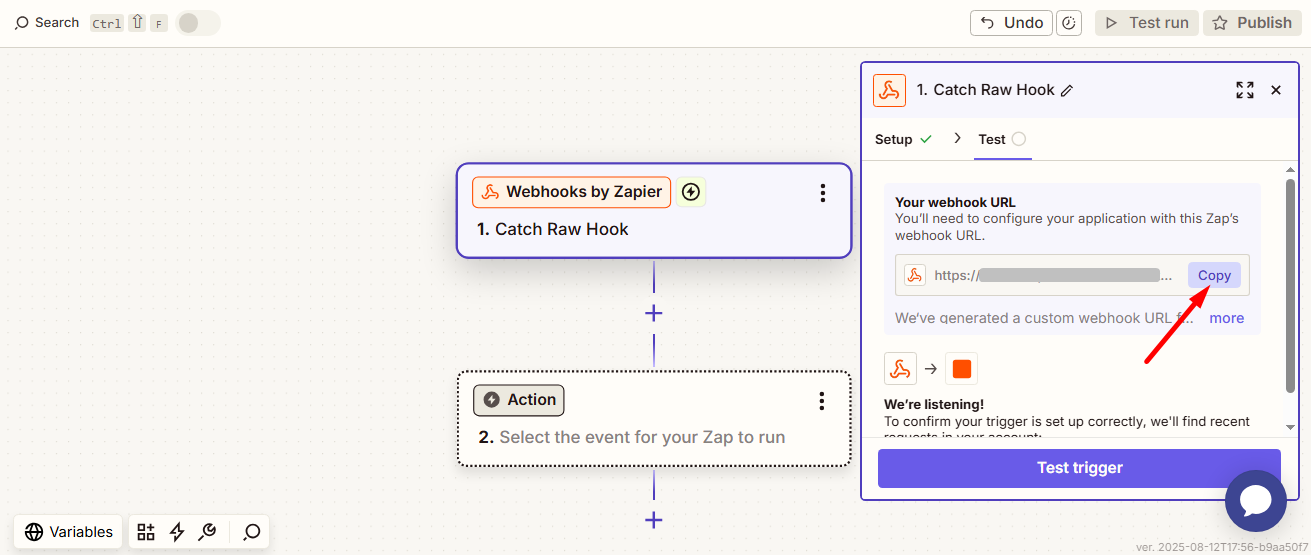
Now, you have to copy the URL.
Step 2: Go to your WordPress dashboard #
- Access your WordPress dashboard and navigate to Integrations option of PopupKit
- Select Zapier, click on the Manage settings option.

In the popup window, you have to add Zapier Account Name and Zapier Webhook Url that you’ve copied earlier (step 1). Następnie kliknijConnect Zapier Integration.
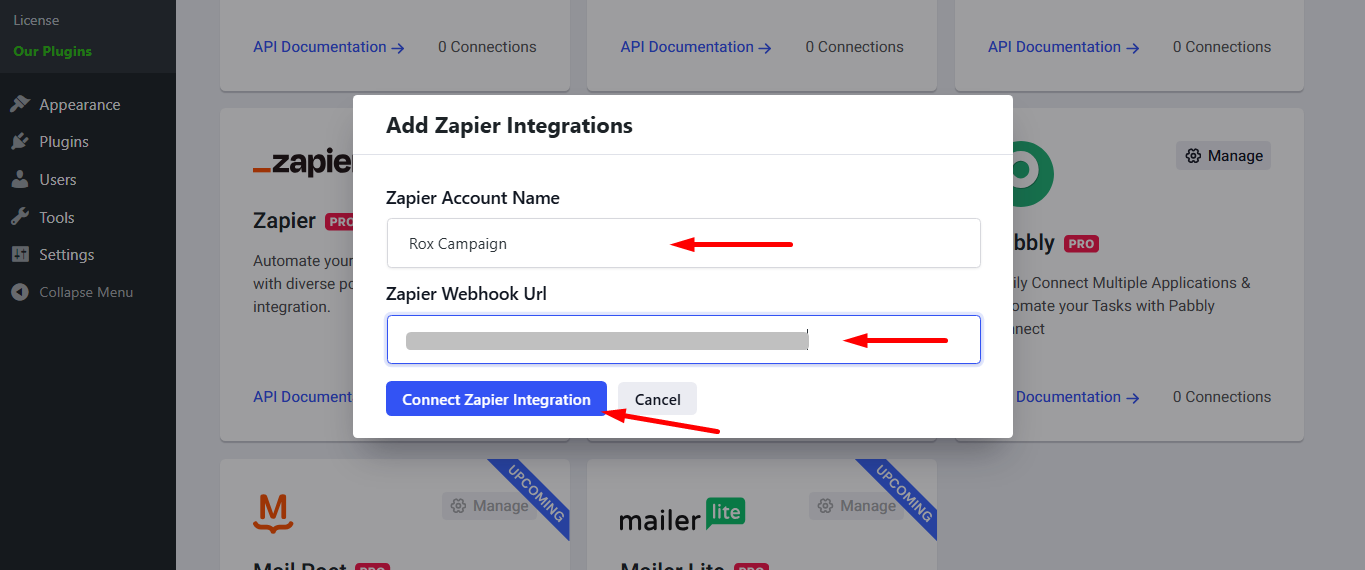
See, Zapier successfully connected.

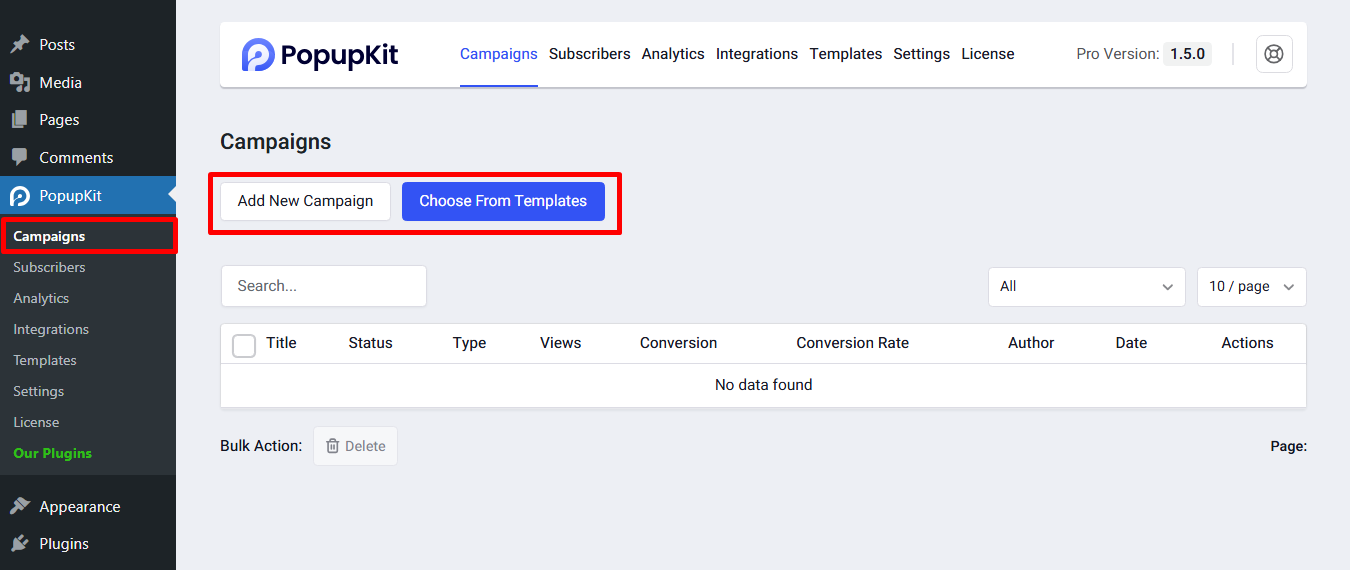
Create a campaign by using Add New Campaign option or choose from the tempates.
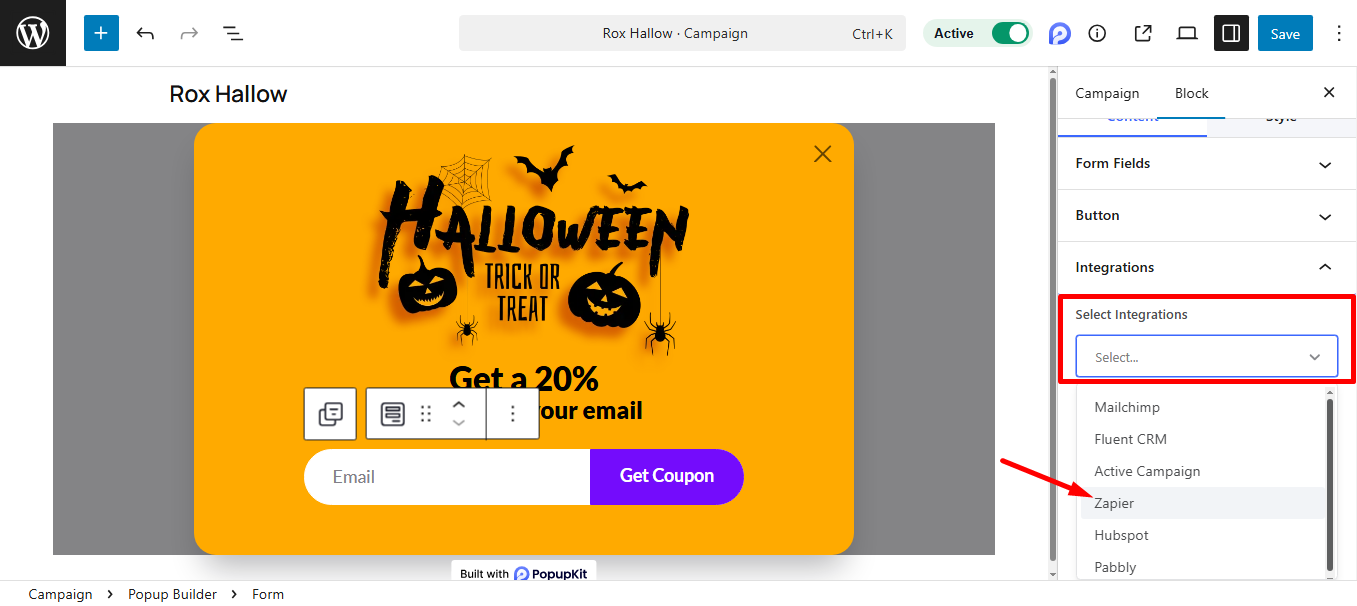
Tylko make sure an email field is there.
Select Zapier z Select integrations’s dropdown menu.
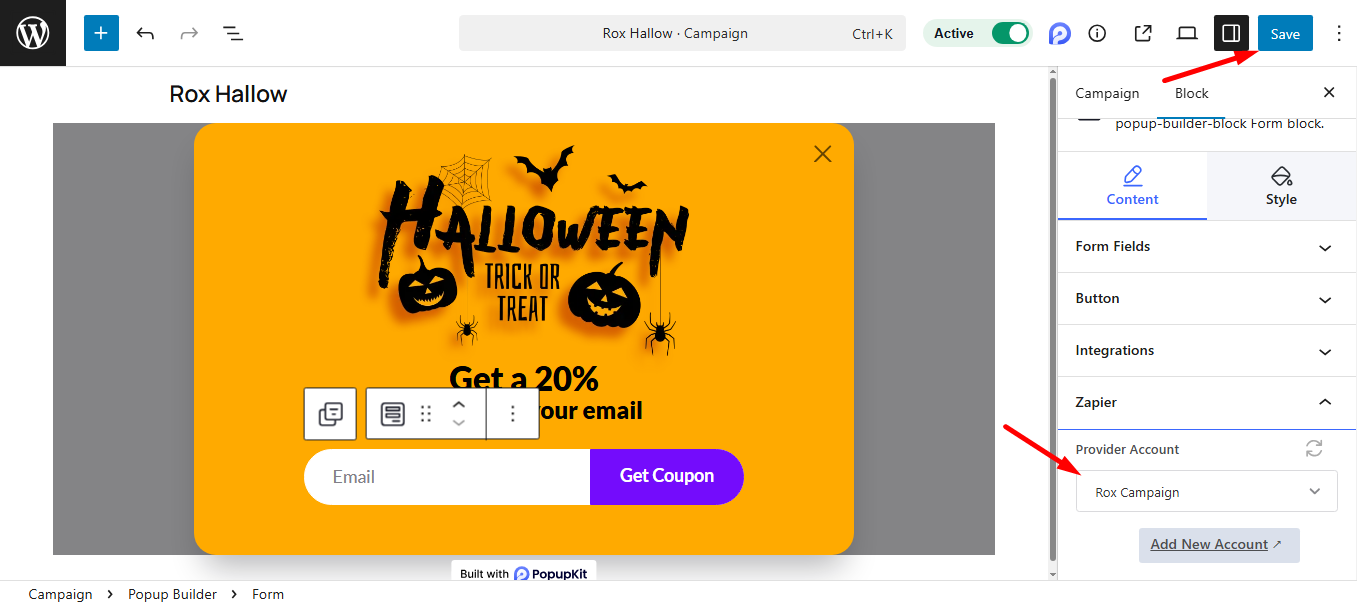
Provide Account and Save the changes.
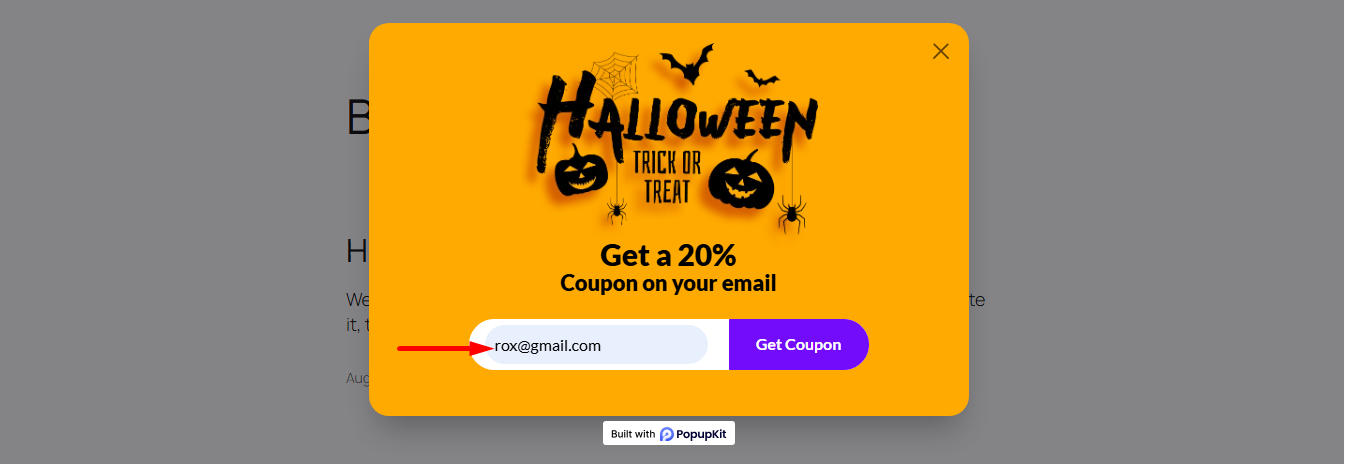
Submit your form.
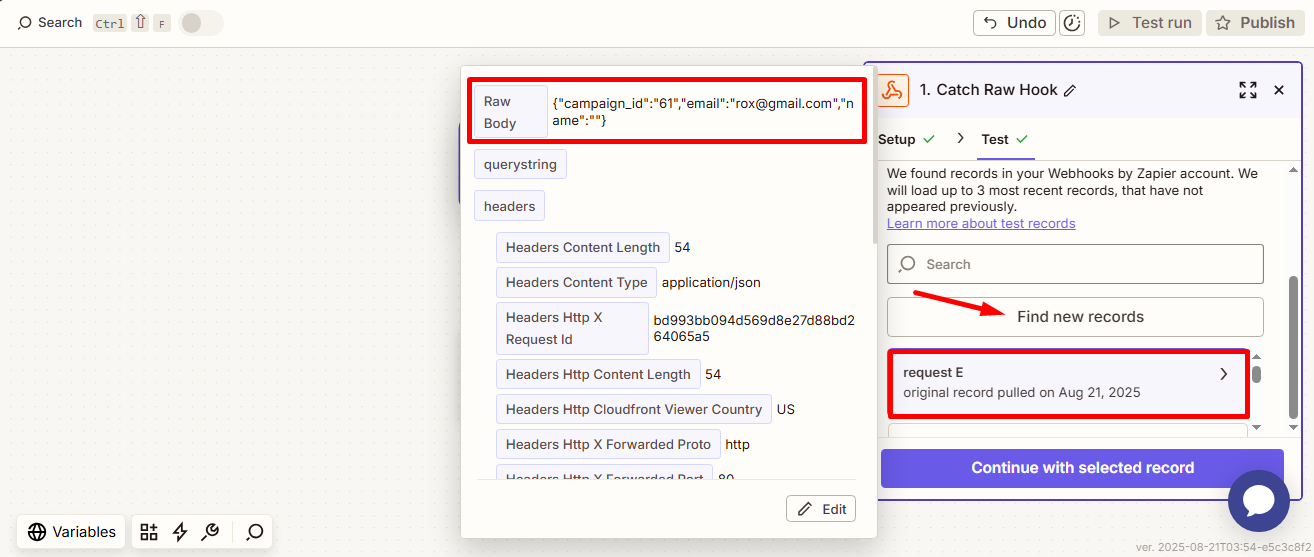
Krok 3: Go back to the Zapier account #
Na koniec kliknij przycisk Find new records, find the request below and here you go! Check the data you submitted.
And that’s a wrap! With PopupKit and Zapier working together, you can now send dynamic data from PopupKit to 7000+ apps seamlessly. It makes your workflows faster, smarter, and more connected than ever.


