


To connect WordPress popups to ConvertKit, you simply need a popup builder that supports email integrations, your ConvertKit API key, and a form or tag to send subscribers to. That popup builder is PopupKit.
Once connected, any visitor who submits your popup, such as a newsletter signup, lead magnet, or announcement, will be automatically added to your ConvertKit audience without manual syncing.
In this guide, you’ll learn how to connect WordPress popups to ConvertKit step by step, including required tools, setup methods, and best practices to ensure subscribers are synced correctly and campaigns start immediately.
Quick Overview
Connecting WordPress popups to ConvertKit is a high-impact strategy for growing your email list. With 팝업킷, you can automate the transition from a website visitor to a segmented subscriber without manual data entry.
To sync your WordPress popups with ConvertKit, you need two things:
- 팝업킷 (The WordPress Plugin)
- ConvertKit API Credentials (The “Bridge”)
Connecting WordPress popups to ConvertKit includes these steps:
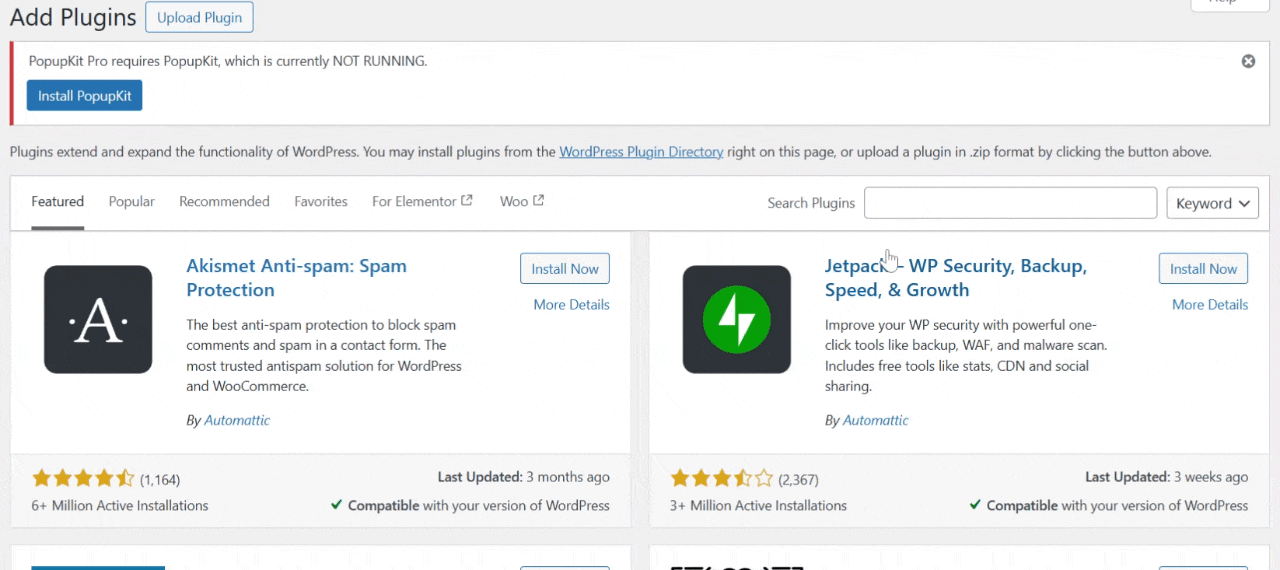
1. Install and Integrate PopupKit
- Install: In your WordPress Dashboard, go to Plugins > Add New, search for PopupKit, and click Install & Activate.
- 업로드: If you prefer to download the plugin from WordPress.org, upload the zip file and activate it.
2. Get Your ConvertKit API Credentials
- Log in to your ConvertKit (Kit.com) account.
- Go to Settings > Advanced (or Developer Settings).
- Copy your API Key and API Secret.
3. Enable ConvertKit Integration
- Authenticate: Navigate to PopupKit > Settings > Integrations.
- Connect: Find the ConvertKit section, enter your Account Name, API Key, and Secret, then click Connect.
4. Create a ConvertKit Form
- Go to the Grow tab > select Landing Pages & Forms.
- Select Form > Create Form > display format > template.
5. Select an Active PopupKit Campaign
- Open an existing campaign or create a new one in PopupKit > Campaigns.
- In the editor, ensure your popup includes an 이메일 필드.
- 아래의 완성 settings for that specific popup, select 변환 키트.
- Choose the specific ConvertKit Form 또는 Tag where you want new leads to be stored.
6. Test the Success of Integration
- Open your site in an Incognito window to trigger the popup.
- Submit a test email and verify it appears in your ConvertKit Subscribers list (check “Unconfirmed” if you have Double Opt-in enabled).
Common mistakes to avoid while integrating ConvertKit:
- Invalid API Keys: If the connection fails, regenerate your API Secret in ConvertKit and re-paste it.
- Ignoring GDPR: Always include an opt-in checkbox if you are collecting data from users in the EU.
- Caching Issues: If your popup doesn’t appear after setup, clear your WordPress and browser cache.
Pro Tip: Keep your popup forms simple. Asking for just an Email (or Name + Email) typically results in much higher conversion rates than long forms.
What is ConvertKit?
ConvertKit is an email marketing and automation platform built for creators like bloggers, YouTubers, etc. It helps users grow and manage email lists, send newsletters, create automated email sequences, and build landing pages and sign-up forms.
The platform uses a tag-based system to organize subscribers and allows targeted, personalized emails based on user behavior. For example, a creator can tag subscribers who download a free guide and automatically send them a product launch sequence later.
What is PopupKit?
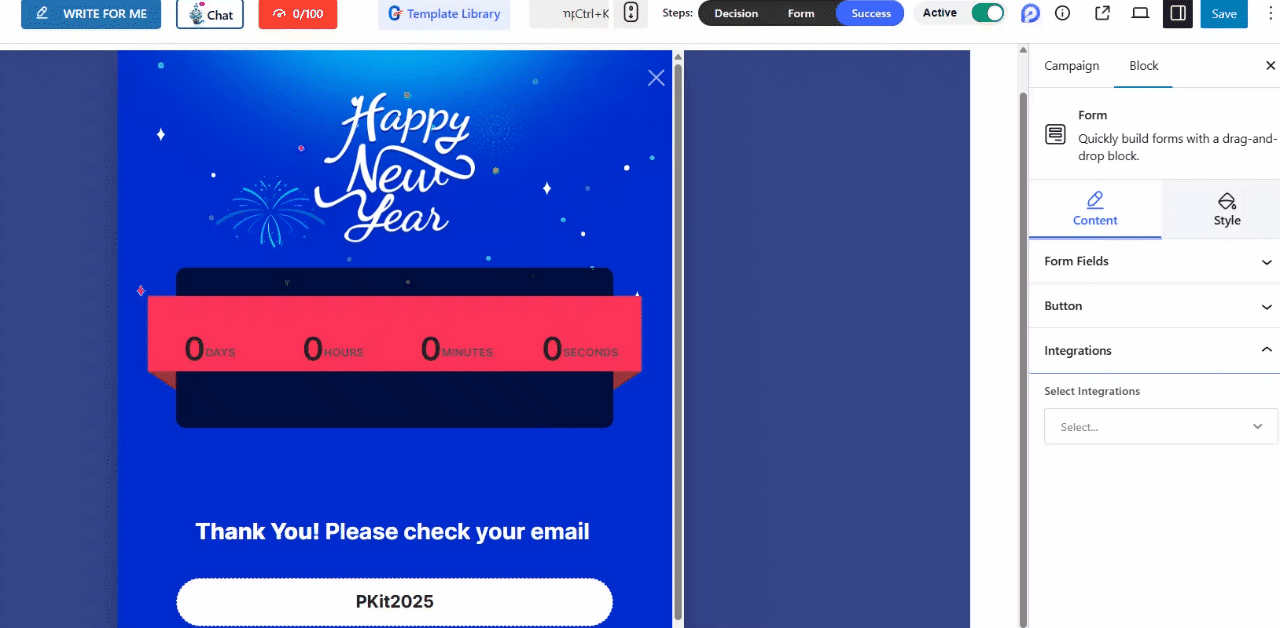
PopupKit is a lead generation tool that helps websites capture visitors through targeted pop-ups and on-site messages. It is used to collect emails from sign-ups, promote offers, share announcements, and reduce cart abandonment by displaying messages at specific times or user actions.
PopupKit allows users to design customizable pop-ups and control when and where they appear, such as on exit intent, after a time delay, 또는 on specific pages. For example, an online store can show a discount pop-up when a visitor tries to leave the checkout page.
Why Connect WordPress Popups to ConvertKit
Connecting WordPress popups to ConvertKit is a smart move if you want to turn casual visitors into engaged subscribers and eventually become your customers. This means that connecting WordPress popups to ConvertKit turns traffic into subscribers, subscribers into fans, 그리고 fans into customers 자동으로.
Here’s why the connection matters:
1. When your WordPress popup is connected to ConvertKit, every signup goes straight into your email list without manual work. No need for a tiring manual exportation and copying.
2. Popups like exit-intent, time-based, and scroll-based let you reach visitors when they’re most likely to subscribe. This ensures that the captured leads have high intent and are not just the same random emails with no potential.
3. ConvertKit allows tagging and segmentation. When someone signs up through a specific popup, like a “Free Ebook” or “Weekly Newsletter,” you can tag them automatically and send more relevant emails later.
4. Once the 2 are connected, you can trigger welcome sequences, lead magnet delivery, and nurture email funnels. These can be done automatically.
5. Different popups can connect to different forms or tags in ConvertKit. This means that blog readers get blog-specific emails, or product visitors get product-focused content.
6. Everything flows systematically. This is because everything flows into ConvertKit just like your email campaigns, automation, and subscriber data.
7. Whether you’re a blogger, creator, or business owner, 이메일 마케팅 is one of the highest-ROI channels. Connecting popups to ConvertKit helps you build an owned audience you can reach anytime.
Prerequisites to Connect WordPress Popups to ConvertKit
Before we dive into the process, let’s make sure you have the essentials in place. Think of this as laying the foundation before building the house.
You’ll need:
- A working WordPress website
- PopupKit in both free and pro versions to create your WordPress popups
- An active ConvertKit account
How to Connect WordPress Popups to ConvertKit
Now, here are the actual steps to connect WordPress Popups to ConvertKit:
Step 1: Install and Activate PopupKit
Installing PopupKit can be done in 2 ways. One is installing the popup plugin directly in the WordPress repository, and the other one is downloading the plugin from WordPress.org and uploading the zip file to the WordPress website.
To install the plugin, you’ll need to follow these steps:
- Head over to your WordPress admin area and navigate to 플러그인 → 새로운 걸 더하다.
- Search for PopupKit and install, then activate it.
To add the PopupKit plugin as a zip file:
- In WordPress.org, search for PopupKit and download the plugin from there.
- The downloaded plugin will be stored as a zip file.
- Then go to your WordPress dashboard and head to 플러그인.
- Upload the plugin zip file and activate it.
Using any of the methods, you’ll notice a new PopupKit menu appear in your dashboard.
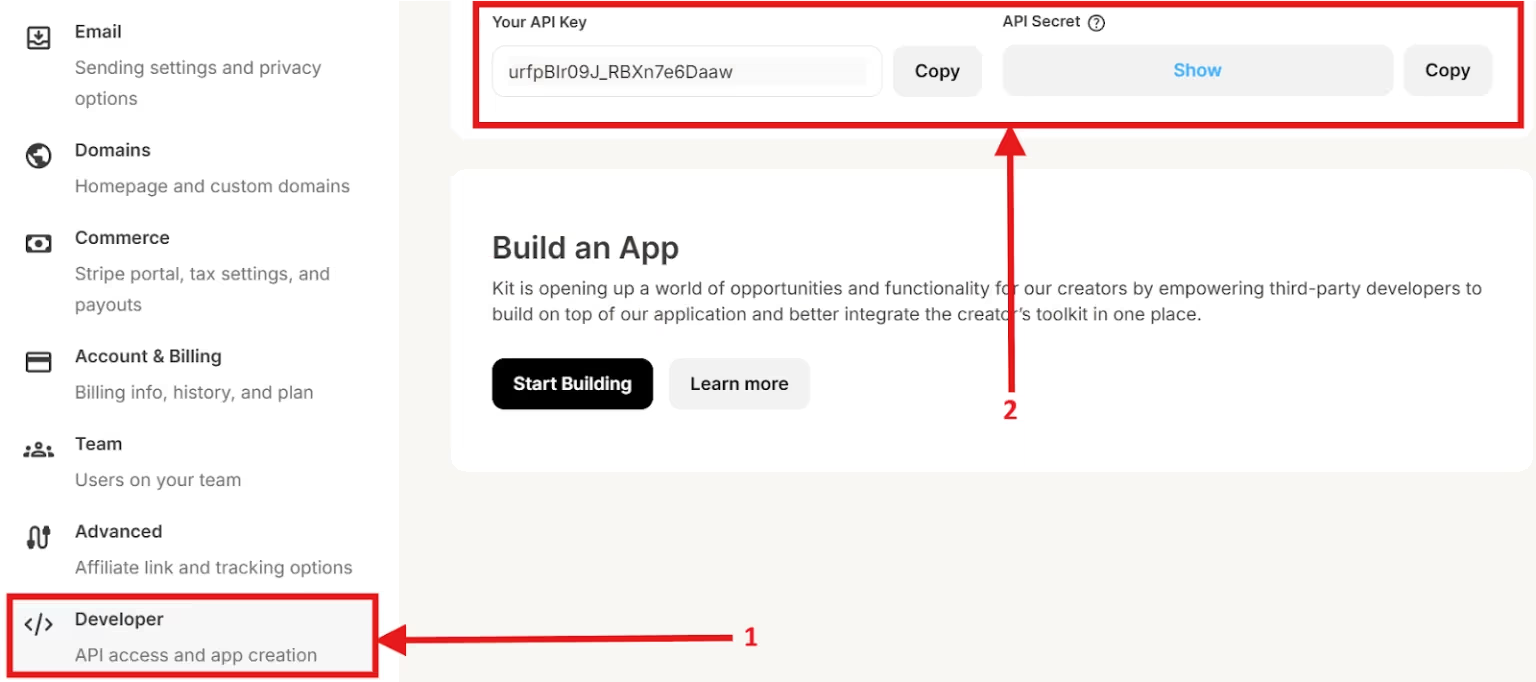
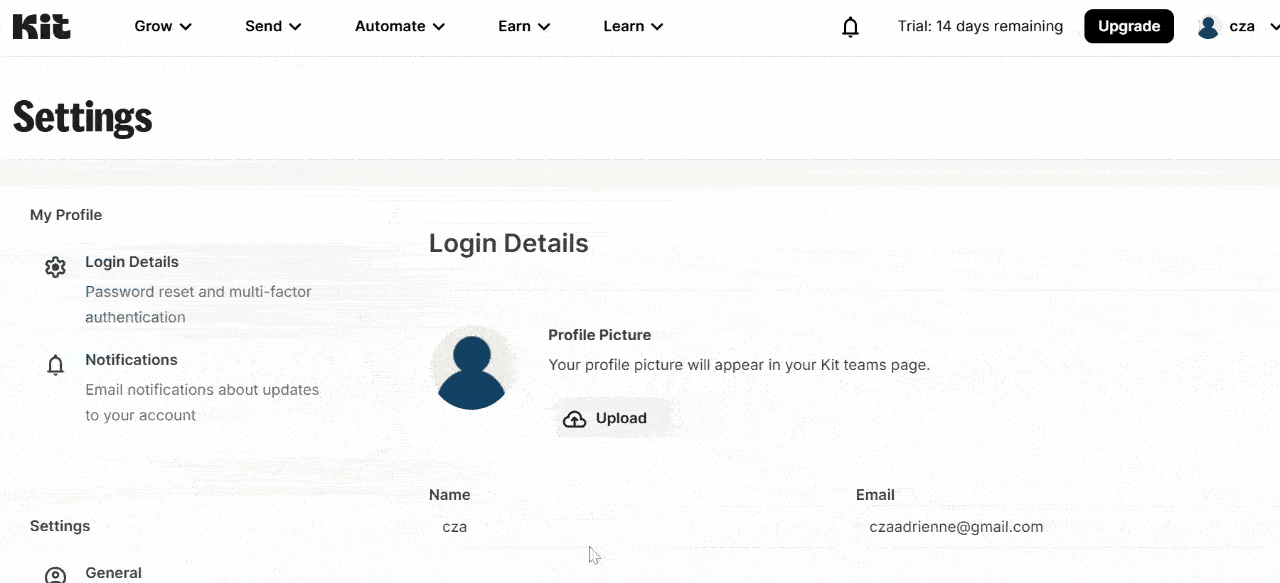
Step 2: Create a ConvertKit Account and Get API Credentials
To integrate ConvertKit with your WordPress popups, you’ll need to get the API credentials from ConvertKit.
So, here are the steps you need to follow to get the API credentials:
- Log in to kit.com if you already have an account.
- If you don’t already have one, sign up for a new account.
- Once logged in, go to your profile and proceed to the account’s settings.
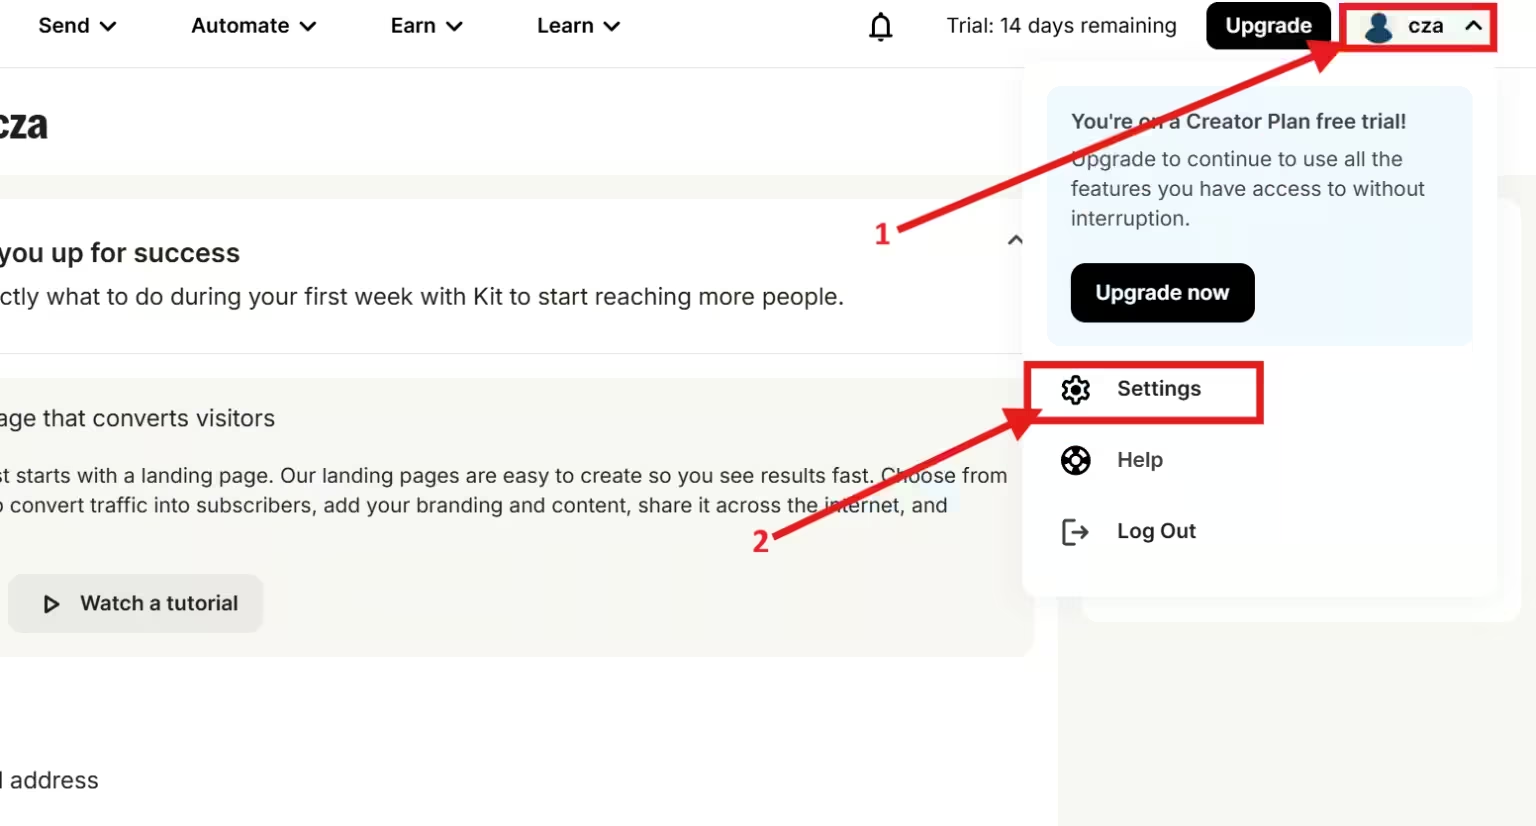
- Navigate to the “Developer’s tab,” and you’ll be able to generate the API Key and API Secret. Don’t worry, you won’t need to write any code. ConvertKit is built for non-technical creators who still want powerful automation.
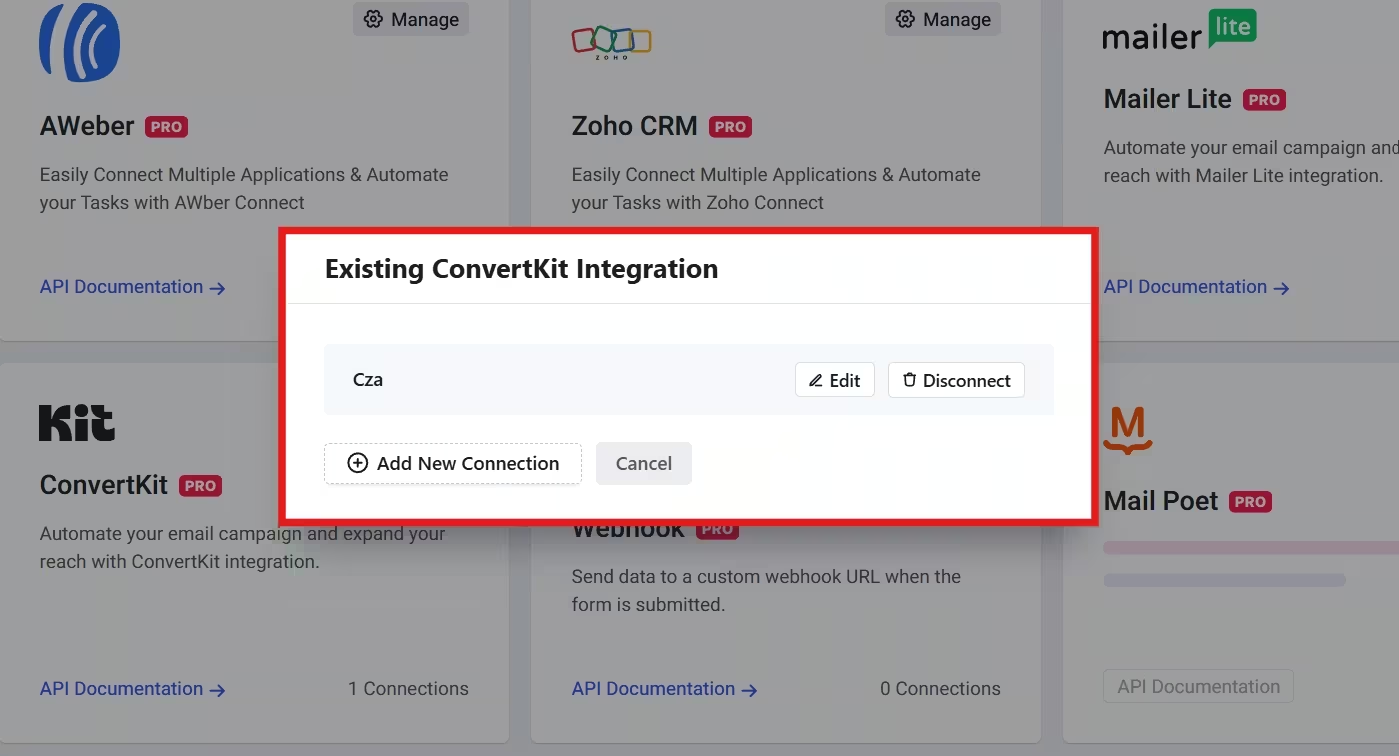
Step 3: Enable ConvertKit Integration
You will need to do the integration directly in your WordPress site and to do that, you’ll need to follow these:
- Go to your WordPress website and look for PopupKit from your dashboard.
- Select settings and proceed to the “통합" 탭.
- Find ConvertKitand click “Manage Settings.”
- Enter your ConvertKit Account Name, API 키, 그리고 API Secret. After you enter all the necessary information, click Connect ConvertKit Integration.
That’s it! You have successfully connected to ConvertKit!
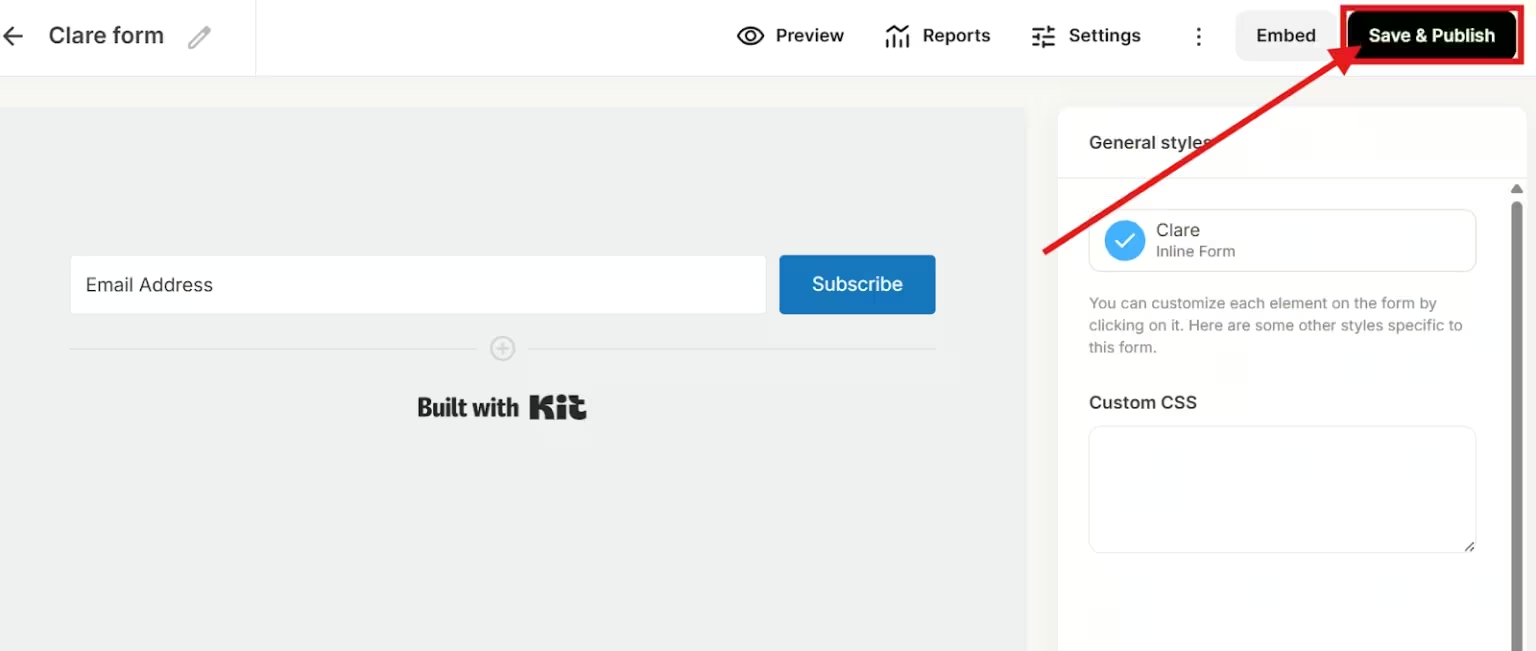
Step 4: Create a ConvertKit Form
Before subscribers can land in ConvertKit, they need a destination, which is the form. So, to create a ConvertKit form, do these steps:
- Go back to ConvertKitand log in to your account to create a new form.
- 로 이동 자라다 tab and select Landing Pages & Forms.
- Proceed to Forms and Create a Form.
- Select the display format of your form and then select your template. Select only a template that usually has a name and email address. The fewer fields you choose, the better.
- Save and publish the form.
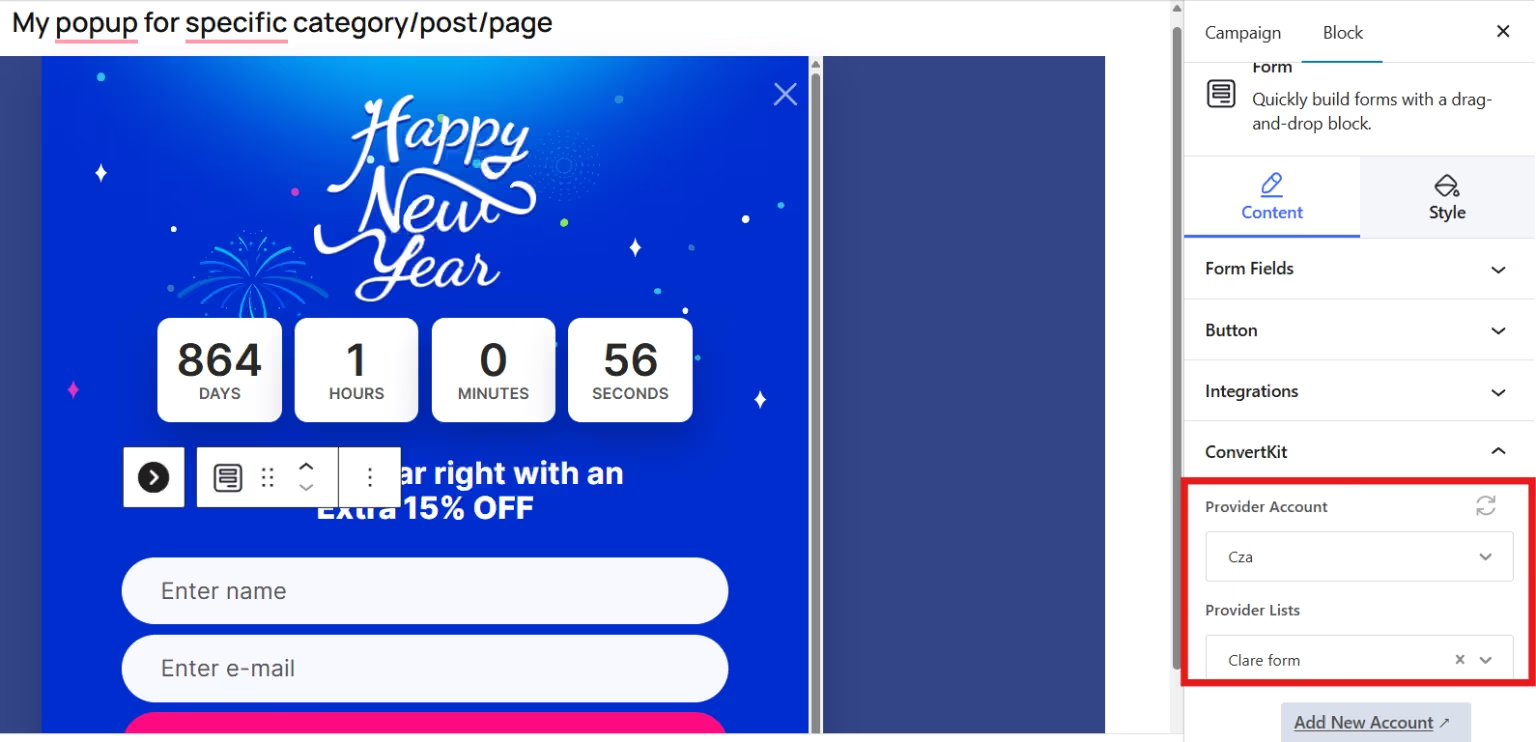
Step 5: Select an Active PopupKit Campaign
This is the last step of the integration process. You can either select an active campaign from your list or create a new popup campaign. But in this tutorial, we’ll only select an active campaign, and to do that, these steps must be followed:
- Go back to the WordPress website and navigate to your dashboard to select PopupKit.
- Select campaigns, and you’ll be directed to all the campaigns you created.
- Open the selected campaign by clicking on the edit button.
- Once in the editor page, make sure that you enable the form field so that you can select the integration.
- Provide an account name and choose the provider lists. Make sure that you select the Provider account name in ConvertKit and the list you want to store the contact information in ConvertKit. Then save the changes.
Step 6: Test the Integration
Before celebrating, test everything.
- Open your website in an incognito window, trigger the popup, and submit a test email address.
- Then go to ConvertKit and log in with your credentials.
- Proceed to the 자라다 tab and select 구독자.
- If you don’t see the subscriber’s information in your list, filter it to Unconfirmed Subscribers, and the information will appear.

Congratulations! You’ve just built an automated lead capture system that works while you sleep.
Best Practices to Create Popup Campaign
A popup’s success isn’t just about technology. It’s about empathy. Keep in mind these practices when creating your popup campaign with PopupKit to have better leads.
1. Lead with value and not with demands. Offer something useful in exchange for an email.
2. Keep copy conversational. Write as if you are speaking to a friend.
3. Limit distractions to ensure your intention is clear.
4. Most visitors use their mobile phones when searching for anything on the web, so make sure your popups are optimized for mobile viewing.
5. Test and refine. Small changes in wording or timing can double conversions.
When Do You Need ConvertKit Integration and When You Don’t
You need to integrate your WordPress popups with ConvertKit for cases like:
- You want to store and manage subscribers from newsletter signups, waitlists, or content updates.
- You want to tag users based on popup behavior, like Joined Webinar, and automate the sending of confirmation emails for subscriptions.
- You want to automate email sequences, funnels, and follow-ups after a popup submission.
But you don’t need ConvertKit if your popups are not tied to email marketing, such as:
- Your popup only links to another page, product, or external platform.
- If you already rely on Mailchimp, ActiveCampaign, or HubSpot.
- If the purpose of your popups is to simply notify, like sales notices, maintenance messages, etc.
Common Mistakes to Avoid While ConvertKit Integration
The most common mistakes include incorrect API connections, poor audience tagging, untargeted popups, etc. These issues can lead to failed email captures, poor user experience, and even low conversion rates.
- Not verifying the ConvertKit API connection. An invalid or expired API key can prevent subscribers from being added to your account.
- Failure to assign tags. This mistake can make the segmentation and automation ineffective.
- Showing popup to all visitors. Popups that are not user-targeted may annoy returning users.
- Missing opt-in checkbox. This opt-in box allows users to provide their consent about their personal details, and could lead to GDPR violations.
- Not testing the success of integration. Assuming everything works perfectly can lead to broken automation and loss of subscribers.
자주 묻는 질문
1. Will this Connection Slow Down your WordPress Site?
No, PopupKit is lightweight, and Zapier runs externally, so performance impact is minimal.
2. Can You Connect WordPress Popups to ConvertKit without Using a Third-party Plugin?
Yes, but it’s not recommended unless you’re comfortable with custom code.
You can manually connect popups to ConvertKit using HTML forms or the ConvertKit API, but this requires embedding form code and handling validation yourself.
3. Why Popup Form not Sending Subscribers to ConvertKit?
This usually happens due to an incorrect ConvertKit API key, the form is not mapped to a ConvertKit form or tag, or JavaScript conflicts with your WordPress theme or another plugin. But you can fix it by doing these workarounds:
- Recheck your ConvertKit API key in the plugin settings.
- Confirm that the popup form is connected to a valid ConvertKit form or tag.
- Temporarily disable other plugins to identify conflicts.
- Clear your site and browser cache after making changes.
4. How Do You Fix ConvertKit Connection Errors in WordPress?
Connection errors typically display messages like “Invalid API Key” or “Unable to connect to ConvertKit”. You can fix this issue by performing this checklist:
- Regenerate your API key in ConvertKit and re-add it to WordPress.
- Ensure your hosting provider allows outbound API requests (some firewalls block them).
- Update your popup plugin to the latest version.
- Check your WordPress error logs for REST API or cURL errors.
5. Is This Setup Beginner-friendly?
Yes. If you can install a plugin and follow on-screen prompts, you can complete this integration.
So, What’s Next?
This integration is the perfect solution if you want to collect subscribers and trigger an automated email sequence. This works best when you want a simple way to send popup signups to ConvertKit, and if you want to use tags, forms, and email automation.
However, you might need a native ConvertKit embed if you want a deep custom logic or multi-step conditional workflows before a subscriber is added.
So, what’s next? Install PopupKit to integrate your WordPress popups with ConvertKit if your requirements match the scenario.
답글 남기기