


Connecting PopupKit with Slack allows you to automate your lead tracking by sending real-time submission data directly to your team’s workspace. This integration ensures that every conversion is captured instantly, helping you maintain a fast and responsive communication workflow.
PopupKit Slack Integration Steps:
Step 1: Get Slack Webhook
- Log in to Slack and go to Apps & Workflows.
- 검색 Incoming WebHooks 그리고 클릭 Slack에 추가.
- Select your desired channel and click Add Integration.
- Copy the Webhook URL and save settings.
Step 2: Connect to WordPress
- 이동 PopupKit > Integrations in your dashboard.
- 딸깍 하는 소리 관리하다 on Slack and paste the Webhook URL.
- Save the configuration.
Step 3: Activate in Campaign
- Open your popup campaign editor.
- 에서 Form settings, select 느슨하게.
- 선택하다 provider account, view the form and submit it.
4단계: Test the Integration
- Check the data at your Slack channel and ensure the integration is actually working.
Here is the detailed process. Check it out.
Slack Integration with PopupKit #
전제 조건: To enable the Slack integration, you’ll need a PopupKit Pro plan. Choose the Pro plan that best matches your requirements.
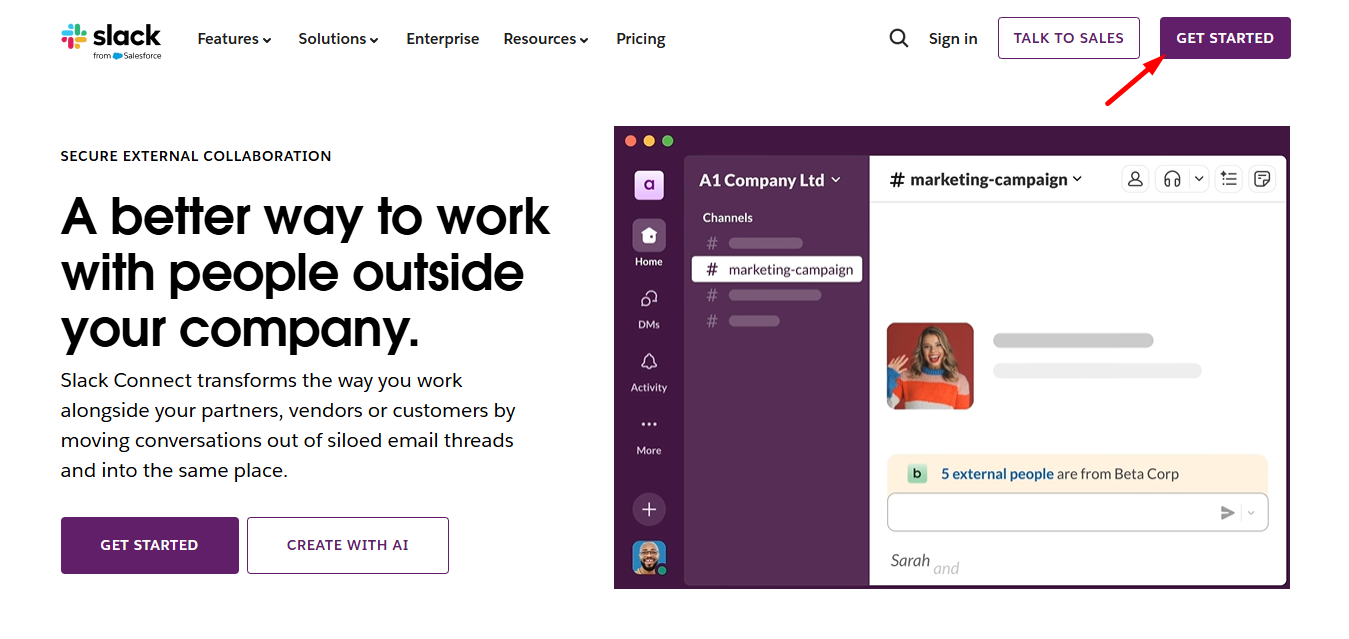
STEP 1: Log in to the Slack #
방문하다 Slack’s website and log in to the Slack account. If you don’t have an account, open one.
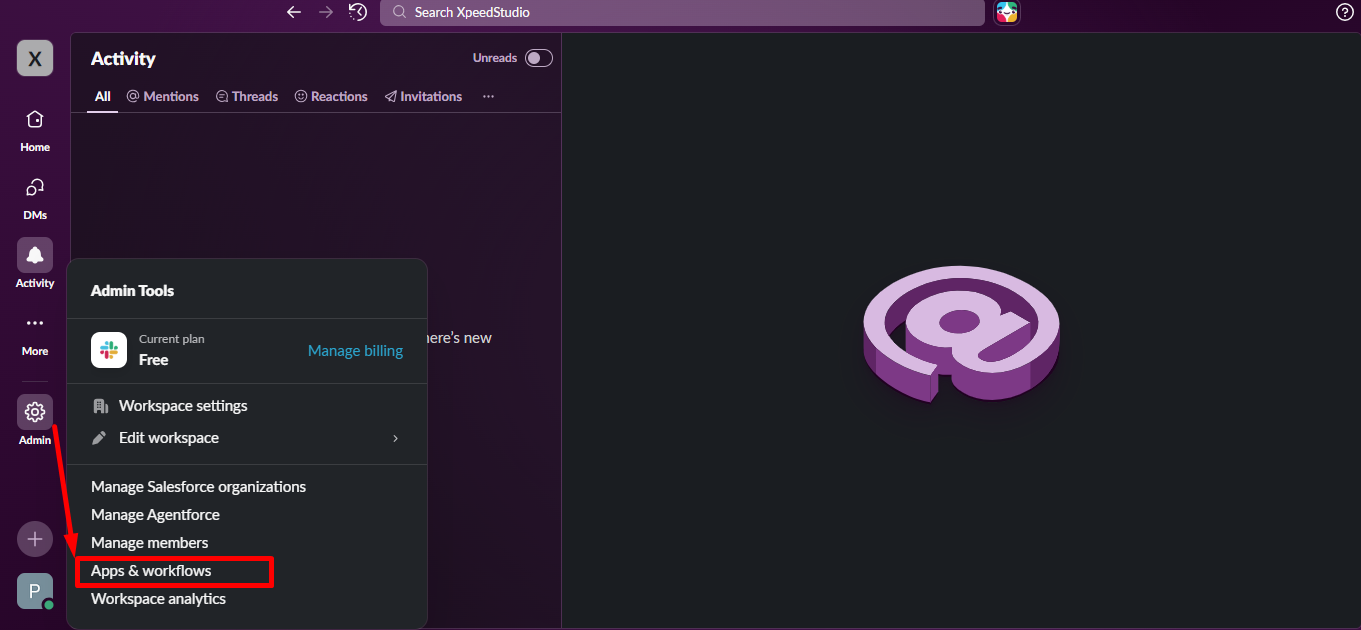
에서 Admin option click Apps & workflows
검색 Incoming WebHooks and select it.
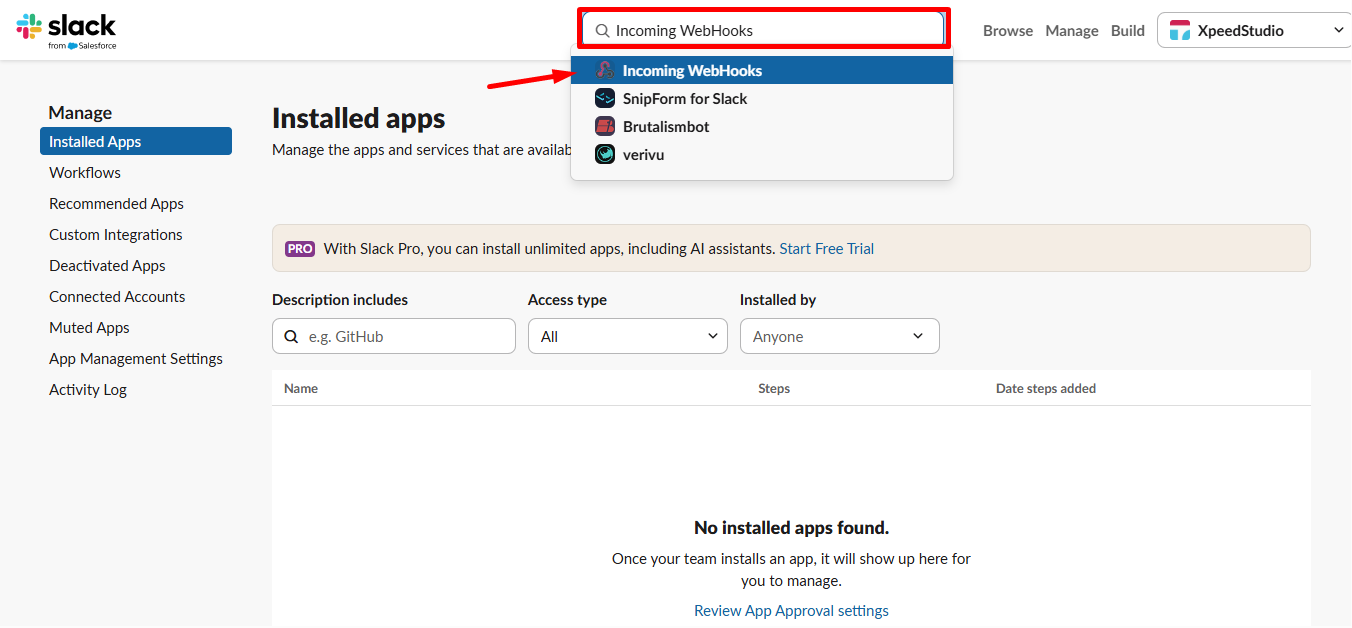
이제 Add Incoming WebHooks 단추.
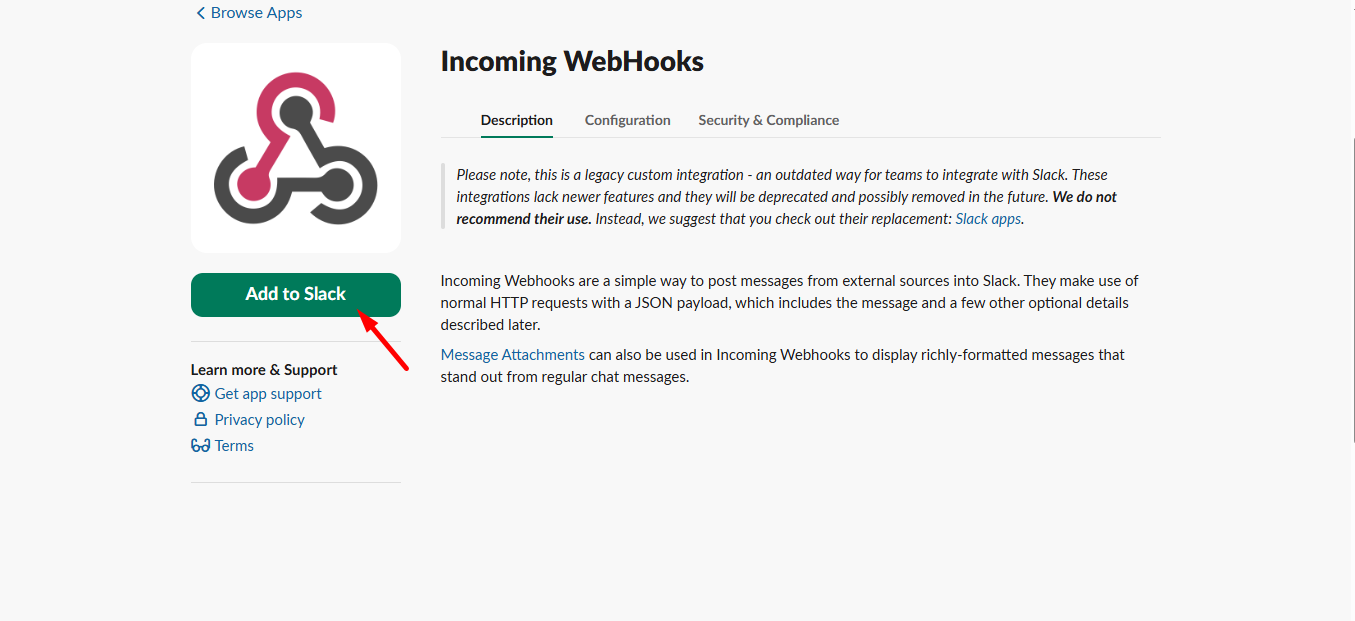
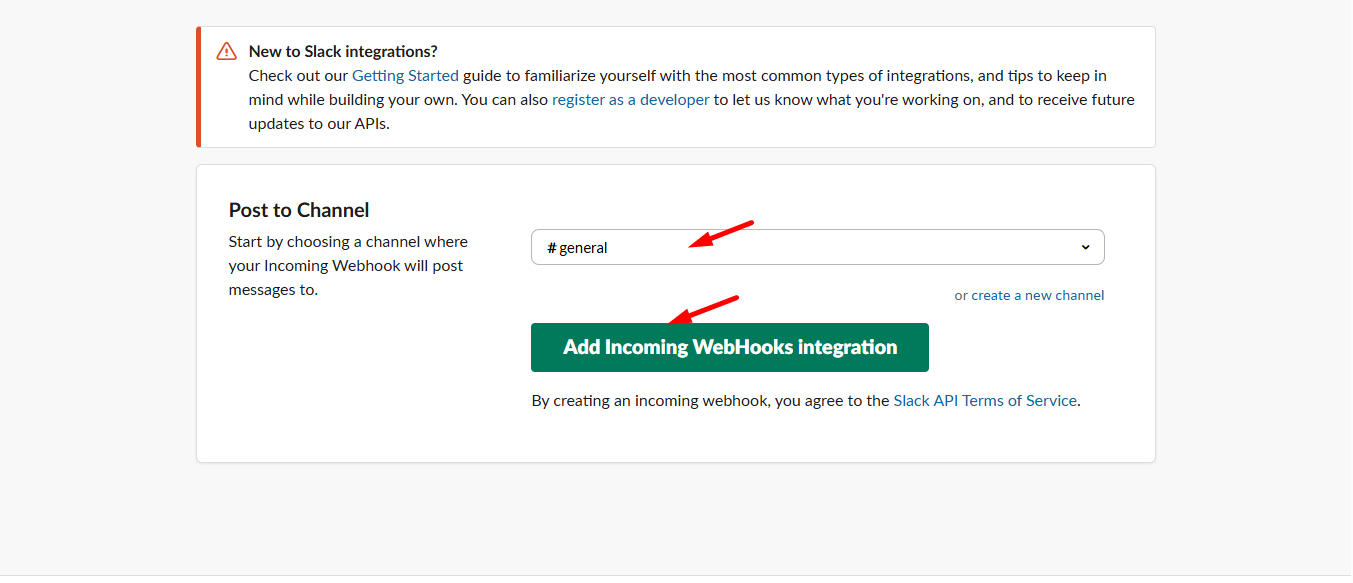
Next scroll down –
- Select your Channel where you want to get user information
- 추가하다 Incoming WebHooks integration
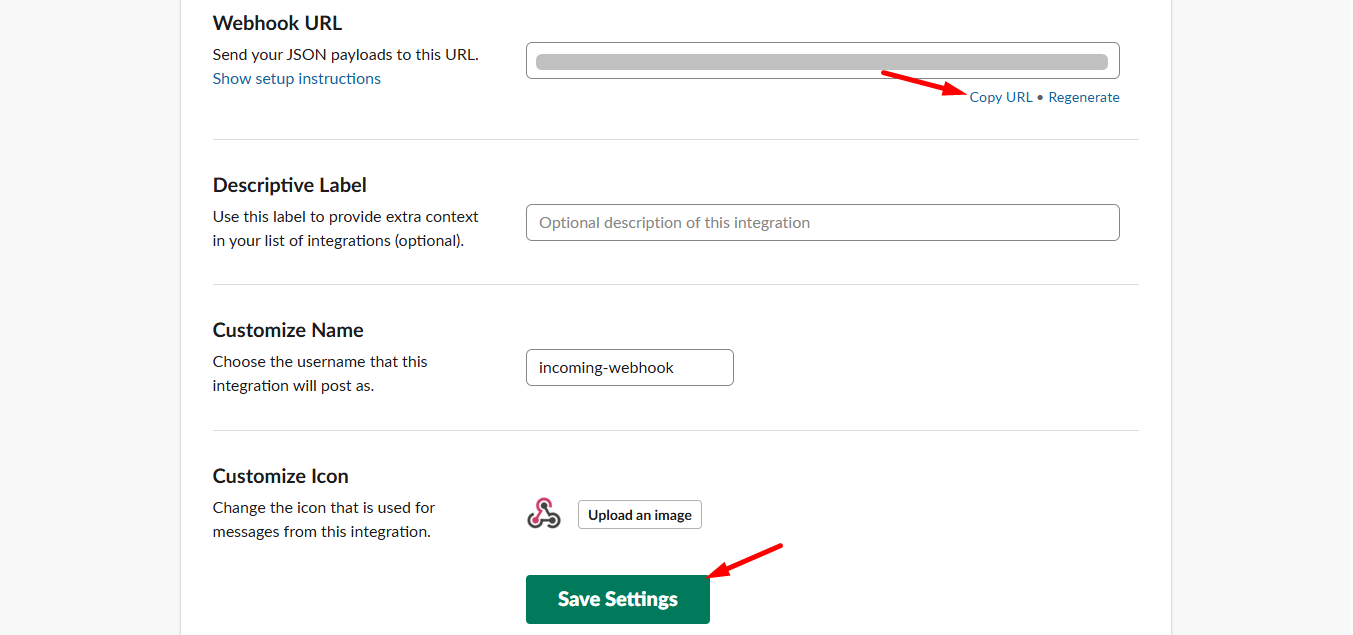
Here, scroll down and you can see the Webhook URL, copy the URL and click Save Settings.
STEP 2: Access your WordPress dashboard #
Now, from your WordPress dashboard, navigate to PopupKit and select the Integrations tab
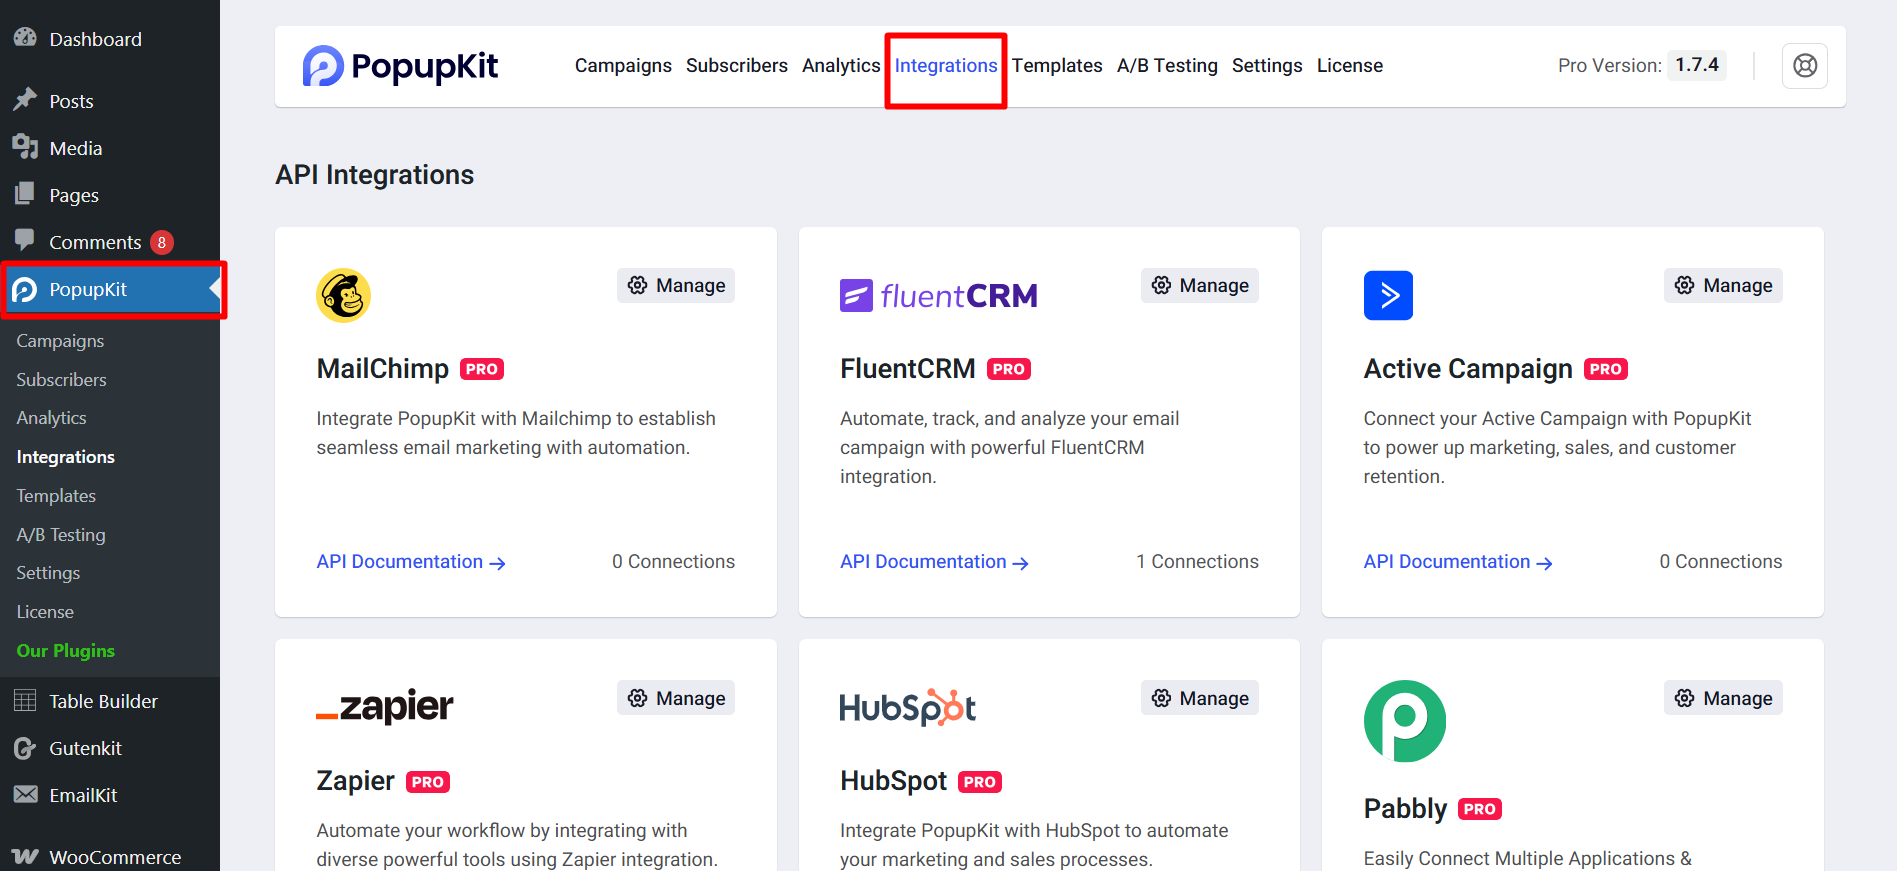
Find Slack and click on the Manage button.

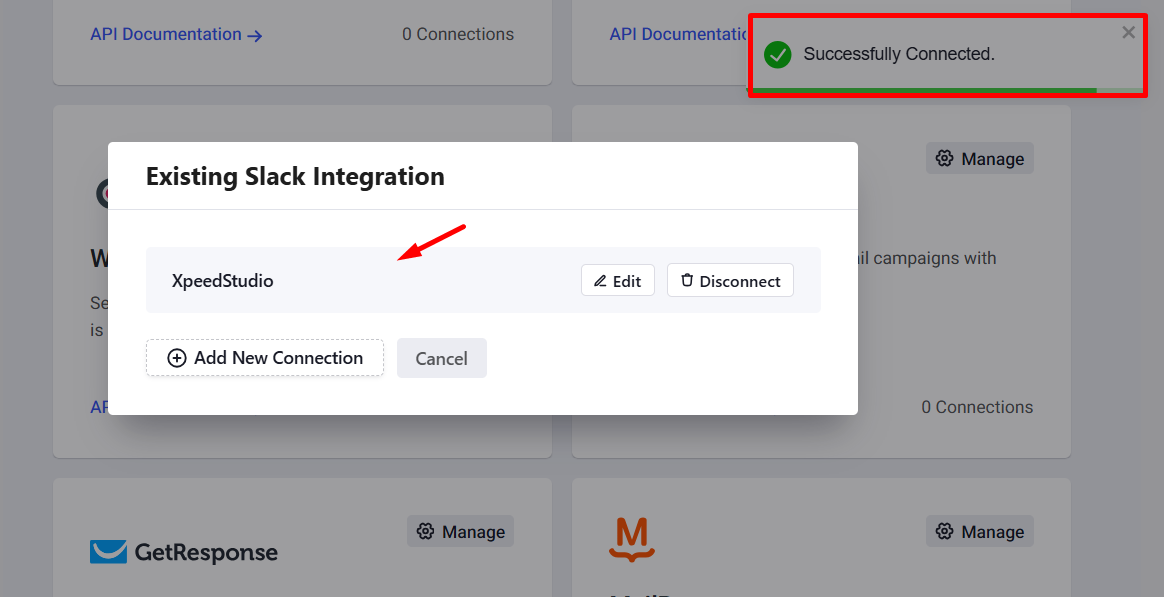
Add Slack integrations details:
- Insert Slack account name
- Slack Hook Url
- Click connect Slack integration
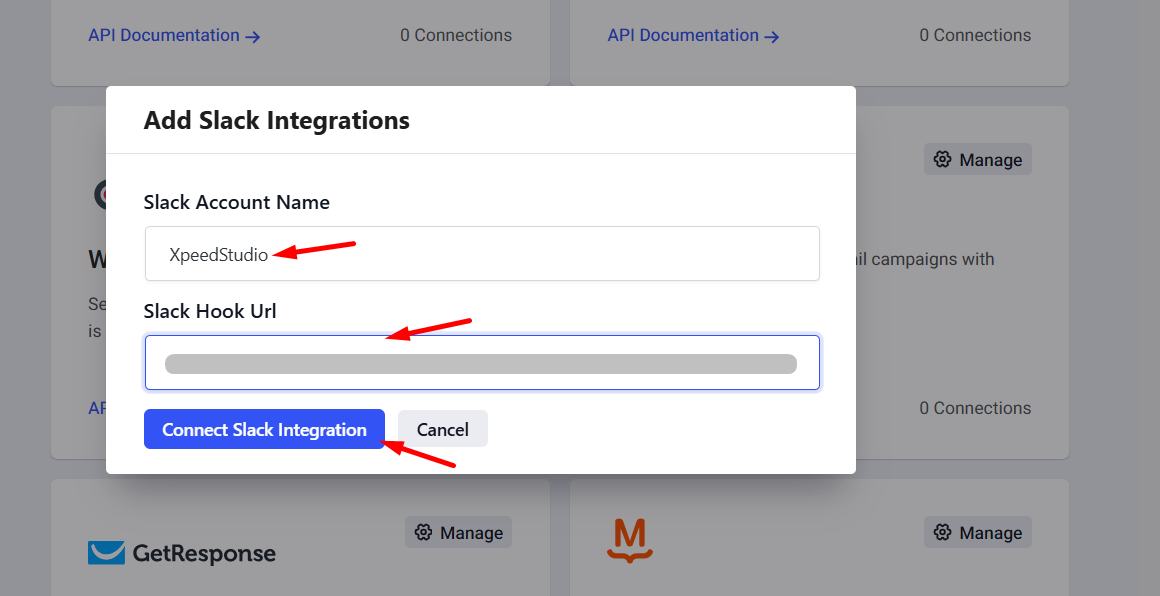
The Slack successfully connected.
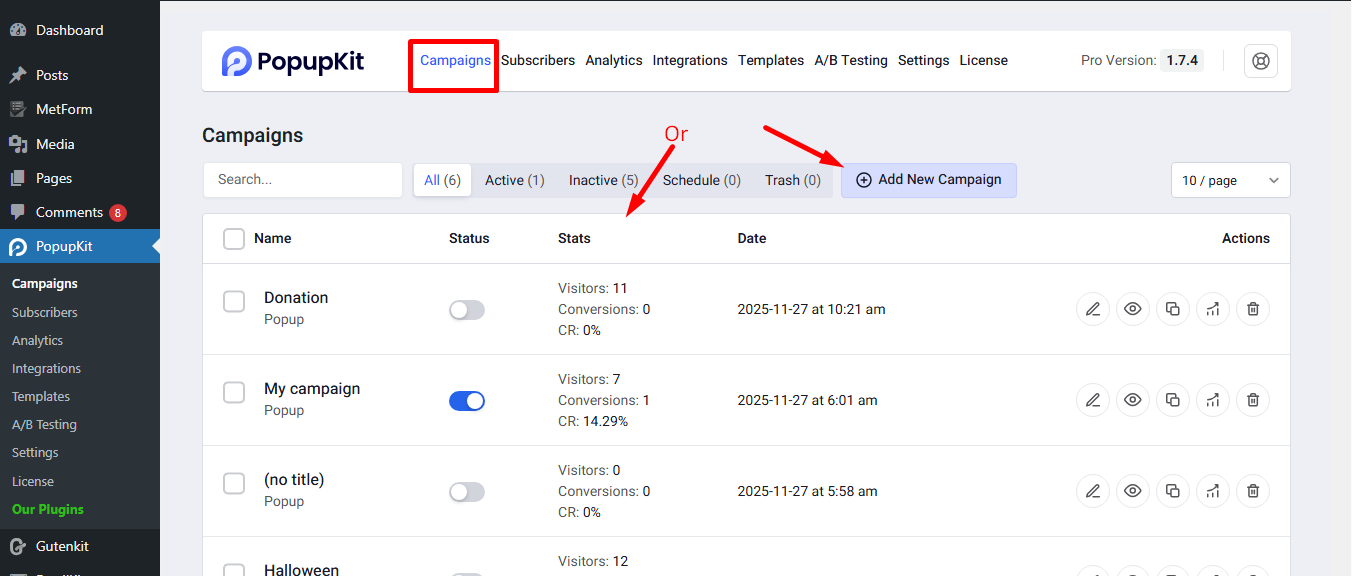
STEP 3: Connect Slack to a Campaign #
Start a new campaign or select an active campaign where you want to integrate Slack.
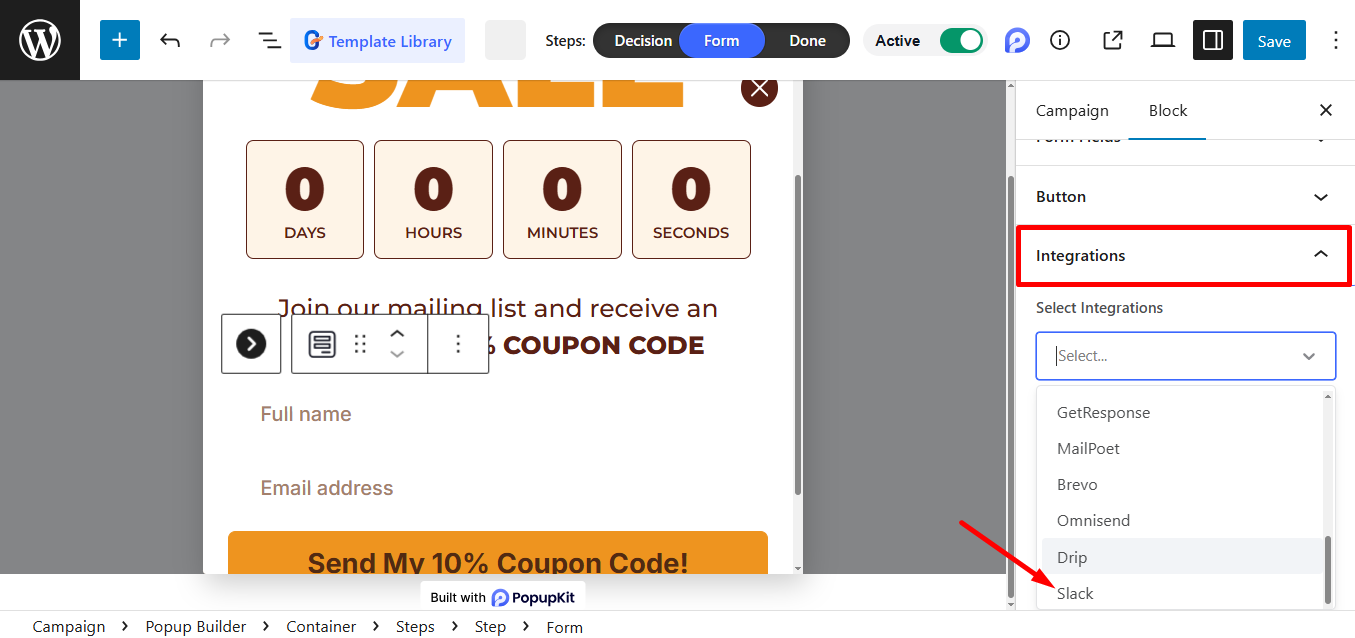
로부터 integrations’ dropdown menu, select Slack.
중요 사항: 당신의 popup includes at least one form field, as this is required to activate the integration.
Just choose the Provider Account and click Save to finish the setup.
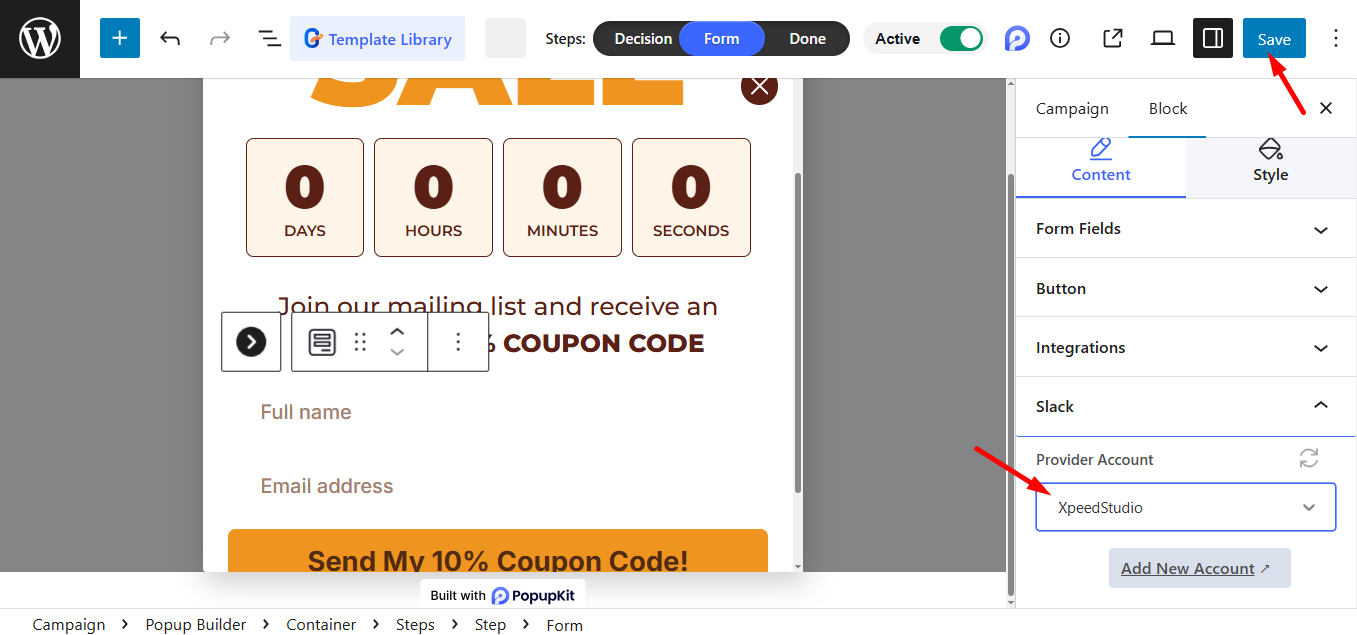
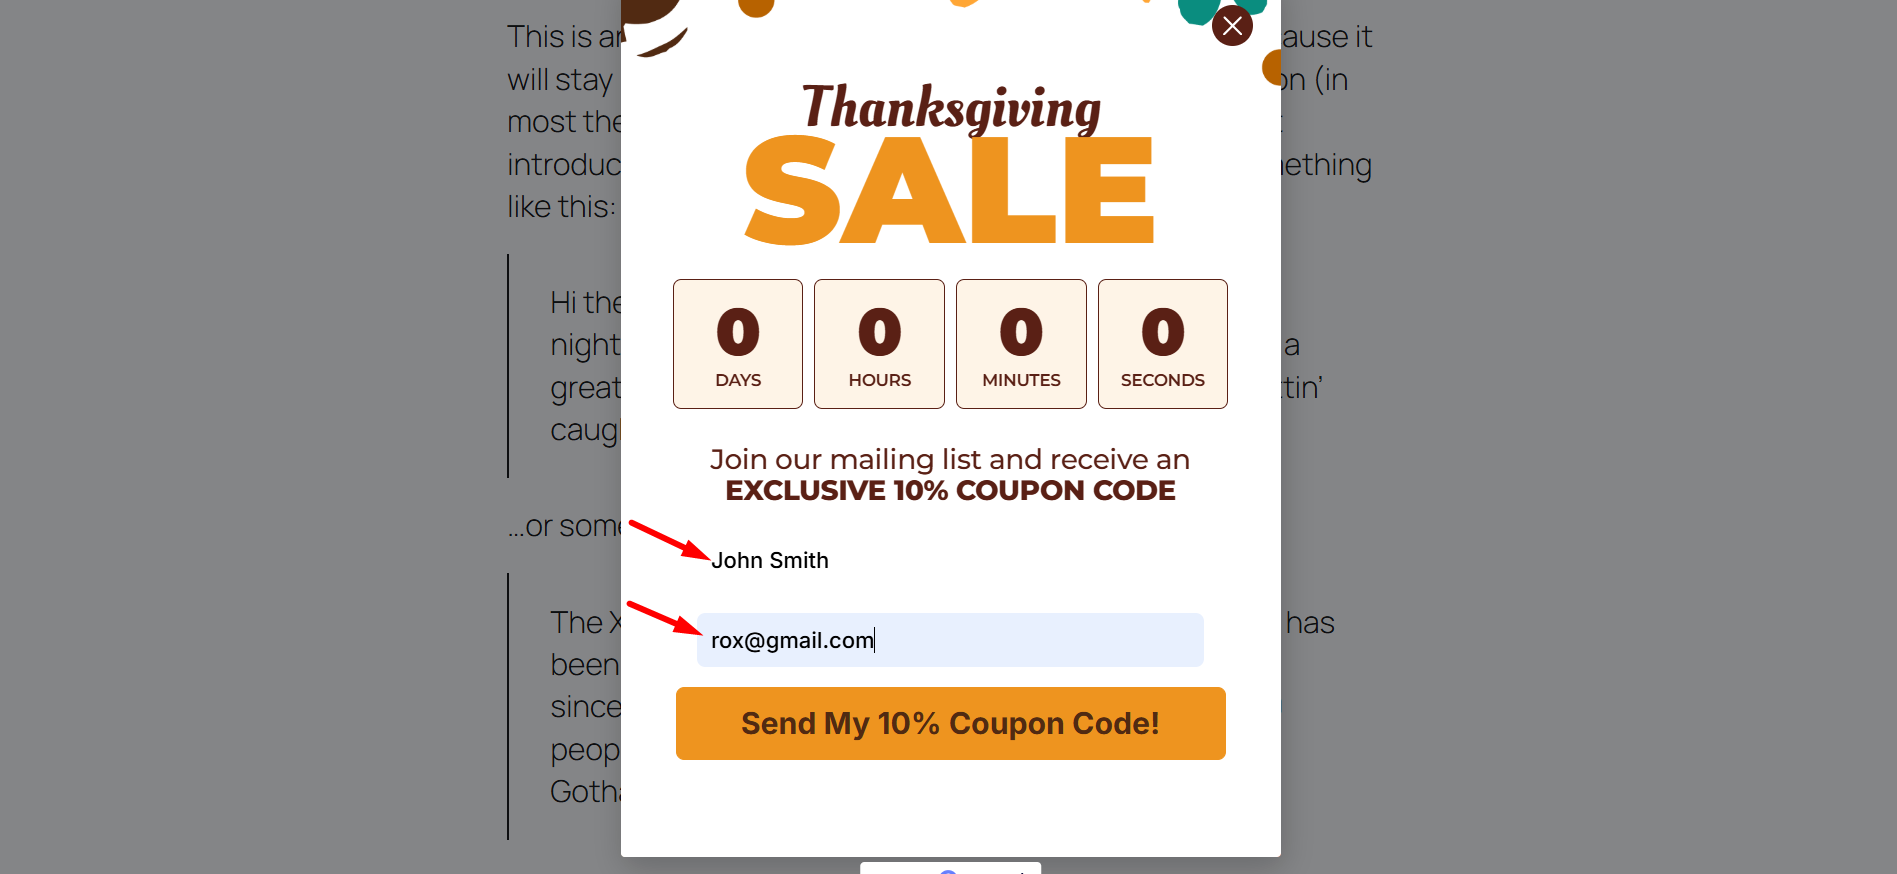
이제 해야 할 일 get data on Slack. So, view the form, fill it out, and submit.
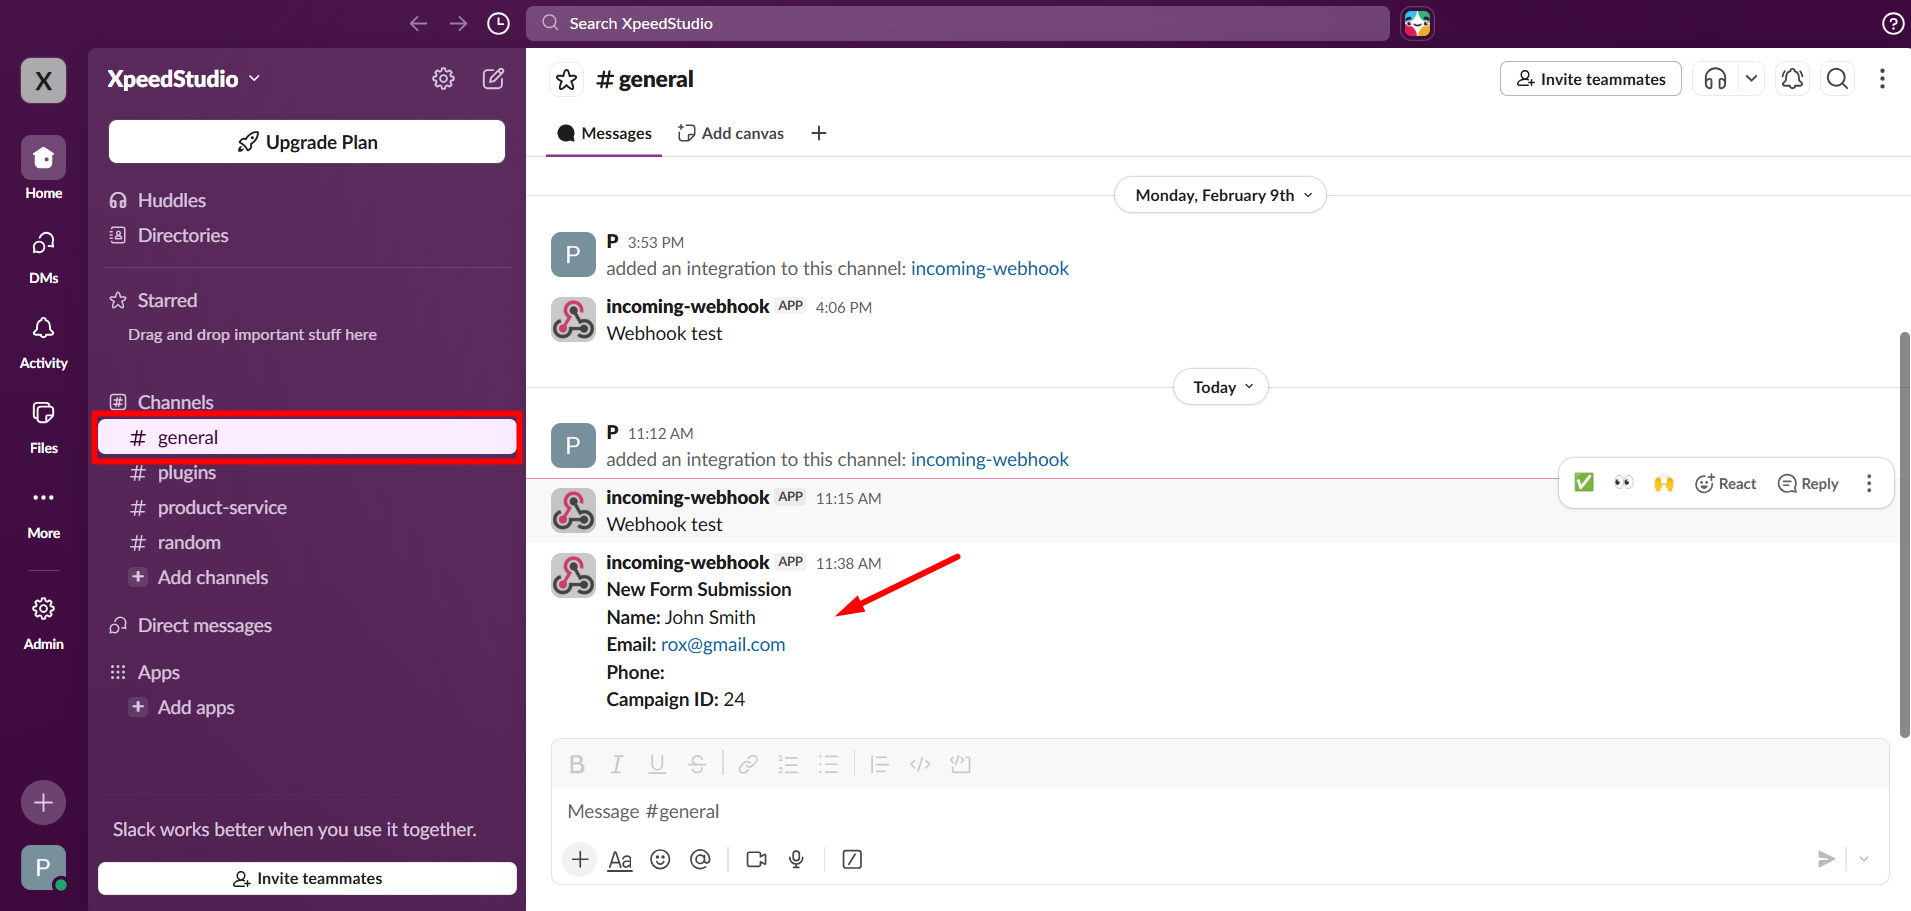
STEP 4: Test the Slack Integration #
- 다음을 클릭하세요. 선택한 채널 (General)
- 제출된 모든 양식 데이터가 여기에 표시되는 것을 볼 수 있습니다.
With your Slack integration now active, your team will receive instant alerts for every new lead, ensuring no conversion goes unnoticed.


