


IP Blocking is a feature that allows you to block or restrict certain visitors, based on their IP address, from seeing your popups. PopupKit gives you the power to block unwanted IPs, ensuring your popups reach only the audience that truly matters.
Let’s learn how you can use the IP Blocking 특징.
IP Blocking with PopupKit #
Create a campaign or choose from the old ones. Then move to the editor.

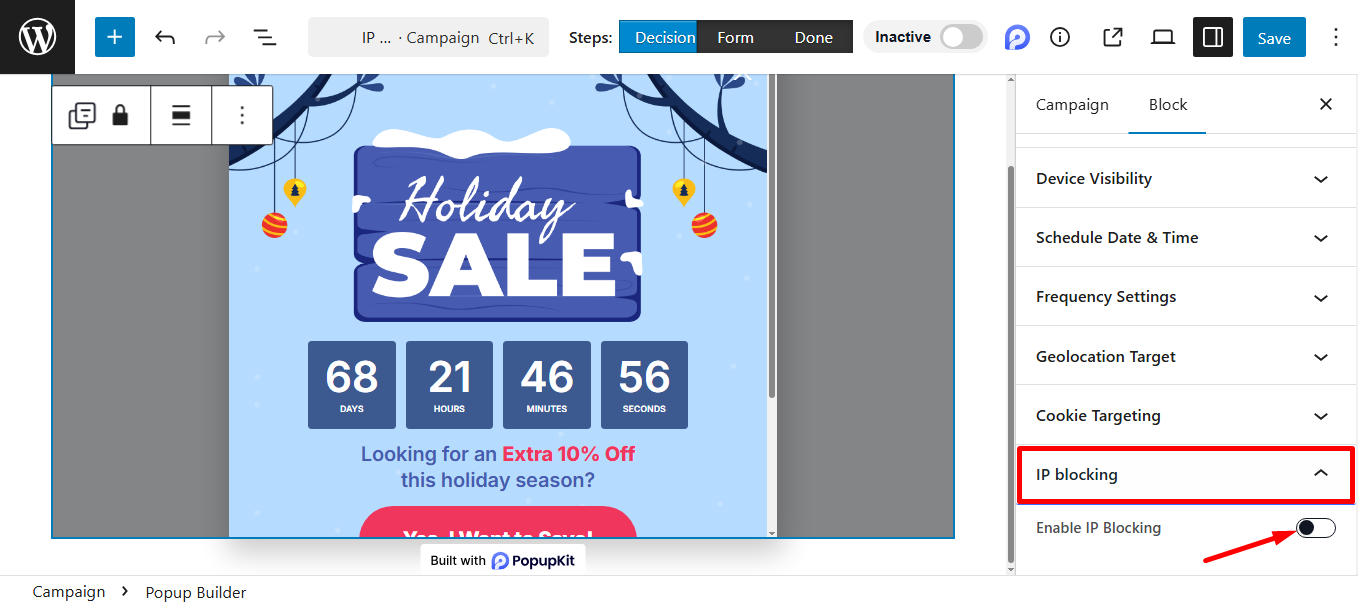
로부터 Block tab 찾다 IP Blocking. When you expand the tab, you have to click on the Enable IP Blocking button to enable it.
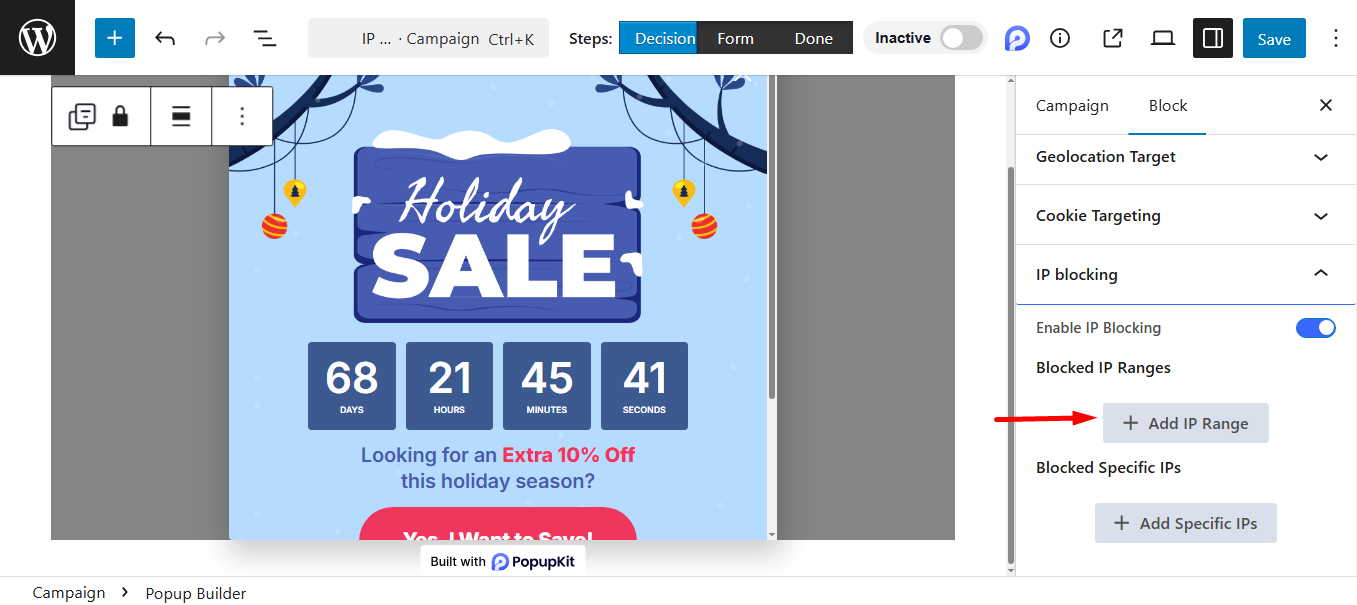
Blocked IP Range #
To add an item, click the + Add IP Range button. You can add more items by clicking the + sign next to an existing item.
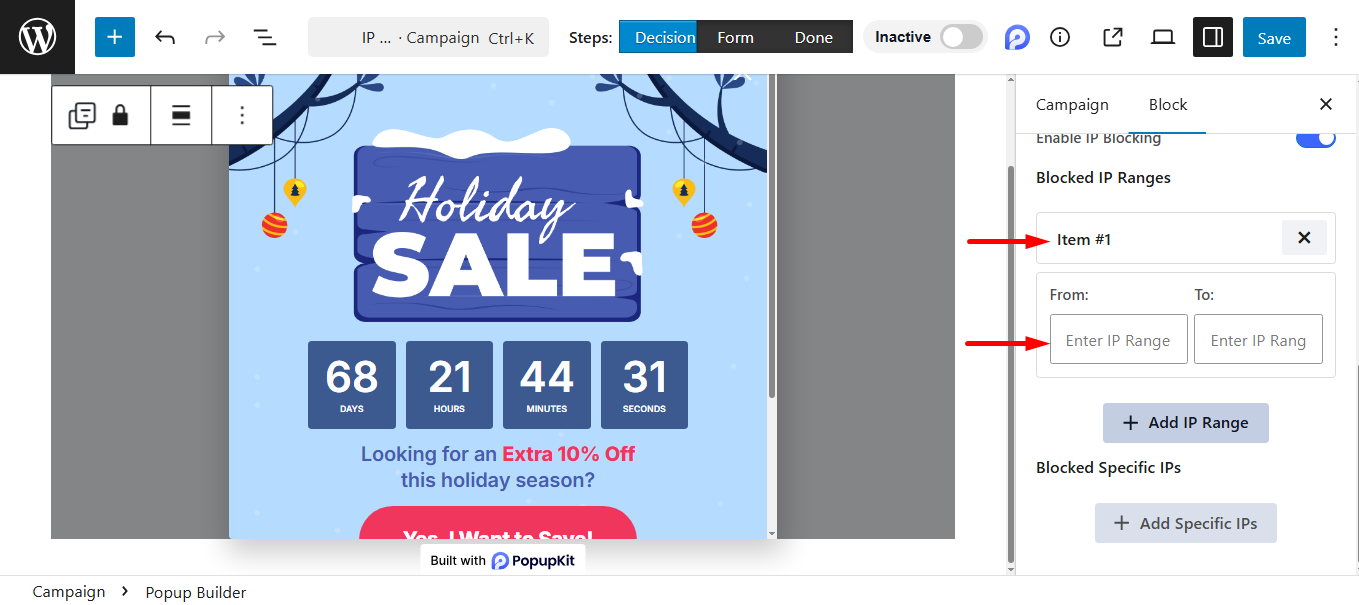
Next, you’ll see the two fields, to insert the range.
- 에서: This is the starting IP address.
- 에게: This is the ending IP address.
For example, if you wanted to block all IP addresses from 192.168.1.1 에게 192.168.1.255, you would enter 192.168.1.1 에서 에서 필드와 192.168.1.255 에서 에게 field. The system would then block any user whose IP address falls within that range.
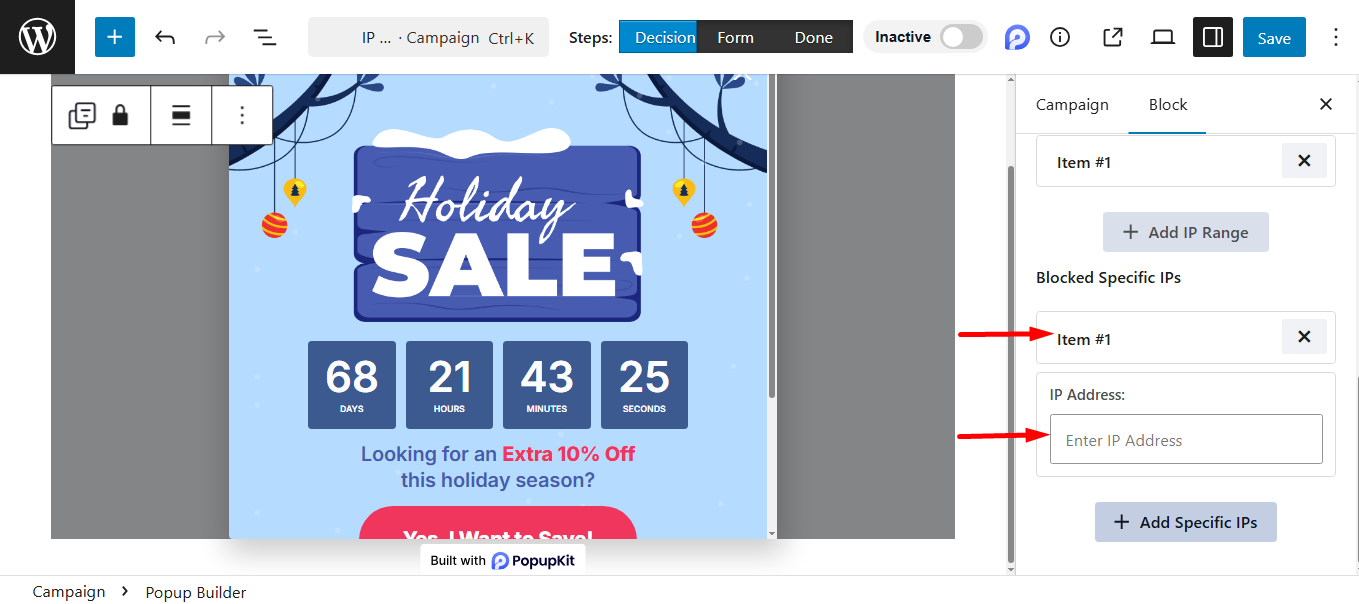
Blocked Specific IPs #
Here, when you add an item and expand it, you’ll see a field IP Address. It requires a specific IP address to be entered, such as 192.168.1.100. Unlike the “IP Range” fields which block a group of addresses, this field is used to block a single, specific IP address. However, you can also add multiple fields of ‘Blocked Specific IPs’ if needed.
Now that you know how to use the IP Blocking feature, you can effectively manage which visitors are able to see your popups. Go for it!


