Mailchimp integrates with different form tools to automatically collect and update subscriber data when a form is submitted. These integrations usually work through secure connections such as API keys or authorized access.
Mailchimp integration options include:
- WordPress form plugins: Tools like MetForm, Fluent Forms, and WPForms allow direct integration with Mailchimp, making it easy to sync form submissions with audiences, tags, and custom fields, without third-party automation.
- Google Forms: Google Forms does not connect to Mailchimp natively. Services like 자피어 are required to send form responses to Mailchimp automatically.
- Mailchimp native forms: Mailchimp offers its own built-in form builder that generates embeddable HTML forms, suitable for basic signup needs with limited design flexibility.
Important Before You Start #
Before creating or configuring any form, Mailchimp must be connected to your form builder. Without this connection, subscriber data won’t sync, no matter how well the form is designed.
See the Basic Setup Process (Using MetForm) #
Check the video for details:
Here is the steps for you:
- Generate a Mailchimp API Key: Log in to Mailchimp and go to Account → Extras → API Keys, then create a new API key.
- Connect Mailchimp to MetForm: In your WordPress dashboard, navigate to MetForm → Settings → Integrations, choose 메일침프, and paste the API key to establish the connection.
- Create or Edit a Form: 이동 MetForm → Forms, create a new form, or open an existing one in the Elementor editor.
- Enable Mailchimp as a Submission Action: From the form settings, add 메일침프 as an action after submission.
- Select an Audience and Map Fields: Choose your Mailchimp audience and map required fields like email, name, and any custom fields or tags.
- Configure Subscriber Options: Enable features such as double opt-in, audience tags, or merge fields to better organize contacts.
- Publish and Test the Form: Publish the form and submit a test entry to confirm the subscriber appears correctly in Mailchimp.
For detailed procedure, check the documentation.
전제 조건:
메트폼 프로, install and activate the premium form builder plugin for Elementor.
Mailchimp 구성 #
MetForm으로 양식을 작성해야 합니다. 여기에서 최소한 하나의 형식을 확인하세요. 이메일 위젯 그리고 그래야 해 필수의
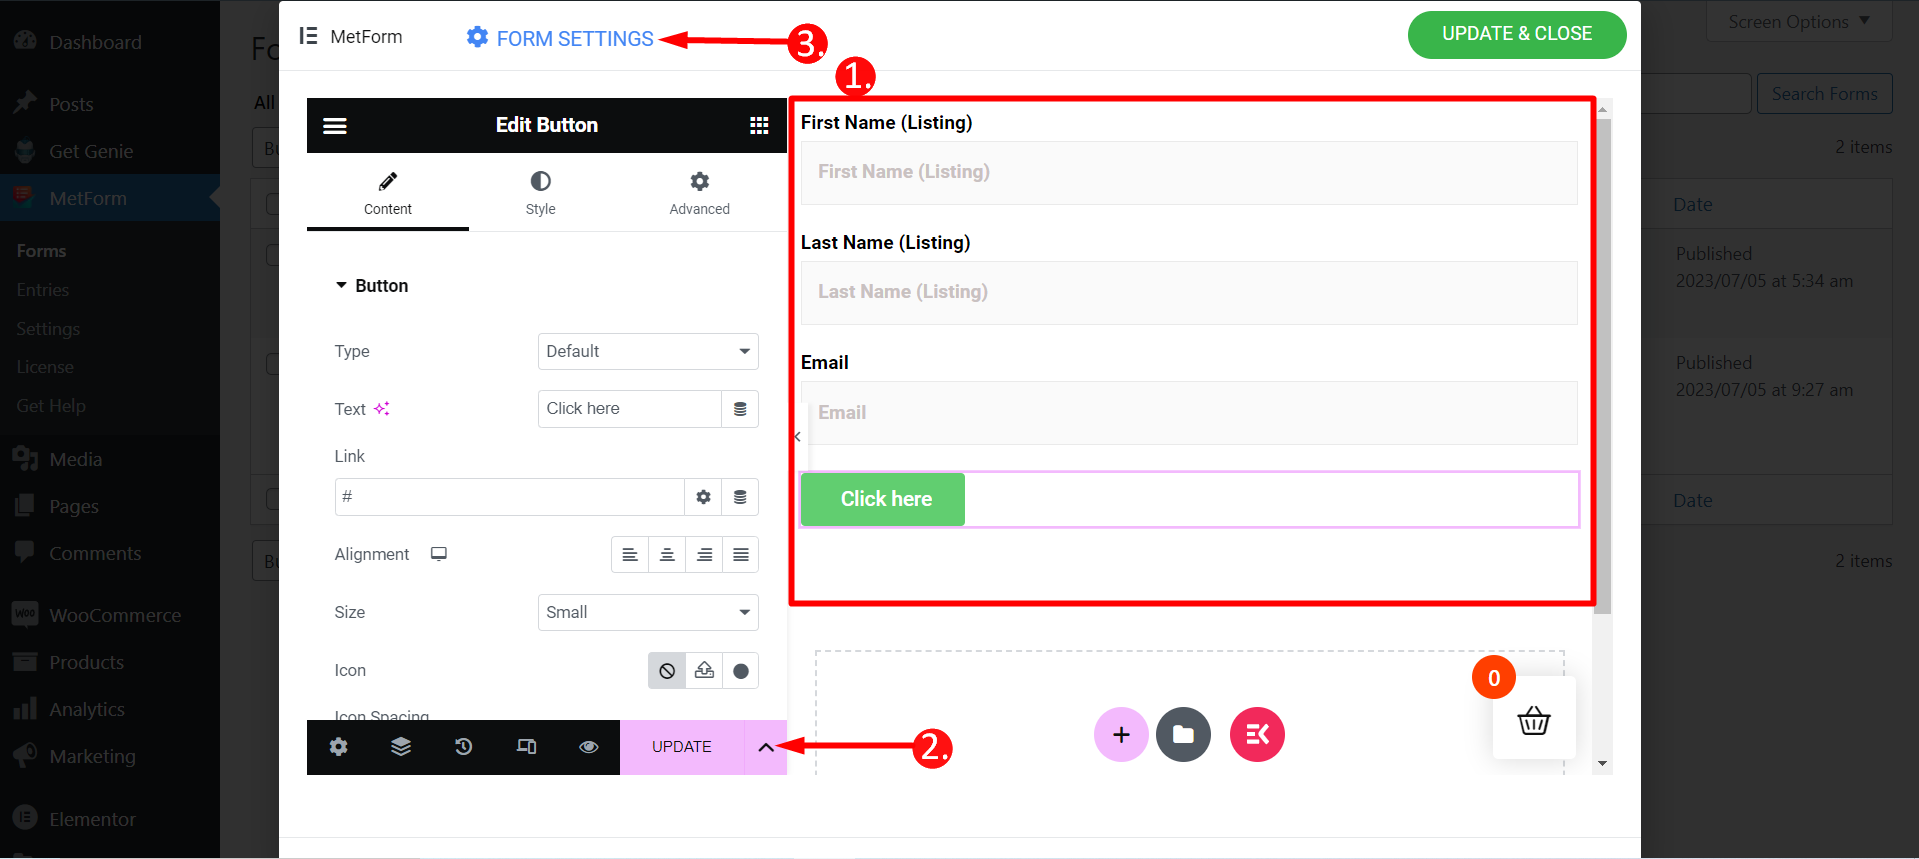
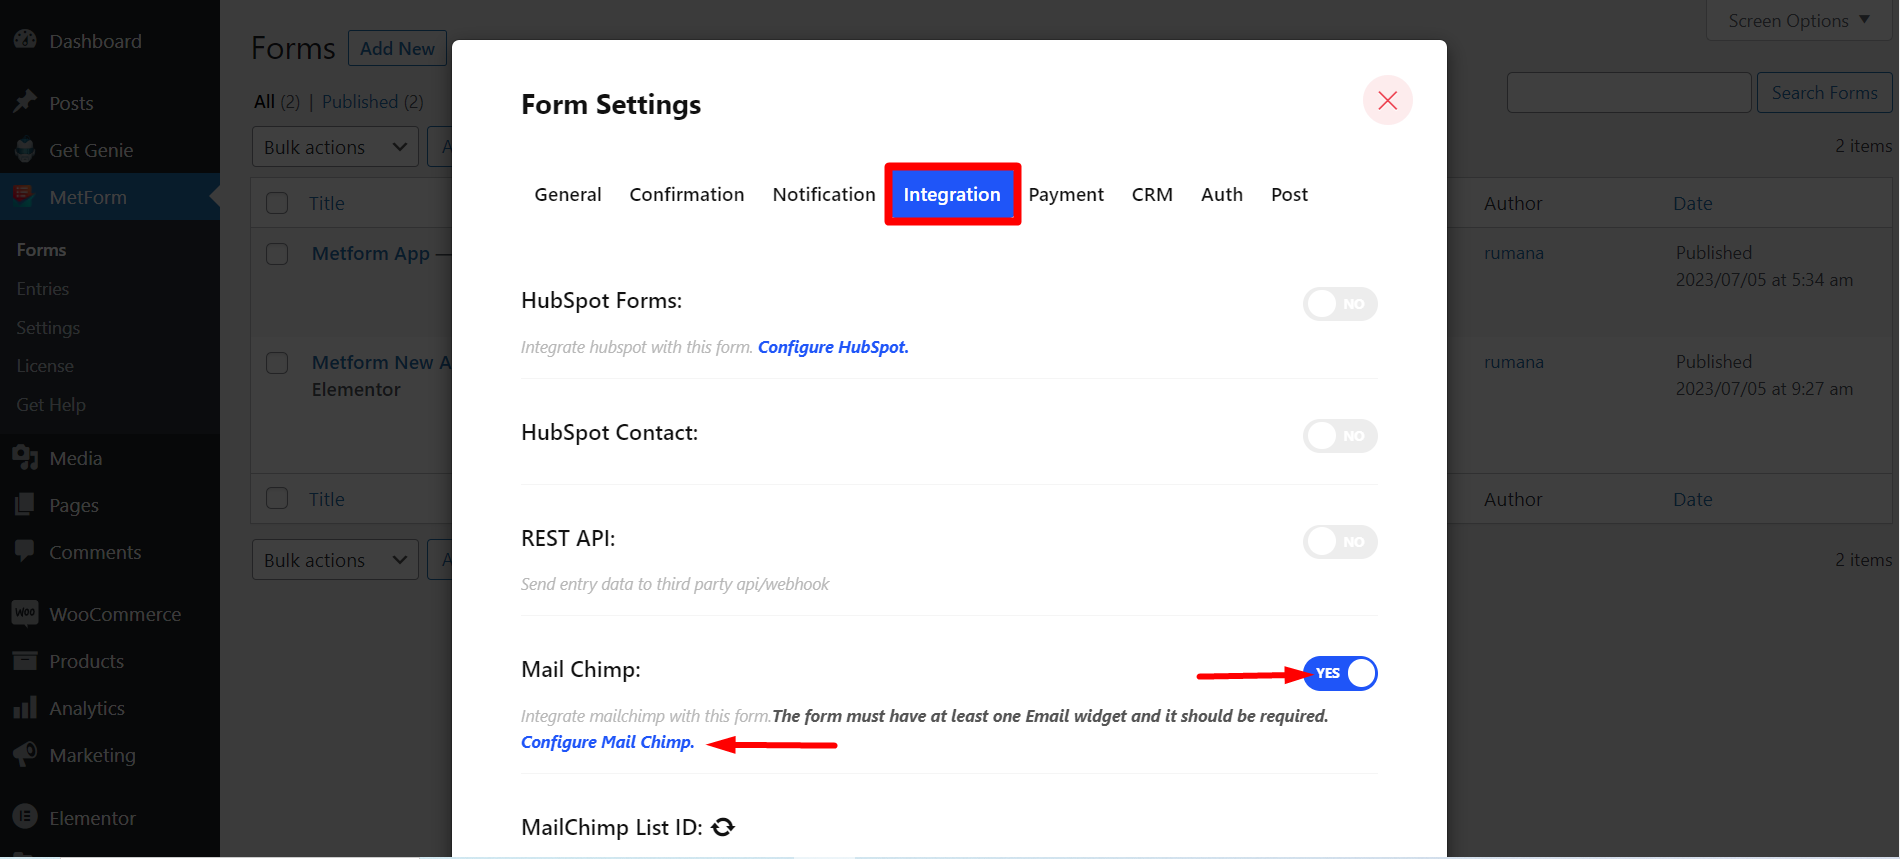
단계=>1: 로 이동 양식 설정 → 통합
- 토글 메일 침팬지 옵션
- 클릭 Mail Chimp 구성
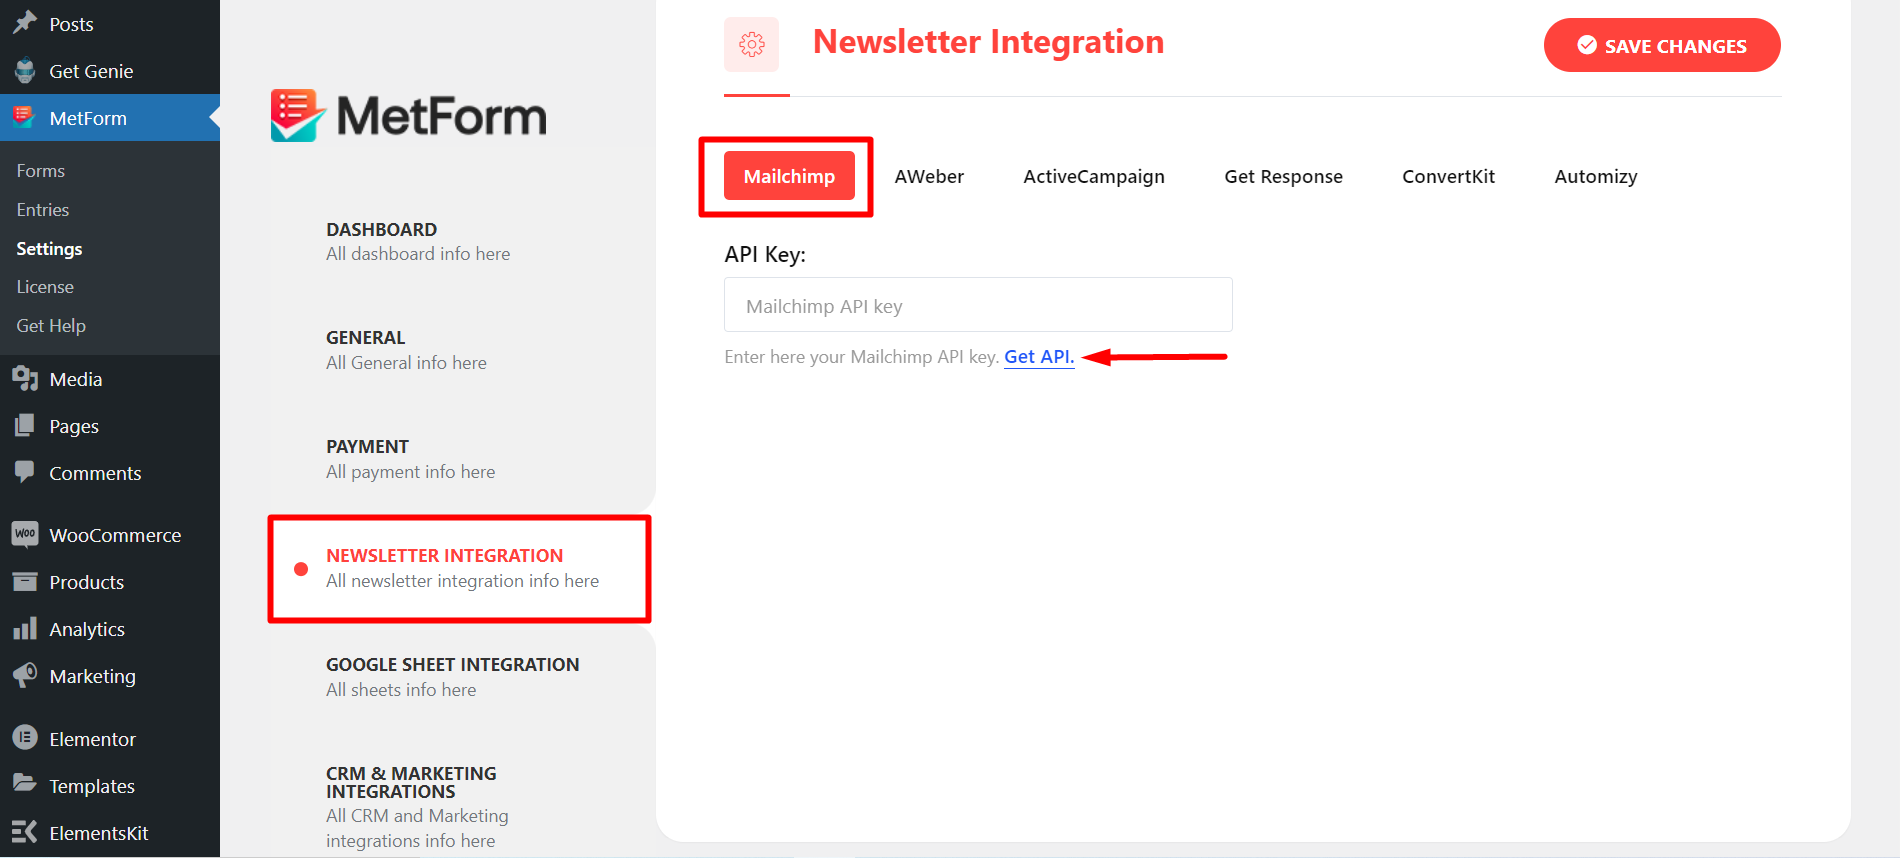
단계=>2: 다음으로 이동됩니다. MetForm=> 설정 페이지
- 클릭 메일 통합
- 그런 다음 클릭하세요. API 받기 새 탭에서 페이지를 열고 API 키를 생성/가져오기
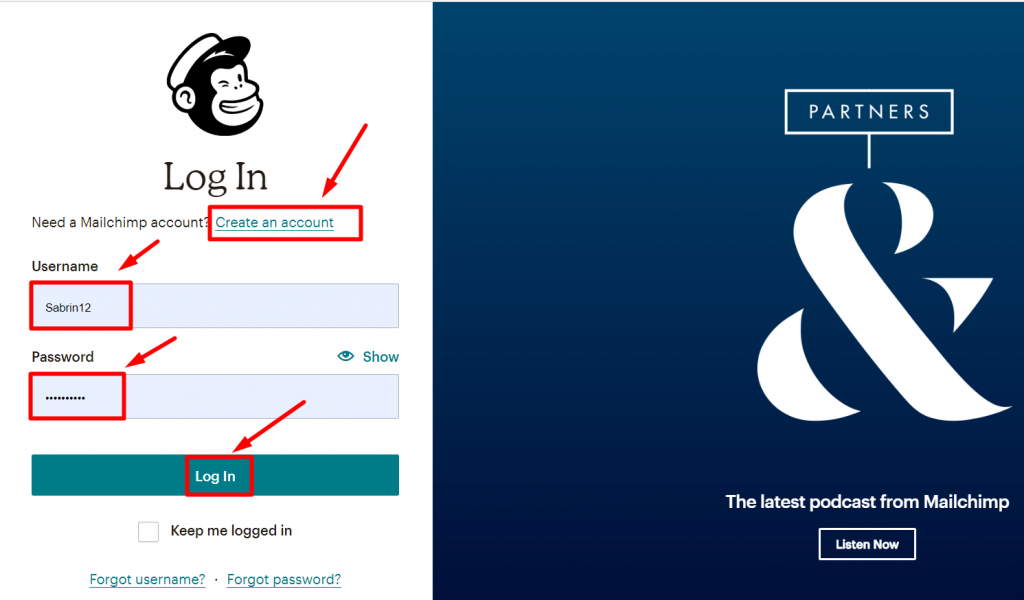
단계=>3: API 키를 얻으려면 만들다 Mailchimp 계정을 사용하여 로그인하세요. 사용자 이름과 비밀번호
계정 사진으로 이동하여 계정 및 청구를 클릭하세요.
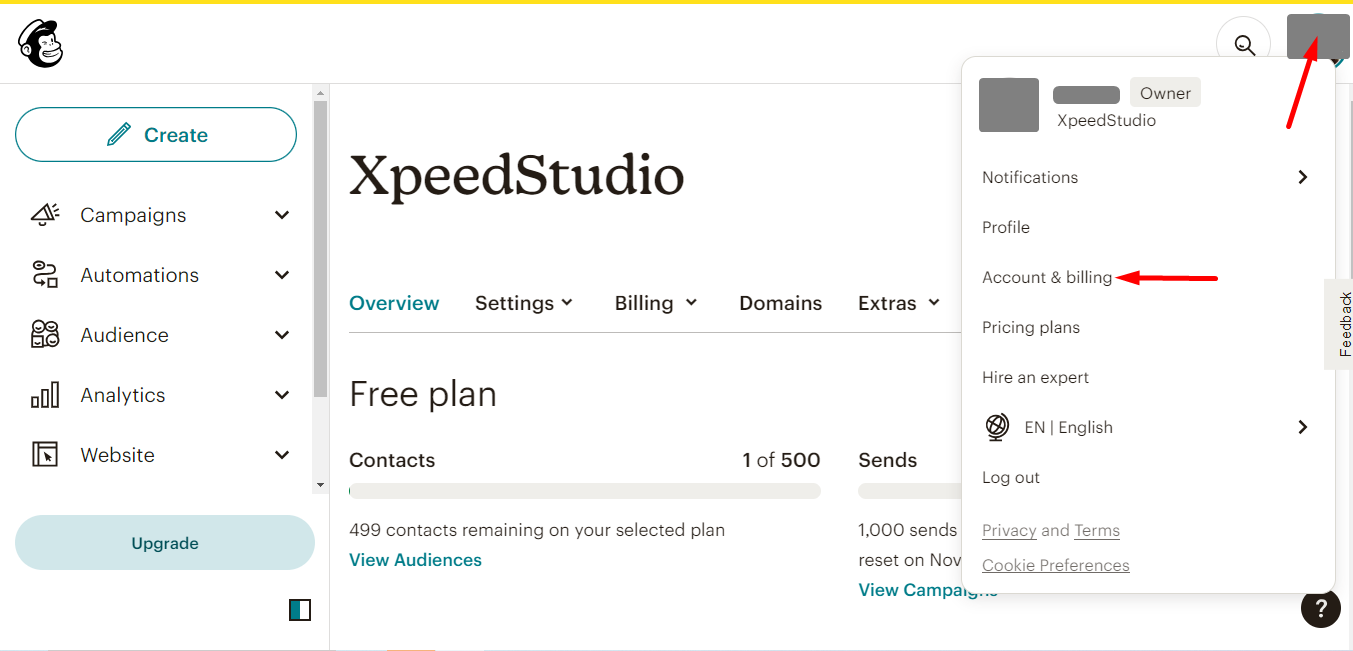
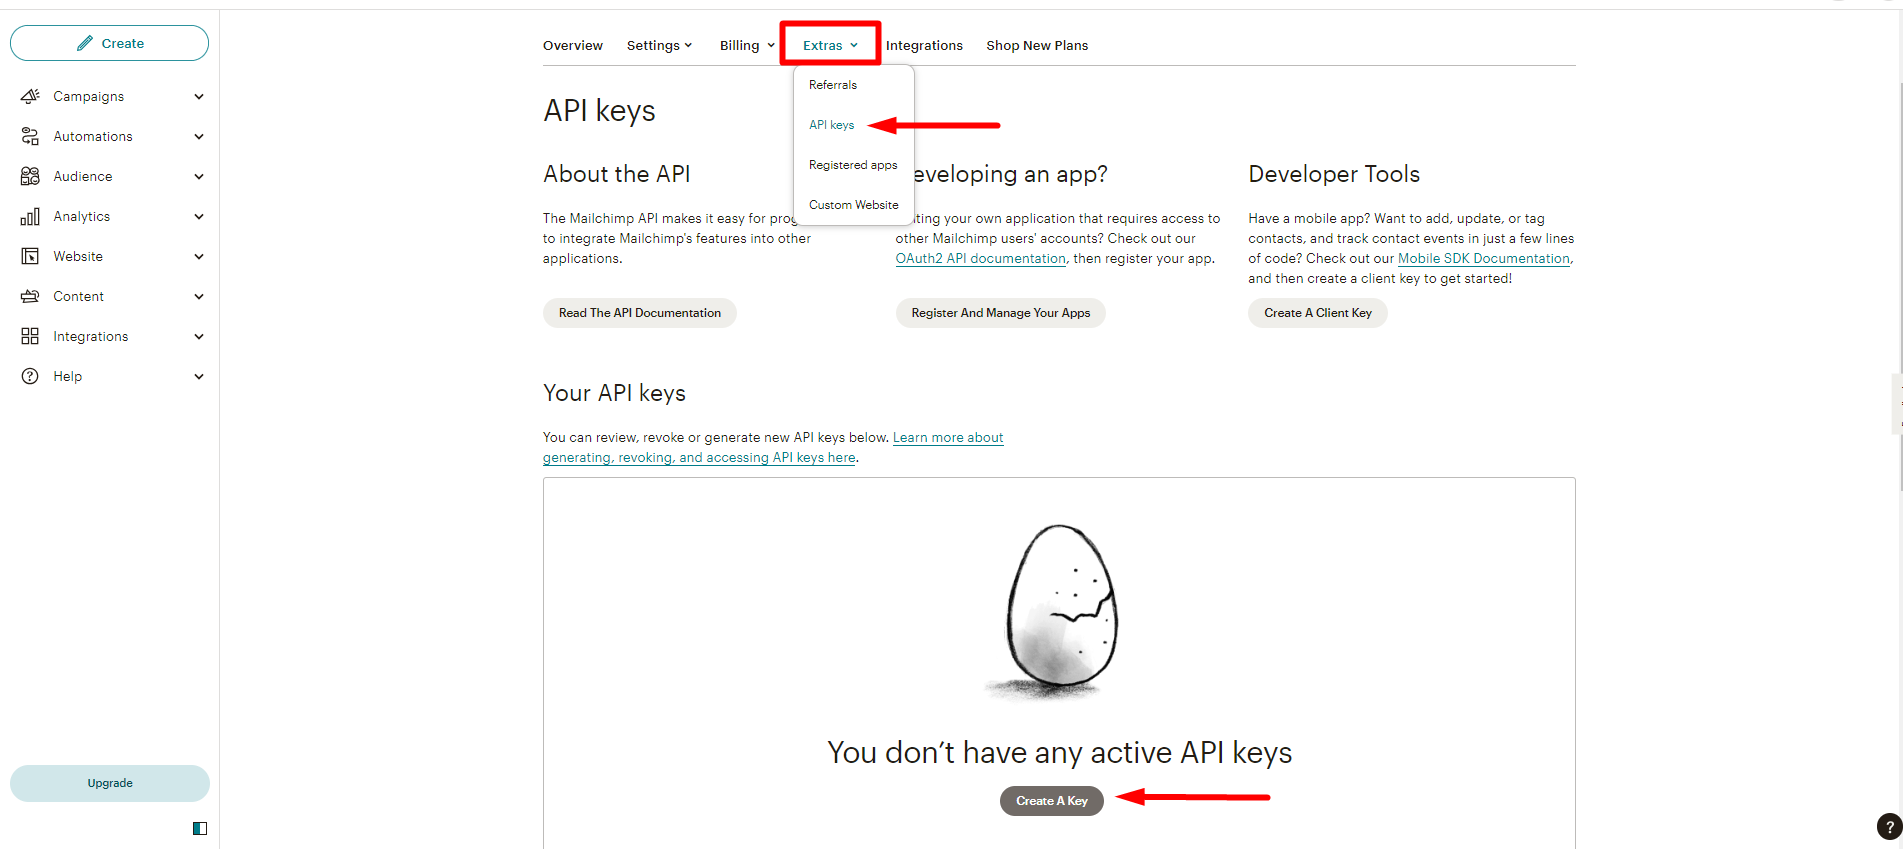
- 엑스트라 찾기
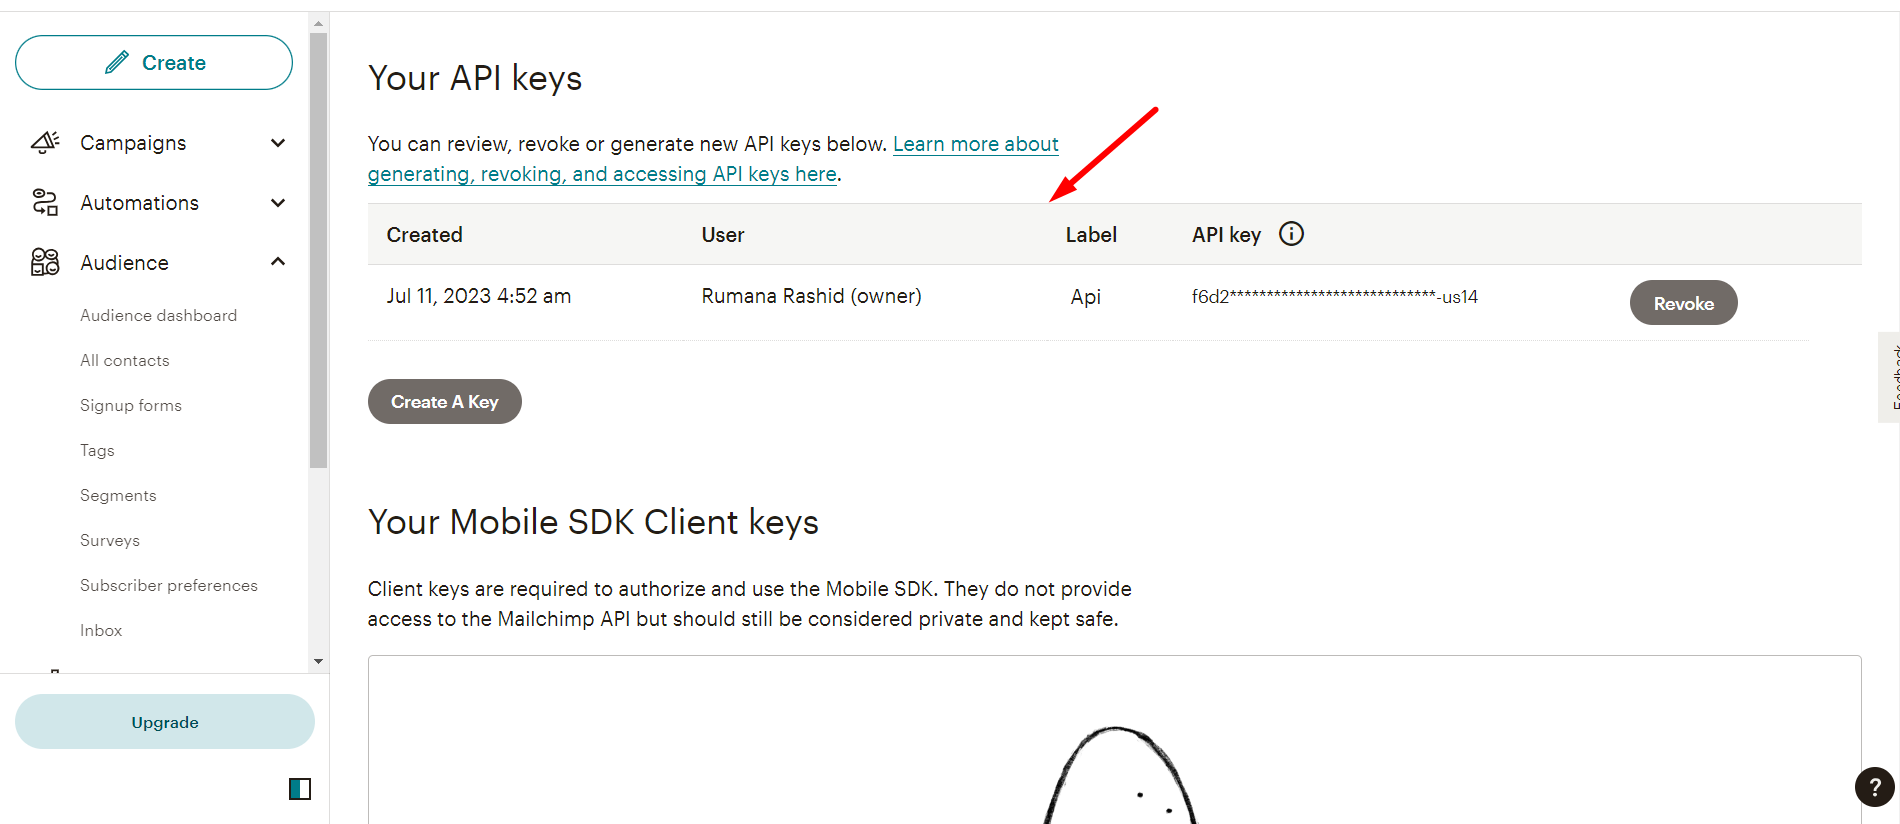
- Click API keys
- Now, click Create A key
Next, copy the Key
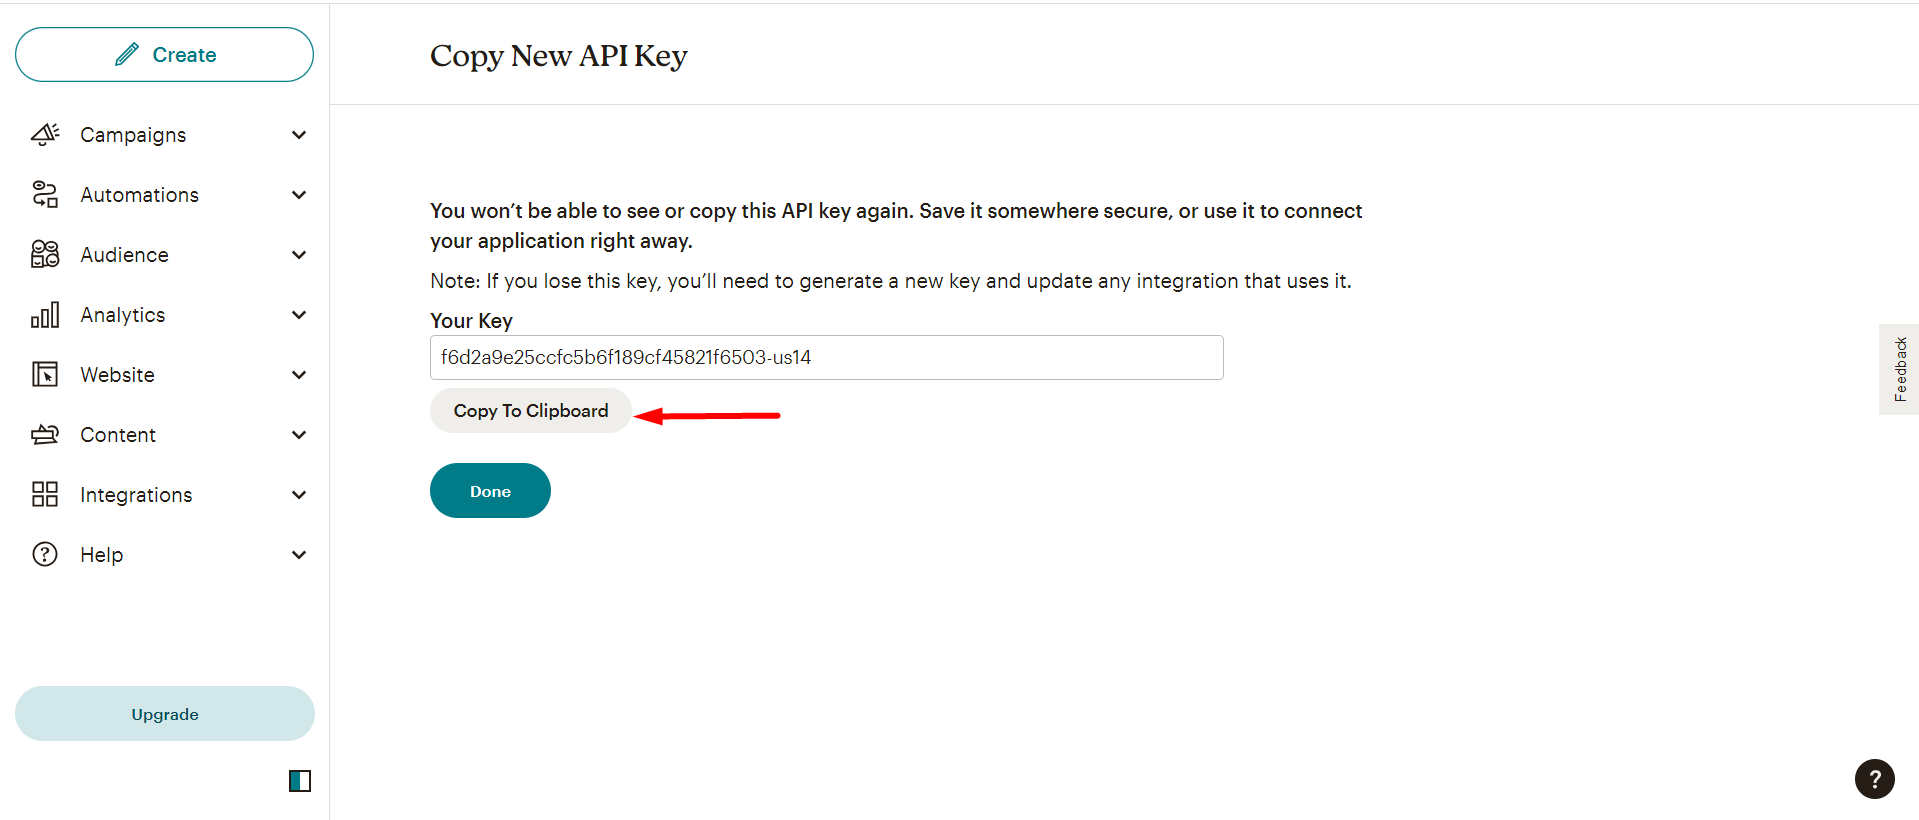
그러나 다음을 확인할 수 있습니다. 생성된 목록 이와 같이 -
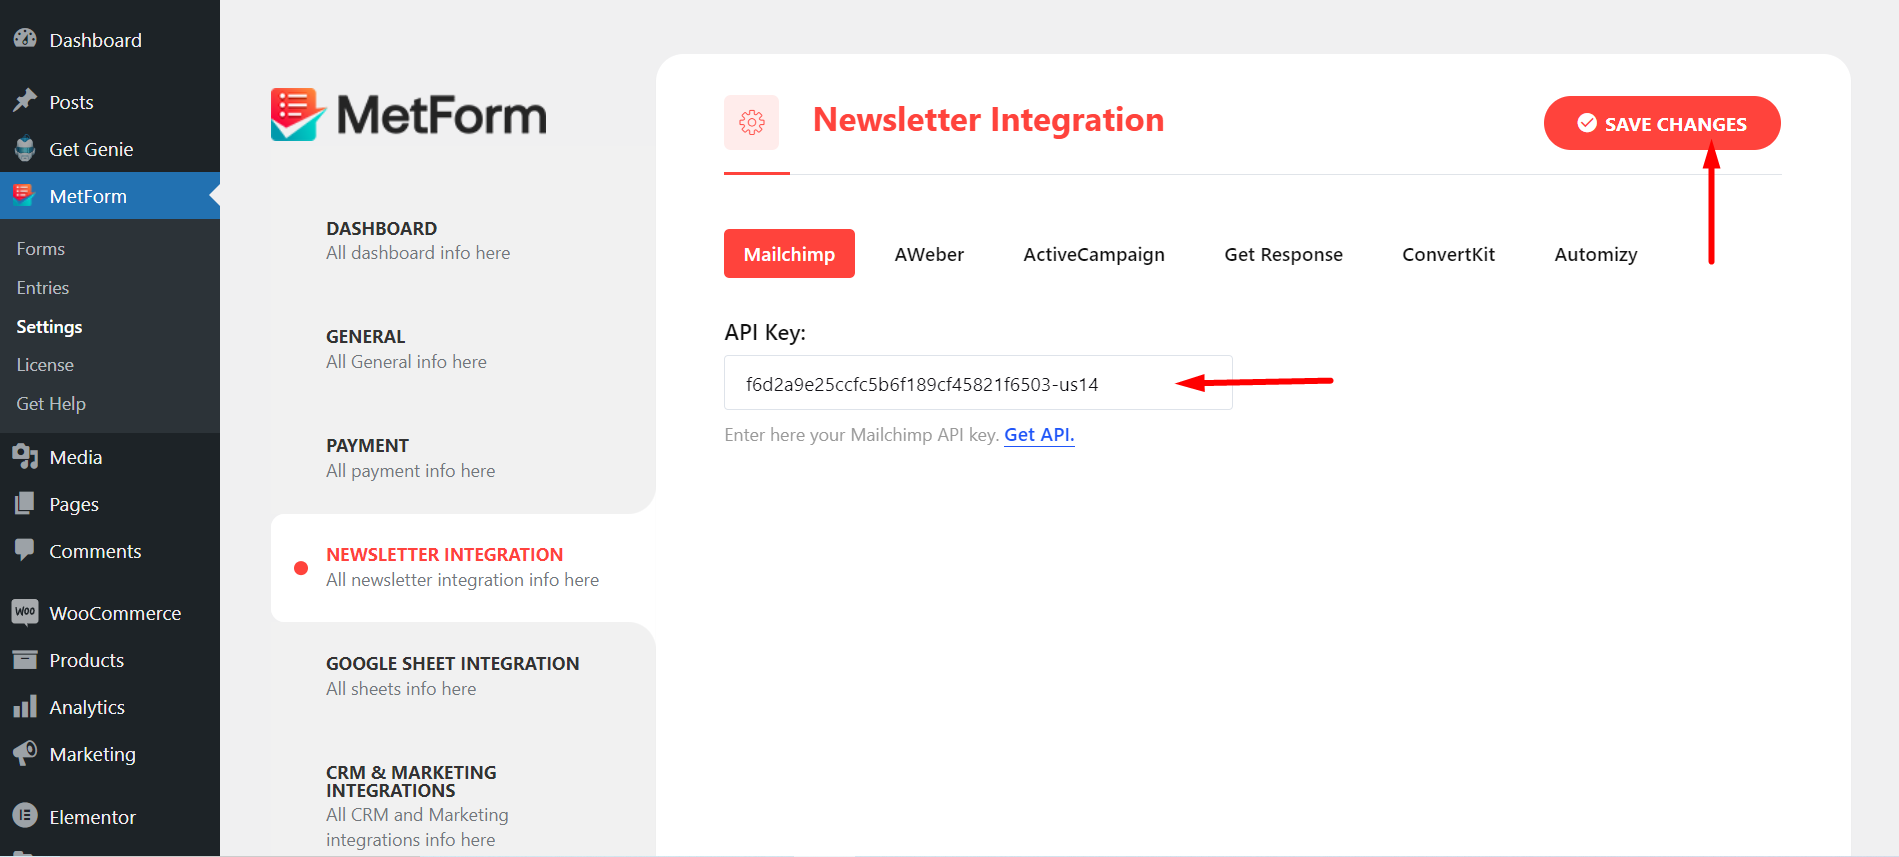
단계=>4: Now, return back to 뉴스레터 통합 and utilize the copied Key
- 여기에 키를 붙여넣으세요
- 변경 사항을 저장하다
단계=>5: 이동 완성 부분 당신의 형태
다음을 클릭하여 새로고침하세요. 새로 고침 아이콘
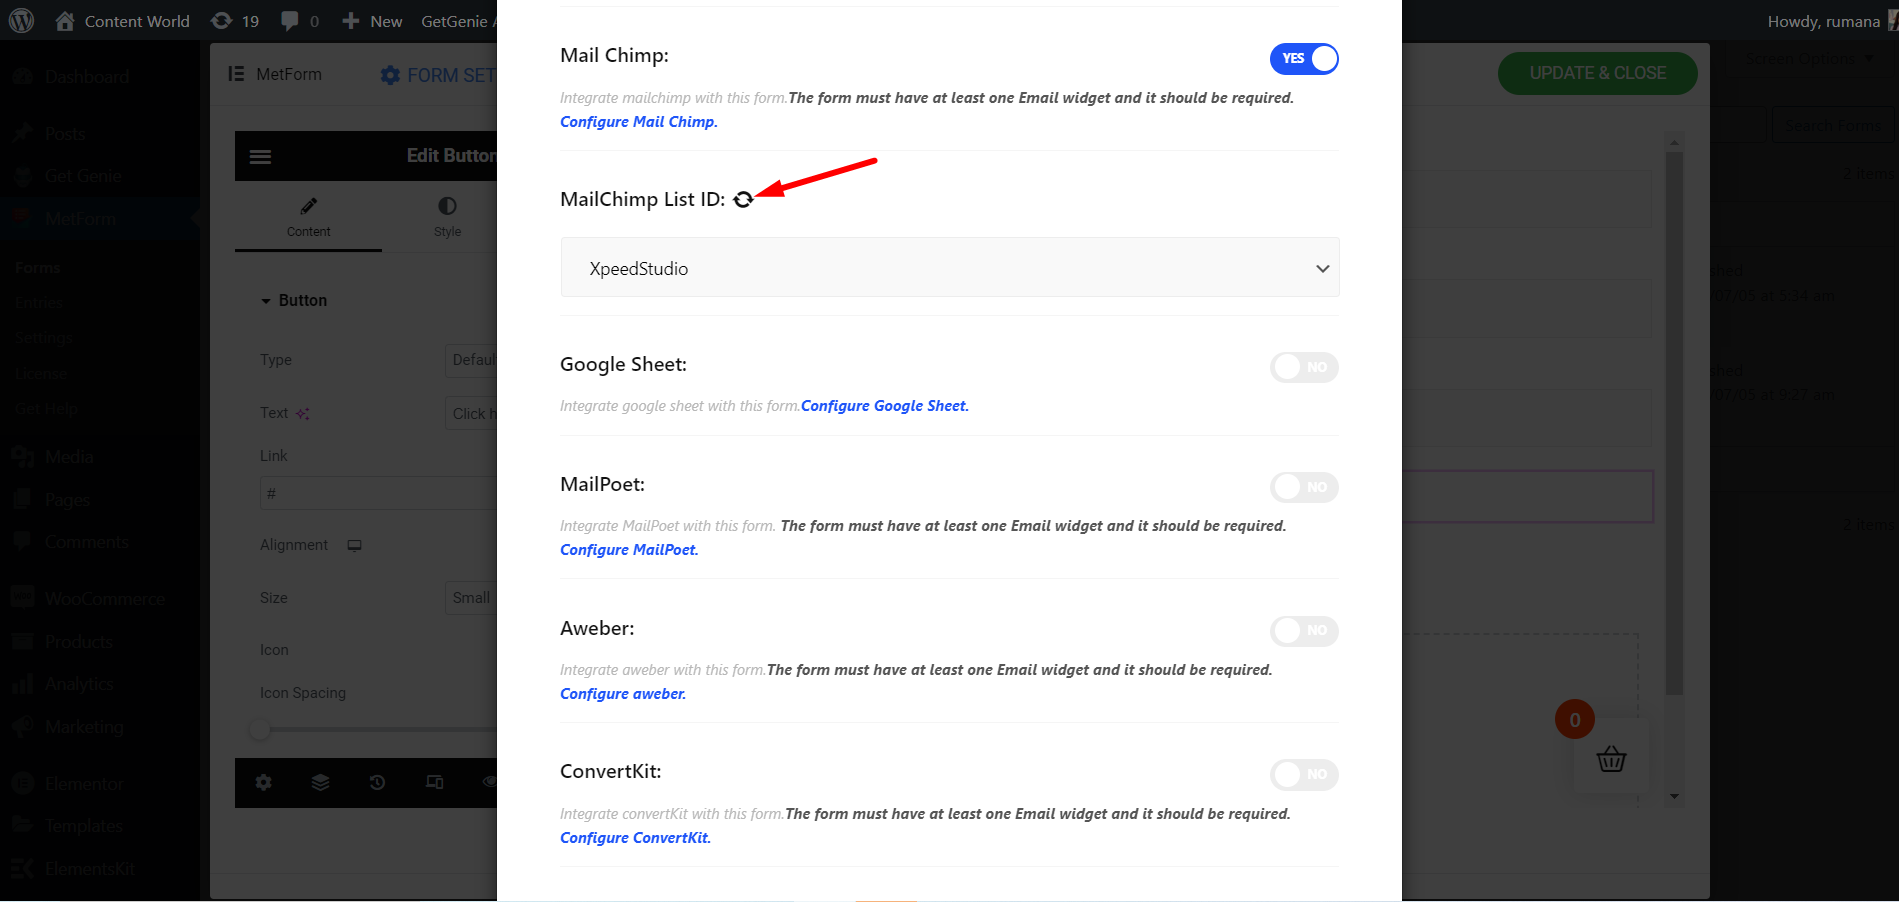
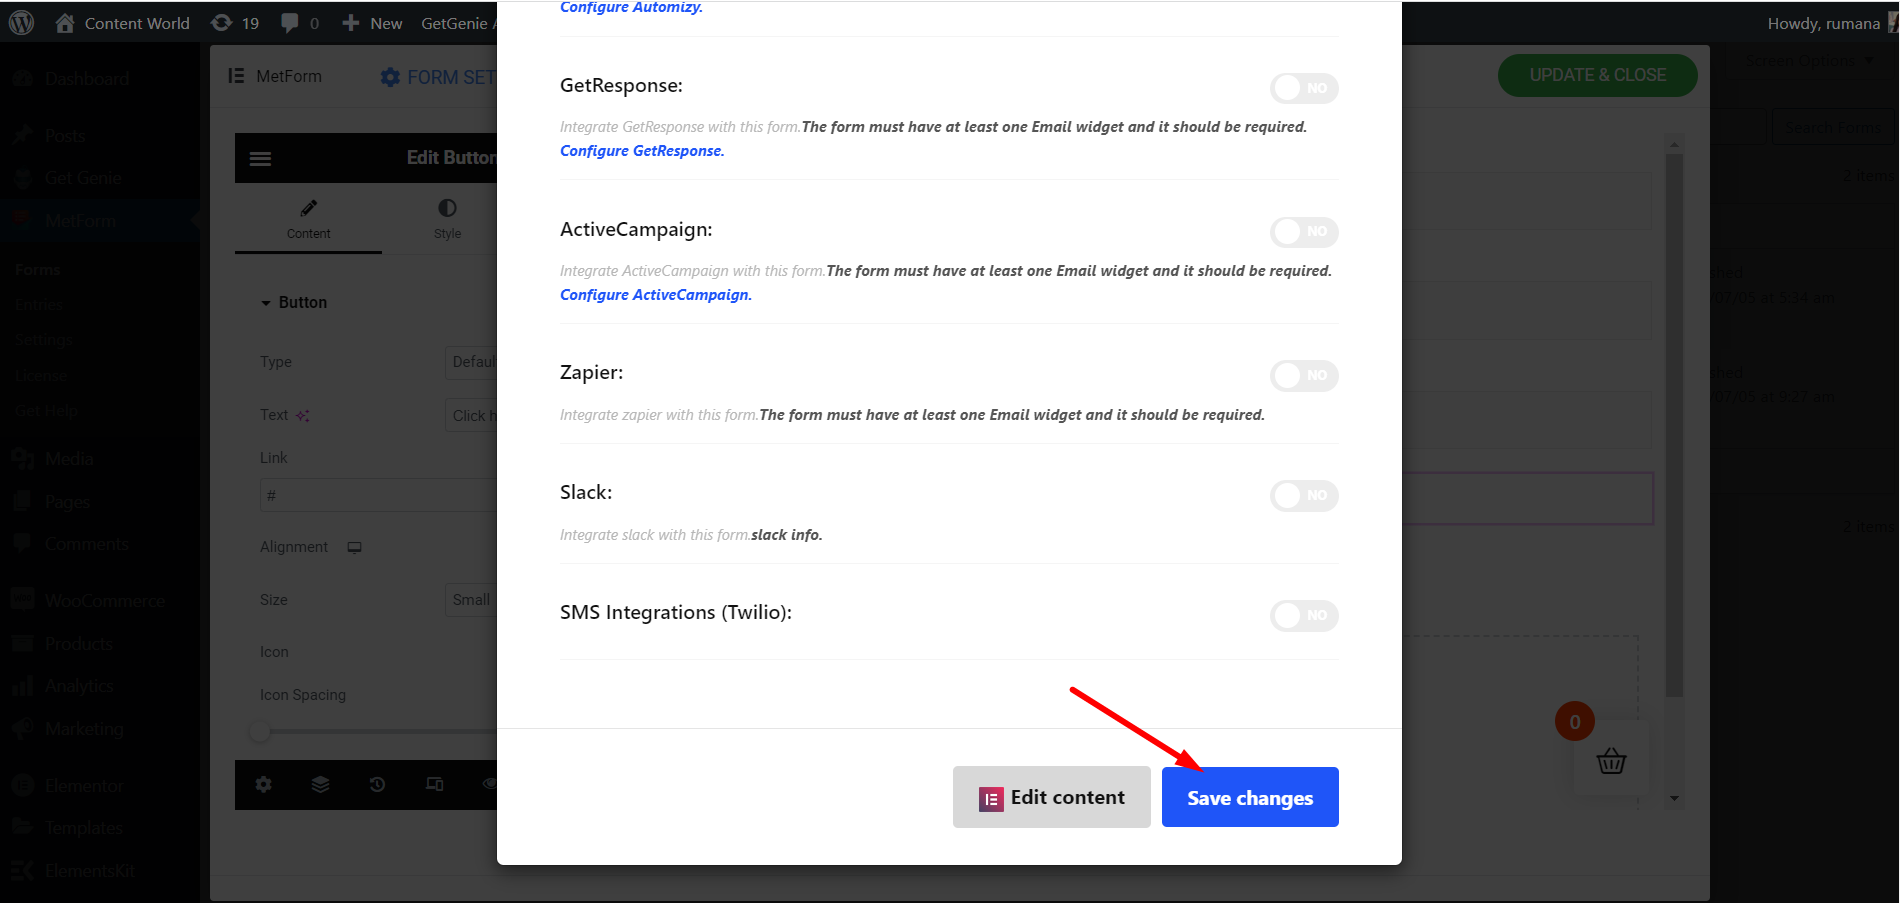
마지막으로 양식을 저장합니다.
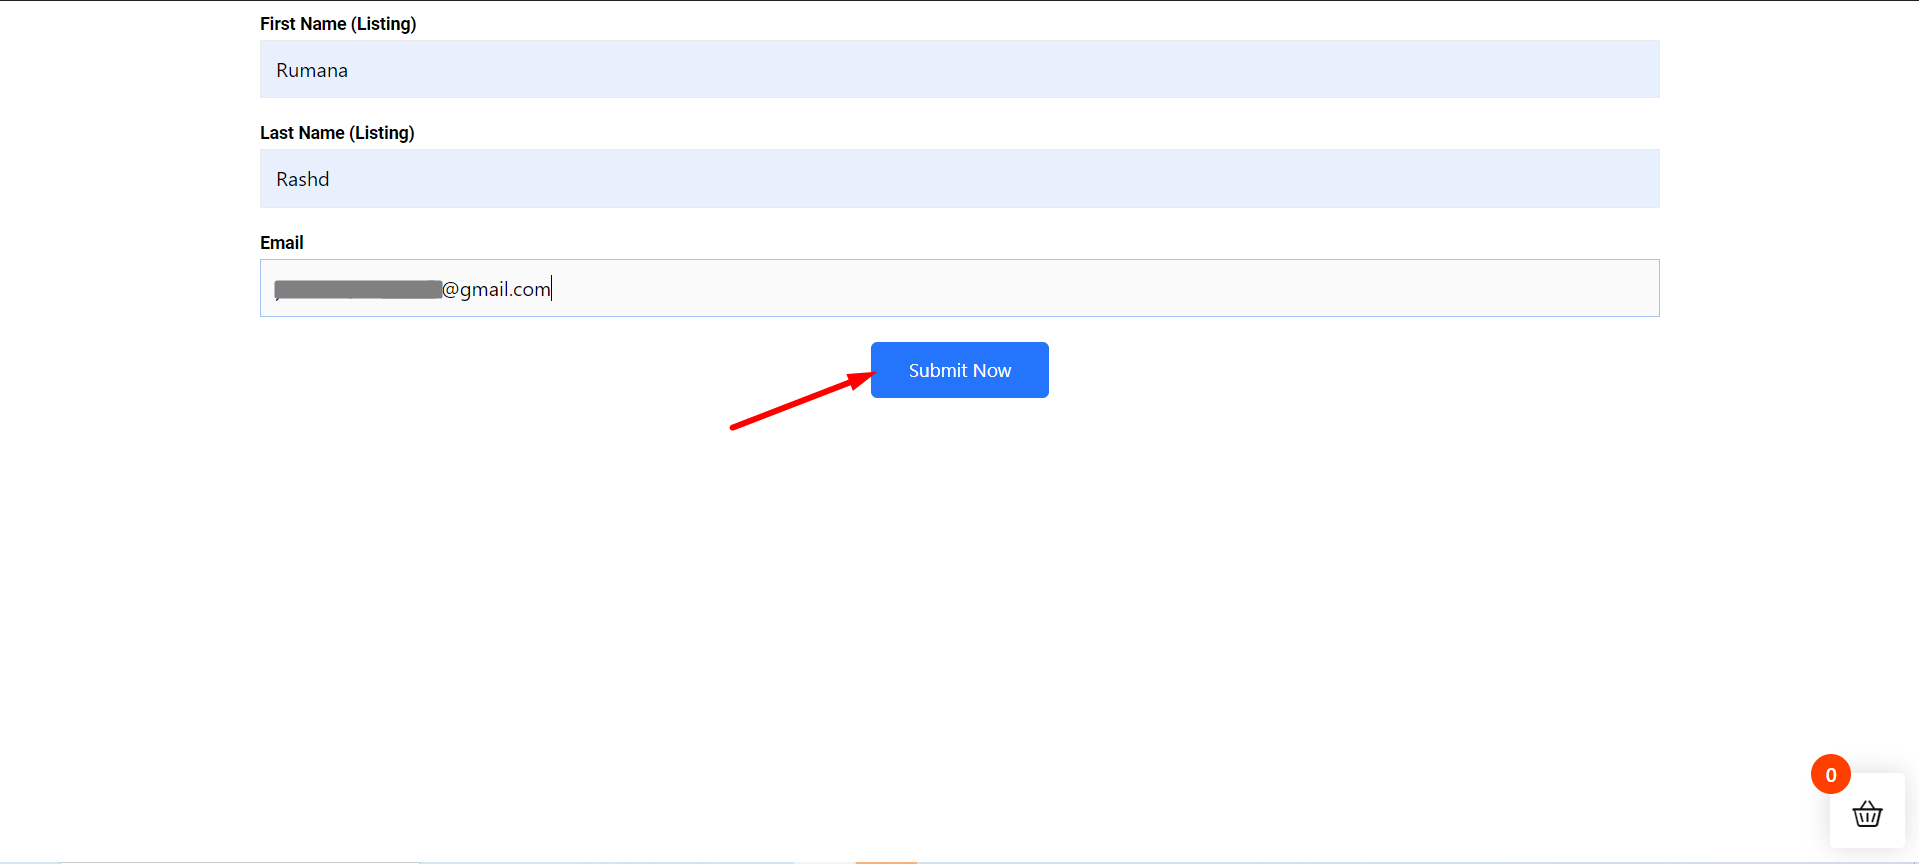
가다 사이트로=> 양식 작성 그리고 클릭하세요 제출 버튼
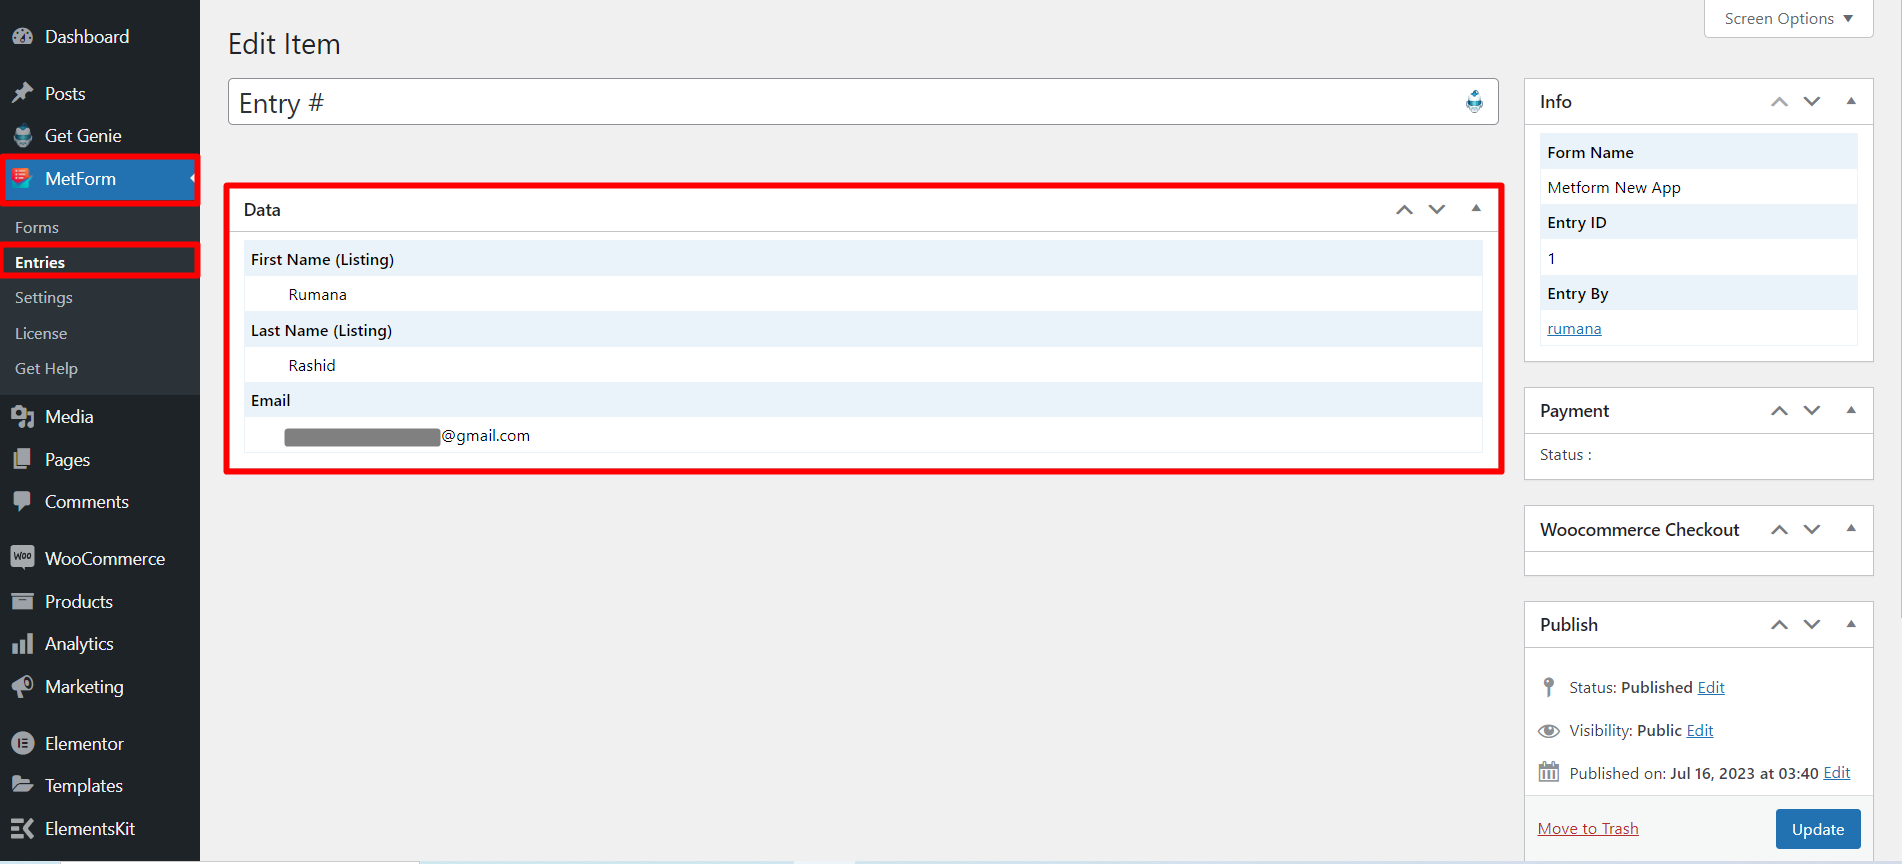
Mailchimp 대상 목록에 Metform 제출 데이터 표시
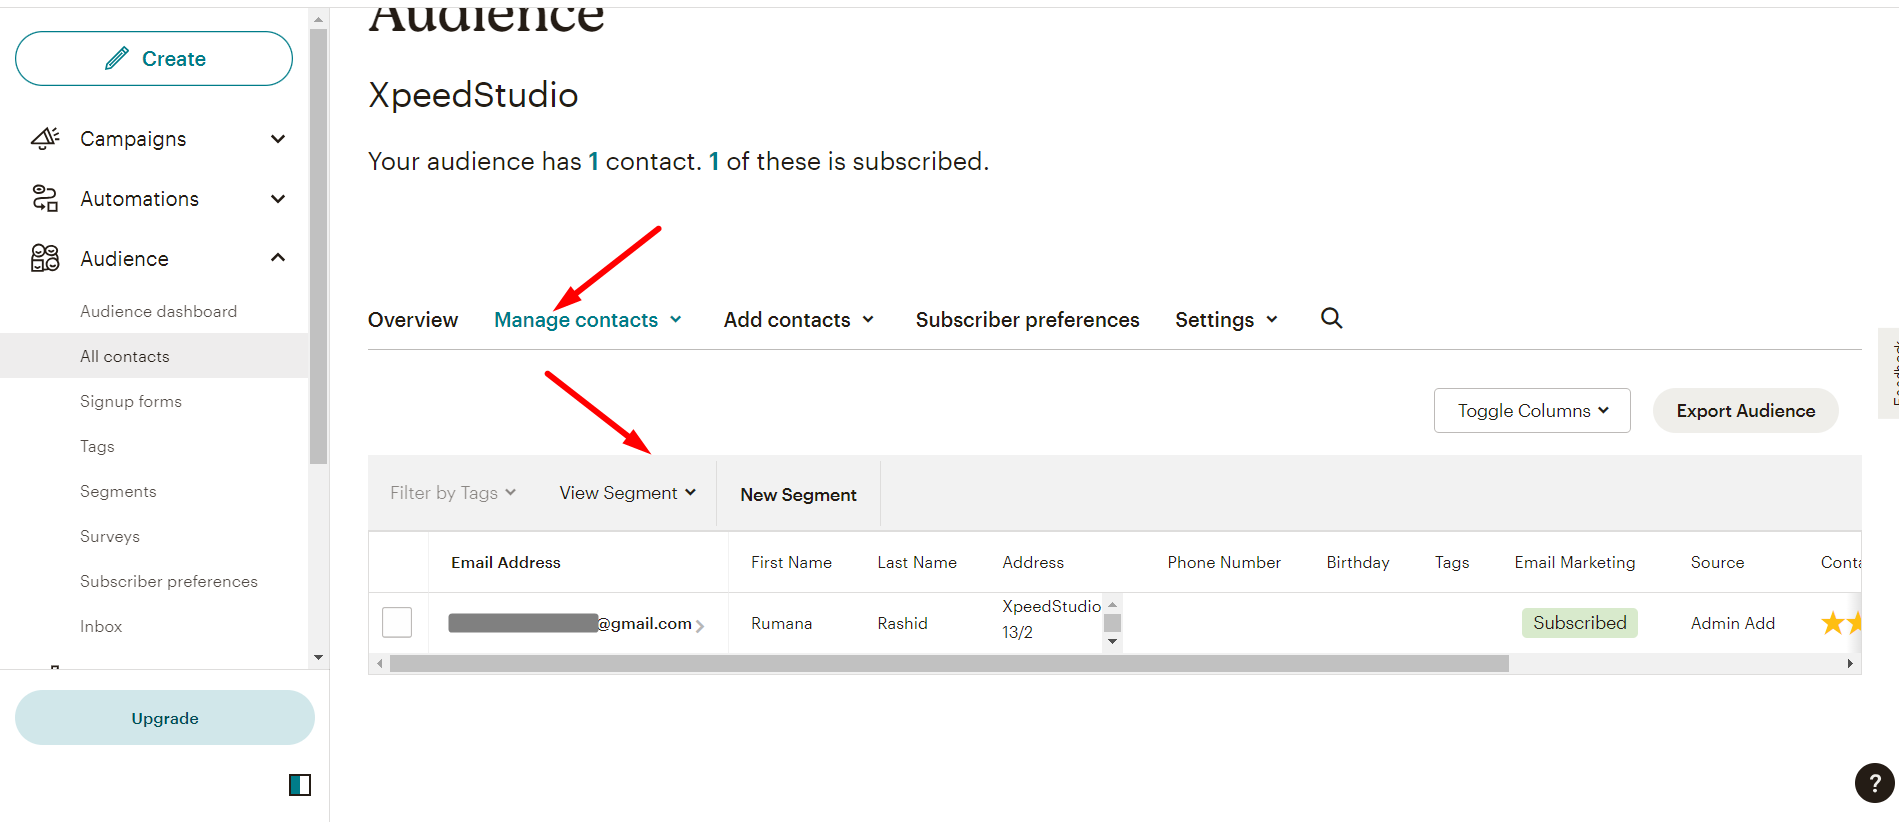
당신은 또한 볼 수 있습니다 제출된 데이터 메트폼에서 참가목록