


블로그 게시물을 어떻게 멋지게 보여줄지, 아니면 레이아웃을 어떻게 만들지 정하지 못하겠어요? ElementsKit의 게시물 그리드 위젯은 완벽한 솔루션입니다.
당신은 만들 수 있습니다 완벽하게 반응하는 2-그리드, 3-그리드 및 4-그리드 레이아웃 이 포스트 그리드 위젯을 사용합니다. 또한 Elementor 페이지 빌더와의 호환성을 위해 사용자 정의할 수 있습니다. 더 큰 일관성을 제공하고 사용자가 WordPress 웹사이트를 탐색하기 쉽게 만들어줍니다.
✨✨ 필수 플러그인:
👉👉엘리멘터: 엘리멘터 다운로드
👉👉ElementsKit: ElementsKit 다운로드
ElementsKit을 사용하여 포스트 그리드를 만드는 3단계 #
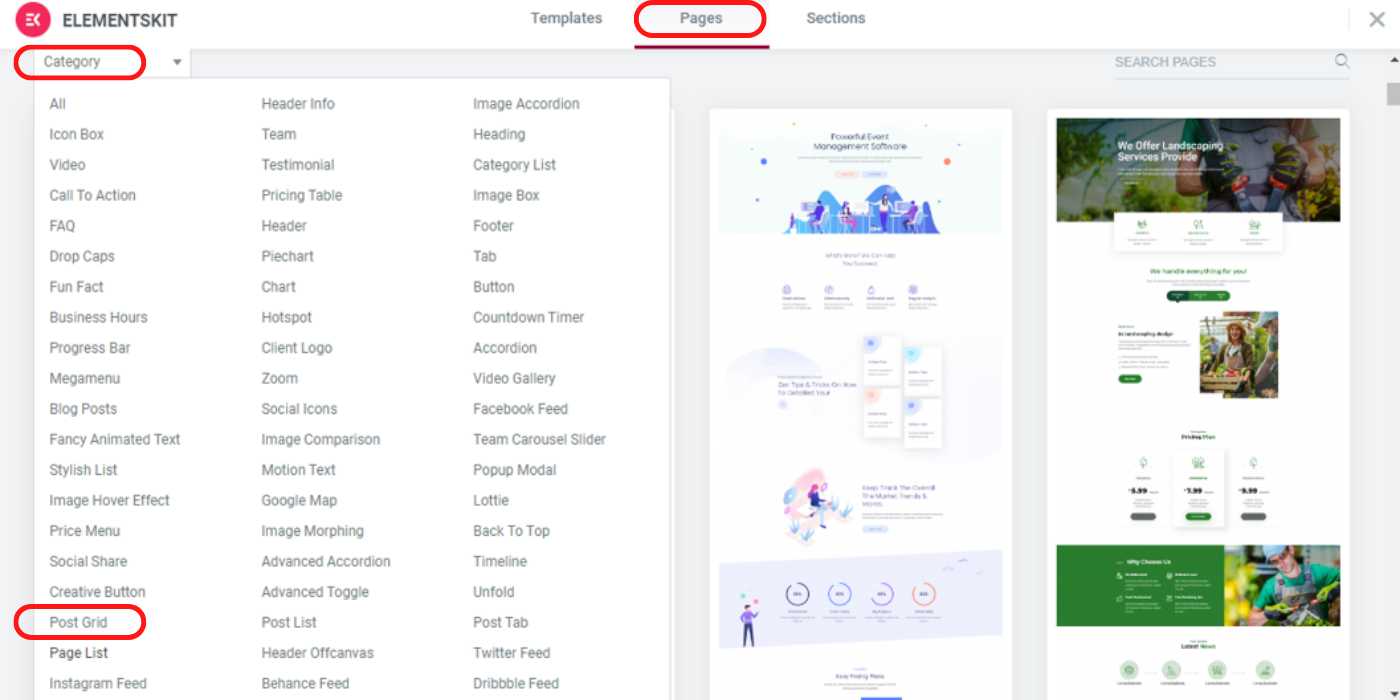
1단계 – ElementsKit 게시물 그리드 선택 #
- 새로운 페이지를 만들거나 기존 페이지를 열어 Elementor로 열어보세요.
- 선택하다 "ElementsKit“.
- 선택 “포스트 그리드” 카테고리에서
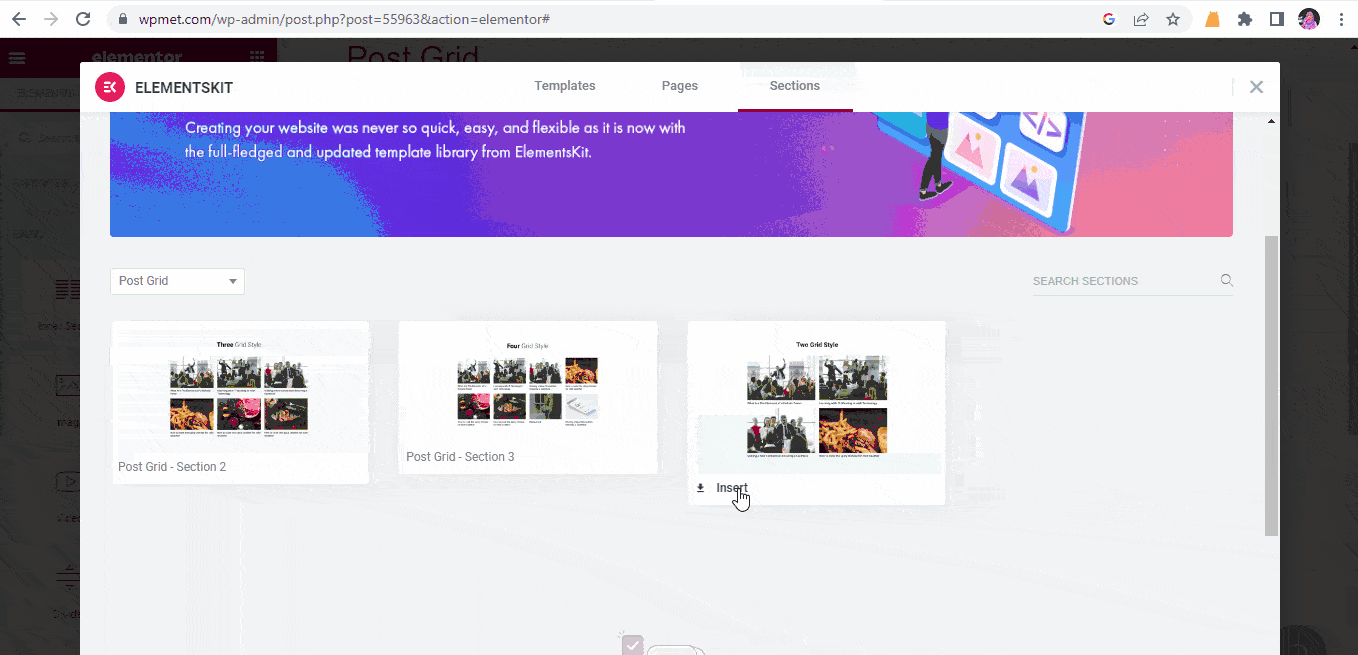
2단계 – 게시물 그리드 스타일 삽입 #
- 당신은 볼 것이다 2그리드, 3그리드, 4그리드 섹션의 스타일 레이아웃.
- 스타일 삽입 이 3가지 스타일 중에서 원하는 것을 선택하세요. 같은 페이지에 다른 레이아웃 스타일을 사용하여 여러 섹션을 사용할 수도 있습니다.
- 하나 또는 여러 개를 선택하세요 “카테고리” ~로부터 위젯 설정.
3단계 – 게시물 그리드 레이아웃을 아름답게 만들기 #
- 그리드에서 완벽한 너비와 하단 공간을 설정하세요 "스타일" 설정
- 제목 여백을 재설정합니다. 0 또는 양수 값 추천 이미지와 제목의 중복을 피하기 위해
- 또한 변경할 수도 있습니다 타이포그래피, 색상 및 호버 색상
- 당신은 할 수 있습니다 그리드의 레이아웃을 수정하다 여백, 패딩, 너비, 모션 효과, 반응성, 속성, 사용자 정의 CSS 등과 같은 "고급의" 설정.
- 클릭 "업데이트", 선택한 게시물 그리드 스타일로 블로그가 표시됩니다.

이제 포스트 그리드 위젯을 사용하여 WordPress 웹사이트 포스트를 재정렬하고 선보일 수 있기를 바랍니다. 전반적으로 웹사이트가 더 우아하고 역동적이며 사용자 친화적으로 만들어질 것입니다.


