GutenKit 게시물 그리드 블록을 사용하면 시각적으로 매력적인 그리드 레이아웃으로 게시물을 표시할 수 있습니다. 열 수, 이미지 크기, 게시물 간 간격을 포함한 다양한 사용자 지정 옵션을 제공합니다.
이 설명서에서는 GutenKit 페이지 그리드 블록을 사용하는 방법을 배우게 됩니다. 시작해 봅시다!
포스트 그리드 블록을 어떻게 사용할 수 있나요? #
WordPress 대시보드에 액세스 –
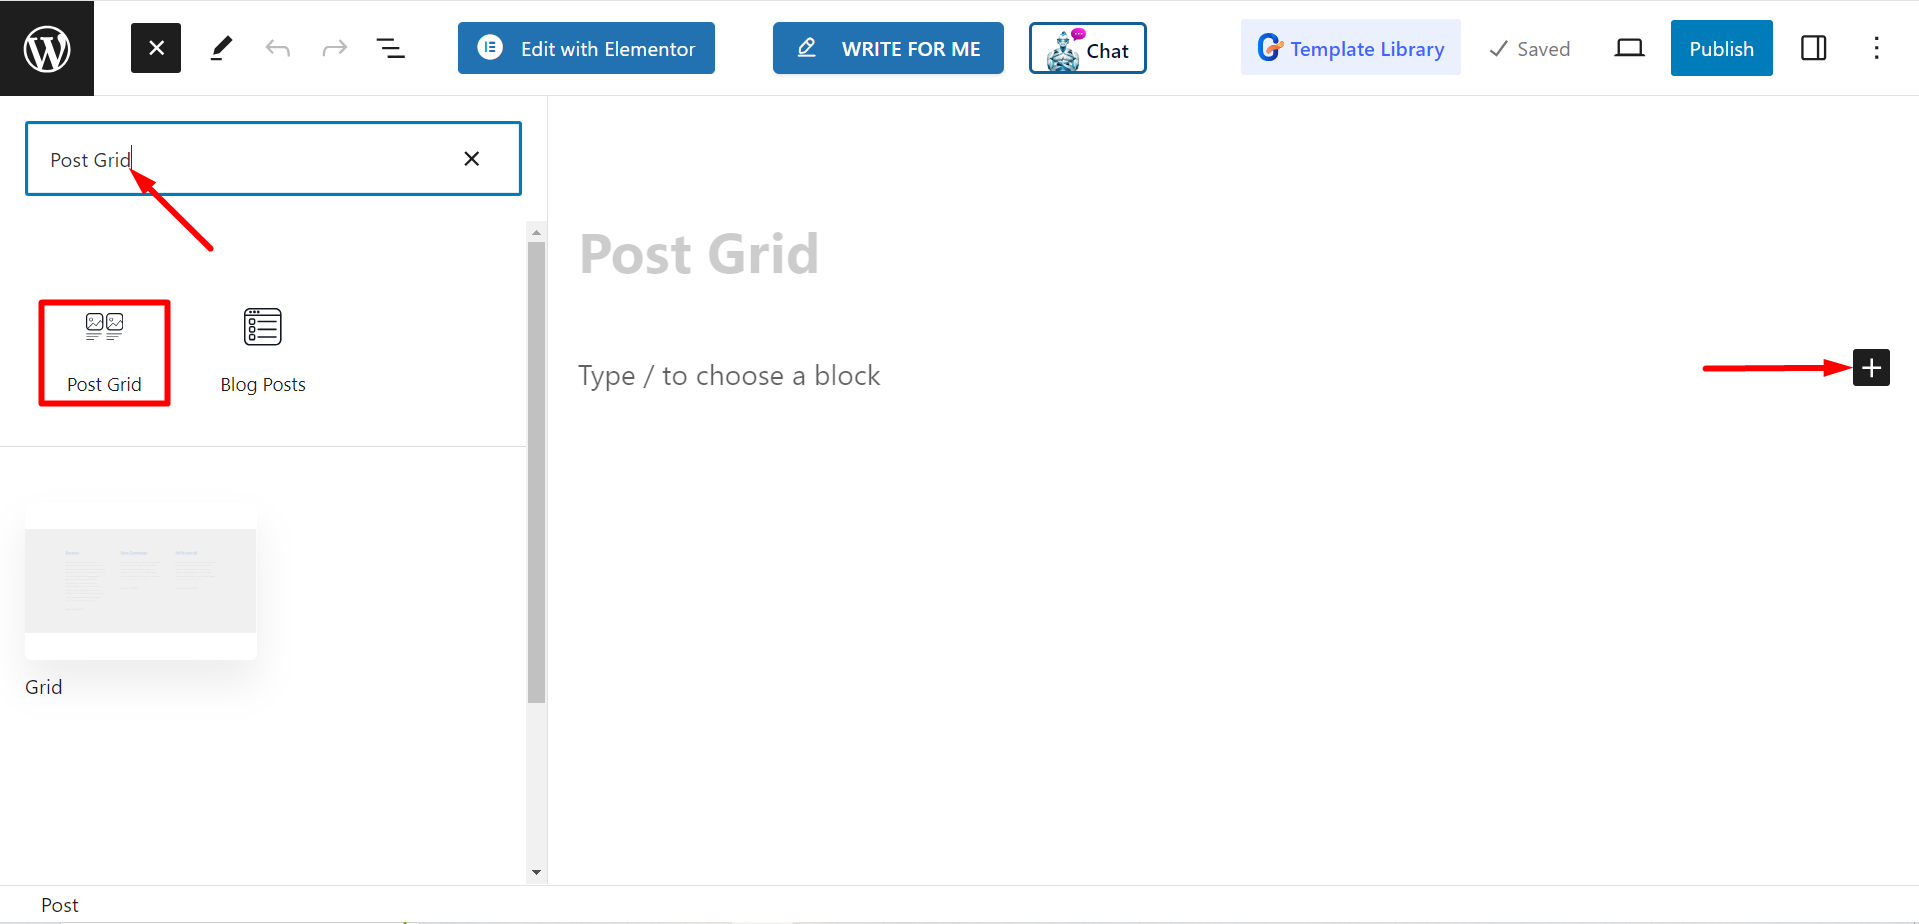
- 찾다 페이지/게시물 > 새 페이지/게시물 추가 또는 블록 편집기를 사용하여 기존 페이지 편집을 시작하세요.
- “를 찾으세요.+” 아이콘은 에디터 화면 오른쪽이나 상단에 있습니다. 클릭하세요.
- 블록 메뉴가 나타나면 '를 검색하세요.포스트 그리드".
- 보이면 클릭하거나 블록 에디터 화면에 드래그 앤 드롭하세요.

컨텐츠 부분 편집 #
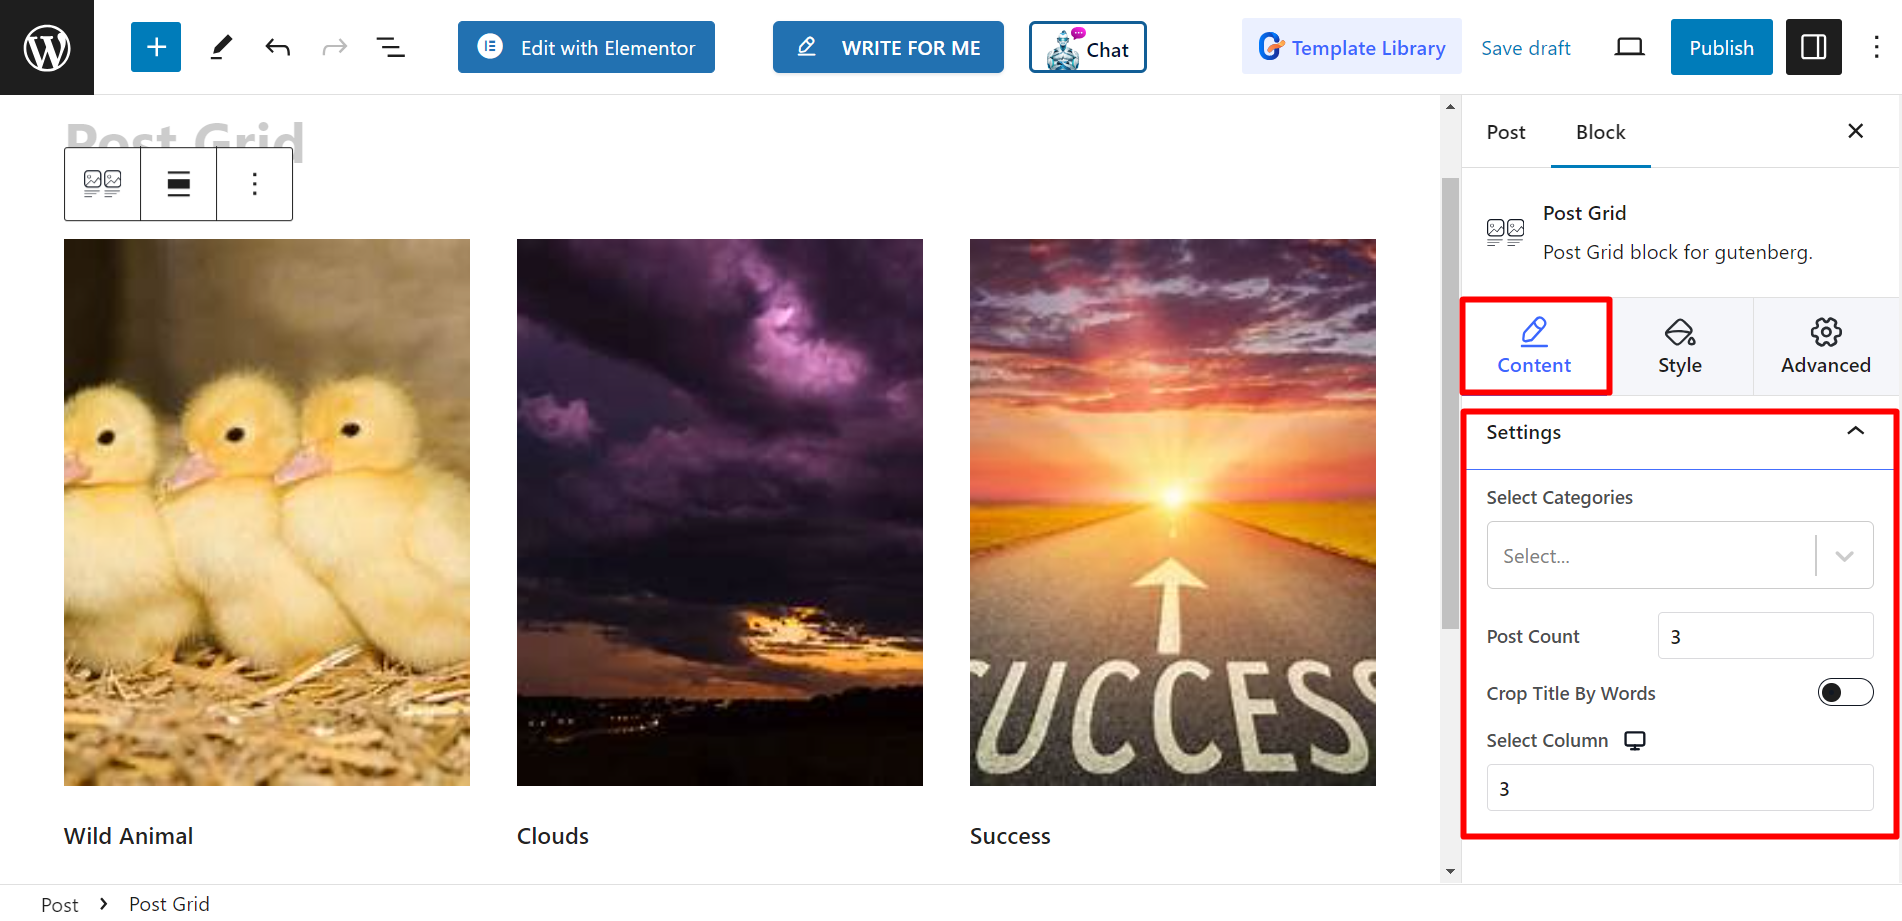
설정 섹션에서 다음을 볼 수 있습니다.
- 카테고리 선택 : 여기에서 게시물 카테고리를 선택할 수 있습니다.
- 게시물 수 : 여기서는 표시하려는 게시물의 수를 설정할 수 있습니다.
- 단어별 자르기 제목: 필요하다면 짧은 게시물 제목을 유지할 수 있습니다. 버튼을 켜면 잘라내고 싶은 단어 수를 조정할 수 있습니다.
- 열 선택 : 이 옵션을 사용하면 열 번호를 설정할 수 있습니다.

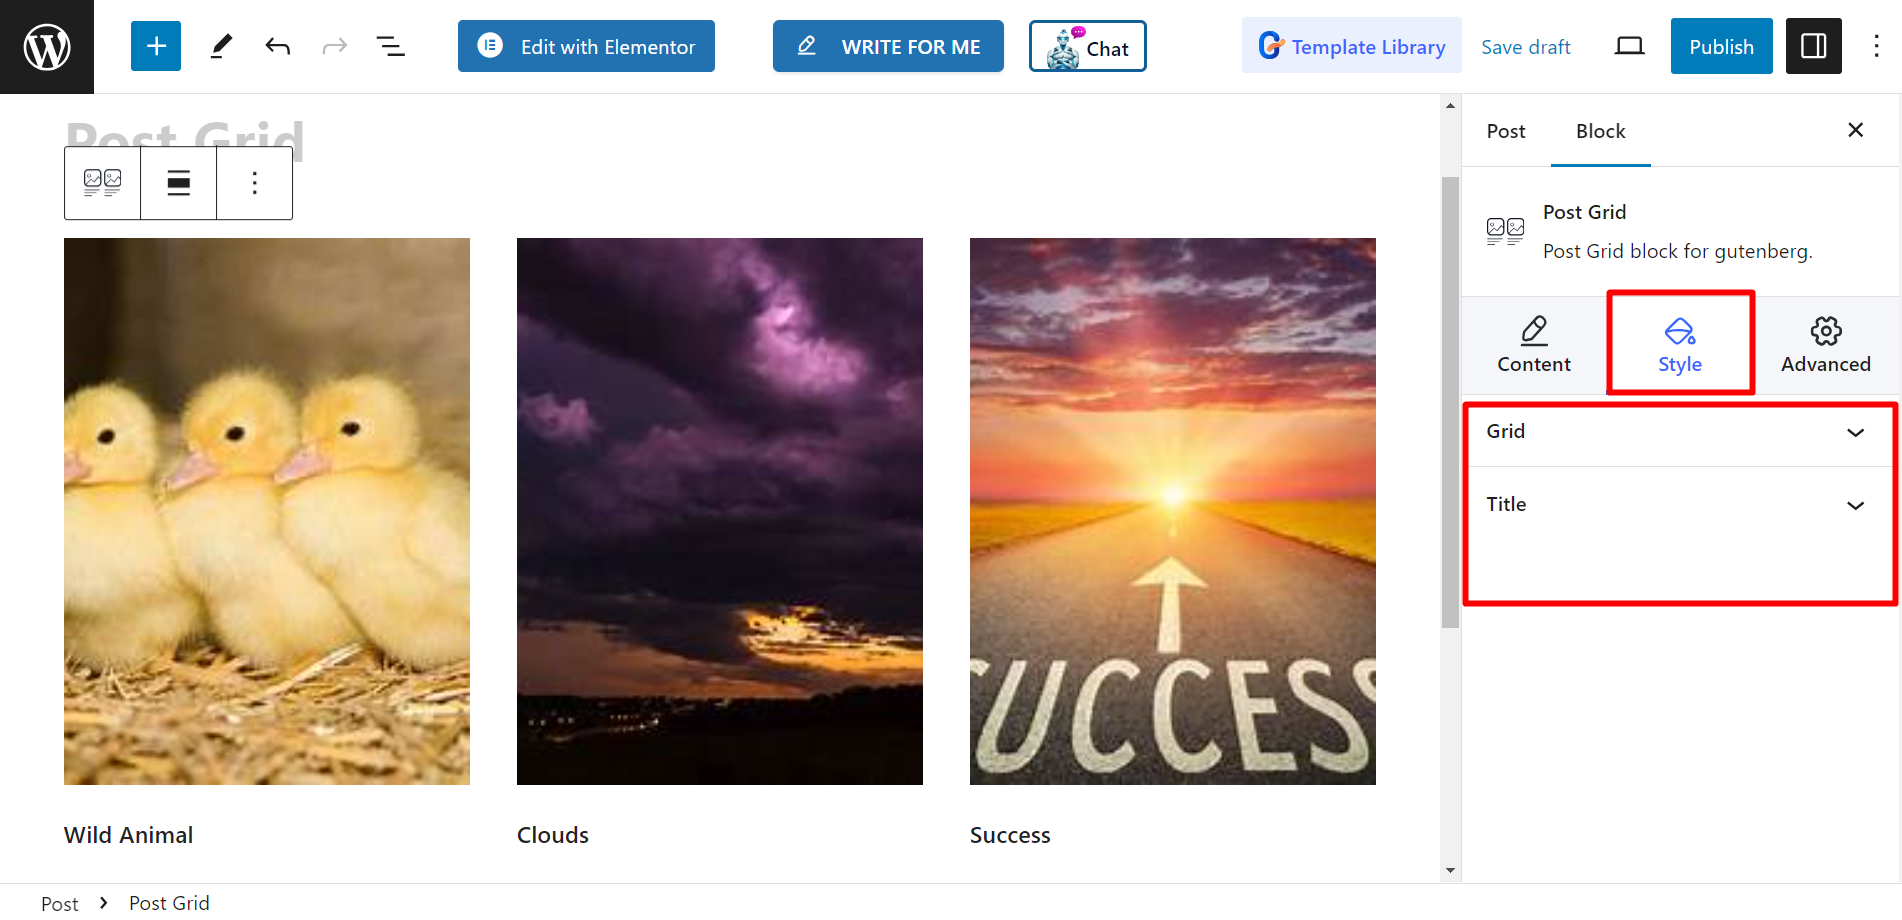
스타일 #
그리드 – 높이와 간격 막대는 여기에서 찾을 수 있으며, 이에 맞게 조정할 수 있습니다.
제목 - 스타일 옵션으로는 타이포그래피, 색상, 호버 색상, 여백이 있습니다.

이제 이러한 단계를 완료하고 선호도에 따라 게시물 그리드의 스타일을 지정하세요.


