


The Gutenberg Block editor covers most of the web design needs. However, there are times you want a more personalized or a specific custom solution within this canvas. You can reuse those design elements repeatedly throughout your website with ultimate flexibility. This is where a custom block comes in.
In this guide, I’ll guide you on how to create custom blocks in Gutenberg. No worries, if you’re not a coder or have no web-development knowledge. Creating custom block patterns is a far better approach to make a custom and tailored solution for you.
However, you can find solutions in both methods in this tutorial. But first, let’s learn about the basics of custom blocks.
Quick Overview
This tutorial discussed on the easiest methods on how to create custom blocks in Gutenberg.
Tools Used: WordPress, GutenKit
You will learn a simplified, no-code way to create custom blocks:
✅ Given shortcodes to create a sample block.
✅ Get more functional with Custom block patterns.
✅ Effortless custom block pattern creation with drag-and-drop page builder plugin.
✅ Coding free personalized blocks to lessen repetitive work.
The first method presents the coding way as well, but for a hassle free creation, follow the second method.
What Are Custom Blocks in Gutenberg?
Gutenberg block editor is already equipped with different native and third-party blocks. The elements you’re thinking of using to create website pages, such as paragraphs, images, headings, buttons, galleries, and columns, can be found in the Gutenberg Block Library. Additionally, you can also use a Gutenberg page builder like グーテンキット to enhance your website in various animated and functional aspects.
However, users still have their unique needs and specific functional requirements that are not covered by currently available block-based plugins. This is where custom blocks come with big assistance. You can extend the block editor in your personalized way.
And, the good thing is WordPress always provides the room for custom building. But the main challenge in developing a custom block is coding knowledge. If you’re not familiar with creating a web development environment and don’t have any HTML & CSS knowledge, making your custom block can be hard.
A good alternative to this would be creating your custom block patterns. These custom patterns can ease your design work by automating repetitive work. But, for now, we will explore the easiest way to develop custom blocks in Gutenberg.
How to Create Custom Blocks in Gutenberg?
Now let’s look at how to create custom blocks in Gutenberg using code. If you’re not familiar with coding, this part might be a bit challenging. Feel free to skip ahead to the section on creating a custom block pattern.
Method 1: Manually Adding Custom Blocks
The manual process of adding a custom block to the Gutenberg website starts with building a WordPress plugin. This plugin will allow us to add a custom block to the Gutenberg editor. Here, the plugin enqueues or calls up your block scripts in the Gutenberg editor.
Let’s see how to do it:
Step 1: Build a Plugin to Load Your Block Files
First, you need access to the wp-content/plugins directory. To do this, connect to your website via SFTP using a tool like FileZilla. Once connected, navigate to the WordPress root folder. Then, open the wp-content/plugins folder. Here, you will see a list of folders for all the plugins installed on your site.
And, right here, we’ll open a new folder. For this tutorial, the file name is “sample-custom-block”. Within this folder, add a new plugin.php file and insert the code below:
Embedding this code will load a JavaScript file named “sample-custom-block”. Do note that this file should be placed after wp-blocks and wp-editor due to the script dependencies. The wp-blocks library manages block registration and core block functionality, while wp-editor provides essential components like the Rich Text editor and other editing tools commonly used in custom blocks.
Step 2: Register Custom Block and Configure Its Attributes
In the previous step, I have already created the PHP file. Now, I’ll focus on creating the sample-custom-block.js JavaScript file inside the same plugin directory (plugin.php).
Once the plugin file is created, you’re ready to code. Open the file in a text editor and write your code. In the example below, I’ve written some code where I want a custom block that will let me add a social share box. Along with some border styling, I want to add some text and icons for social platforms.
Once you’re done with the coding endeavours. Just save the sample-custom-block.js file. Now you’re left with some final work, like activating the plugin by navigating to WordPress Dashboard > Plugins.
Next, open the block editor and search for your custom block and see how it works.
Do you find the above process challenging? For you or even anyone inexperienced with coding, creating custom blocks may be difficult. For this reason, I encourage you to create custom block patterns instead of custom blocks.
And, not just the default WordPress patterns! I’ll show you the most advanced way to create custom block patterns that will help you easily create your custom designs for sliders, galleries, columns, paragraphs, or images with exceptional animations and functionality.
Method 2: Simplify with Custom Block Patterns Instead of Custom Blocks
Before starting to make your custom block pattern, I would like to give you some idea of what WordPress custom block patterns are. They just don’t replace repetitive work, but also help to avoid inserting shortcodes or copy-pasting complex functions.
It works like pre-made templates. You just add one and tweak some text or images. That’s it. Now, making a custom block pattern can be done with the default functionality of the WordPress block editor.
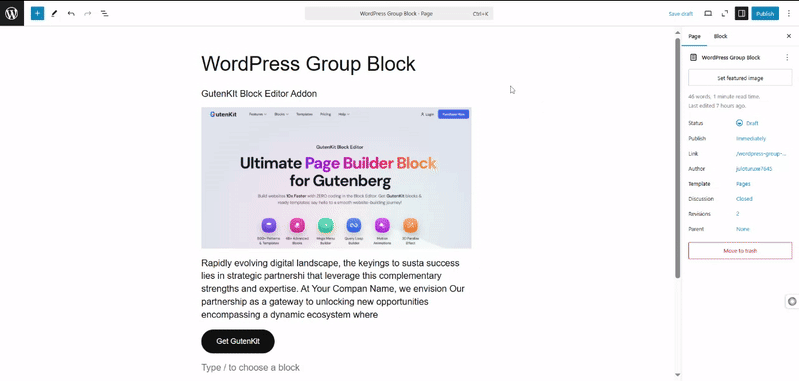
You can easily turn multiple blocks into group blocks, see above 👆.
Navigate to the group block toolbar and click the three-dot icon; doing this will show you various options. From here, you need to select the “パターンを作成する” オプション。
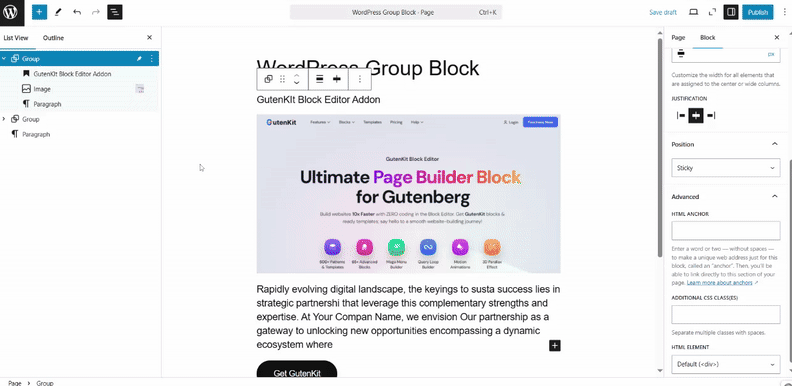
Then, you’ll see an option to enter the name & category for the pattern. When done, hit the “Save” オプション。
Your saved pattern will be available for use on any page or post. But, as I promised to show the most advanced option for creating Gutenberg custom patterns, let’s explore the modern way.
This approach utilizes a Gutenberg block editor plugin, and we’re using GutenKit. It has almost everything to extend your block-based website building. Additionally, to create custom block patterns, you can utilize its 容器 block. It can help you structure responsive and animated layouts.
You can access various layout styles while using the GutenKit Container block. And, it can accommodate any type of Gutenberg blocks. This means your custom block design can be achieved by joining different blocks into a single entity.
For example, you want to create a custom block that will help you add a section with title text and social icons, through which you will ask visitors to join your social platforms. But all the blocks available in the Gutenberg library are just helping you show social icons.
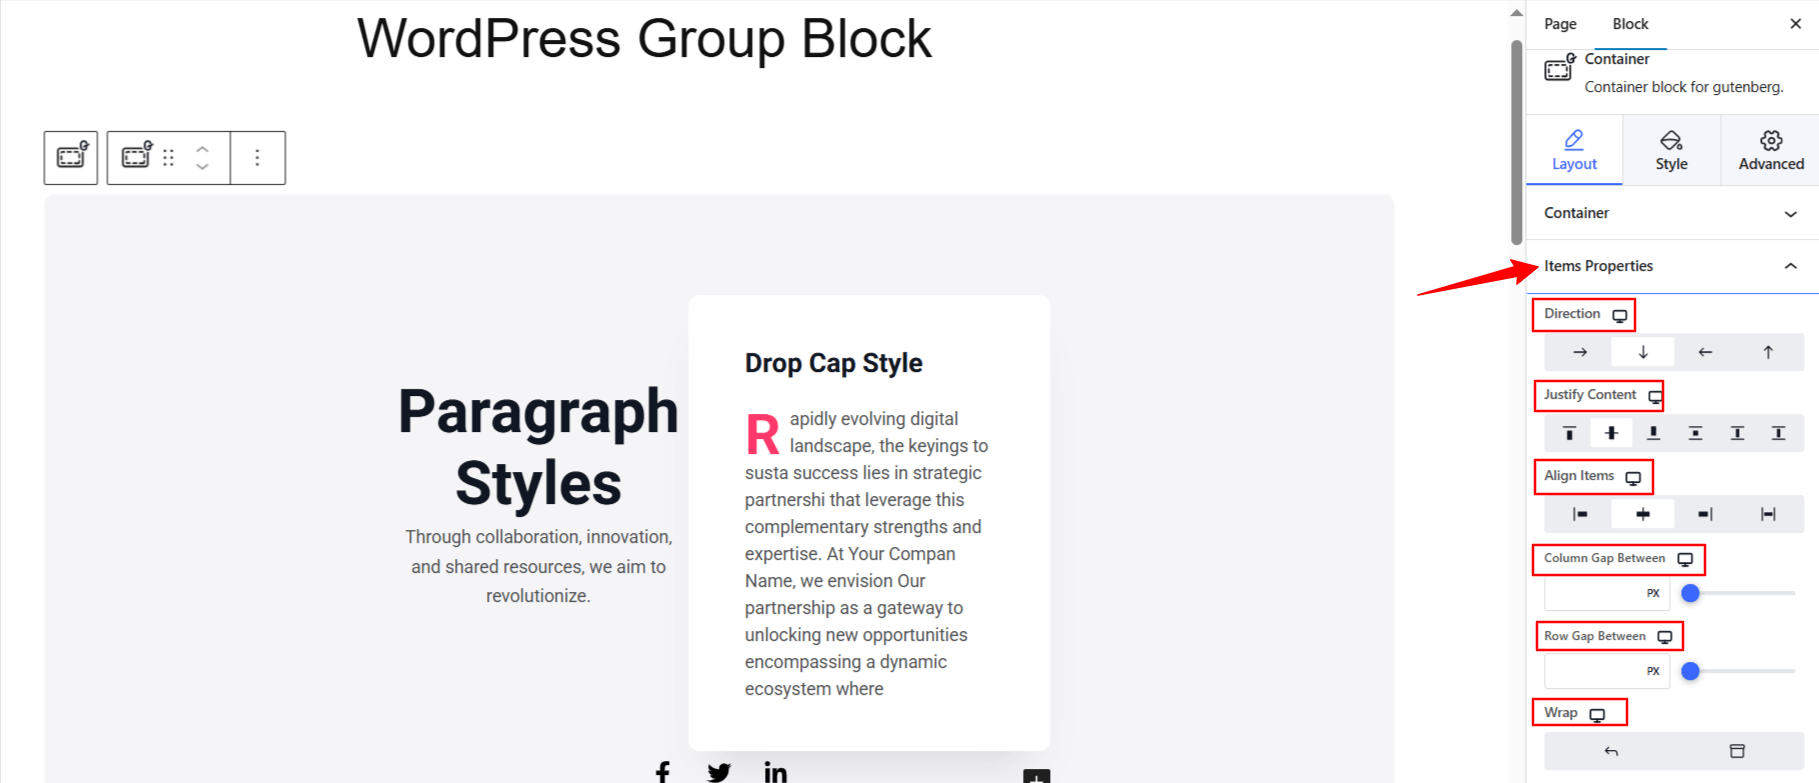
So this is where the GutenKit コンテナブロック comes in handy. For example, you can group a heading block and a social icon block within a container block. And, not only this, you can also adjust the container width and element width.
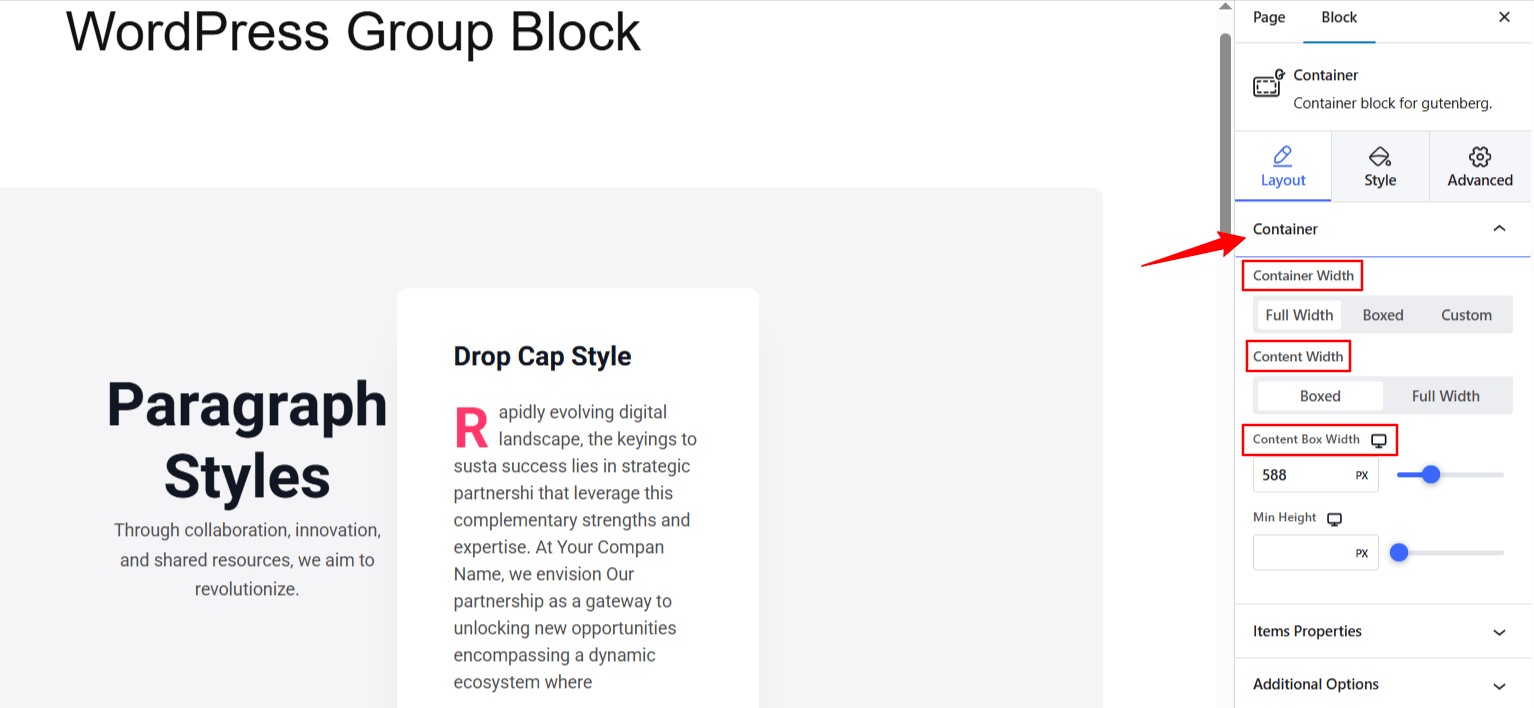
Further, you can set the direction, alignment, column gaps, and wrap functions. These advanced features are easily applicable through an intuitive interface.
GutenKit also supports state-of-the-art styling features. You can add different background types like parallax effects, glass morphism effects, gradient, video, and many more to your custom block layout. Further, there are different border styling and box shadow effects.
And, most importantly, you’re doing this without any coding. This is a much better and easier way to expand your web design than creating custom blocks.
まとめ!
Now you know how to create custom blocks in Gutenberg. Also, you are aware that making custom block patterns could be an easier option, but still offering the same advantage.
And, the Gutenkit container block can be the best option for holding multiple feature elements. And, you get the best personalized layout for your website.

コメントを残す