


PopupKit offers a variety of Floating Bar Campaign Templates to enhance user engagement. Floating Bars popup at the top or bottom of your screen, helping your audiences notice and click important CTAs, notifications, or other messages as they scroll around a page.
Learn how to use PopupKit to select and design a Floating Bar template that drives users into accessing your campaigns.
Selecting and Using Floating Bar Templates #
First things first. To try PopupKit, you need to have WordPress 6.1 or higher set up and the plugin installed. And activated.
If you need to learn how to do it, check out How to Get Started with PopupKit per ulteriori dettagli.
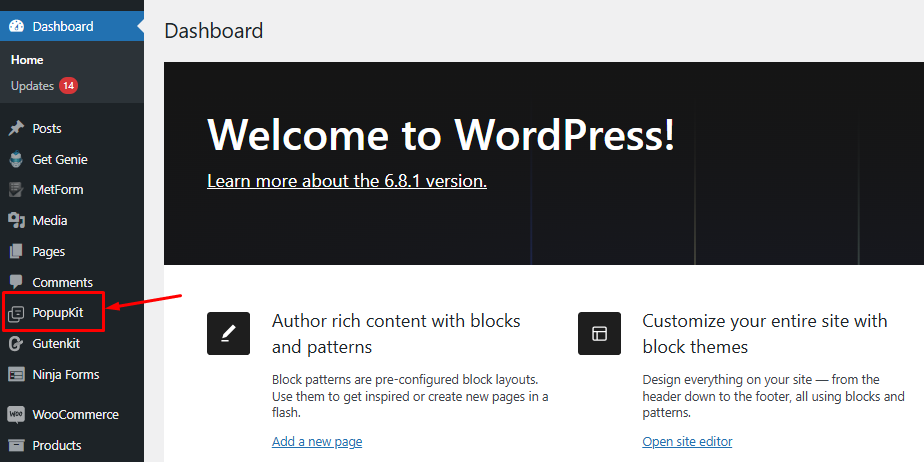
To start off using a Floating Bar via PopupKit, first navigate to PopupKit from your WordPress dashboard.
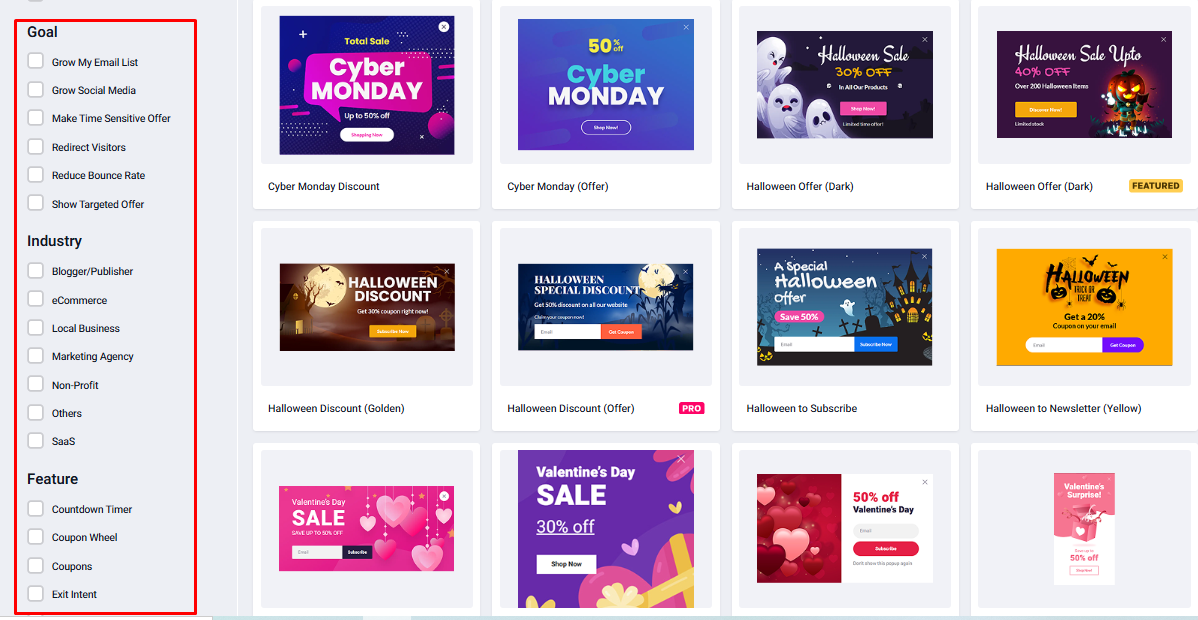
Then, select “Templates” tab under PopupKit. Here, you will find a variety of templates for various campaigns and occasions.

From there, your selection process starts.
➡️First, you will select the “Floating Bar” campaign under Select a Campaign Type.
➡️Next, you’ll see multiple Floating Bar templates appear on the screen. From there, you will select a template of your choice. For the purpose of this guide, we’ll select a template on Black Friday.
➡️You can select the “Type” of template from the left of your screen, along with the “Season”.
➡️Here, we are selecting “All” and “Black Friday” respectively.

Other Seasonal templates include layouts for Christmas, Cyber Monday, New Years, Halloween Summer, etc. You just need to ‘tick’ the box of your preference.
☑️PopupKit also lets you select various templates based on Goals, Industry, and Features.
Using the Floating Bar Template #
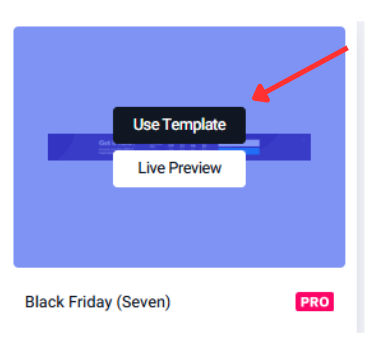
There is a button to see a preview of your chosen template. To use the template:
- Clicca sul ‘Use Template’ pulsante
- Then, you’ll see What is your campaign name? ➡️Write a name in the field
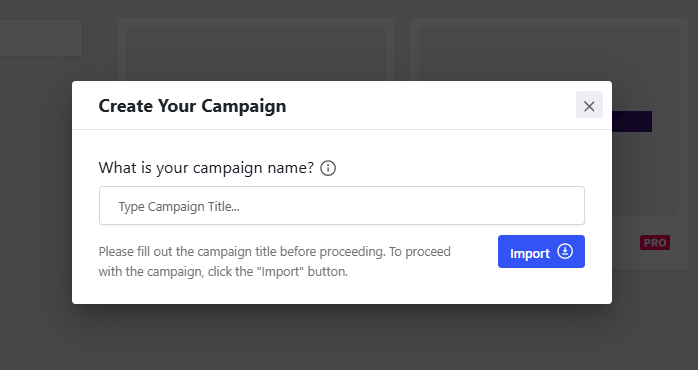
- Click on the ‘Import’ button. It’ll take to the editor and you’ll can work accordingly.
Floating Bar Template Customization #
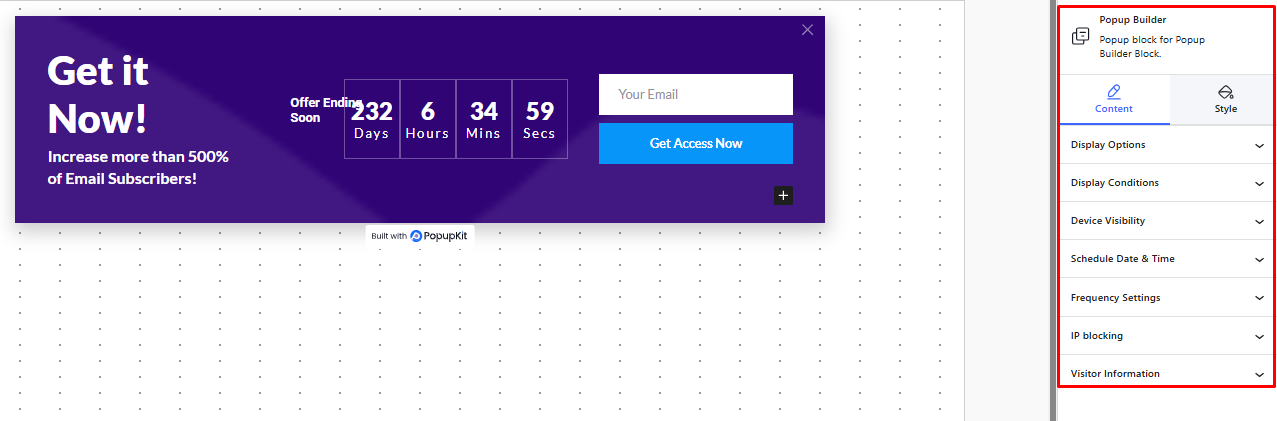
When you are at the Floating Bar WordPress Editor, you have numerous editing options.
To the right of your screen, you’ll find the Block menu, where you have Contenuto E Stile tabs. We’ll explore these in detail now.
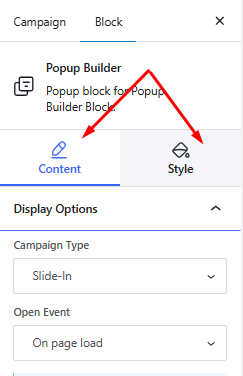
Customizing through the Content Tab #
Under the Content tab, you’ll find the following options:
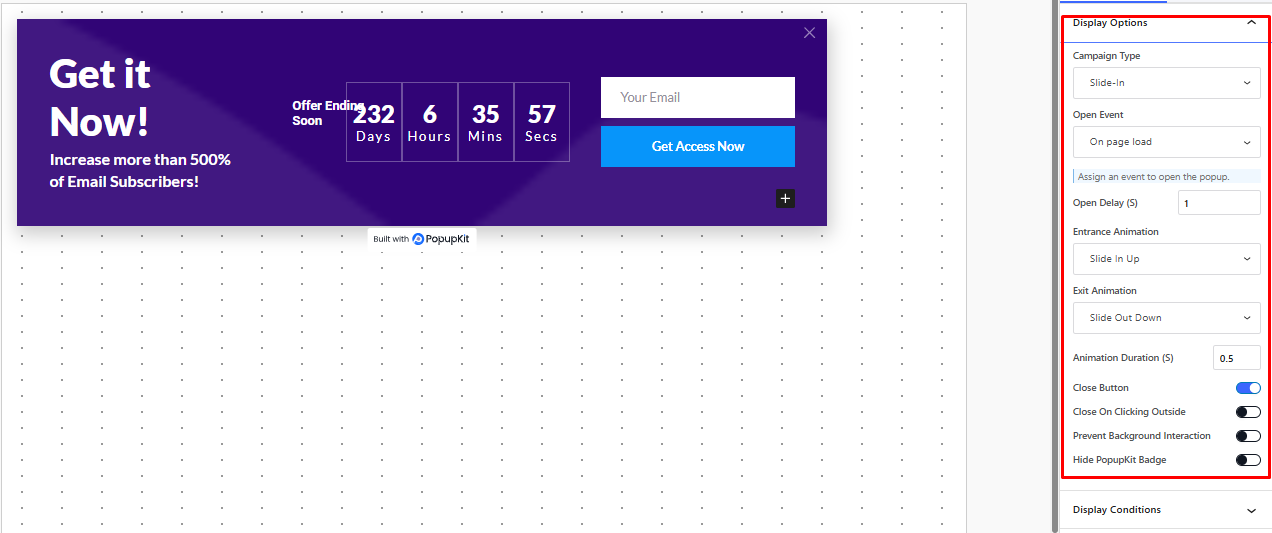
IL Display Option lets you reselect the Campaign Type, Open Event, time of delay of event opening, determining the Entrance and Exit Animations, and few other features to help you customize as per your choice.
Con il Display Condition, you can set one or more conditions that will trigger the Floating Bar popup to appear.
For instance, if you want, the popup can appear when a user visits the site. Or, it can be triggered when a particular page is accessed. Or even when you enter a particular post.
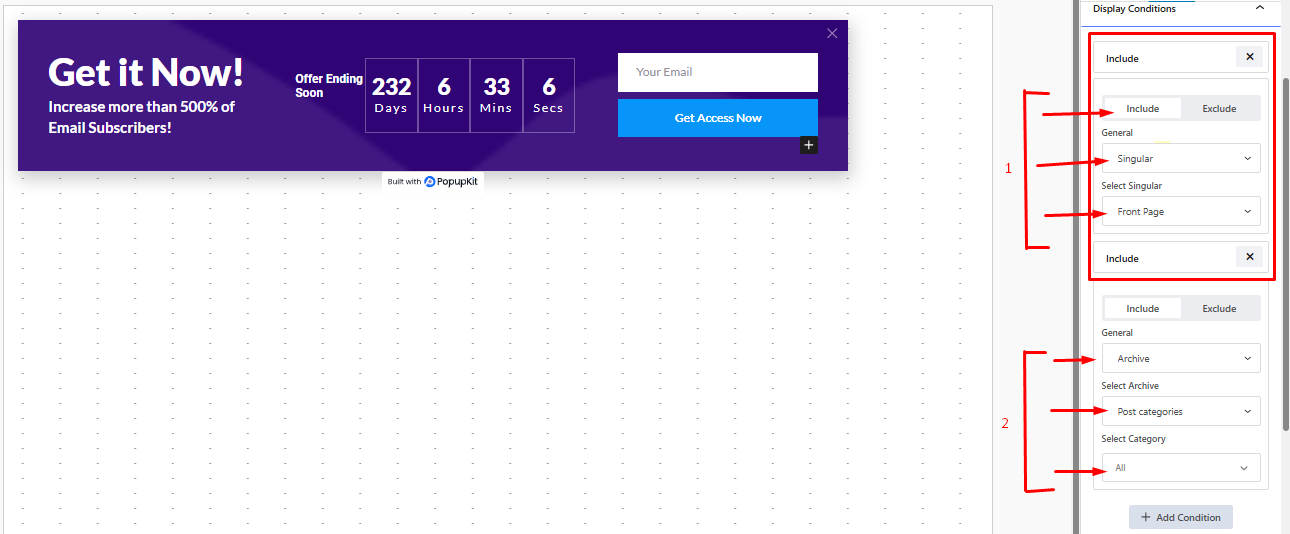
Here, we selected two separate conditions. One based on a Singular page. Another condition is set on Post Categories.
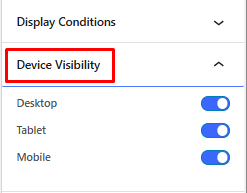
Next up is the Display Visibility where you can choose for which devices the popup will show up.
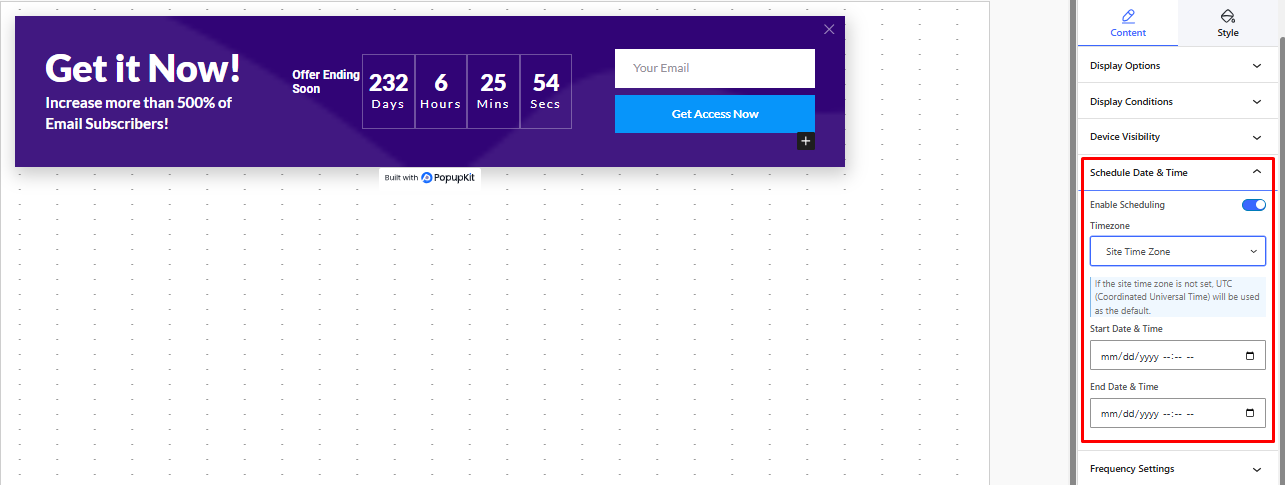
After that, you can enable the scheduling of the popup, via Schedule Date and Time:
Con Frequency Settings, you can select which audiences to show the popup to (new, returning or everyone). And also how many times a day the floating bar will appear.

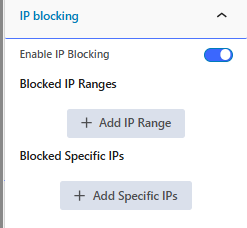
Finally you have the IP Blocking, which lets you choose IPs you don’t want the popup to show.
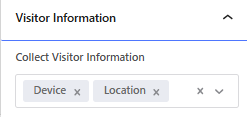
E Visitor Information, which lets you collect user information based on your selected parameter.
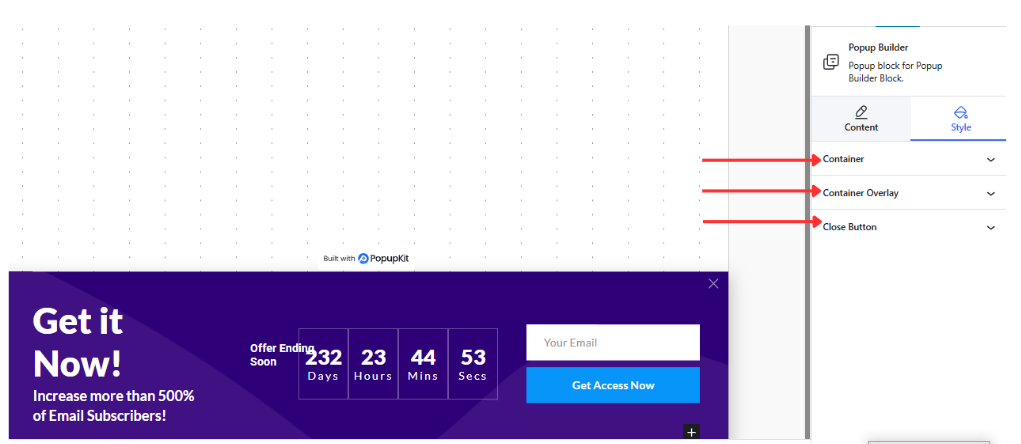
Customizing through the Style Tab #
IL Stile tab lets you customize your Floating Bar with the Container, Container Overlay, and Close Button options.
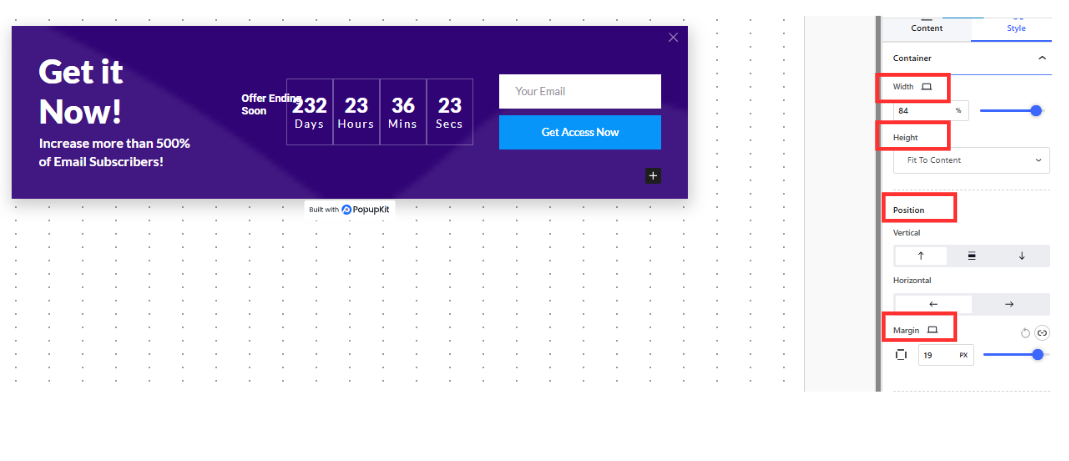
IL Container part lets you customize the Floating Bar’s width, height, position, and margins. Here, the parameters are marked in red.
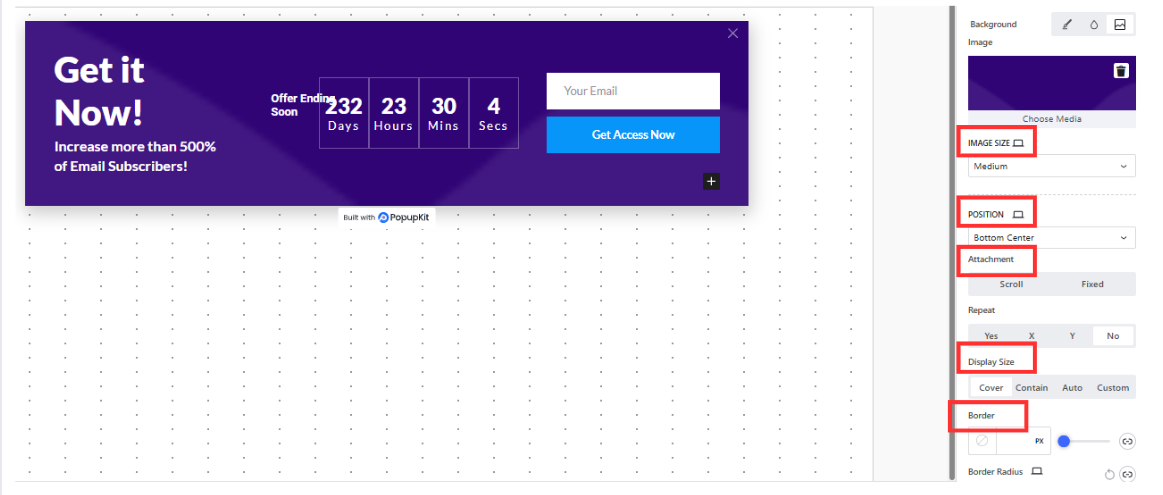
Scroll further below, you have the options to edit the Image in the background of the popup.
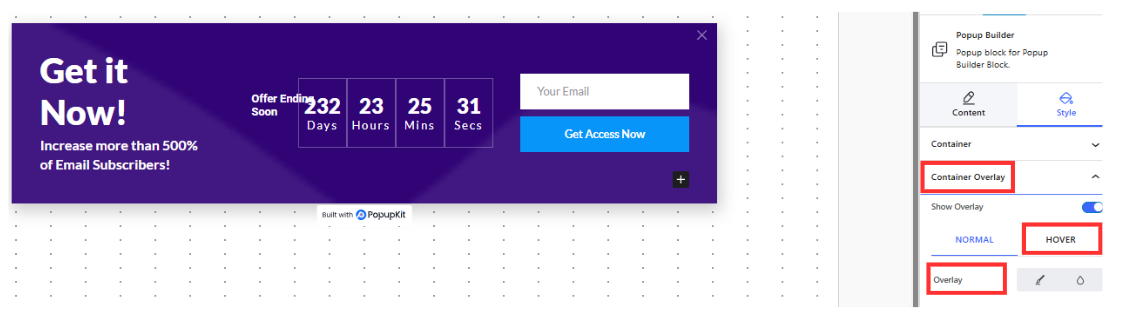
Moving on to the Container Overlay, you can keep the overlay “Normal” or make it “Hover” with customized transition speed.
You can also edit the Close Button with PopupKit. It lets you select the Icon, Size, Position, Color, Border, Background, etc. to add a Close button of your choice.

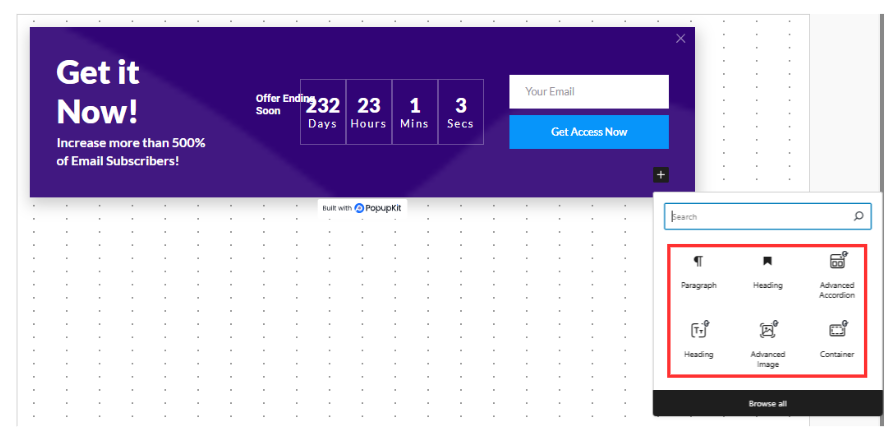
Finally, by adding “blocks” using the “+” sign on the floating bar, you can customize at will.
Now that you have learned how to create a floating bar campaign via PopupKit, give it a shot and try it today for optimal popup experience!


