Notre Générateur de fenêtres contextuelles WordPress plugin lets you create and display popups on your site. These popups can be used for lead generation, promotions, announcements, or user engagement.
Let’s learn what features PopupKit offers.
How to start with Popup builder? #
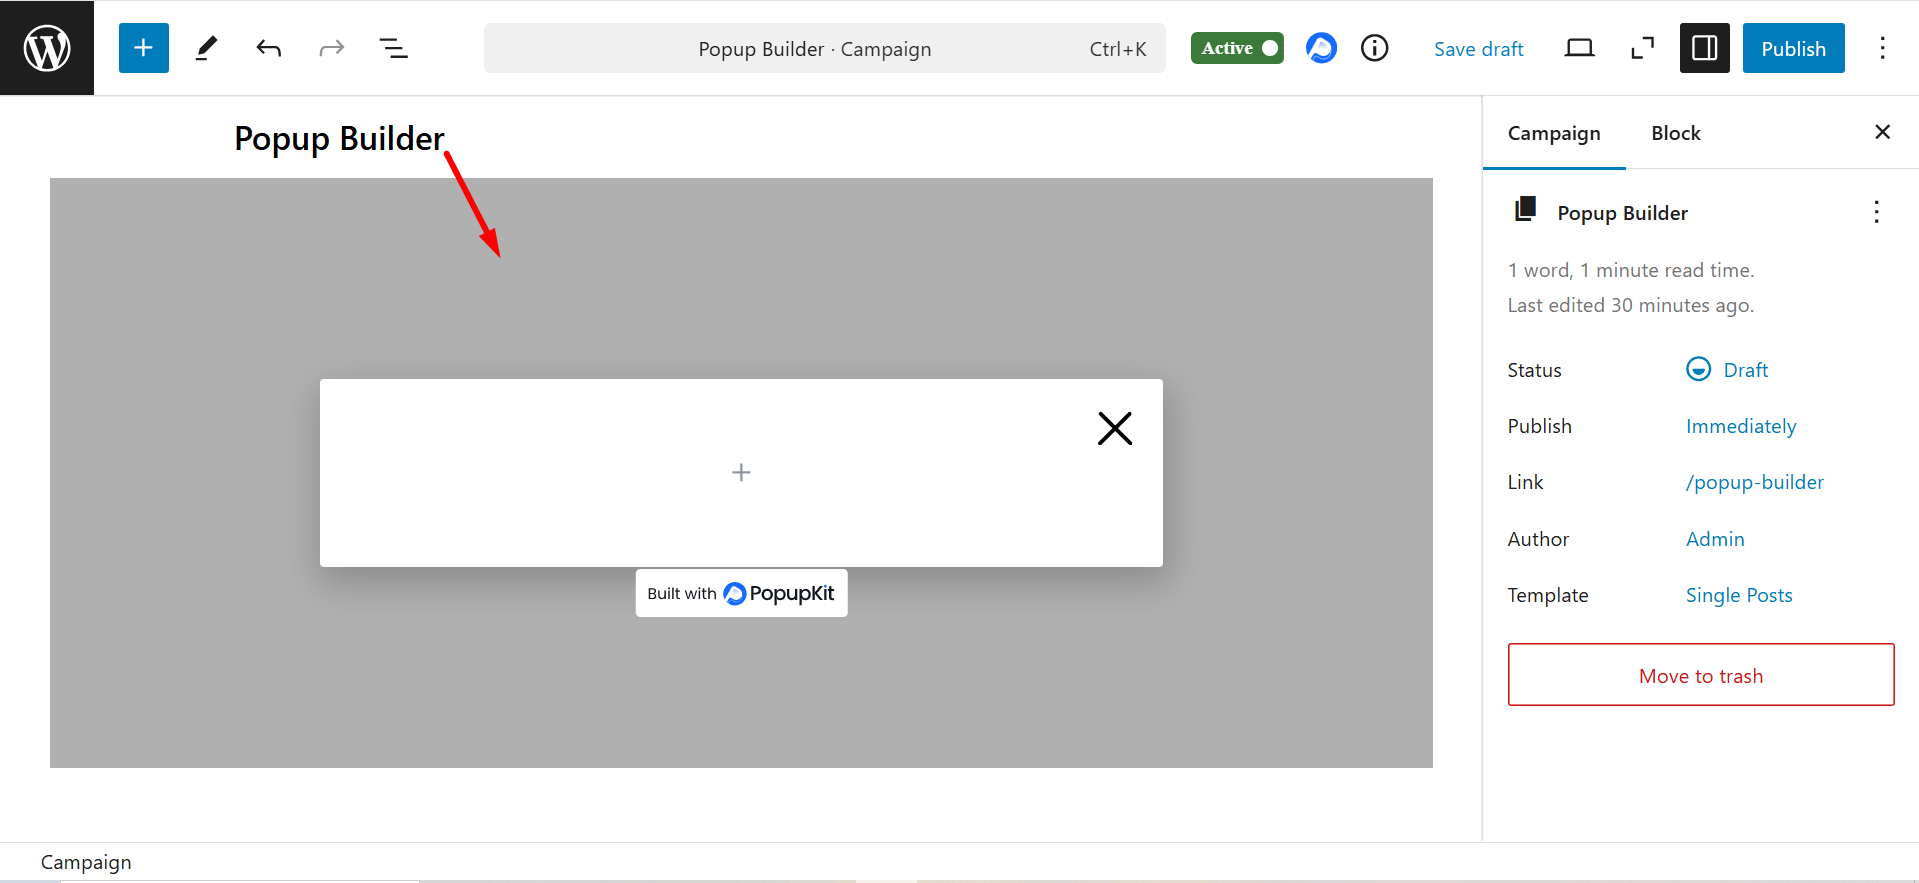
Depuis votre tableau de bord WordPress find PopupKit > Click on the “Create Blank”

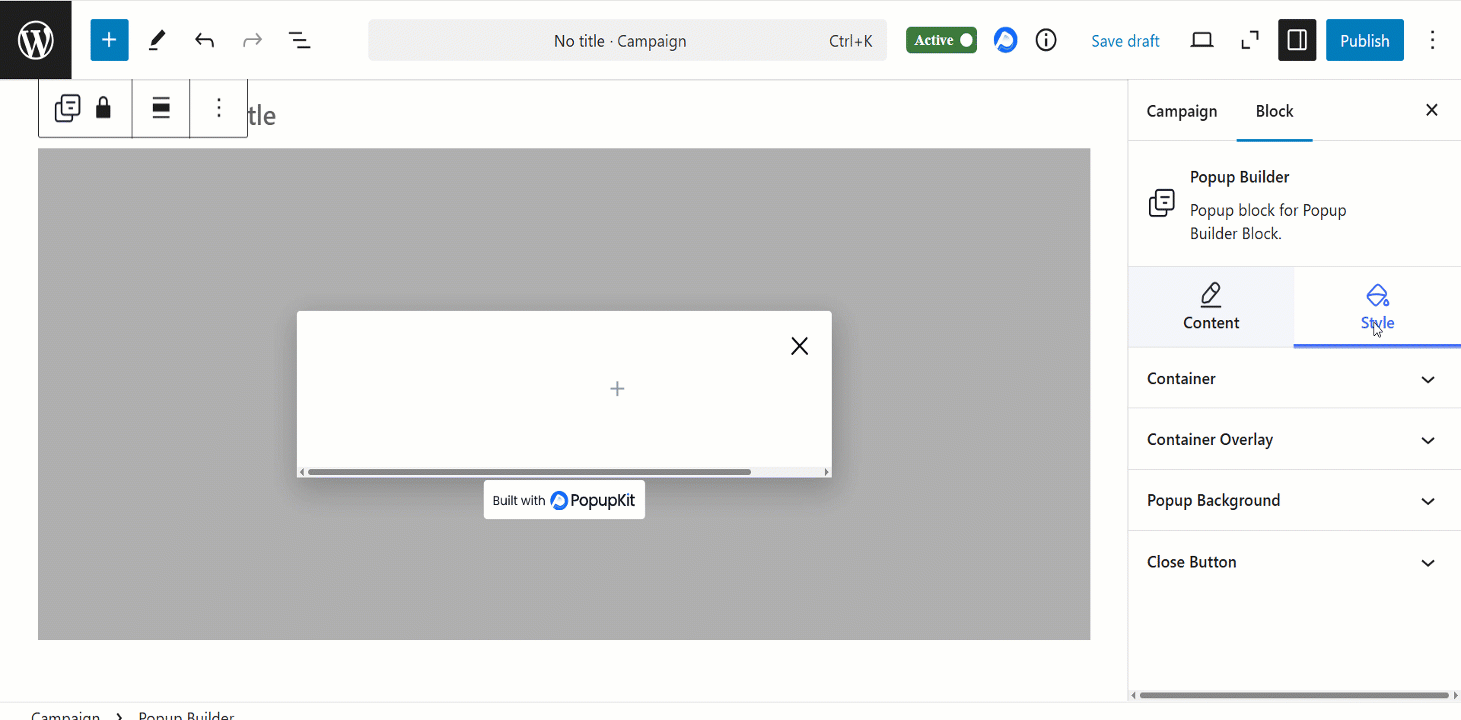
This is the popup builder looks like 👇
Features of PopupKit #
It has two tabs: Content and Style.
Onglet Contenu #
- Display Options
- Campaign Type: Defines the type of the popup, such as floating bar, slide-in, full screen etc.
- Événement ouvert : Determines how the popup is triggered, e.g., page scrolled, on page load, after inactivity, or others.
- Animation d'entrée : Specifies how the popup appears, e.g., fade-in, slide-in, zoom-in, etc.
- Sortie de l'animation : Determines how the popup disappears, e.g., fade-out, slide-out, zoom-out, etc.
- Animation Duration (s): You can set the speed of the animations (e.g., 0.5 seconds for smooth transitions).
- Bouton Fermer : Allows users to close the popup with an “X”.
- Close on Clicking Outside: Enables closing the popup when the user clicks outside its area.
- Prevent Background Interaction: Prevents users from interacting with the page content while the popup is active.
- Hide PopupKit Badge: Option to remove the PopupKit badge.
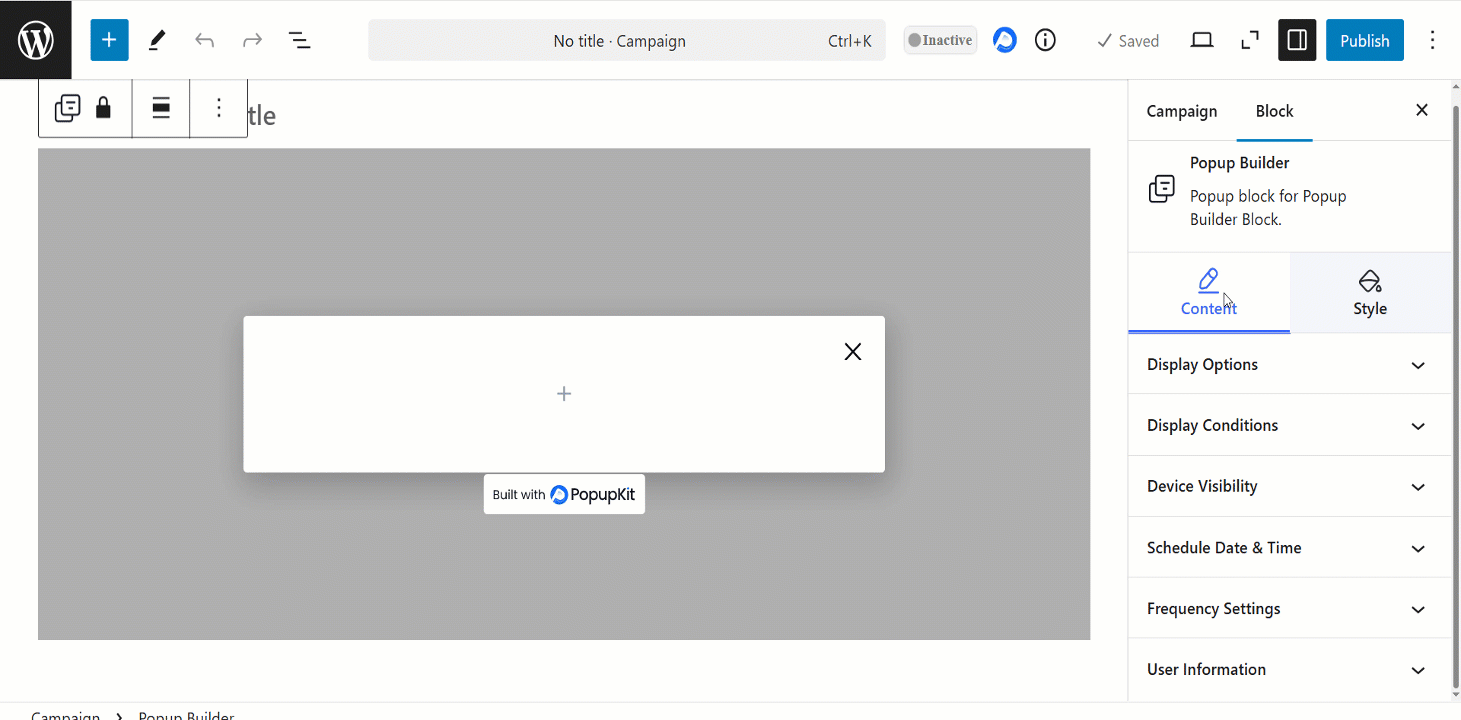
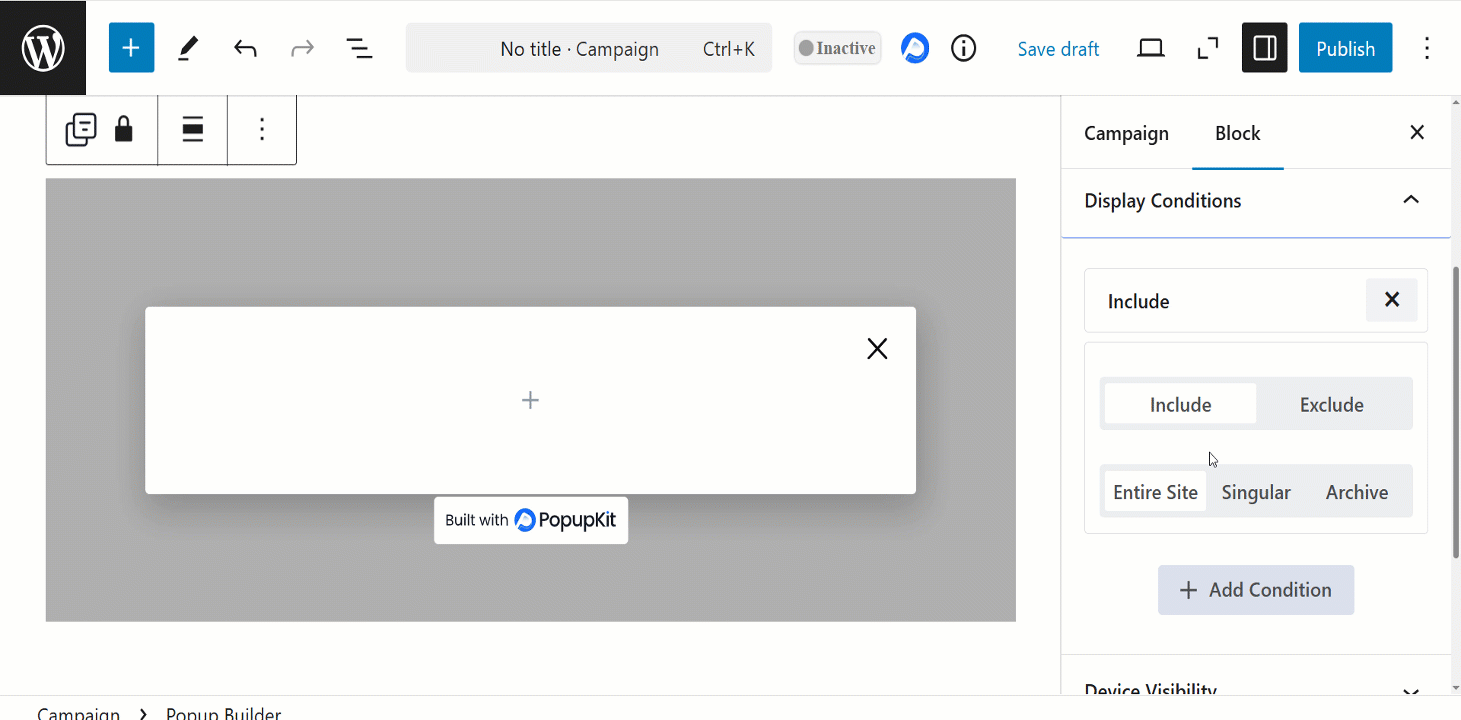
2. Display Conditions: Defines where and when the popup should appear (e.g., specific pages, after X seconds, based on user behavior).
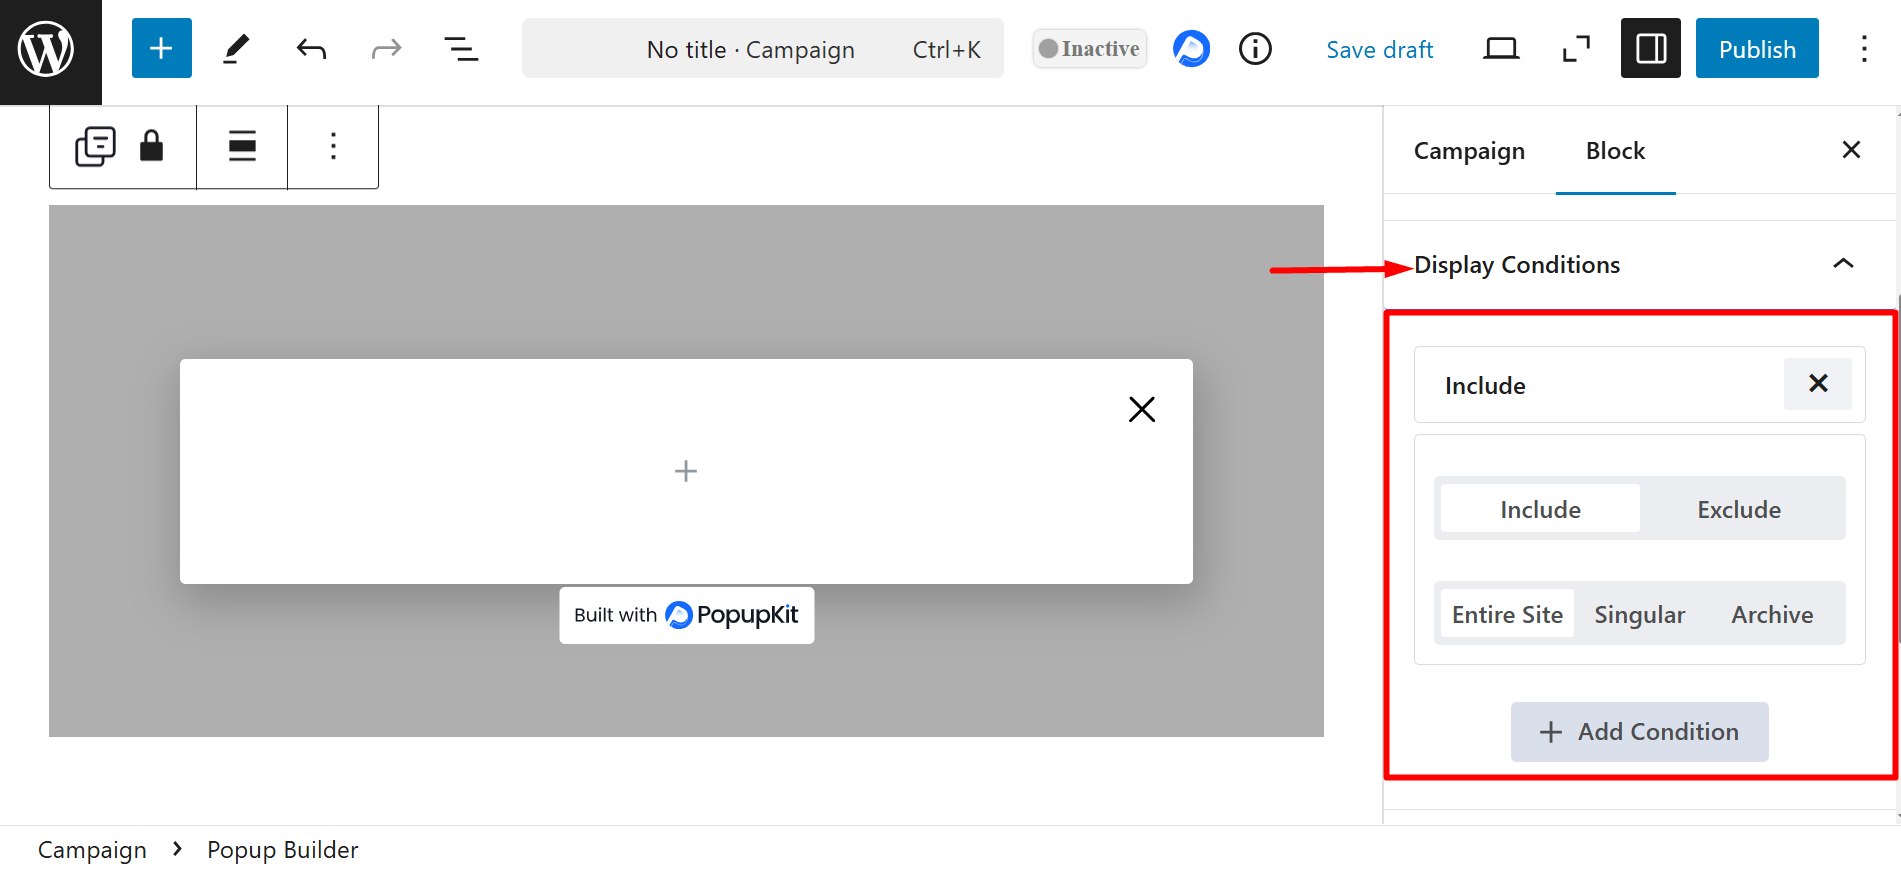
- Condition: Include
- Entire Site – Display the popup on all pages across the entire website.
- Singular – You can display a popup on a specific page or post, such as, Front page, Child page, 404 page, In post tags etc. However, based on your singular selection, you’ll get option to choose a page, template, tag category, etc.
- Archive – It lets you show the popup on all archive pages, specific category archives, tag archives, date archives or others. These controls are available at Select Archive and under another control (Select Tag, Select Category, etc.).
- Condition: Exclude
- Entire Site – Prevent the popup from appearing anywhere on the site.
- Singular – You can prevent the popup from appearing on a specific page or post, such as, Front page, Child page, 404 page, In post tags etc. You can choose these options under Select Singular control. However, based on your singular selection, you’ll get option to choose a page, template, tag category, etc. under another control (Select Template, Select Tag, Select Category, etc.).
- Archive – It allows you to skip displaying the popup on all archive pages, specific category archives, tag archives, date archives or others. These controls are available at Select Archive and under another control (Select Tag, Select Category, etc.).
3. Device Visibility: This feature allows you to control whether a popup appears on specific devices, such as desktop, tablet, or mobile. You can enable or disable popups based on the user’s device to ensure the best user experience and optimize performance.

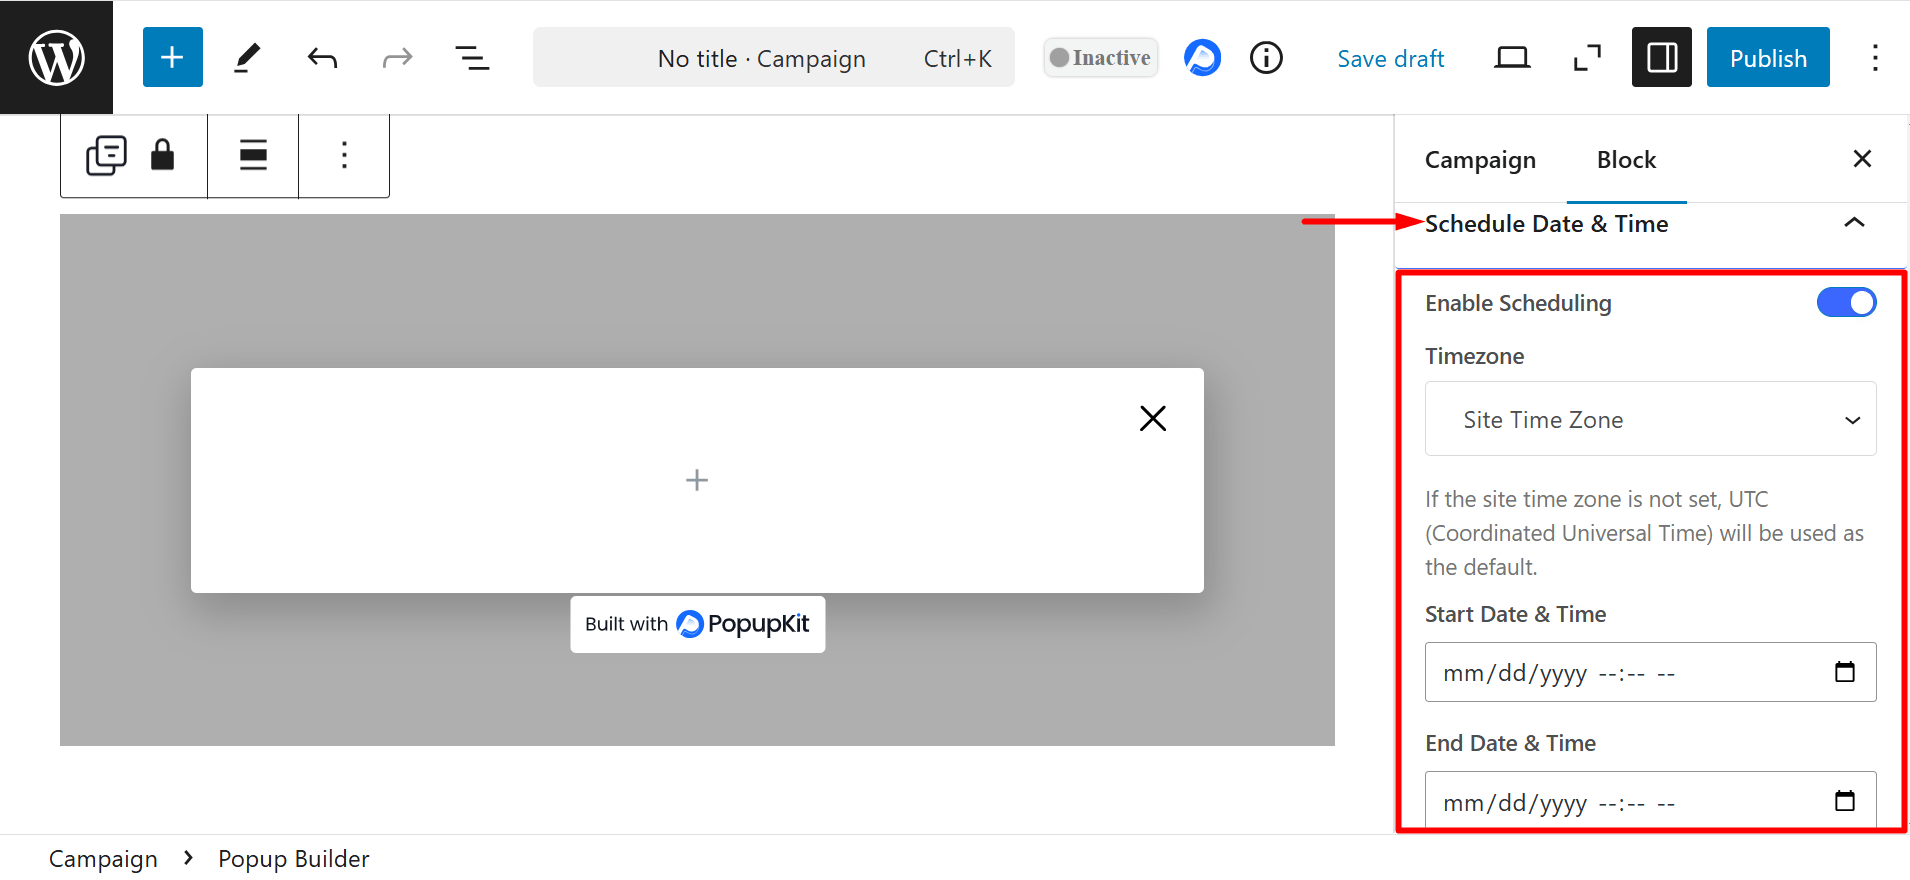
4. Schedule Date & Time: The feature allows you to set specific start and end dates for when a popup should appear. It is useful for time-sensitive offers, promotions, or campaigns.
You have to toggle the Scheduling button to enable the option.
- Timezone: You can choose between Site Time Zone (based on your website’s server settings) or Visitor Time Zone (adjusted based on the user’s location).
- Start Date & Time: Met le beginning date and time for when the popup should appear.
- End Date & Time: Met le ending date and time for when the popup should automatically disappear.
5. Frequency Settings:
- Display to Visitors:
- Everyone: Show the popup to all visitors, whether new or returning.
- Display Frequency: Le Display Frequency options control how often a popup appears to a visitor, with choices like once per day, every session, ou every few days/visits.
- Return: Display the popup only to returning visitors (those who have visited before).
- Day Count: Here, you can set the number of days since a returning visitor last accessed your site.
- Display Frequency: Le Display Frequency options control how often a popup appears to a visitor, with choices like once per day, every session, ou every few days/visits.
- New: Show the popup only to new visitors (those who have not visited the site before).
- Day Count: Here, you can set the number of days since a new visitor last accessed your site.
- Everyone: Show the popup to all visitors, whether new or returning.
- Don’t Show to Converted Visitors (Button): Enable the button to prevent the popup from showing to visitors who have already converted (e.g., made a purchase or signed up).
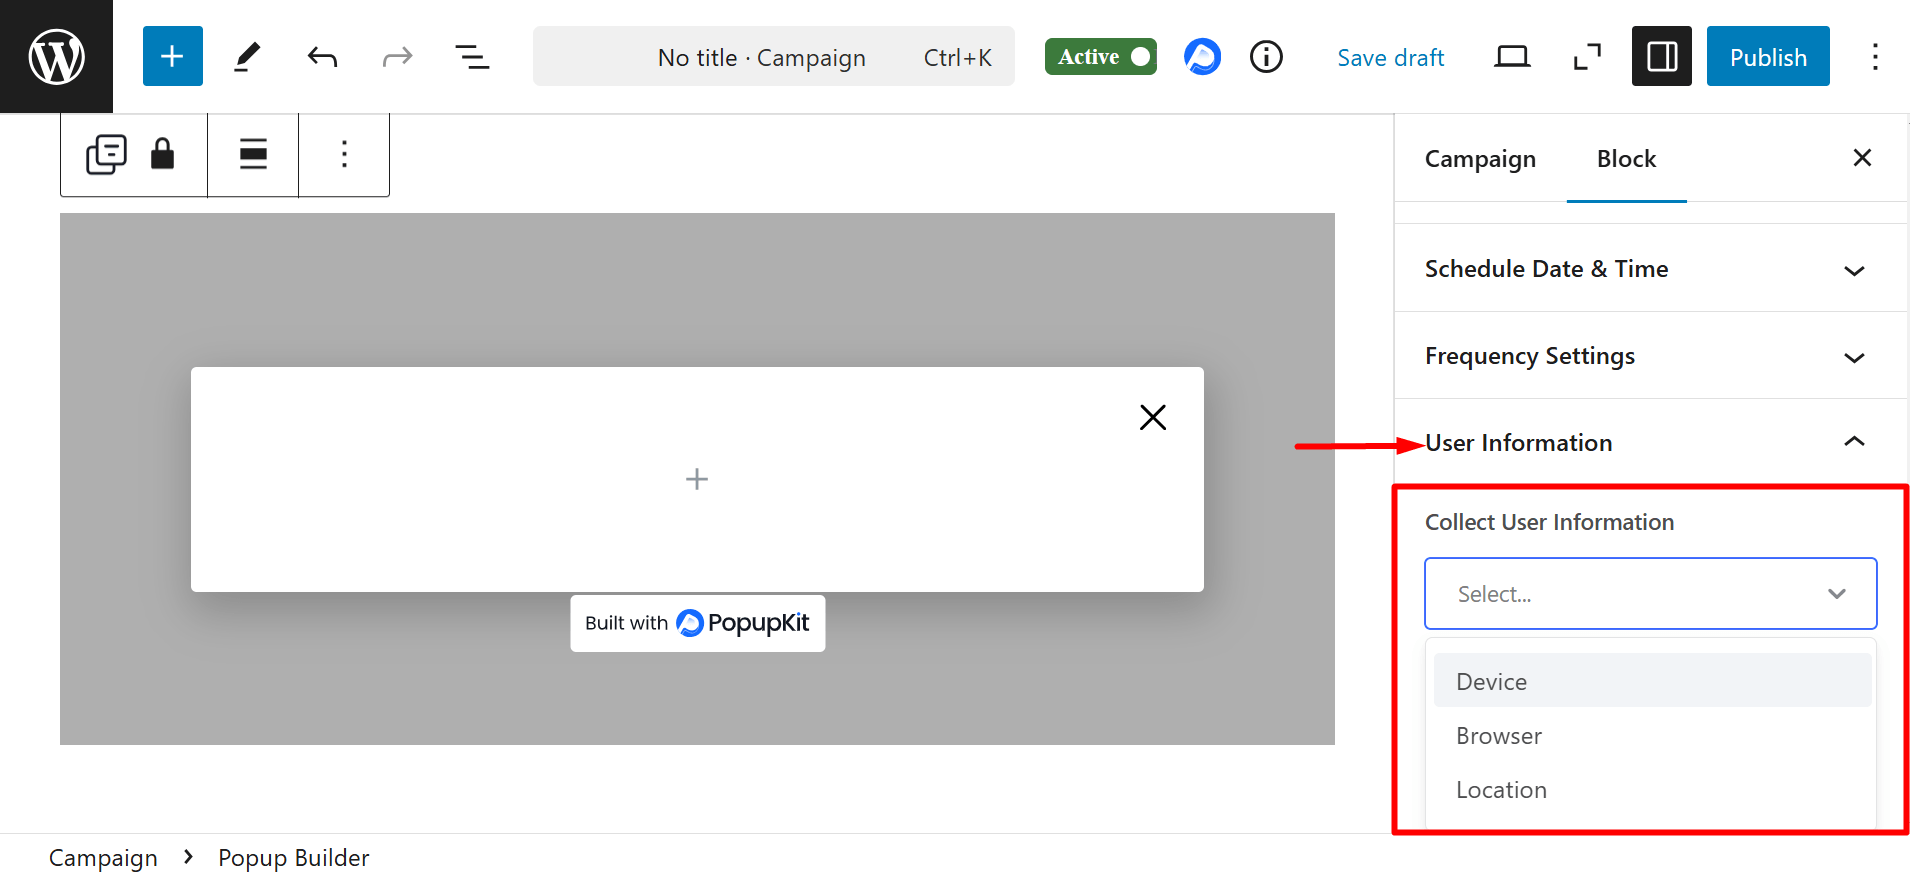
6. User Information: It lets you collect visitor details. Under the Collect User Information, you can choose options like browser, device, and location.
Onglet Style #
Container: You can adjust width, height, position, background, padding, margins and others of the popup container. It controls the overall layout and appearance of the popup.
Container Overlay: C'est le background layer behind the popup that helps highlight the popup content. You can show overlay, customize its color, opacity, image, etc.
Popup Background: Defines the background of the popup itself, separate from the overlay. You can set classic and gradient color to enhance background’s appearance.
Bouton Fermer : This button lets users dismiss the popup easily. You can modify its size, position, color, icon style, and hover effects for better visibility.