Pour afficher une liste de pages de votre site Web, vous pouvez choisir le bloc Liste de pages GutenKit. En personnalisant l'apparence du bloc, vous pouvez afficher les pages dans une variété de styles.
Nous allons discuter ici de la façon d'utiliser le bloc de liste de pages GutenKit. Commençons !
Comment pouvez-vous utiliser le bloc de liste de pages ? #
Accès à votre tableau de bord WordPress –
- Trouver Pages/Messages > Ajouter une nouvelle page/Message ou commencez à modifier une page existante avec l'éditeur de blocs.
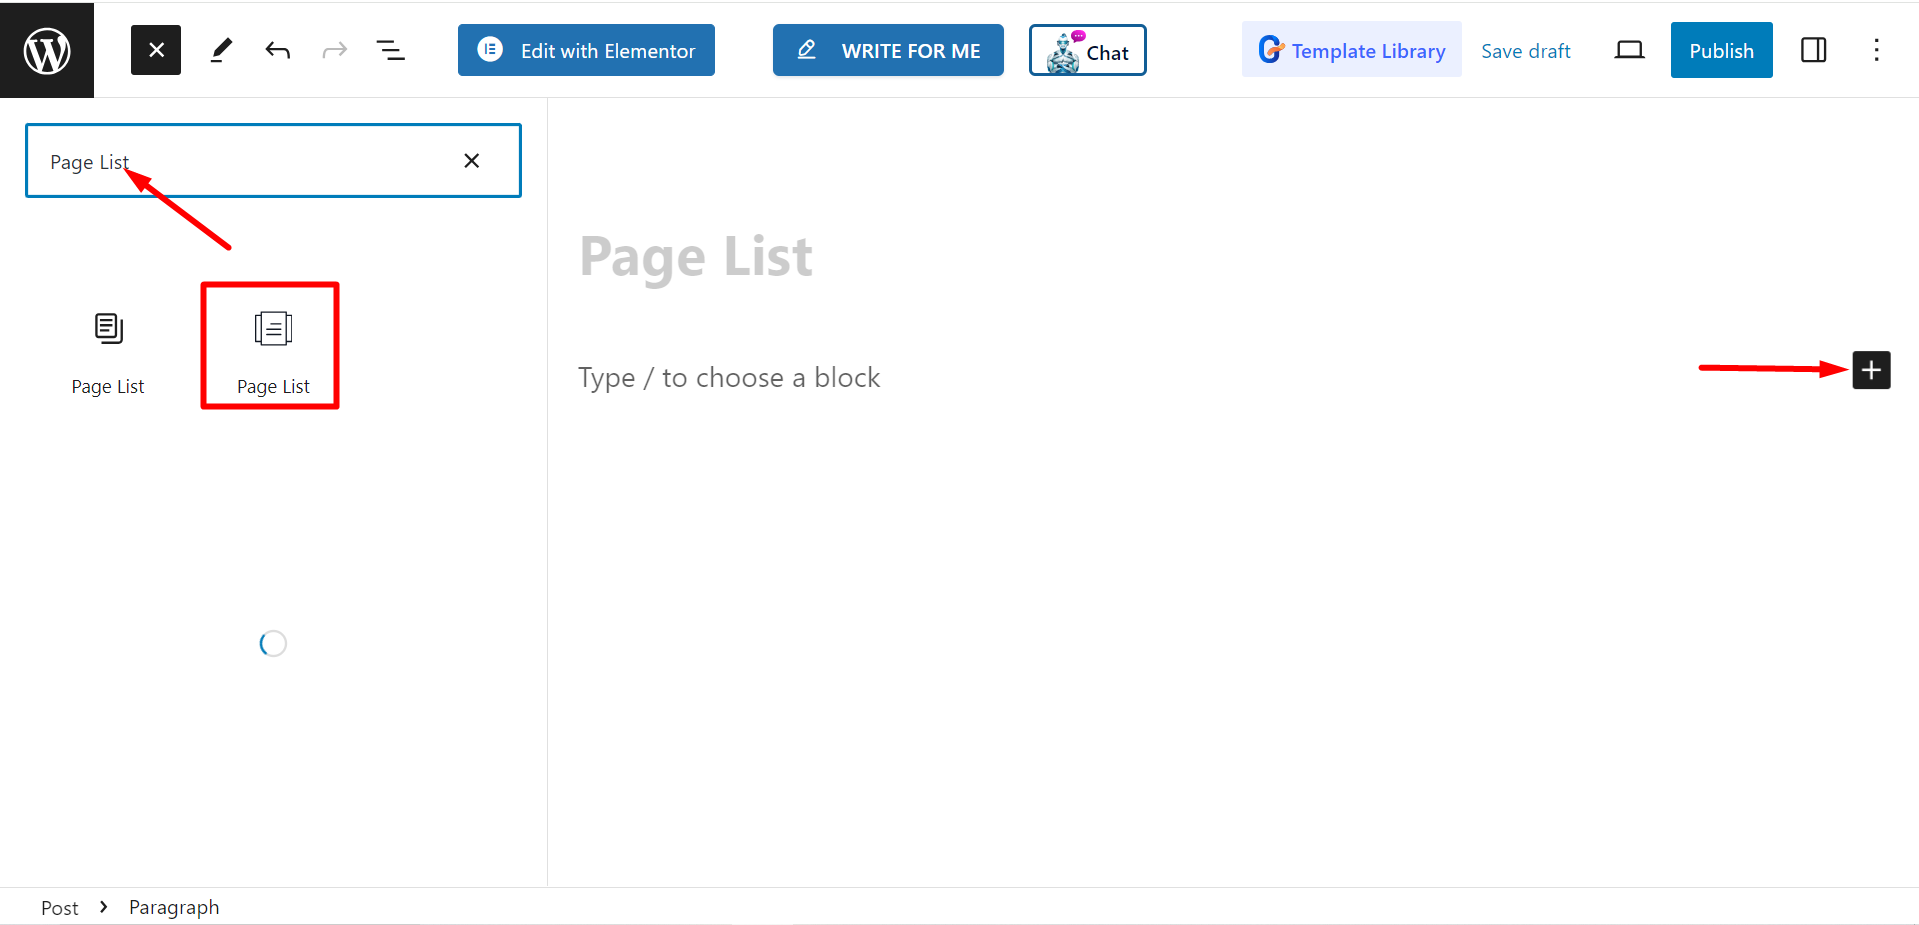
- Cherchez le "+"Icône sur le côté droit ou en haut de l'écran de l'éditeur. Cliquez dessus.
- Un menu de blocage apparaîtra, recherchez «Liste des pages».
- Lorsque vous le voyez, cliquez dessus ou faites-le glisser et déposez-le sur l'écran de l'éditeur de blocs.
Modification de la partie contenu #
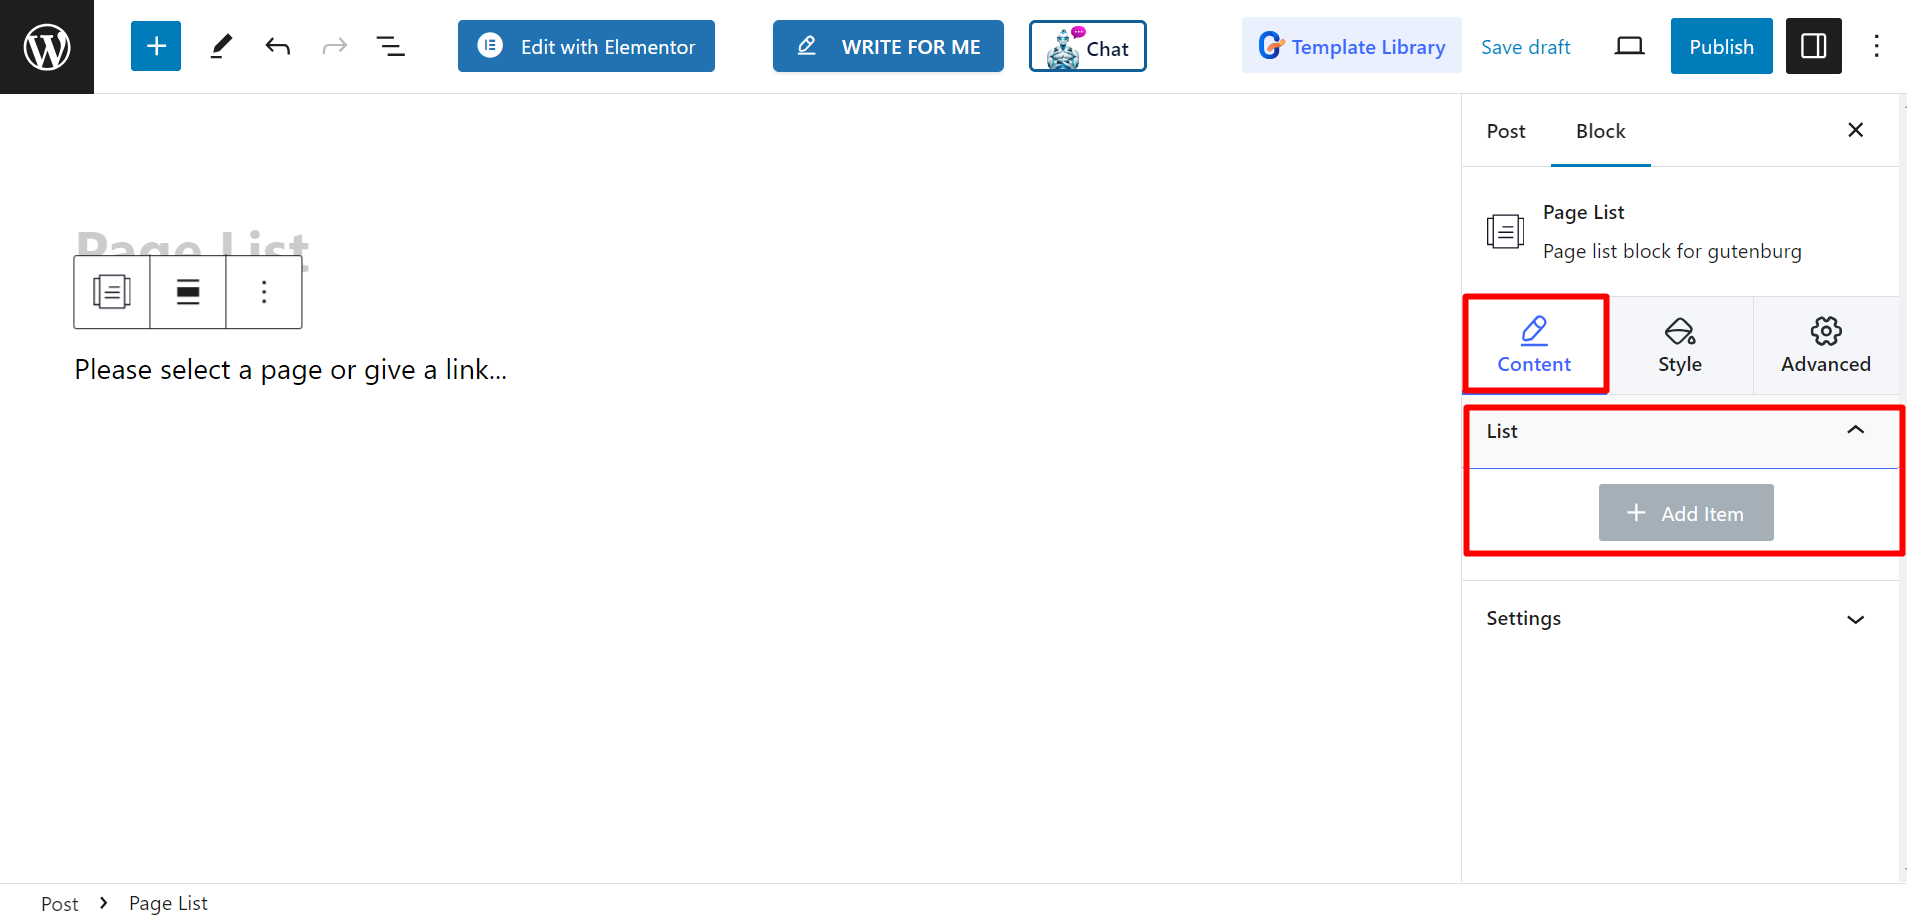
Il y a deux parties, Liste et paramètresLorsque vous développez les champs, vous accédez aux options de personnalisation.
Liste #
Depuis l'option Liste, vous pouvez ajouter des éléments selon vos besoins et les personnaliser.
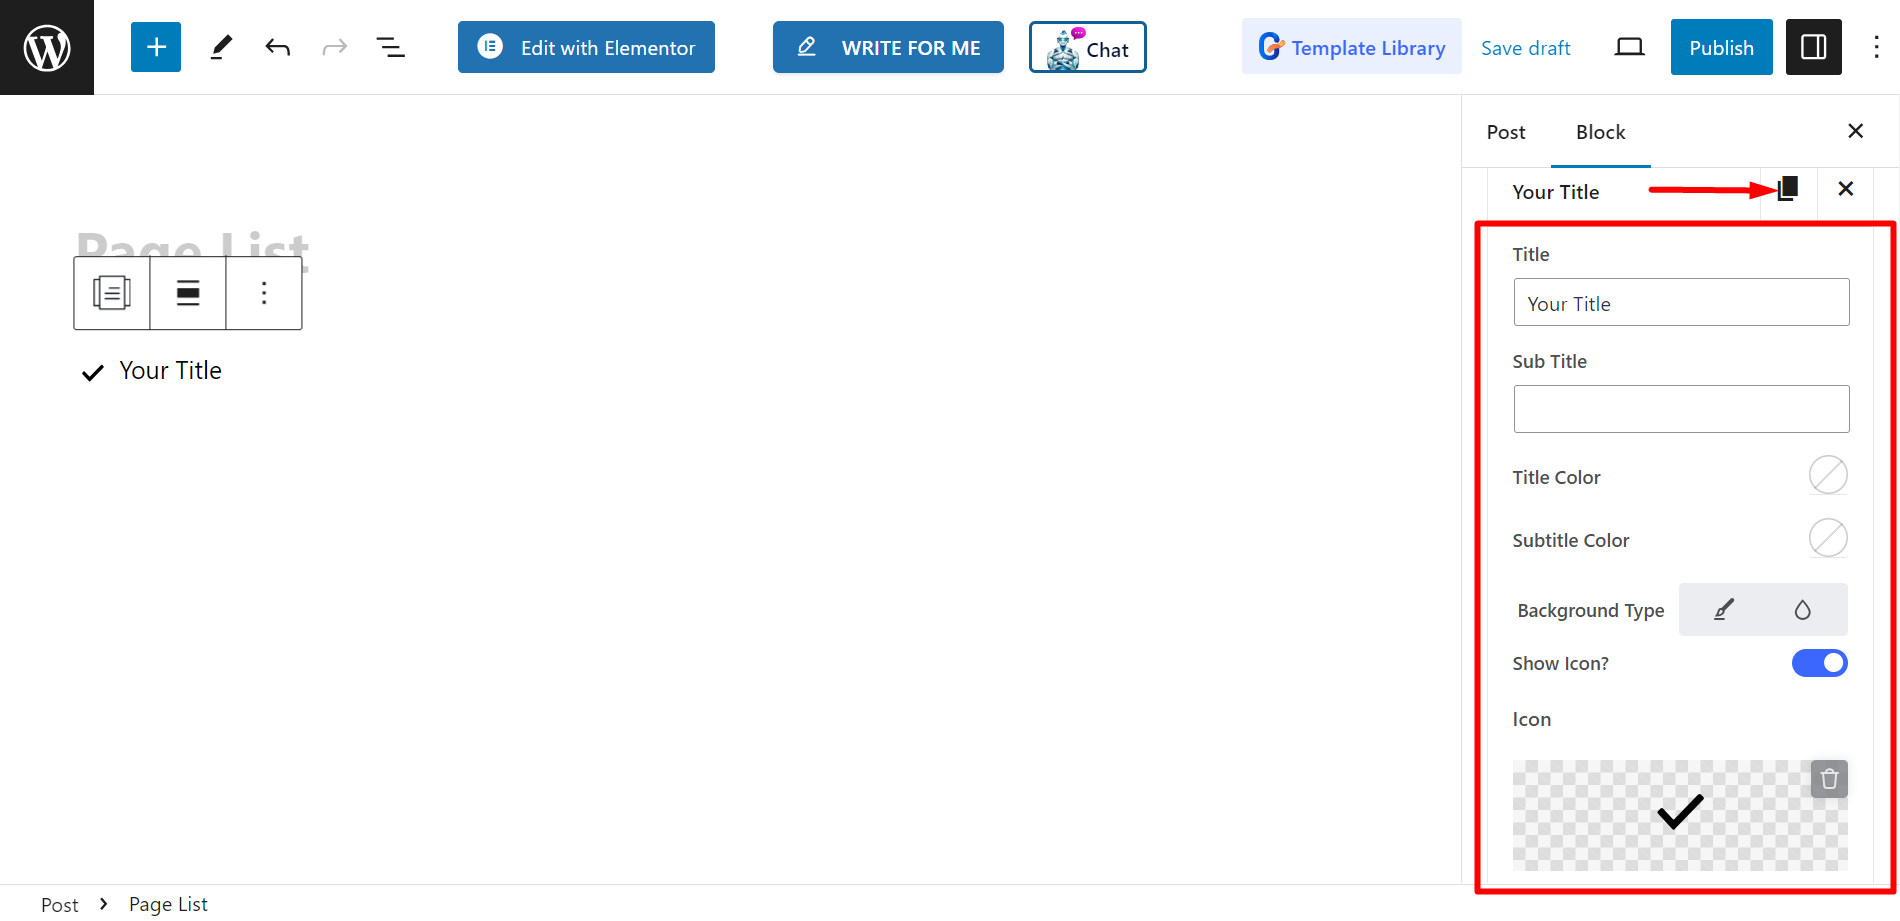
Après avoir ajouté un nom d'élément ou de page, vous pouvez définir Titre, Sous-titre, Couleur du titre, Couleur des sous-titres, Type d'arrière-plan, Montrer l'icône, Icône, Couleur de l'icône, Sélectionner une page / un lien personnalisé, et Afficher le badge.
Paramètres #
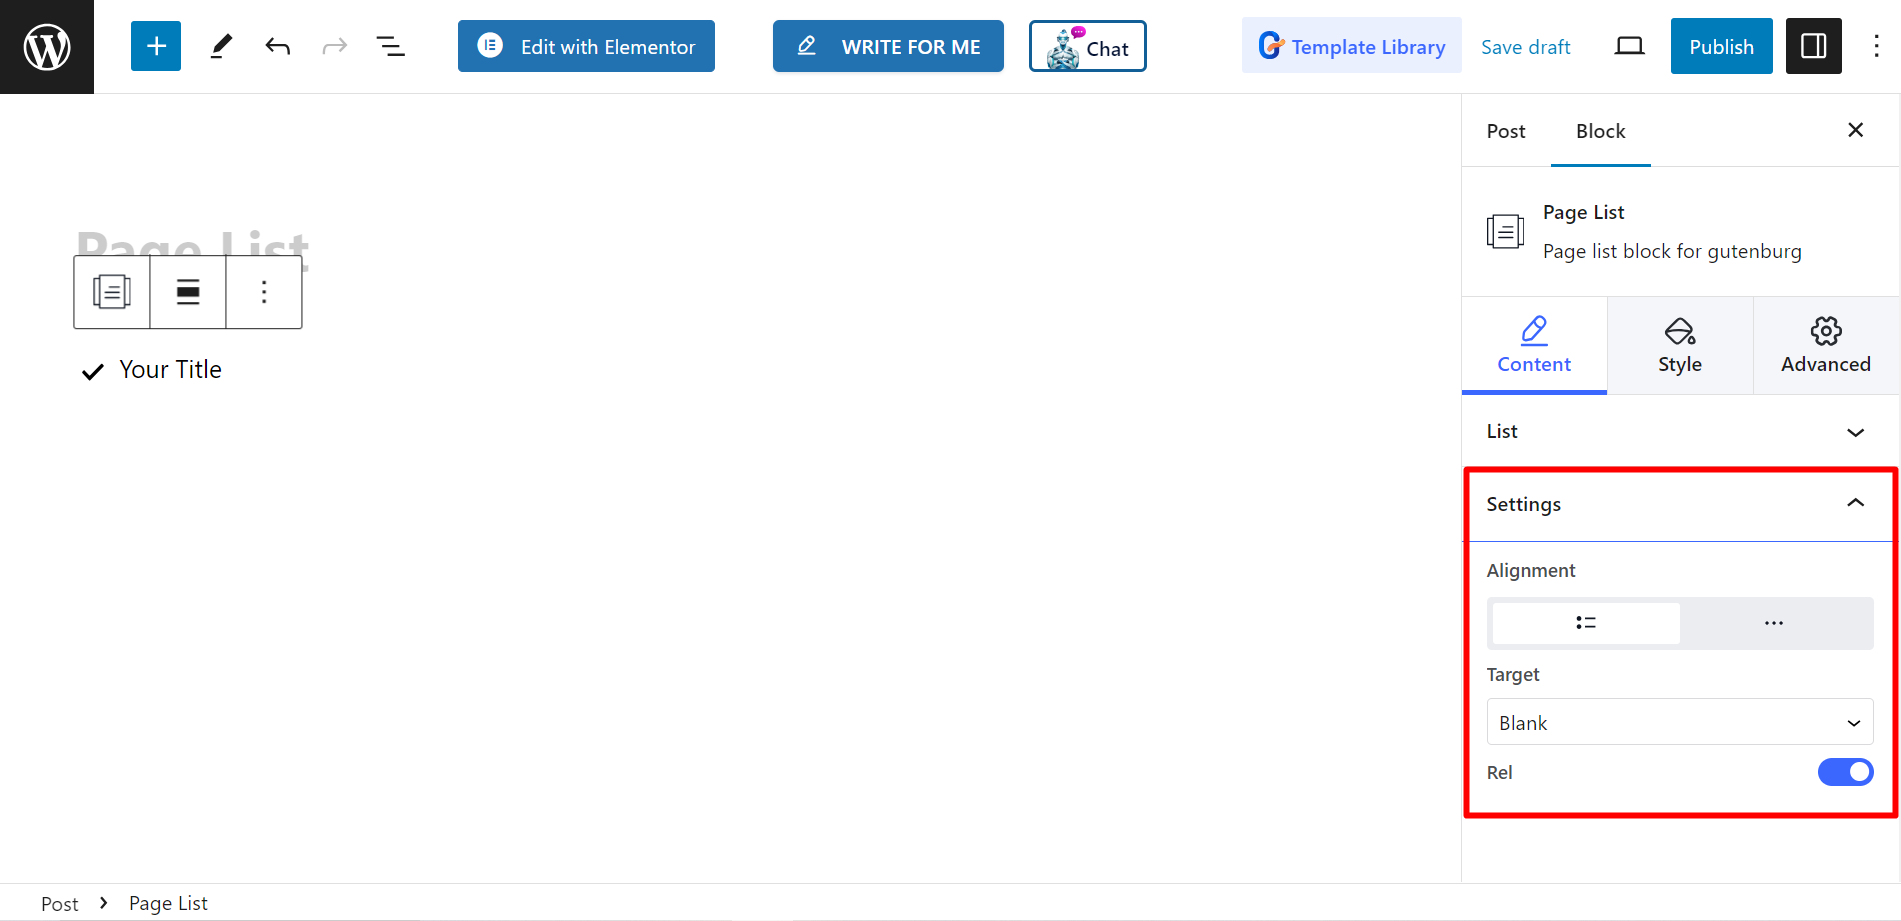
- Alignement – Vous pouvez ajuster l'alignement en choisissant le style par défaut ou en ligne. Cependant, si vous choisissez le style en ligne, vous pouvez également ajuster la grille des colonnes.
- Cible – Il existe des options permettant de sélectionner la cible comme vide ou autonome.
- Rel – Vous pouvez le garder allumé ou éteint.
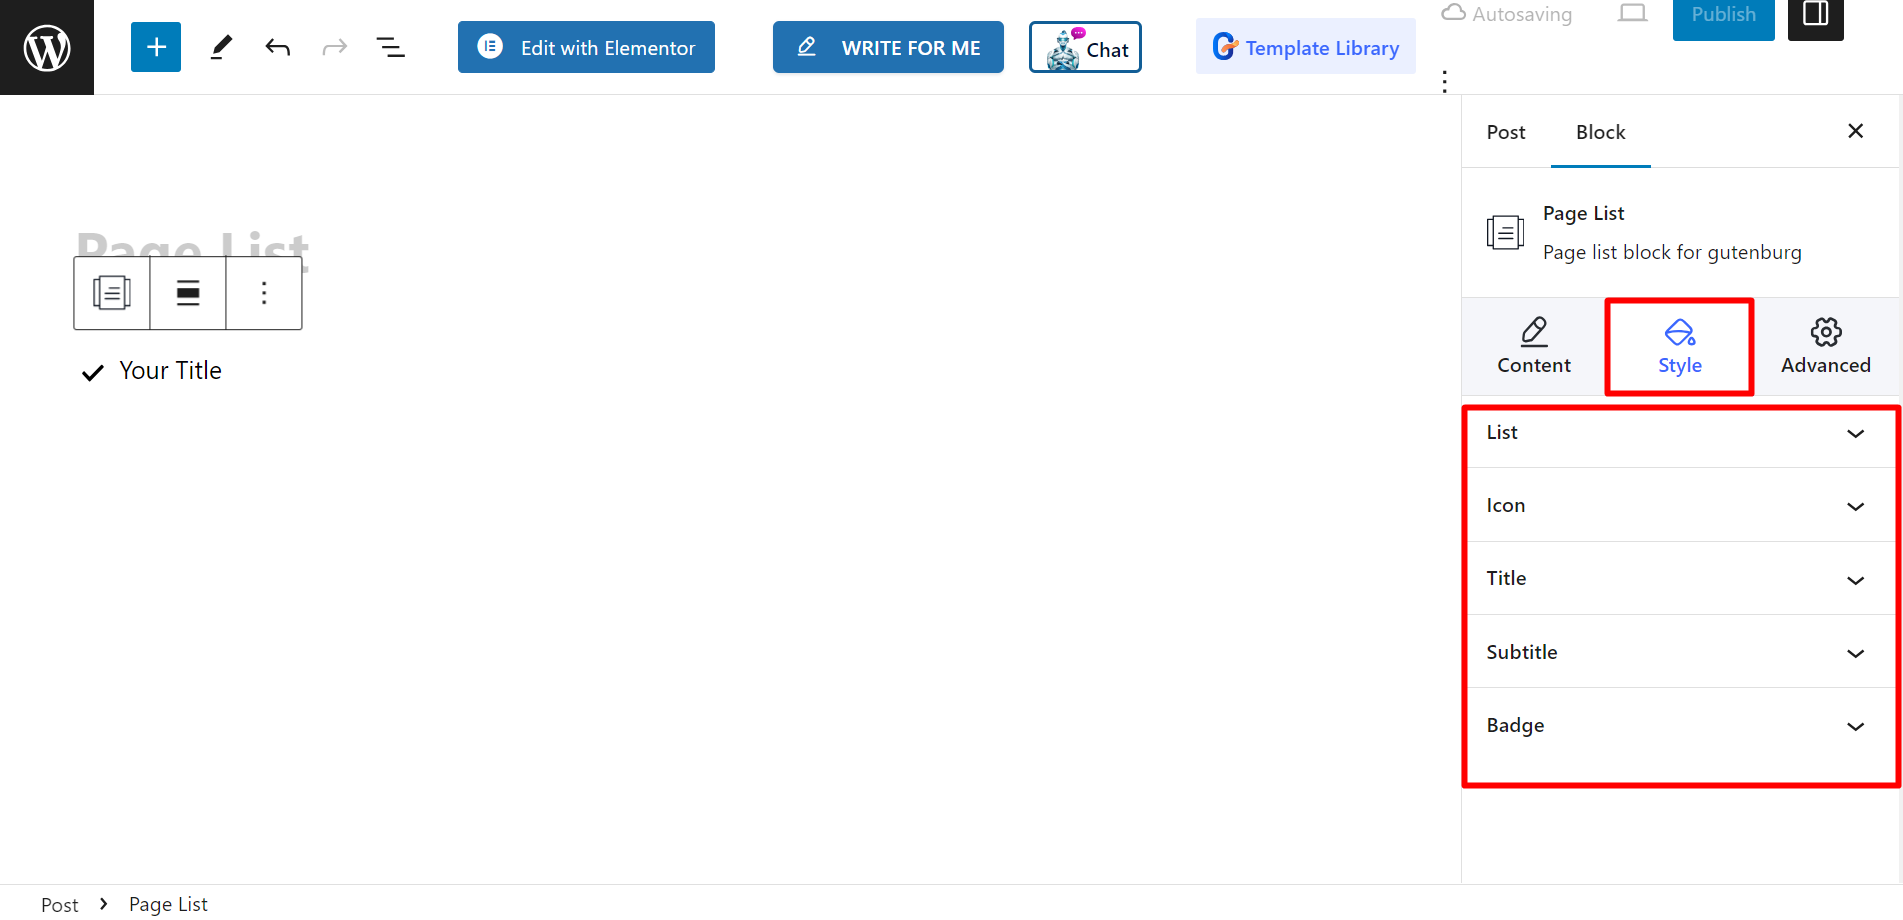
Style #
- Liste – Vous pouvez styliser votre liste de pages avec une largeur personnalisée, un espacement de ligne, un remplissage, un séparateur, etc.
- Icône – Si vous le souhaitez, vous pouvez modifier l’alignement des icônes, la couleur des icônes, le remplissage, etc.
- Titre – Pour personnaliser la couleur du titre, la marge, la typographie, etc. vous pouvez utiliser cette option.
- Sous-titre – Il existe des choix pour ajuster la couleur de survol des sous-titres, la marge, la typographie, etc.
- Badge – Enfin, vous pouvez décorer le badge en changeant la typographie, la couleur, la marge, etc. avec cette option.
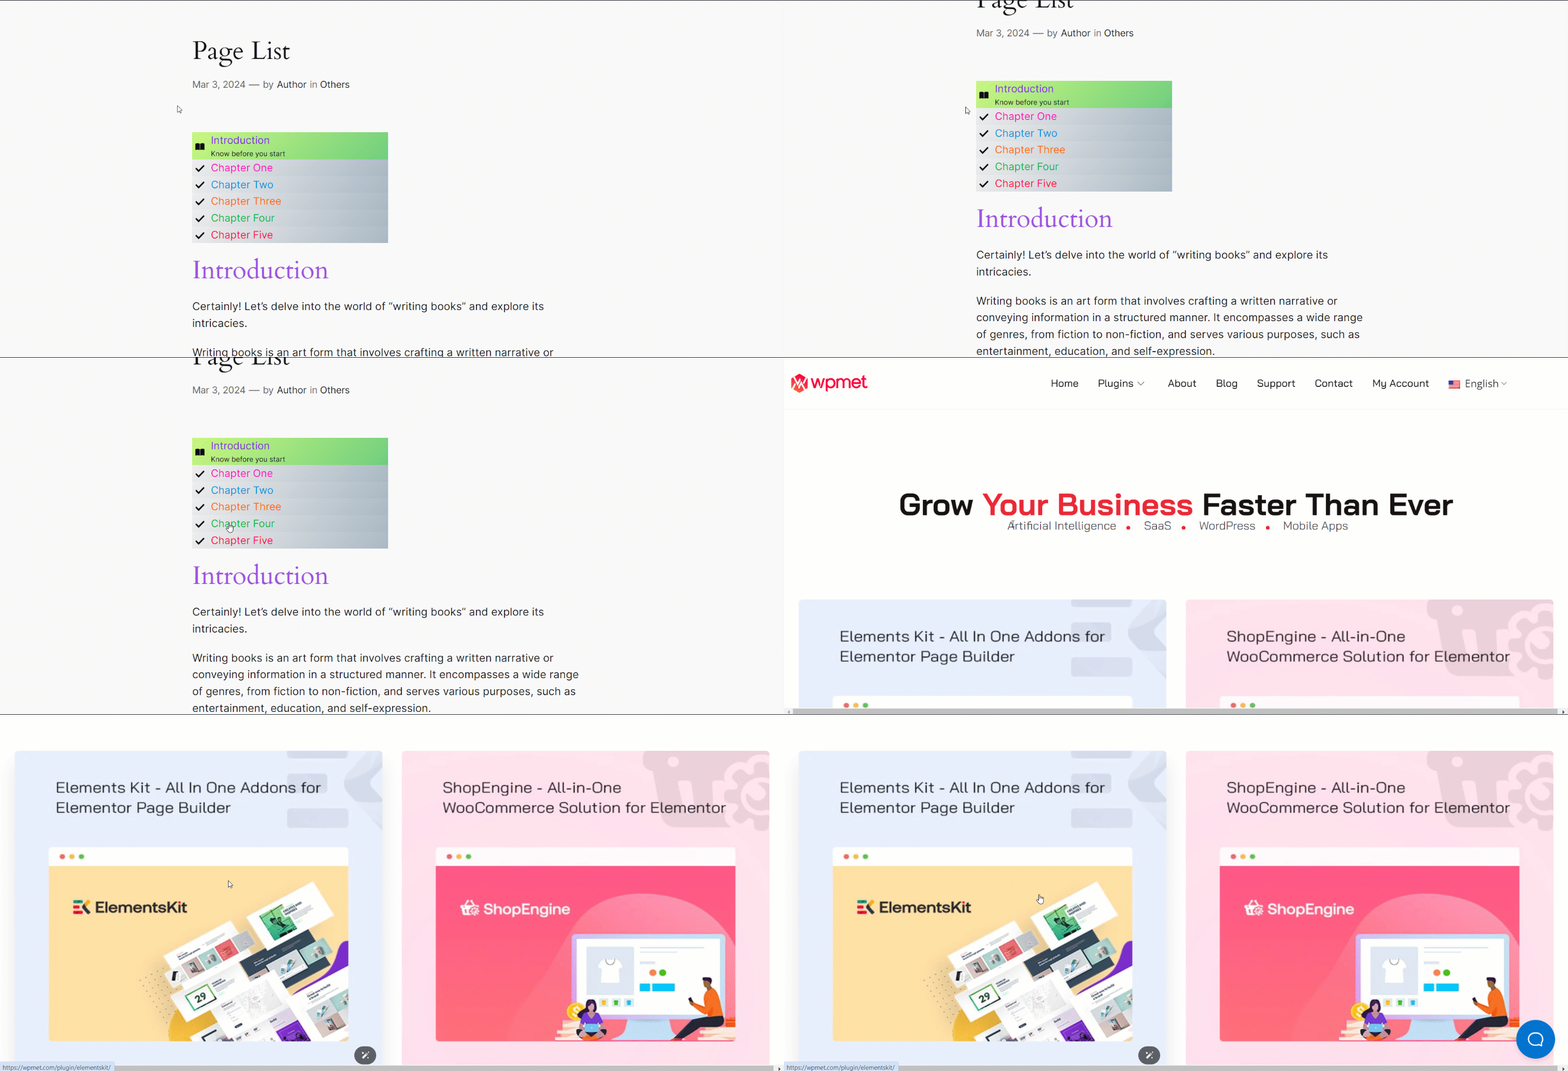
Résultat final #
Découvrez comment nous l’avons personnalisé –
Suivez ces étapes et vous pourrez créer votre liste de pages personnalisée.


