


Popups created by PopupKit catches attention of users instantly. PopupKit offers multiple Popup Campaign templates to WordPress users that help produce personalized and easy-to-understand content. Users can also create a popup campaign from scratch with many customization options.
This documentation will guide you about how to create a popup campaign with PopupKit in easy steps but with multiple editing options.
Installing PopupKit for WordPress #
There are two methods to get the job done:
Process 1:
- Go to the WordPress Dashboard
- Navigate to Plugins > Add New
- Search for PopupKit
- Install and Activate the plugin.
OR
Process 2:
Paso 1: Ve a la WordPress Plugin Directory > Type in “PopupKit” in the search bar > Select Kit emergente > Click “Download” on the page.
Paso 2: Go to WordPress Dashboard > Plugin > Add New > Upload Plugin and upload the PopupKit plugin file.
Paso 3: After successful installation, just click on the “Activate” button to activate PopupKit.
Etapa 4: Go to a page and search for “PopupKit”.
Requisito previo: Must have Gutenberg Block Editor installed and enabled. For WordPress 5.0 or higher versions, Gutenberg is the default editor.
How to Create or Select Popup Campaign #
When you are at WordPress dashboard, navigate from:
WordPress Dashboard > PopupKit > Campaign > Create Blank
Doing this will take you the PopupKit Editor and you can create a Popup Campaign from scratch.
OR
Repeat the same steps till you are at the Campaign page. There, select Choose from Template. And multiple prebuilt templates will appear.
WordPress Dashboard > PopupKit > Campaign > Choose from Template
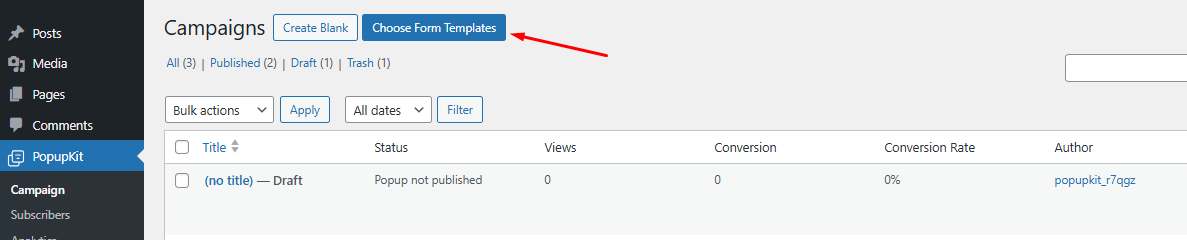
This will lead you to the Plantillas page. Go to > “Select a Campaign Type” > Choose Popup. And multiple templates will appear.

Select a Popup Campaign template of your choice to work on.
Use Template > What is Your Campaign Name > Import
NOTE: You can also perform the process by selecting: WordPress Dashboard > PopupKit > Template > Select a Campaign Type and so forth.

Creating from a Blank Template #
When you are at the WordPress editor screen, after selecting Create Blank, you get a completely blank space to work on.
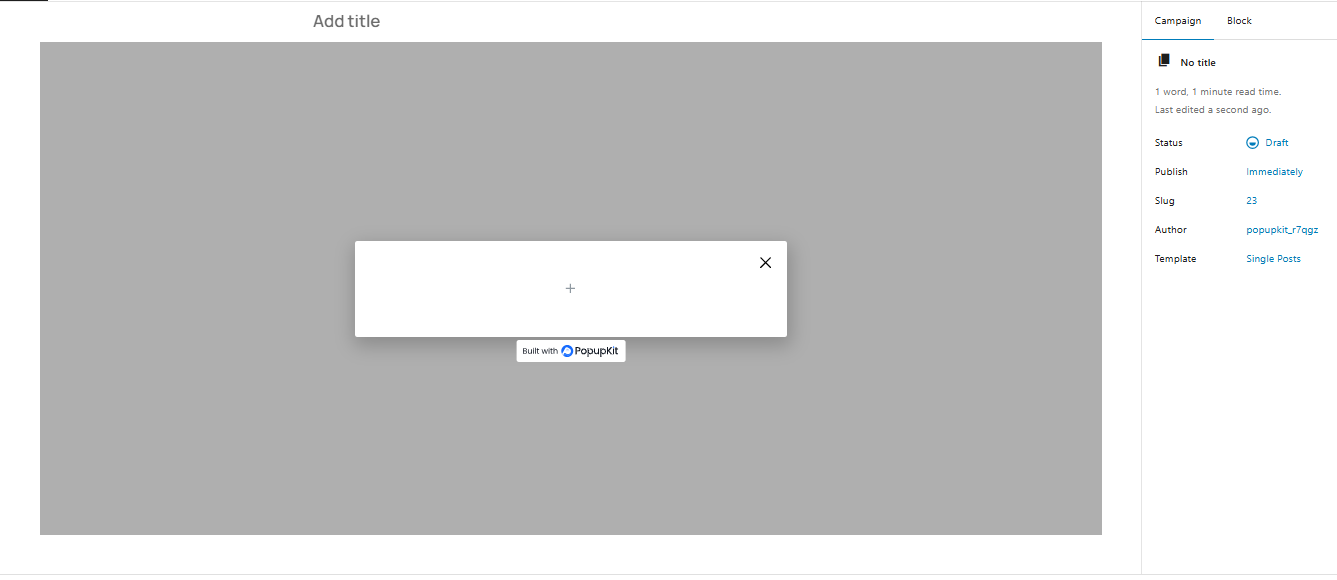
Here are the steps to creating a popup campaign from scratch:
1. Type in a title in Añadir título section at the top.

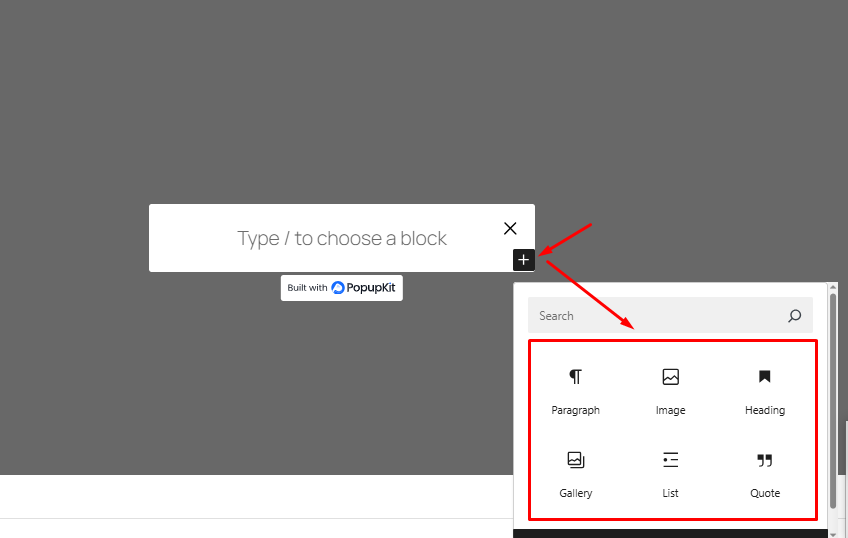
2. Click on the “+” on the block editor > Heading, Paragraph, Image, CTA Button, etc.
3. Once you add those, hover to the right of your screen and select Bloquear.
4. From Block > you can customize the template’s Contenido y Estilo.

5. Under Content, you can customize various options and parameters.
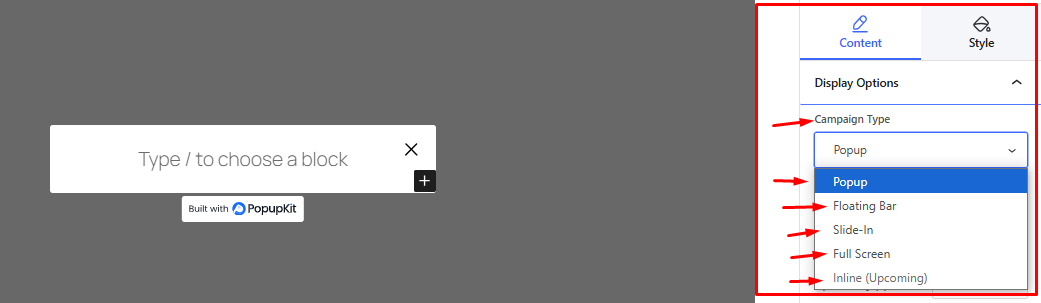
- Content > Display Options > Campaign Type > Popup (your current campaign type). You can select other types listed there as well.
6. With Content > Display Options, there are other options to customize like Open Event, Entrance Animation, Exit Animation, Animation Duration, etc.

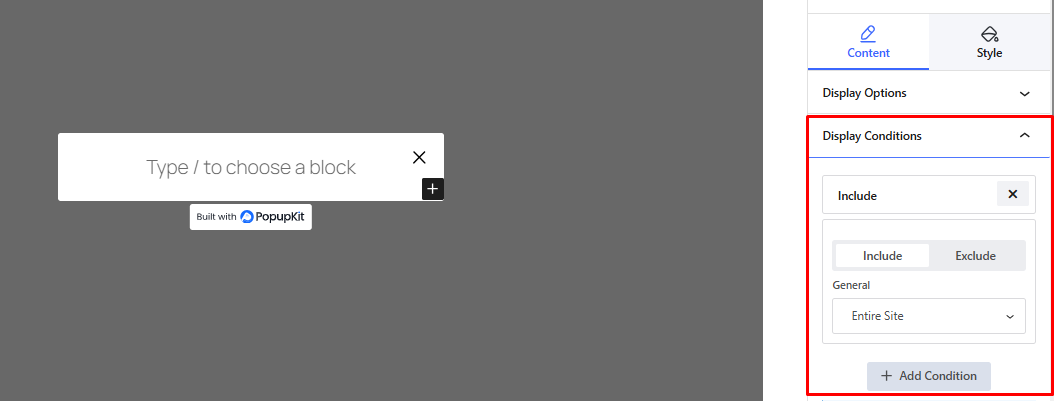
7. From Content > Display Conditions > Add Condition > Include/Excluir, you can specify one or more conditions to trigger the popup. You can choose from Entire Site, Singular, Archive or Woocommerce, as per your need.
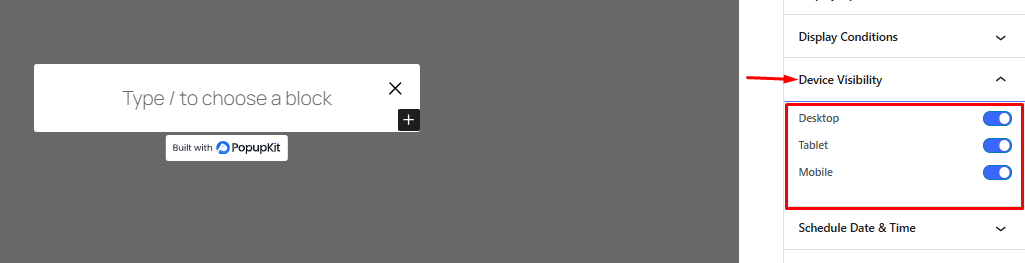
8. Next up, Content > Device Visibility helps you set for which devices (Desktop, Mobile, Tablet) the popup will appear.
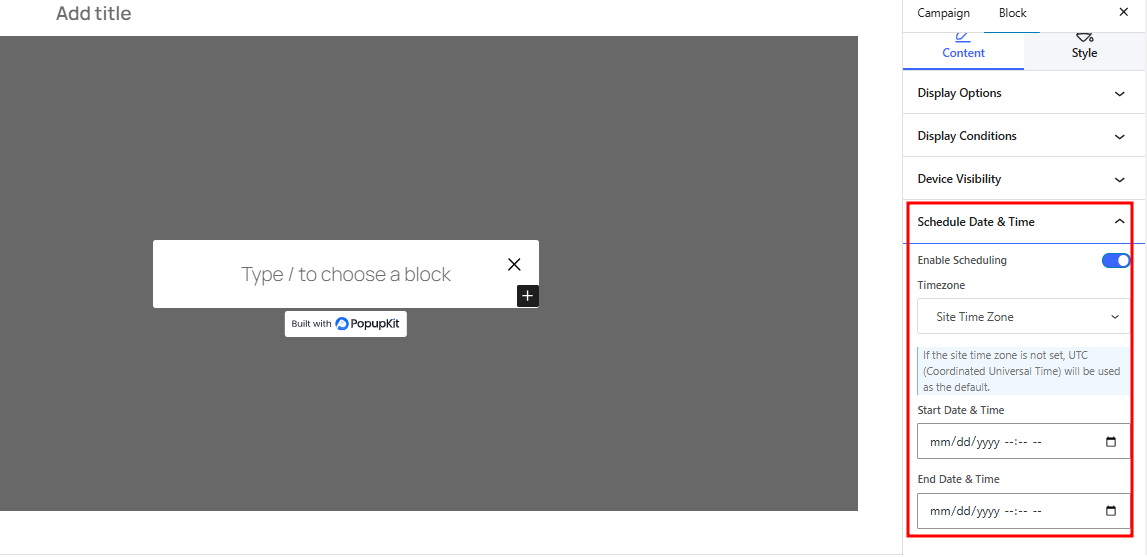
9. Then, you have to option to schedule the popup’s visibility as per time zone and date. For this, go to Content > Schedule Time & Date
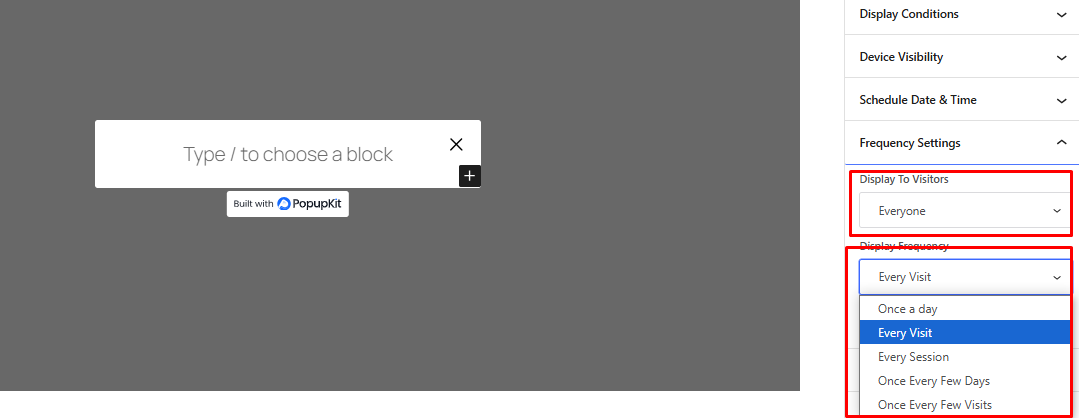
10. You can also set the frequency of the popup campaign by Content > Frequency Settings. You will get to choose the visitors and number of times displayed.
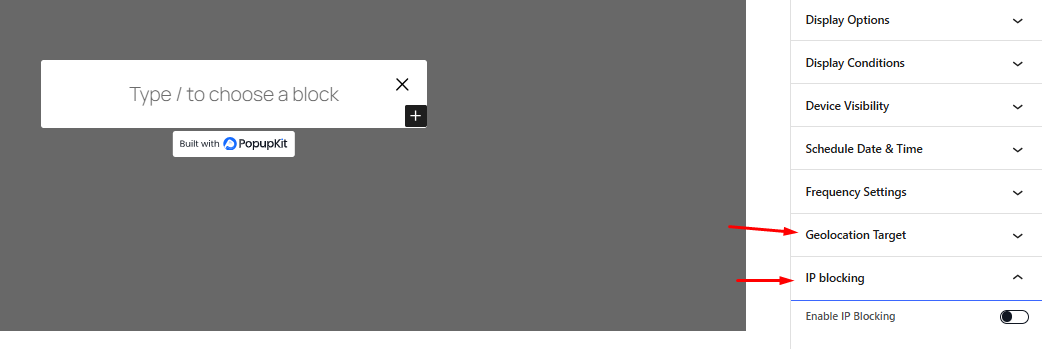
11. Finally, two more options Geolocation Target y IP Blocking let you set the preferred location to display the campaign and block any particular IP, respectively.
12. After customizing the Content elements, we’ll shift our focus to the Estilo part.
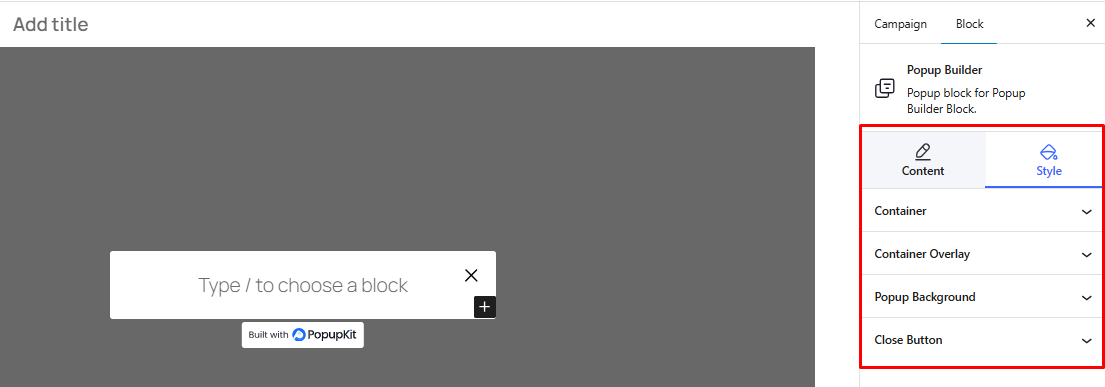
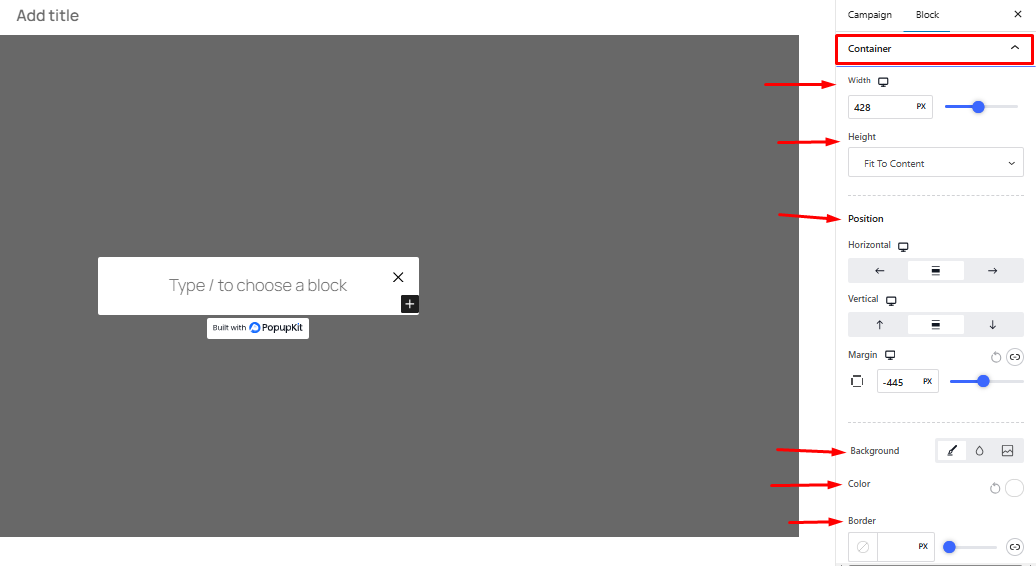
13. From Style > Container, you can choose the width, height, position, background color, border, y sombra de la caja of the popup template.
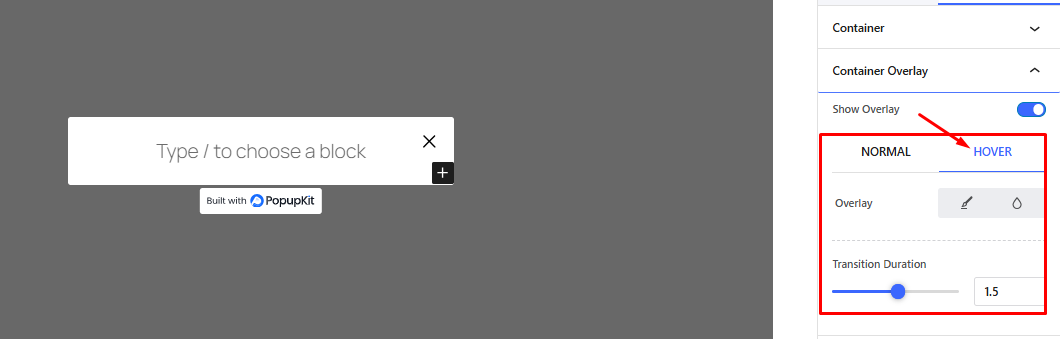
14. Style > Content Overlay gives you options to keep it Normal or allow Flotar with transition duration.
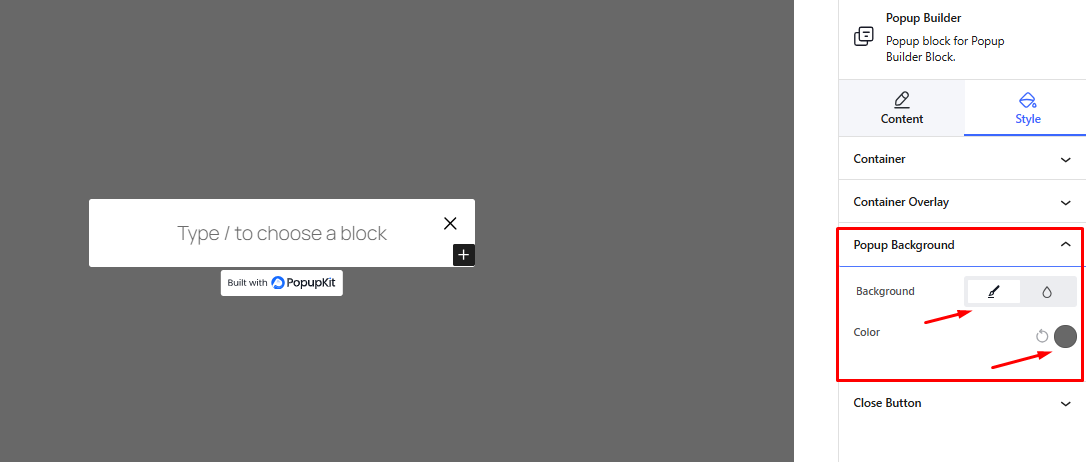
15. Style > Popup Background lets you decide whether you want to keep a transparent background or add color.
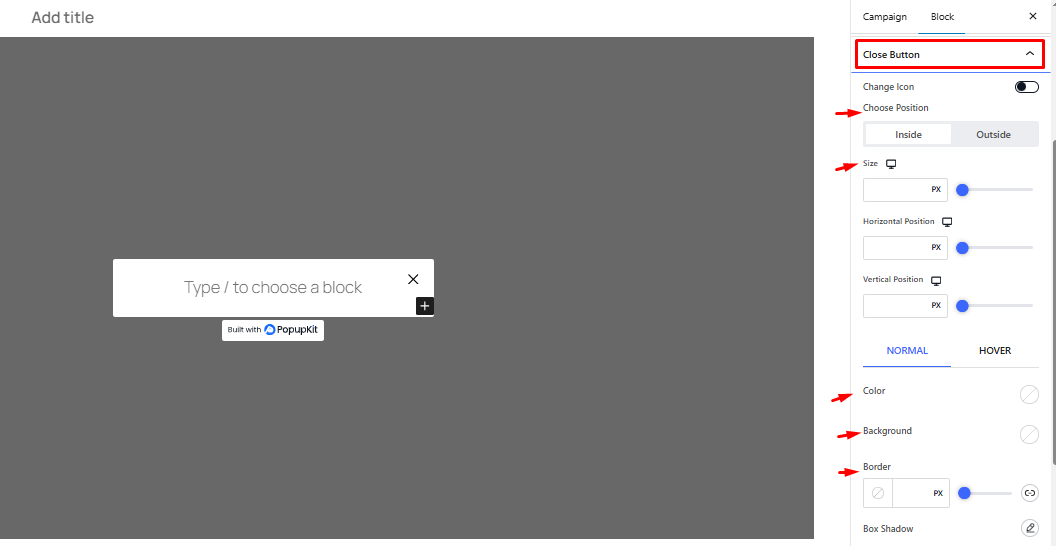
16. Finally, using Style > Close Button option, you can customize the icon, size, position, background, etc. of the Close Button.
Choosing a Template to Create Popup #
Another way to create a popup campaign is to choose and customize from the template collection.
Para eso, ve a WordPress Dashboard > PopupKit > Template > Select a Campaign Type > Any template > Use Template > Write Campaign Name > Import.
This will take you to the WordPress editor. And instead of a blank editor, you will have a template to edit and customize as you like.
The Final Output #
Here, we’ll show you the steps of creating a popup campaign with a sample popup creation. Every step is presented carefully to help you understand the process with ease.
Now that you know how to create a popup with PopupKit, download and try it today for a smooth popup experience!


