Creating a campaign with PopupKit is an effortless process. It allows you to set up professional-looking campaigns and maximize their impact.
Let’s learn how easily you can create campaigns with PopupKit.
Creating a campaign with PopupKit #
Log in to your WordPress dashboard and follow the below steps:
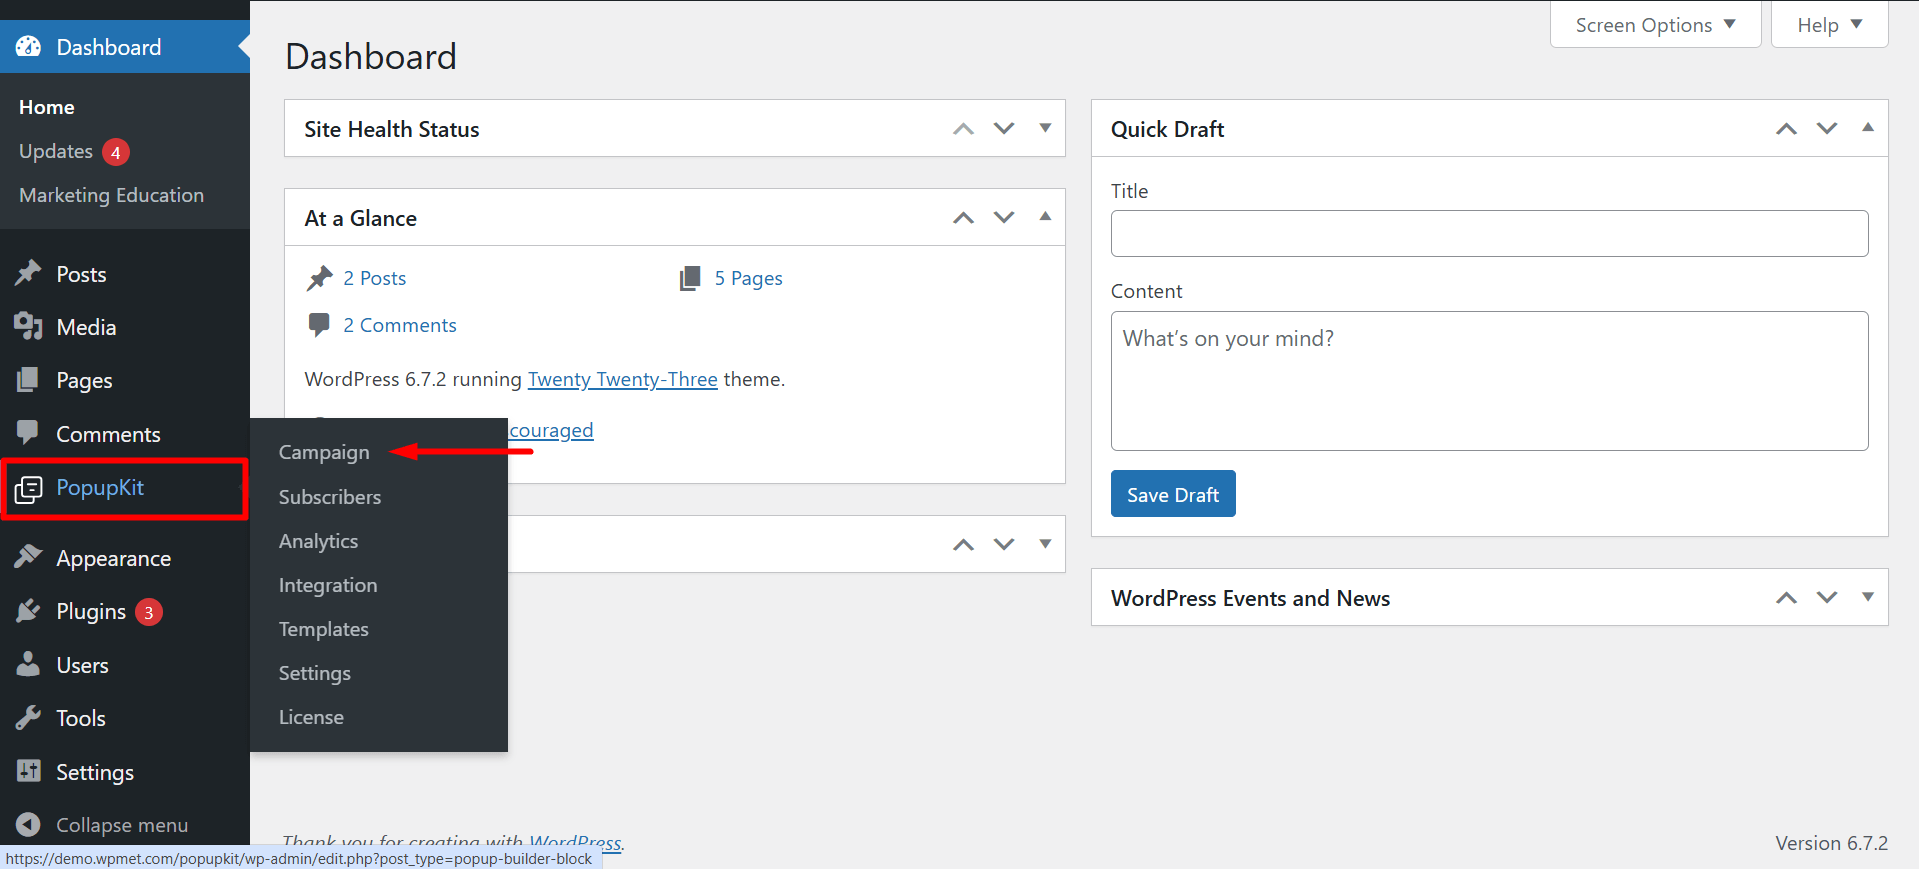
Step 1: Go to the Campaign option #
Navigate to PopupKit from your WordPress dashboard > Campaign
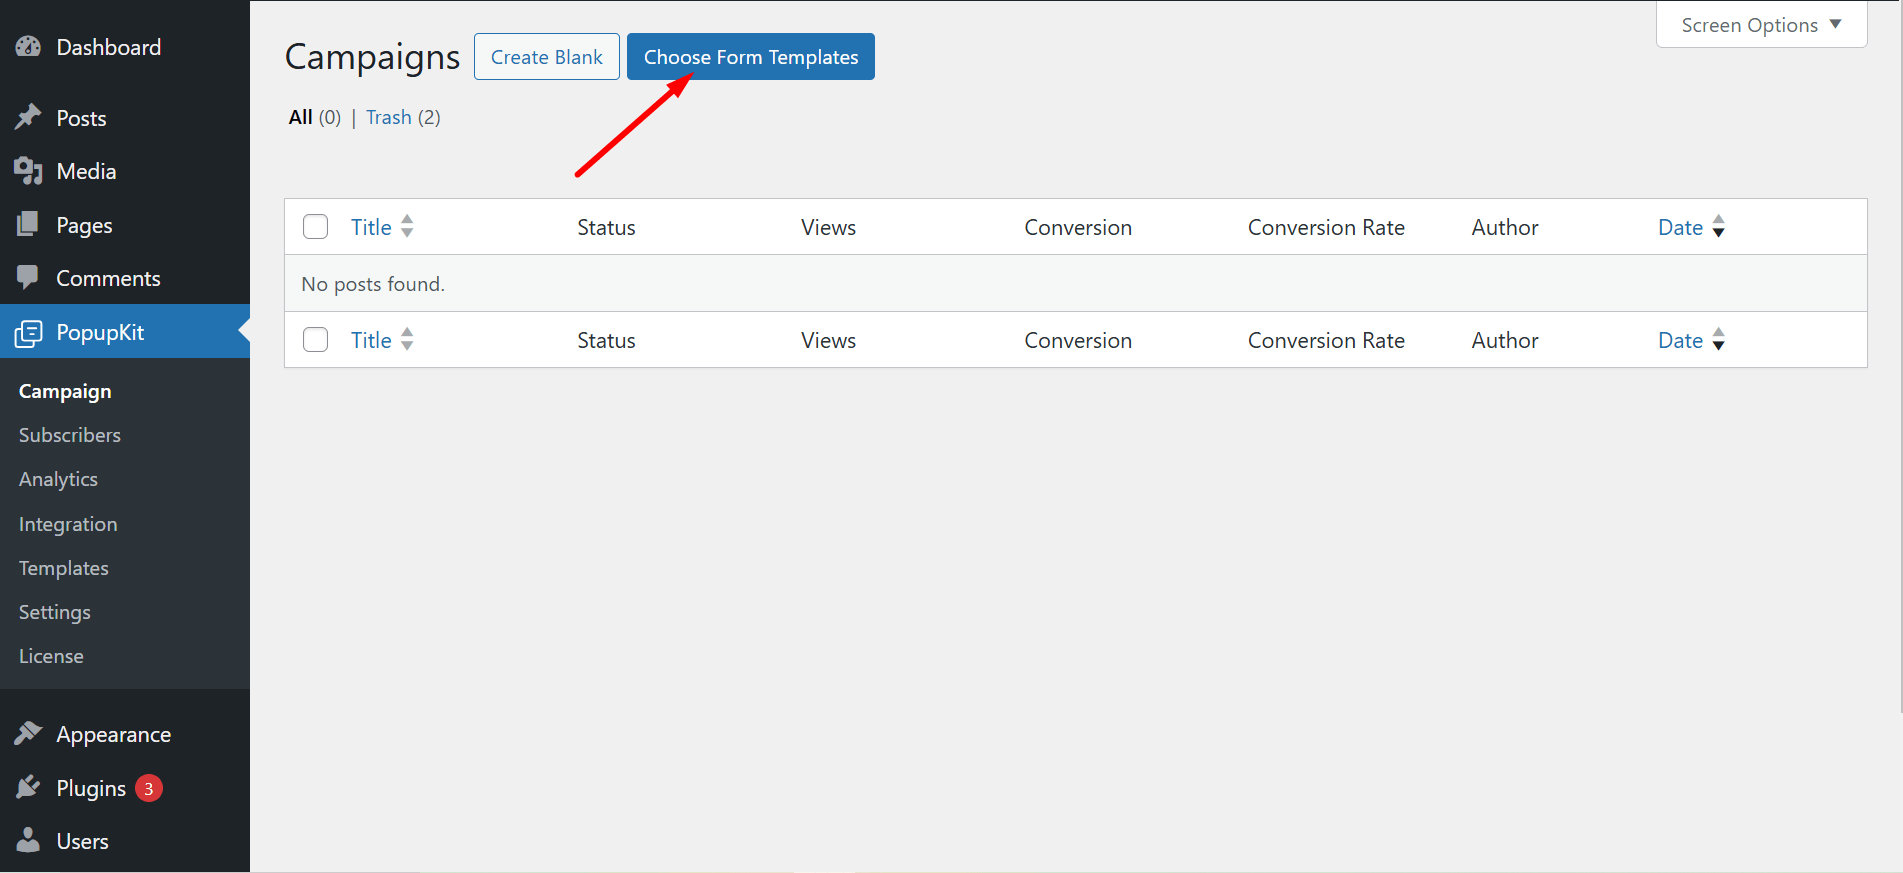
You can create your desired campaigns by selecting the ‘Create Blank’ option or ‘Choose From Template’.
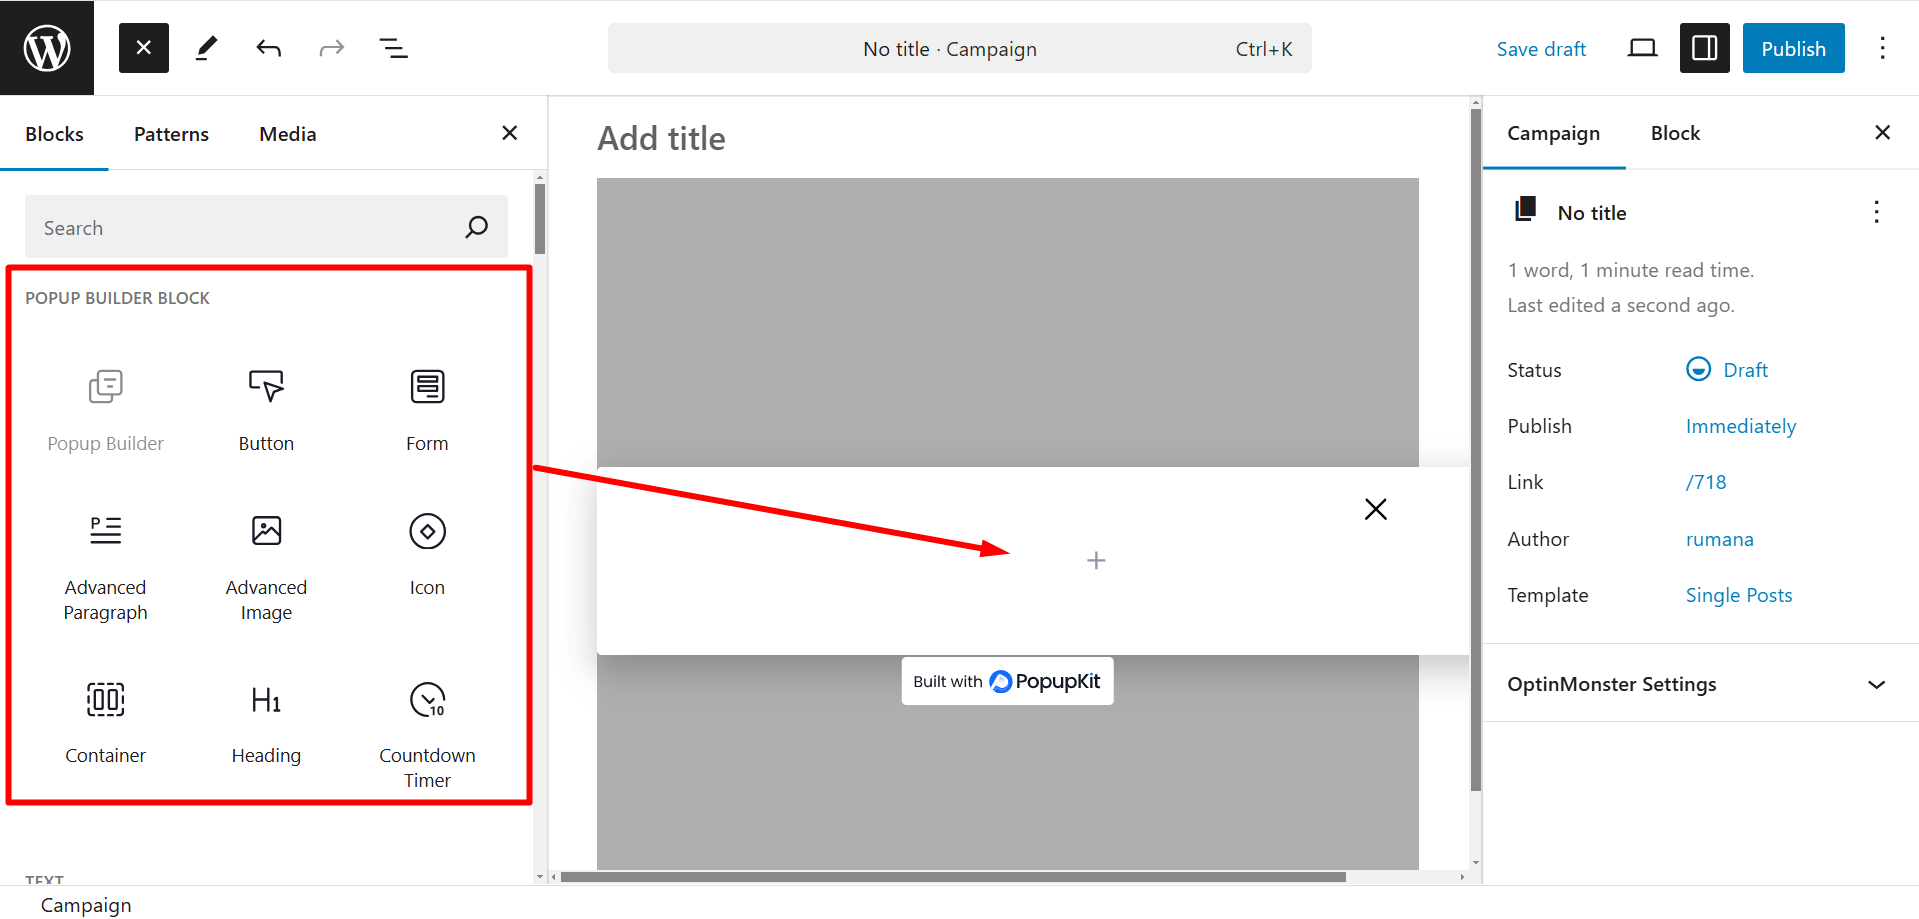
Step 2: Create Blank #
To proceed with the ‘Create Blank’ option, press the button.
Now you can find and use all the necessary popup builder blocks to design your campaign. These are drag-and-drop and customizable blocks.
Step 2 (Or): Choose From Templates #
If you want to use a template to design your campaign, press the ‘Choose From Templates’ button.
There are several categories of templates to choose from.
✔ You can check the preview
✔ Click on the Use Template button, give a name and simply press the Import button to use it
✔ In the editor, you’ll see many PopupKit elements to design the template according to your choice
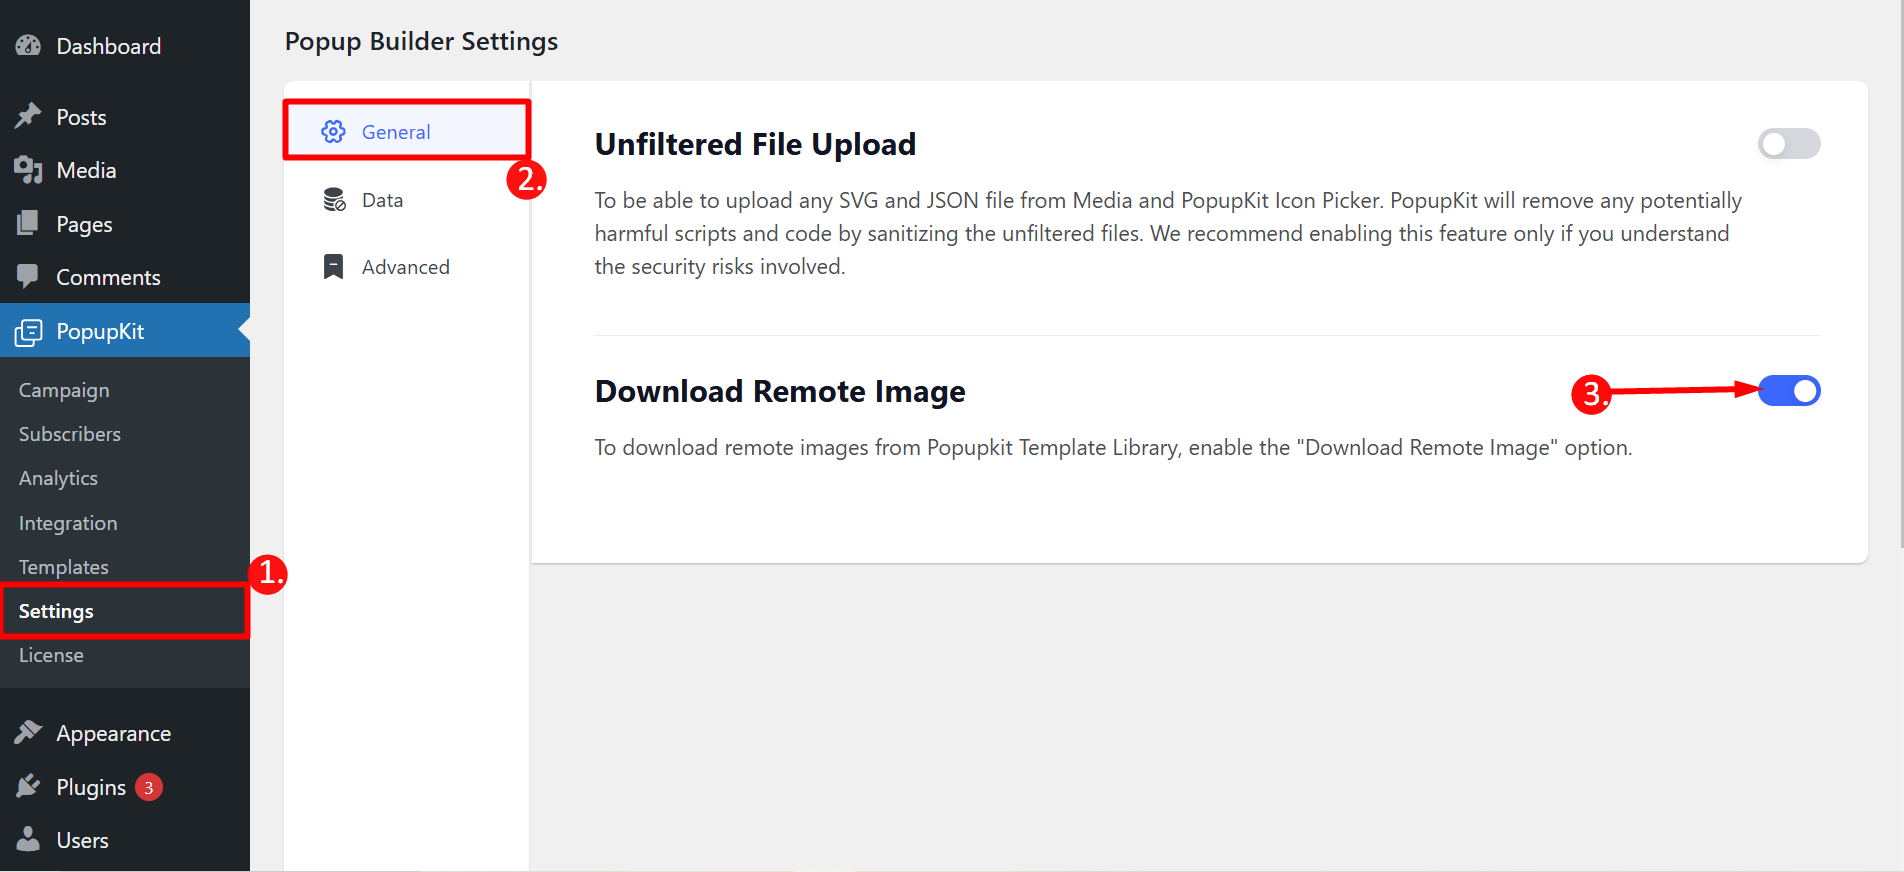
Step 3: Campaign Management #
Whenever you choose a PopupKit template, you can save the template image to the library. To do that, follow these steps:
- Go to the Settings of PopupKit from the dashboard
- General
- Enable the button for the option “Download Remote Image”
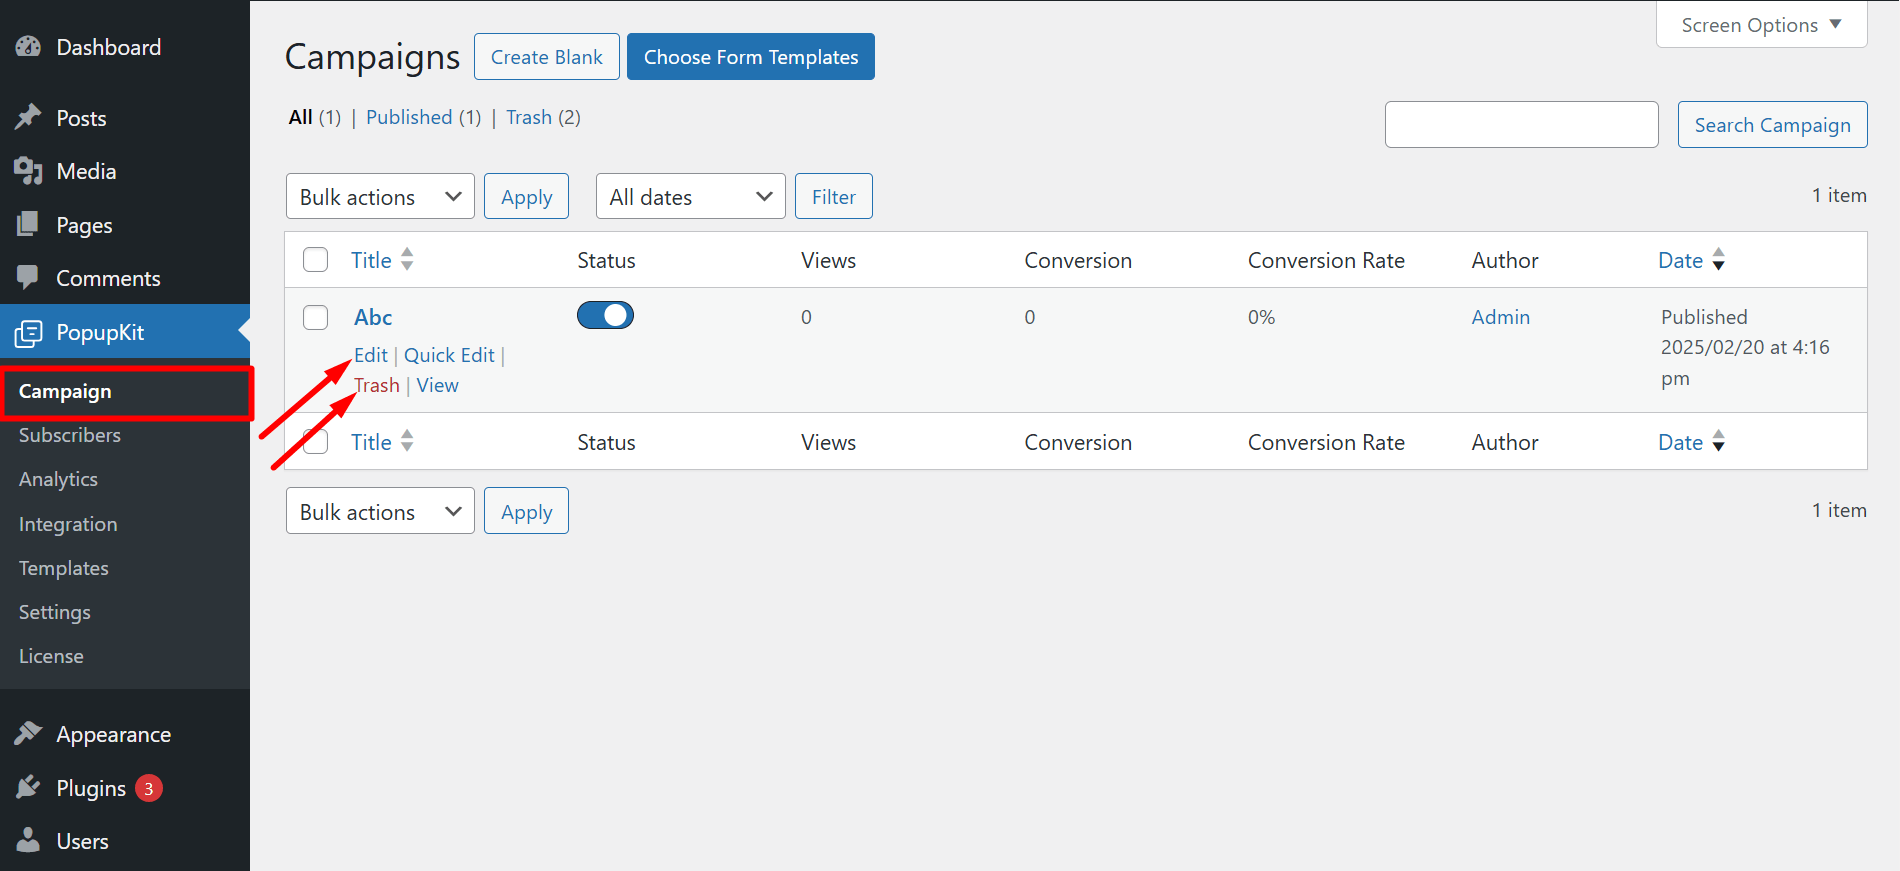
Edit/Delete a Campaign #
You can easily edit or delete a campaign. Navigate to PopupKit from the dashboard > Campaign > Click on the Edit/delete based on your needs.