


When it comes to websites, every click counts and could really make a difference. Whether you want your visitors to subscribe, purchase, or contact you, you need a clear and compelling way to guide them toward that action.
This is where Call to Action (CTA) buttons come in. The good news? You don’t need to touch a single line of code to add them to your WordPress site.
In this guide, we’ll cover what CTA buttons are, why they’re important, and how to add a call to action button in WordPress using a no-code method.
Quick Overview
This blog post explains how to add a Call to Action (CTA) button to your WordPress website using a simple, no-code method. It highlights the crucial role CTAs play in guiding user behavior and boosting conversions.
Tools Used: ElementsKit and Elementor
Here’s what this guide covers:
✅ What CTA buttons are — a look at what makes these clickable elements so effective.
✅ Why they are essential — how they boost conversions and enhance the user experience.
✅ Step-by-step setup — a simple guide to adding and customizing a CTA button with a no-code method.
By the end, you’ll have a clear understanding of how to easily add professional, high-converting CTA buttons to your site.
What are Call to Action Buttons?
A Call to Action (CTA) button is a clickable element that encourages users to take a specific action. These buttons are designed to stand out and direct attention, often featuring persuasive text like, Buy Now, Sign Up, Learn More, Get Started, etc.
Unlike plain text links, CTA buttons are more visually engaging, making them highly effective for conversions.
Why You Need to Add a Call to Action Button
Every website has goals, whether it’s sales, leads, or engagement. A CTA button bridges the gap between passive browsing and meaningful action.
Here’s why they’re essential:
- Boost Conversions – Strategically placed CTA buttons can dramatically improve sign-ups, purchases, or downloads.
- Guide User Behavior – They direct visitors toward the next step in their journey.
- Verbessern Sie die Benutzererfahrung – Clear CTAs reduce confusion by telling visitors exactly what to do.
- Improve Visual Appeal – Buttons stand out more than plain links, making your site look professional.
Without CTAs, you’re leaving visitors guessing, and possibly leaving conversions on the table.
How to Add a Call to Action Button in WordPress
The easiest way to add a CTA button to your WordPress website is by using a no-code page builder plugin. One great option is ElementsKit, which includes a dedicated Call to Action template.
ElementKit works perfectly with Elementor. You can use its call-to-action template with just its free plan.
Here’s how you can do it step by step:
Step 1: Open a new or existing page/post:
In this example, we’ll create a home page for a portfolio website and add the call-to-action. To start with, open a new page and click on Edit with Elementor on your screen.

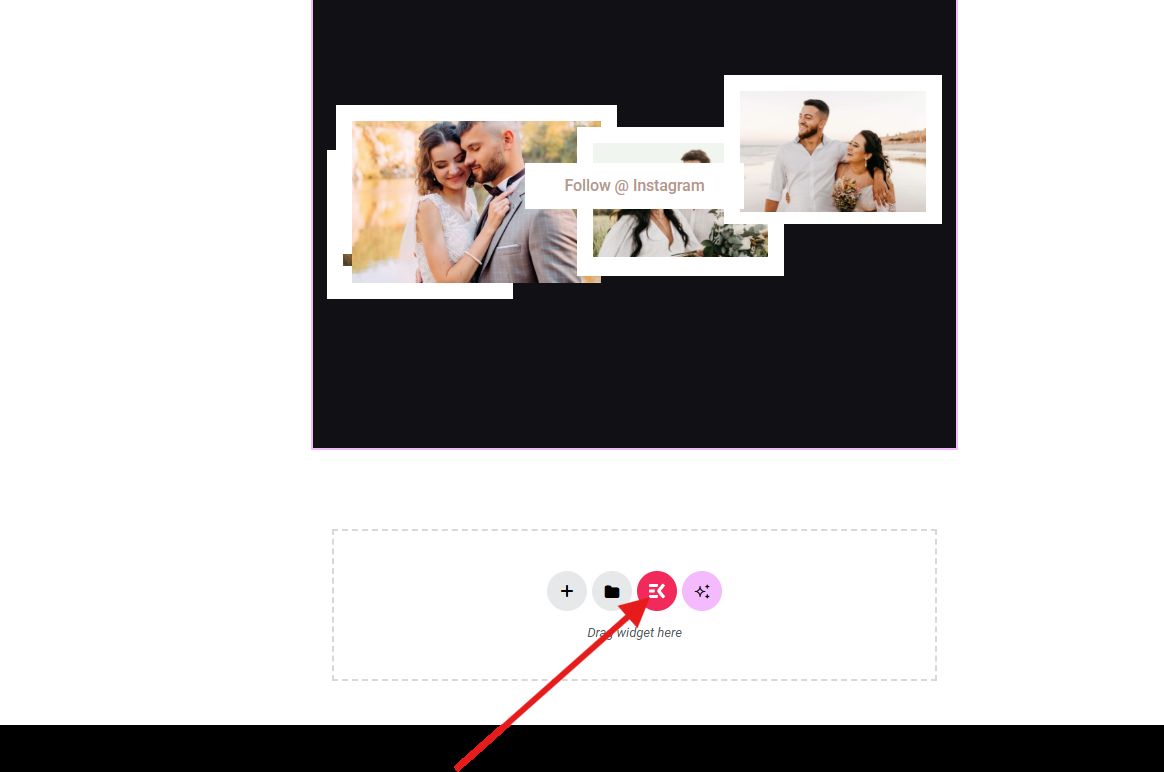
Step 2: Add Call-To-Action template:
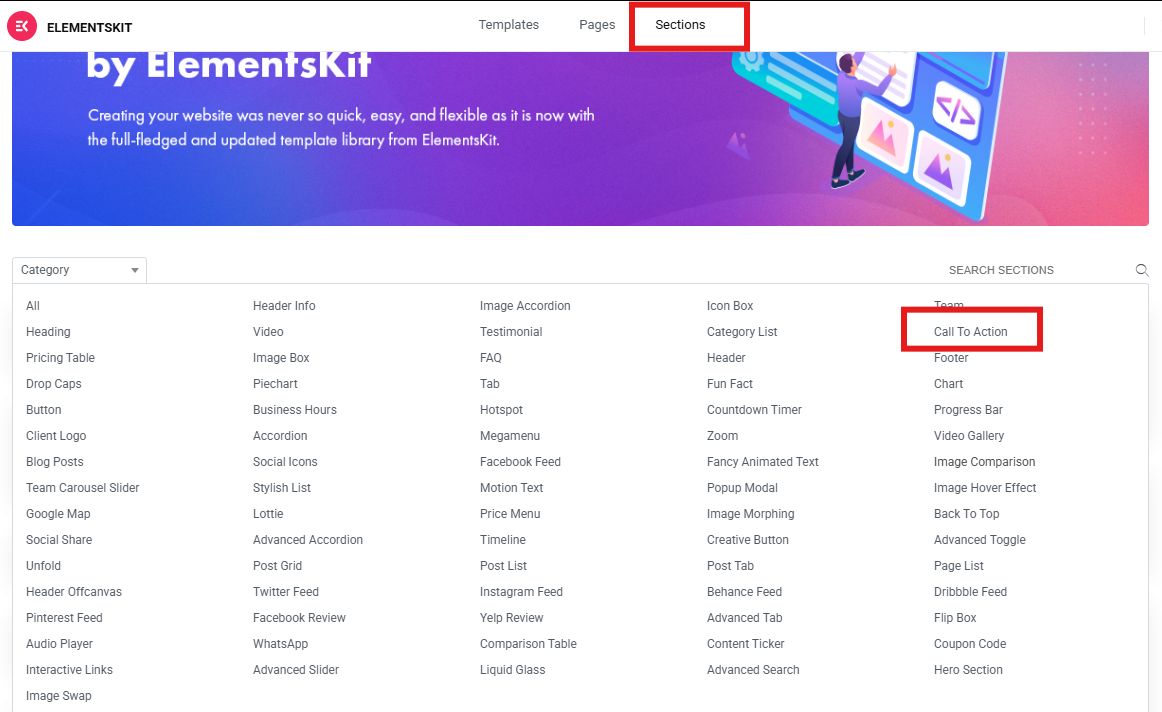
Once in the Elementor editor page, decide on where you want to add your call-to-action. Next, click on the ElementsKit icon. ElementsKit icon works perfectly for inserting ElementsKit templates like call-to-action.
Next, proceed to the “Abschnitte” tab and look for “call-to-action“.
Select from pre-made templates that best represent your brand.
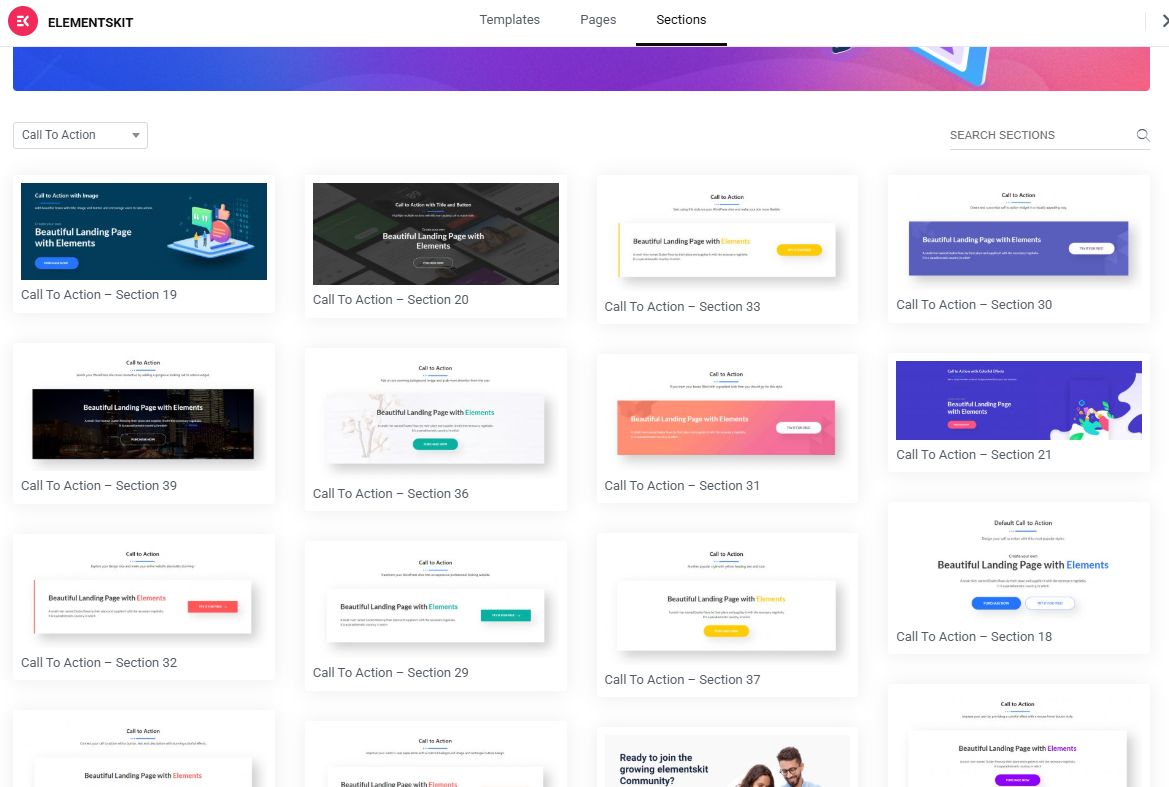
After you’ve chosen your template, click insert to pull it to the editor screen.

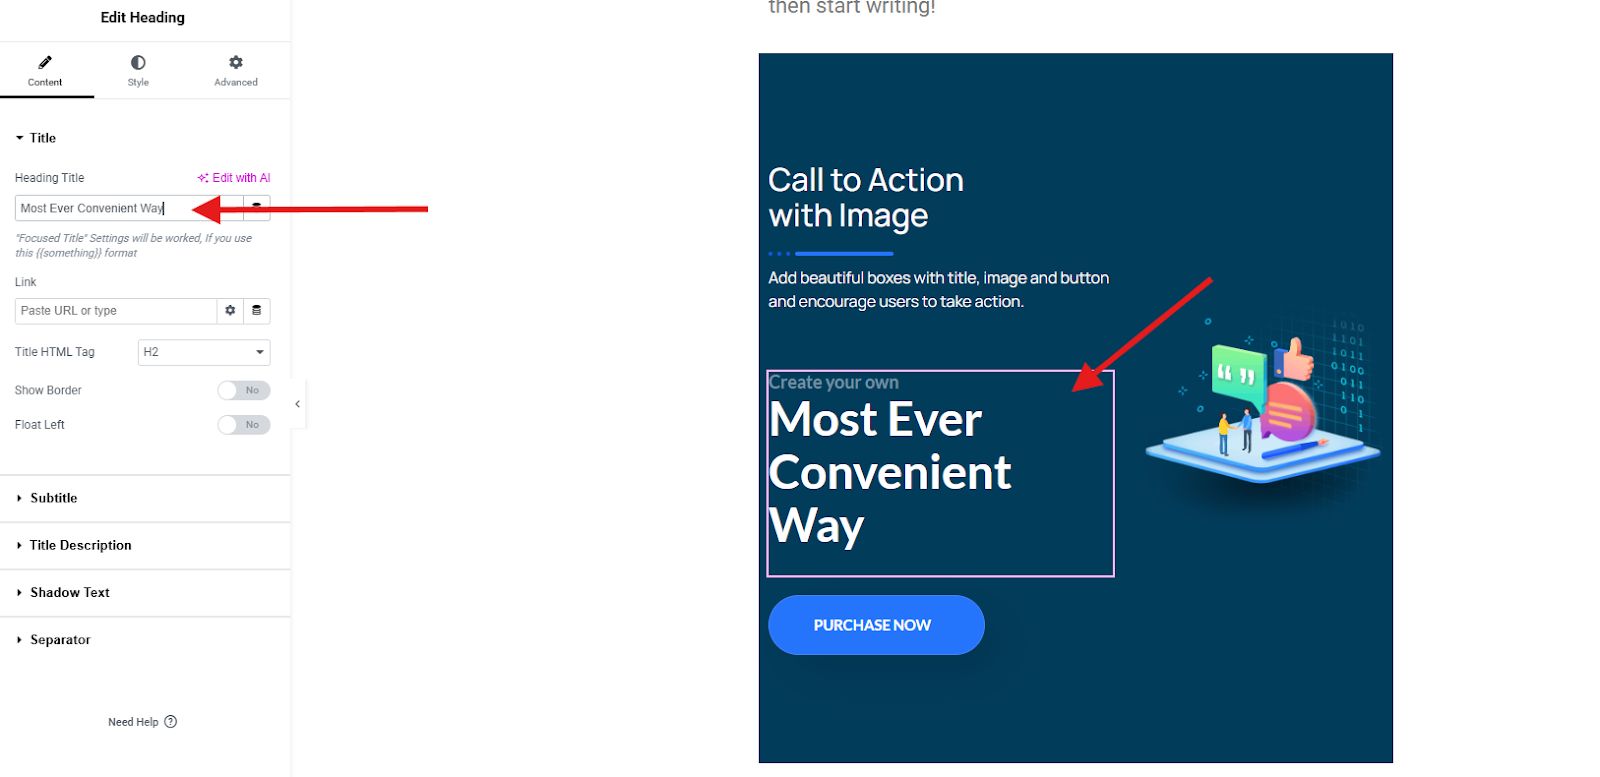
Step 3: Customize your design:
Click on every section of your call-to-action template to change every bit of information. For example, to change the text, simply select the section and change it in the left hand corner of your screen. You can add the title, subtitle, description, etc.
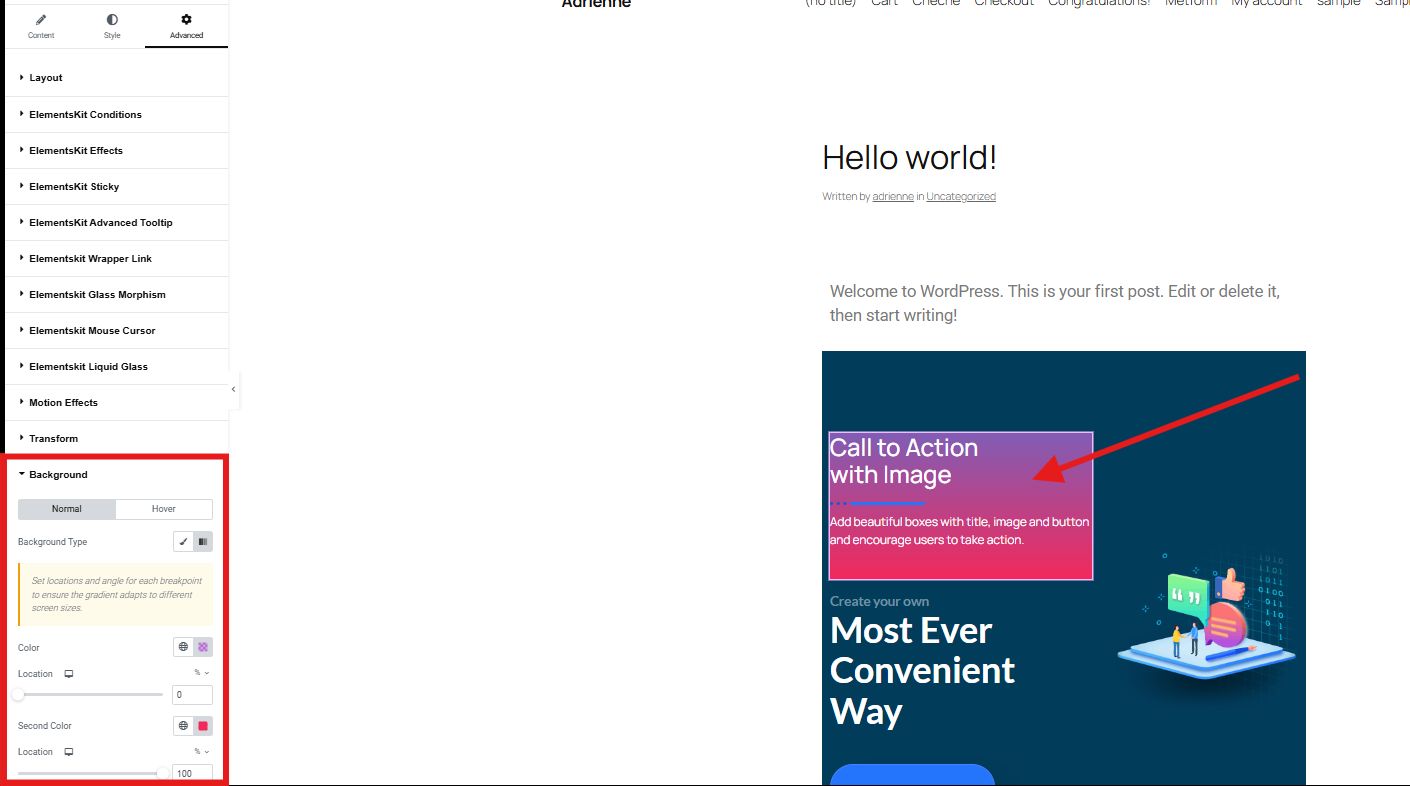
To change the background, simply go to the advanced settings and select “Hintergrund.” You can play with the color until you are satisfied.
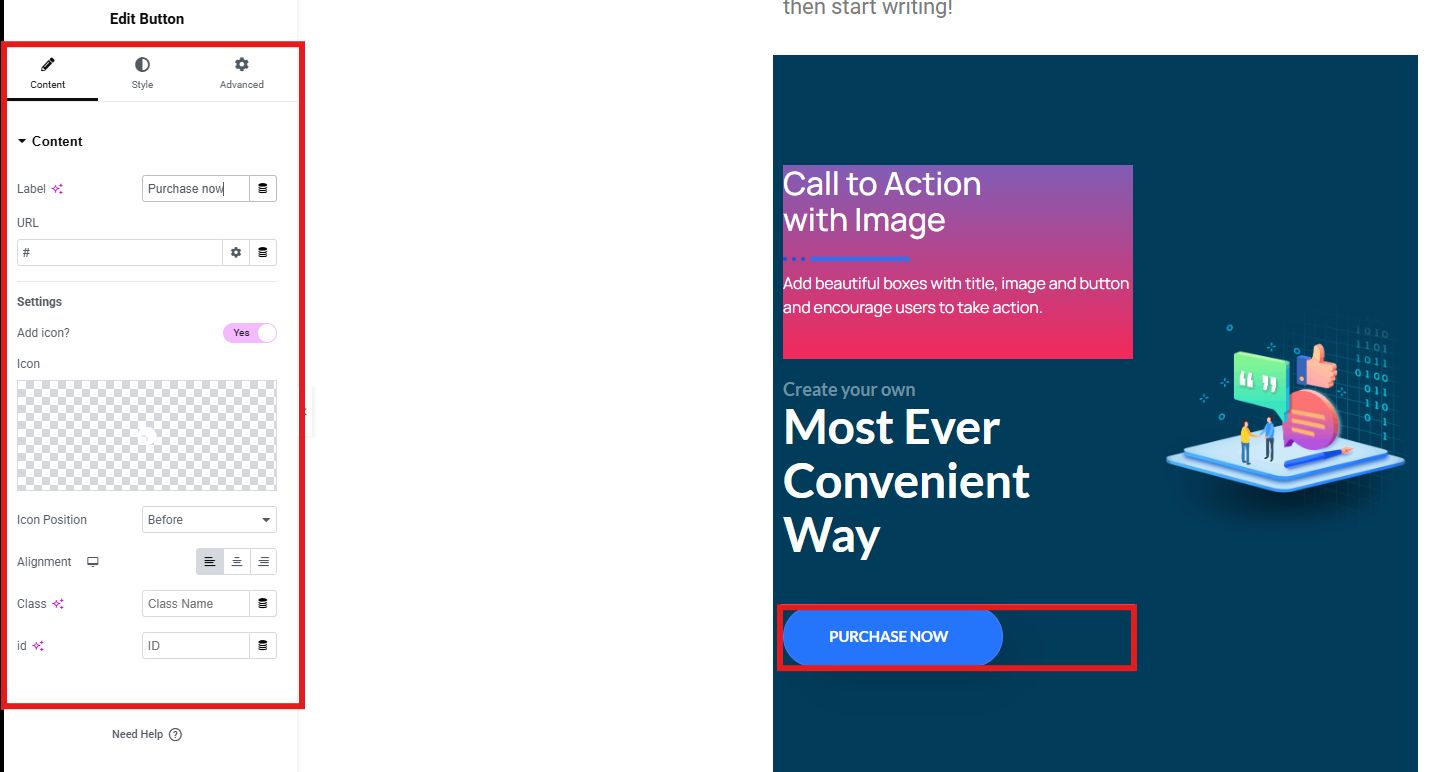
Now, to customize your call-to-action button, simply select the section. You can change the text, add your desired icon, change the position of your icon, etc.
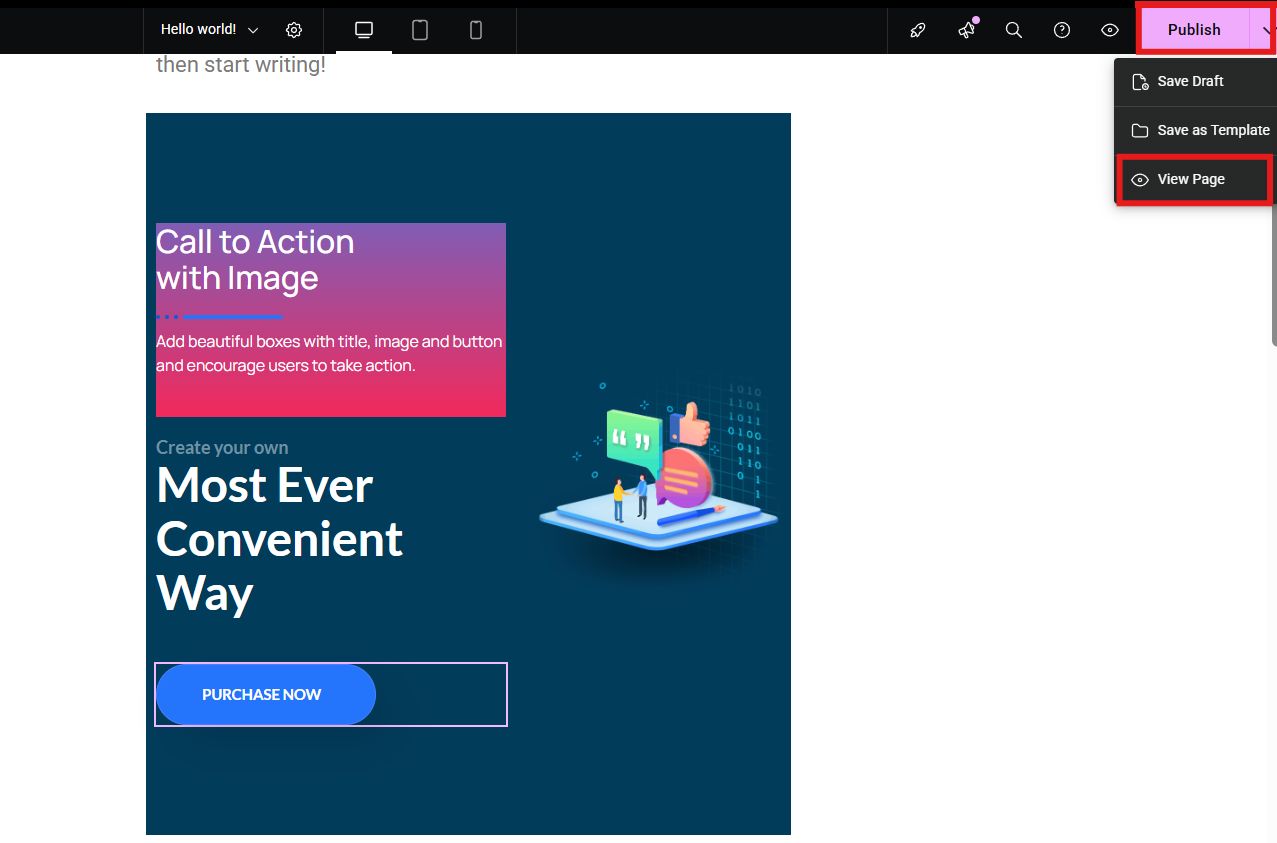
Step 4: Preview and Publish
Preview your call-to-action to see if you need to adjust it. Once satisfied, you can publish it to make it live.
That’s it! No code, no hassle, just a professional CTA ready to convert.

Best Practices for Effective Call-to-Action
Simply adding a CTA button isn’t enough. To make it truly effective, follow these best practices:
👍 Use Action-Oriented Text – Be clear and persuasive. Instead of saying “Click Here”, use “Start Your Free Trial.“
👍 Create Urgency – Adding text that urges the customers to take action is a wise and effective move. You can add phrases like “Limited Offer oder Today Only.“
👍 Make It Stand Out – Use contrasting colors so your button doesn’t blend into the background. In this way, customers will immediately notice your call-to-action.
👍 Keep It Short – Aim for 2–4 words that get straight to the point. Making it long is only useless.
👍 Position Strategically – Place CTAs above the fold, at the end of blog posts, or in key conversion areas.
👍 Test Variations – Try different designs, colors, and placements to see what works best.
Craving for more resources?
These resources will help you elevate and grow your website:
🔥 How To Add Image Hover Effects in Elementor WordPress Website
🔥 How to Create a Video Gallery in WordPress
Letzte Worte
Hinzufügen eines Call to Action button in WordPress doesn’t need to be complicated or require coding skills. With tools like ElementsKit, you can easily design eye-catching buttons that guide your visitors toward taking meaningful actions.
Remember, a well-placed and well-designed CTA can be the difference between a visitor who bounces and a visitor who converts. Take the time to create CTAs that stand out, align with your goals, and enhance the user experience on your site.
So, what are you waiting for? Try it now!
Schreibe einen Kommentar