EN Form Block in a popup builder is an interactive element that allows users to submit information, such as emails or contact details.
Let’s have a look at the block’s functions.
How to use Form block #
You can take the “Form block” within a campaign and customize it based to your preferences. Also, while customizing a template, you can search the block and utilize it accordingly.
1. Navigate to PopupKit from your dashboard
2. Choose Kampagne
3. Click on the Create Blank mulighed
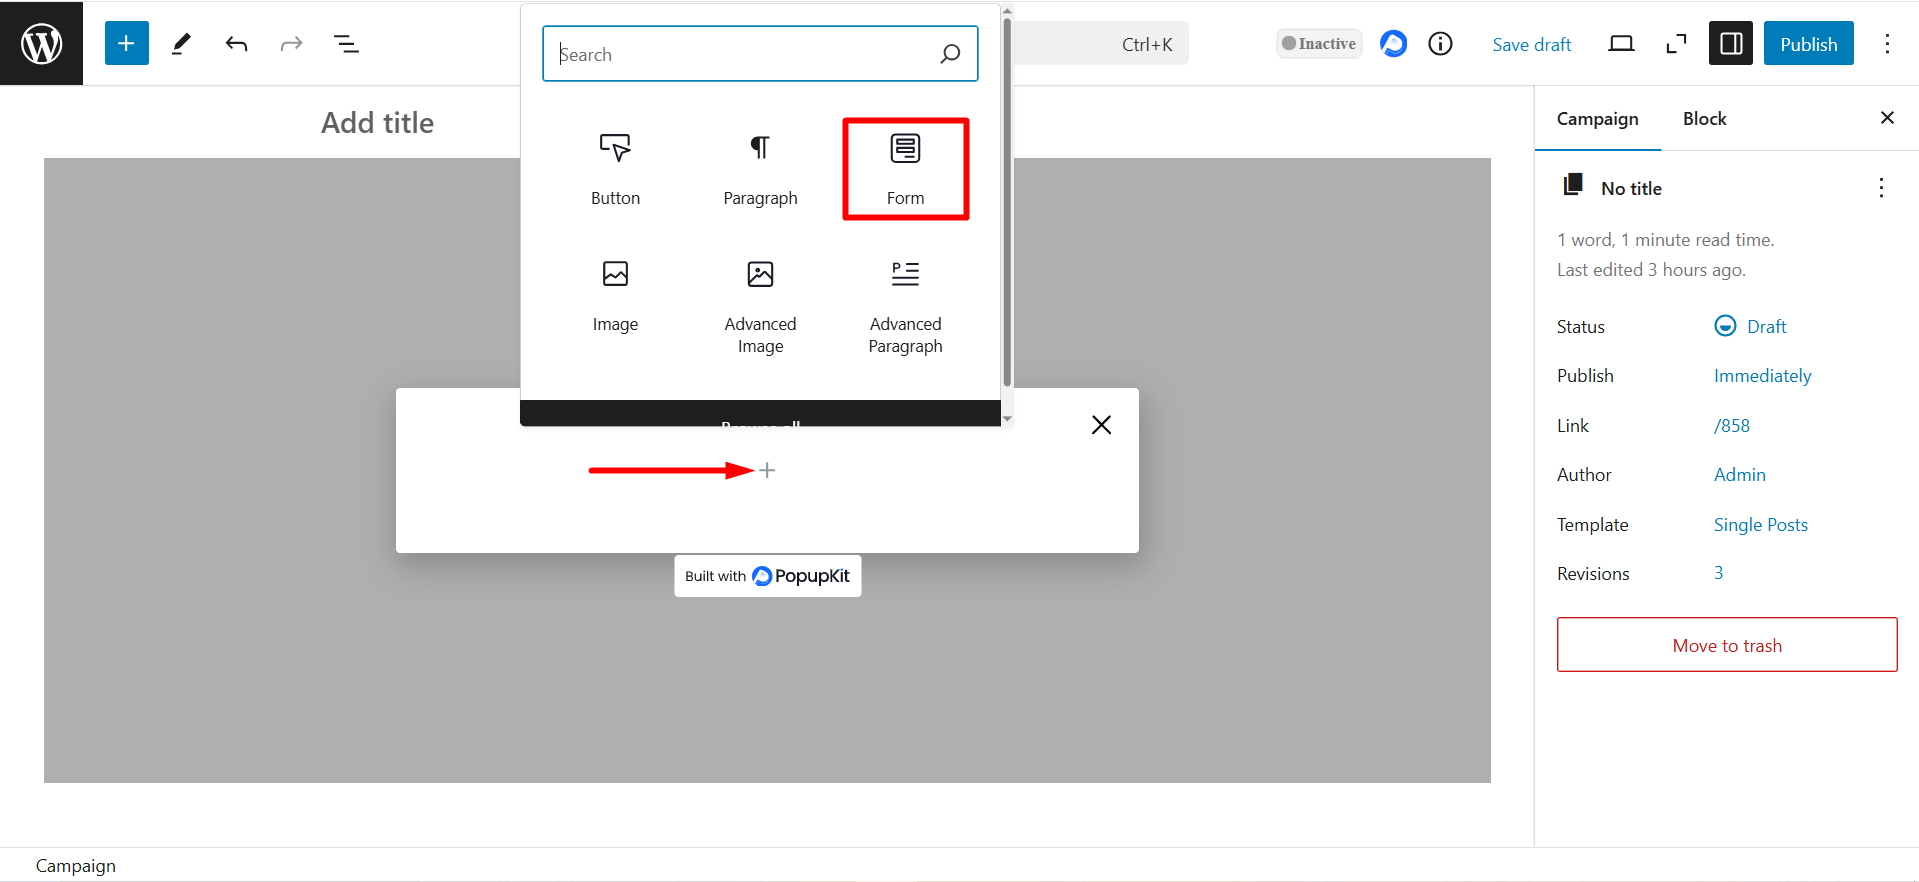
Click on the plus icon and you’ll see the list of the blocks. Find Form block, click on it and it’ll be added to the editor.
Indholdsdel #
This part lets you customize three sections of the form. Let’s see what they offer.
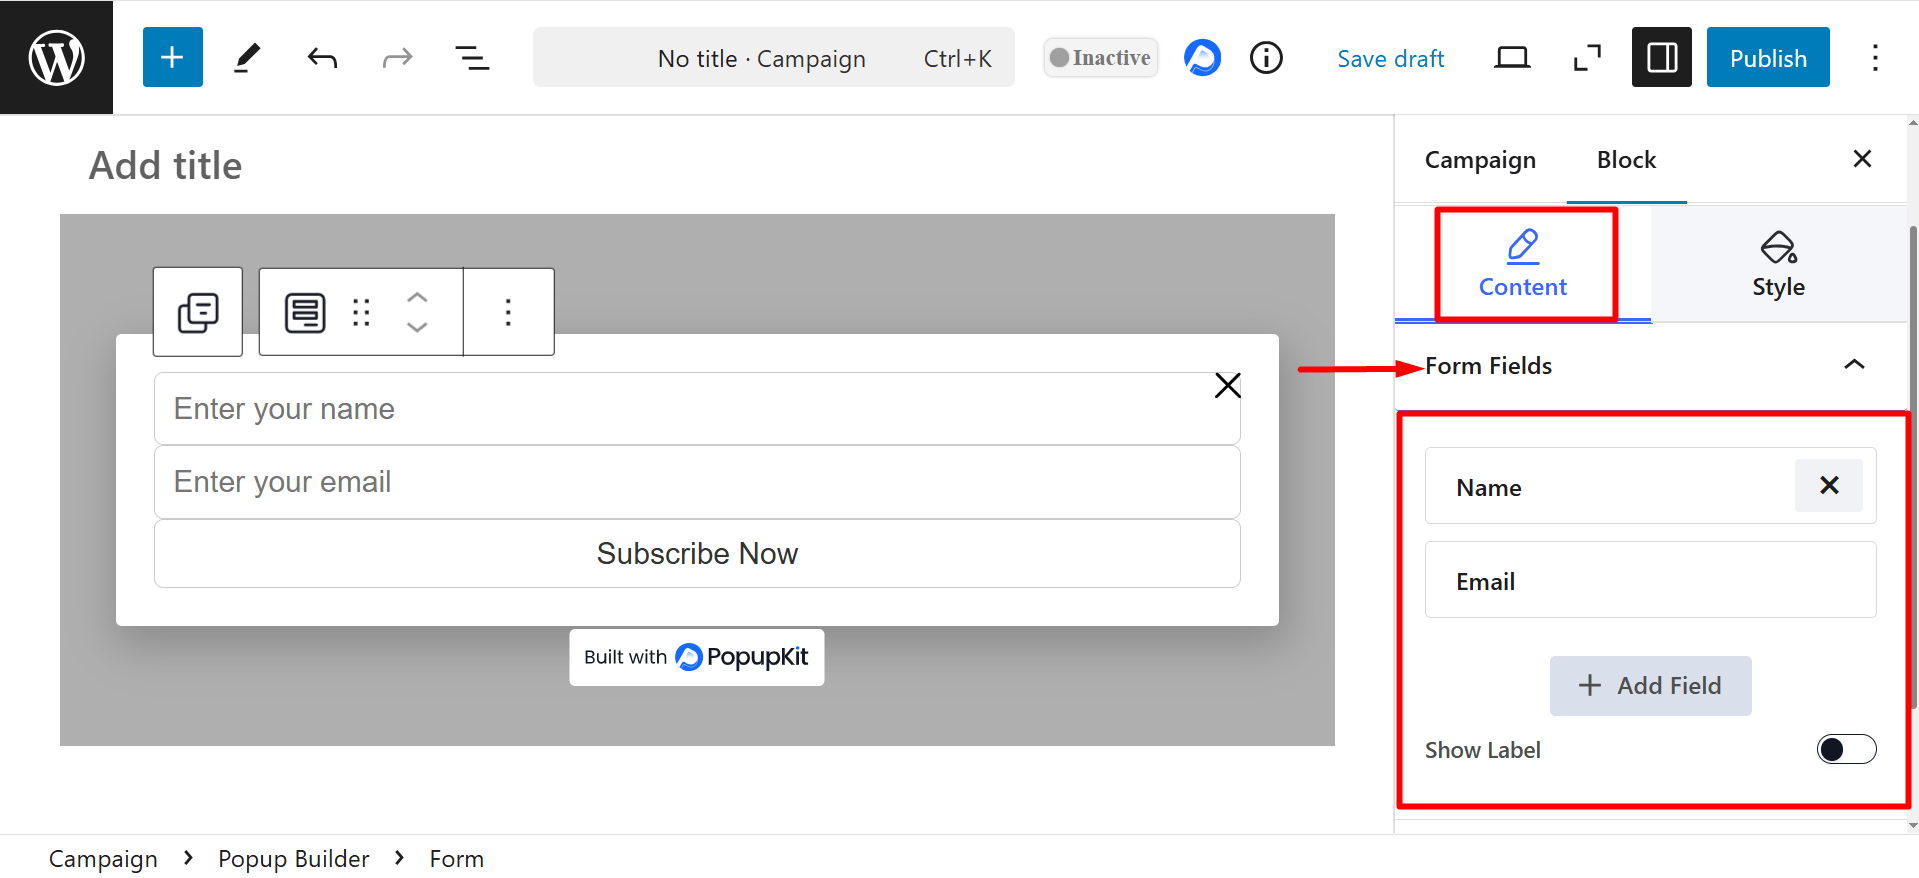
Formularfelter #
Here, you’ll see the Name and Email fields and if needed you can add more fields.
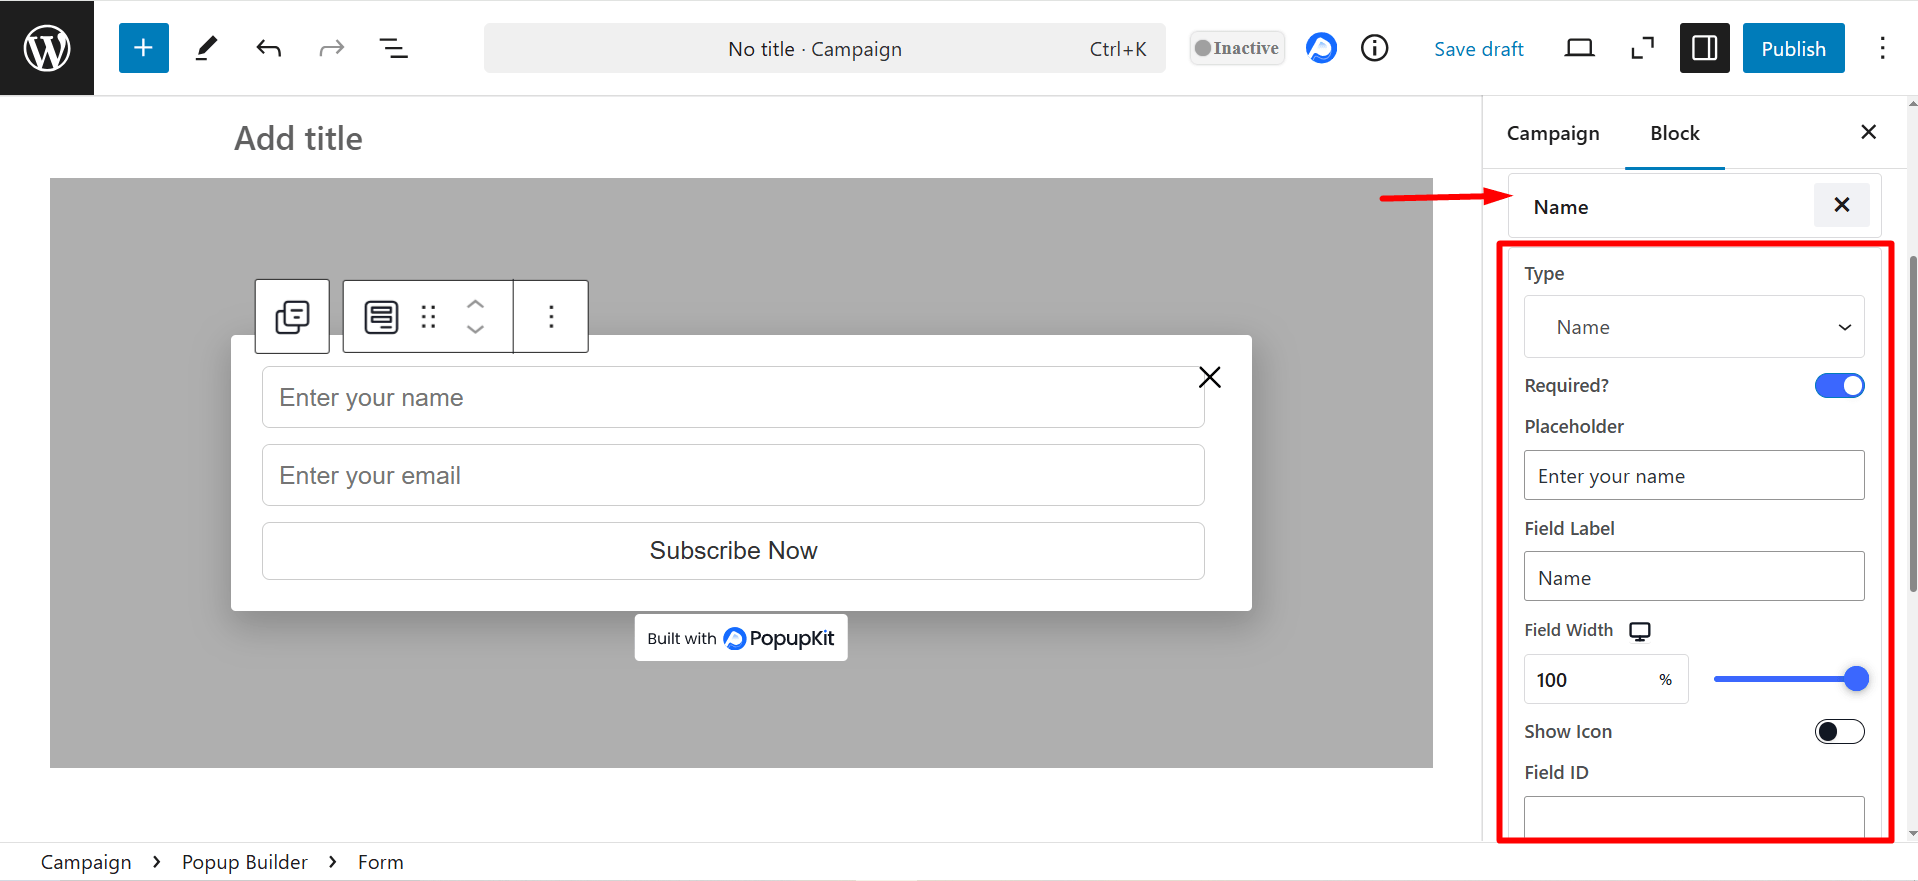
If you expand a form field, you’ll have several customization options to arrange that field. 👇
- Type: Defines the type of input field (e.g., text, email, password, number, etc.).
- Required?: It determines whether the field is mandatory for form submission. If enabled, users must fill it out before submitting the form.
- Pladsholder: A hint or sample text inside the input field that disappears when the user starts typing. It provides guidance on what to enter.
- Field Label: The name or title of the field that appears outside (usually above or beside) the input box to indicate its purpose.
- Field Width: Defines the width of the field in percentage (%). It controls the field’s size on the form layout.
- Vis ikon: Displays an icon inside the field, such as an envelope for an email field.
- Field ID: A unique identifier for the field, often used for backend processing, custom styling, or JavaScript validation.
- Default Value: Pre-fills the field with a predefined value when the form loads, which can be edited by the user if needed.
Vis etiket: If you enable it, the label appears above or beside the input field.
Required Mark: Adds an asterisk (*) to show that the field is required fields.
Knap #
- Click Actions:
- None: You can select the option “None” and enable/disable “Close Campaign?” (optional) and “Conversion Tracking?” (to track user actions).
- Redirect to URL: Takes the user to a specified web address. You can insert the desired Url to a given field. It also shows a “Conversion Tracking?” button, you can enable it to track user actions.
- Open Email Client: Open the default email app with a pre-filled recipient. You can put the desired email to the field. You have options to enable/disable “Close Campaign?” (optional) and “Conversion Tracking?” (to track user actions).
- Click to Call: Starts a phone call to a specified mobile number. You can insert the phone number in the given field. There are options to enable/disable “Close Campaign?” (optional) and “Conversion Tracking?” (to track user actions).
- Copy Text: Copies predefined text to the clipboard. If you choose this option, you have to write the texts to the field. Also, you can enable/disable “Close Campaign?” (optional) and “Conversion Tracking?” (to track user actions).
- Close Campaign: Closes a popup, modal, or campaign banner. It also lets you track user actions with the “Conversion Tracking?” button.
- Genindlæs siden: Refreshes the current page. The “Conversion Tracking?” button can be used.
- Open in a New Window: Give a new window Url to the field and after clicking the button it’ll take the user to a new browser tab. You can track user actions with the “Conversion Tracking?” button.
- Knapbredde: Sets the button’s size (full-width, fixed, or custom) using the bar.
- Use Icon: Enable the button to add an icon inside the button for better visuals.
- After Submission Message: Write a message if you want to display a confirmation message after form submission.
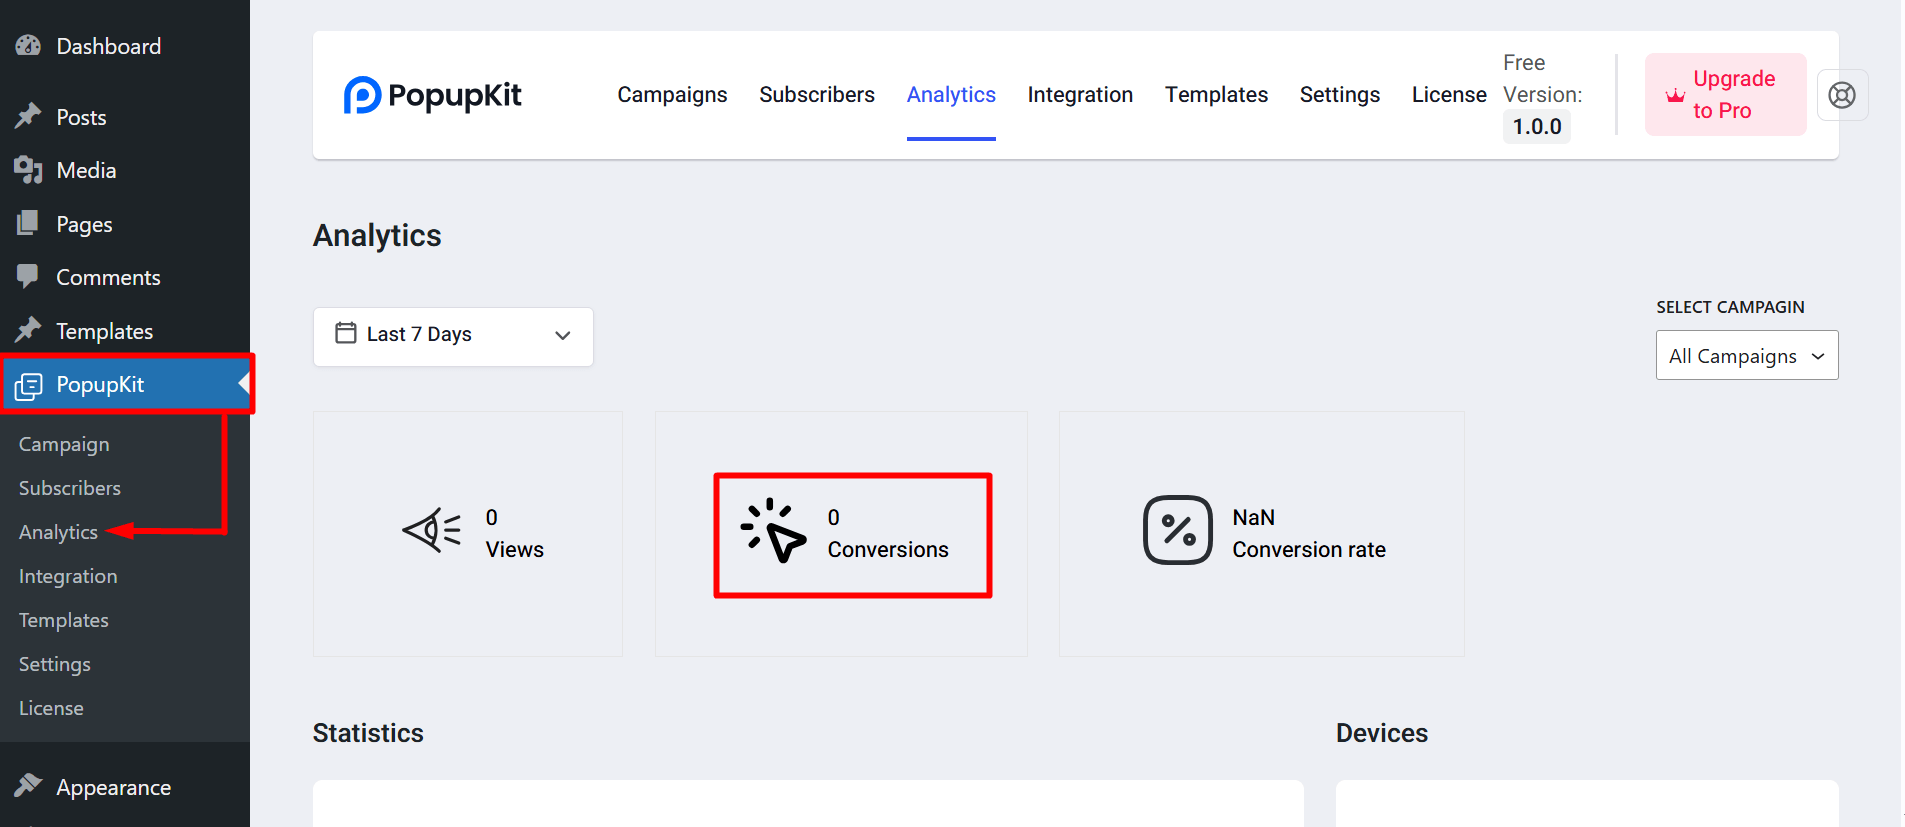
How to check conversions? #
Well, the Conversion Tracking feature is useful for tracking button clicks for analytics and performance monitoring. To check the conversions – Navigate to PopupKit from the dashboard > Analytics > Find Conversions
Integrationer #
Select Integrations: Connects the form with third-party services like email marketing, CRM, or automation tools.

Stil del #
- Form: Controls overall form styling (background, column gap and row gap).
- Etiket: Styles field labels (typography, label color, mark color and spacing).
- Field: Customizes input fields (borders, padding, background, text color, icon color, etc.).
- Knap: Designs the submit button (use position, typography, text shadow, border, icon size, etc.).